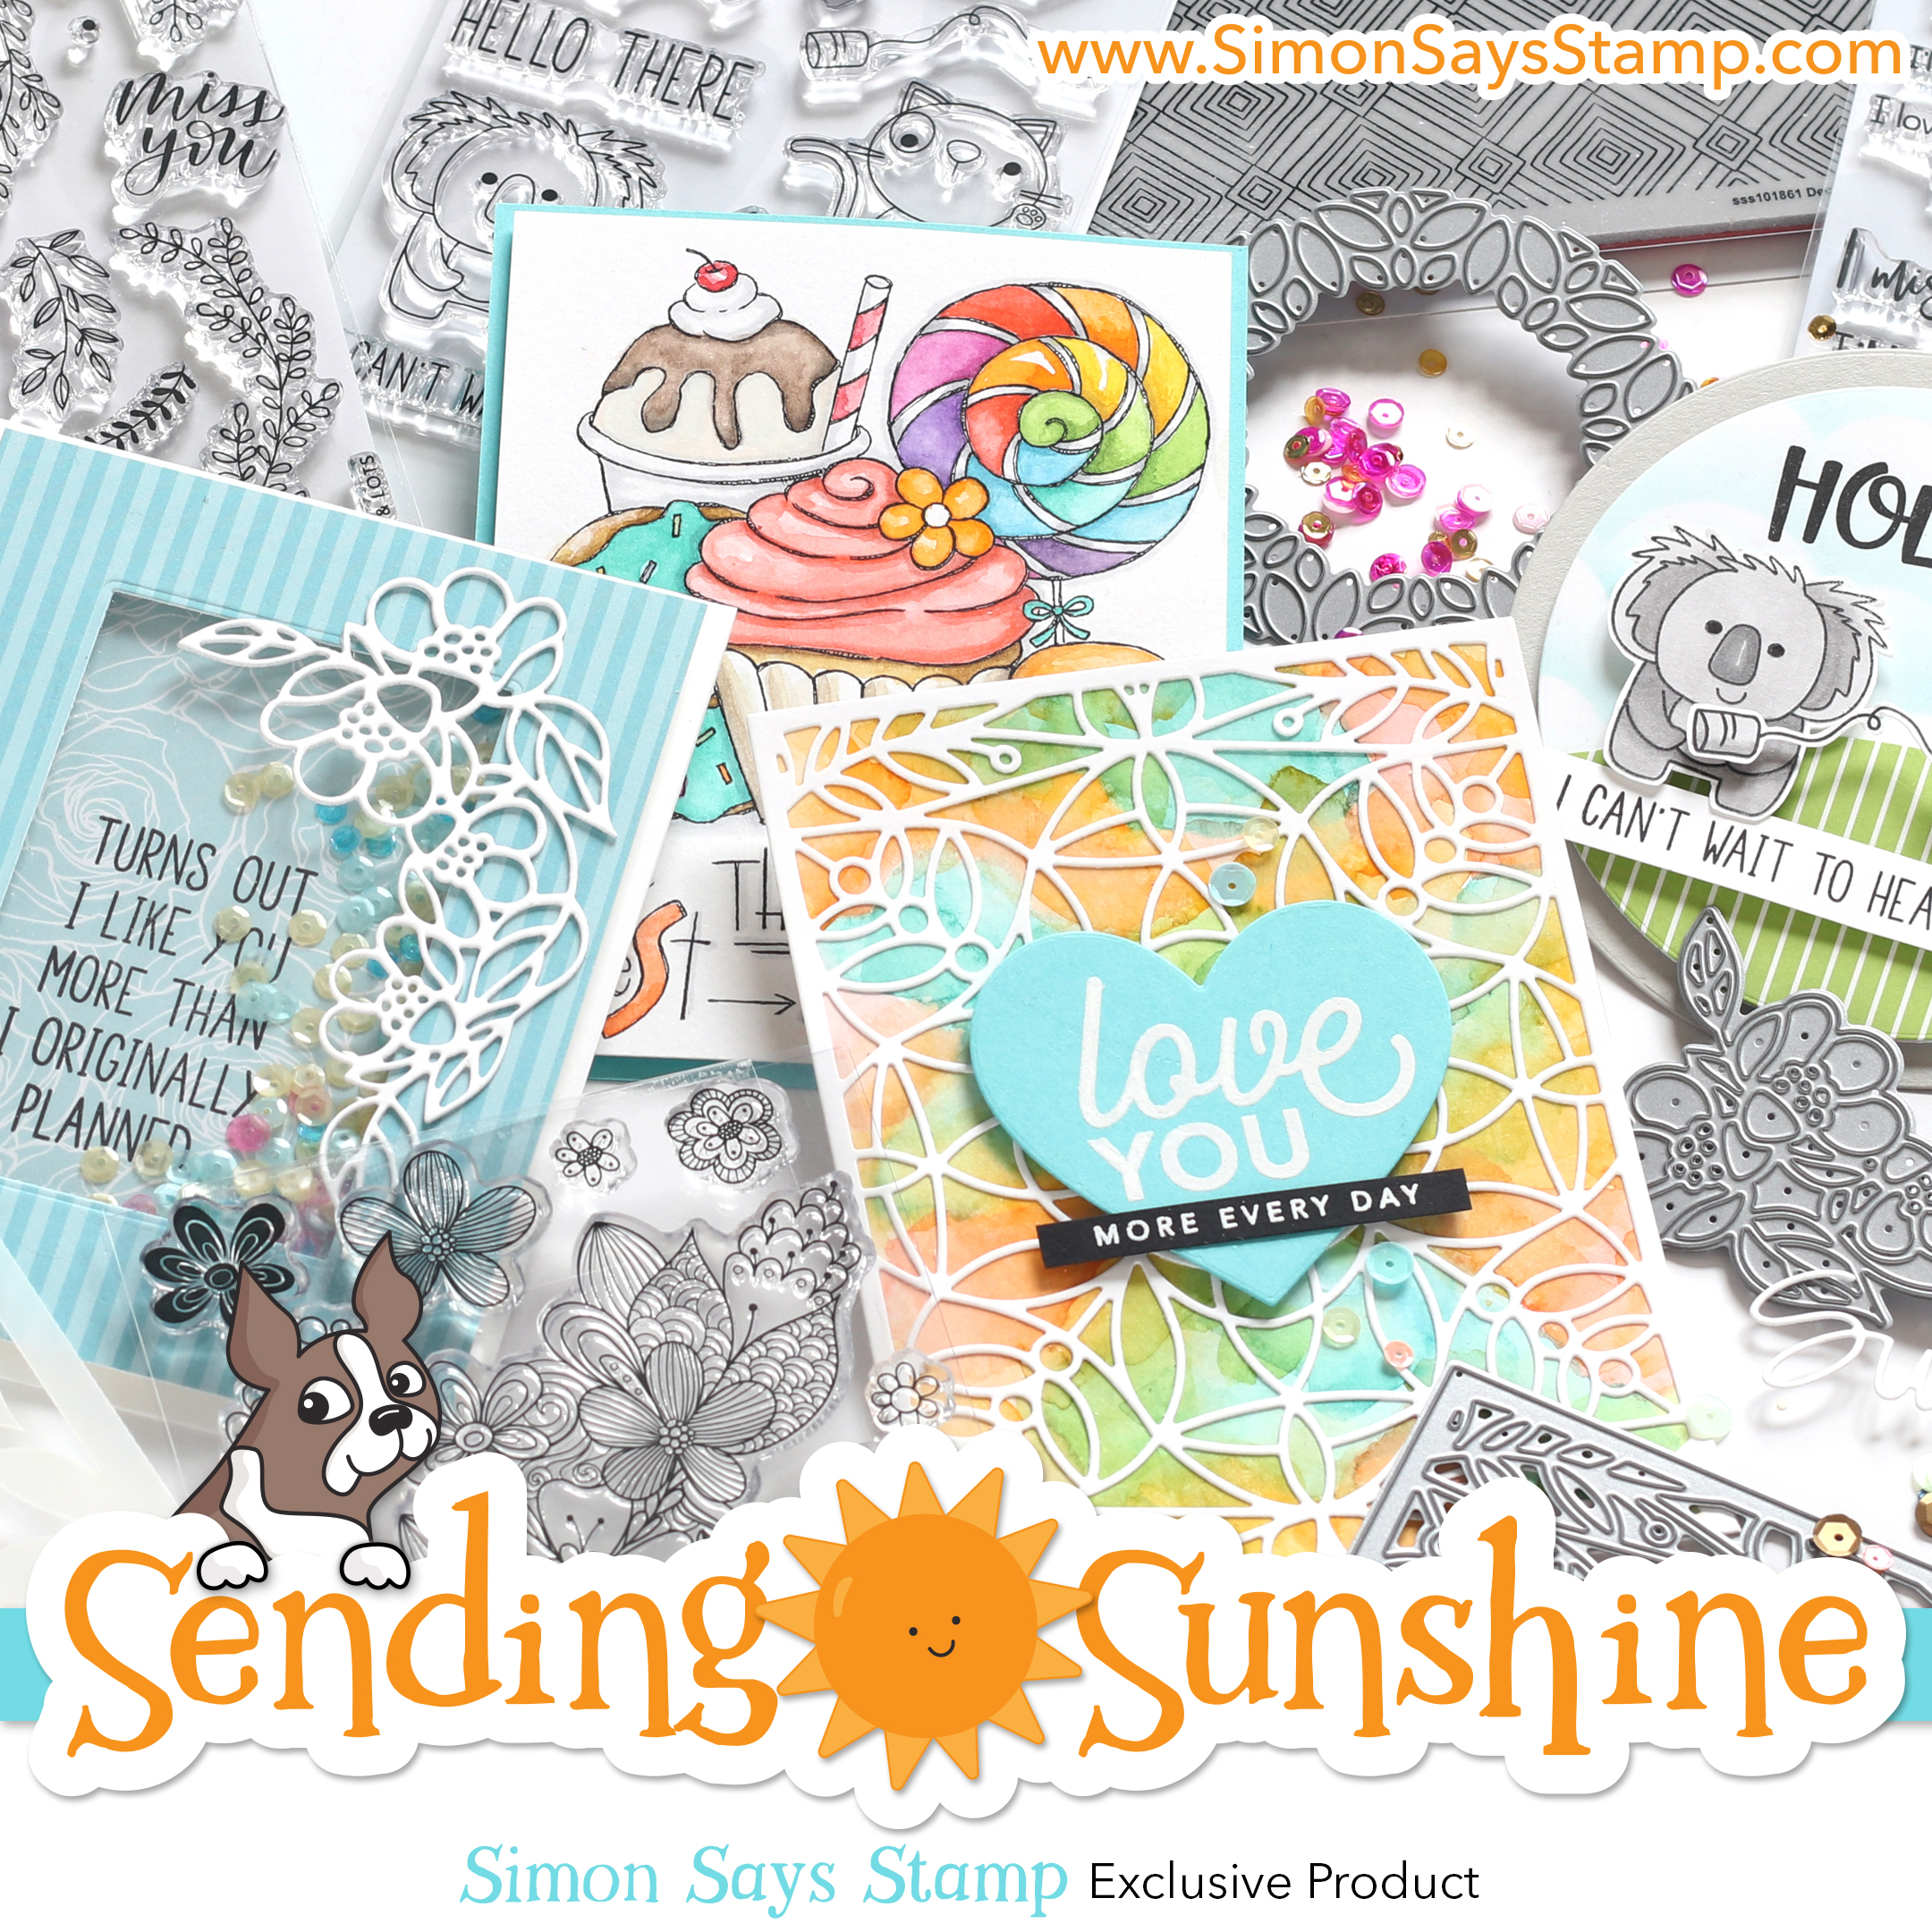
Hello! Today, I’m delighted to be sharing four projects as part of a Simon Says Stamp blog hop showcasing products from their SENDING SUNSHINE release. The list of stops is included at the end of my post.

My first project features the Flower Cluster die. I cut several cardstock colors with the die and inlaid the petals and leaves. I placed yellow cardstock behind the flower centers (rather than inlay those small pieces). On the card panel, I added Mermaid Lagoon Distress Oxide ink to the center and adhered the Big Thanks dies sentiment at an angle in the center of the two floral sprays. The Flower Cluster die could be used any number of ways. For example, inlay only a few flowers or simply cut an outline.

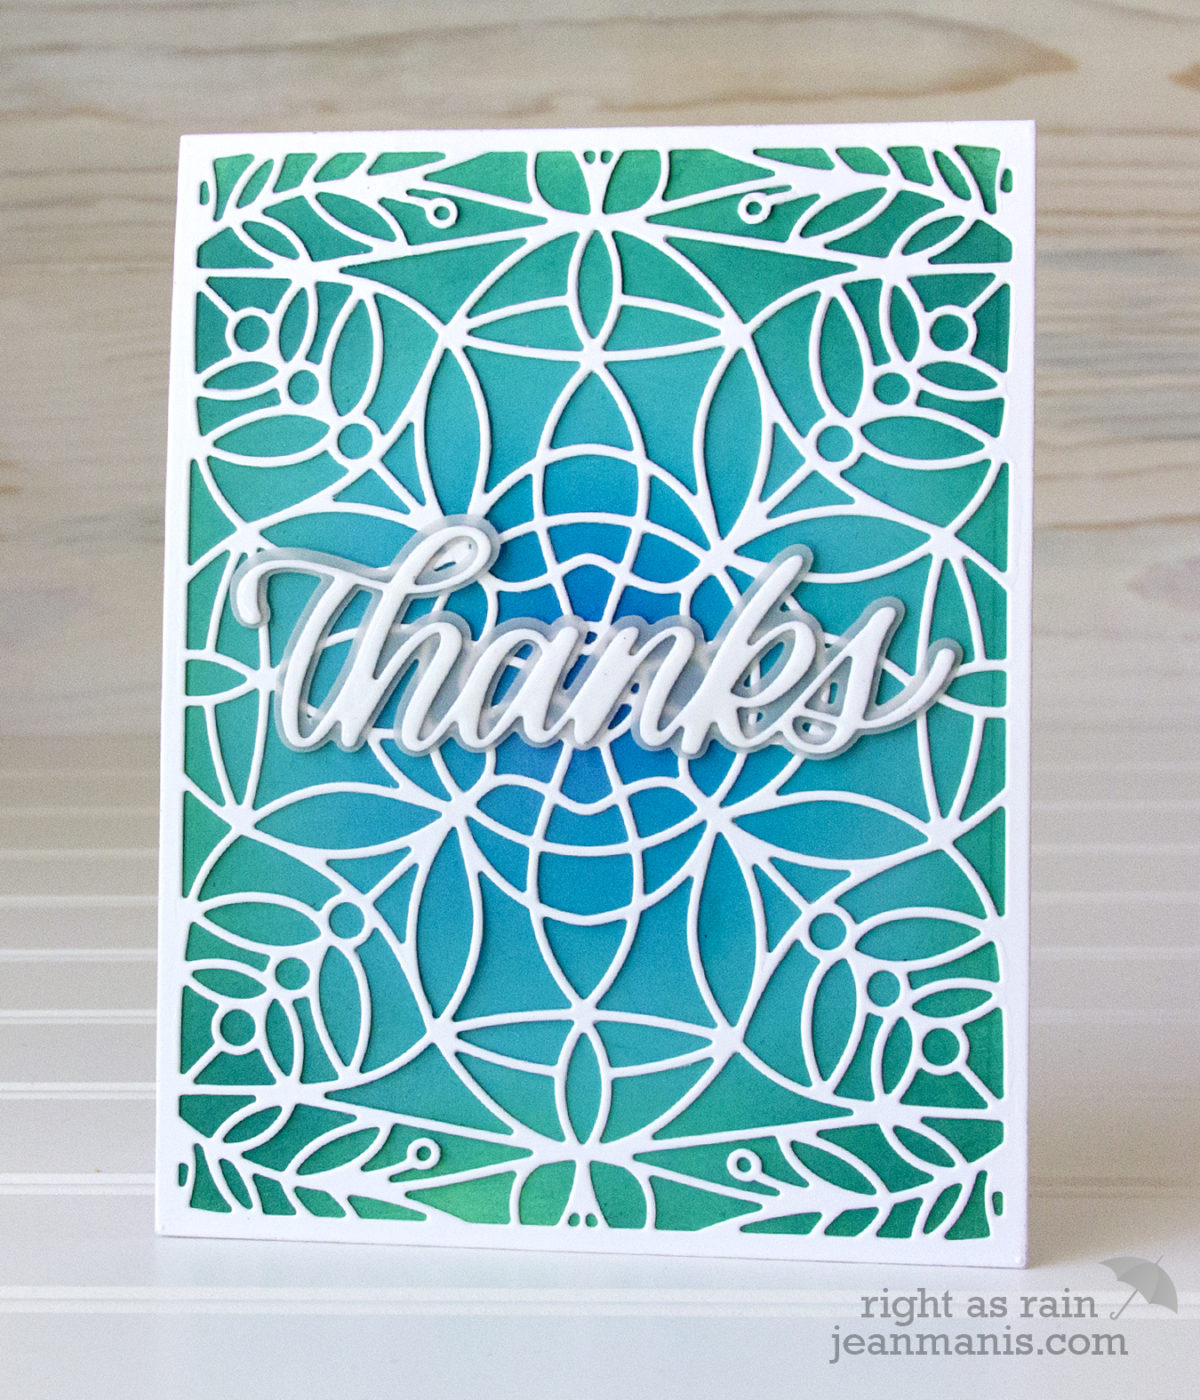
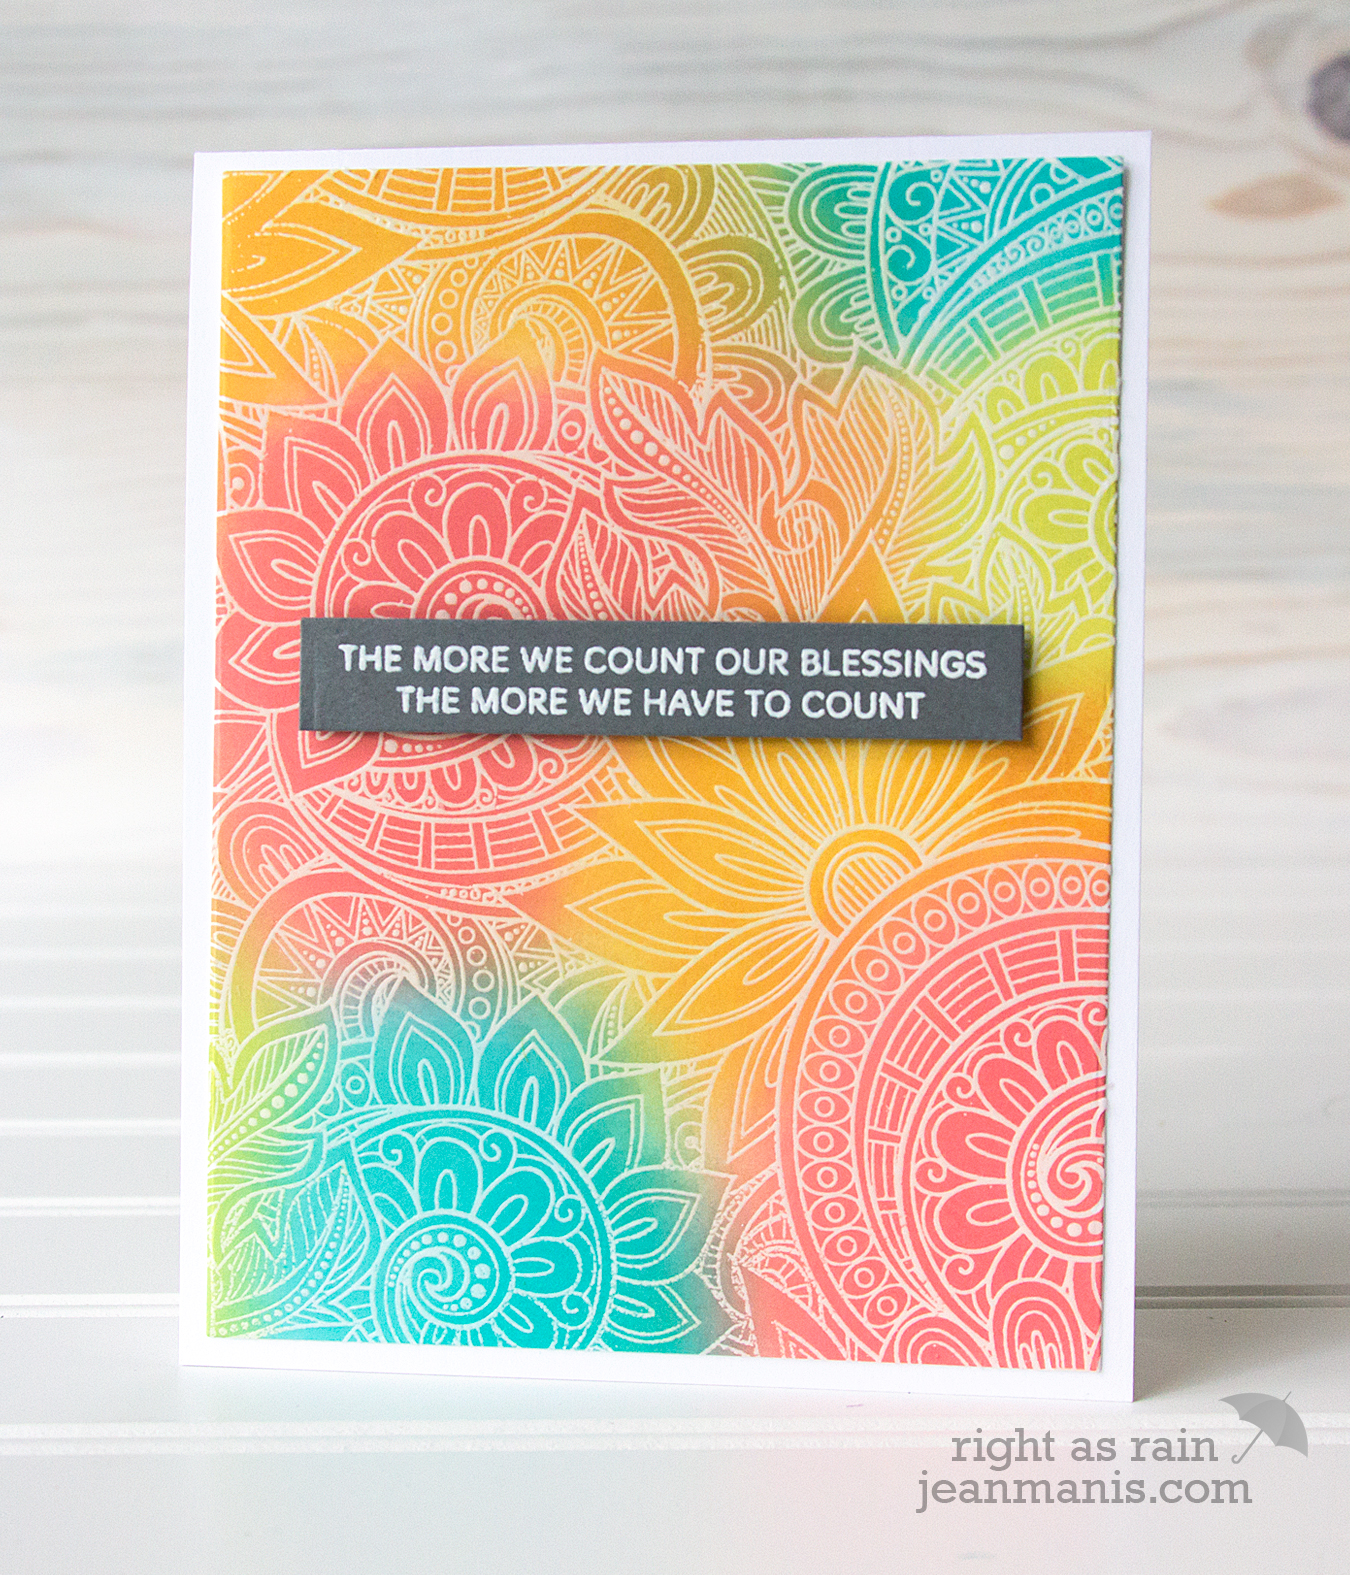
For my next card, I used the Marilyn Full Card die to cut a panel from cardstock colored with Distress Oxide inks in Squeezed Lemonade, Spiced Marmalade, and Picked Raspberry. I used the Big Thanks dies for the sentiment. I shared another card example created with the Marilyn Full Card in this post.

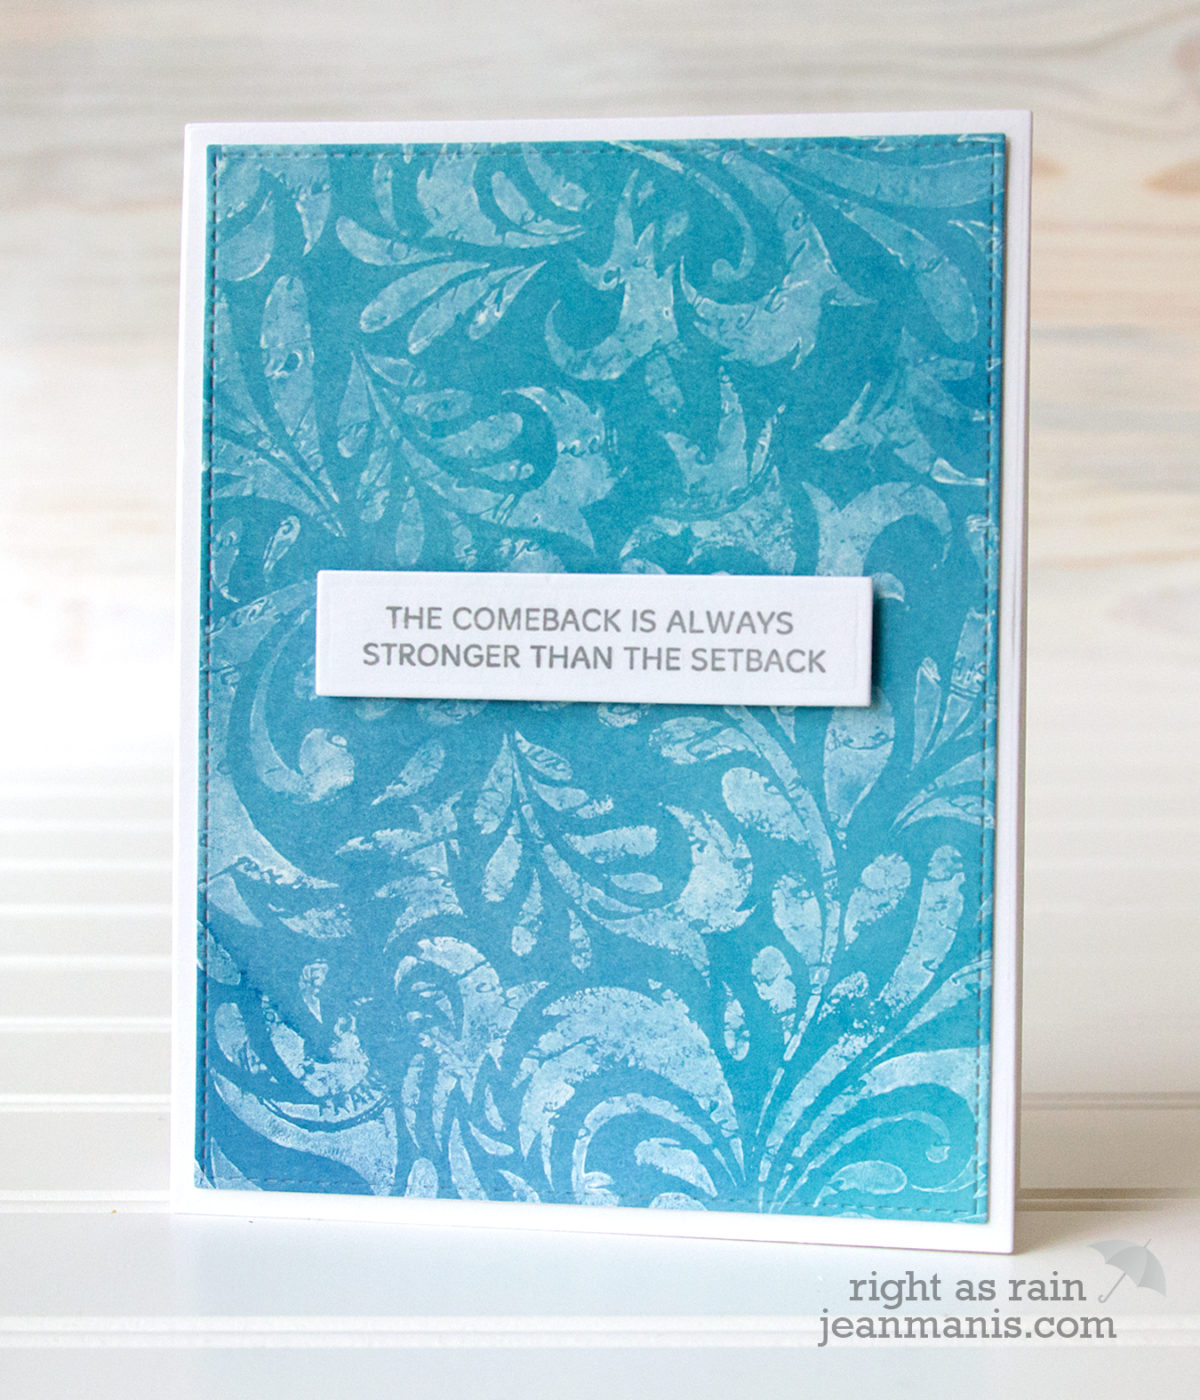
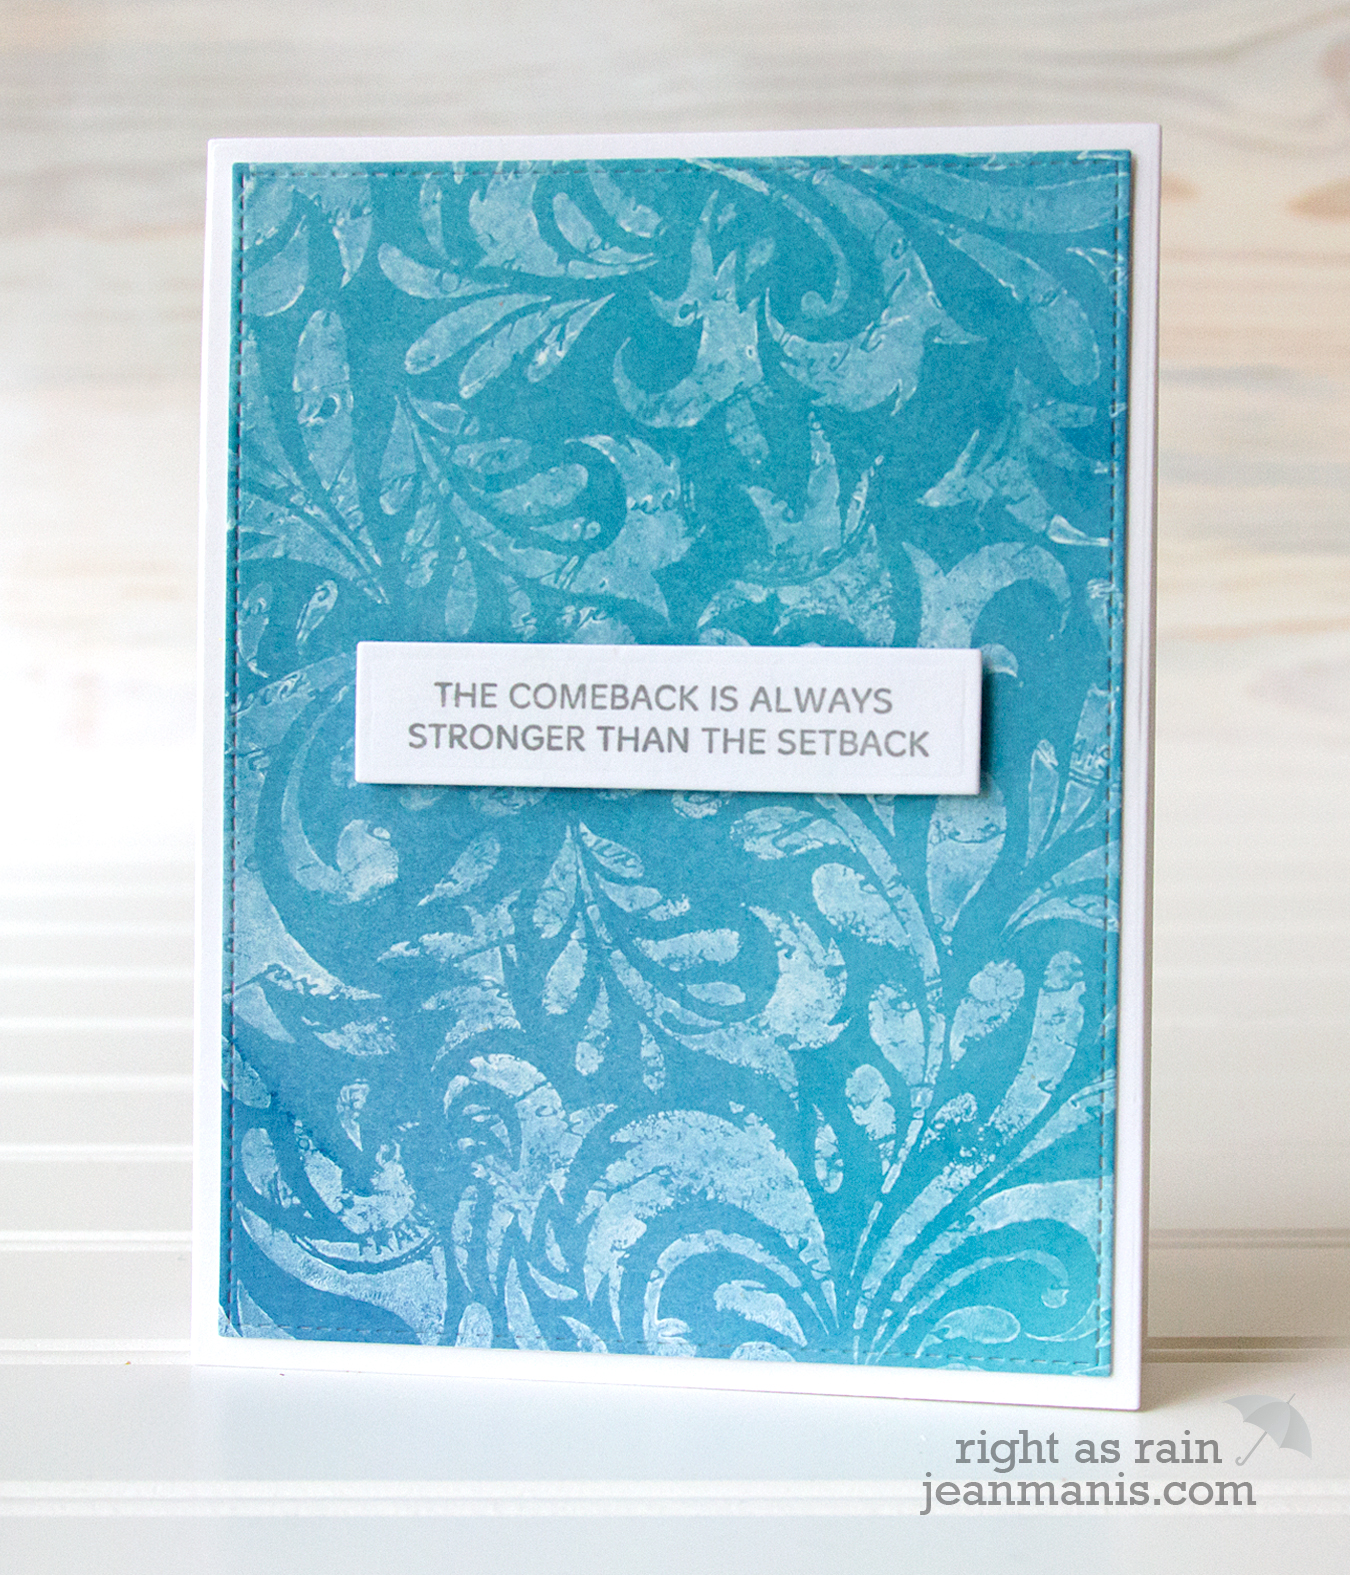
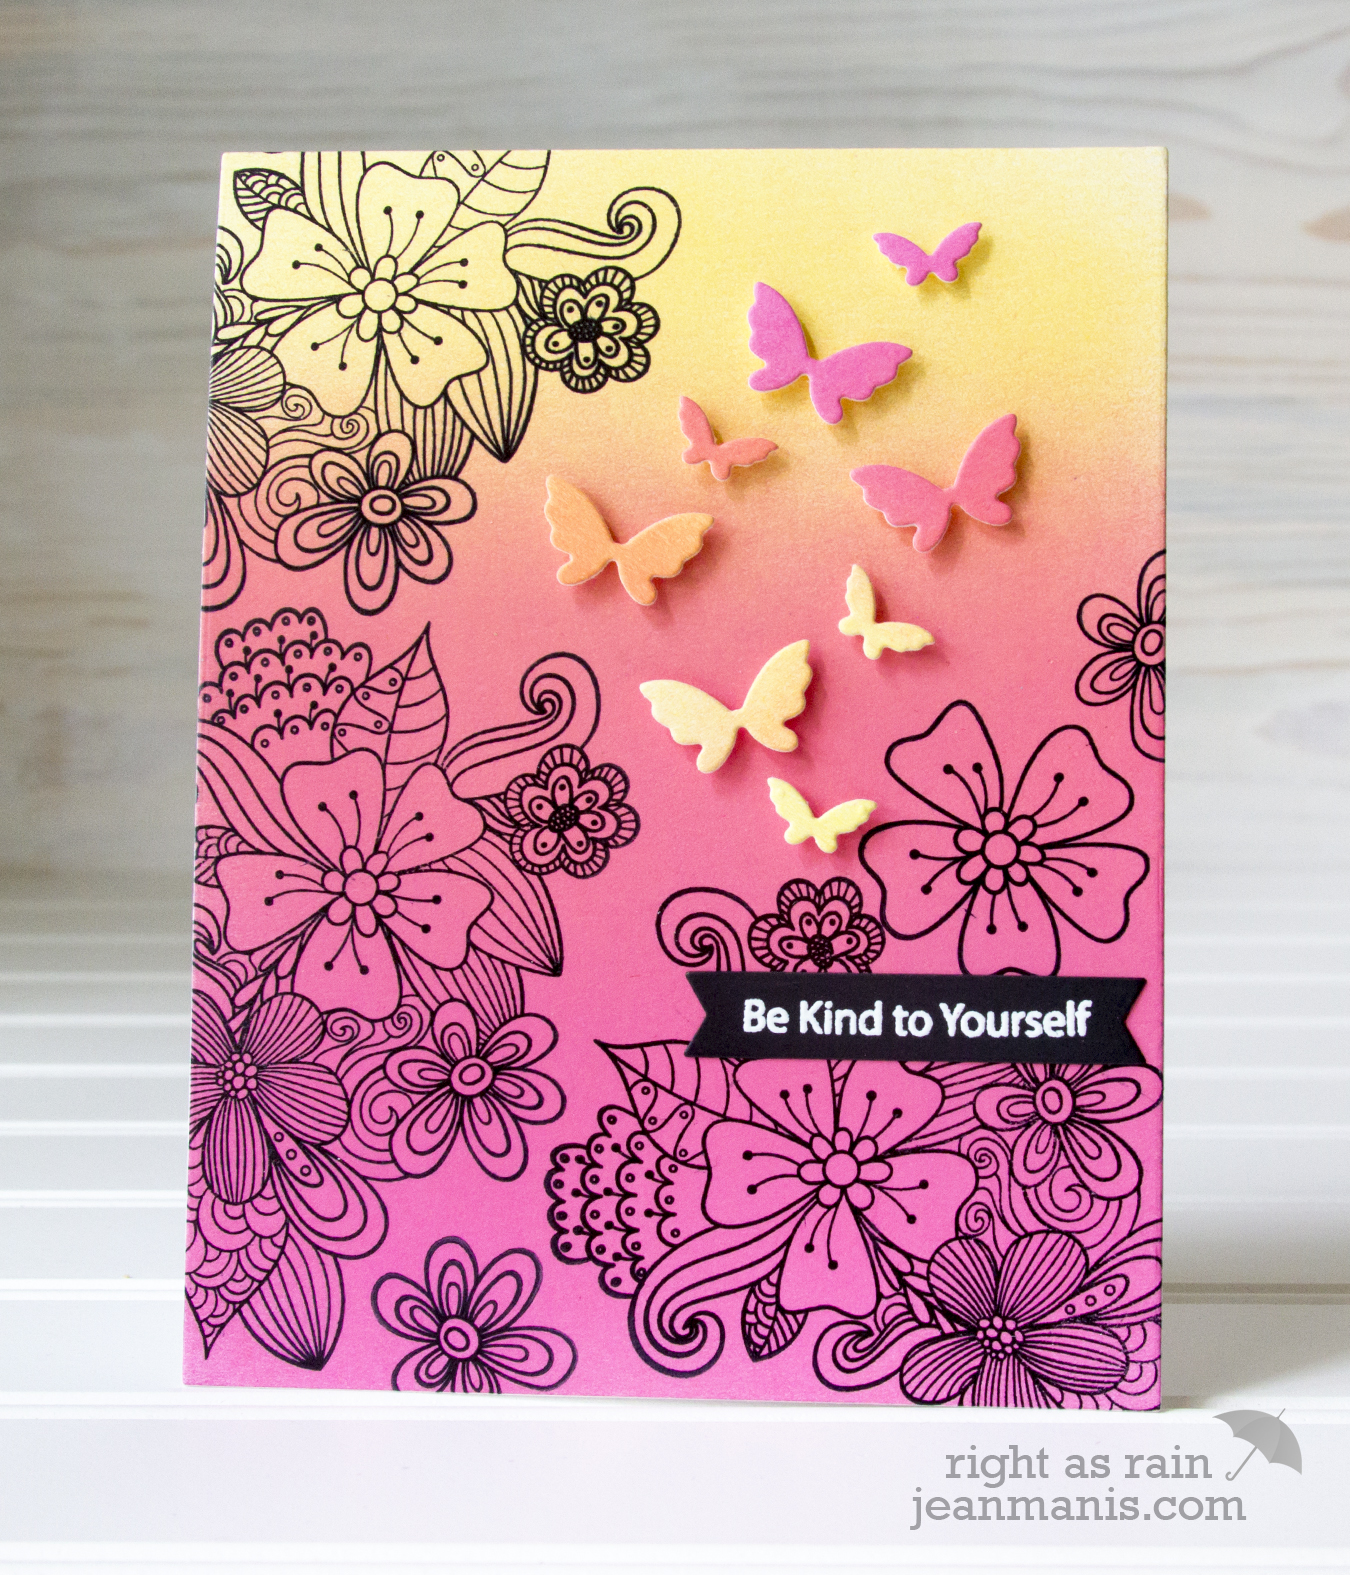
My next card uses the Spring Flower Burst stamp set on a panel colored with Distress Oxide inks in Squeezed Lemonade, Worn Lipstick, and Picked Raspberry. I stamped the flower cluster from the set several times and added a few of the individual flowers to fill the space. I added Flickering Butterflies, cut from cardstock colored with the same Distress Oxide inks, and a heat-embossed sentiment. I shared another card example created with the Spring Flower Burst in this post
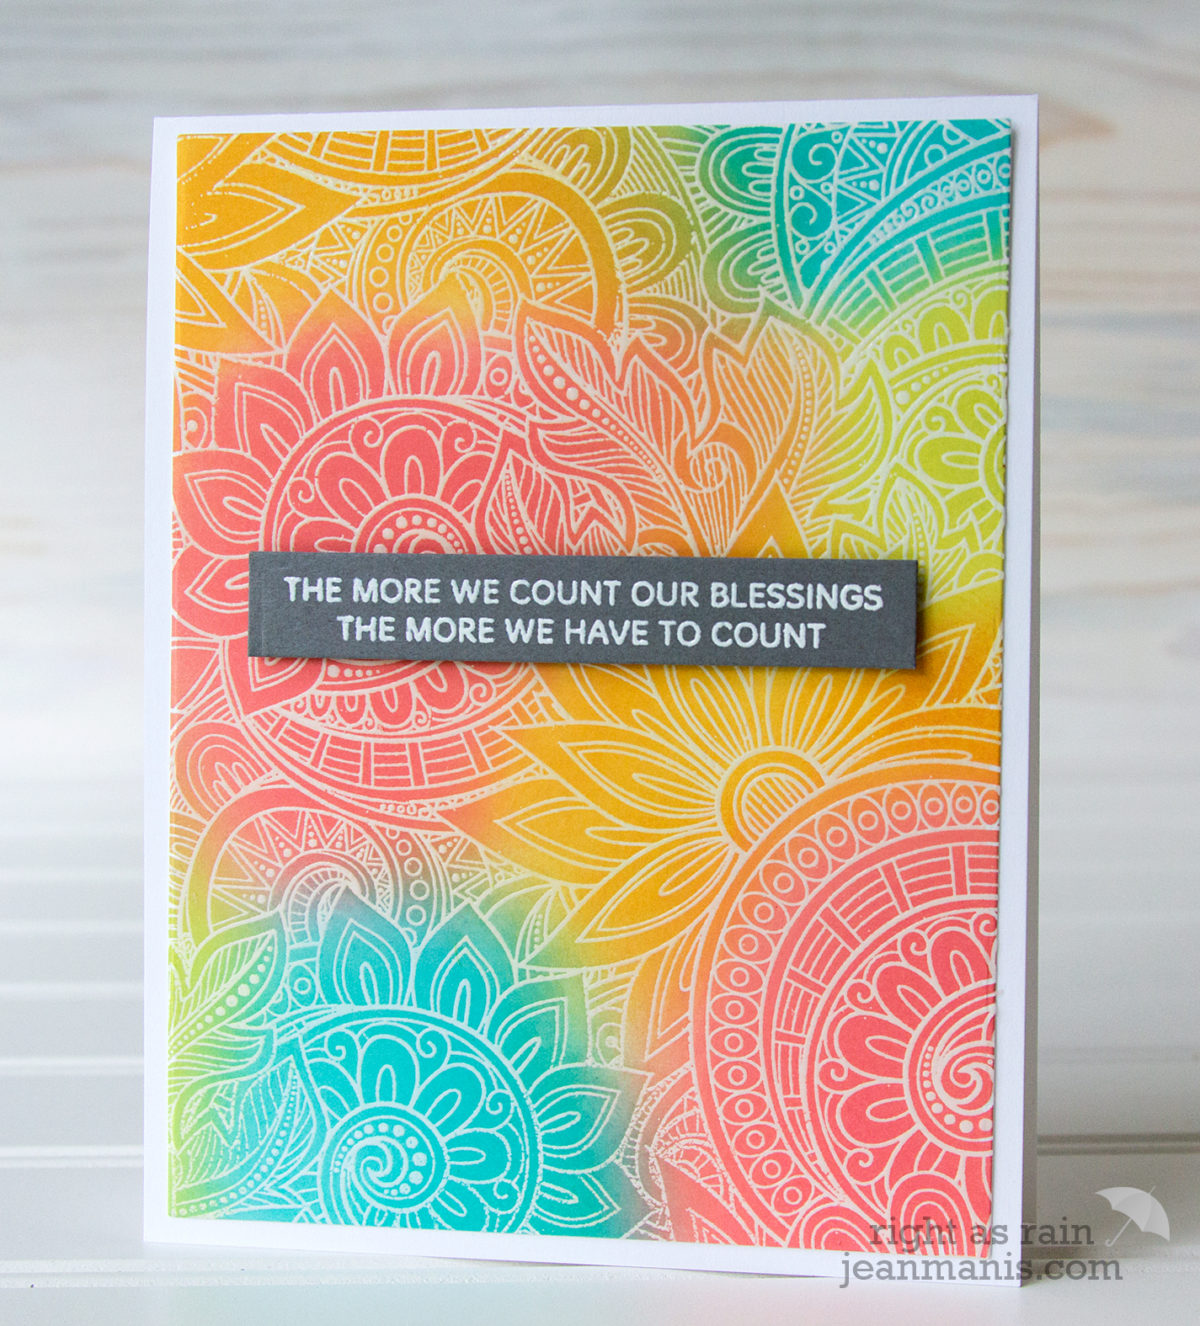
For my final card, I used the You Are My Sunshine die to create a sentiment to pair with flowers and leaves cut with the Radiant Sunflower die set from cardstock colored with Squeezed Lemonade, Spiced Marmalade and Peeled Paint Distress Oxide inks. The card background was colored with Mermaid Lagoon Distress Oxide ink.

Time to get hopping!
Simon Says Stamp Blog
Debby Hughes
Laura Bassen
Yana Smakula
Heather Ruwe
Amy Rysavy
Barb Engler
Jean Manis
Bibi Cameron
Yoonsun Hur
Vicky Papaioannou
Lea Lawson
Olga Direktorenko
Kelly Latevola
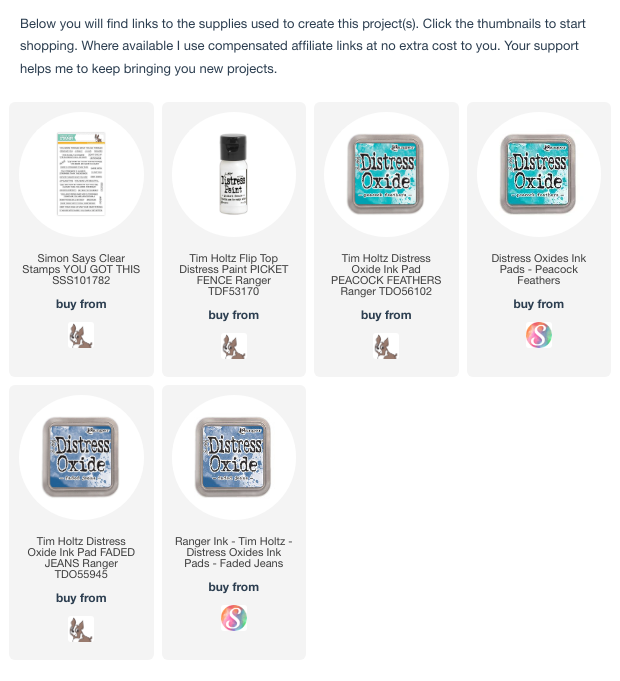
Supplies: