Seeing Stars

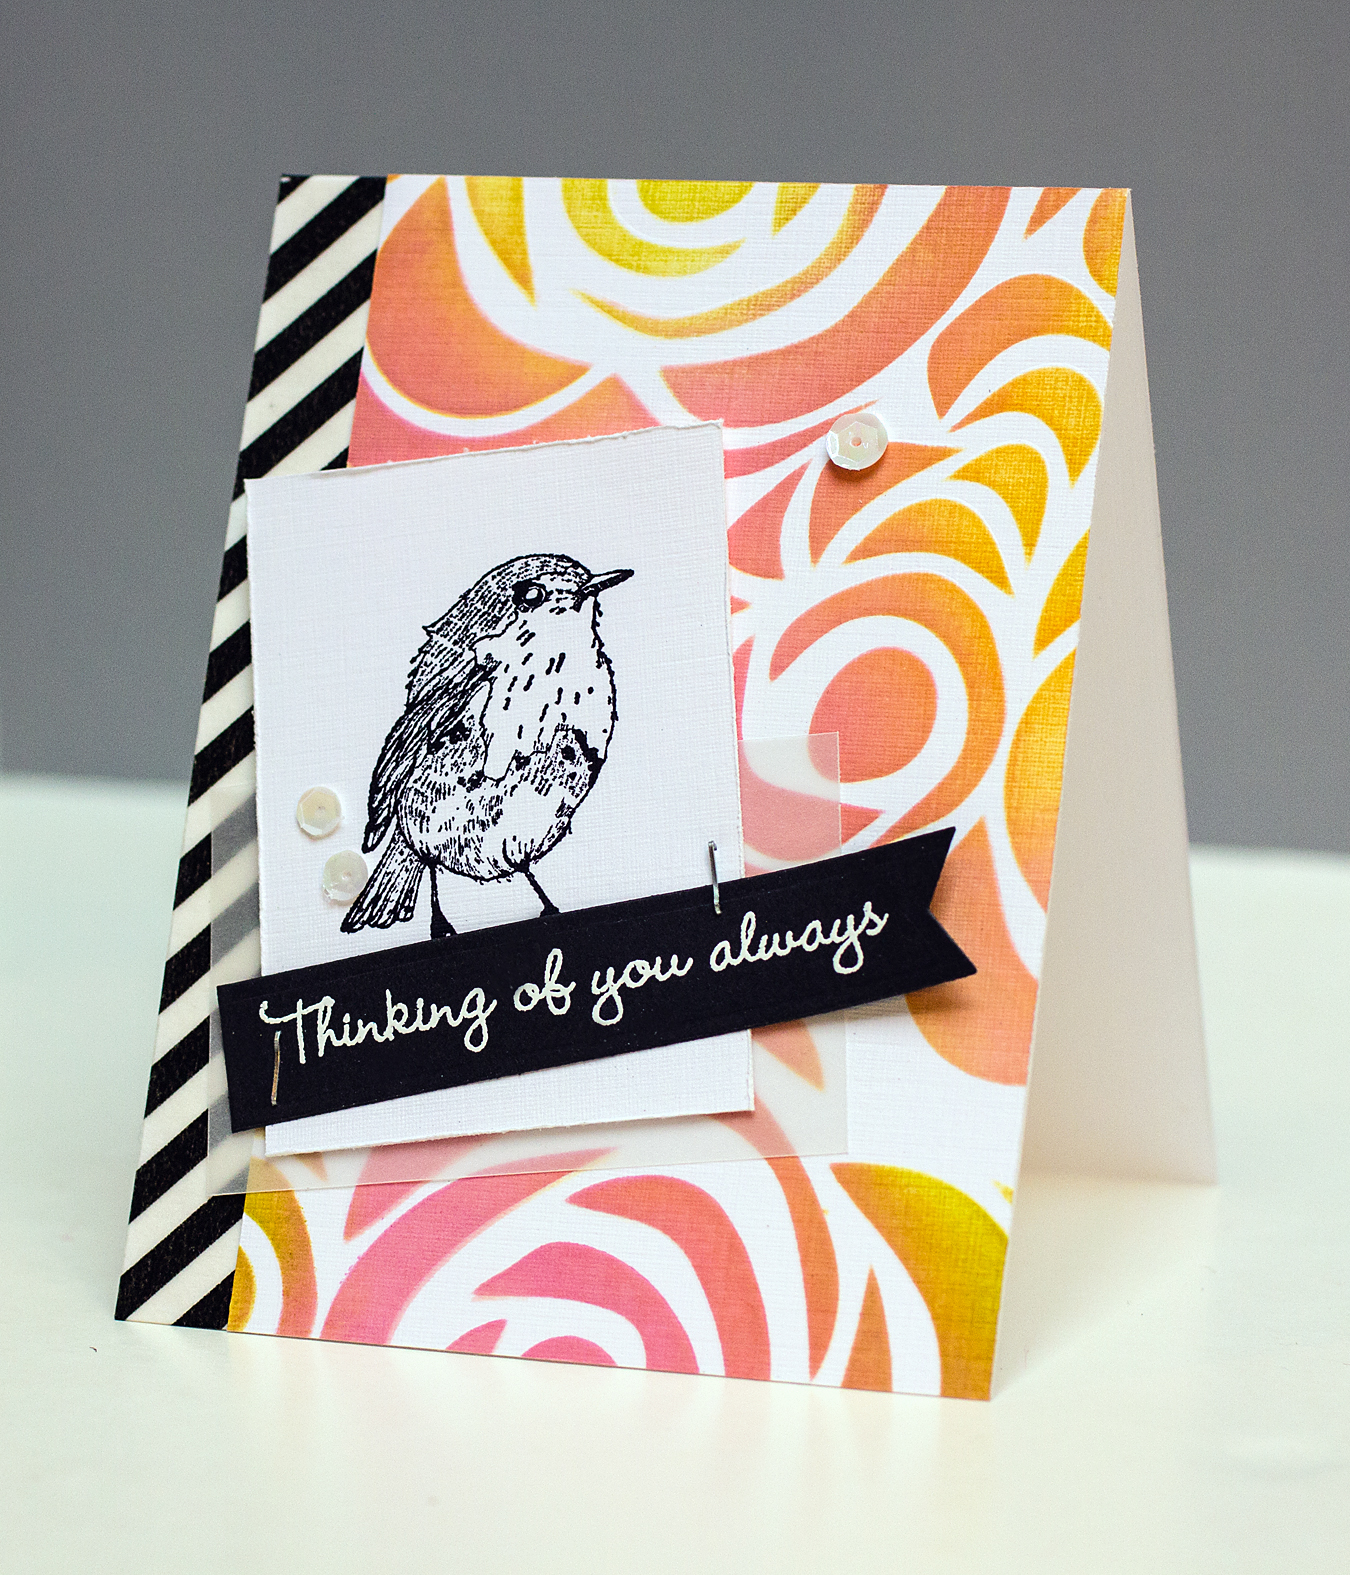
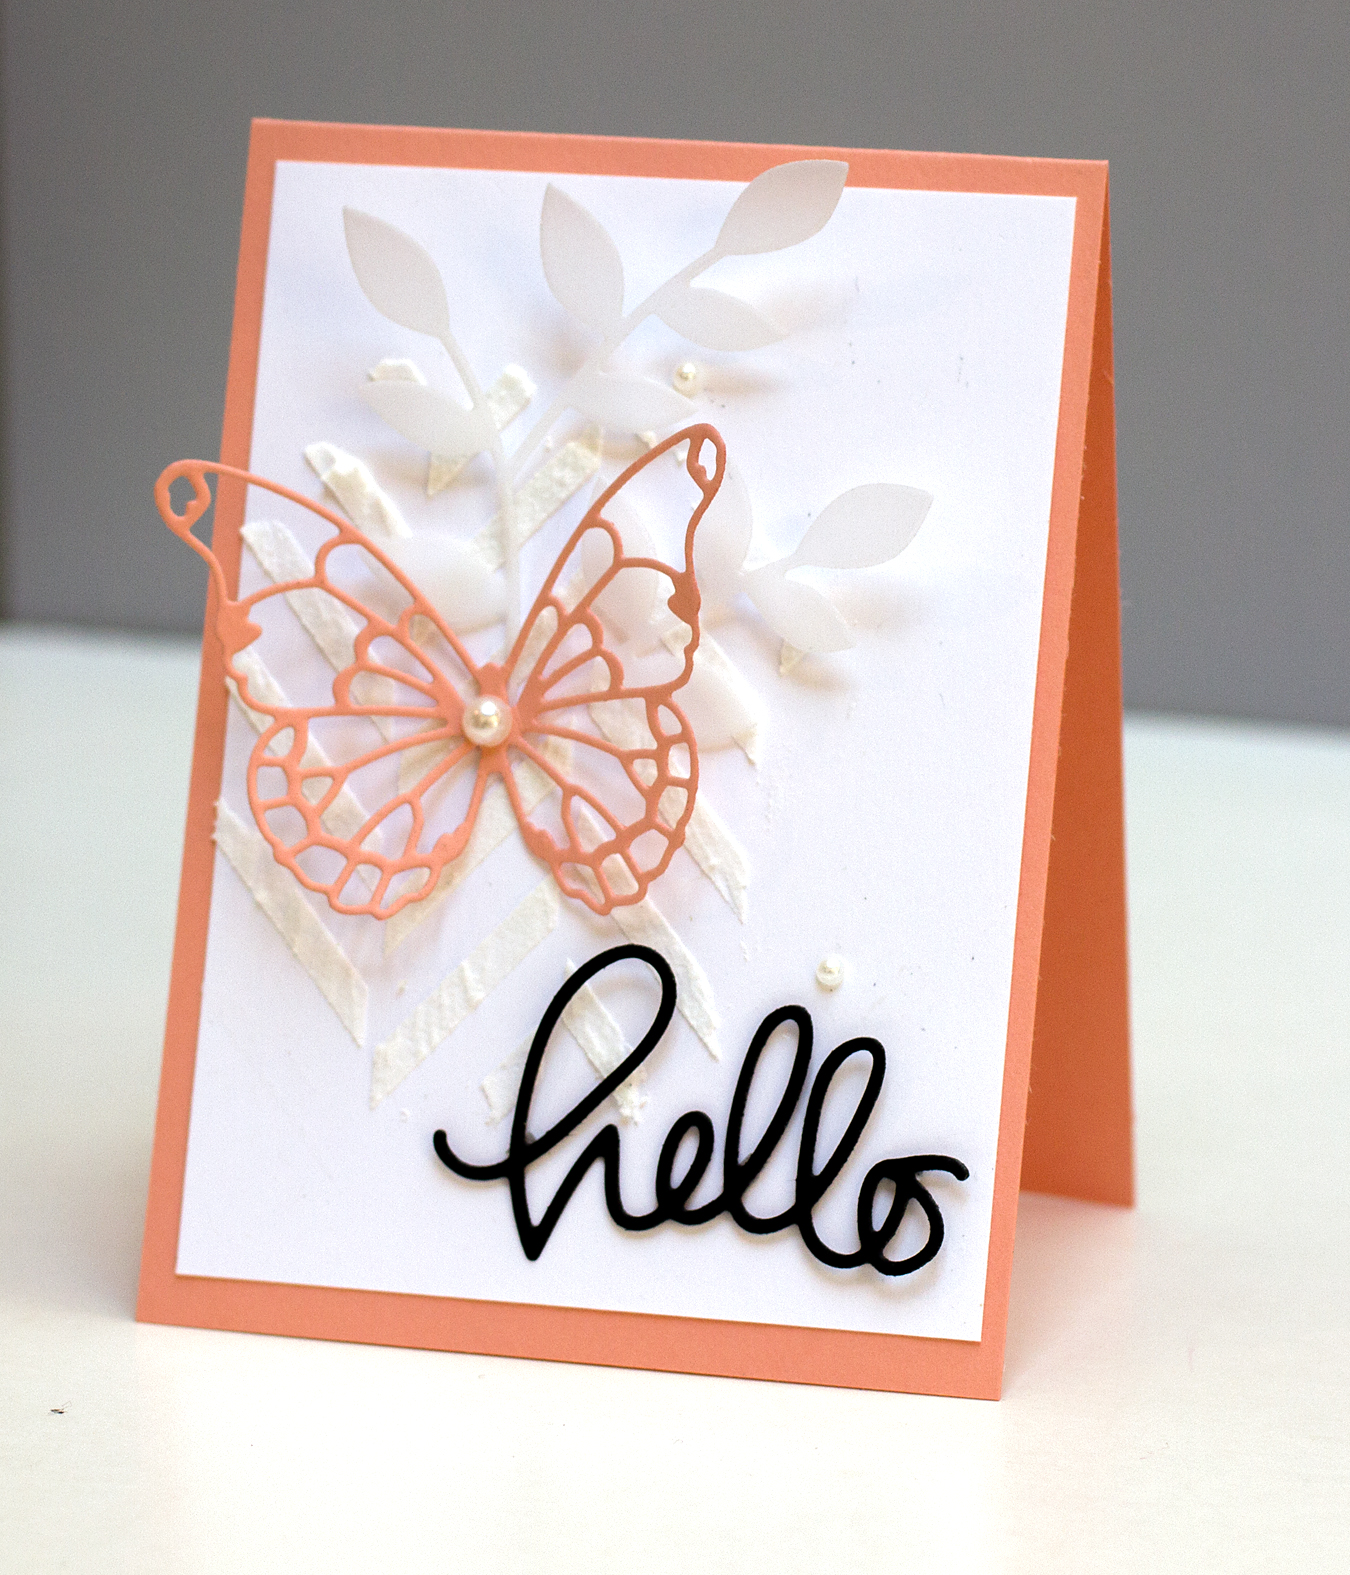
Yes, I’m still working through the material from the Online Card Classes Stenciled Class. After seeing the results that other classmates got with adding acrylic paint to embossing paste, I wanted to give it a try.

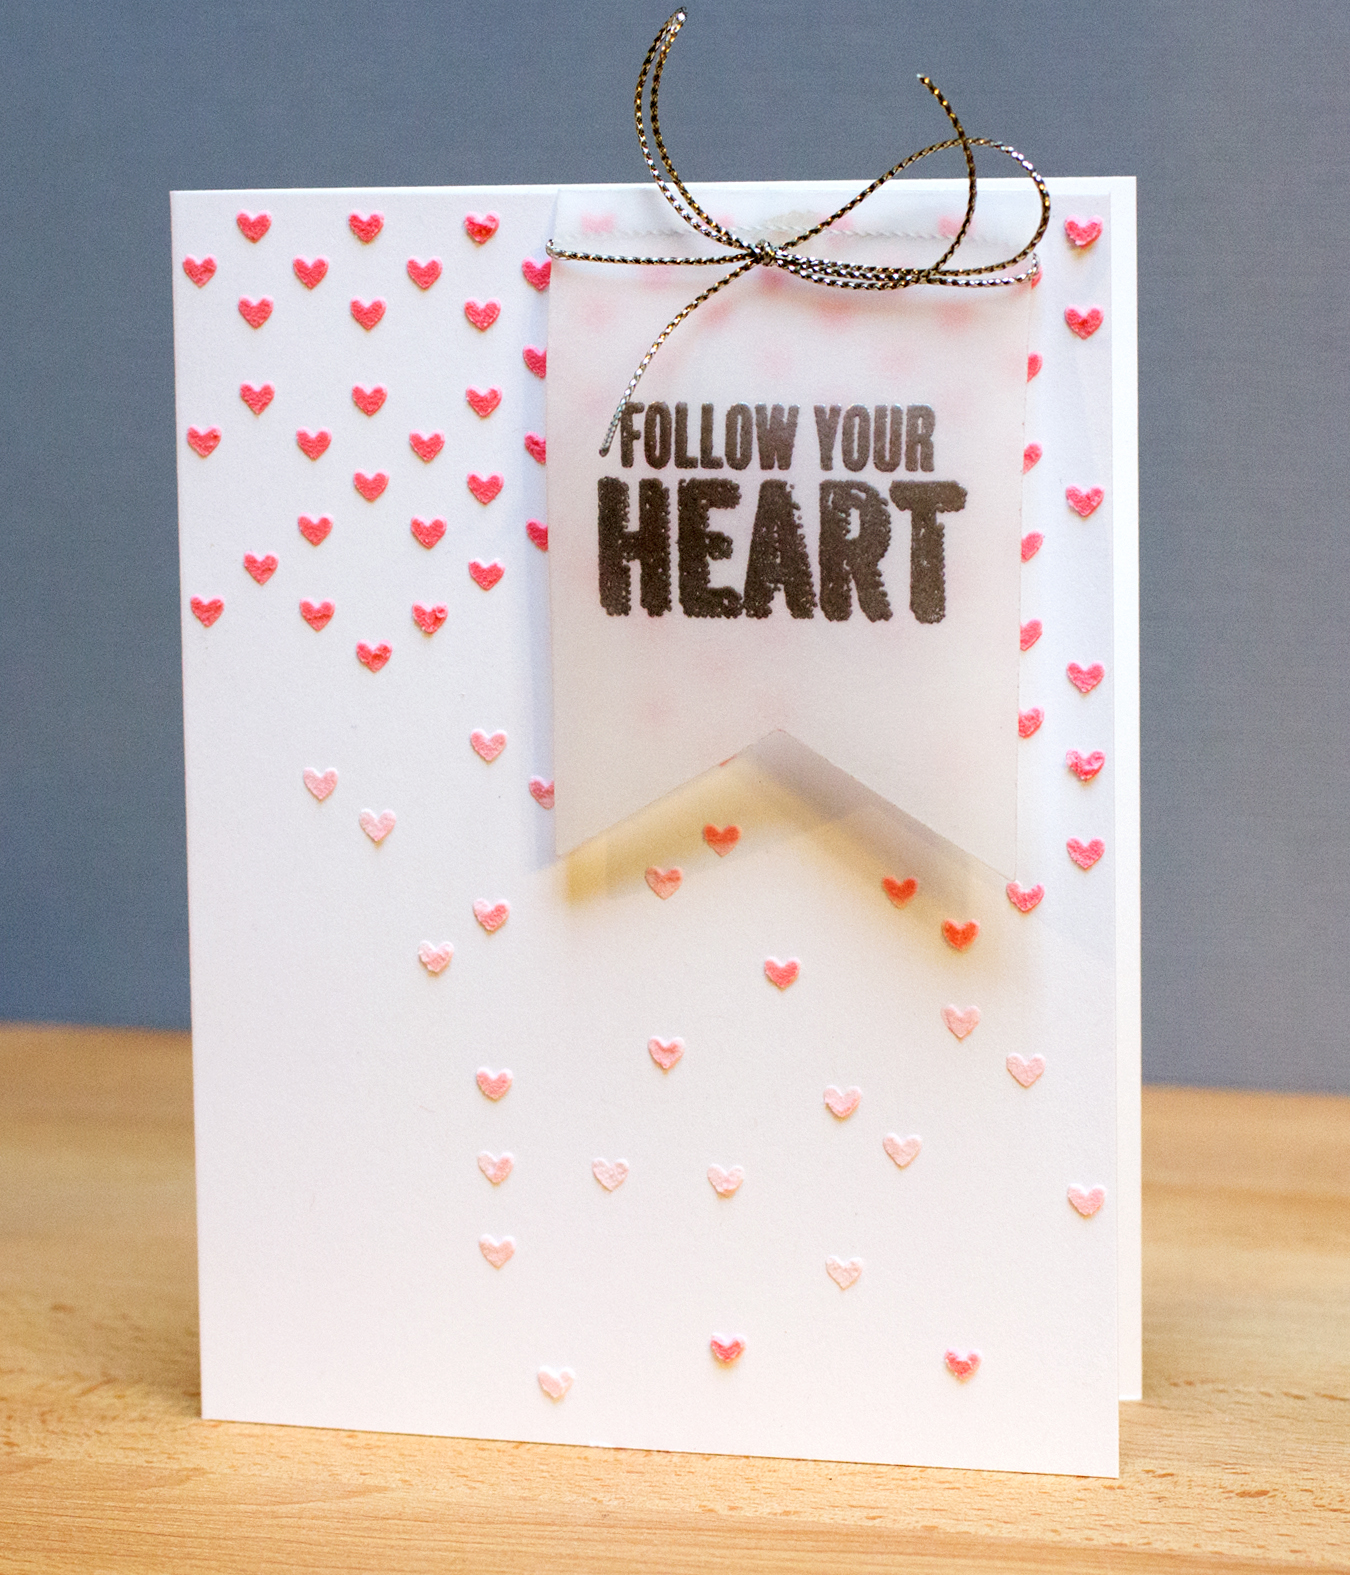
I created a card based on Kristina Werner’s design from Day Two using the techniques – using embossing paste with stencils – from Day Three.

Stenciled Stars

The Claudine Hellmuth acrylic paints have wonderfully vibrancy! I mixed the colors with the paste one at a time, applied the colored paste through the stencil, and let it dry before starting with a new color. I changed up the sentiment on this card from the card Day Two design. Because I didn’t cut the Hero Arts sentiment into two pieces, the white panel is wider than the original design. Just before photographing it, it seemed a tad plain, so I finished off the top with some twine.

Supplies:

Stenciled: Colored Embossing Paste

I’m still working through the course material from the Online Card Classes Stenciled Class. This card is based partially on a design by Debby Hughes from Day One, as well as on a card of Laura Bassen’s from the Simon Says Stamp Valentine’s Blog Hop.

Stenciled: Colored Embossing Paste

I’ve been wanting to color embossing paste, and used two distress inks to color the paste I used on the “Falling Hearts” stencil. Laura used acrylic paints to color her hearts. I like that idea as well, and plan to try it, but didn’t have two shades of pink, and I was set on using pink. Theoretically you could use one pink, and mix more (or less) of the embossing paste with it to create a different shades, but I’m finding that as a “newbie” I don’t have time to mix before applying to the stencil. I particularly like this SSS stencil – you simply lay it over the card and start applying paste. I don’t have to move the stencil around to get a pleasing design.

And there’s little light today here in the Pacific Northwest – dark skies and rain! So my photo is a bit hard to see.

Supplies:

Happy Birthday!

Last week, while I was waiting for the Online Card Classes Stenciled Class to begin, I created a card based on a design from Jennifer McGuire. I have been organizing my online class materials this month, and came across a card Jennifer did for a Kelly Purkey Sketch class that was online a few years ago.

Happy Birthday!

Jennifer used different papers, sentiment and embellishments on her card. In fact, you might not even think that this was based on hers, but it was, and the design credit goes to her. In addition to organizing class materials, I’m also organizing and trying to use more of my scrapping supplies (such as these Studio Calico wood veneer cameras) on cards.

Supplies:

OCC Stenciled: Day Four

Today I CASEd Julie Ebersole’s card in the Online Card Classes Stenciled Class. I’ve been waiting for that card since I first saw the class sneaks!

OCC Stenciled: Day Four

I just love the stencil pattern, the colors, the card design and the bird! I dry-embossed the white linen cardstock with the stencil, and then, with the template in place, the distress inks were applied. The effect of the dry embossing is subtle.

I made very few changes to Julie’s design, although I did use a different, but similar sentiment. I don’t own Worn Lipstick Distress Ink (how did that happen?) but combined Spun Sugar and Picked Raspberry for the pink. I did make a boo boo – I used MT washi tape, which must not be as wide as the Lifestyle Crafts sticky tape she used. At any rate, I had to cut the embossed/inked panel even more, so I ended up shortening the card as well. It’s about 3 3/4″ wide by 5″ tall. Next time, I’ll measure the tape before I cut!

Supplies:
Hero Arts Bird Stamp
Crafters Workshop Echoes 6×6 Template
Hero Arts All Occasion Messages
Distress Inks

OCC Stenciled: Day Three

Today’s lesson in the Online Card Classes Stenciled Class focused on using embossing pastes with stencils. I followed one of the cards shown by Debby Hughes.

OCC Stenciled: Day Three

I made several modifications and simplifications on my card. For one, I didn’t use any mist on the card panel like Debby did. I can see how doing so would lend a little more softness and color. Instead I used a colored  card base rather than white. I used vellum, die cut with the Poppystamps Lorelai Leaf, as a substitute for one of the elements Debby used. The “hello” die cut is from Simon Says Stamp. The butterfly is cut with the Memory Box Vivienne Butterfly die cut. Like Debby, I used white embossing paste with the Hero Arts Tweed Pattern stencil.

This class is going by quickly! Right now my goal is to make a card each day and in the next several weeks I’ll revisit the techniques and designs.