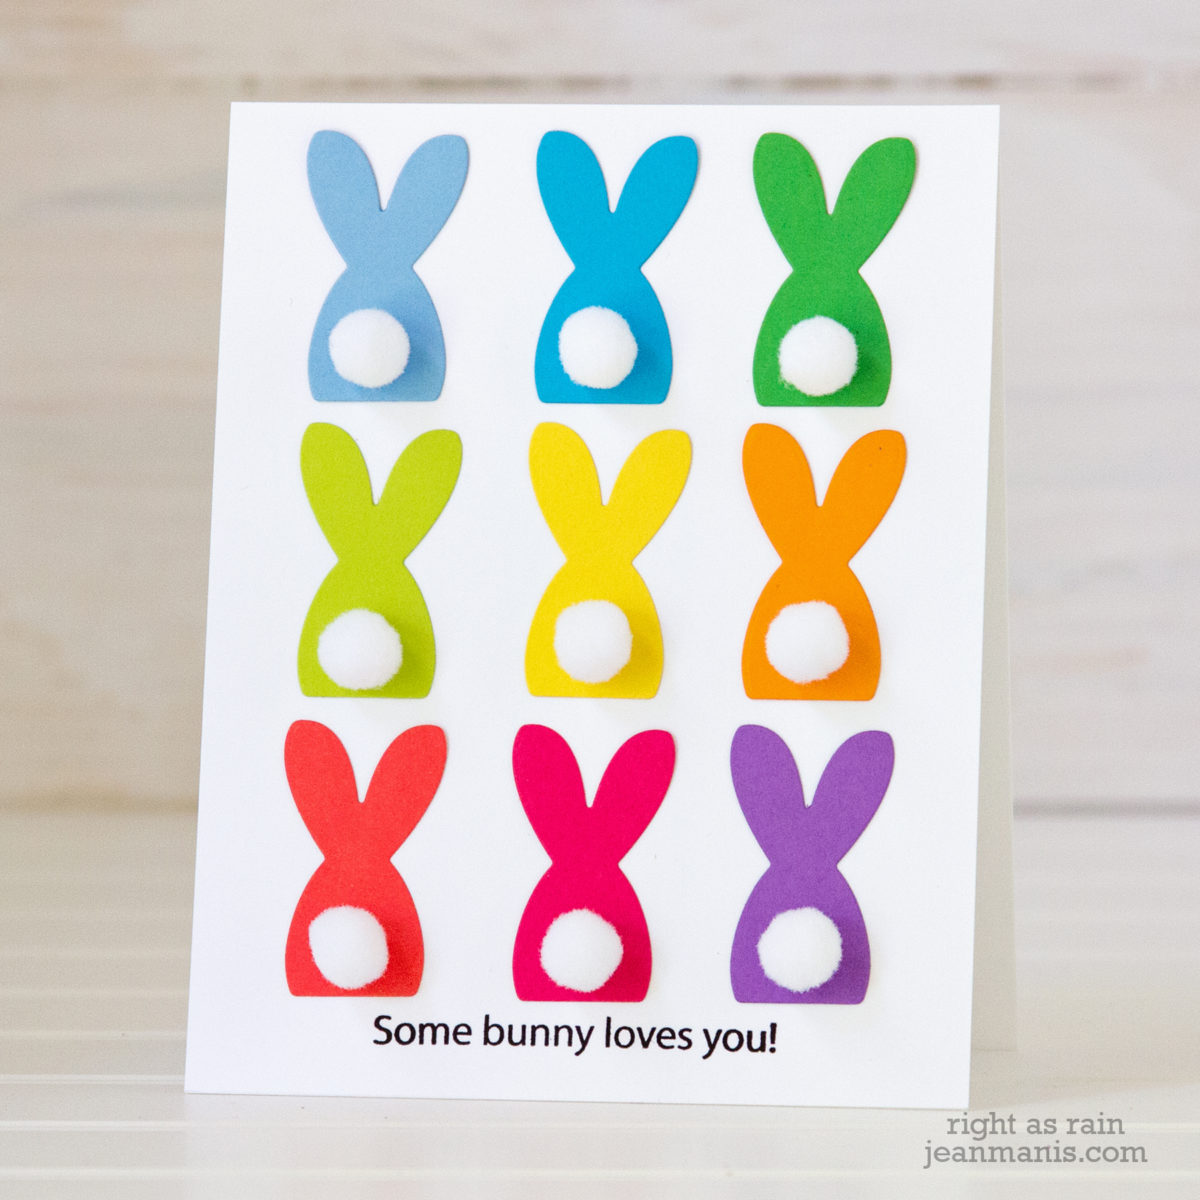
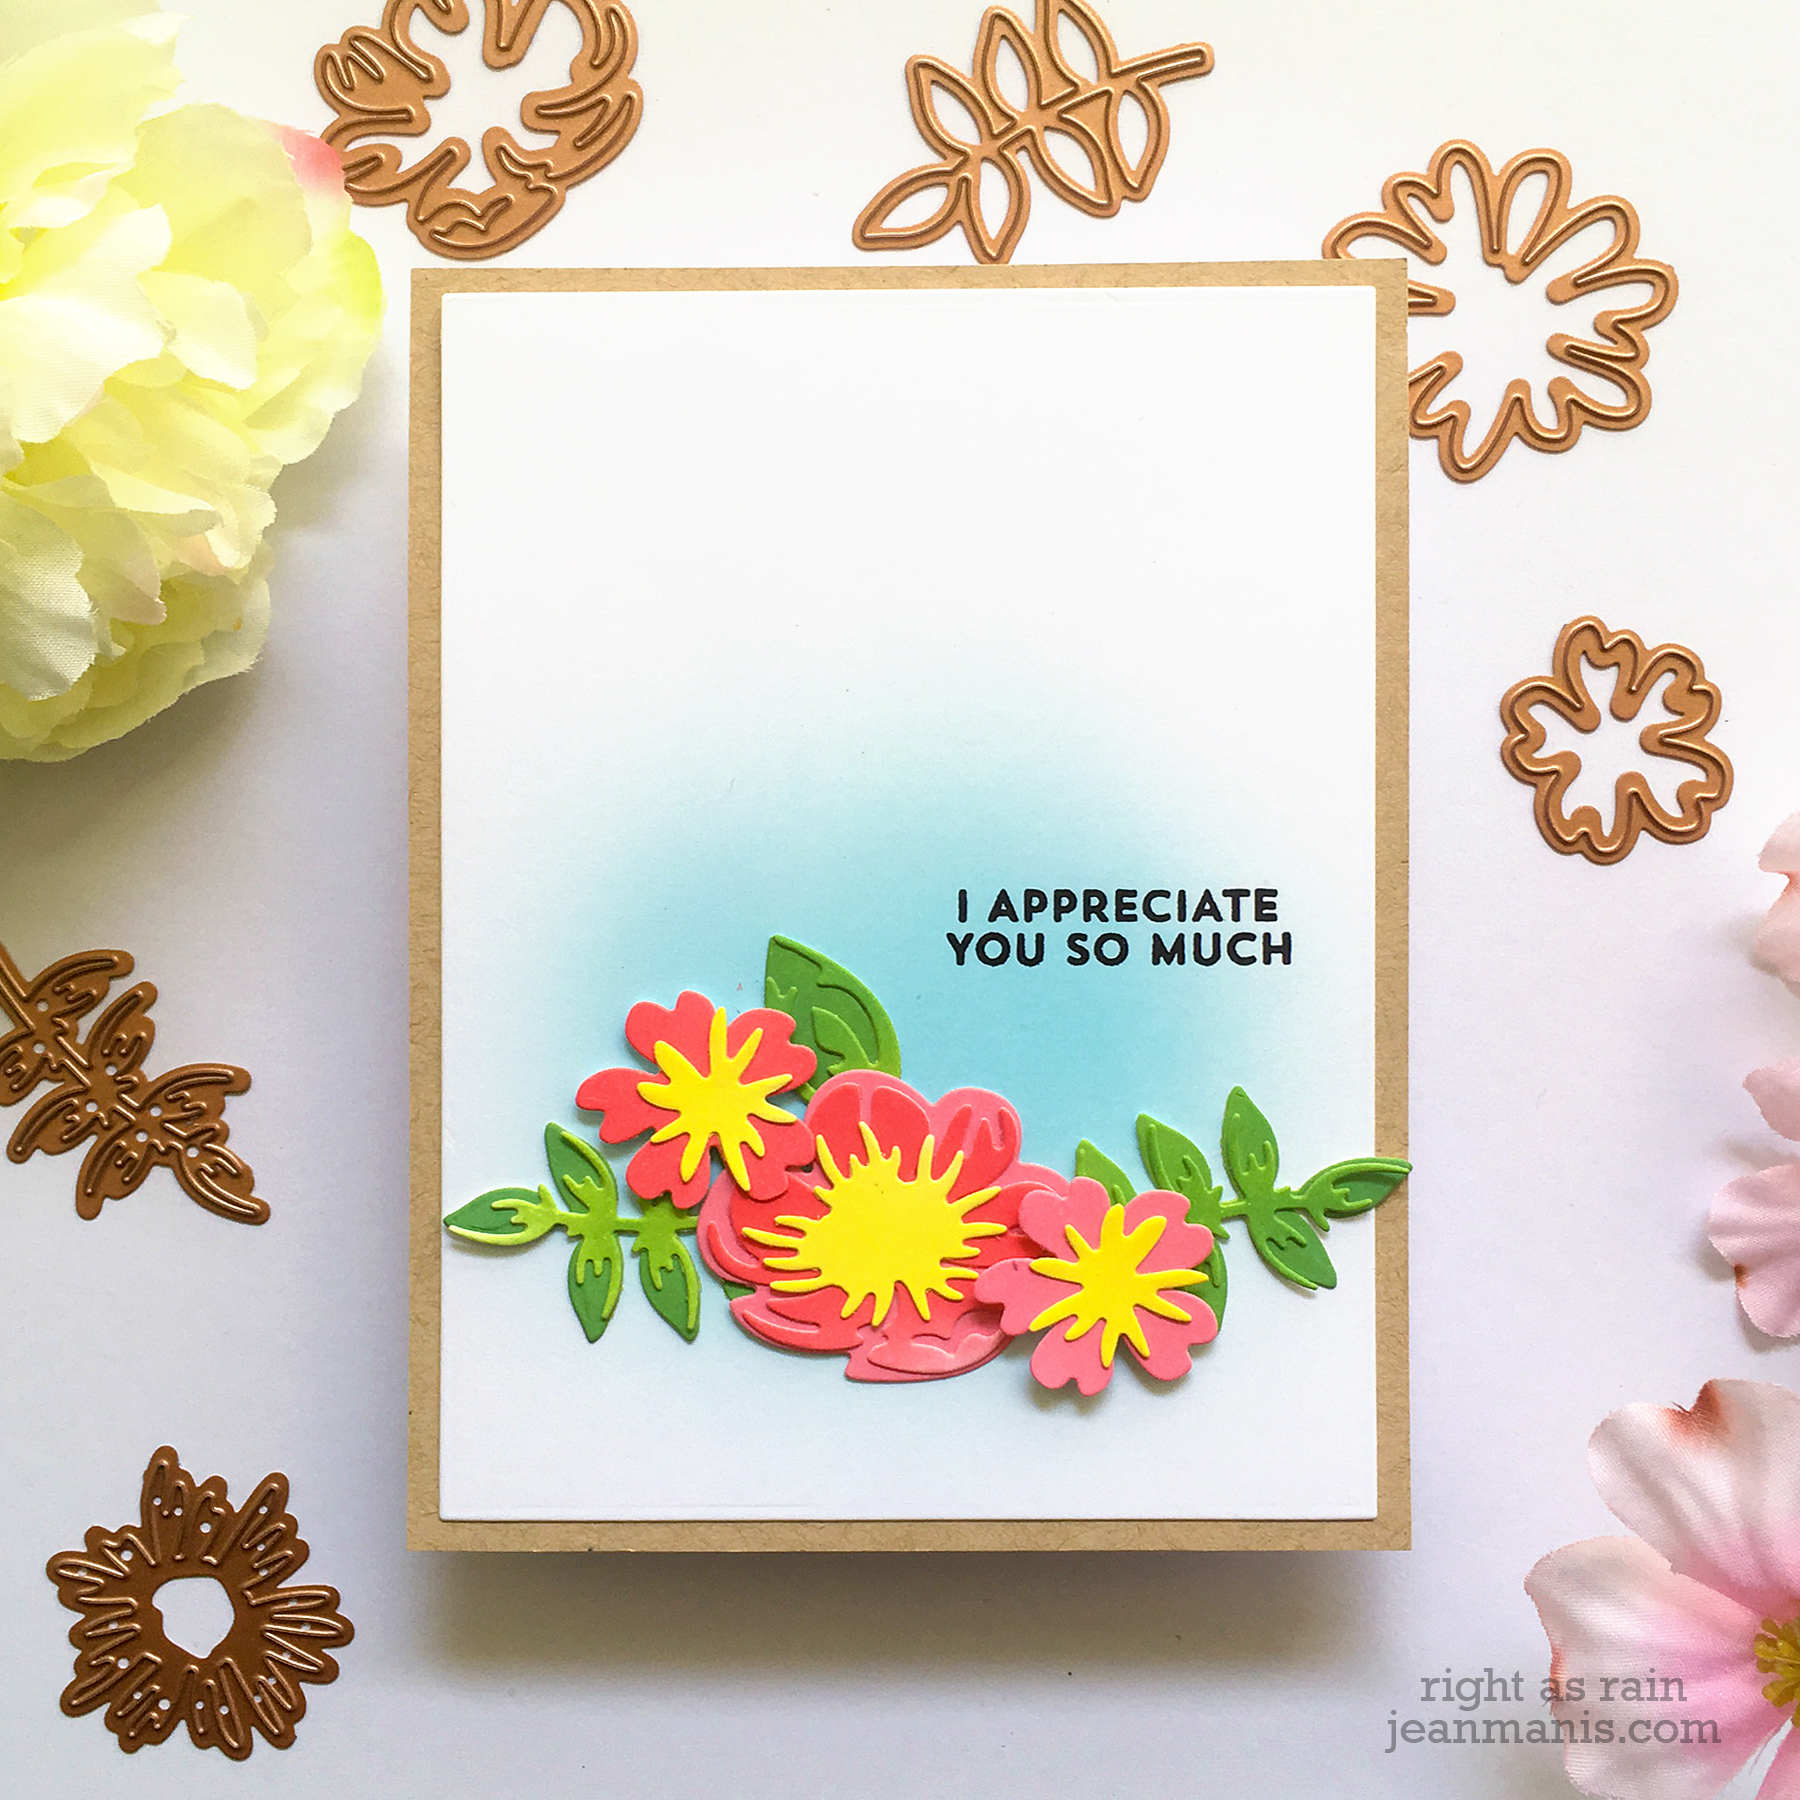
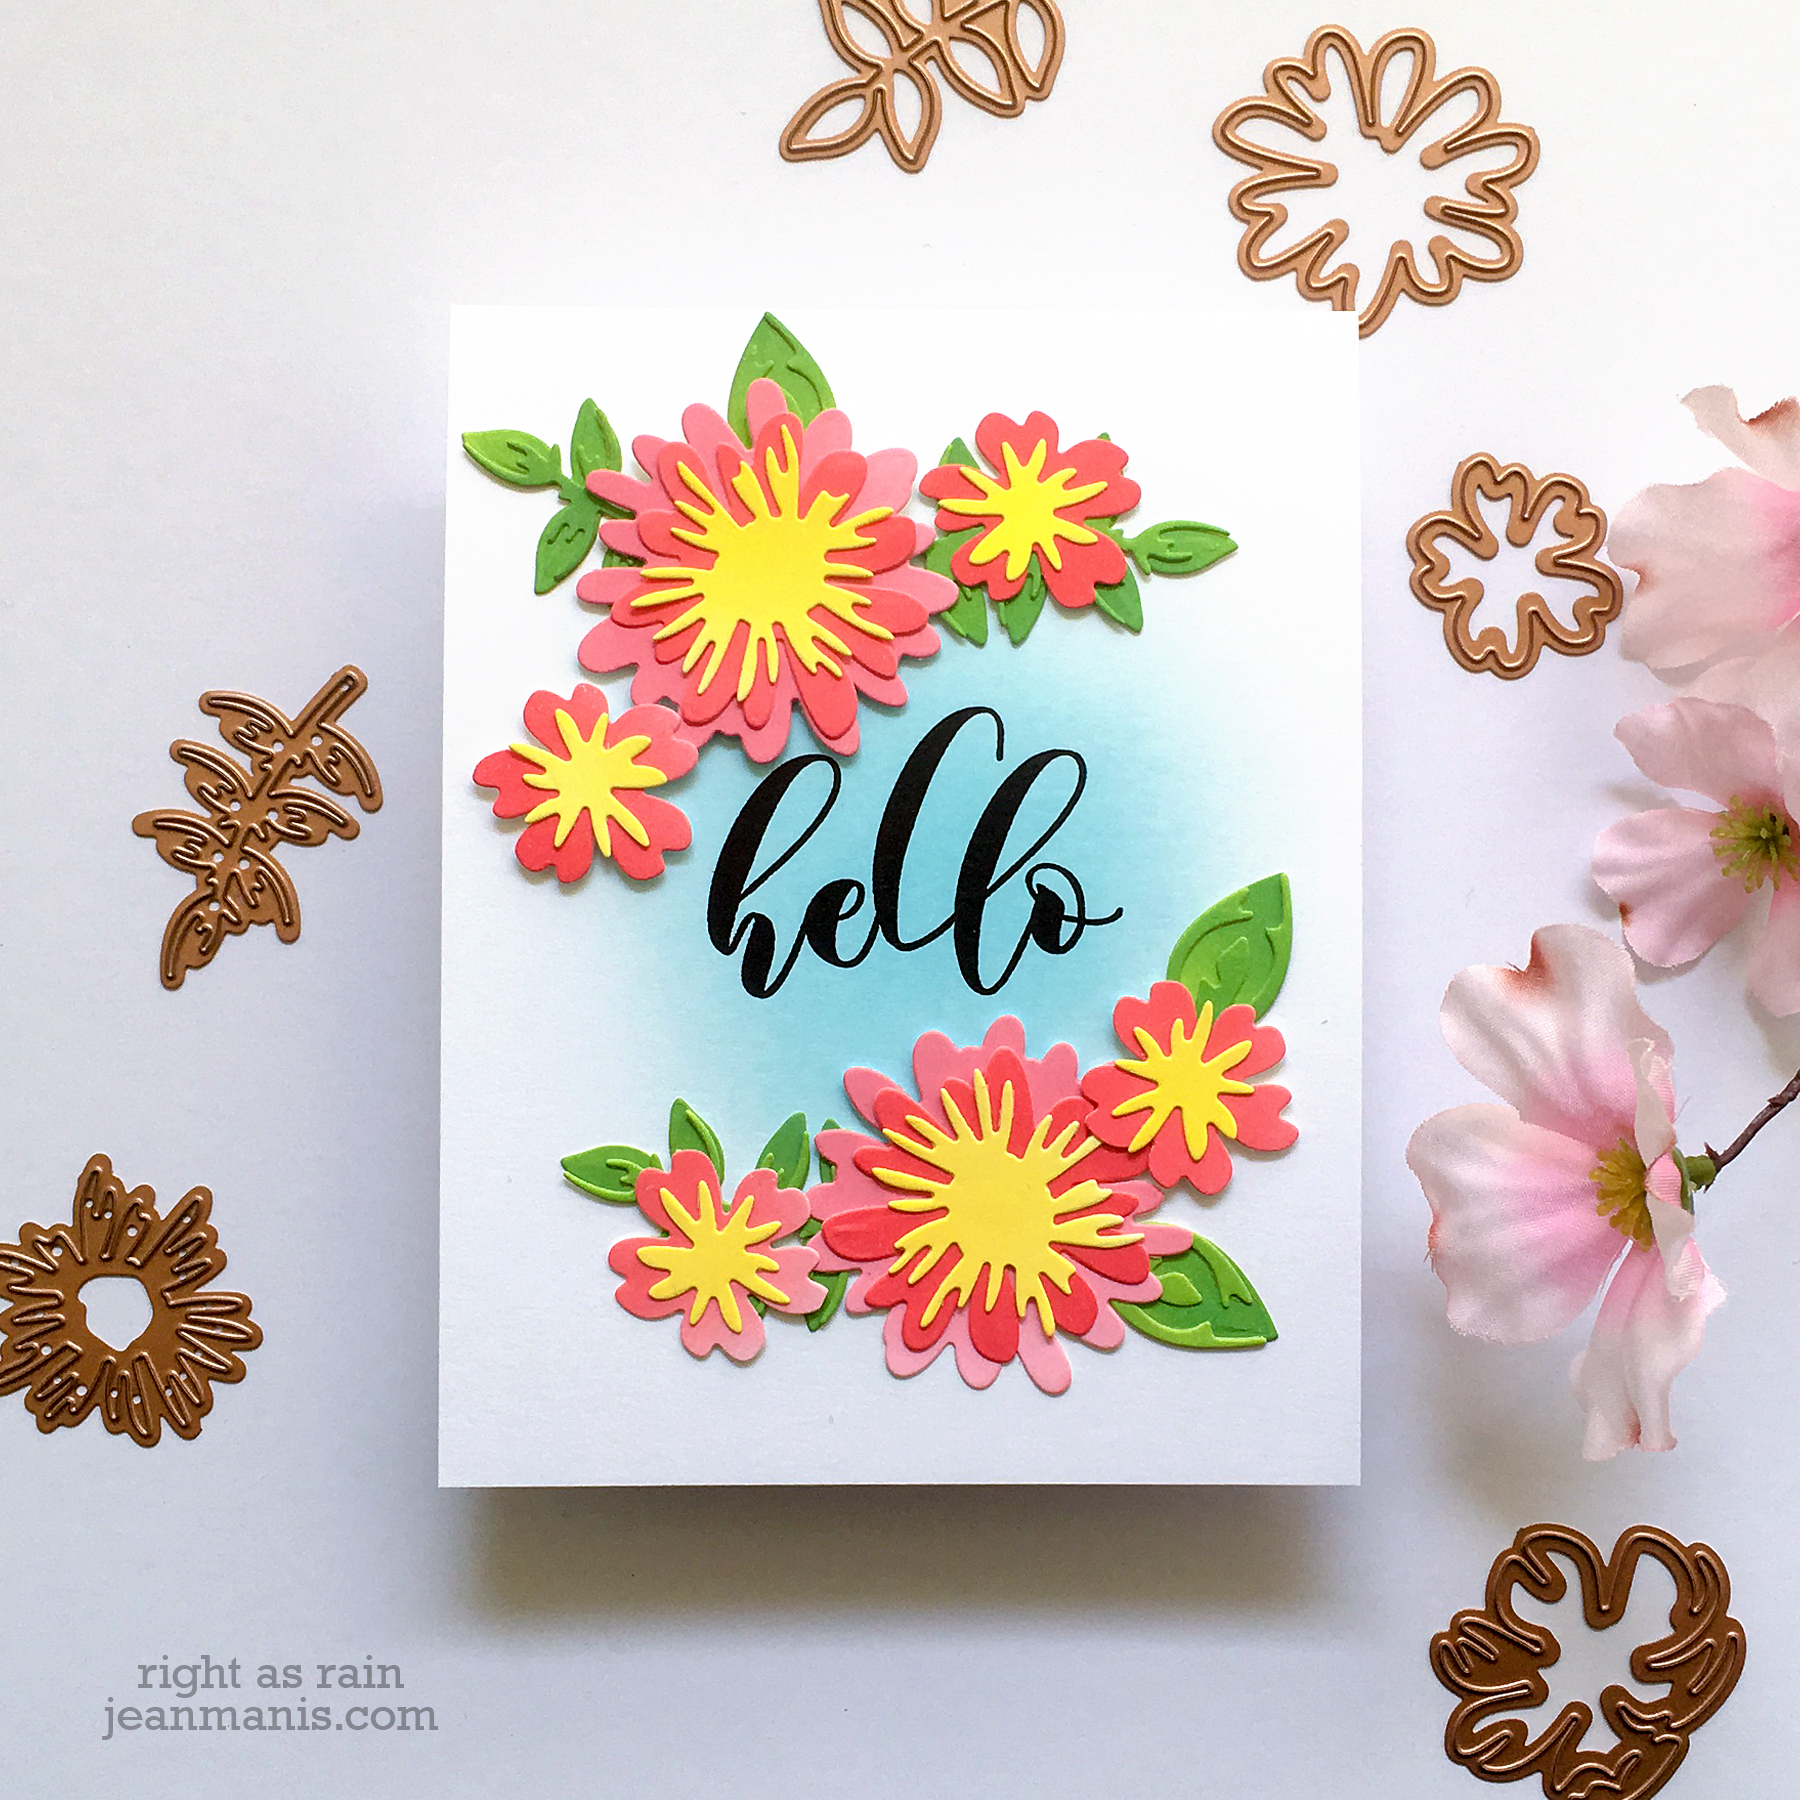
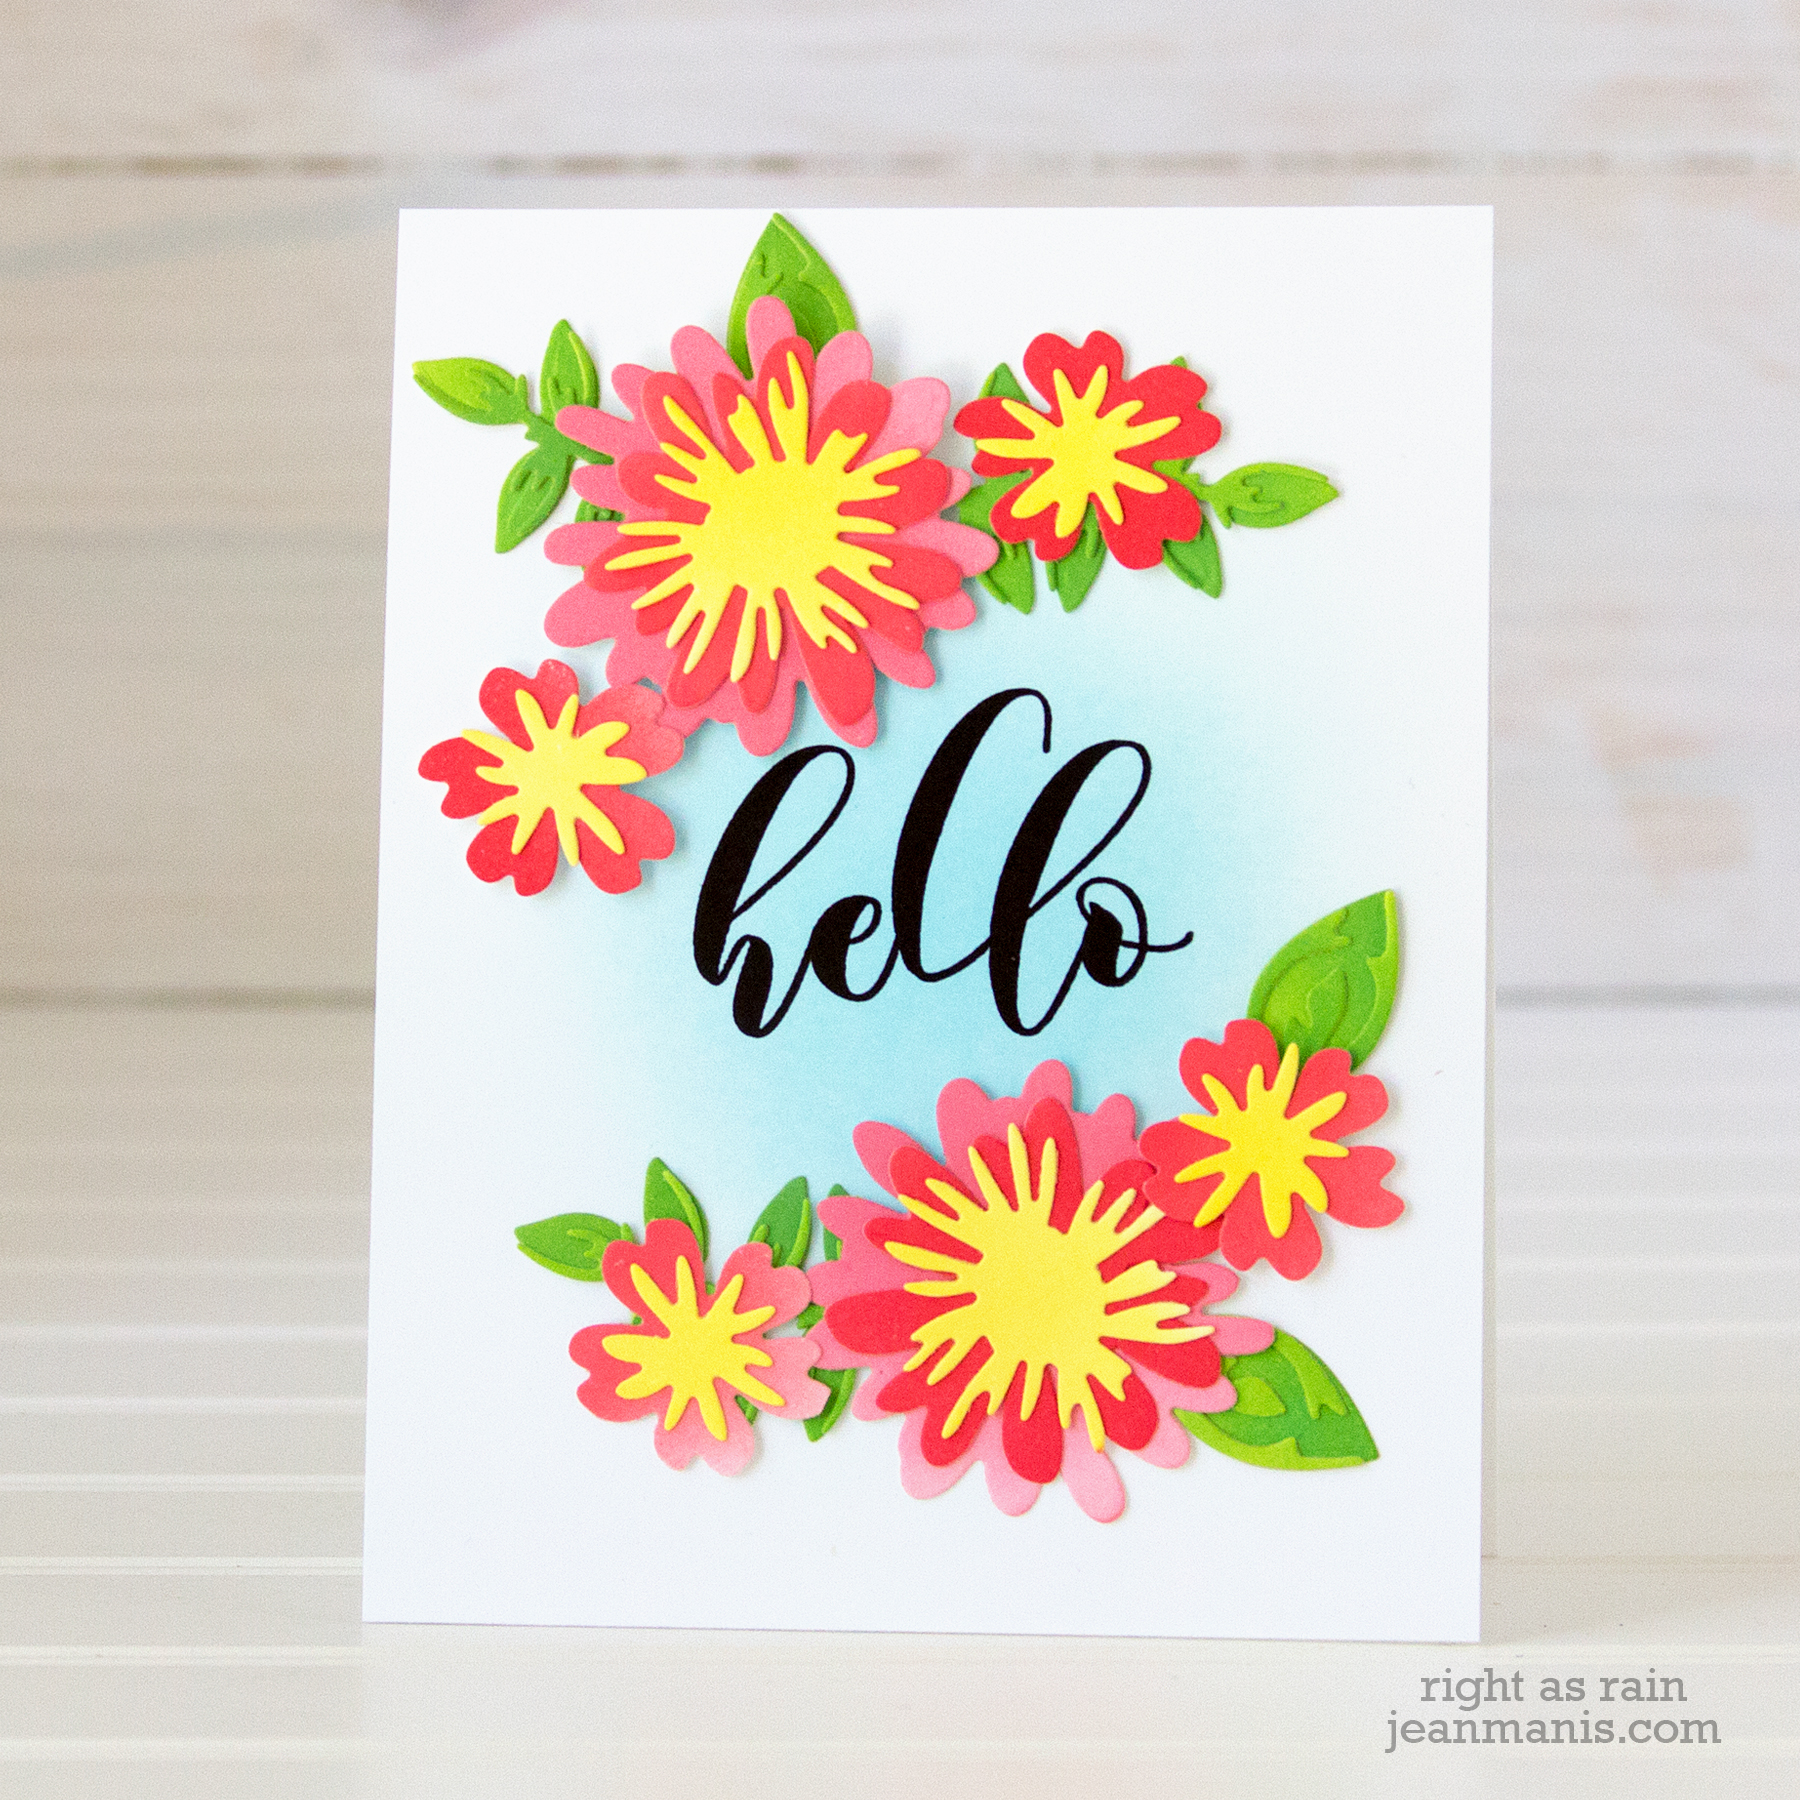
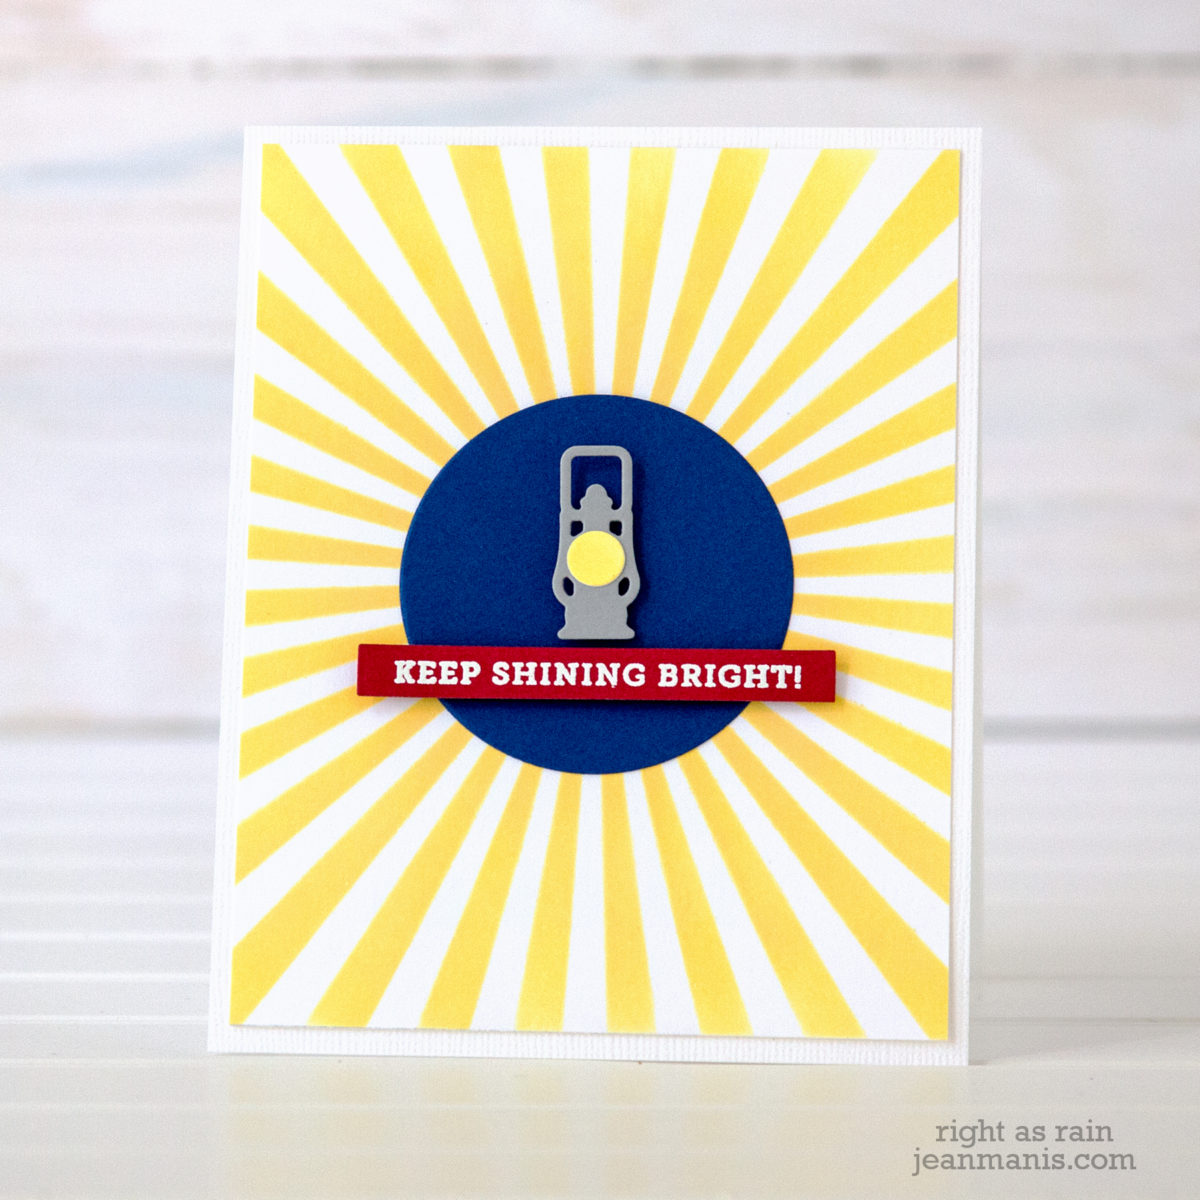
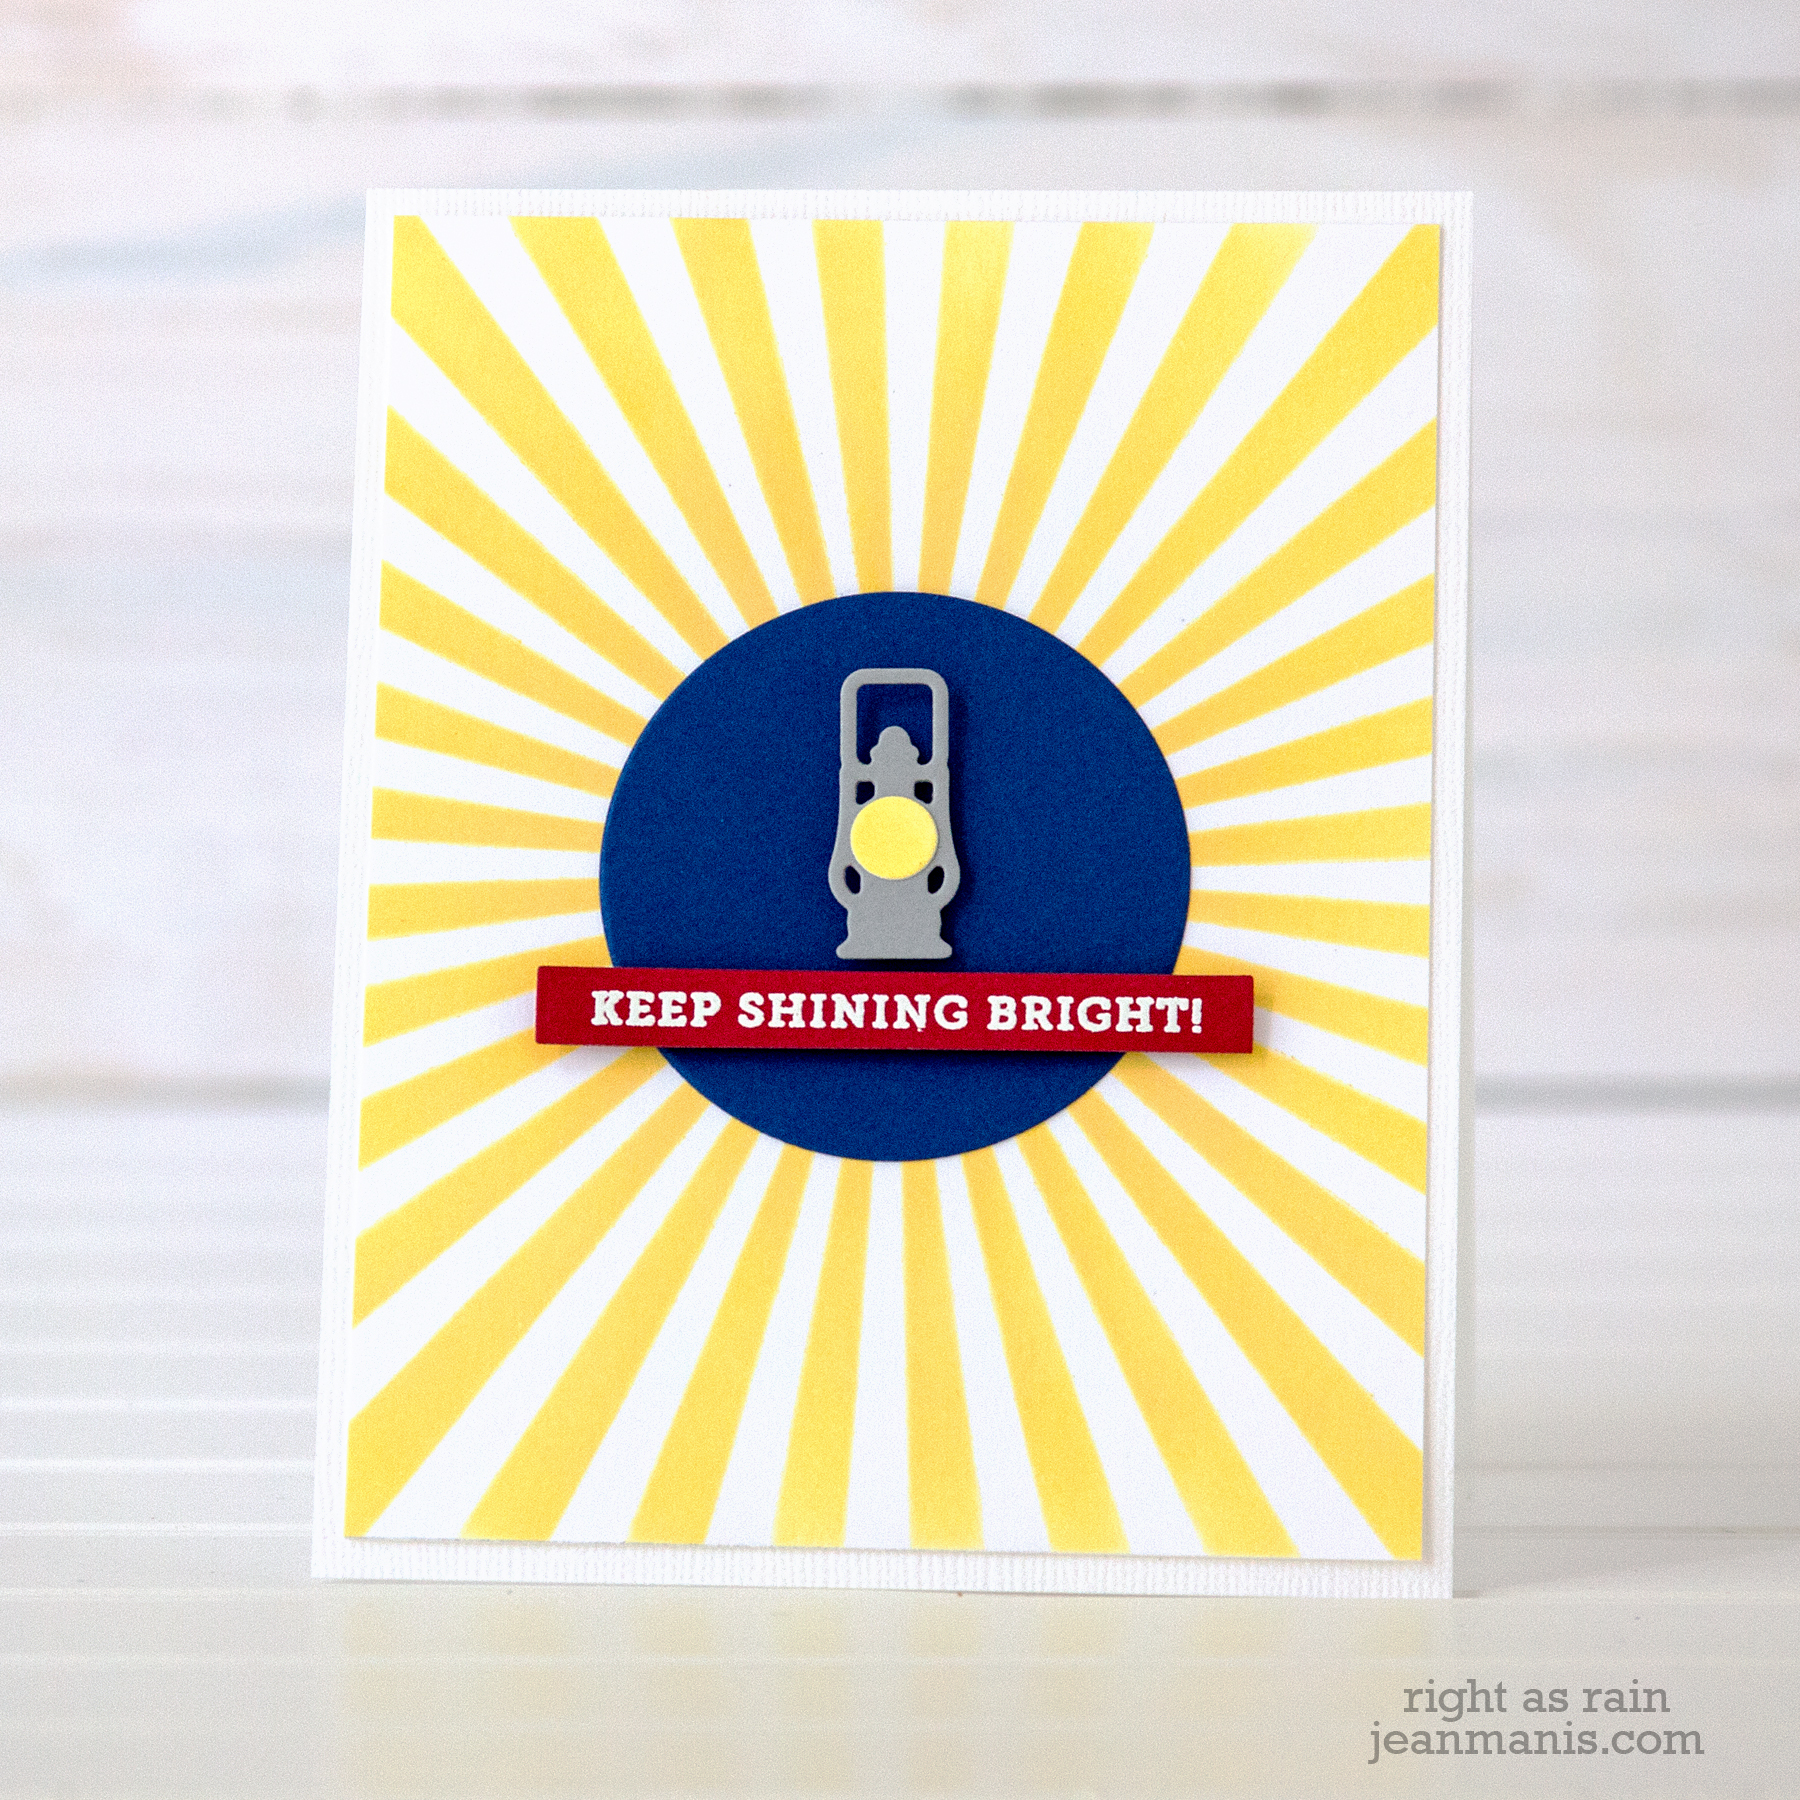
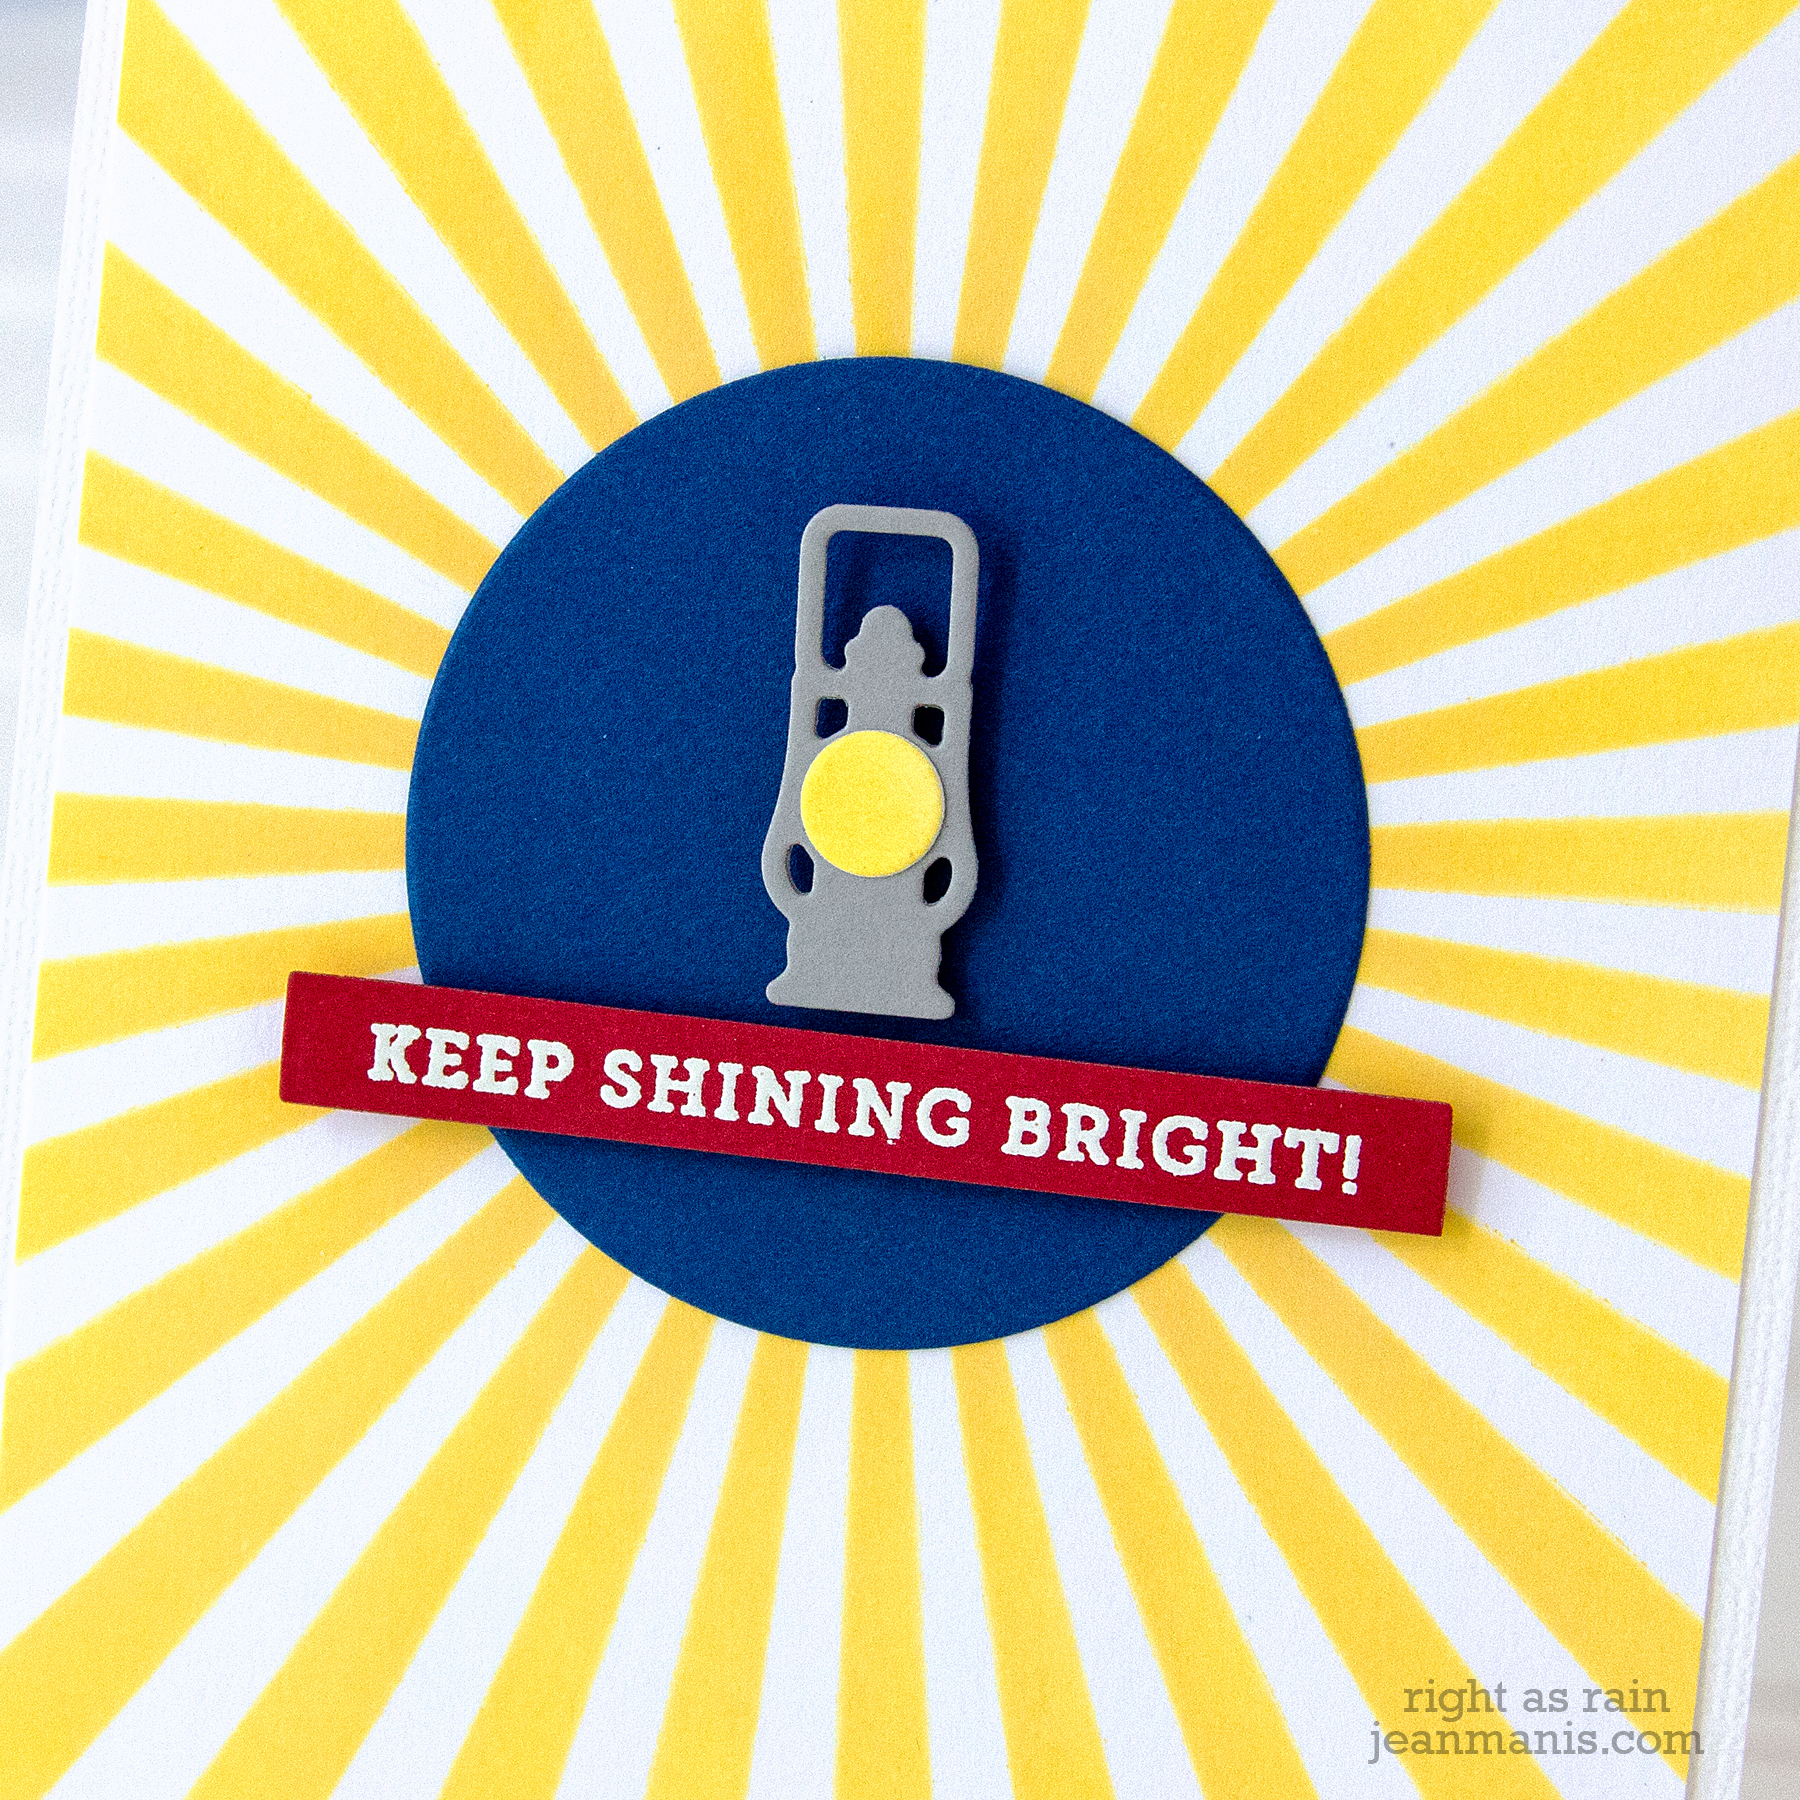
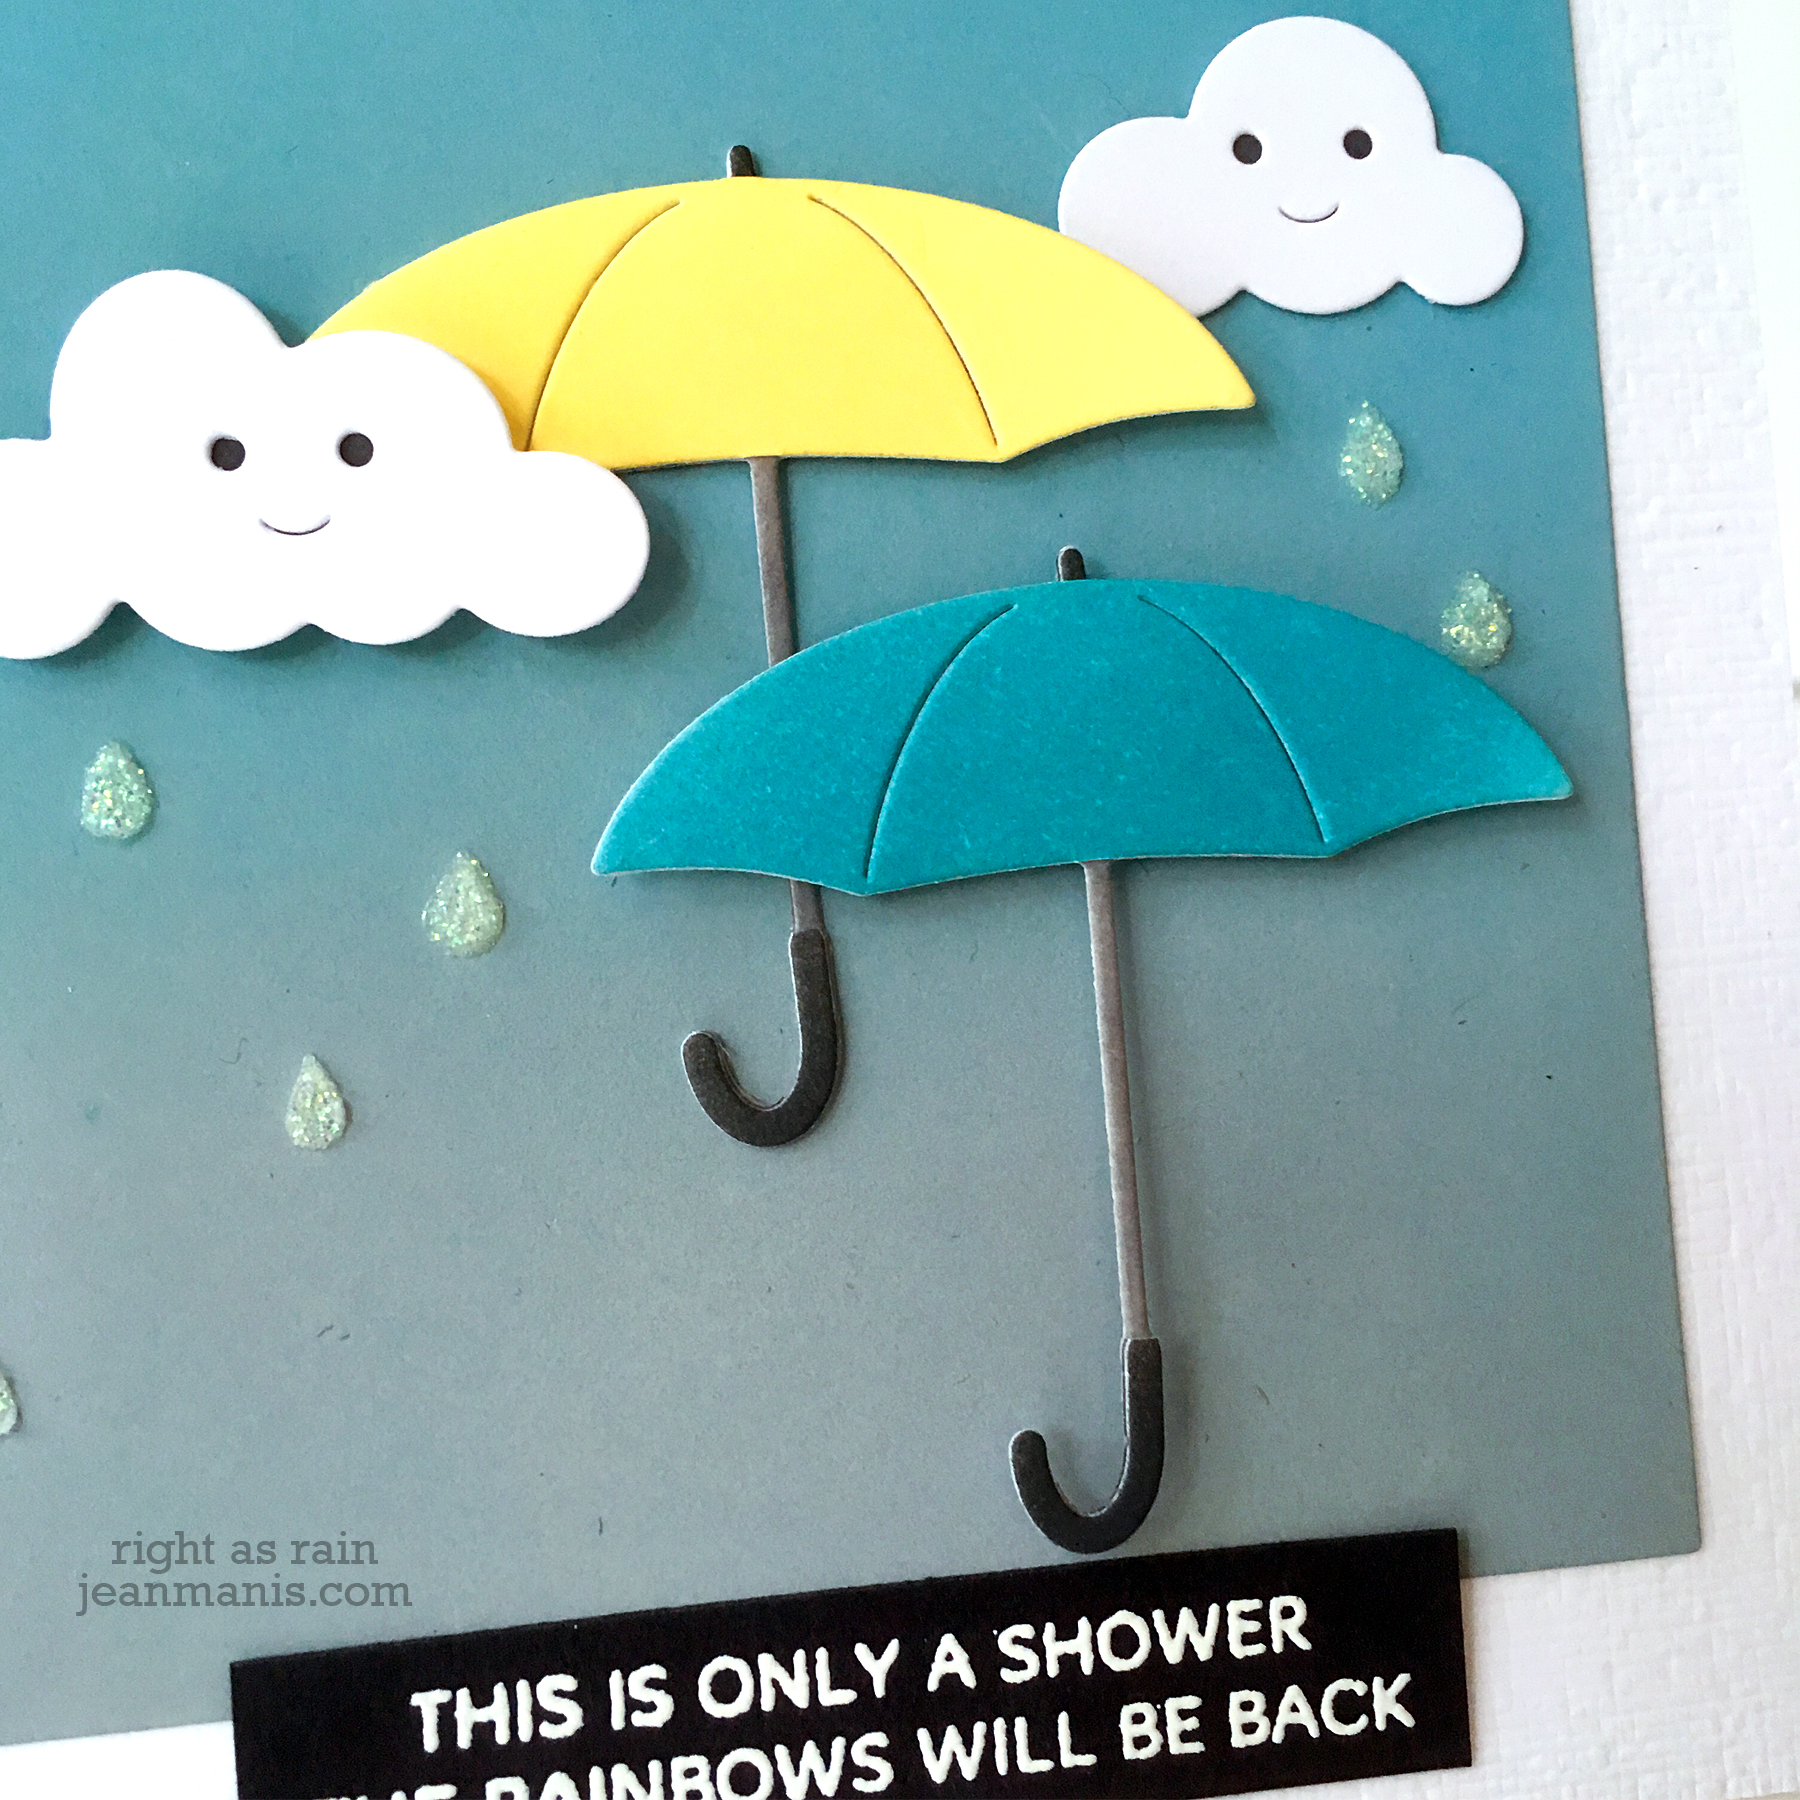
Hello! Today I am sharing a CAS encouragement card combining die-cuts and a Distress Oxide ink background. Appropriately, it began to rain just as I finished this card!
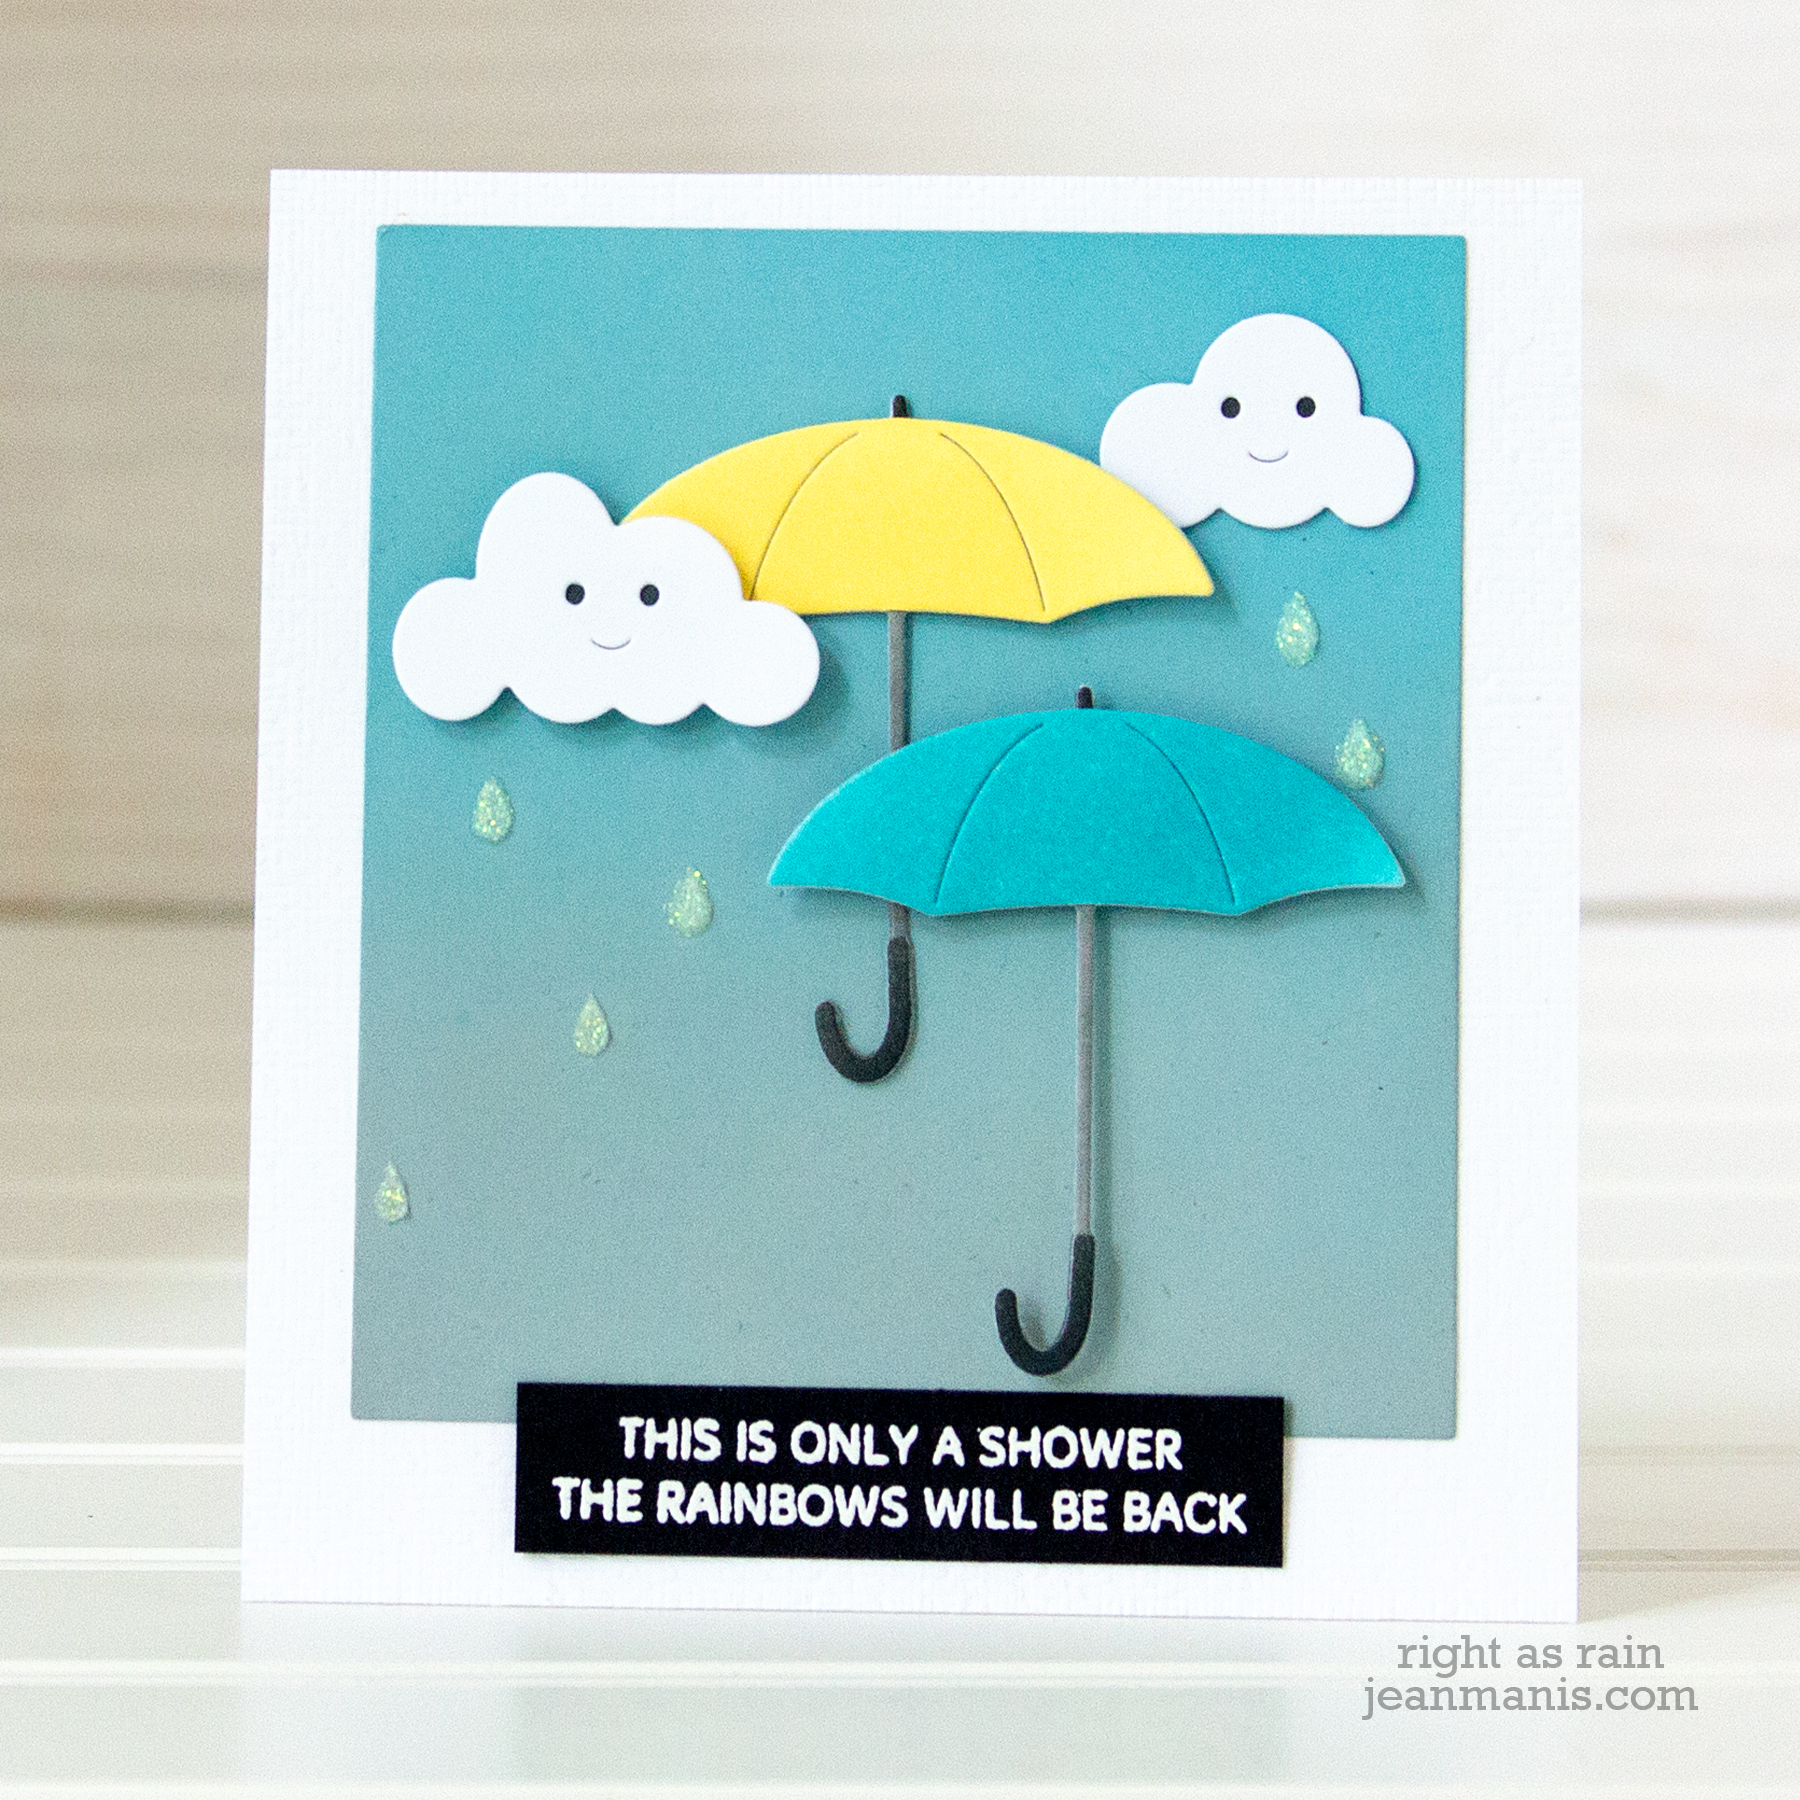
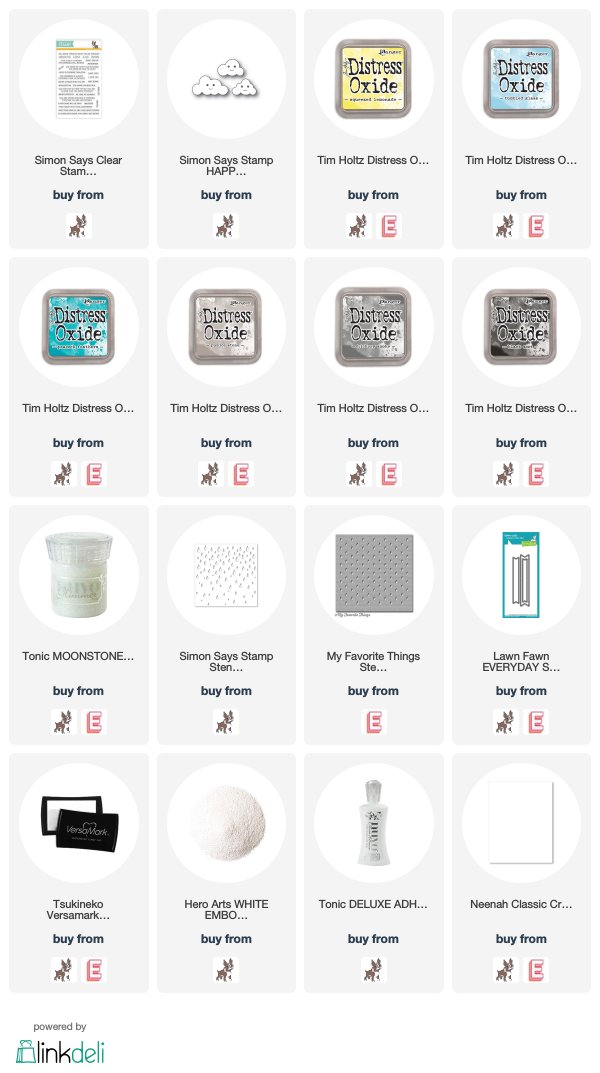
- I created the background with Distress Oxide Pumice Stone and Tumbled Glass inks. I added a little Broken China at the top of the blue and a little Hickory Smoke at the bottom of the gray. I cut the panel with a square die.
- With a now-retired Memory Box Umbrella die (one of the very first dies I ever purchased), I cut the umbrellas from cardstock colored with Hickory Smoke (umbrella shafts), Peacock Feathers and Squeezed Lemonade (umbrella canopies), and Black Soot (handles and end). I pieced the umbrellas together by performing some fussy cutting (the die is one-piece).
- I cut the Happy Clouds from white cardstock and backed them with cardstock colored with Black Soot.
- I applied Moonstone Glimmer paste through the MFT Raindrops stencil (retired) in select places. The SSS Raindrops stencil has similarly-sized raindrops.
- I heat-embossed the You Got This sentiment on black cardstock and cut it with one of the Lawn Fawn banner dies.
- I dry-embossed the card base with the Subtle Dynamic Textured Impressions Embossing Folder from Stampin Up’ (retired).
Thanks for visiting!
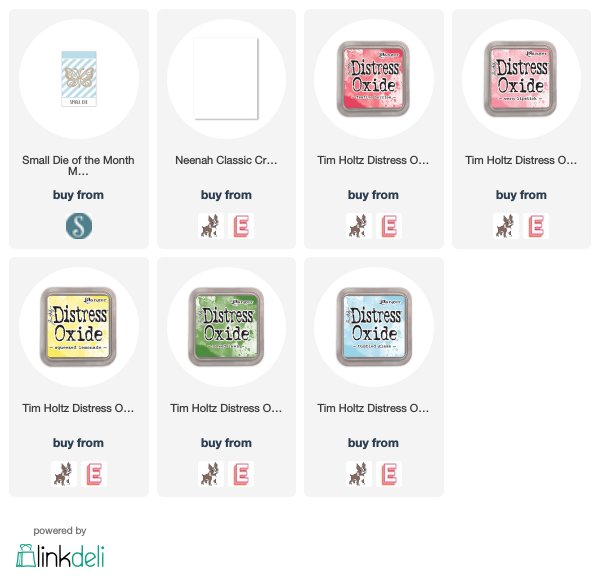
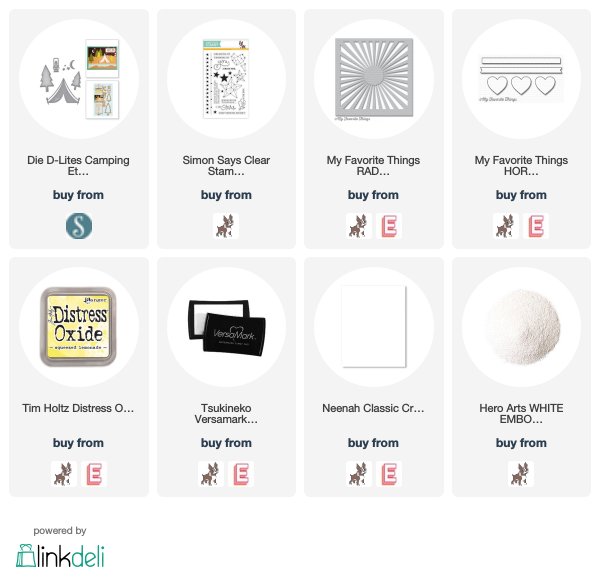
Supplies: