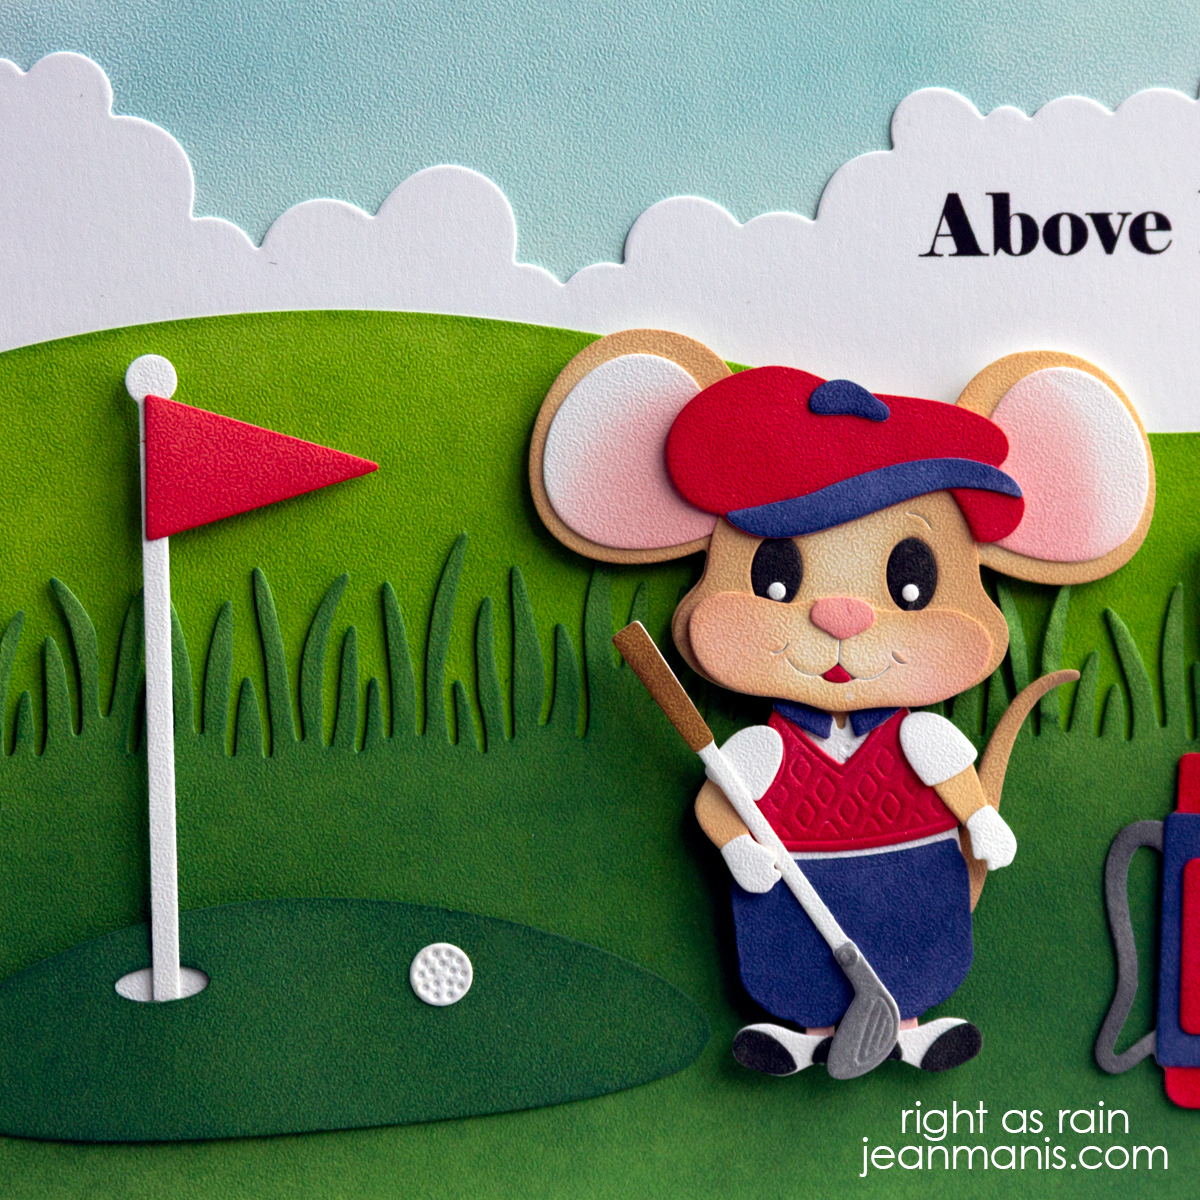
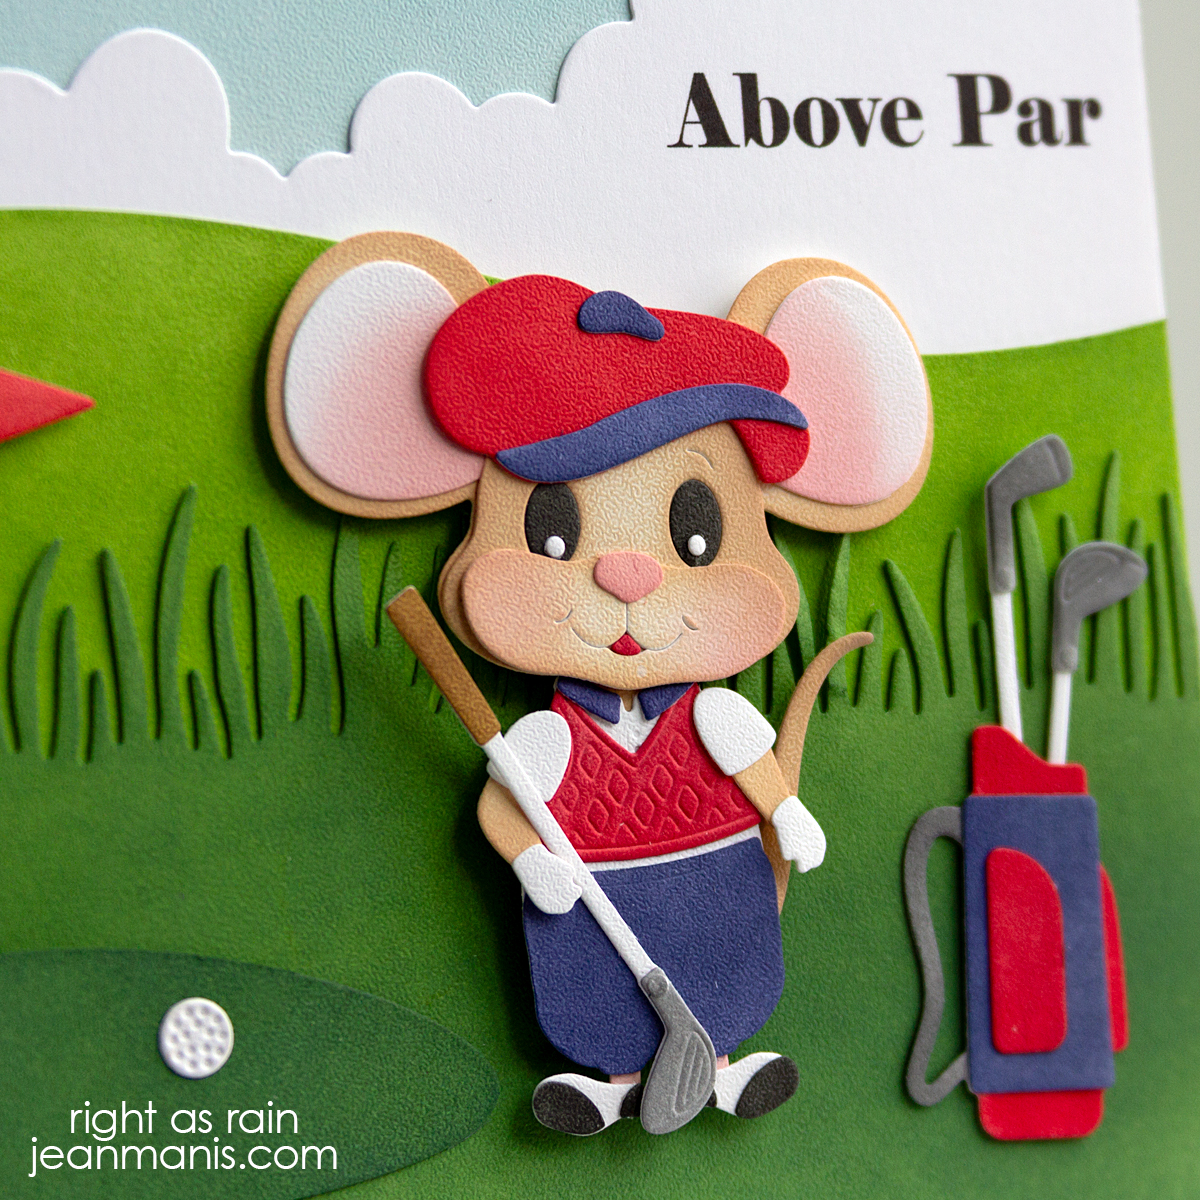
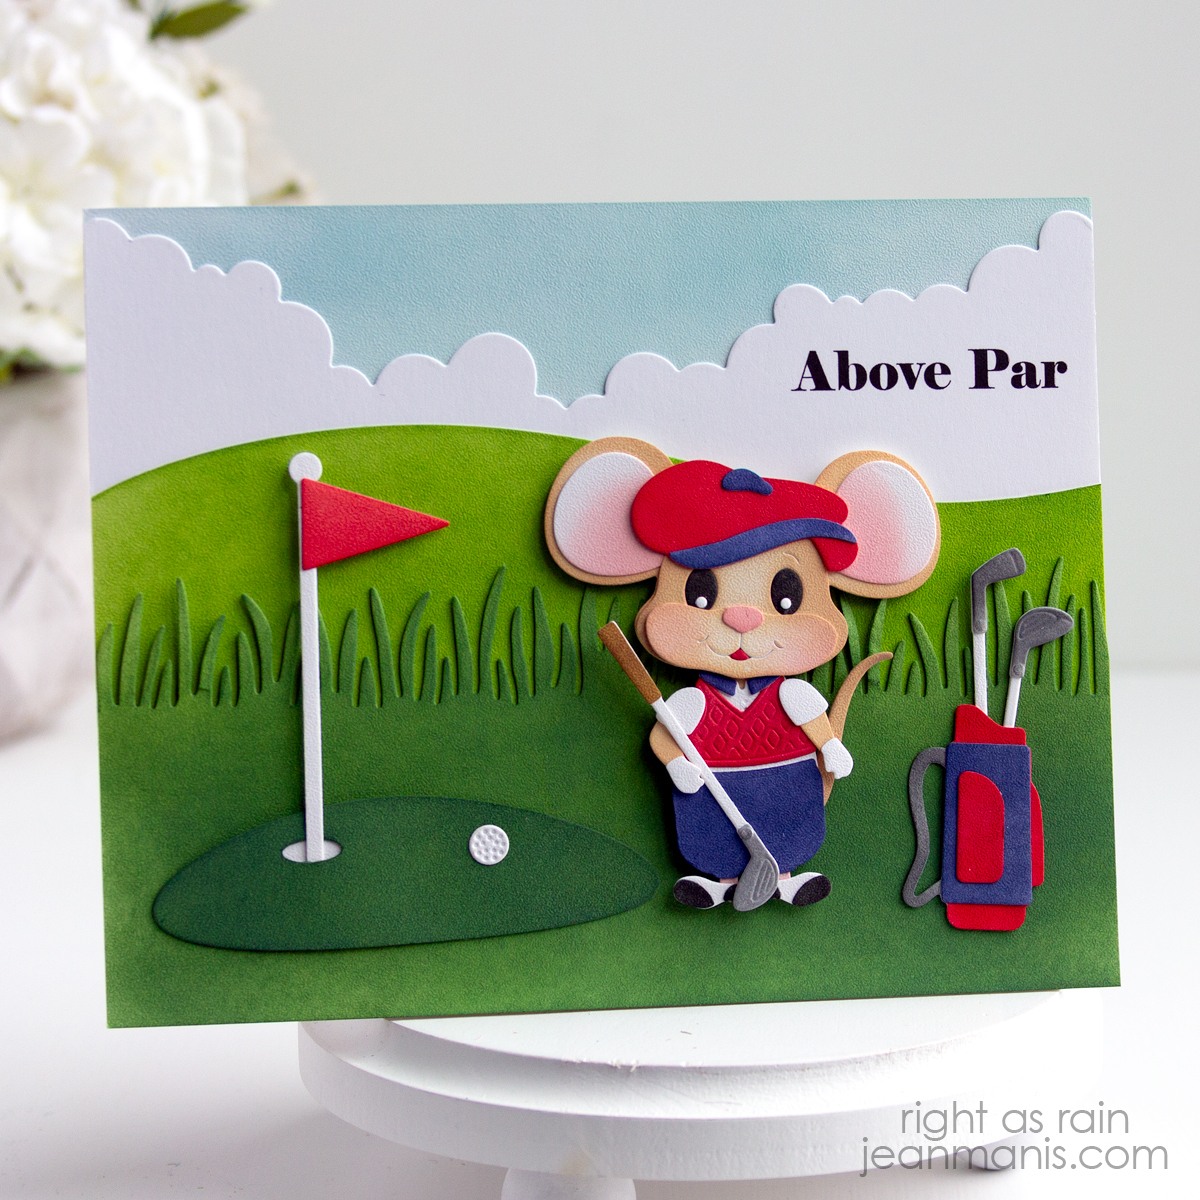
The Creative Year in Review

As 2025 comes to a close, I looked at all my cards from the year and chose a few that represent some of the creative paths I took. I’ve included images of those cards here, and each one links to its original post if you’d like to revisit it.

I found myself reaching for products from designers I hadn’t used in a while, like Tim Holtz and Elizabeth Craft Designs. I took on projects with more steps, like monoprint stenciled backgrounds and dimensional florals. These weren’t the quickest projects to make, but they were satisfying.

The Creative Year in Review

The Creative Year in Review

Even though most of my cardmaking leans toward die cuts, I continued to enjoy watercoloring this year. The Art Impressions sets stand out because the stamped images are well suited to watercolor, and the coordinating dies make it easy to add a little dimension.

The Creative Year in Review

The Creative Year in Review

Finally, I found really enjoyed combining products from different sets in whimsical ways, which I call “mash ups.”

The Creative Year in Review

The Creative Year in Review

Of course, any time we switch gears creatively, whether it’s trying a new technique or exploring a different designer, there’s an investment involved. There’s the time it takes to learn how something works, to practice, and to make imperfect attempts. There’s often financial commitment as well, with new tools or products. With changes in the craft industry and higher costs this year, I’ve been more intentional about what I bring into my craft room, focusing on purchases that offer lasting value and room to learn.

Looking ahead to 2026, I want to try designers and companies I haven’t explored yet and to continue the practices I embraced this year.

As you look back on your own year, your creative journey may have looked very different. Perhaps you spent time organizing your space, using what you already have, or finding connection through classes, groups, or online communities. If you feel like sharing, I’d love to hear what this year held for you.

Tim Holtz | Winter Skates

Hello! This mixed-media Christmas card was created using Tim Holtz supplies and features a pair of die-cut ice skates filled with festive holiday greenery. A classic sentiment completes the design, giving the card a timeless winter feel that’s both nostalgic and elegant.

Tim Holtz | Winter Skates

    • Dry-emboss an A2-size panel of watercolor cardstock colored with Tumbled Glass Distress Spray with a snowflake embossing folder. (I used the now-retired Sizzix Tim Holtz Simple Snowflakes 662432 folder.) Add to a card base.
    • Heat-emboss in silver the Mixed Media 32 (aka Sketch Greenery) sentiment on watercolor cardstock and cut with a label die (from the now-retired Tag Collection set 658784). Add to the prepared base.
    • With the Vault Winter Wishes set, cut the skates. Color, assemble, and add crochet thread for the laces.
    • With the Vault Holiday Greens and Christmas Minis sets, cut greenery and berries from watercolor cardstock color with Distress Sprays. Assemble. Add Snowfall Grit paste to some of the greens.
    • Add the assembled skates to the card base with the greenery arranged in the skates.

Tim Holtz | Winter Skates


Elizabeth Craft Designs | Joy to the World

Hello! There’s something comforting about classic Christmas imagery, and this card celebrates the season with timeless botanical details. Using several Elizabeth Craft Designs die sets, I created an arrangement of robins perched among holly, pine, berries, and branch, all die-cut from soft finish cardstock and colored with Distress Oxide inks for a realistic look. A detailed frame helps draw the eye to the focal points, and softly patterned paper in the background adds texture and warmth without overpowering the design. Finished with the “Joy to the World” sentiment, the card feels both peaceful and quietly celebratory.

Elizabeth Craft Designs | Joy to the World

    • To begin, cover a 6″ square card base with patterned paper.
    • Cut the Joyous Ornament Round detailed frame from Lawn Fawn Speckled Eggshell cardstock. Use the plain circle die in the same set to cut patterned paper. Add patterned paper to the frame piece, add the assembly to the prepared card base.
    • Stamp the Joyous Christmas sentiment in Potting Soil on Lawn Fawn Speckled Eggshell cardstock and cut with a Layered Labels die. Add to the card base with foam adhesive.
    • Cut the Festive Robin and Winter Greenery pieces from soft finish cardstock and color with Distress Oxide inks. Assemble robins and greenery items, as required. Gently shape holly leaves.
    • Add elements to prepared card base.

Elizabeth Craft Designs | Joy to the World


Spellbinders + Hero Arts | Die Set Mashup

Hello! I couldn’t resist a little die-cut mischief. I combined a Santa and Mrs. Claus set with a bed die (not originally meant for Christmas!) to create a cozy, playful scene of the festive couple tucked in together. Mrs. Claus even kept her glasses on. She is probably still making sure everything is just right, because we all know she’s the one who really runs the show. With a simple “Merry Christmas” sentiment, the card is whimsical and perfect for cardmakers who love mixing dies in unexpected ways.

Spellbinders + Hero Arts | Die Set Mashup

    • To begin, cover an A2-size card base with patterned paper.
    • Cut the Spellbinders Clauses from a variety of cardstock colors and assemble.
    • Use the Hero Arts Studio Cozy Critters set to cut the bed frame, quilt, and pillows.
    • Place the pieces on to the prepared base.
    • Cut the sentiment with dies in the North Pole Sentiments set and add to the top of the quilt.

Spellbinders + Hero Arts | Die Set Mashup


ue”>

It’s Never Too Late to Unwind

Hello! This card is a gentle reminder that pampering isn’t reserved for a special occasion or a certain stage of life. Created with the Spellbinders Unwind die set, this month’s Caboodle offering, the eye mask with heart details and cozy critter slippers set the tone for rest and comfort, while the sentiment makes it a perfect gal pal card. In cheerful reds, whites, and pinks against a playful pink polka dot background, this design celebrates friendship, self-care, and the simple truth that it’s never too late to slow down and indulge a little.

It’s Never Too Late to Unwind

    • Create an A2-size card base and cover it with patterned paper.
    • Using the Unwind die set, cut the eye mask and slippers from your chosen cardstock colors and assemble the pieces.
    • Stamp the sentiment and cut it out with the coordinating die.
    • Arrange and adhere the assembled elements and sentiment onto the prepared card base.

It’s Never Too Late to Unwind