Hello! I am sharing another holiday card featuring the Penny Black #51-569 Winter Church die set, this time paired with the #40-706 Snowflake Pattern background stamp set. (You can see my first card using the Winter Church die set here.)

- I colored white cardstock with Shaded Lilac Distress Ink, ending before the bottom of the panel.
- I stamped the #40-706 Snowflake Pattern background with white pigment ink on to the Distress Ink panel.
- Once dry, I heat-embossed the sentiment from the #30-257 Joy Filled stamp set on to the panel.
- I cut and assembled the #51-569 Winter Church. I backed its windows with gold foil cardstock. I added the assembled church to the panel with foam adhesive.
- For a finishing touch, I added a star, cut with a die in the #51-562 Christmas Wonderland set from gold cardstock.

Thanks for visiting! Happy Thanksgiving to those of you in the US!
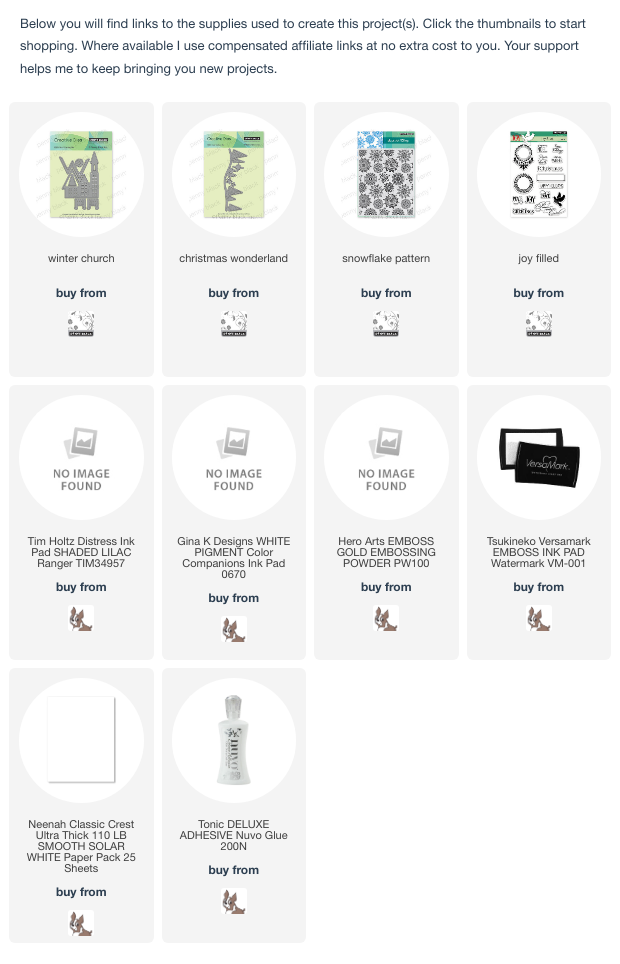
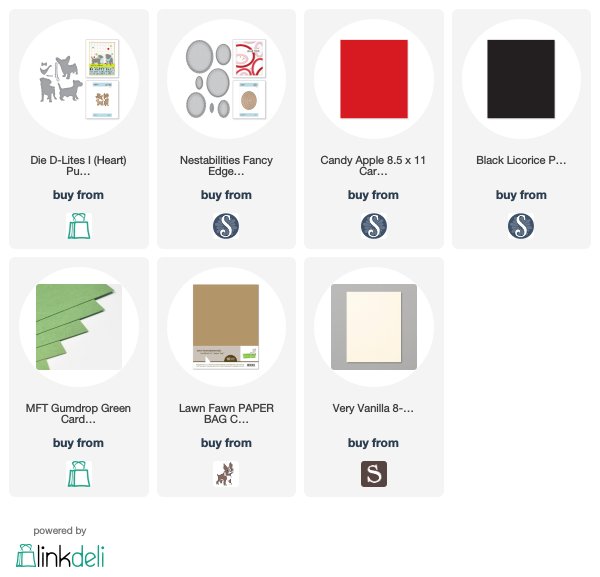
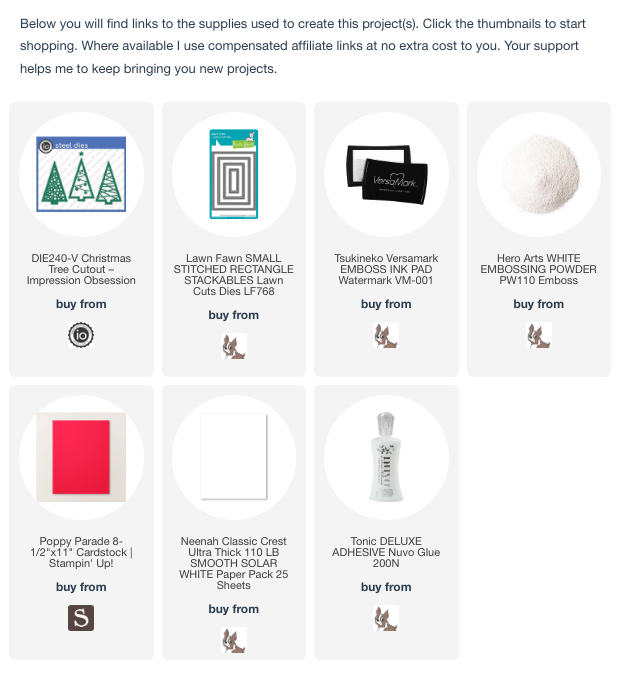
Supplies: