Penny Black – Window Flower Box Die-cut Scene

Hello! Today I am sharing a CAS die-cut card featuring Penny Black supplies – old and new. I added a flower window box, cut with the A Garden die set, to the Ironwork Window.

Penny Black - Window Flower Box Die-cut Scene

  • To create the card base, I dry-embossed SU Smoky Slate cardstock with a Taylored Expressions embossing folder.
  • I stamped the Penny Black Stitched Flowers sentiment in Gray Flannel ink on white cardstock. Then I die cut the window and trimmed the panel down. The window die cuts the top, bottom, and center, and it scores the sides so that the window could be opened.
  • I backed the window panel with SU So Saffron cardstock and attached it to the card base.
  • I die-cut the box, foliage, and blooms, with dies in the A Garden set, from SU Bermuda Bay, SU Granny Apple Green, and SU Poppy Parade.
  • Once the window box  and flowers were attached to the window, the upper part of the card seemed too empty. I found heart dies in older PB sets – What’s in Your Cup? and Little Ornaments – and cut a few to add above the window box.

Penny Black - Window Flower Box Die-cut Scene

Supplies:

Spellbinders Small Die of the Month Kit – Pack It Up – Travel Version

Looking for the Spellbinders Holiday Inspiration Blog Hop post? Head here.

Hello! Today, I am sharing two more projects created with the August Small Die of the Month kit from Spellbinders – “Pack It Up.” You can see my previous post with projects using the die set here. As I mentioned in that post, this die set lends itself to a couple of themes including school and travel. In this post I share two travel-themed cards.

My first card is for someone headed to Disneyland! I used a vintage Disneyland map for the background and added ears to the backpack!

Spellbinders Small Die of the Month Kit – Pack It Up - Travel Version

I cut the backpack body, straps, and the ears from a shiny black cardstock. I cut the zipper and buckles from silver foil cardstock.

Spellbinders Small Die of the Month Kit – Pack It Up - Travel Version

Spellbinders Small Die of the Month Kit – Pack It Up - Travel Version

My second card is for someone NYC-bound. Same design with a few tweaks to the colors of the backpack and sunglasses, and of course a different map. For this card’s background, I used a NYC subway map.

Spellbinders Small Die of the Month Kit – Pack It Up - Travel Version

Spellbinders Small Die of the Month Kit – Pack It Up - Travel Version

Supplies:

Spellbinders Holiday 2019 Release – Blog Hop + Giveaway

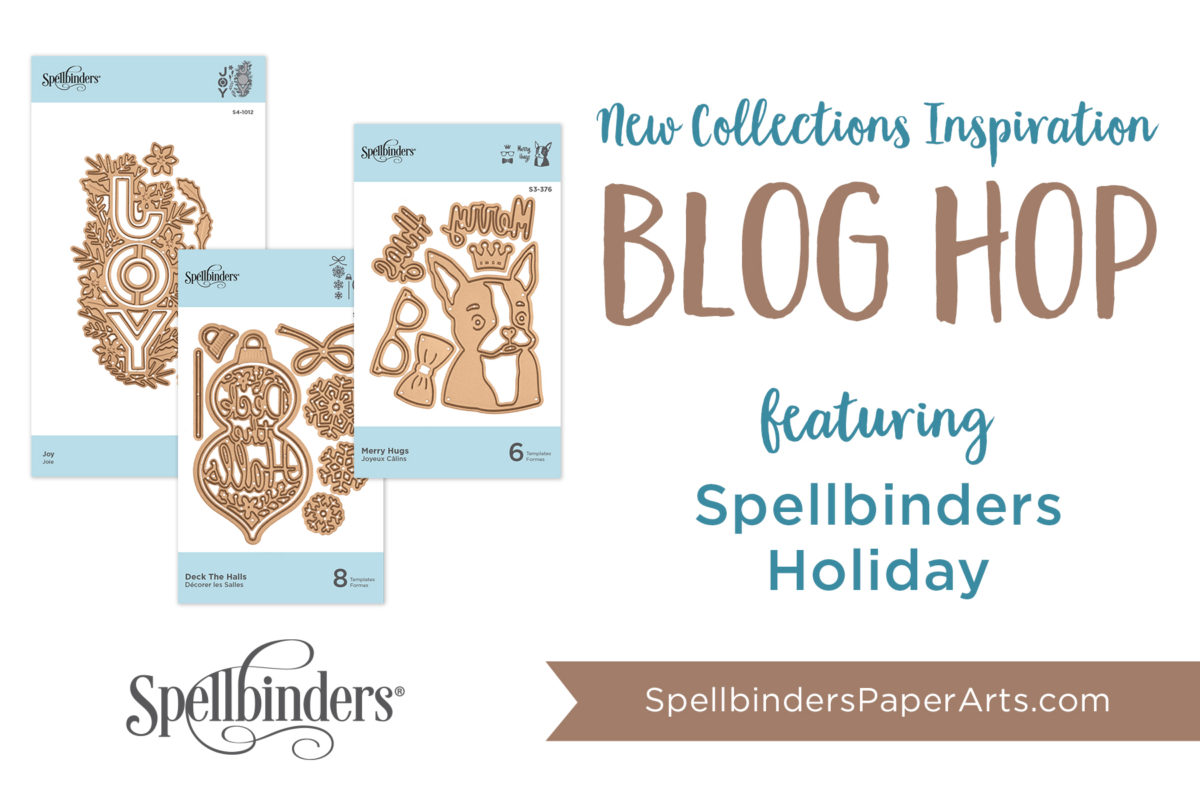
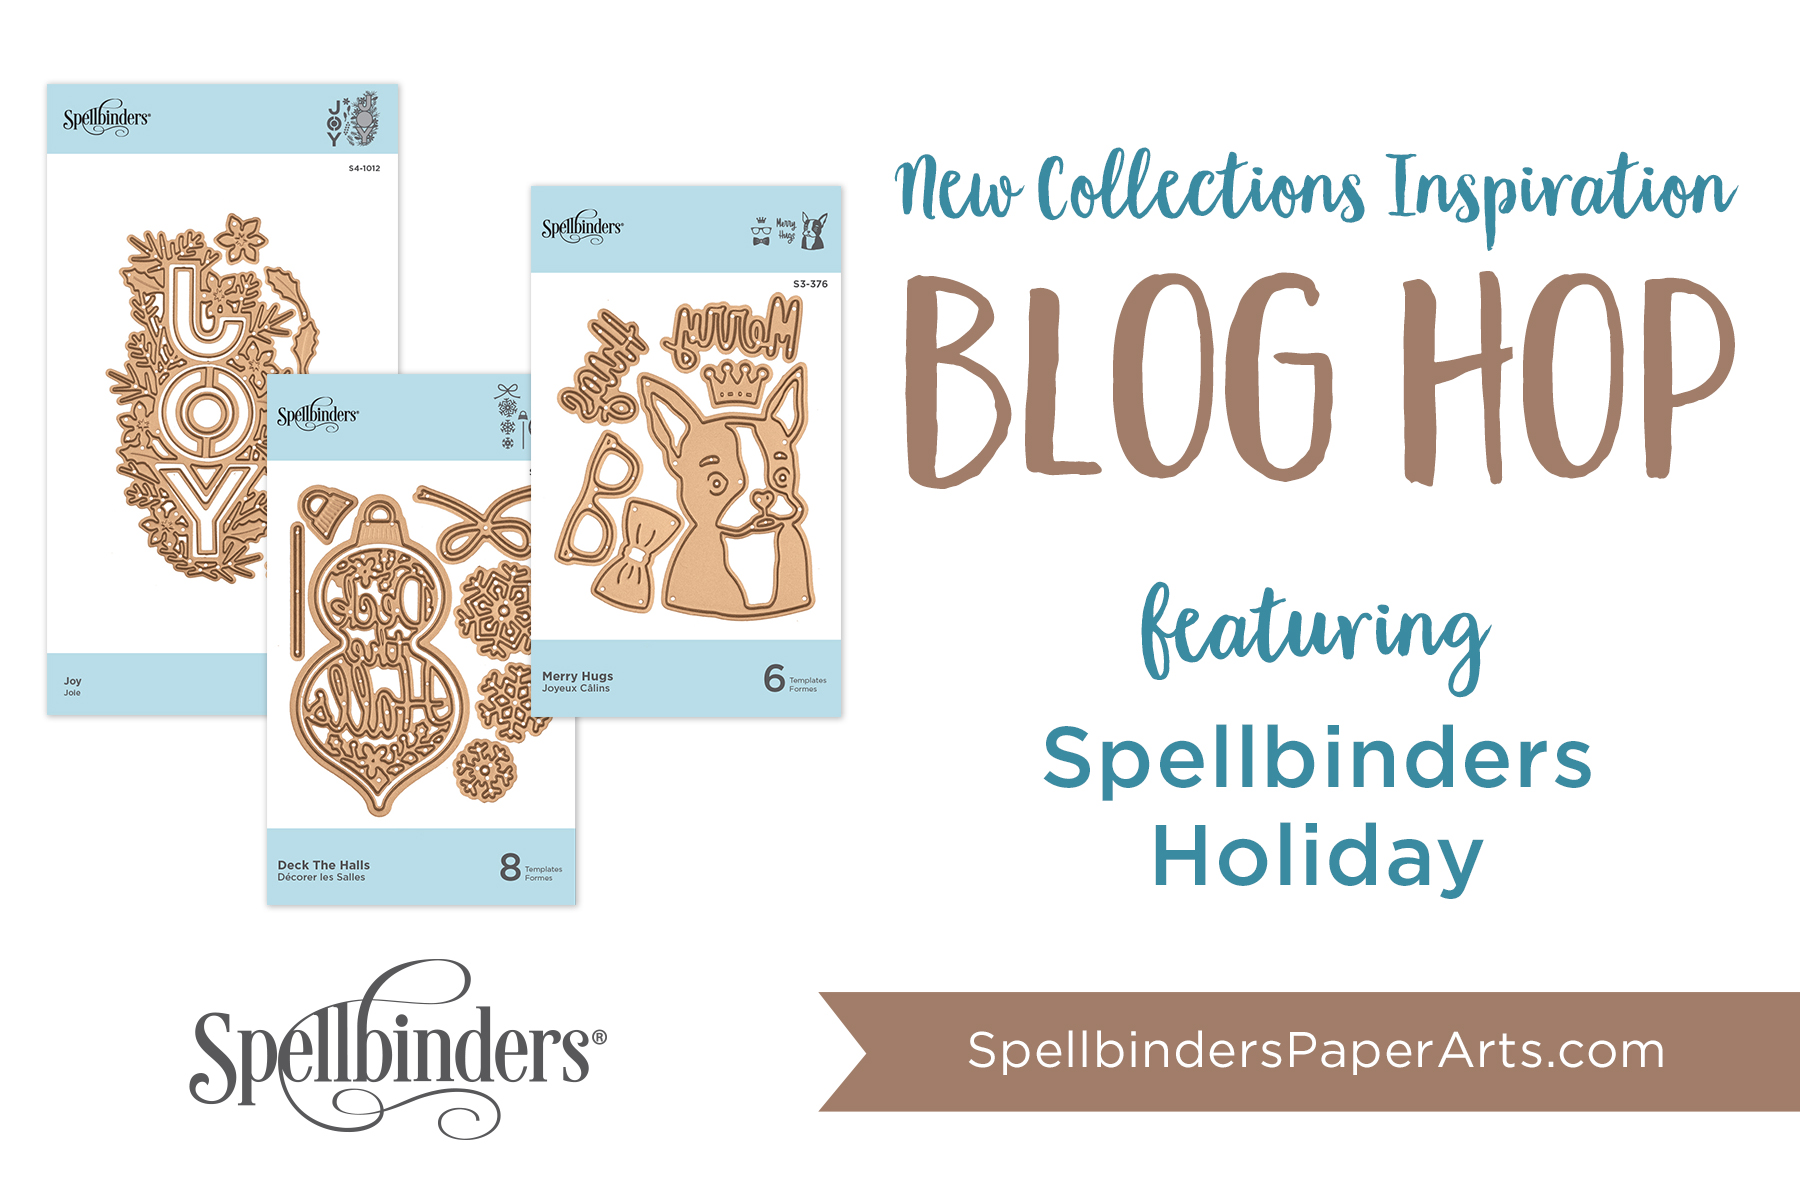
Hello crafty friends! I am delighted to be participating in a blog hop celebrating the Spellbinders Holiday 2019 Release! You should have reached me from the blog of Wanda Guess. I’ve included a full list of participants at the end of my post.

Spellbinders Holiday 2019 Blog Hop

To celebrate this release, Spellbinders is giving away a $50 gift certificate to one lucky blog reader – selected from the comments across all of the blogs in the hop. Giveaway closes on Sunday, August 25th 11:59 pm EDT. The winner will be announced in the blog hop post the following Monday. The winner is responsible for shipping cost, duties, and taxes.

I’m sharing projects created with three die sets in the new collection. Let’s take a look.

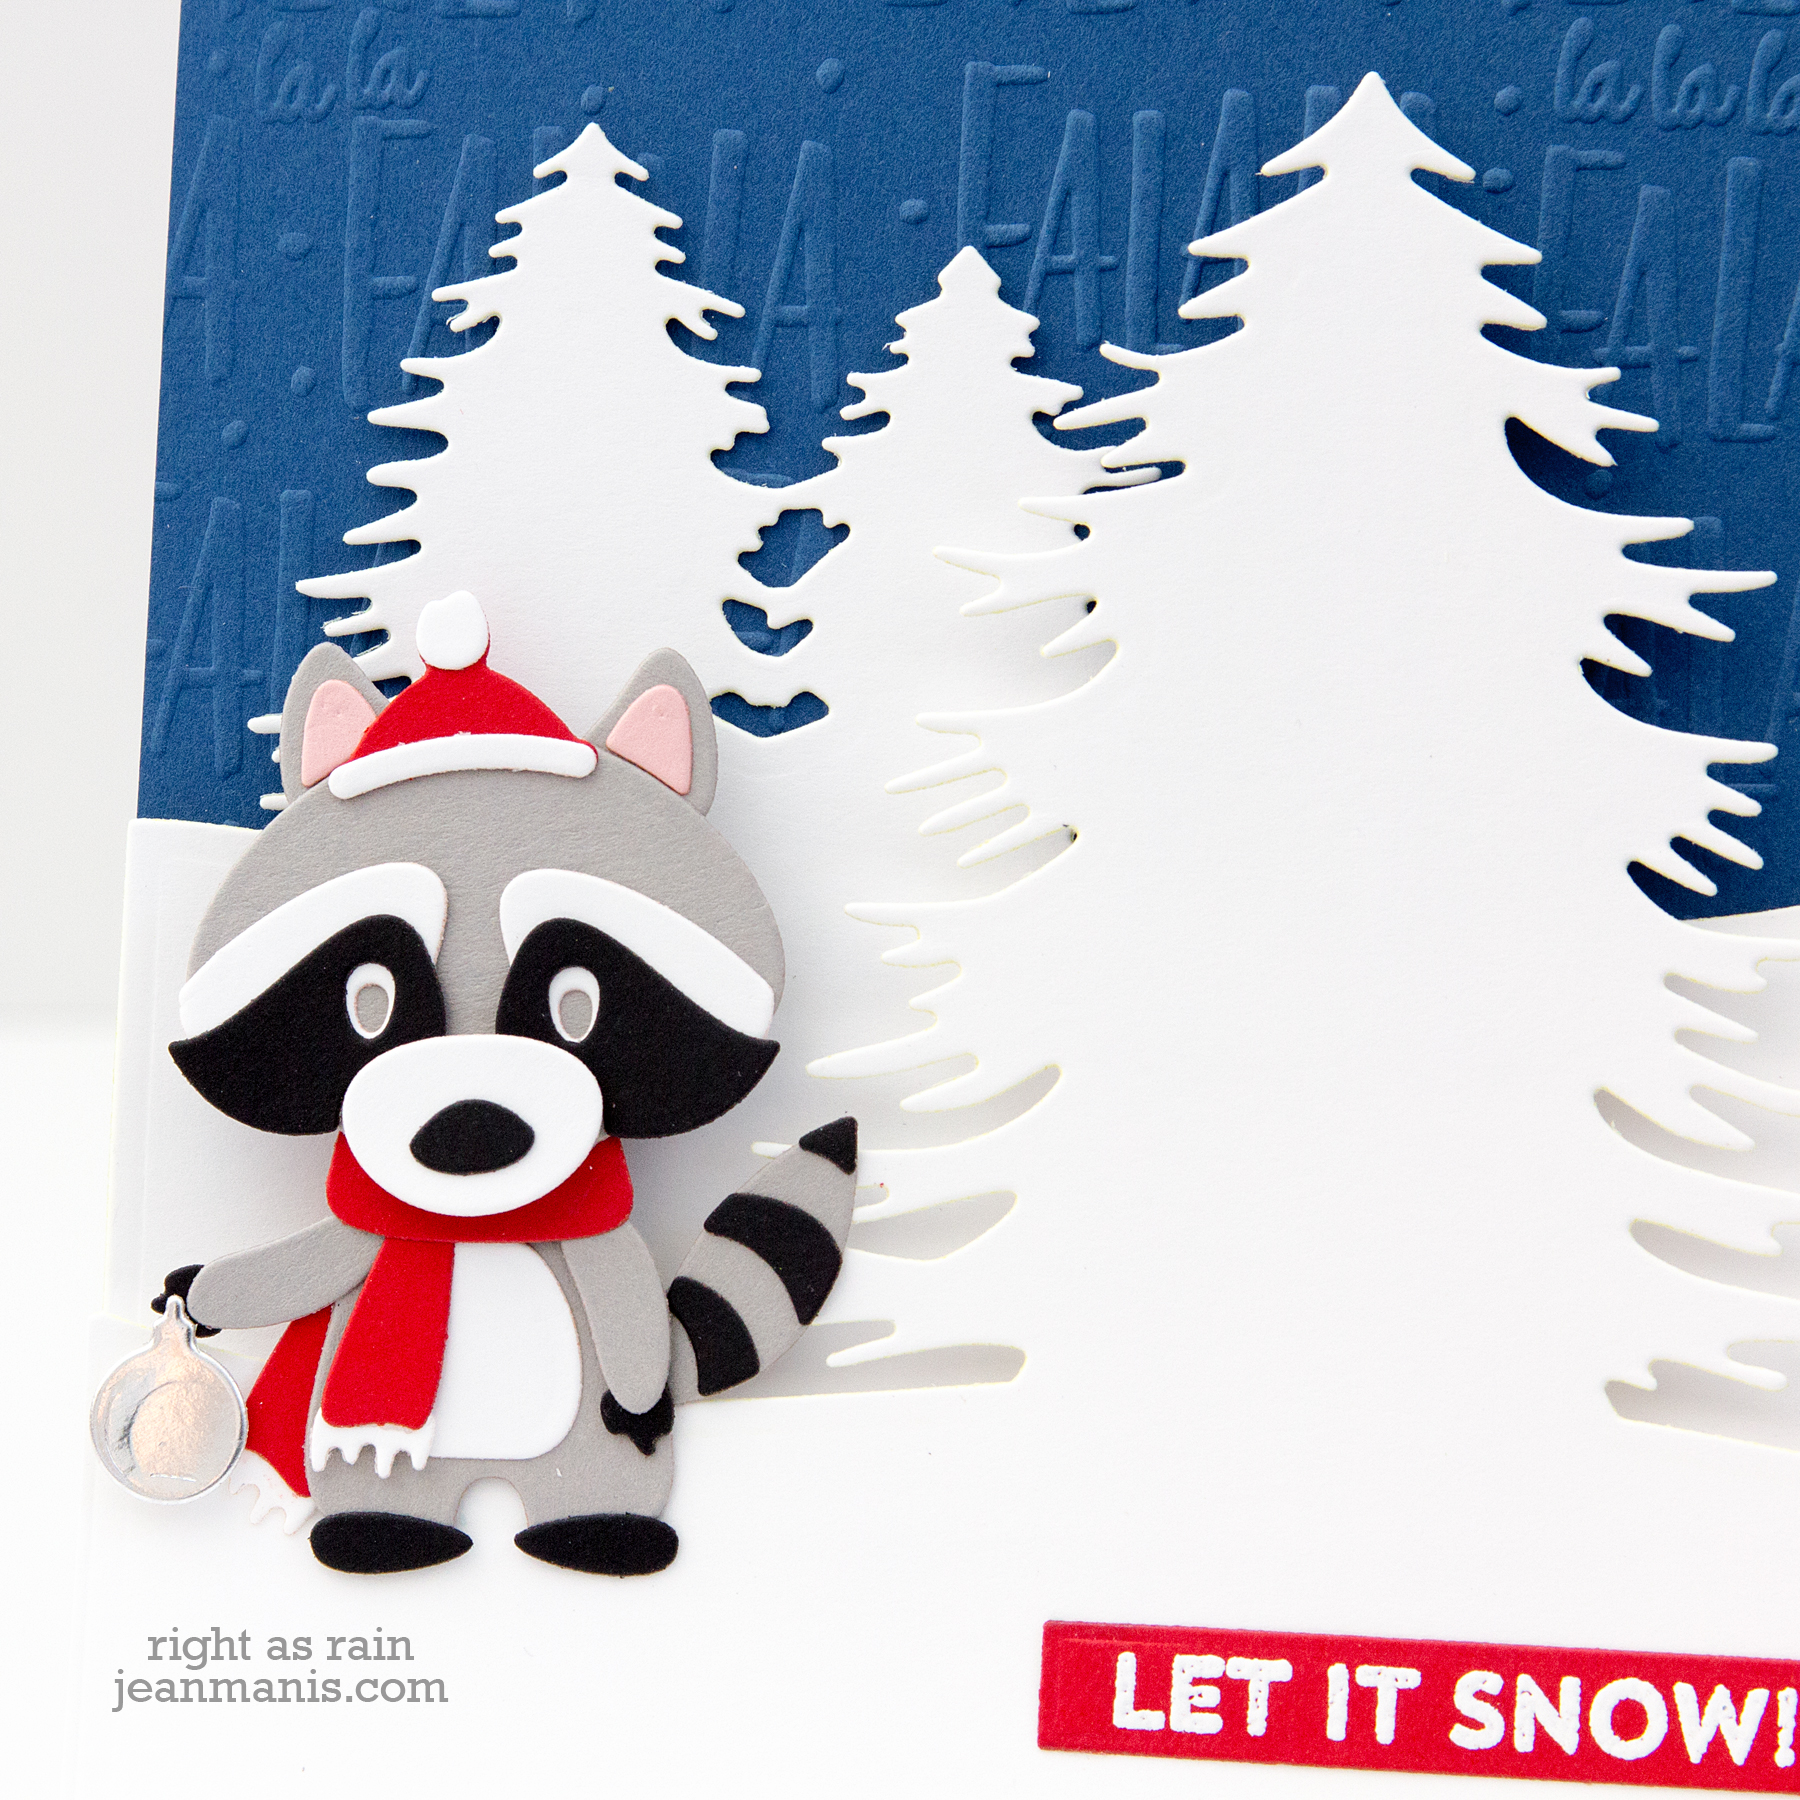
My first project showcases the Christmas Bandit die set. I’ve set the bandit into a snow-covered scene.

Spellbinders Holiday 2019 Release - Christmas Bandit

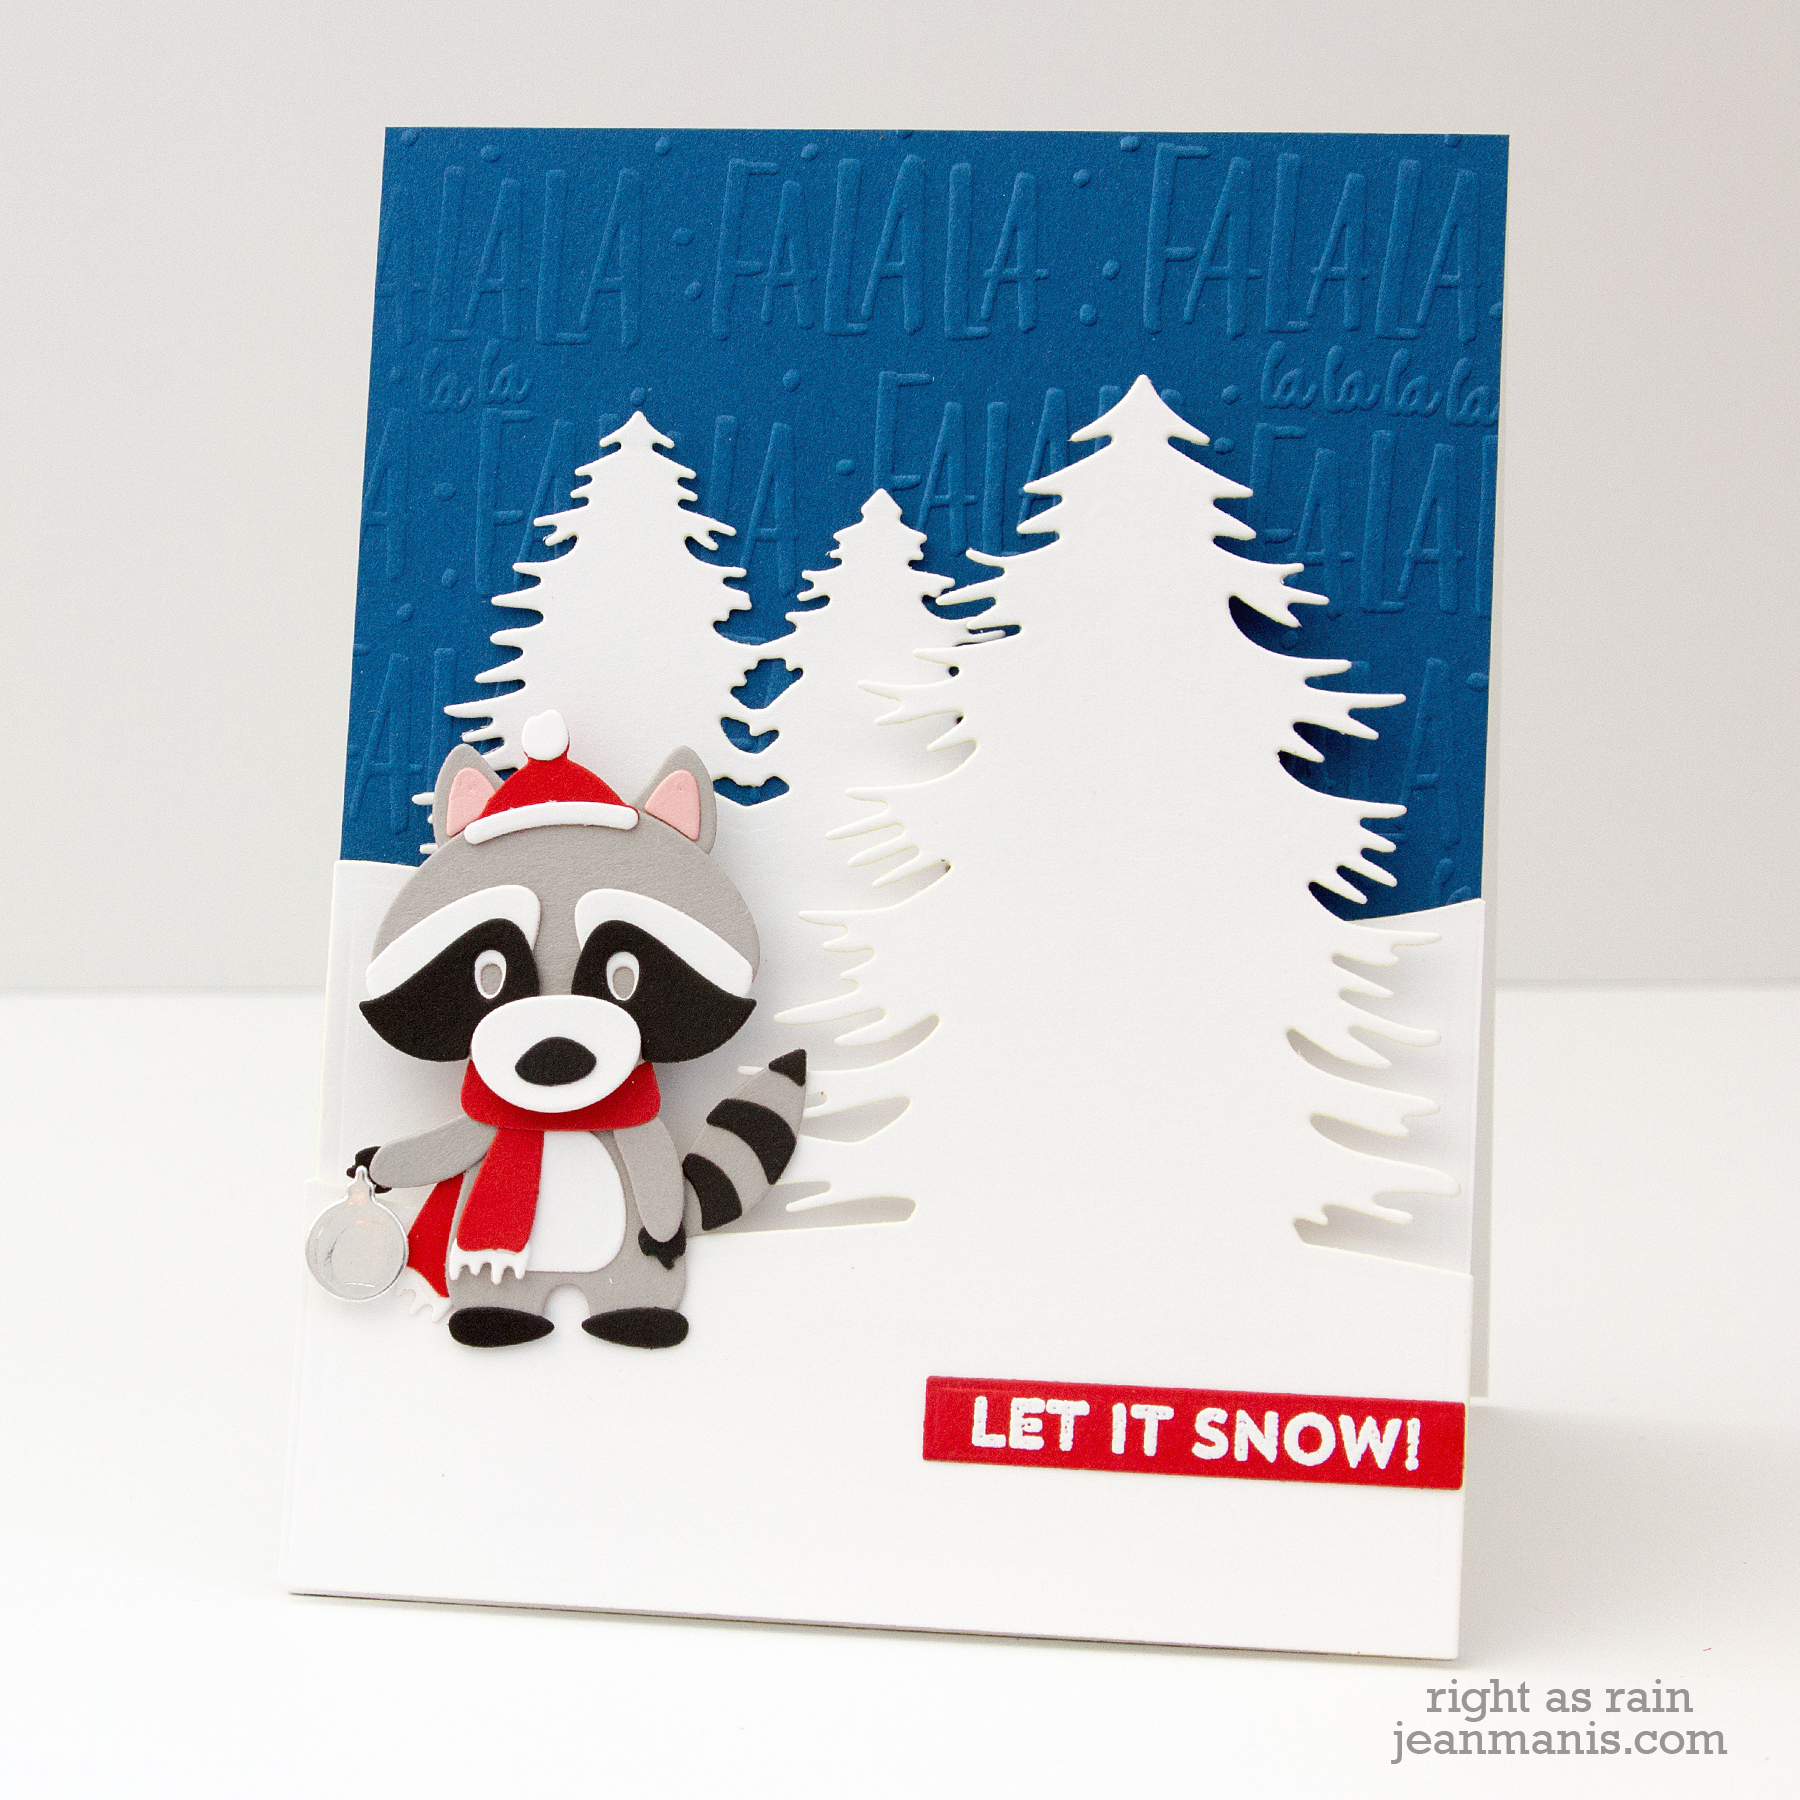
  • I used the Winter Hills die set to create a snowy backdrop. (I trimmed off the edges of the panels; the die set was designed to create a layered tri-fold card.)
  • For the background, I dry-embossed the background with the FaLaLa folder.
  • I cut and assembled the bandit and added him to the scene with foam adhesive. The heat-embossed sentiment reinforces the theme and adds additional color.

Spellbinders Holiday 2019 Release - Christmas Bandit

One of the great things about this collection is there’s something for everyone. Case in point, the Laurel & Bows Cut and Emboss folder.

Spellbinders Holiday 2019 Release - Laurel & Bows Cut and Emboss

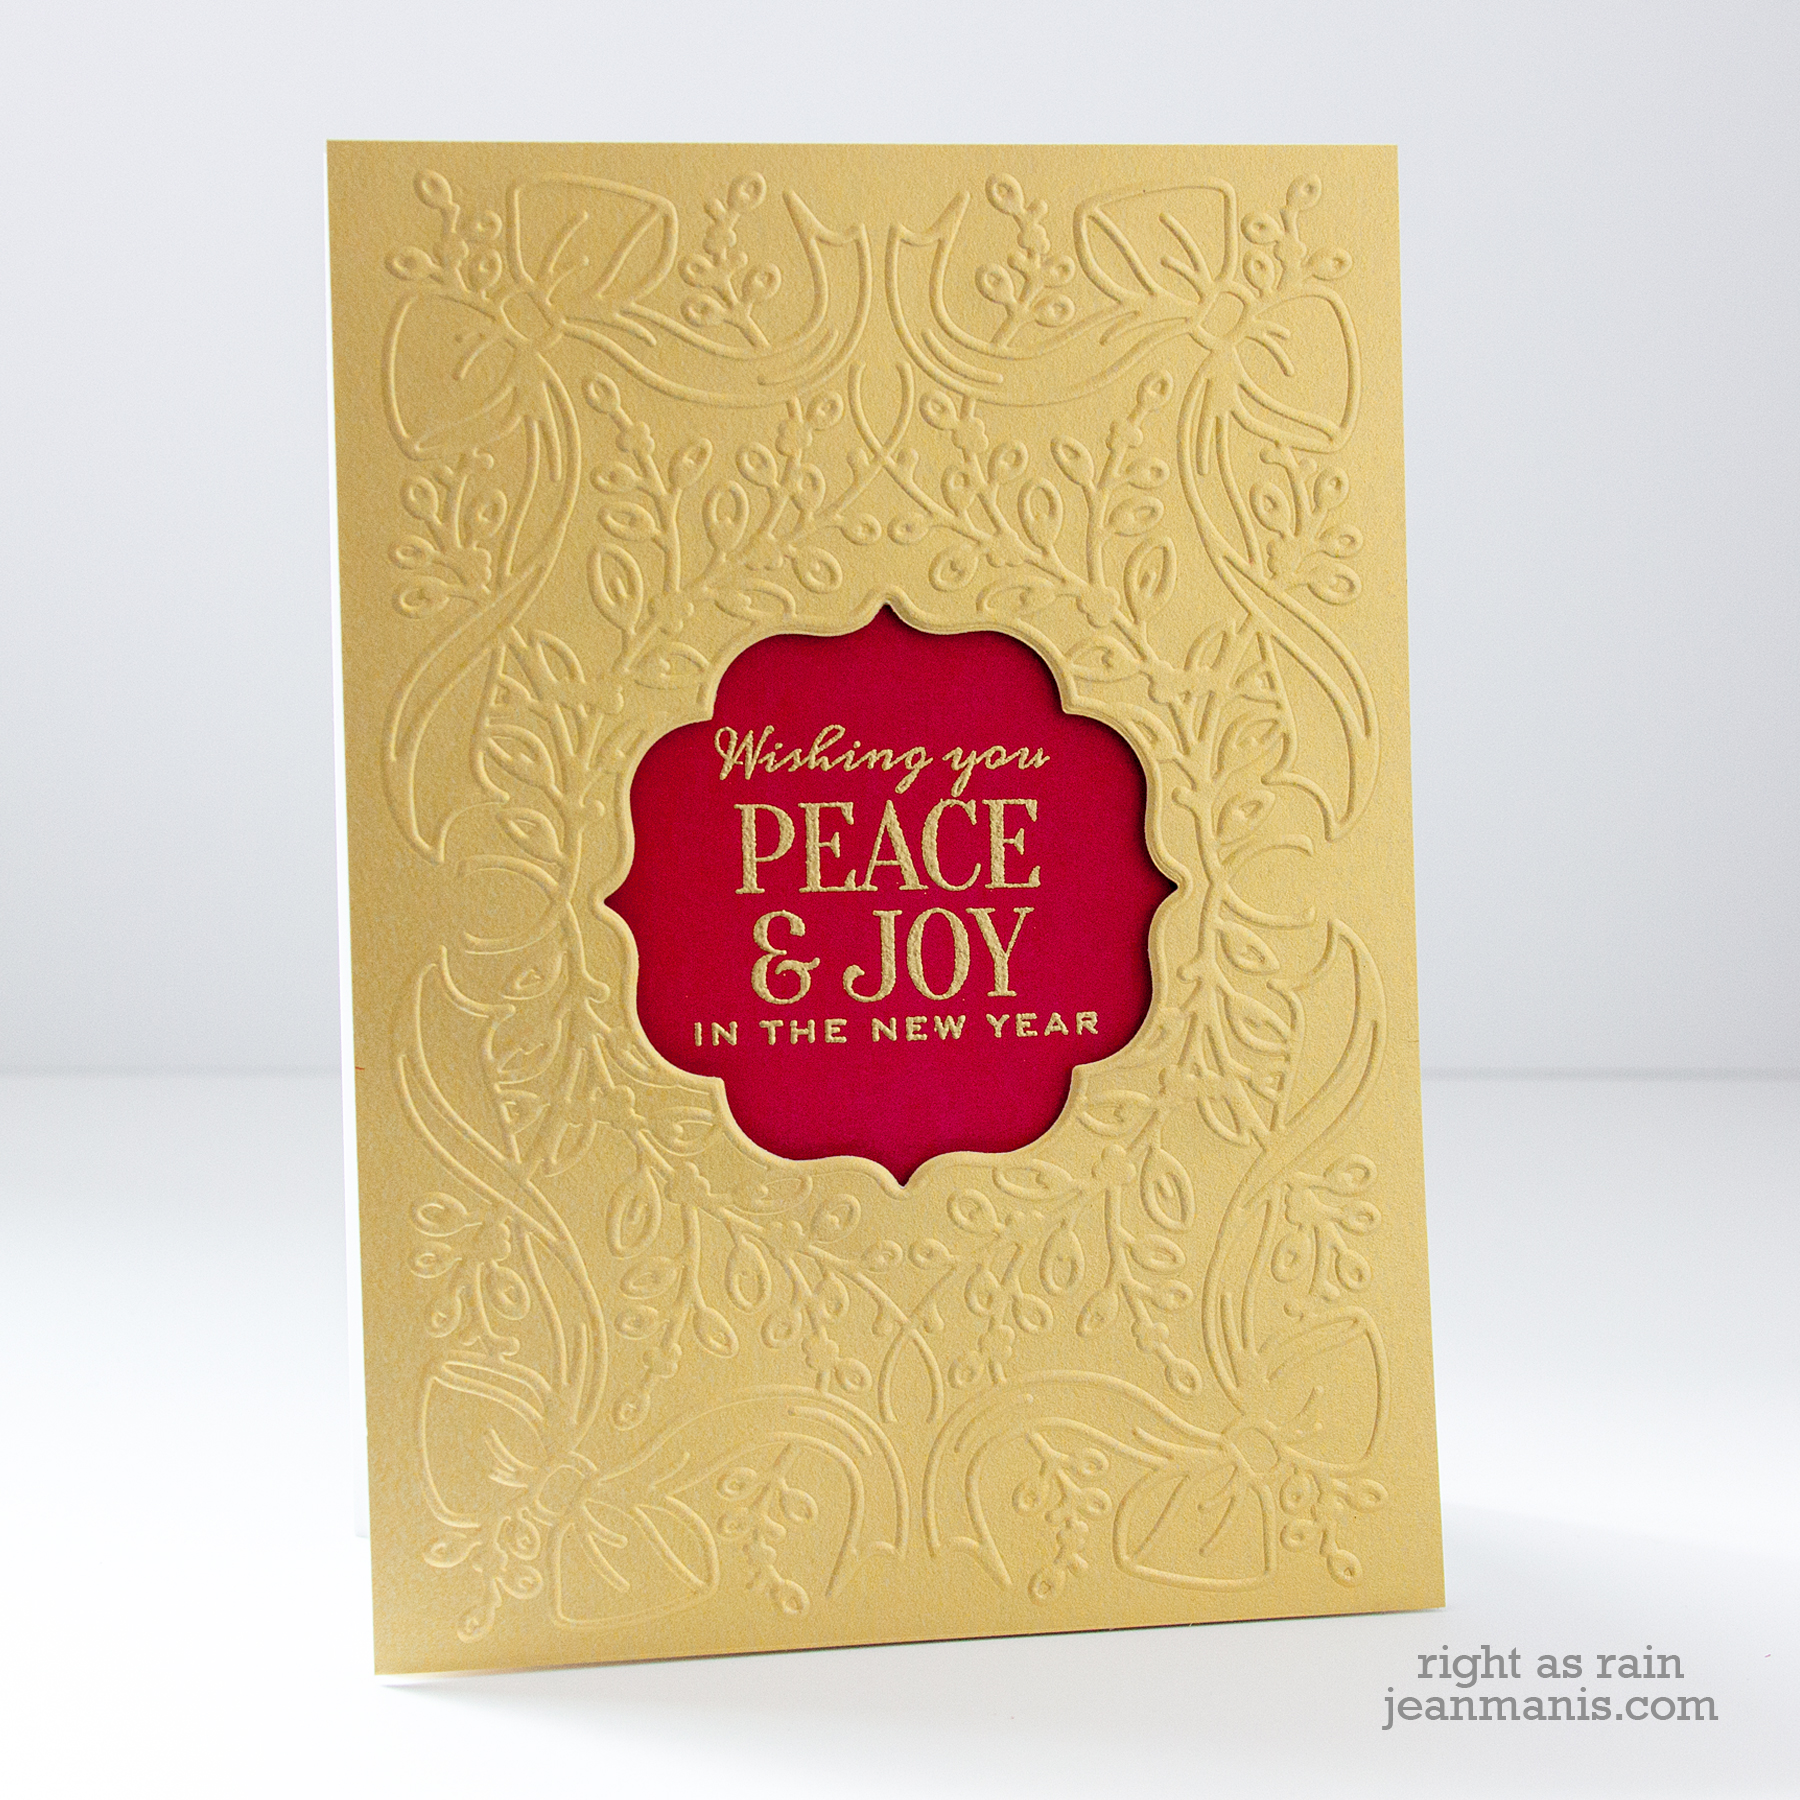
  • I cut and embossed Brush Gold cardstock with the Laurel & Bows Cut and Emboss folder.
  • I heat-embossed the sentiment with gold embossing powder on Cranberry Bliss cardstock. I attached the panel to the back of the dry-embossed panel with foam adhesive.
  • I adhered the assembly to a card base. The card measures 5″ x 7″.

Spellbinders Holiday 2019 Release - Laurel & Bows Cut and Emboss

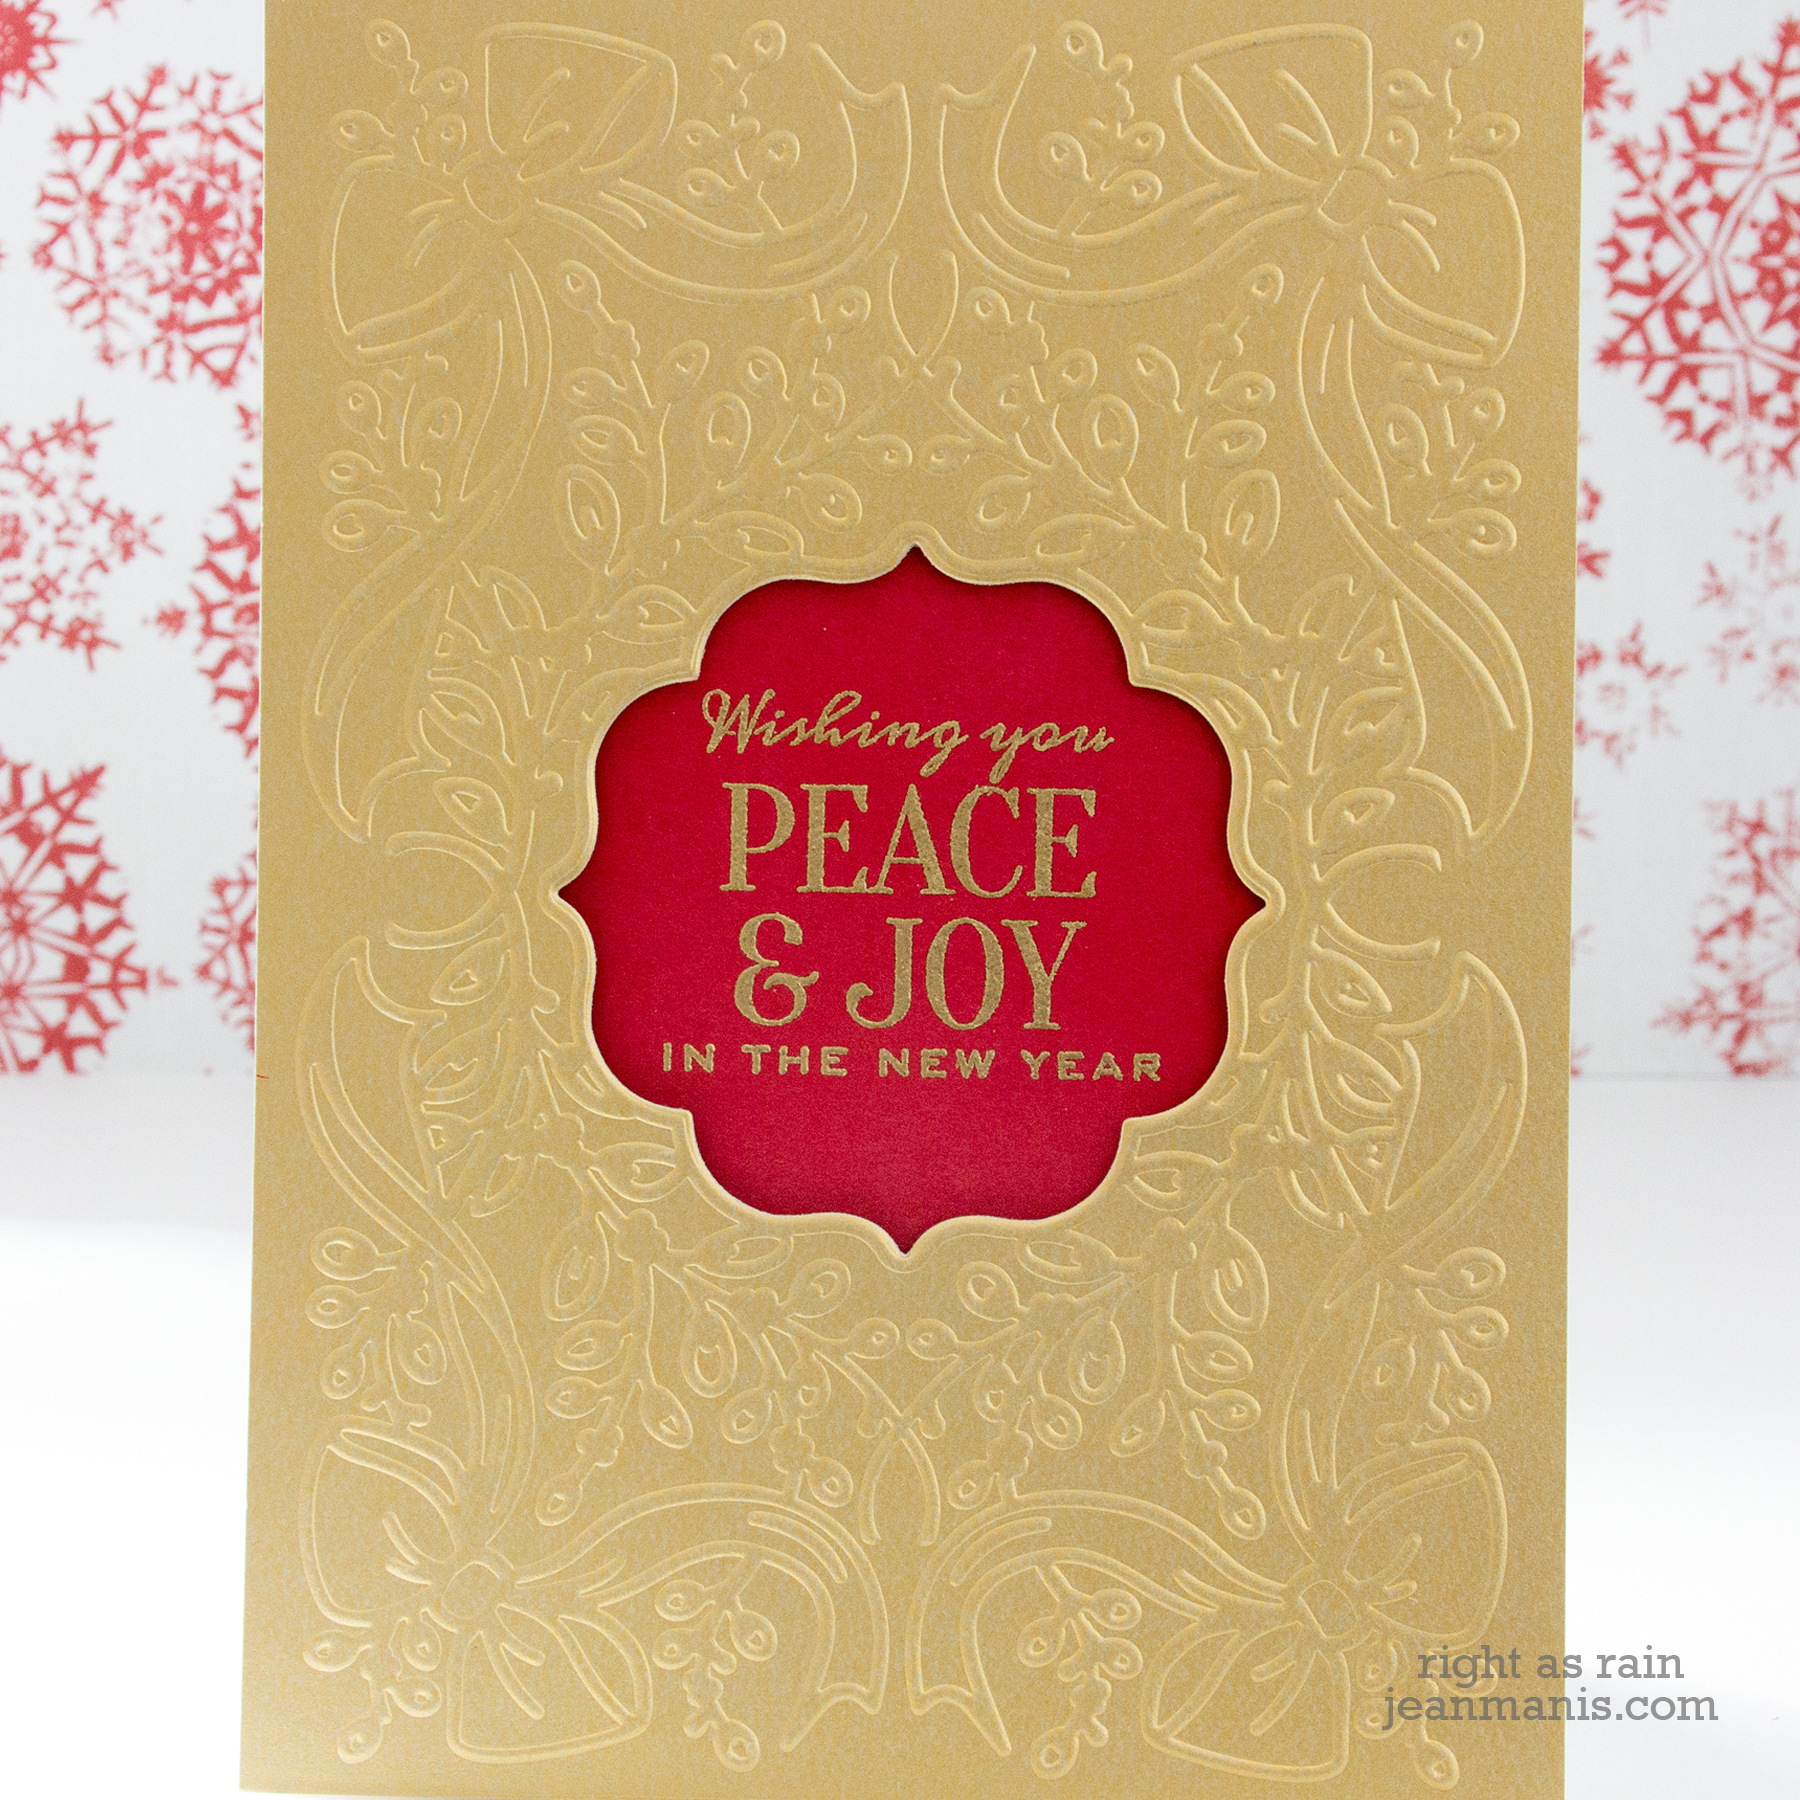
Quick, easy, and elegant – perfect for mass production!

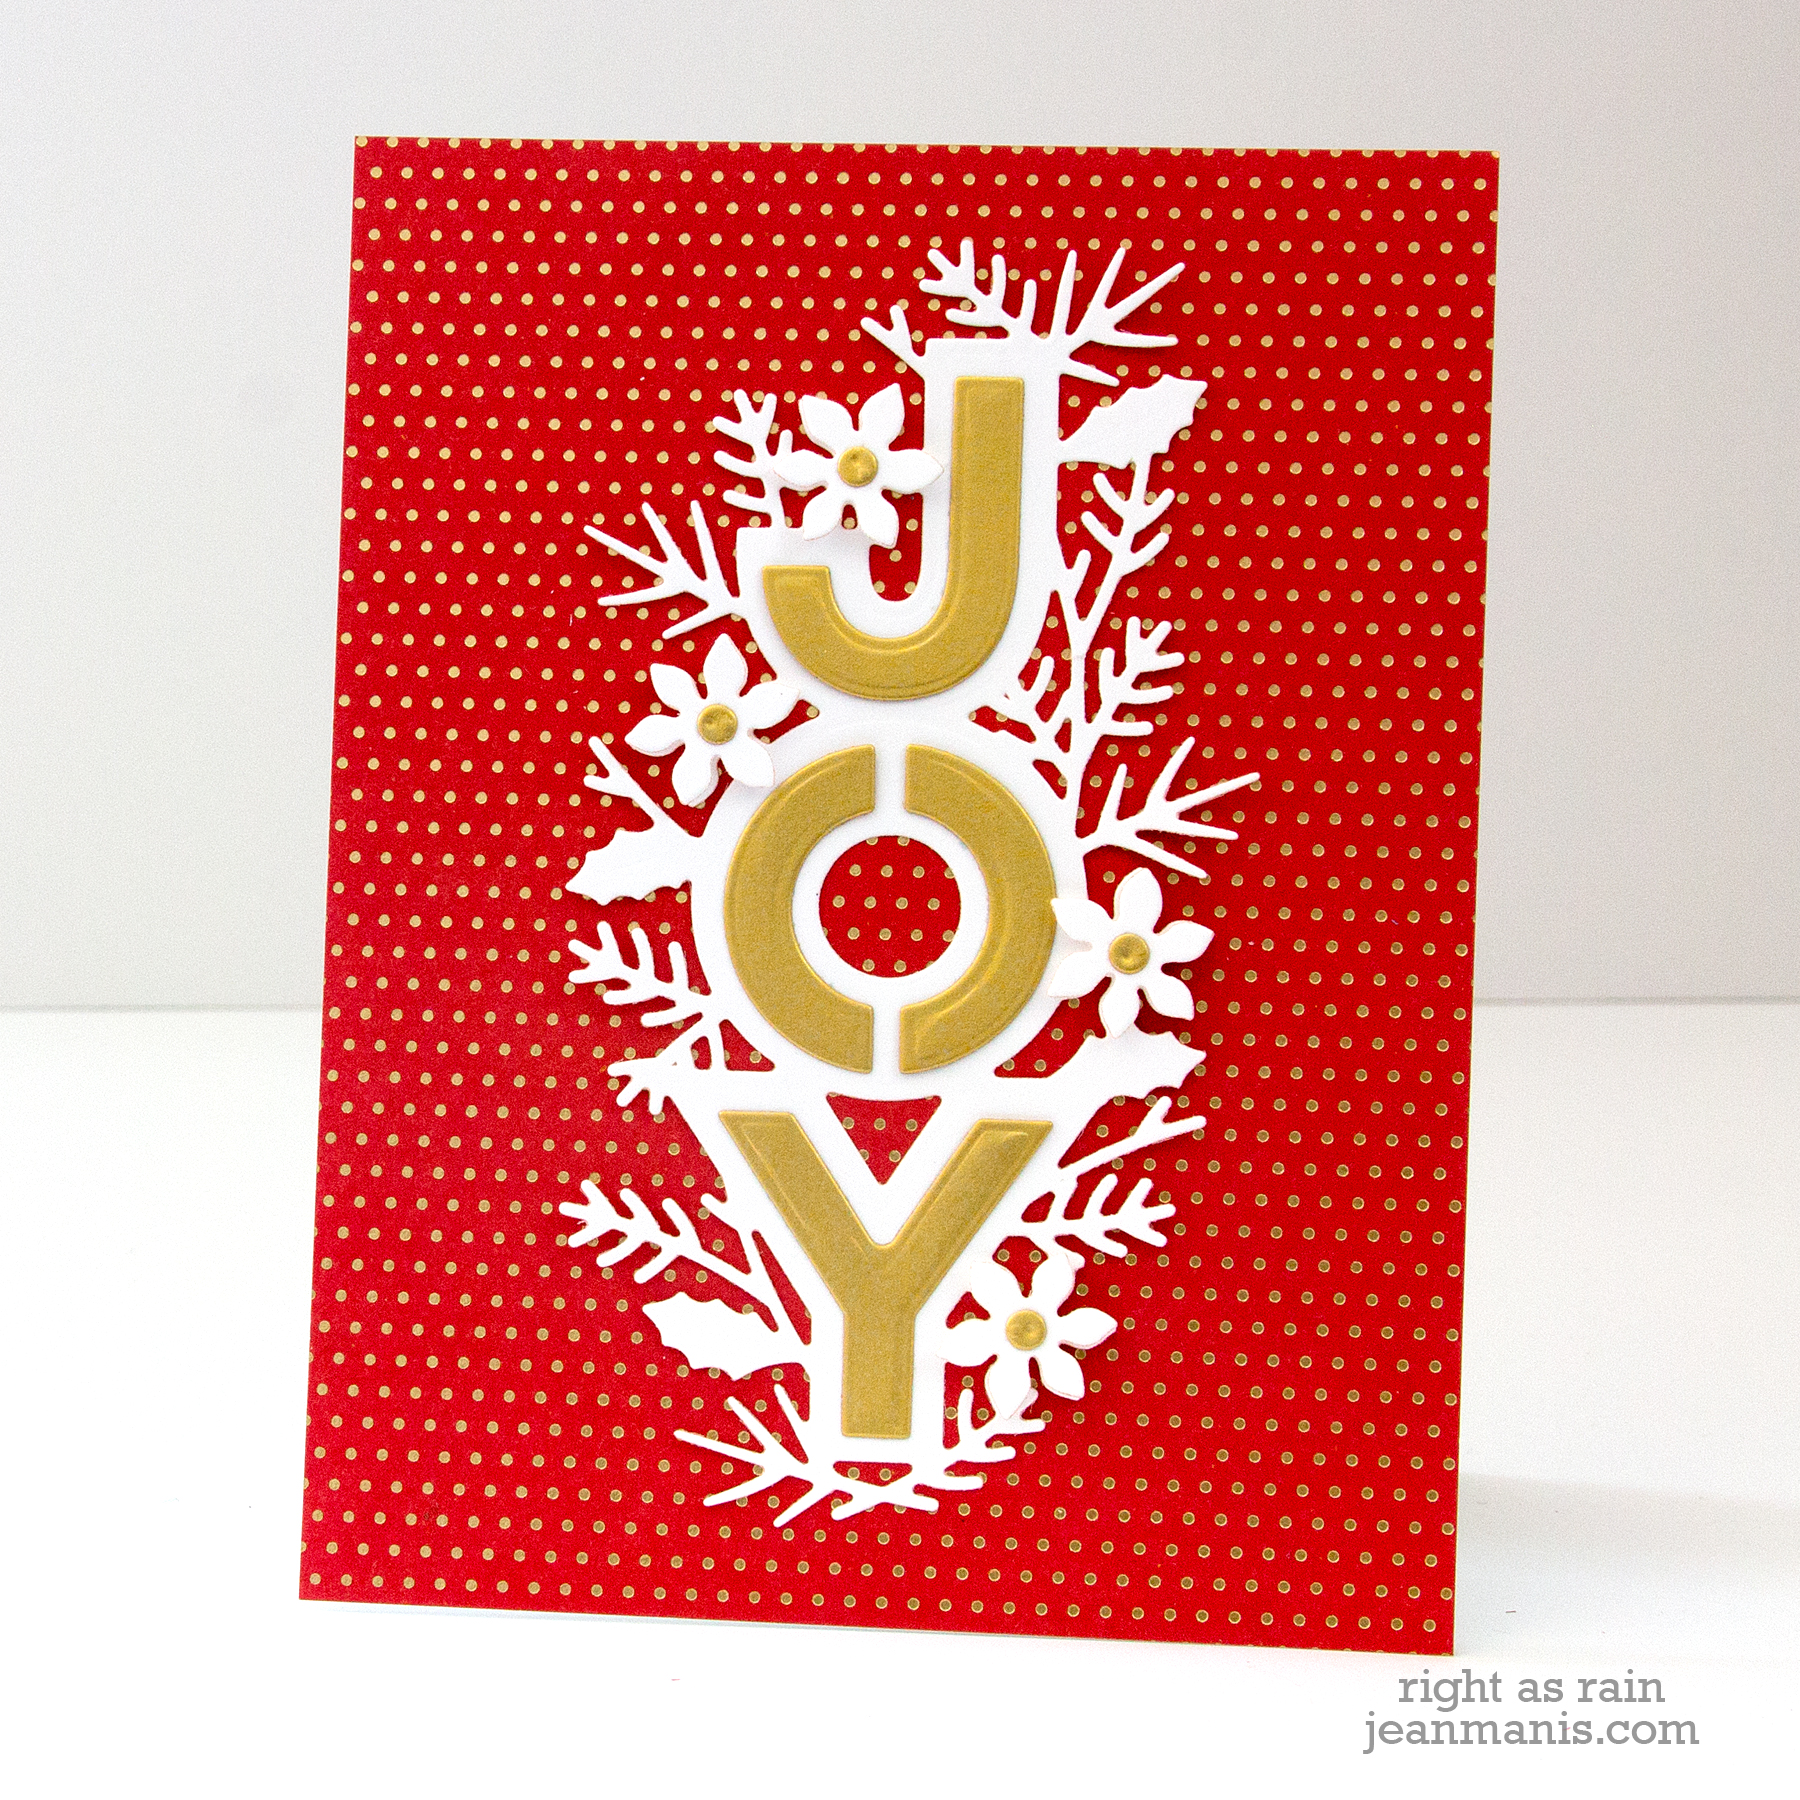
My final projects use the Shapeabilities Joy die set. There are so many options available with this set! And again, the set is completely adaptable to one’s own style. My projects reflect my CAS style.

Spellbinders Holiday 2019 Release - Shapeabilities Joy

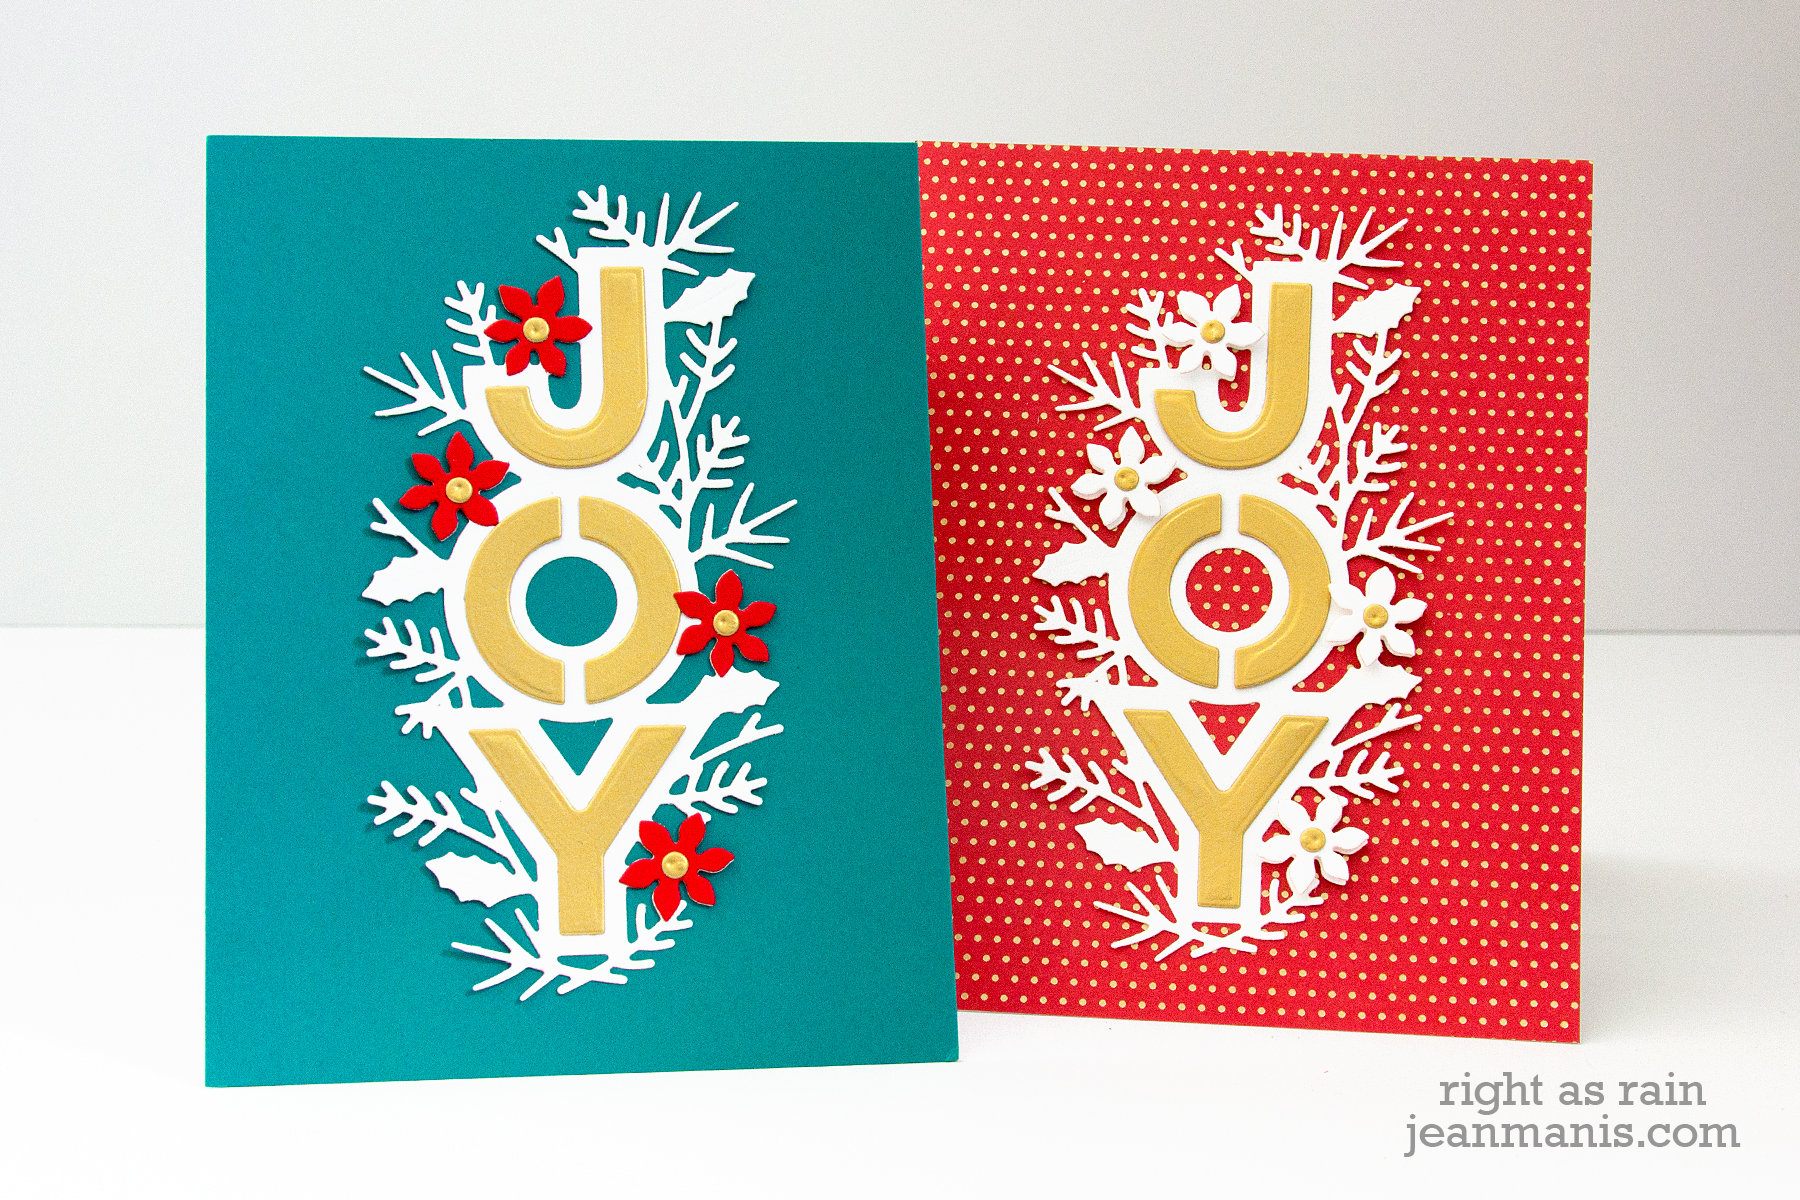
I created card backgrounds from teal solid cardstock, patterned red paper, and green solid cardstock. For all three cards, I cut the poinsettia blooms with the included die and added them to the JOY back panel with foam adhesive. The back panel for the letters does not cut the center of the “O” but the die set includes a die with which to do so.

For the holidays, I like to add metallic accents. For the teal and red background cards, I cut the letters from Brush Gold cardstock. I cut the flower centers on all of the cards from the gold cardstock.

Spellbinders Holiday 2019 Release - Shapeabilities Joy

Spellbinders Holiday 2019 Release - Shapeabilities Joy

Spellbinders Holiday 2019 Release - Shapeabilities Joy

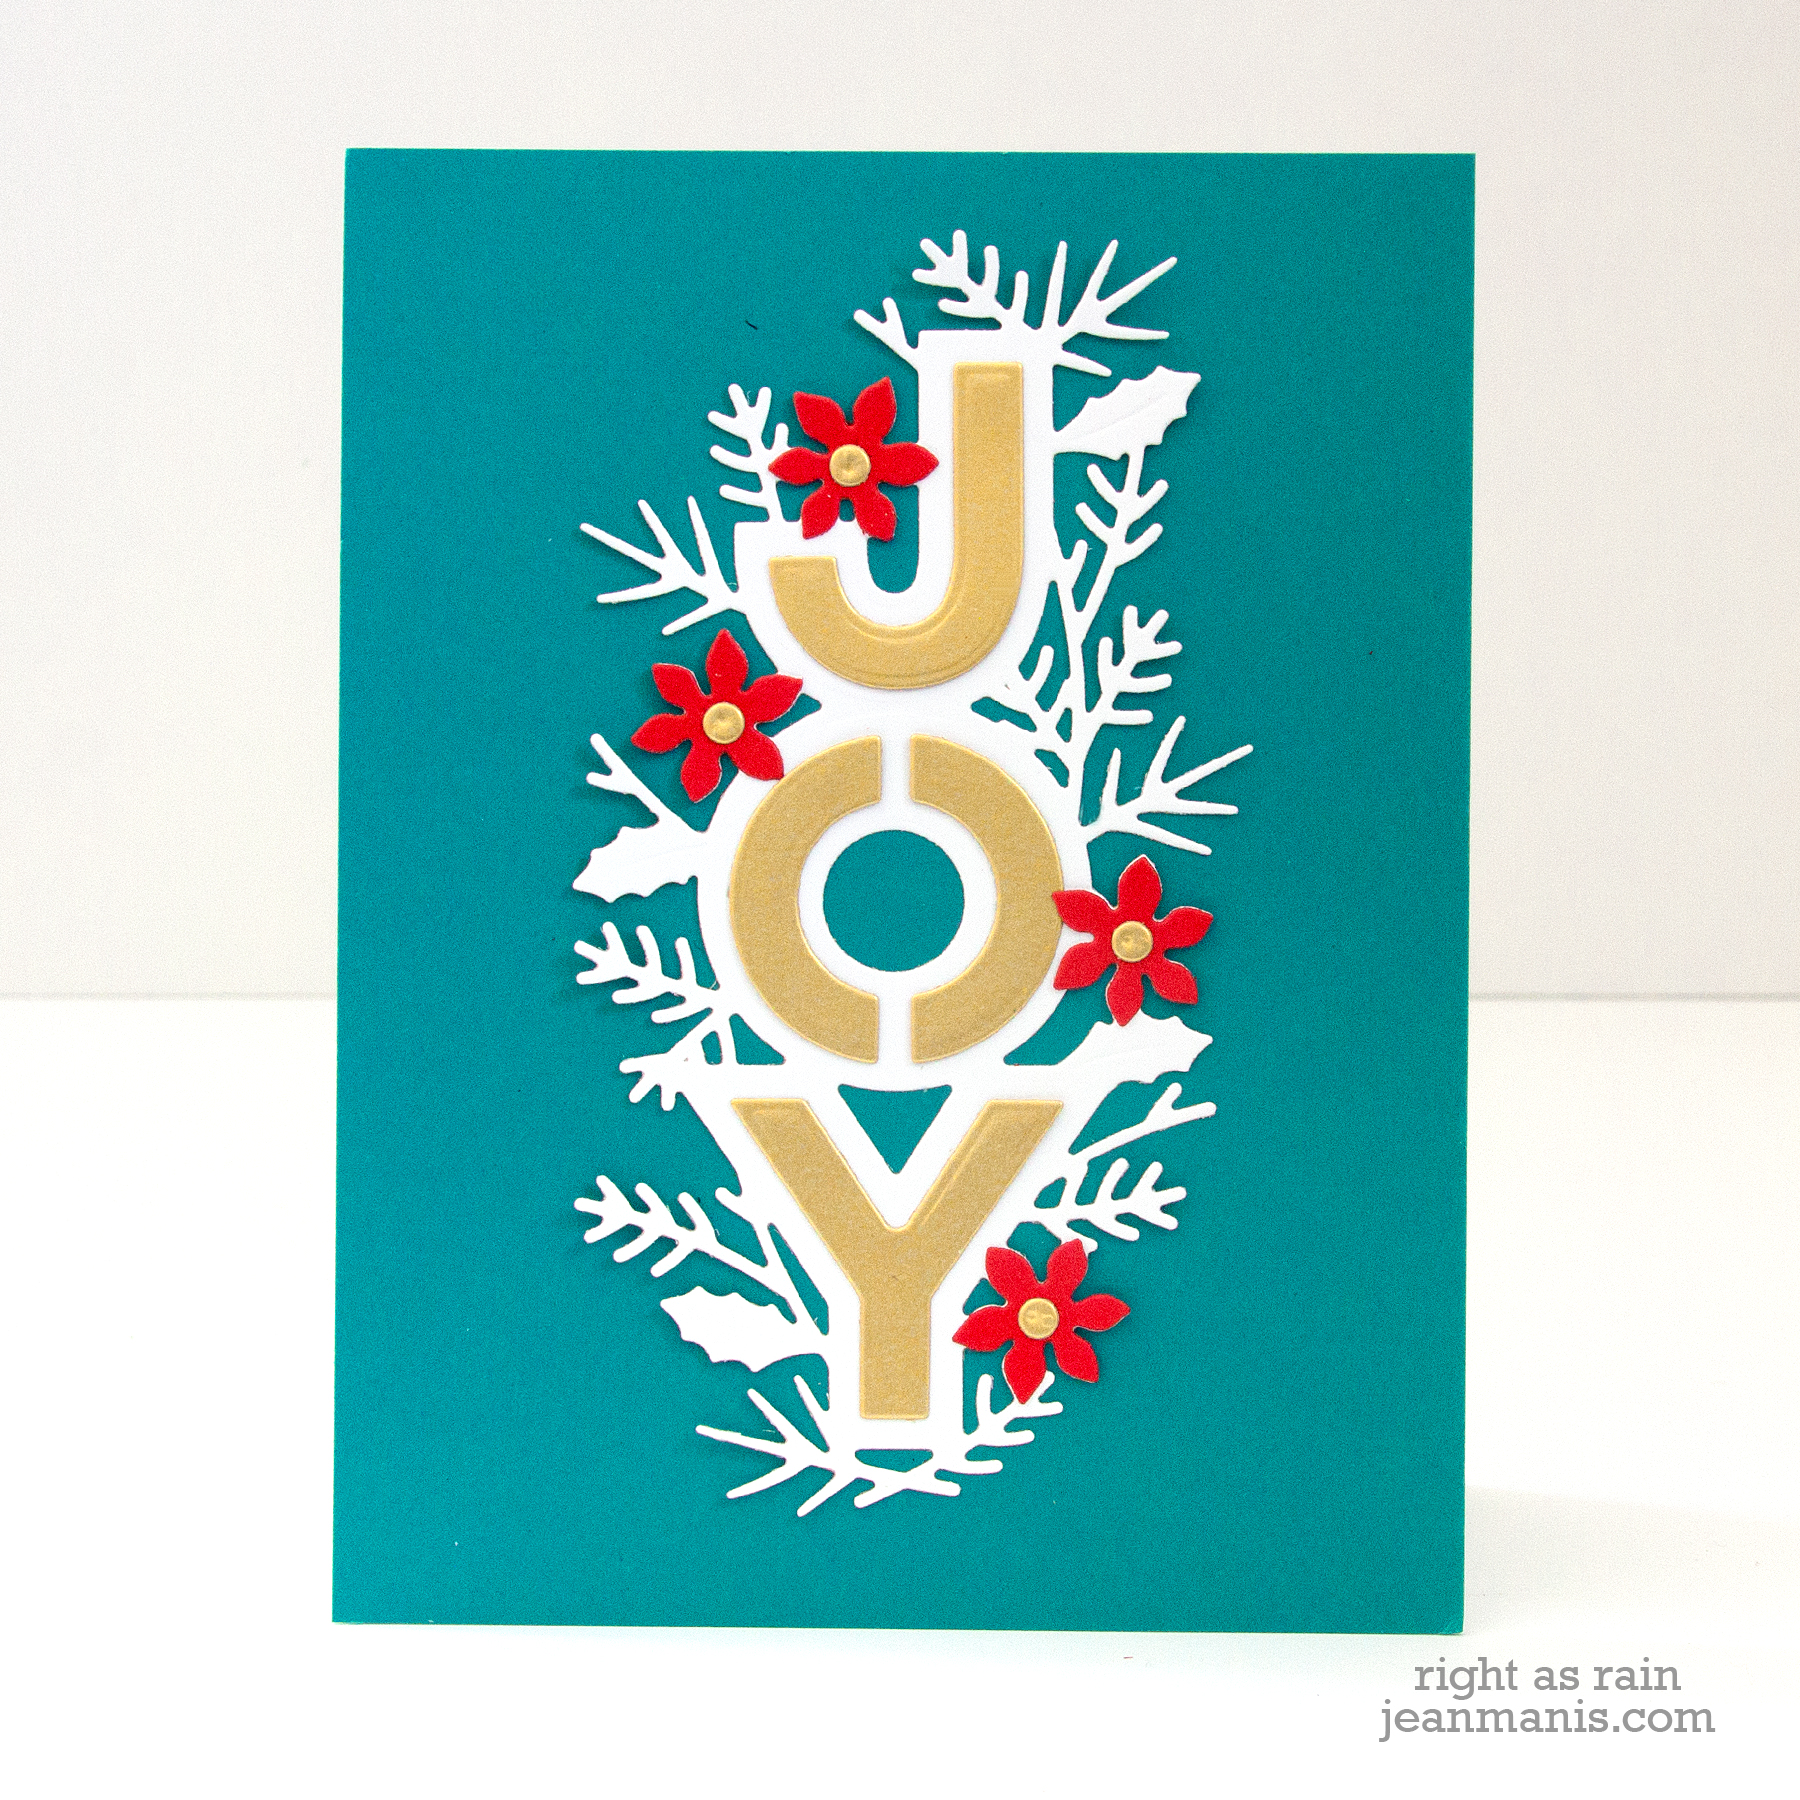
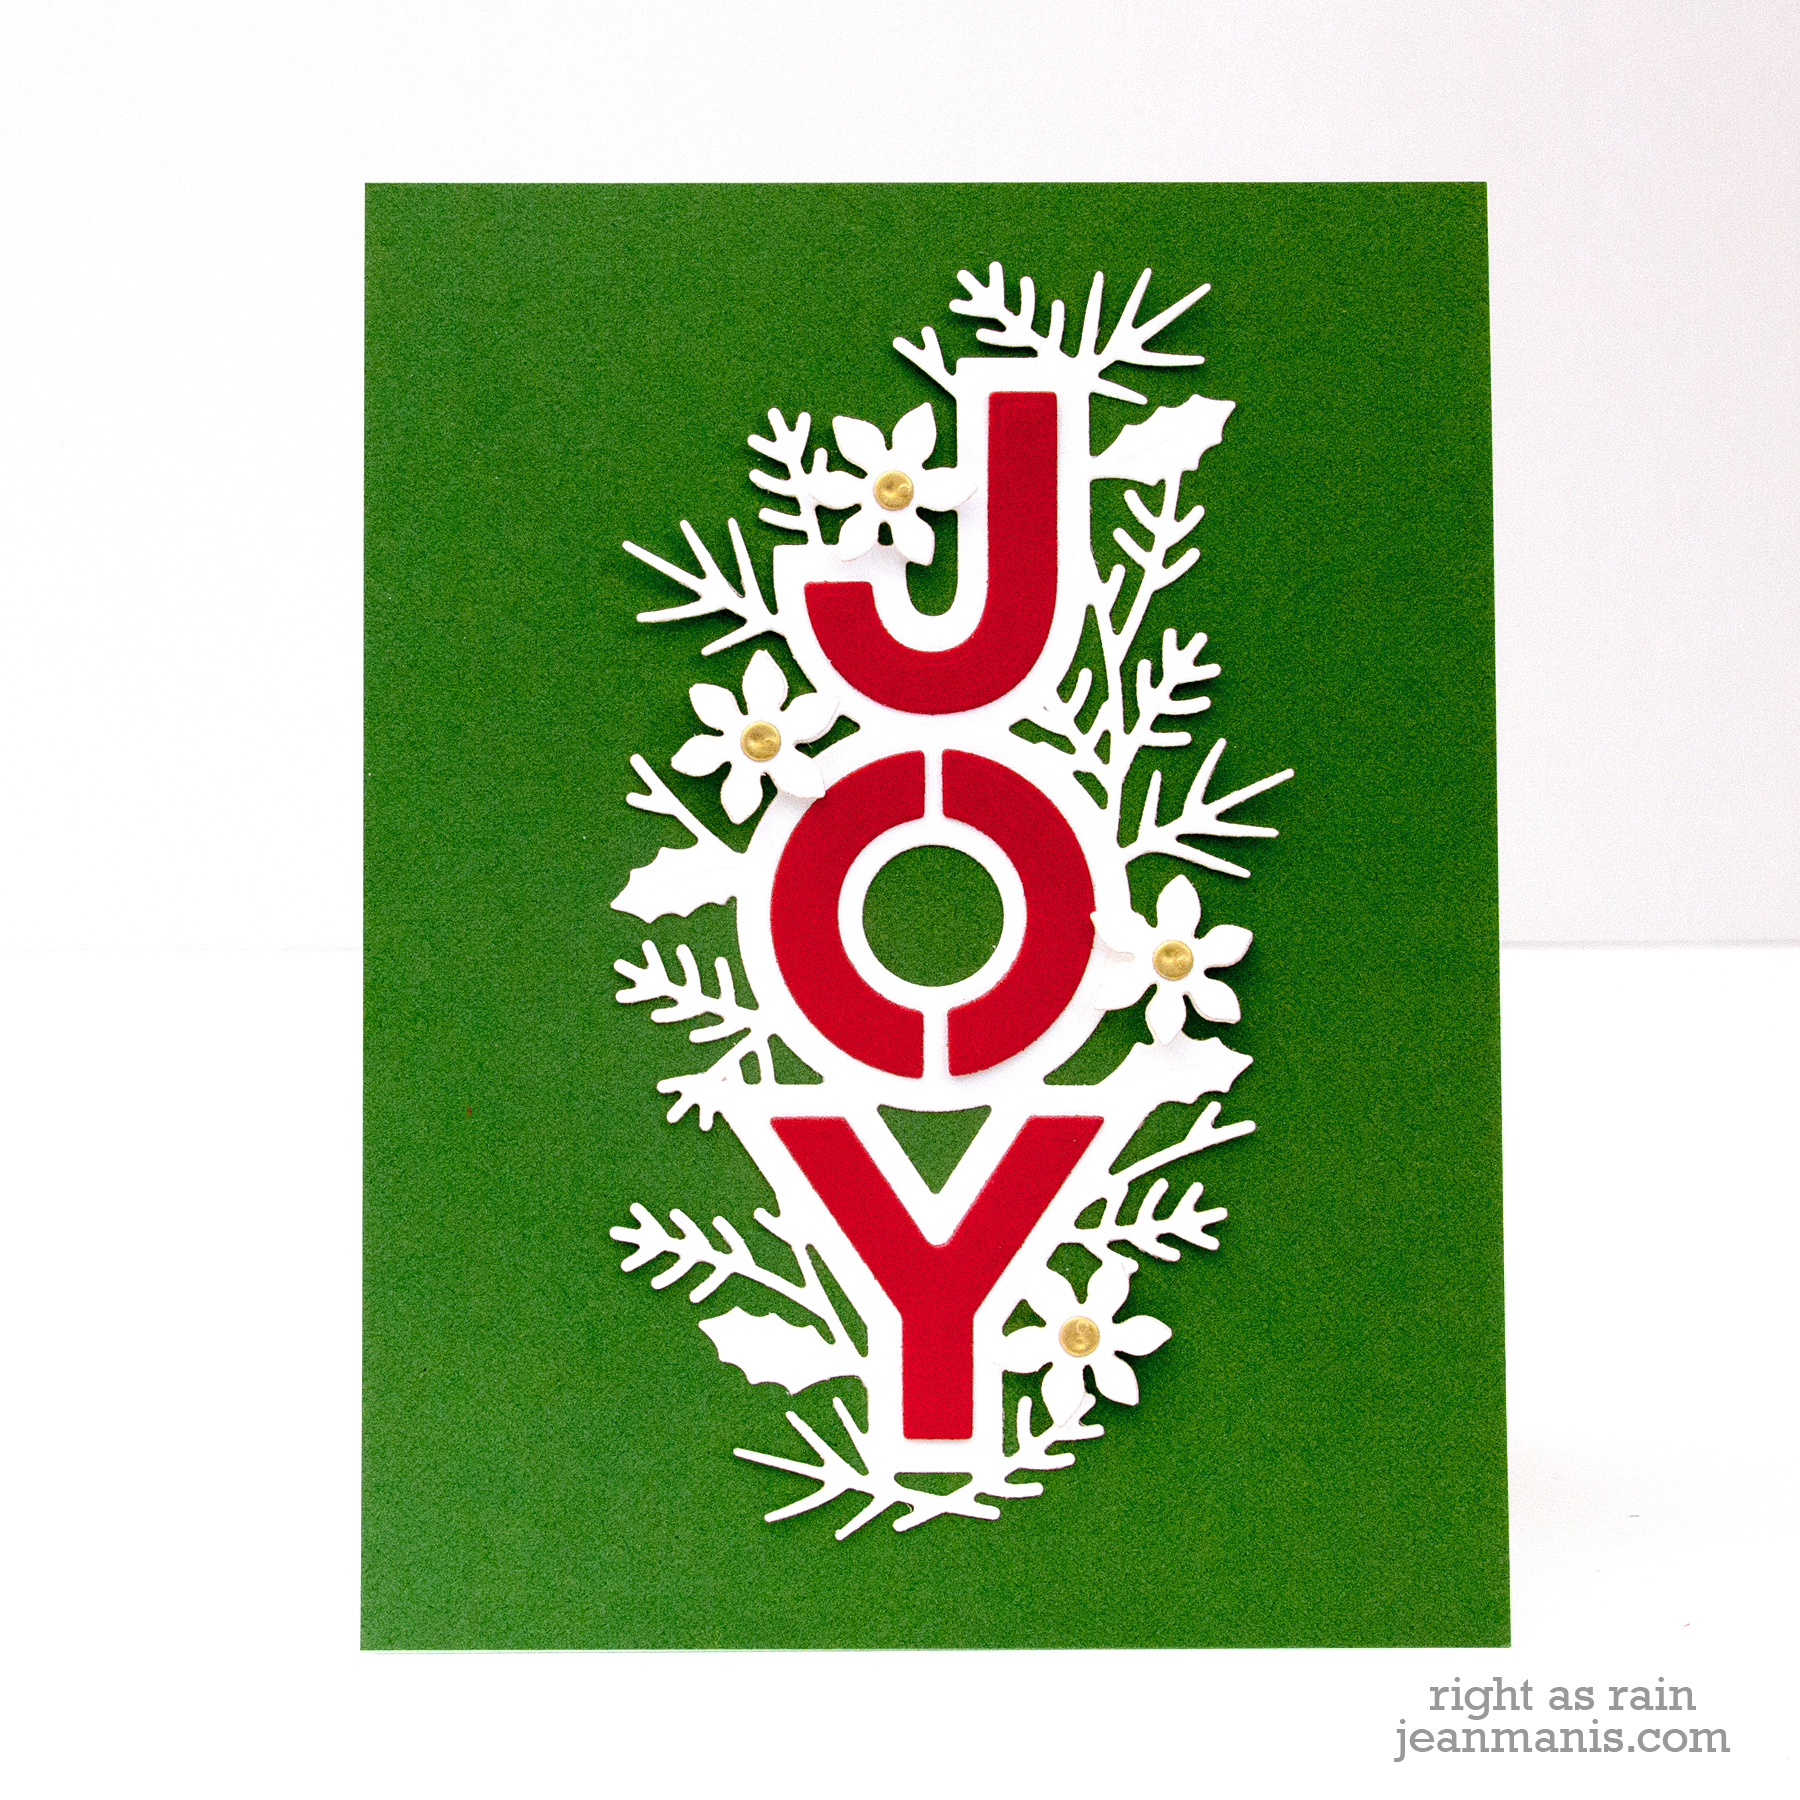
There really is no limit to the possibilities with this set! I could have cut the greenery pieces, dry-embossed the card base, used glitter or shiny cardstock for the letters, …. You get the idea!

Now it’s time to head to the blog of Keeway Tsao. The entire blog hop list is included at the end of the post. Thanks for stopping by!
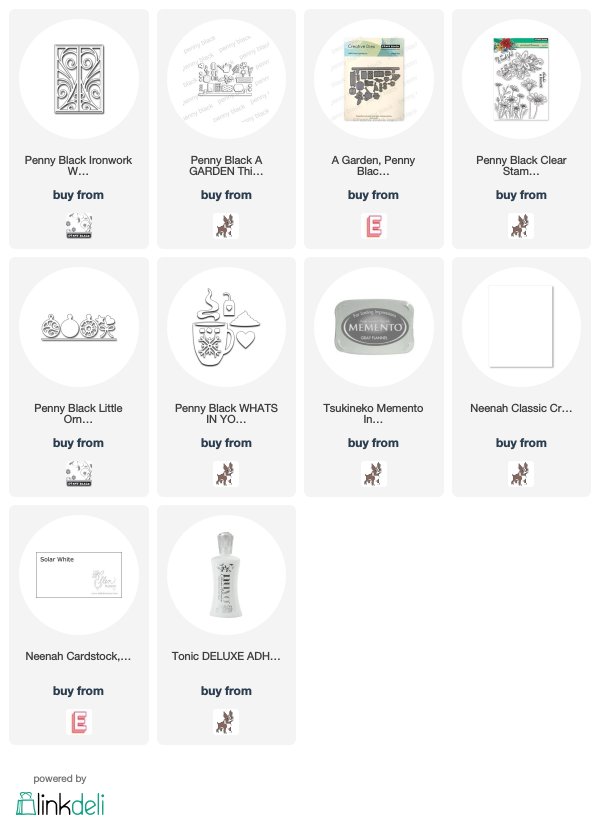
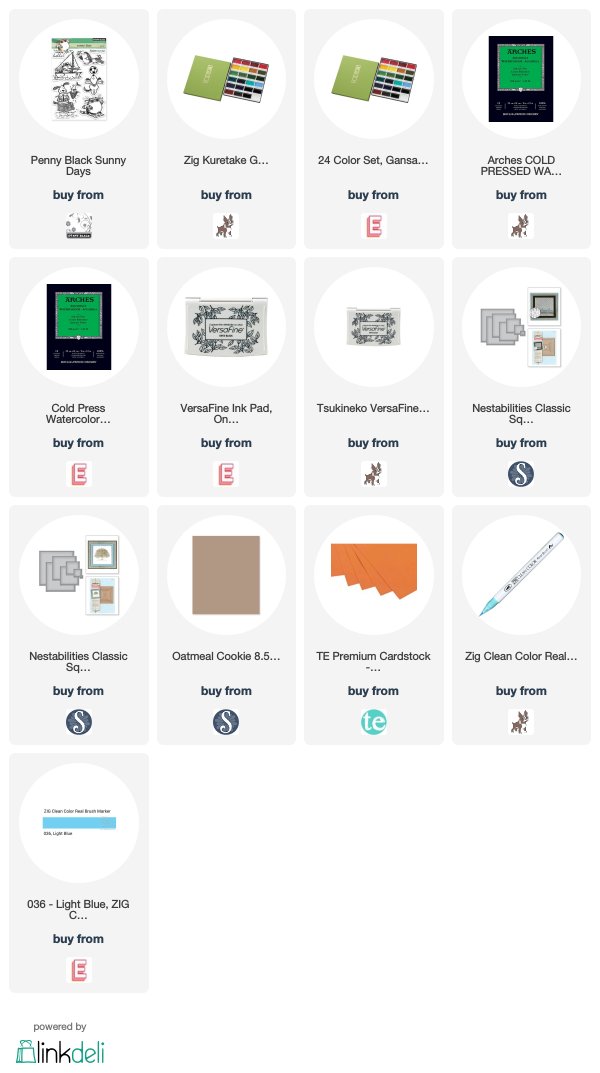
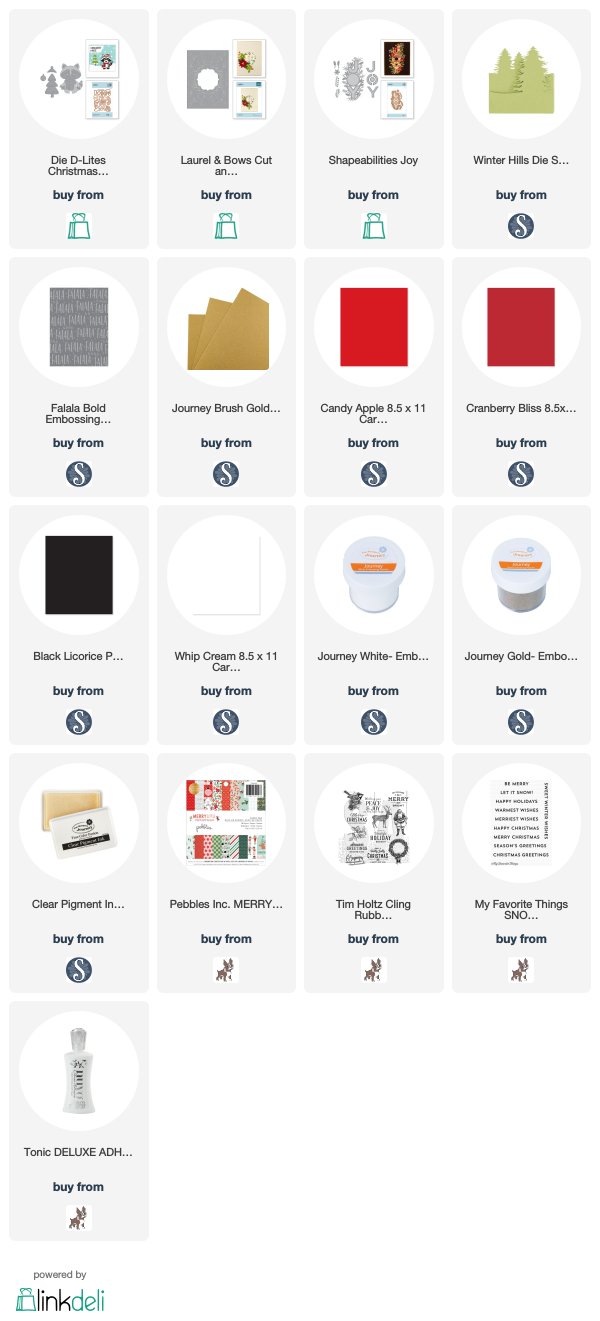
Supplies:

Blog Hop List:

Spellbinders
Jennifer Mcguire
Debby Hughes
Yana Smakula
Nichol Spohr
Wanda Guess
Jean Manis
Keeway Tsao
Svitlana Shayevich
Mindy Eggen
Marie Heiderscheit
Zsoka Marko
Laurie Willison
Karin Åkesdotter
Nina-Marie Trapani
Mindy Baxter
Amy Rysavy
Betty Wright
Daniel West
Amanda Korotkova
Mayline Jung
Varada Sharma

Freshly Made Sketches – 400th Sketch Week 2

Hello! I have had such a great time playing along with the Freshly Made Sketches Challenges of late. This week’s sketch had me stumped all morning! There are so many possibilities.

Freshly Made Sketches - 400th Sketch Week 2

In the end, I paired a textured panel with patterned paper and used a die-cut fence as the divider between the two.

Freshly Made Sketches - 400th Sketch Week 2

  • I cut SU So Saffron cardstock with the Lawn Fawn Stitched Woodgrain die and adhered the patterned paper (retired Basic Grey) to it. I die-cut the Taylored Expressions fence and adhered it to the yellow panel so that the base would be resting on the patterned paper.
  • I cut the Poppystamps Barnyard Rooster (now retired) from red cardstock that matched the red in the patterned paper. I adhered the rooster just behind the fence.
  • I heat-embossed a MFT sentiment (the idea being that the rooster was crowing about an accomplishment) on dark grey cardstock and cut it with a banner die. I added the sentiment to the fence with a small staple.

Freshly Made Sketches - 400th Sketch Week 2

Supplies: Poppystamps Barnyard Rooster, SU So Saffron cardstock, Taylored Expressions Fence die, Basic Grey Patterned Paper

Gone Fishing!

Hello! Seems as if everywhere I turn, there are people fishing! Today I am sharing a watercolored Penny Black image paired with a punny sentiment created on my computer. The image is from an older (and favorite!) Penny Black stamp set – Sunny Days. Let’s take a look!

Gone Fishing!

  • I stamped the image with VersaFine ink on Cold Press watercolor paper.
  • I colored the image with Kuretake Gansai Tambi watercolors. The background was colored with the Zig Clean Color Real Brush Marker in Light Blue.
  • I used square dies to cut a frame from the cardstock on which I printed the sentiment, as well as from TE Sweet Potato Pie cardstock for an inner mat.

Gone Fishing!

Supplies: