Hello crafty friends! I am delighted to be participating in a blog hop celebrating the recently released Cut & Emboss Folders from Spellbinders. You should have reached my blog from the Spellbinders blog.

To celebrate this release, Spellbinders is giving away a $50 gift certificate to a lucky blog reader – selected from the comments across all of the blogs in the hop. Giveaway closes on Sunday, April 14th 11:59 pm EDT. Winners will be announced in our blog hop post the following Monday. The winner is responsible for shipping cost, duties, and taxes.
Let’s take a look at what I created with two of the folders in the collection.
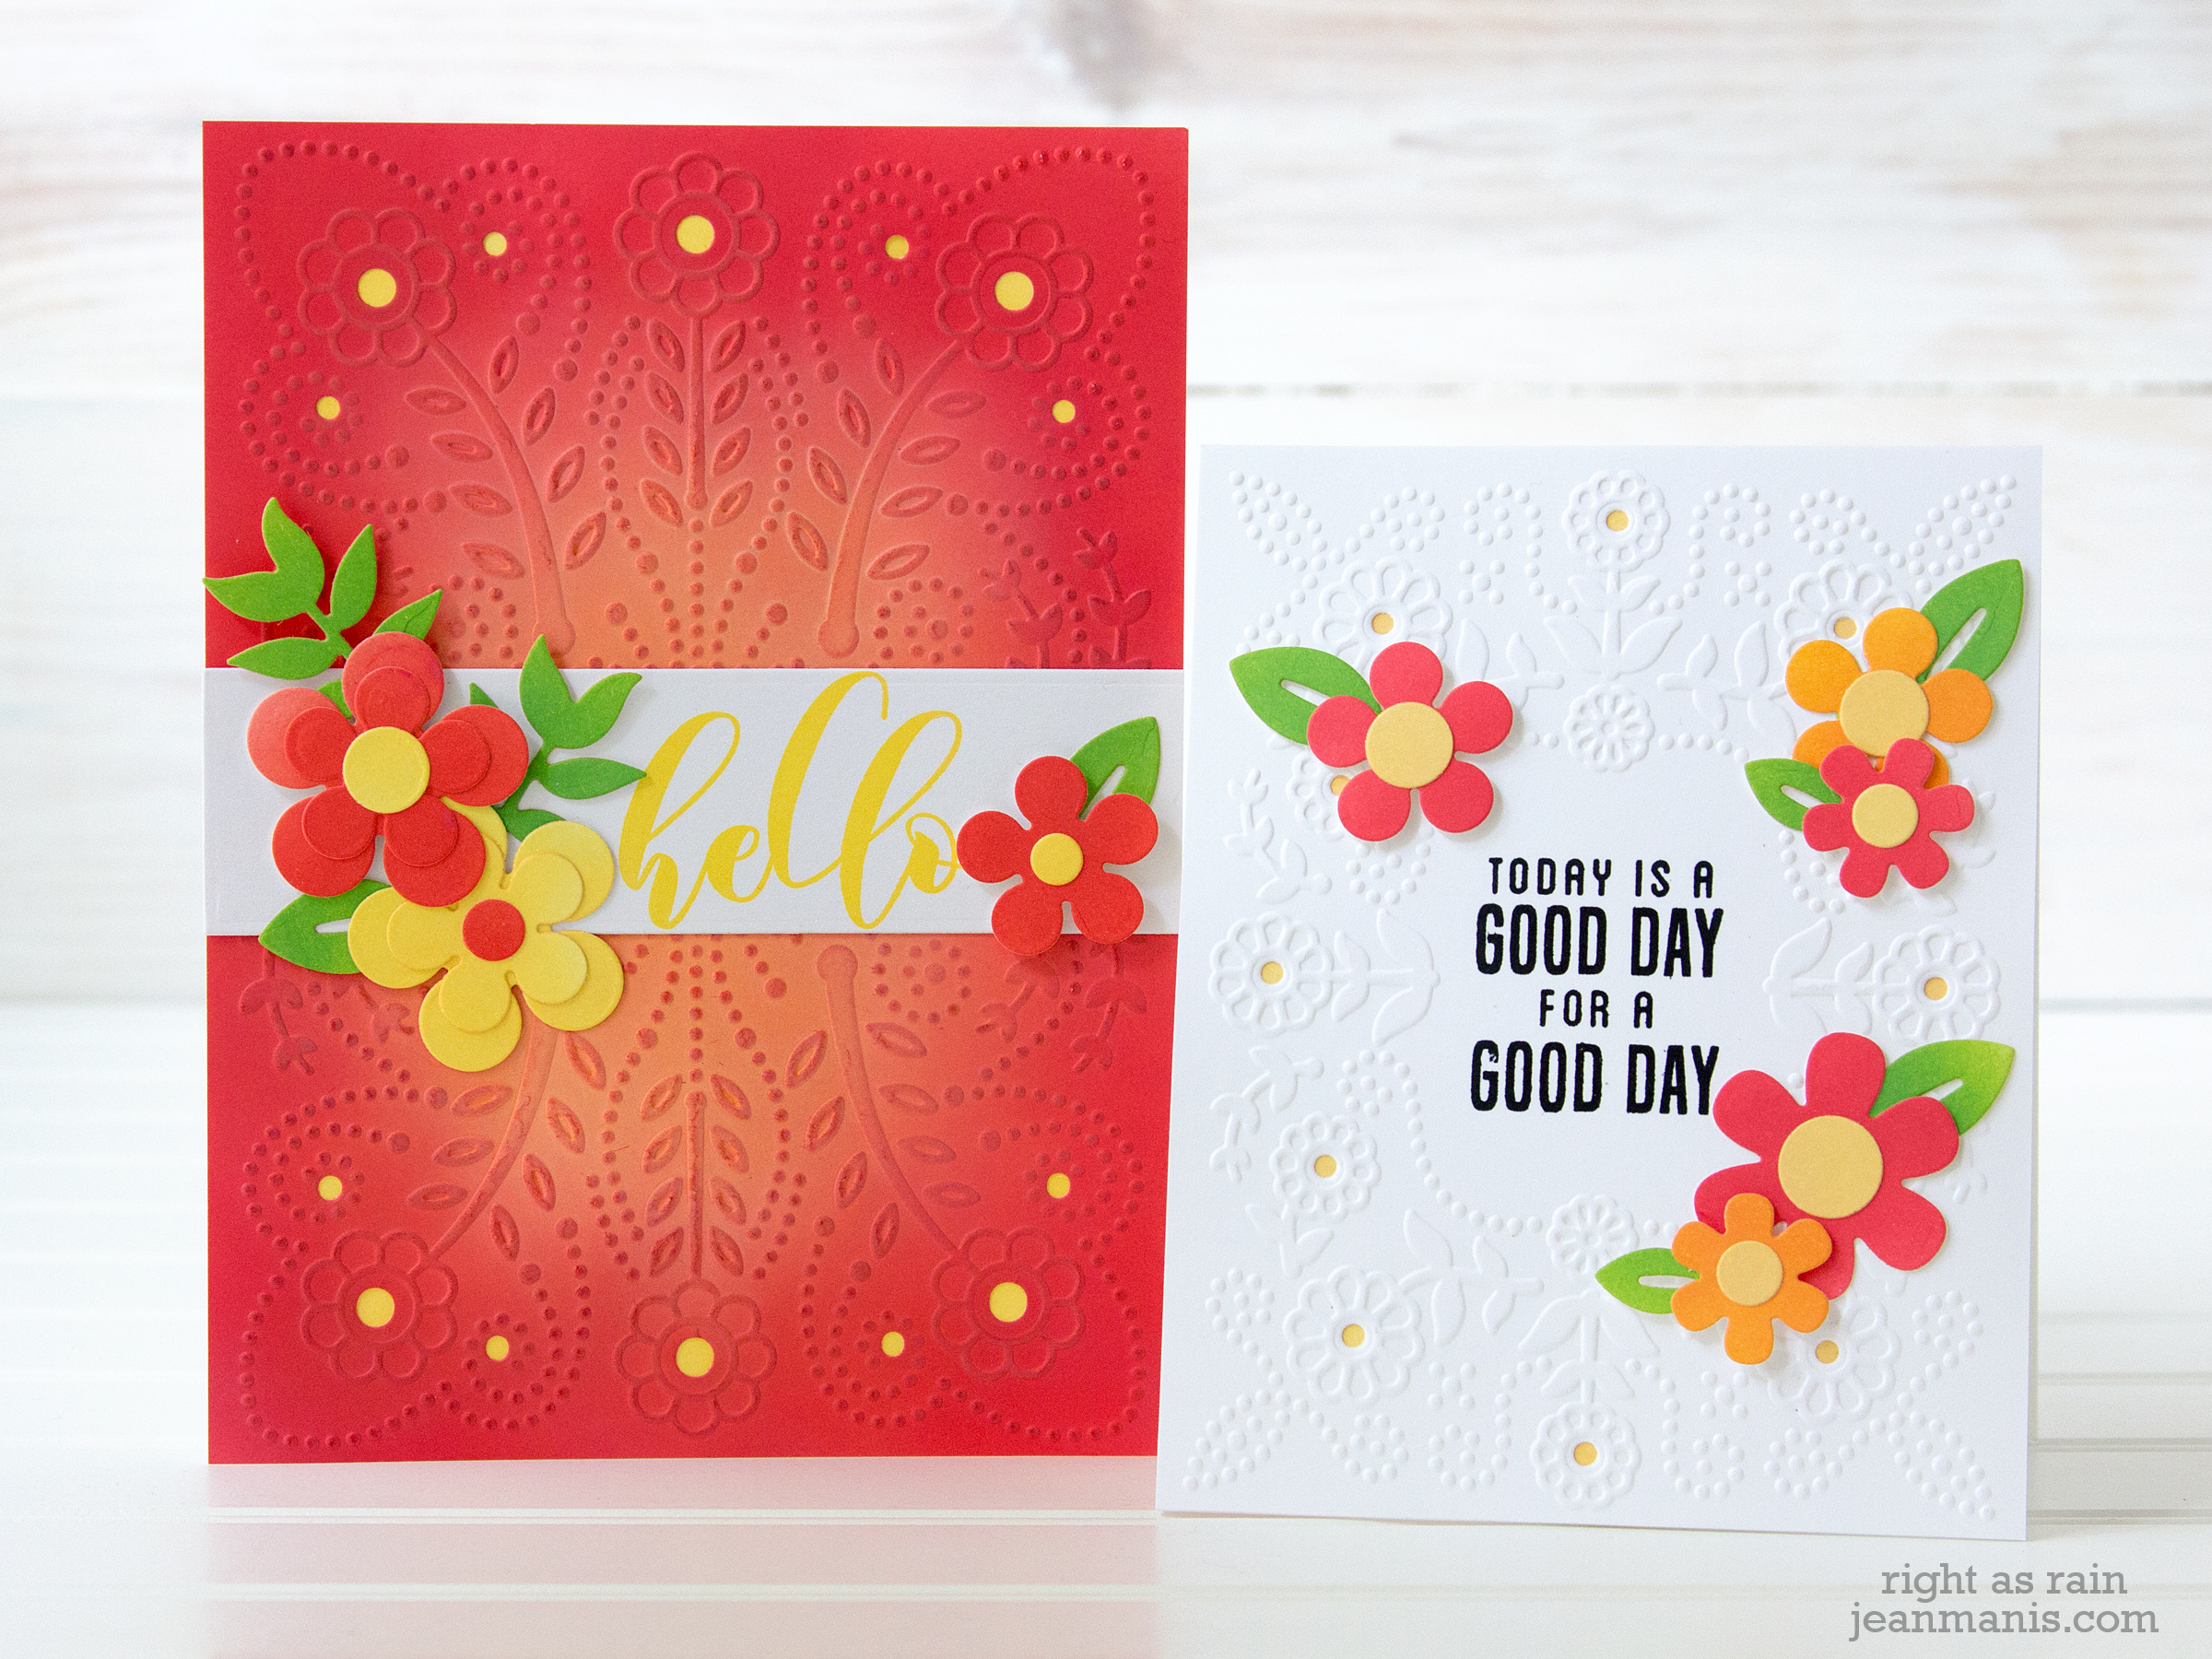
My first project features the Floral Splash folder. To create the background, I began by applying Distress Oxide inks to white cardstock. I worked from the center of the panel outwards.
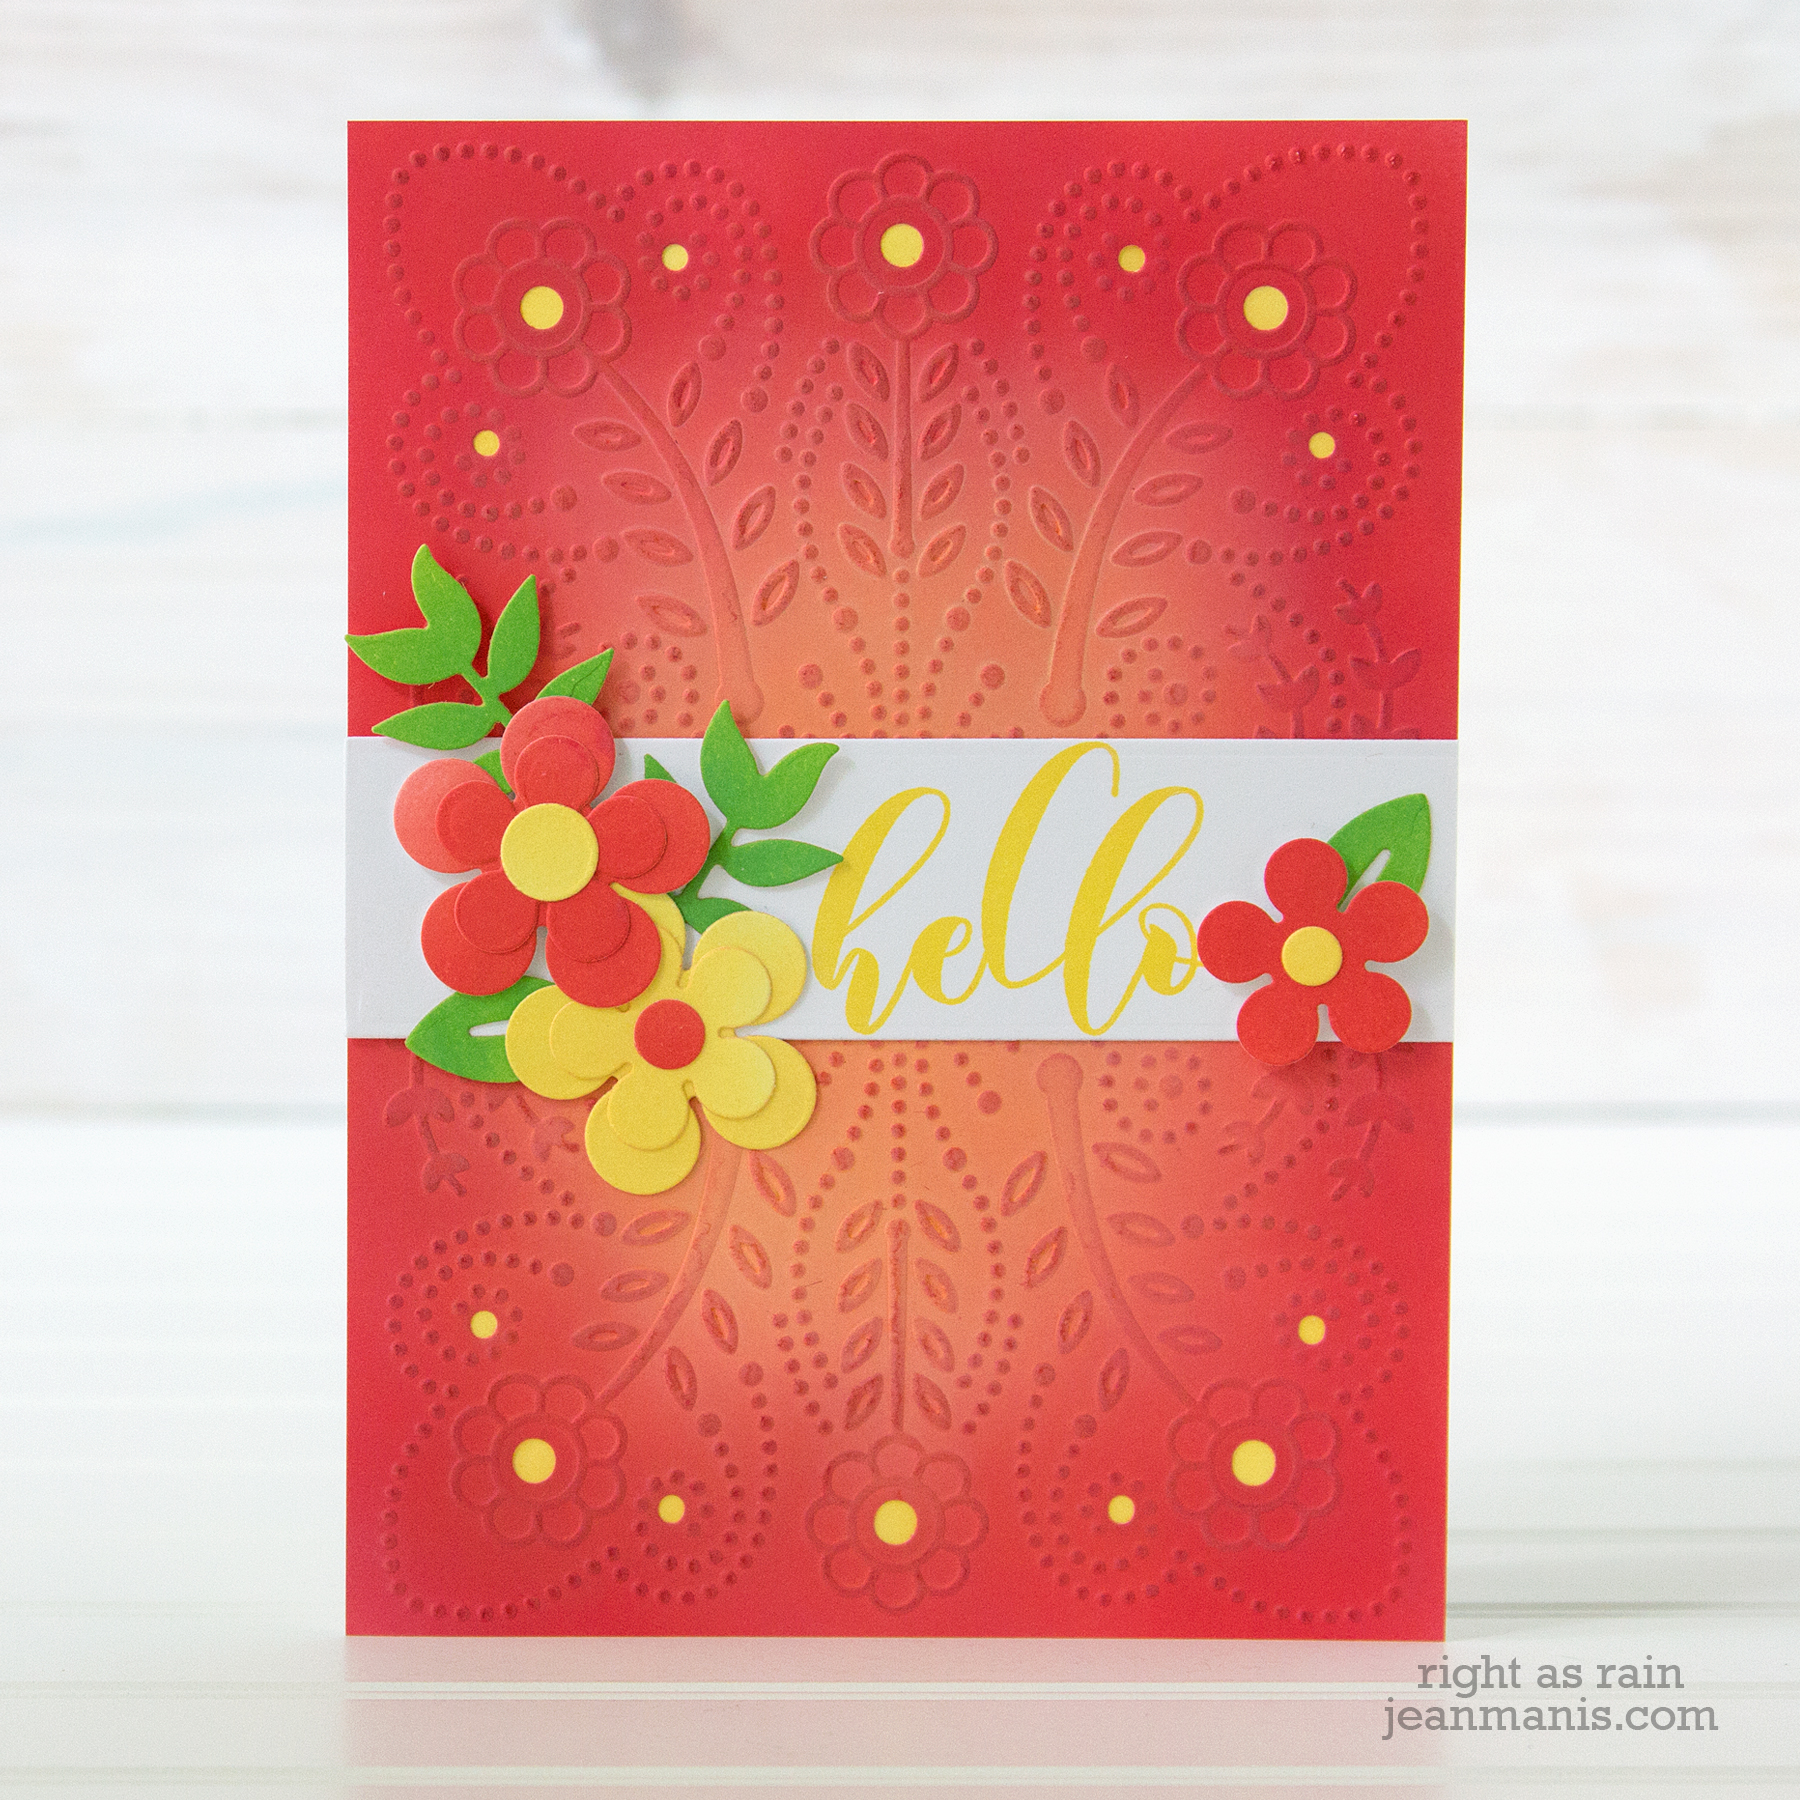 I trimmed the panel to 5″ x 7″ and then cut and embossed it with the Floral Splash folder.
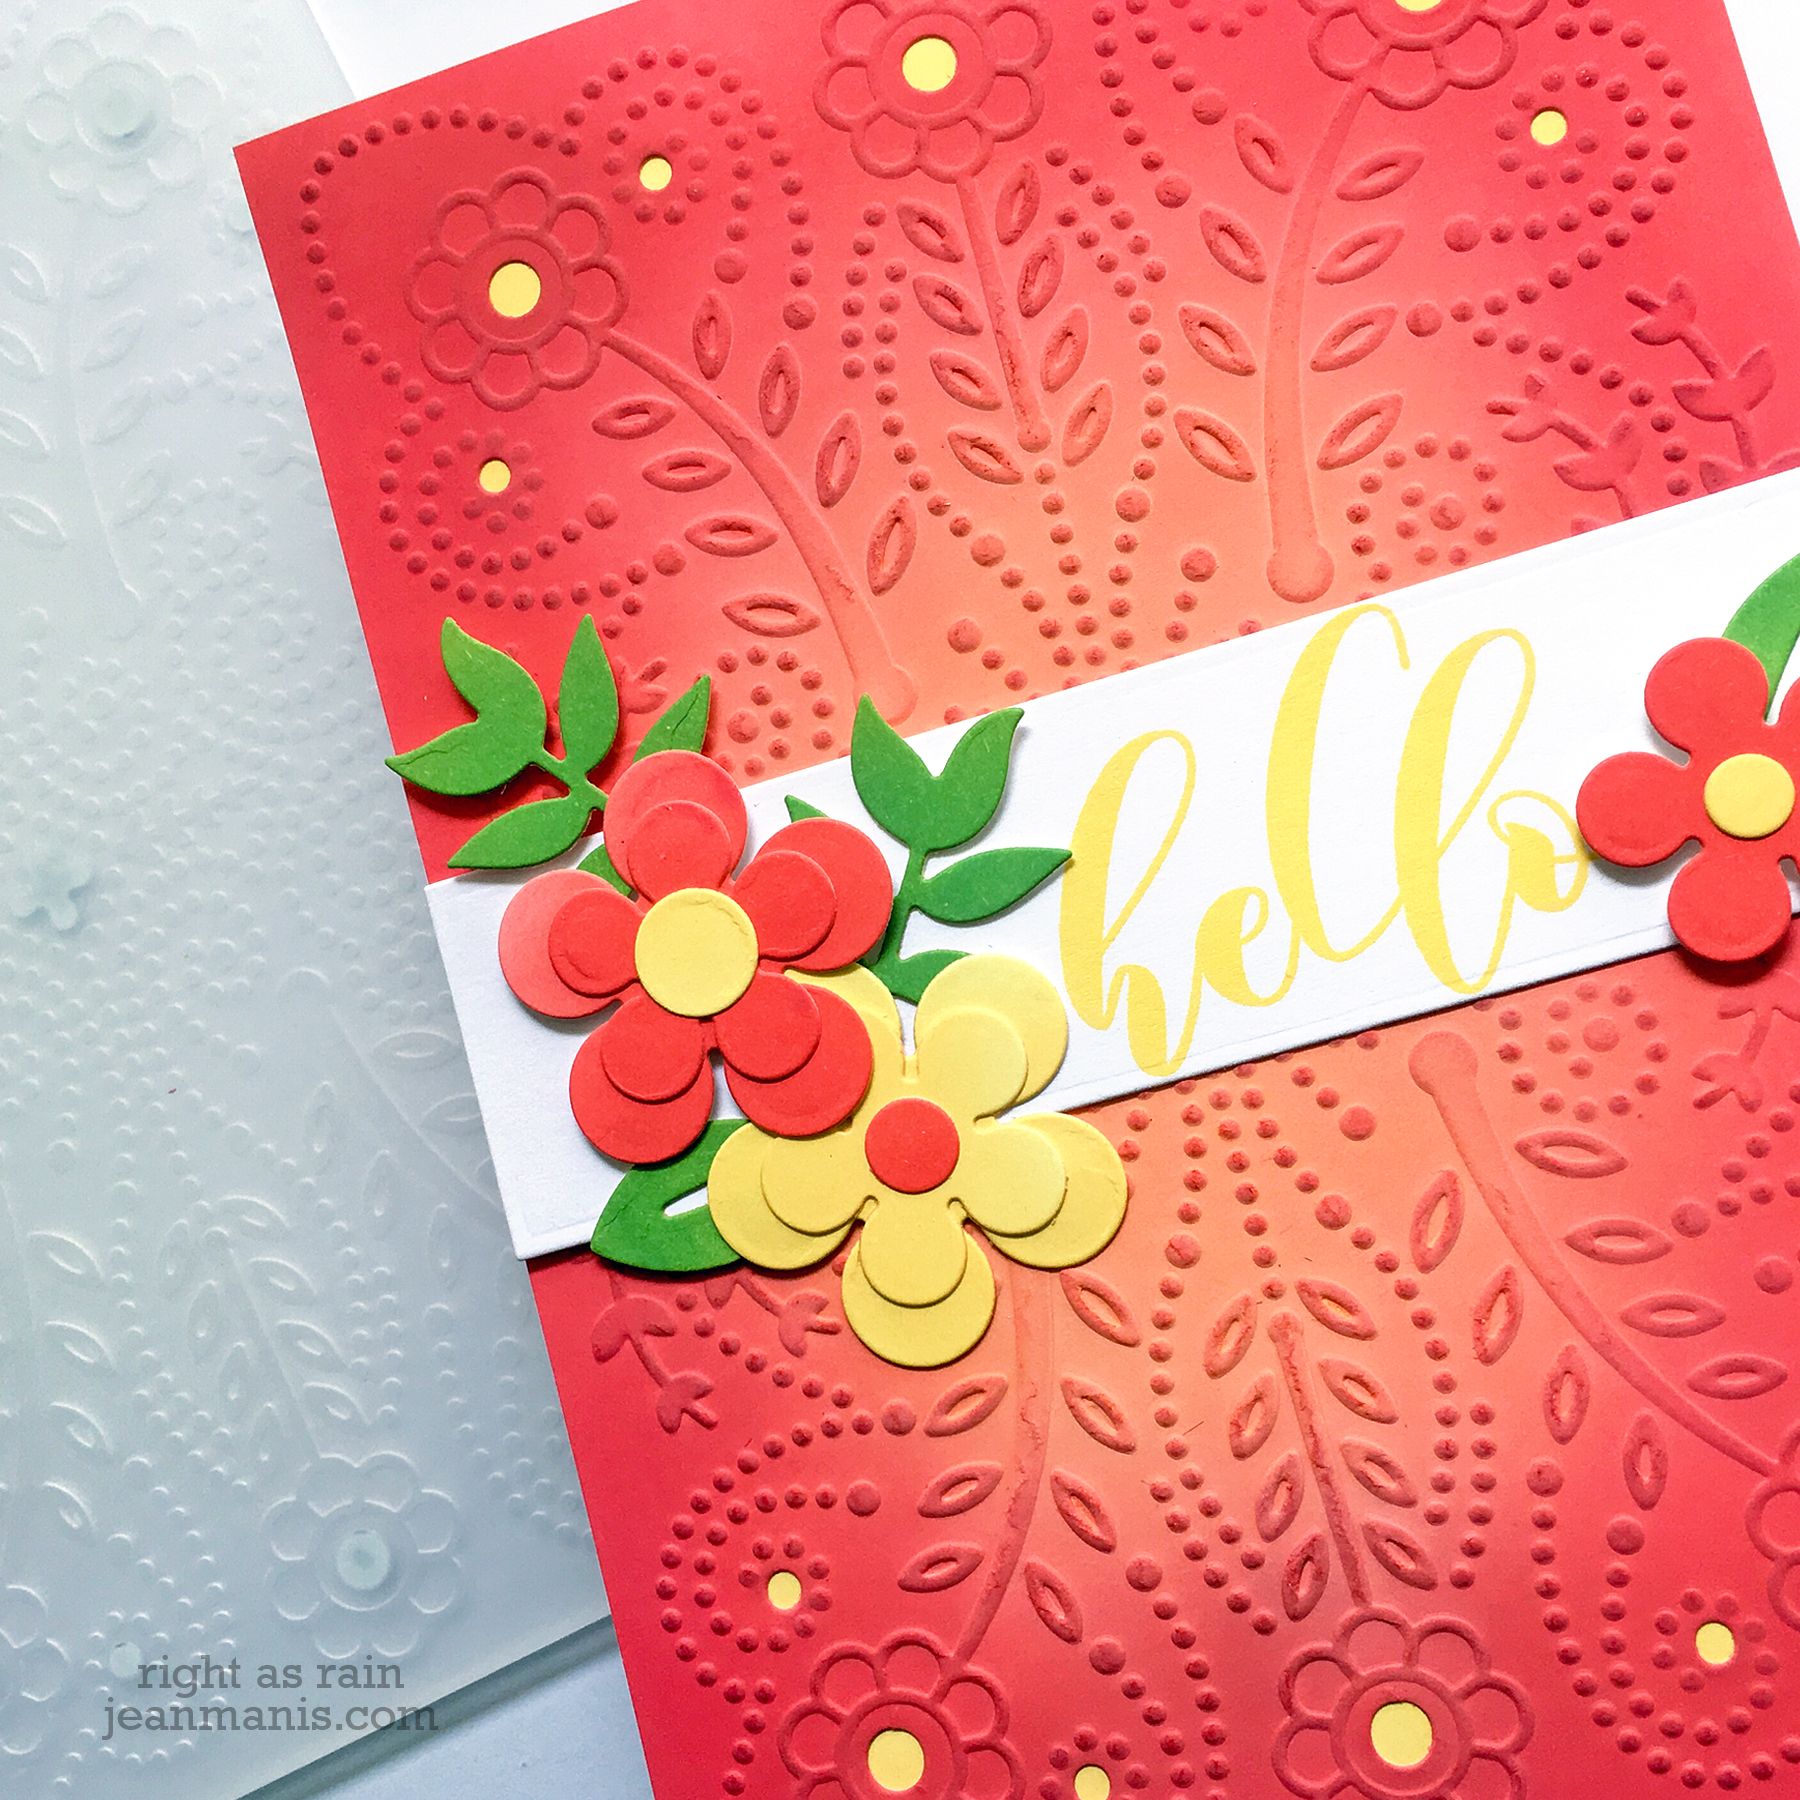
I brushed dark red ink across the embossed front to accentuate the pattern, and I glued cardstock,which I had colored with yellow ink, behind the panel for the floral centers.
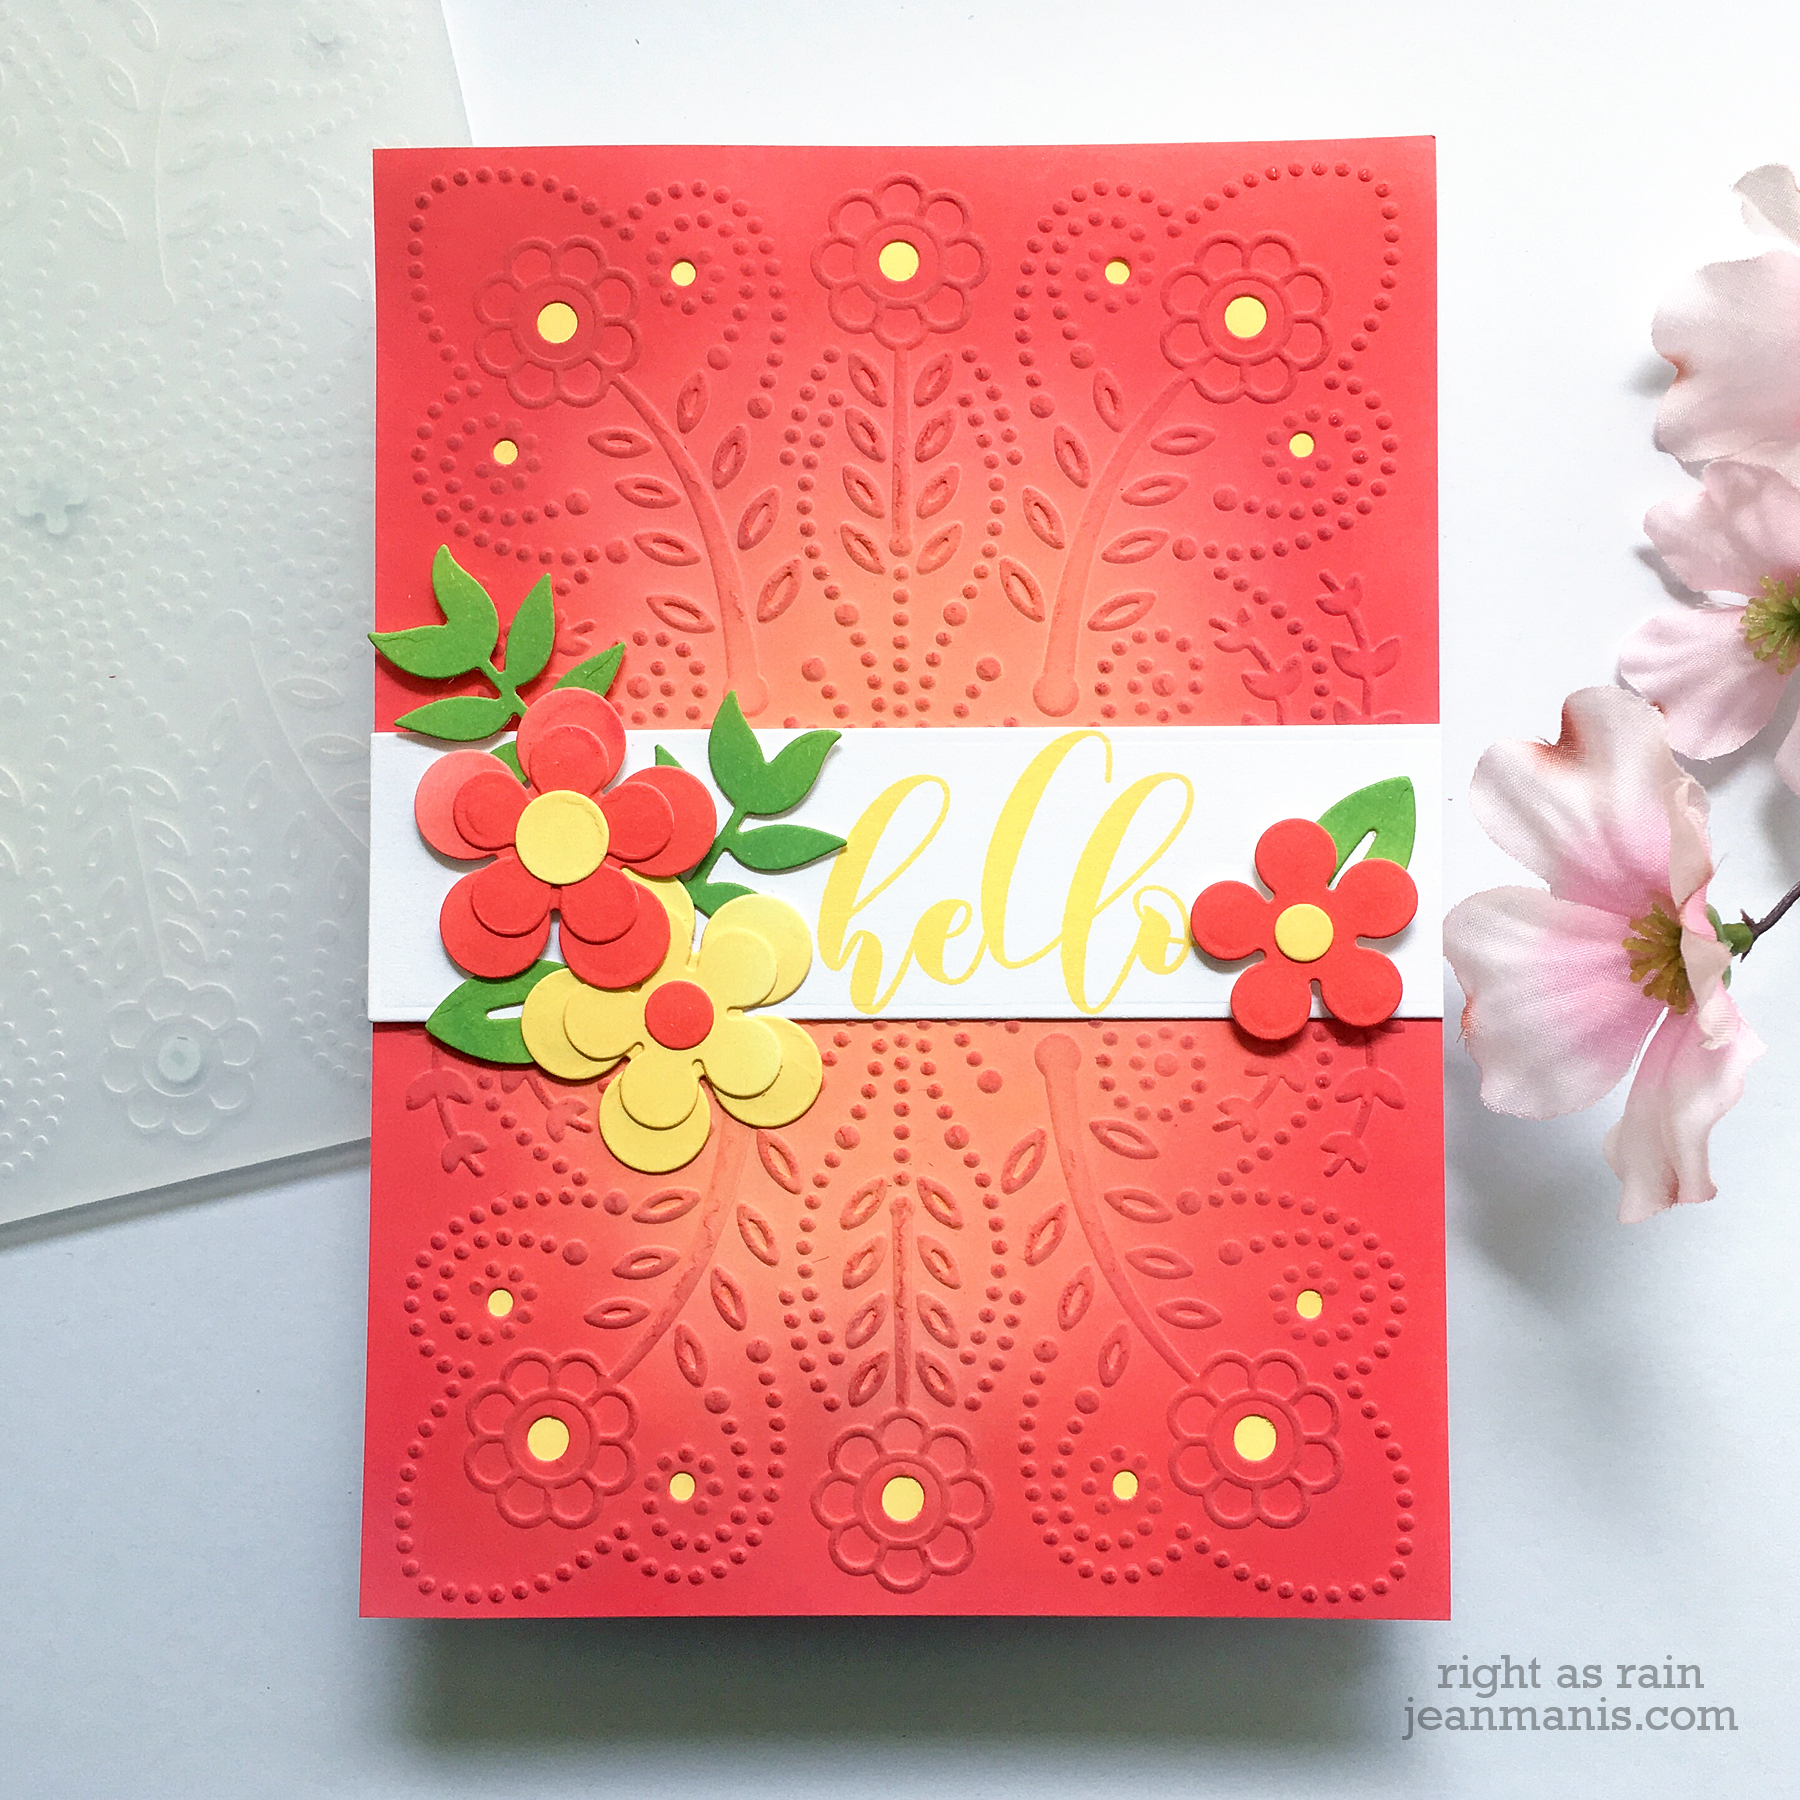
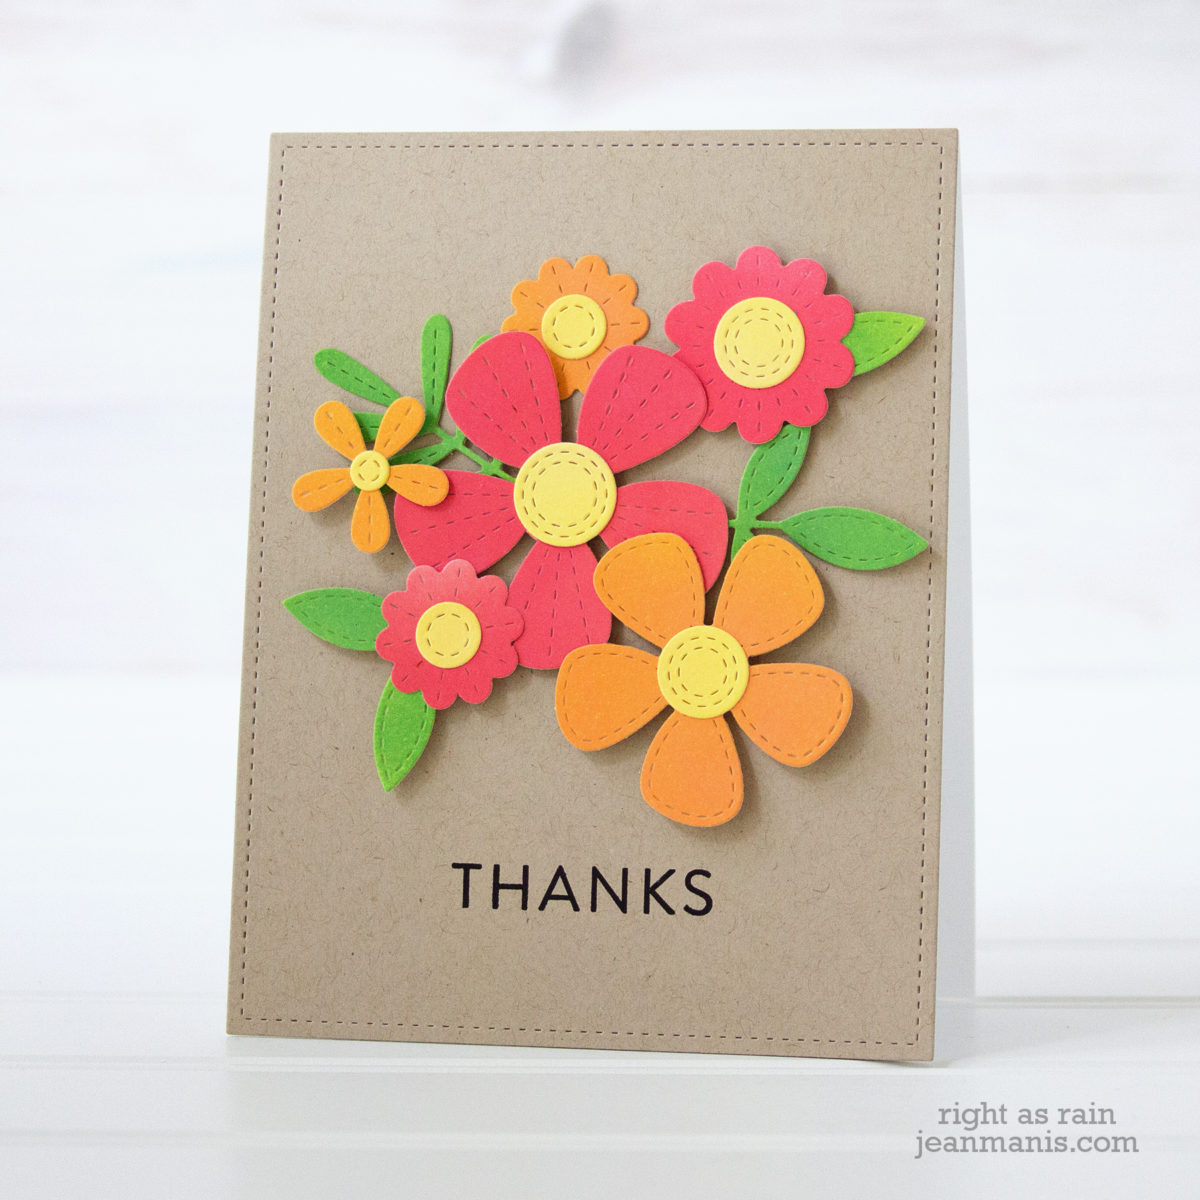
I added a sentiment strip on which I arranged flowers and foliage cut with the Daisy 2 dies from inked cardstock .
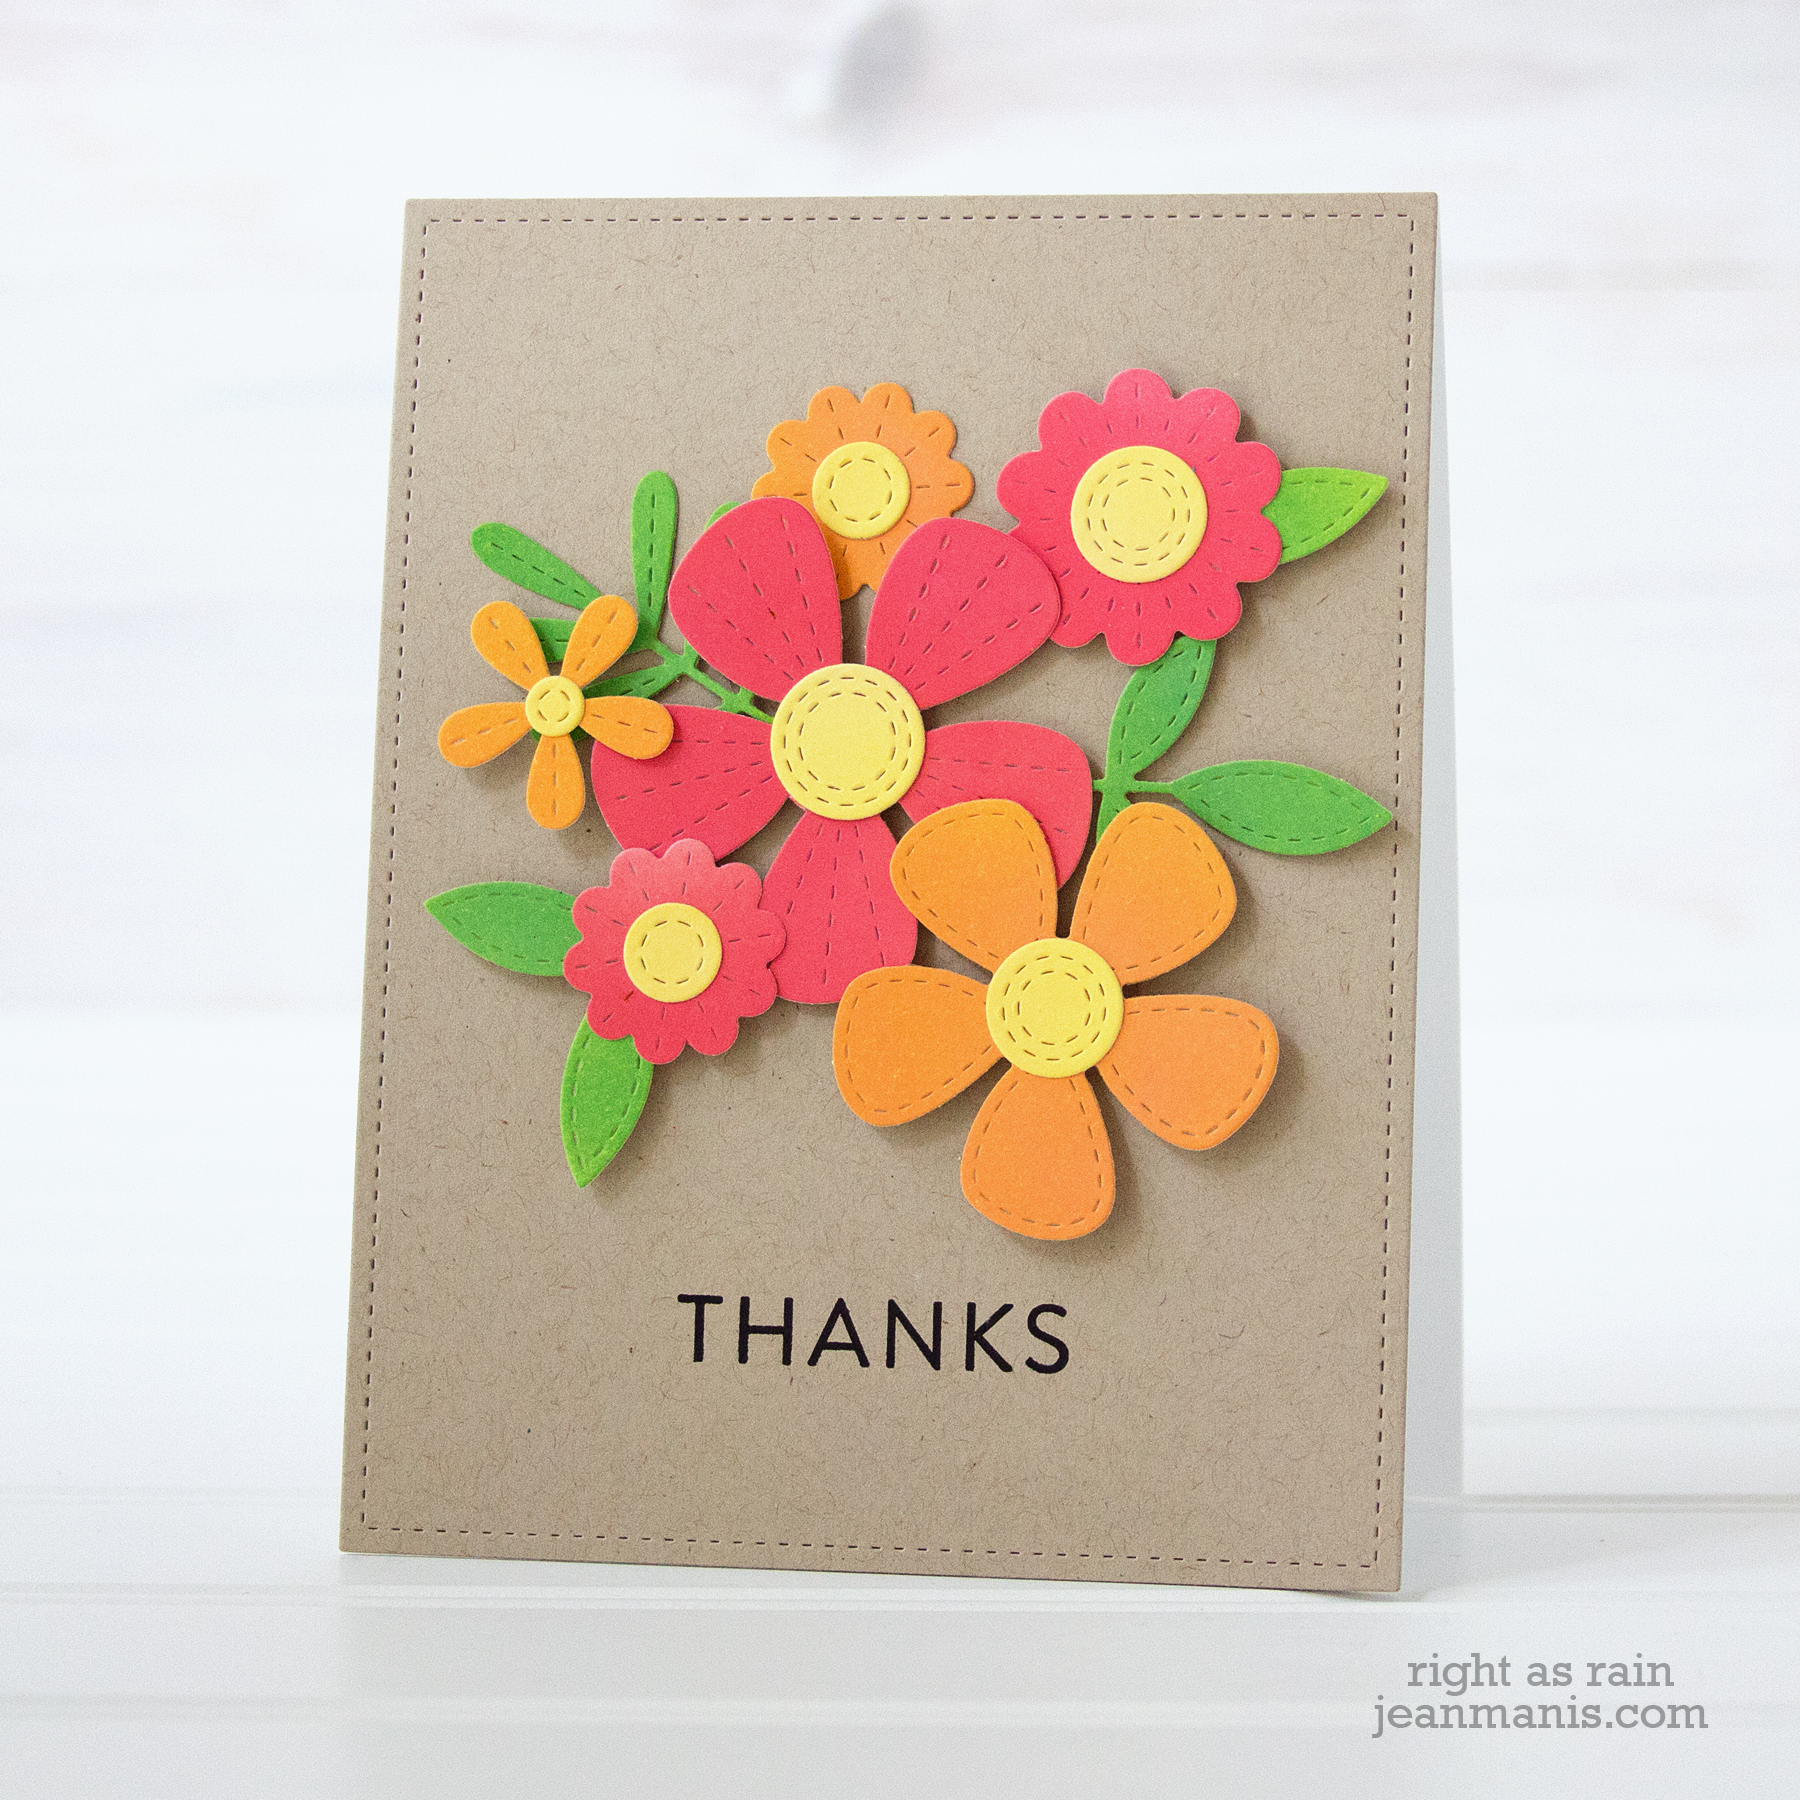
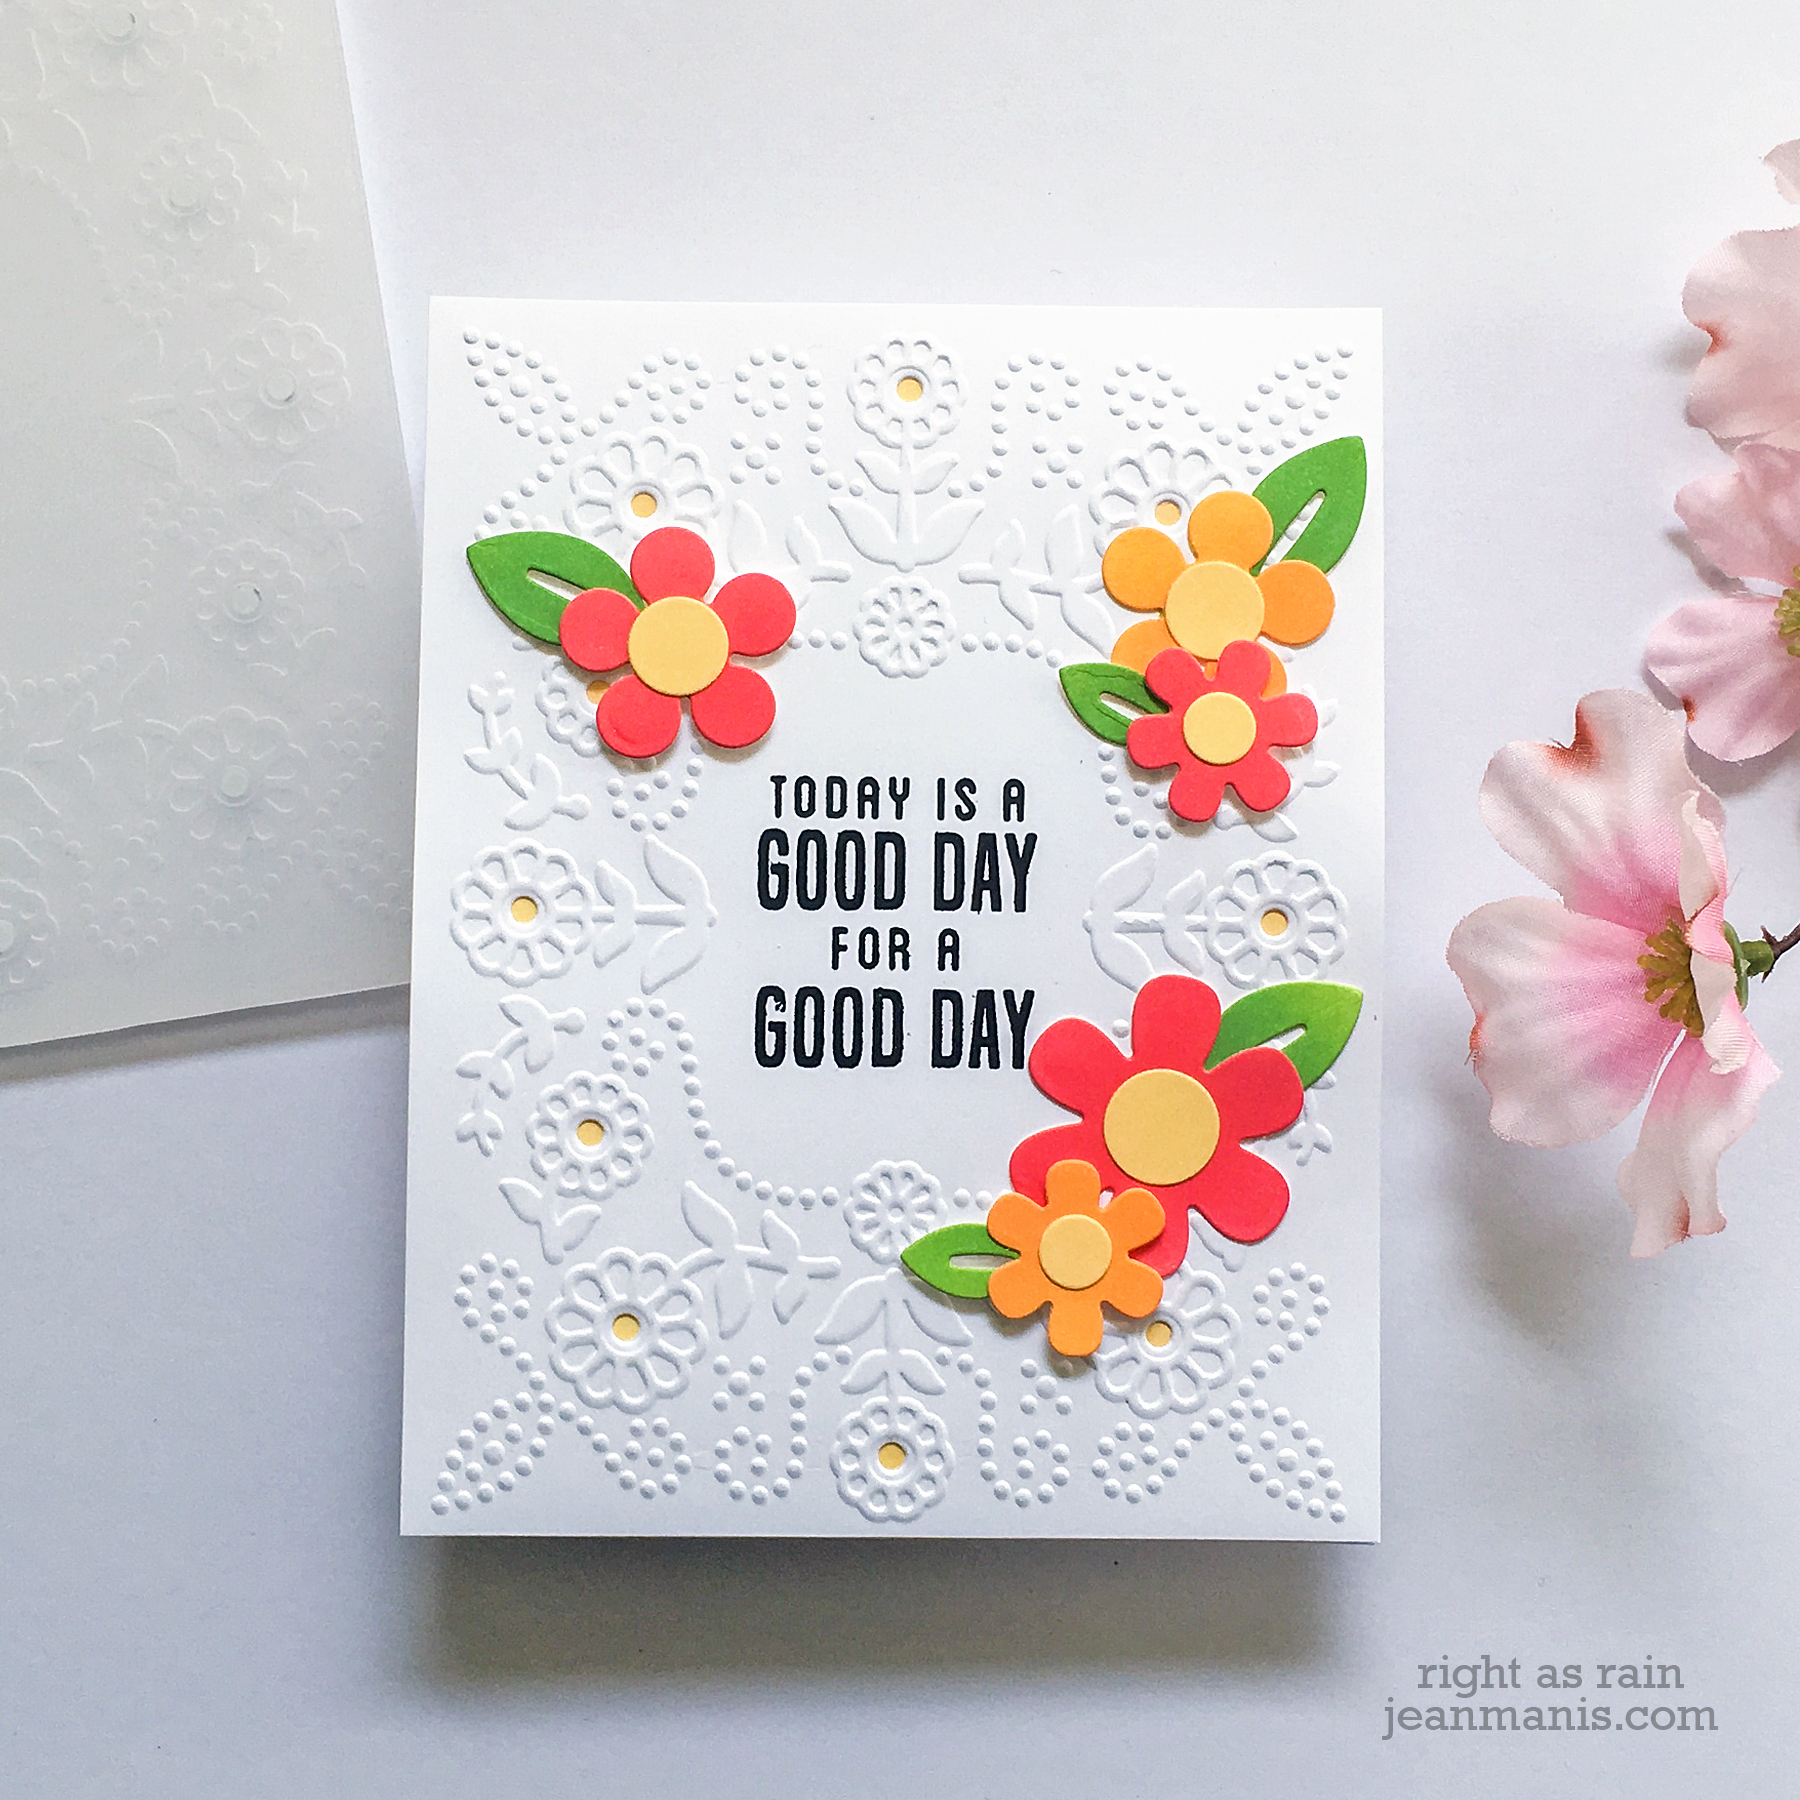
My second card features the Reflections folder.
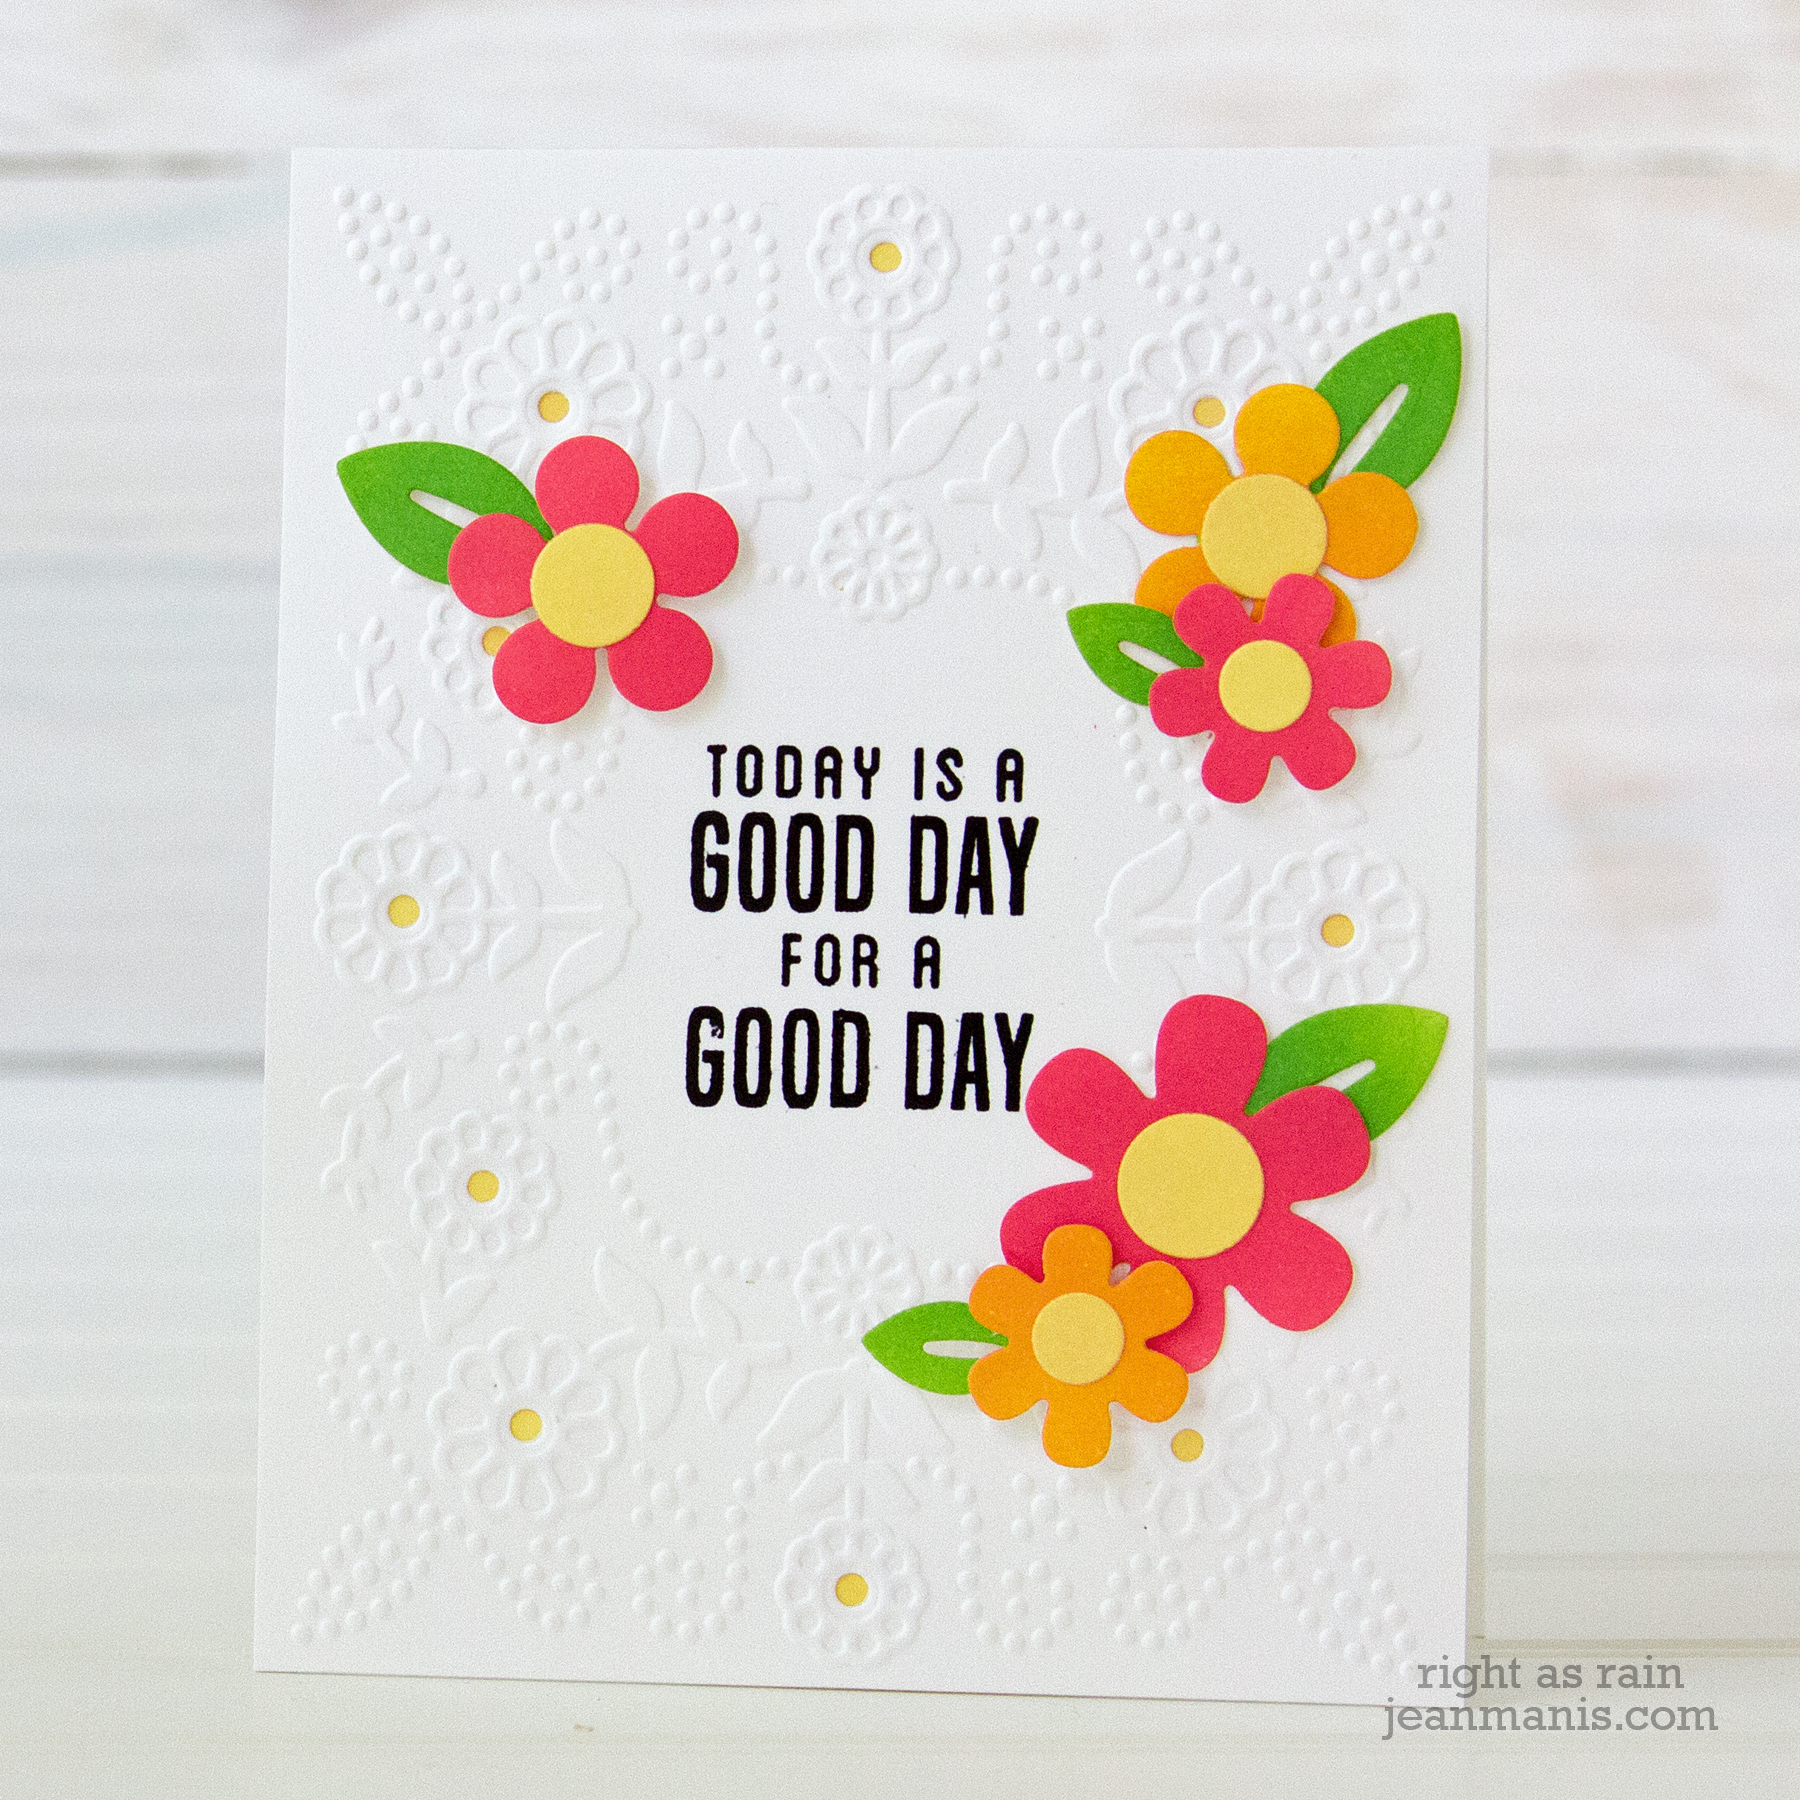
The A2-sized card front panel was cut and embossed from white cardstock. I wanted to highlight the strong relief achieved with the folder, as well as show the beauty of a simple white background.
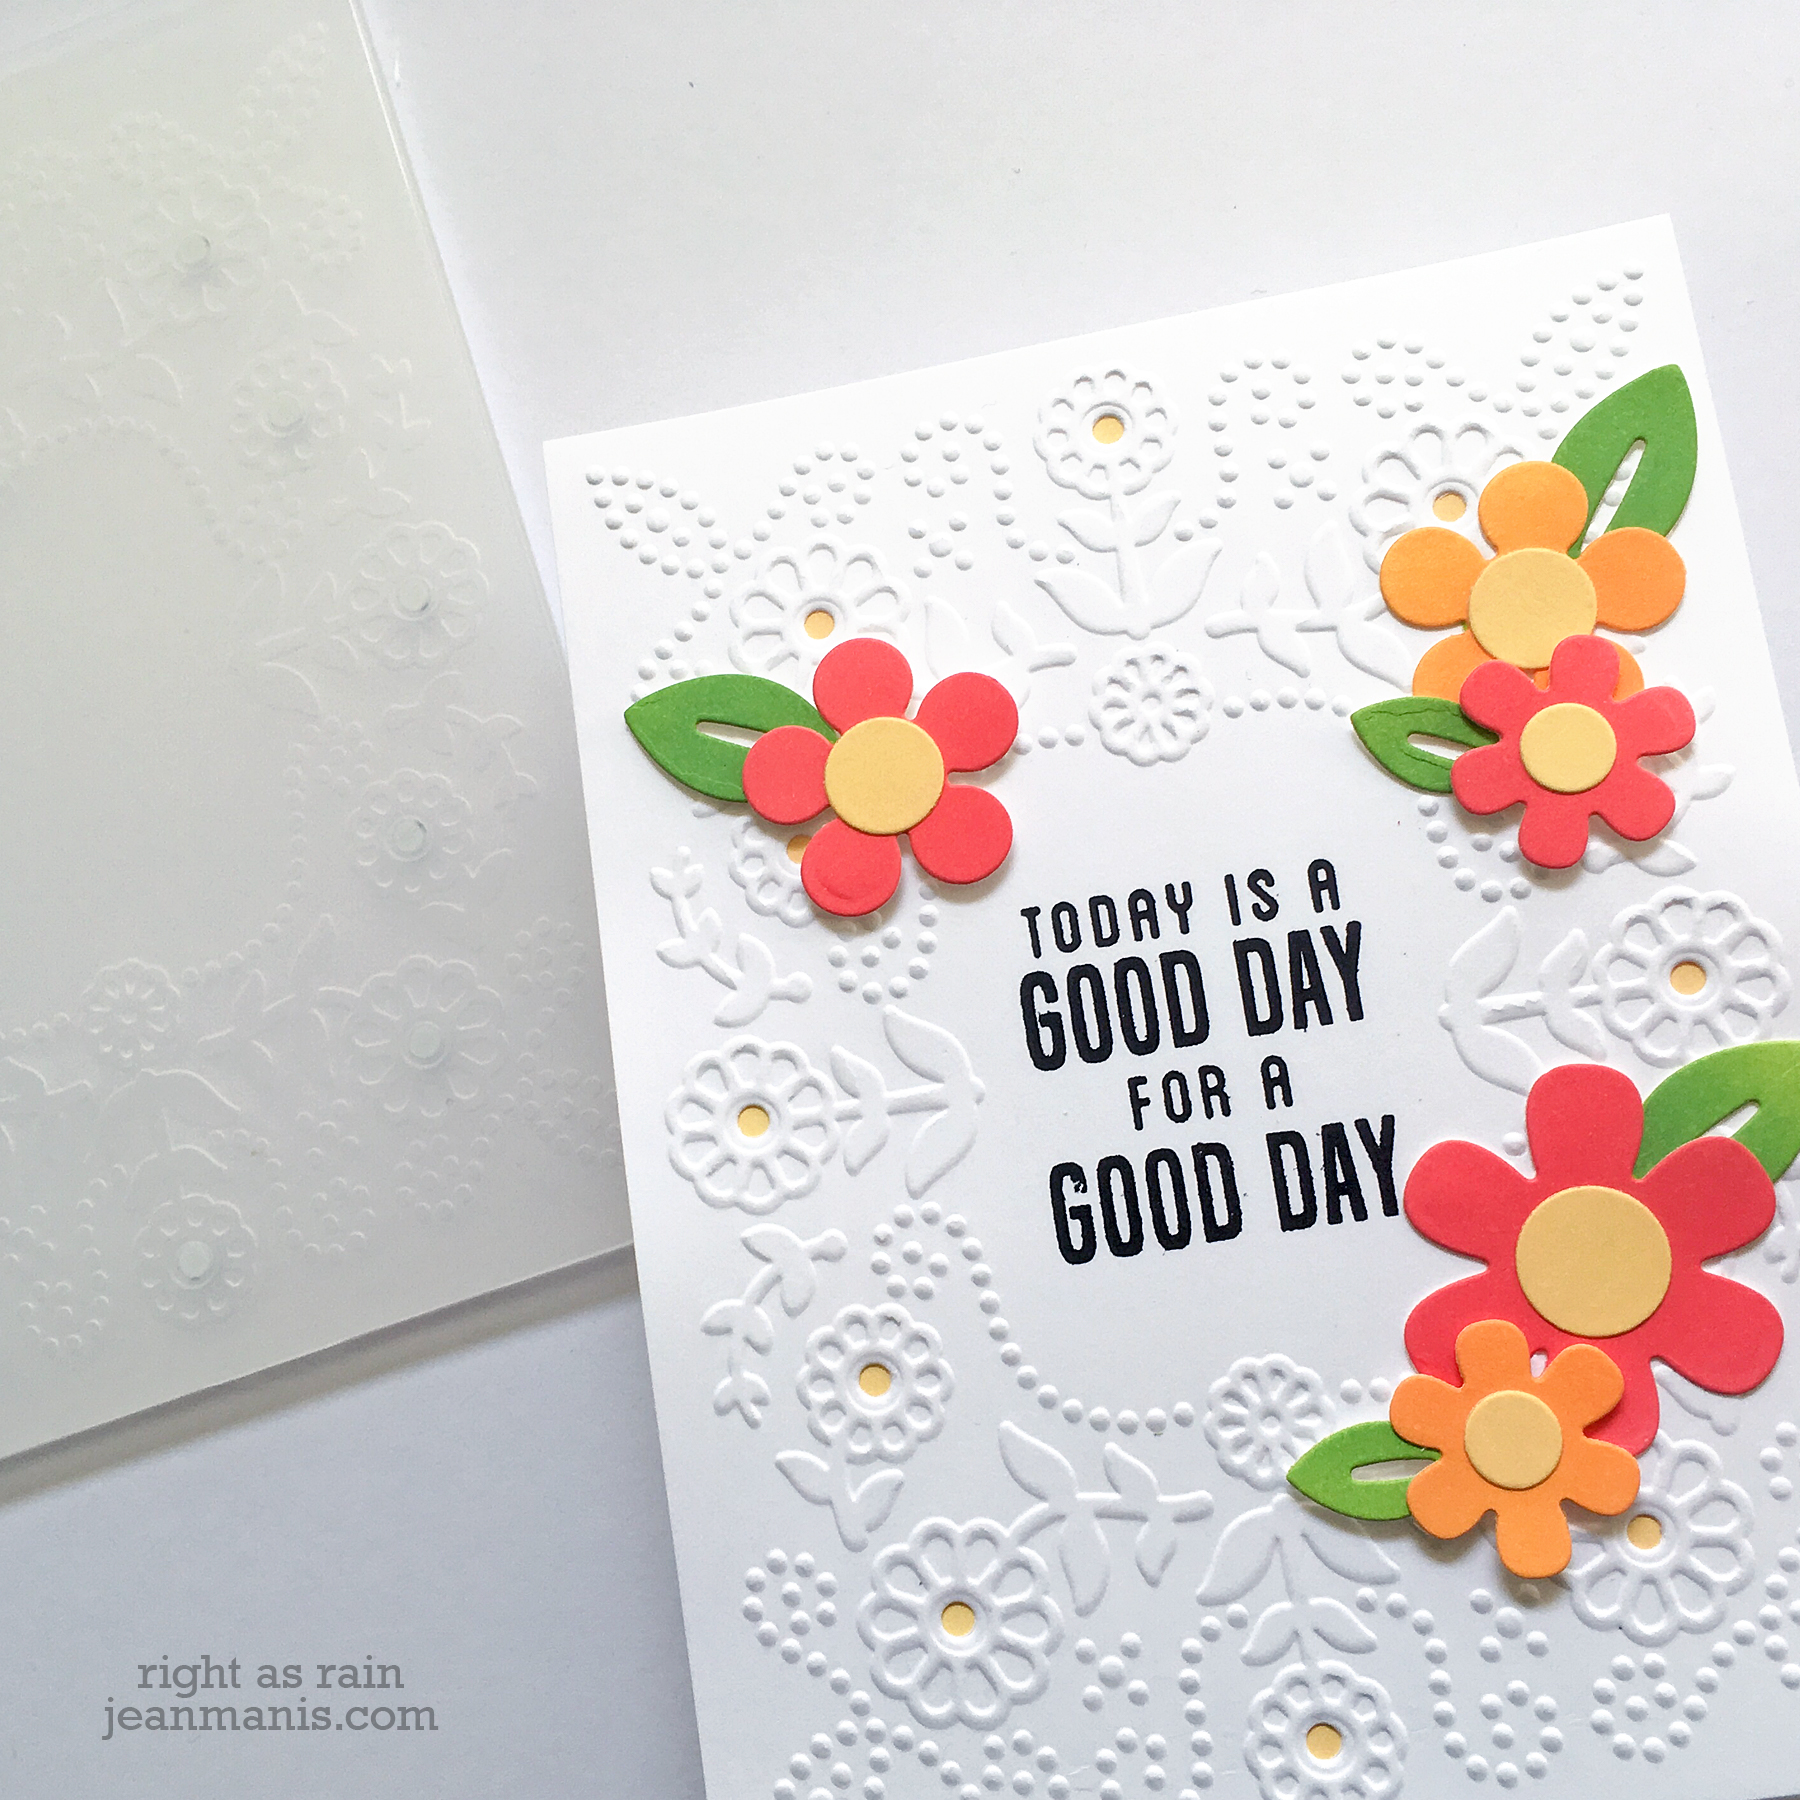
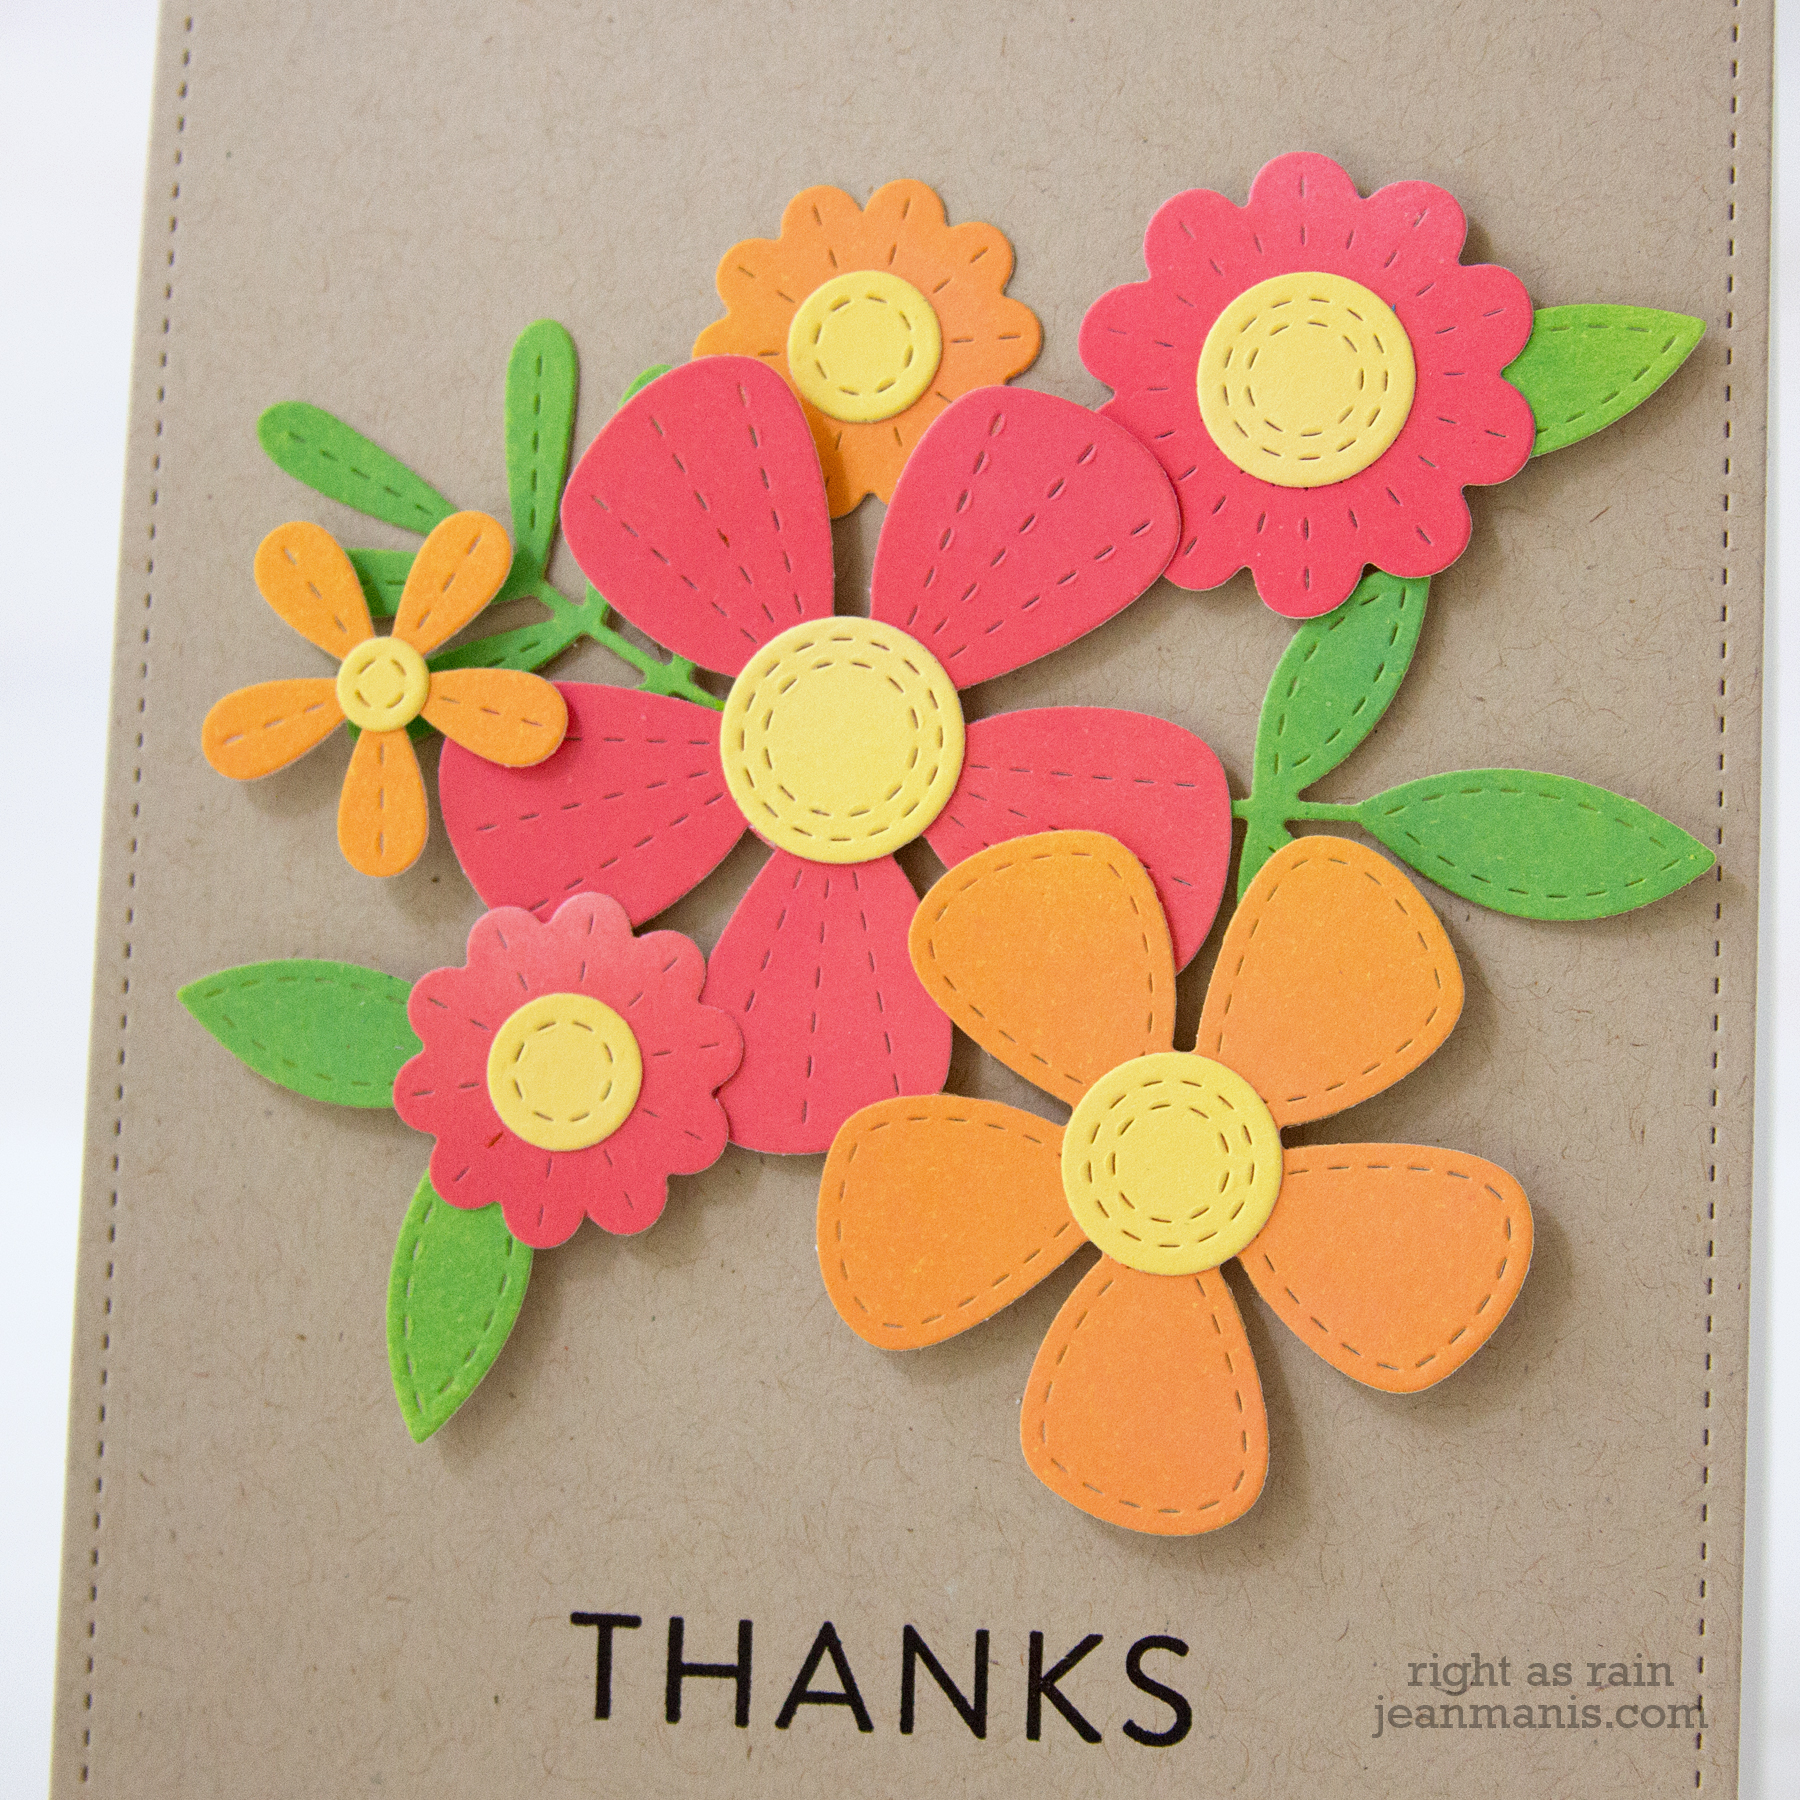
I stamped a sentiment in the center of the panel and added flowers and foliage cut with dies in the Daisy and Daisy 2 die sets. Just as with the first card, I adhered cardstock, colored with ink, behind the panel for the floral centers.
Thanks for dropping by! Head next to the blog of Laurie Willison.
I’ve included the full list of blog hop participants below:
Spellbinders
Jean Manis
Laurie Willison
Tina Smith
Bibi Cameron
Inge Groot
Desiree Kuemmerle
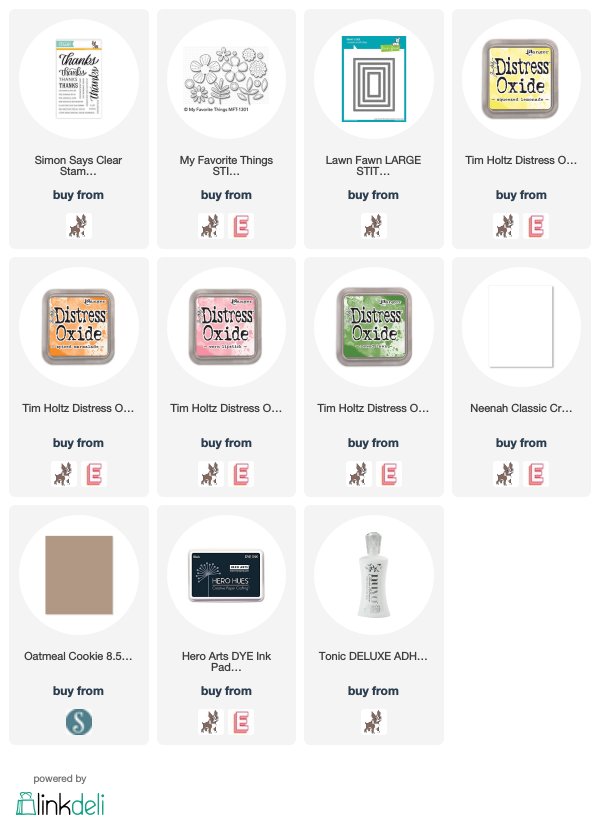
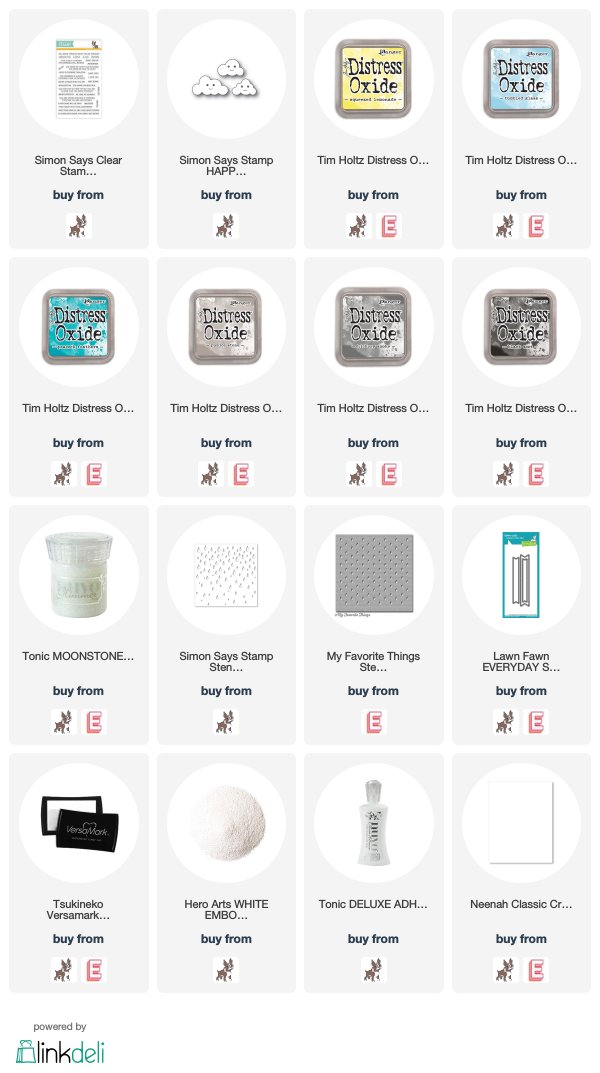
Supplies: