While I usually create holiday cards in traditional colors, I wanted to be a bit more whimsical with a card using Penny Black’s Dancing Deers stamp set [40-258].
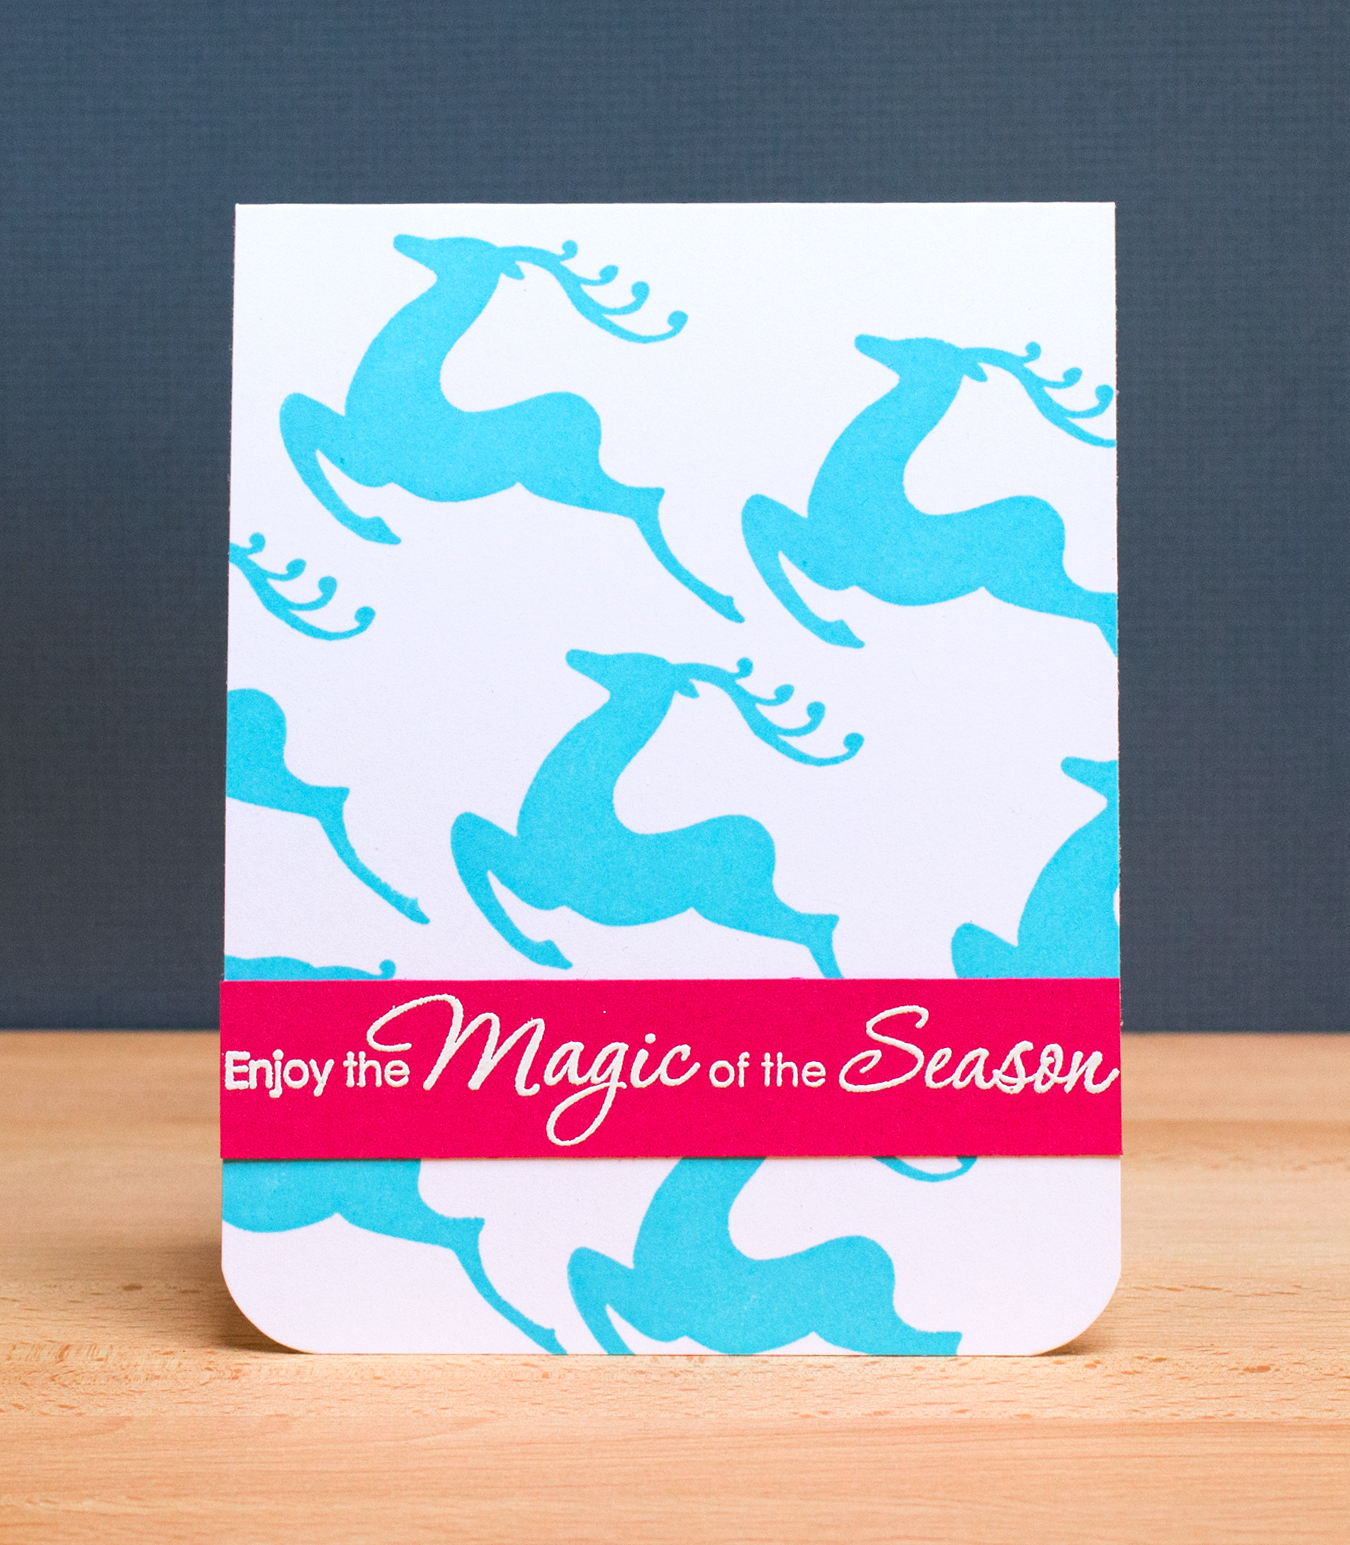
I stamped the deer in a repeating pattern with a turquoise dye ink. I finished the card off with a heat-embossed sentiment from Yuletide Greetings [30-132] on pink cardstock. I can envision this card design in other color schemes – traditional or otherwise!