Hello! Today, I am delighted to be participating in a blog hop along with other papercrafters sharing projects created with the Spellbinders August 2020 Club Subscriptions. You should have reached me from the blog of Michelle Short. (The entire list of participants is included at the end of my post.) For the hop, I created CAS, Christmas-themed cards showcasing the August Small Die of the Month kit from Spellbinders – “Sitting Pretty.”
To celebrate this release, Spellbinders is giving away a $50 gift certificate to 3 lucky blog readers, selected from the comments on the Spellbinders blog. Hop along for additional chances to win. Giveaway closes Sunday, August 30, 11:59 pm EDT. The winner will be announced in the blog hop post the following Tuesday. The winner is responsible for shipping cost, duties and taxes.
Additionally, I will draw a winner to receive a $25 gift certificate from commenters on my blog. The deadline to comment is Thursday, August 27, 9:00 pm PDT. Please note: store credit (gift certificate) cannot be applied to Club Subscriptions. Store credit can be applied to shop past Club products, Club extras, and regular releases.
Let’s take a look at the cards I created for the hop! (I shared another card created with the August Small Die of the Month kit in this post.)
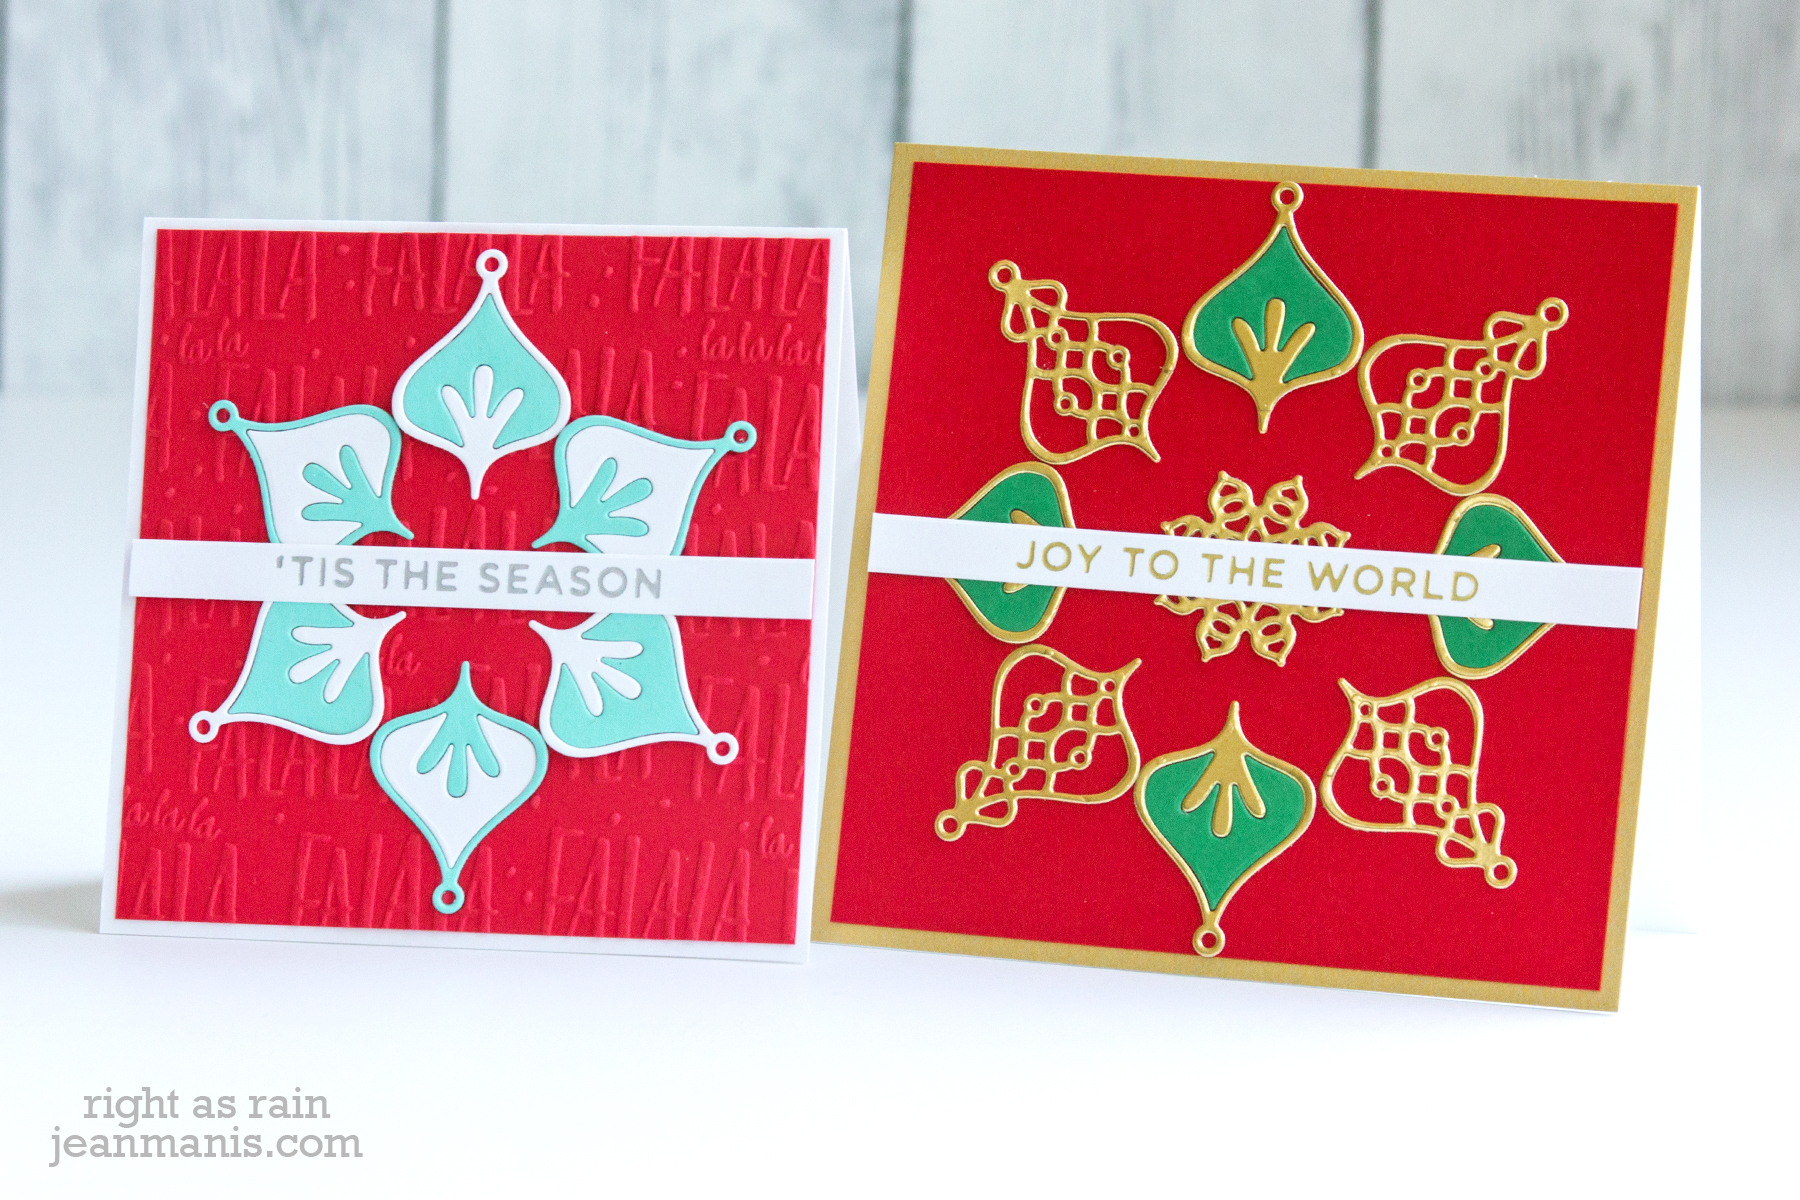
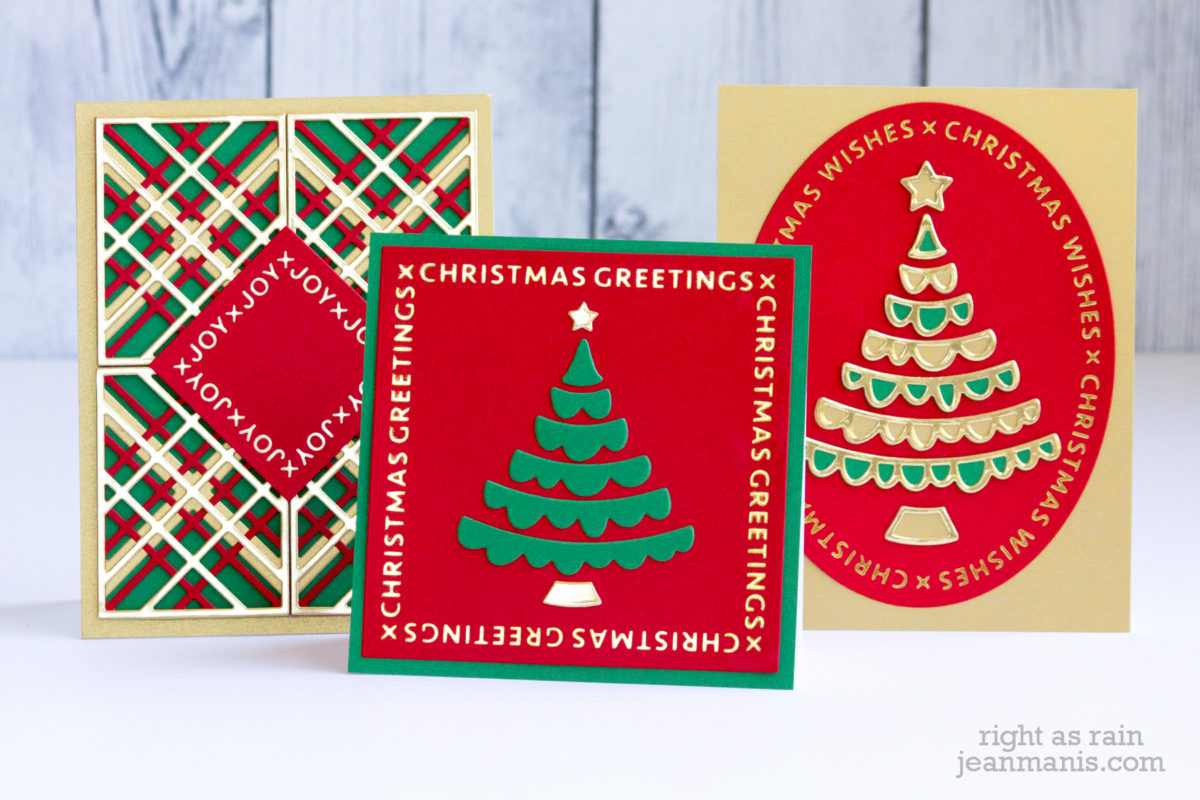
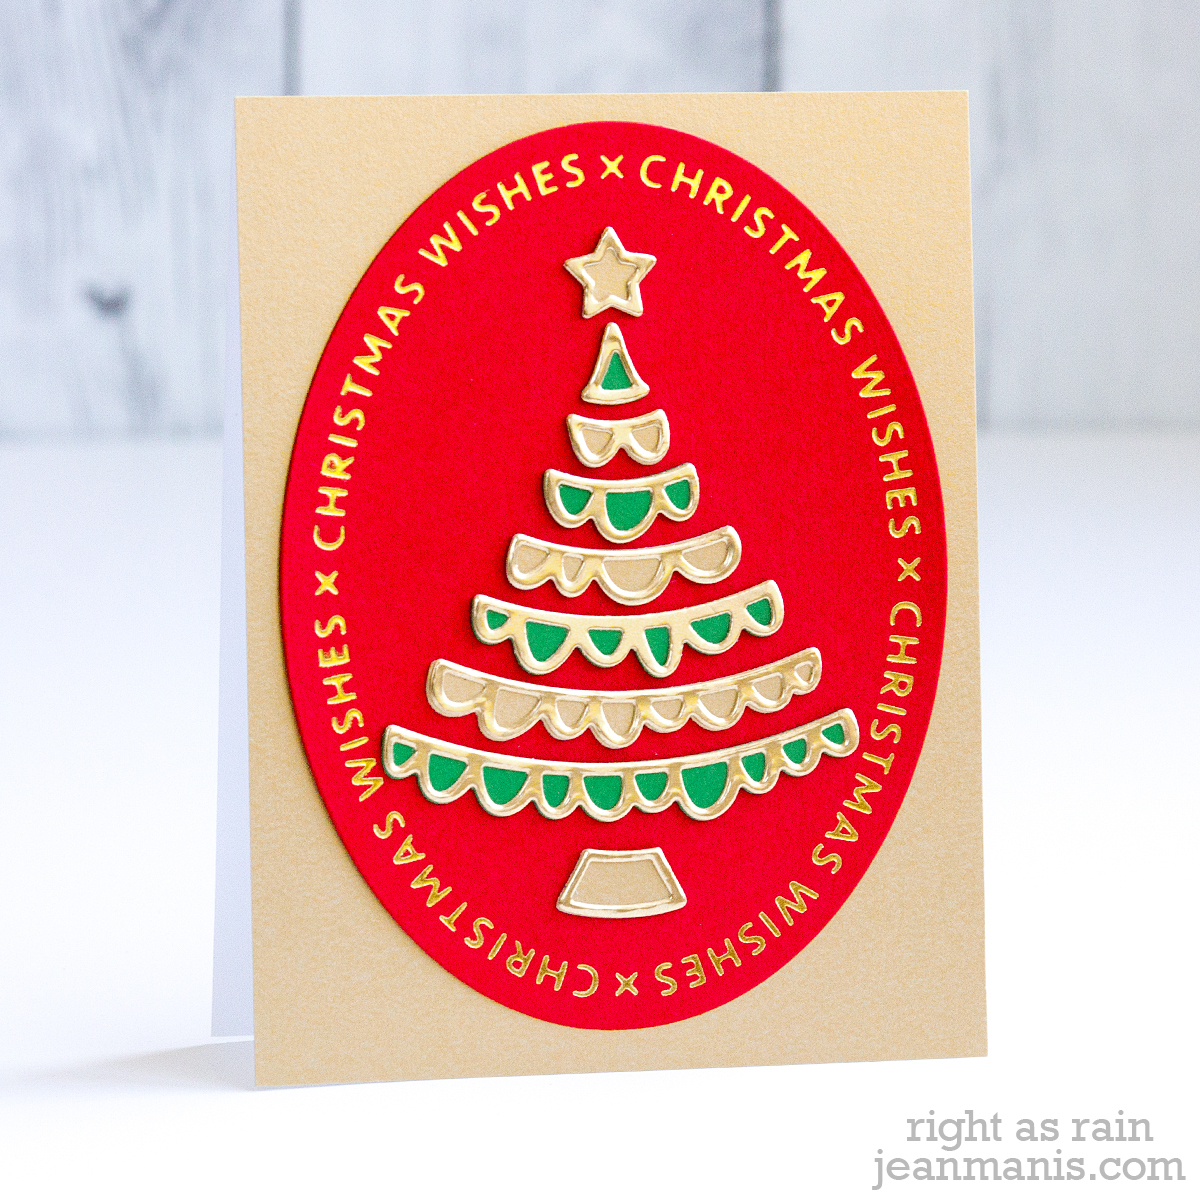
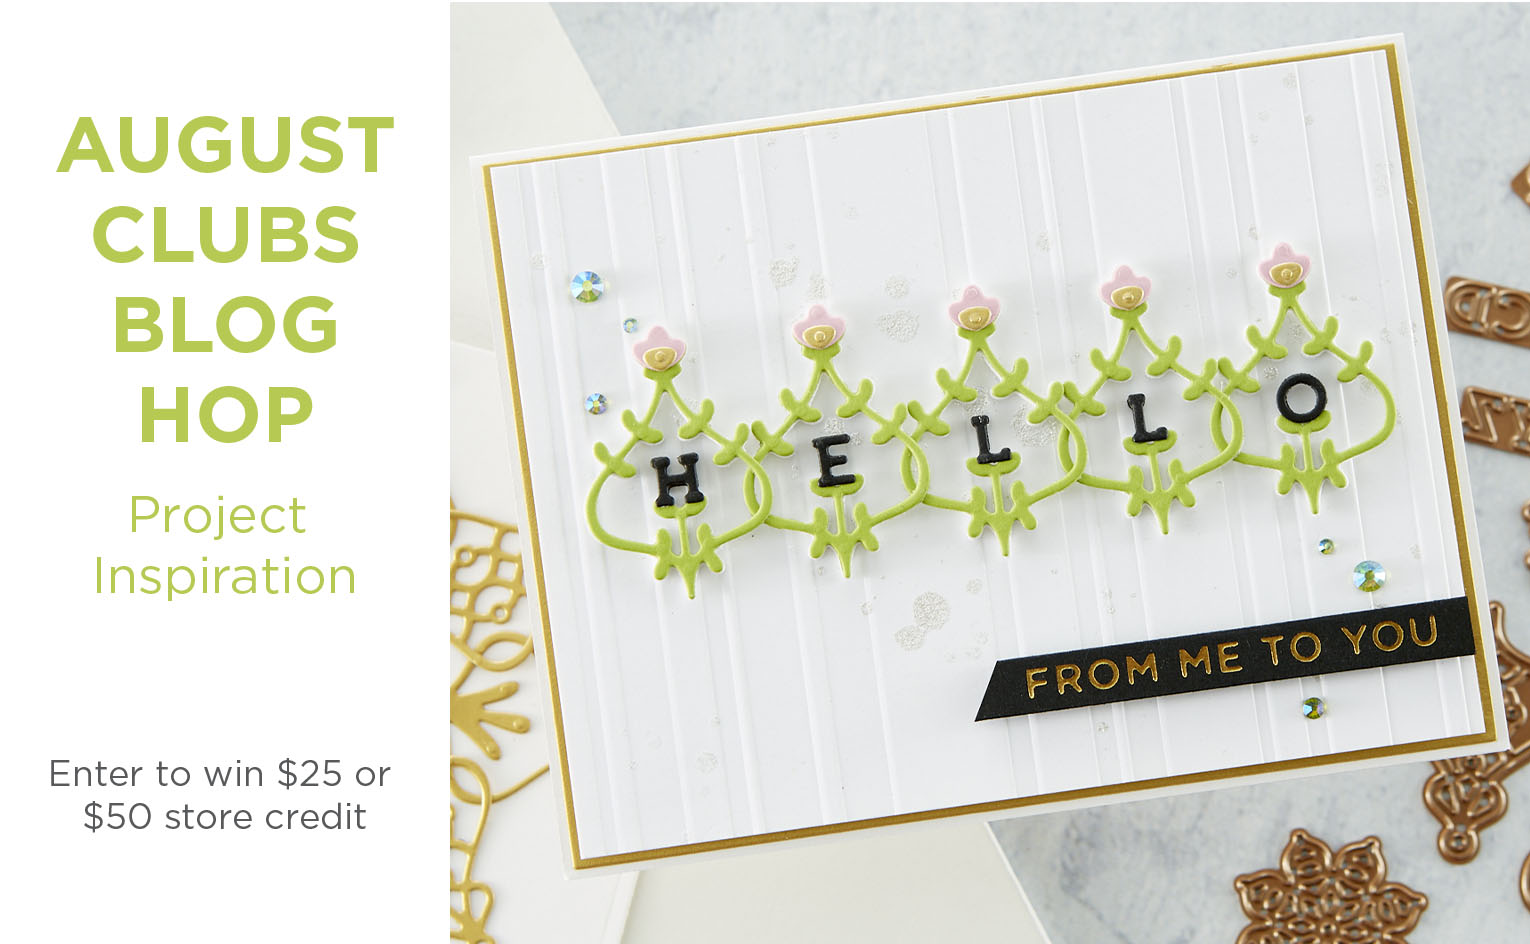
My first card was created with a traditional color scheme of red, green, and gold.
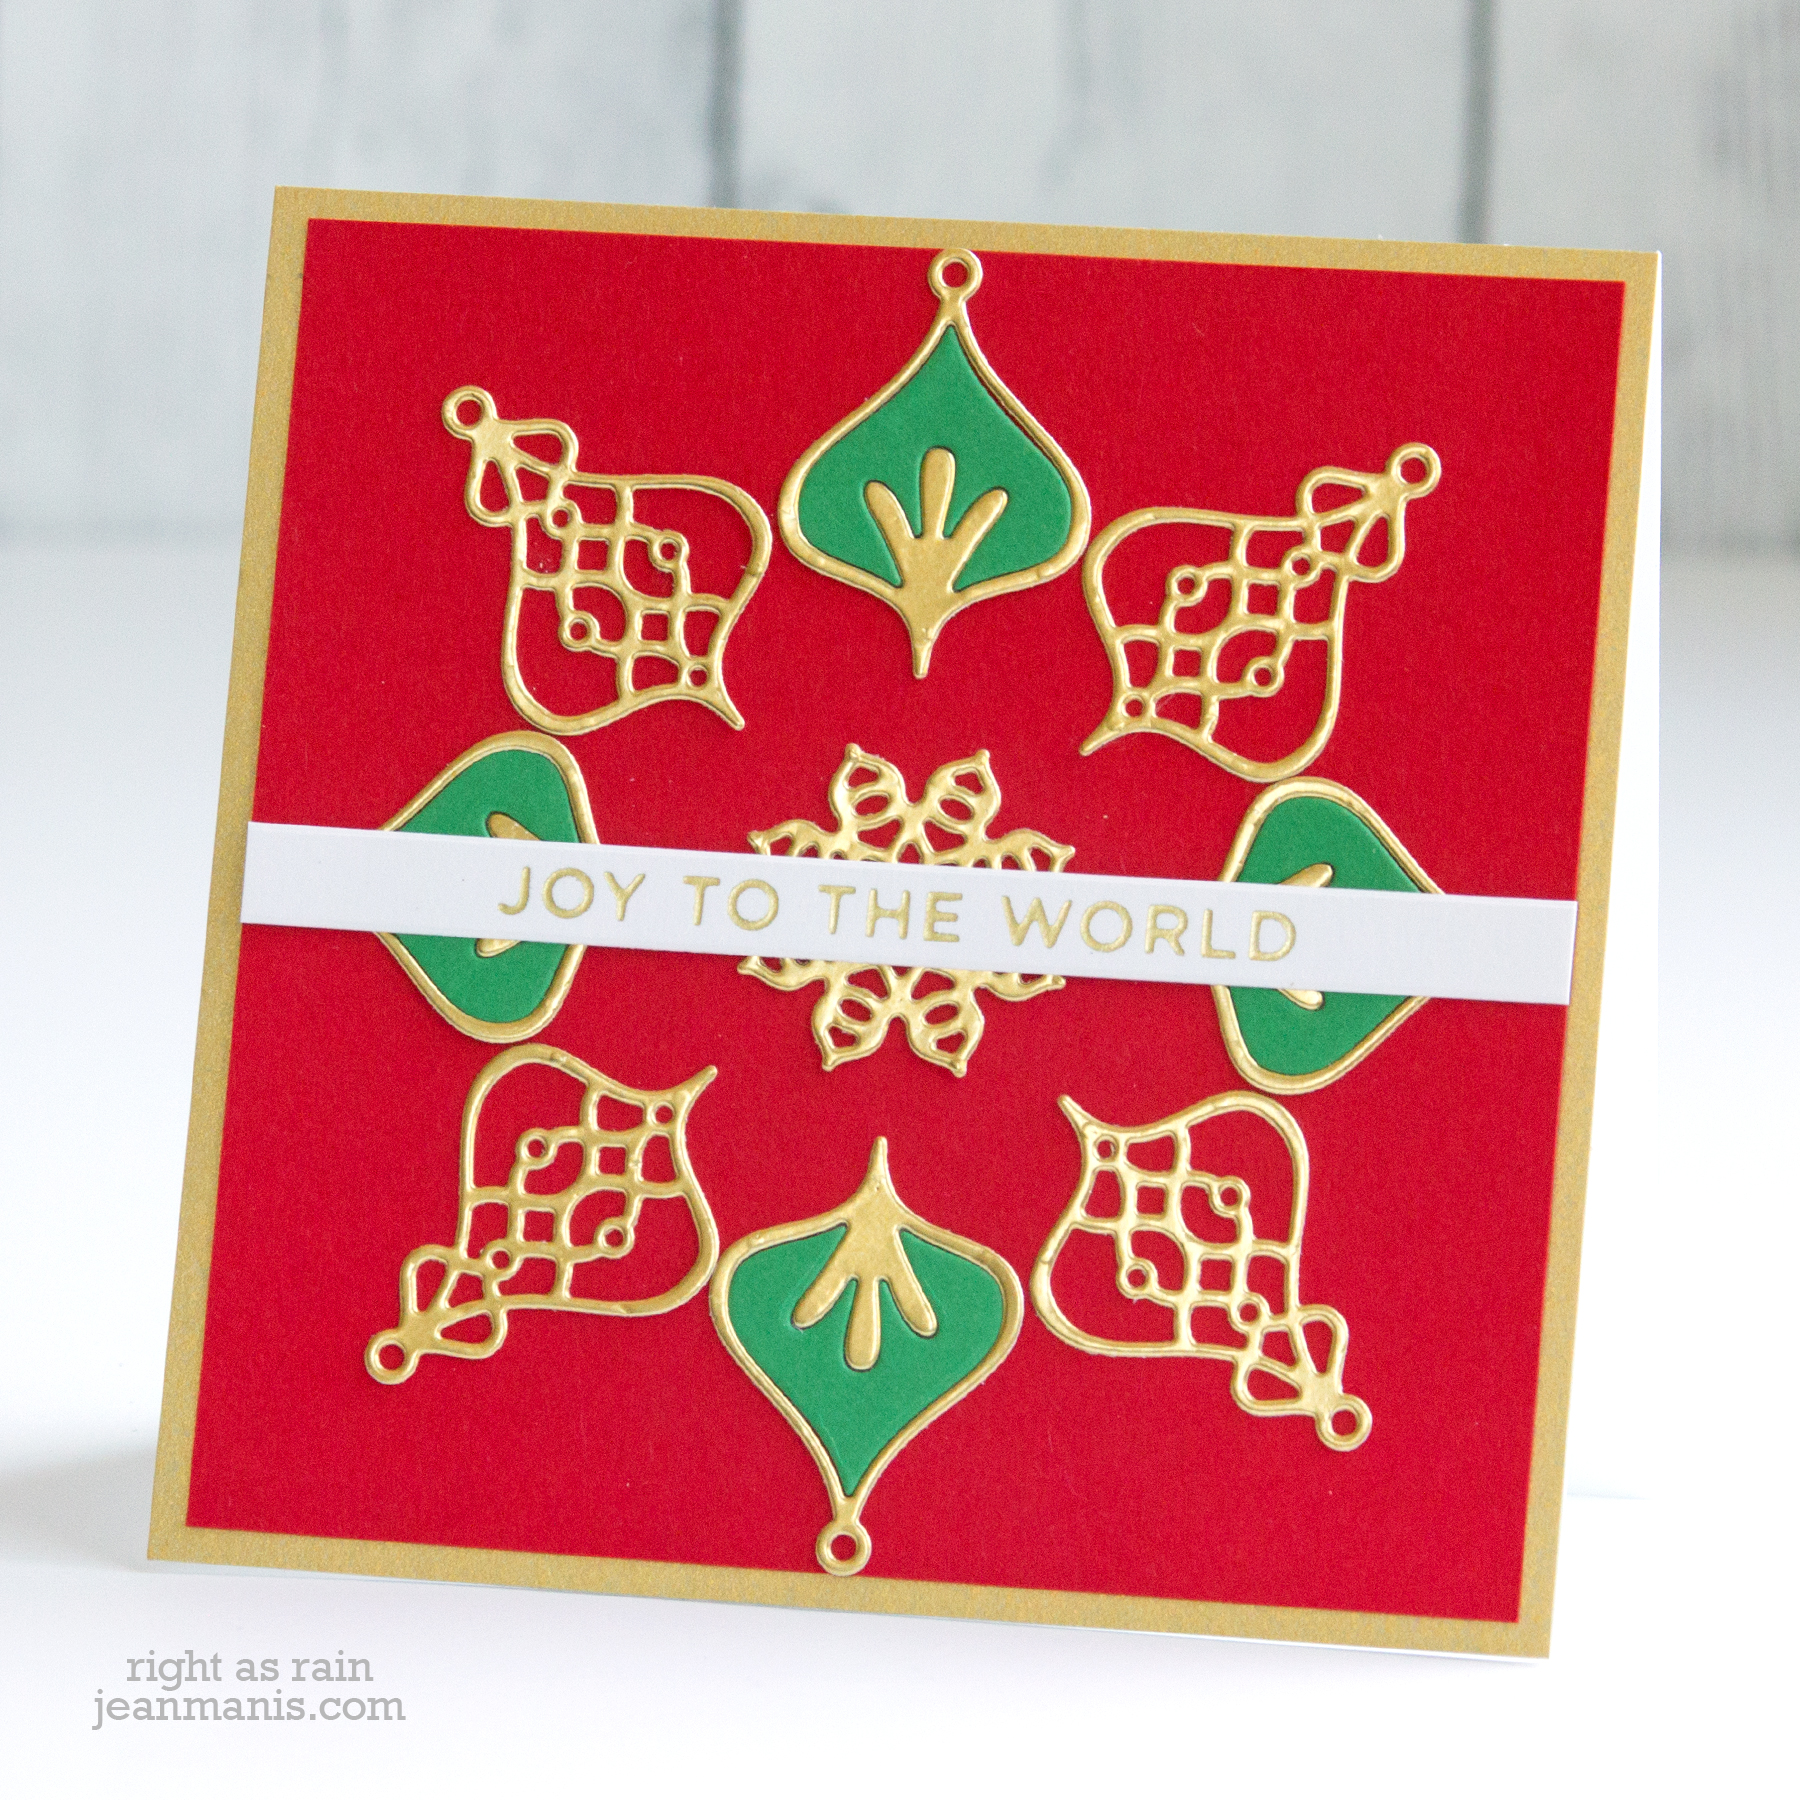
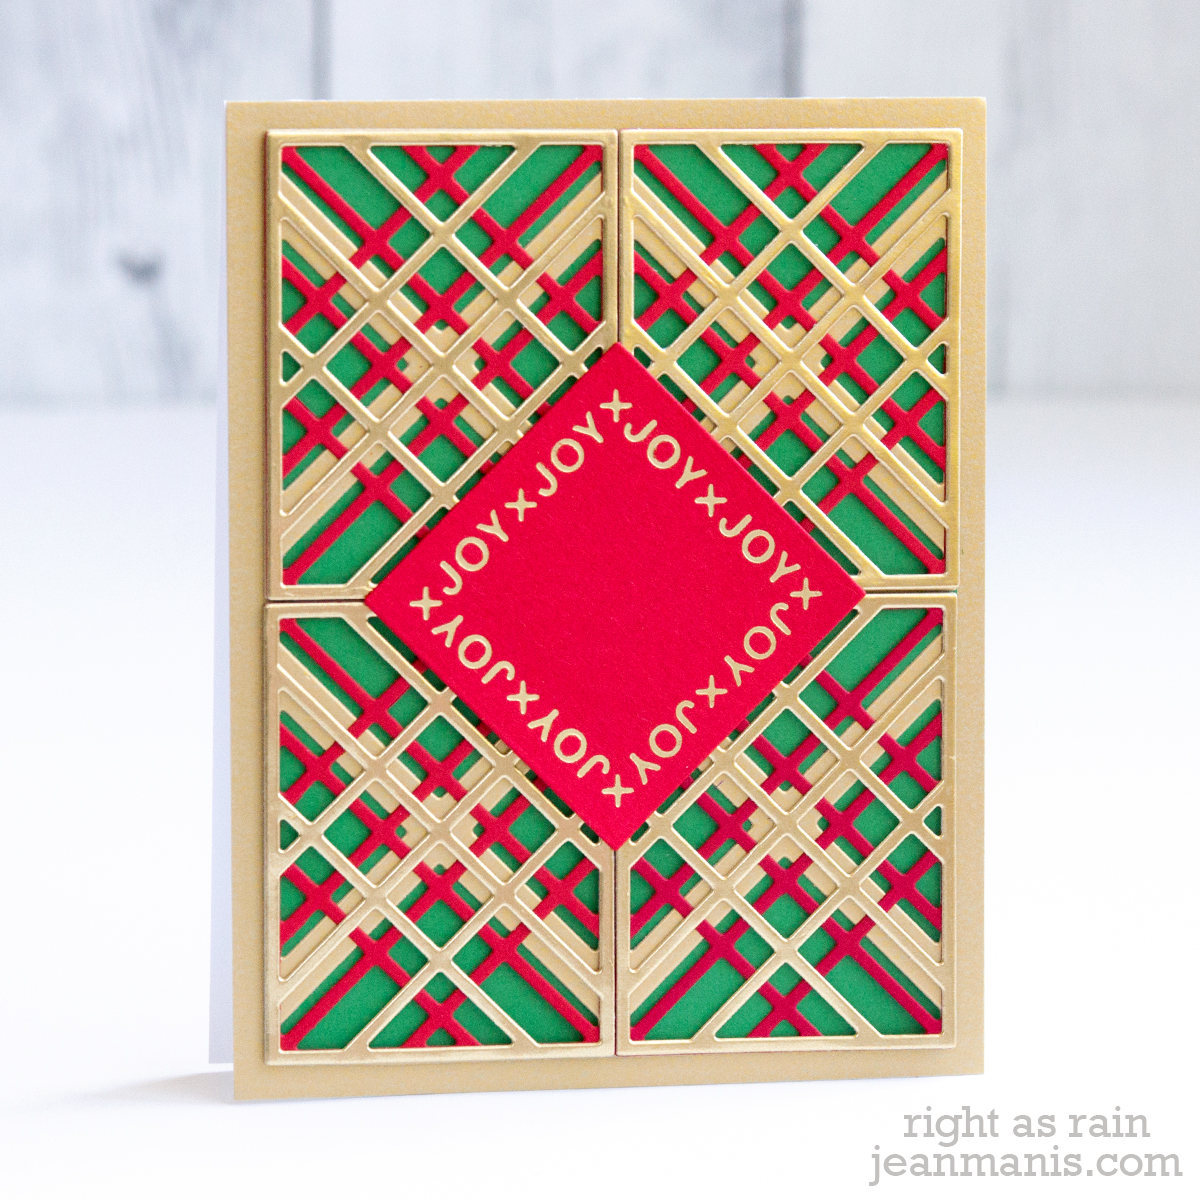
- I cut two of the shapes in the the August Small Die of the Month kit from gold foil cardstock (each four times).
- I cut green cardstock with one of the dies, four times, to create an inlay on four of the shapes.
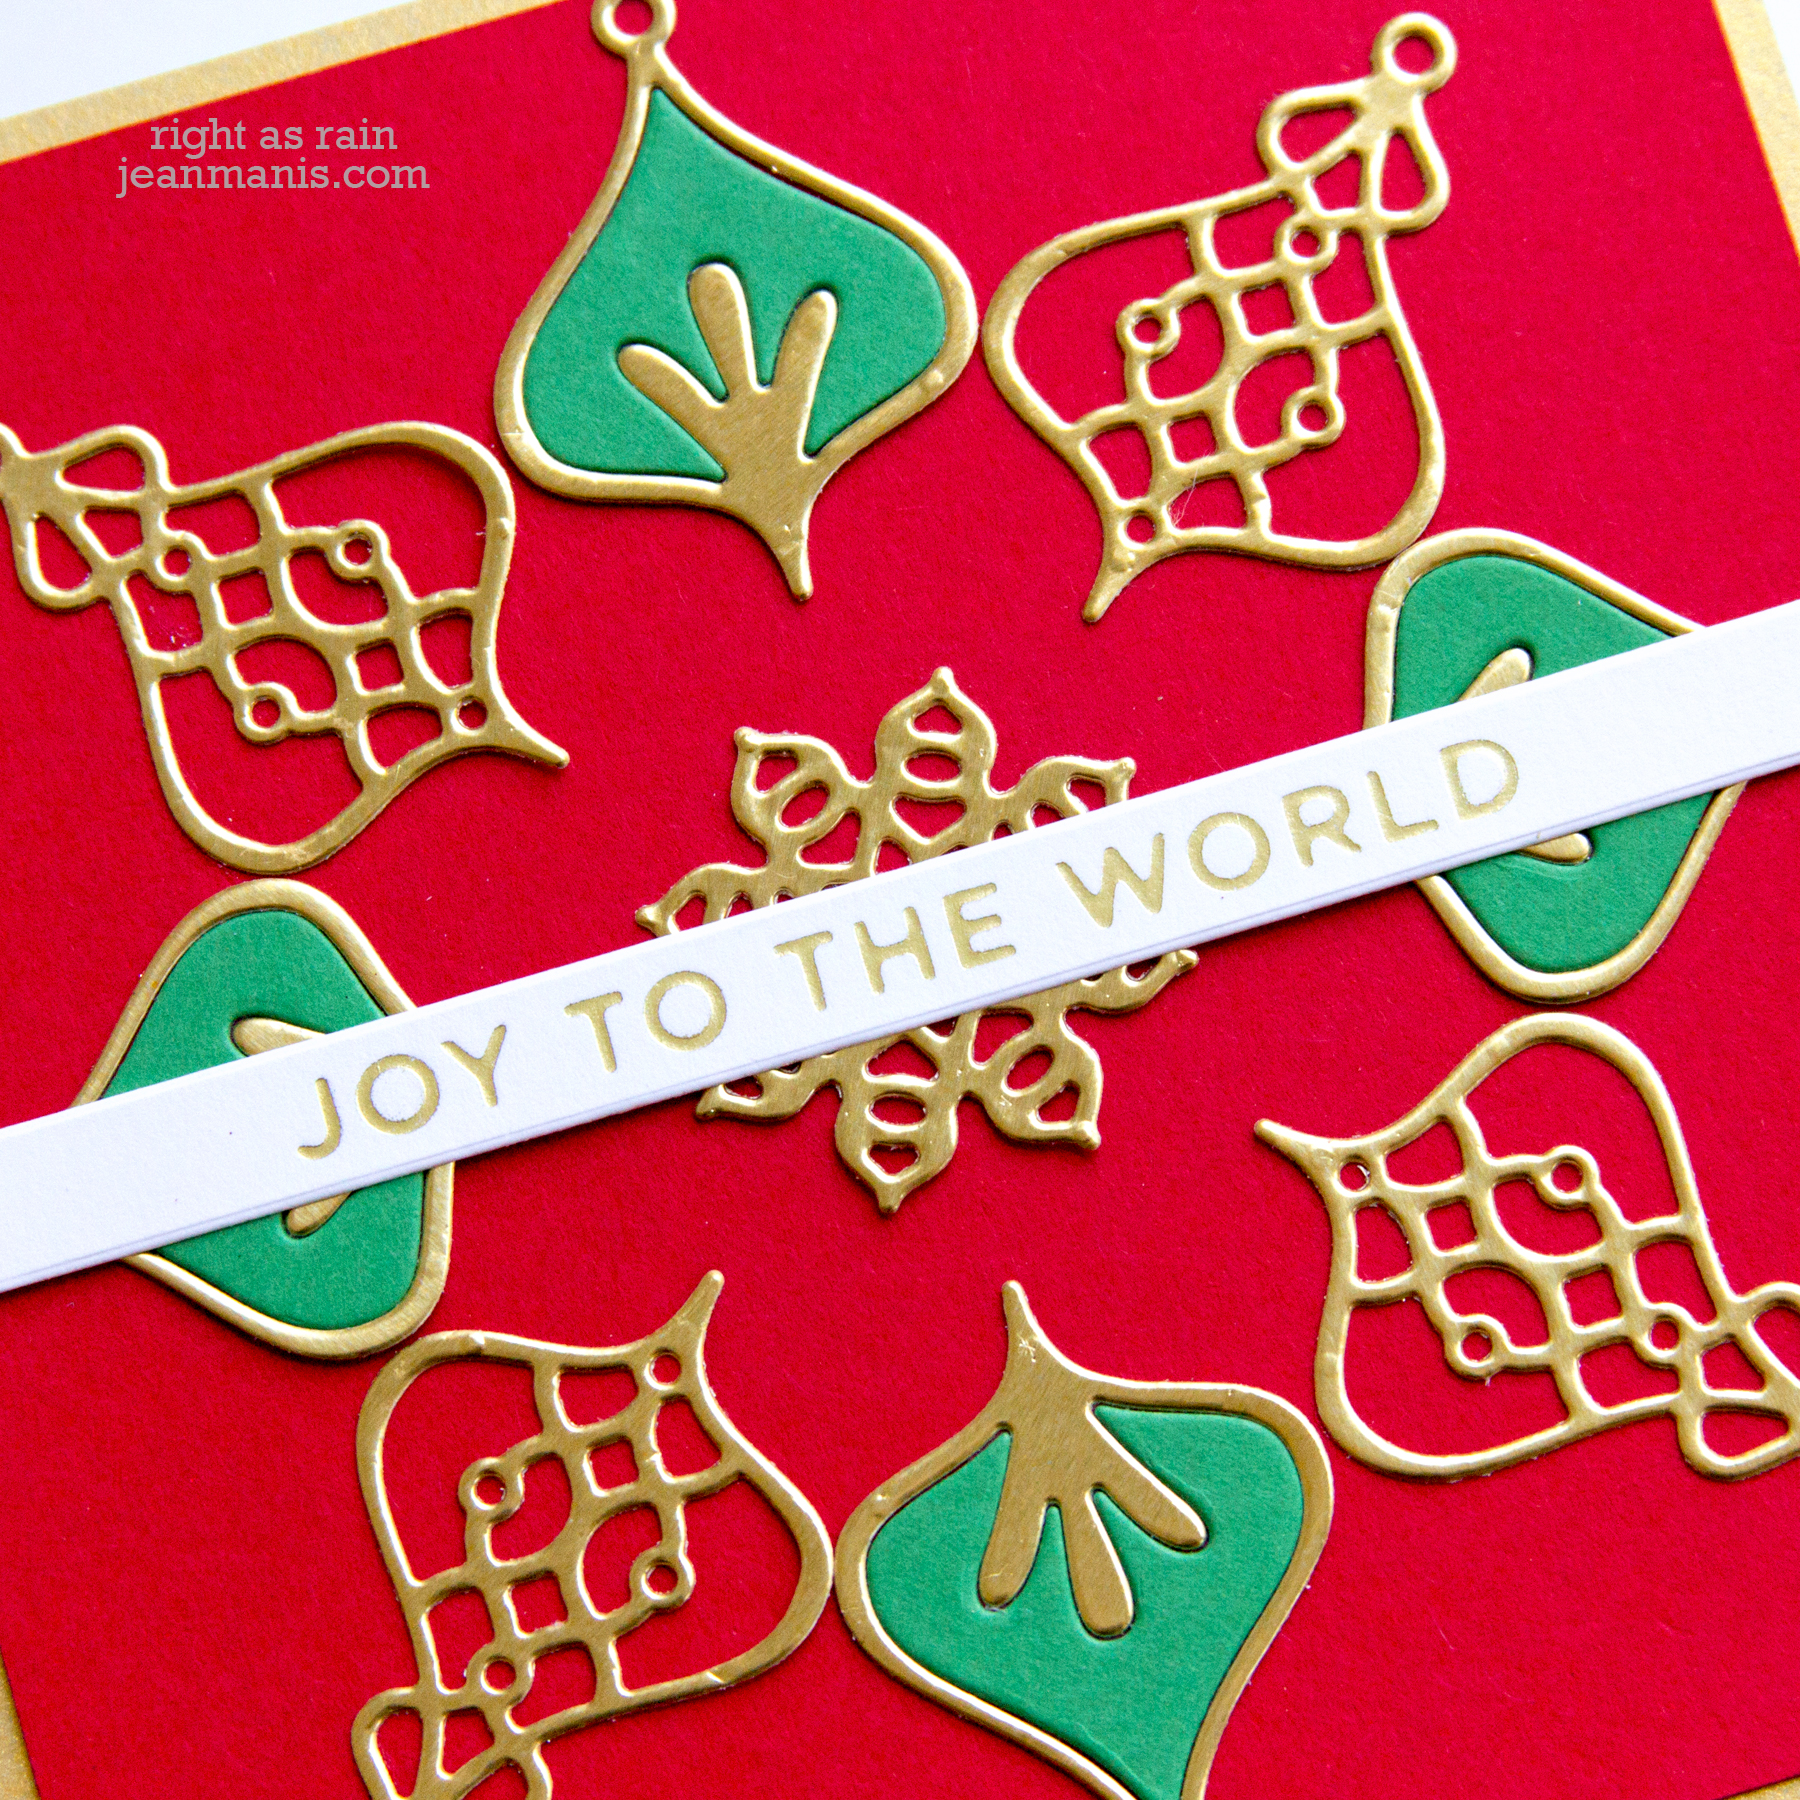
- I cut the center medallion from gold foil cardstock.
- I glimmer-foiled the Holiday Sentiments Series 2 sentiment in Matte Gold on white cardstock and cut it with the die in the sentiment set.
- I adhered the eight pieces around the center medallion on a red cardstock square measuring 4 1/2″. I adhered the sentiment strip to the center.
- I added the assembly to a Brush Gold card base measuring 4 5/8″ square.
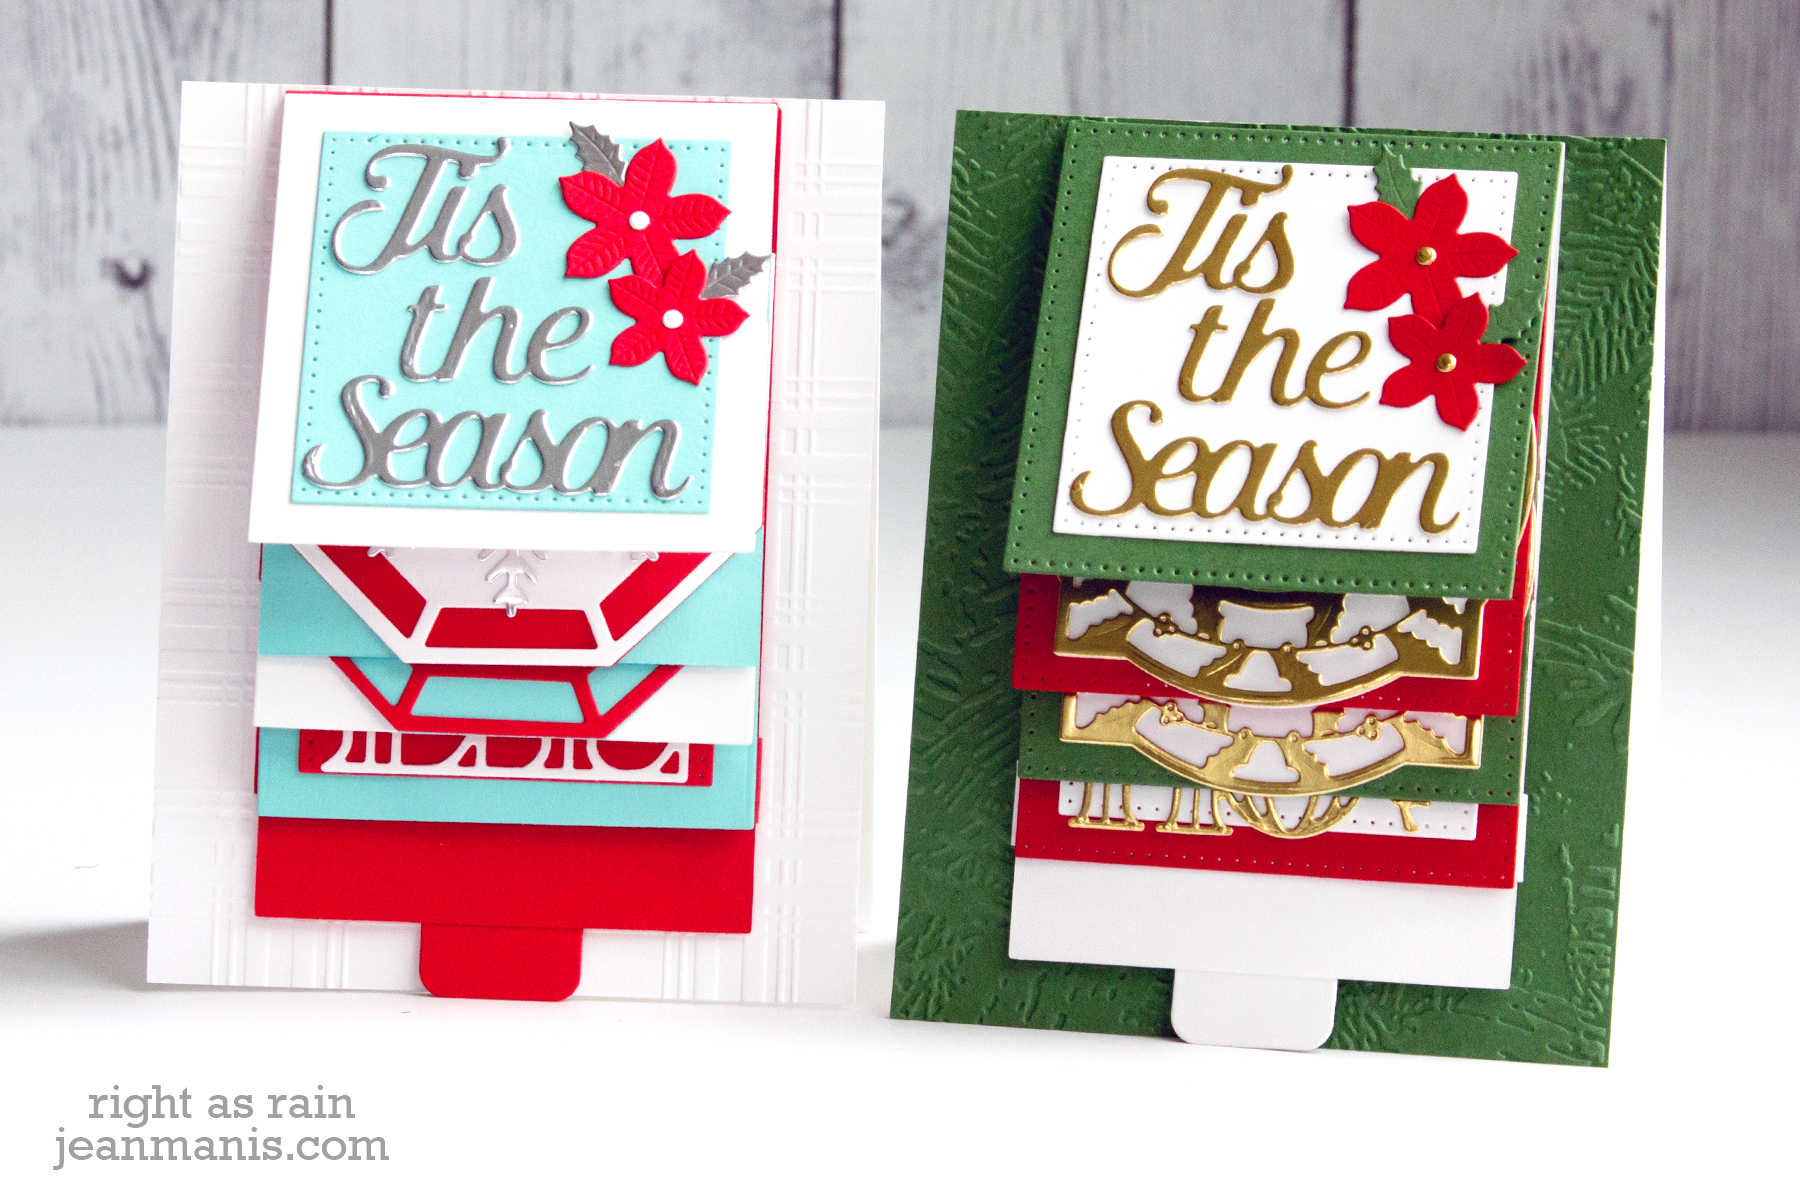
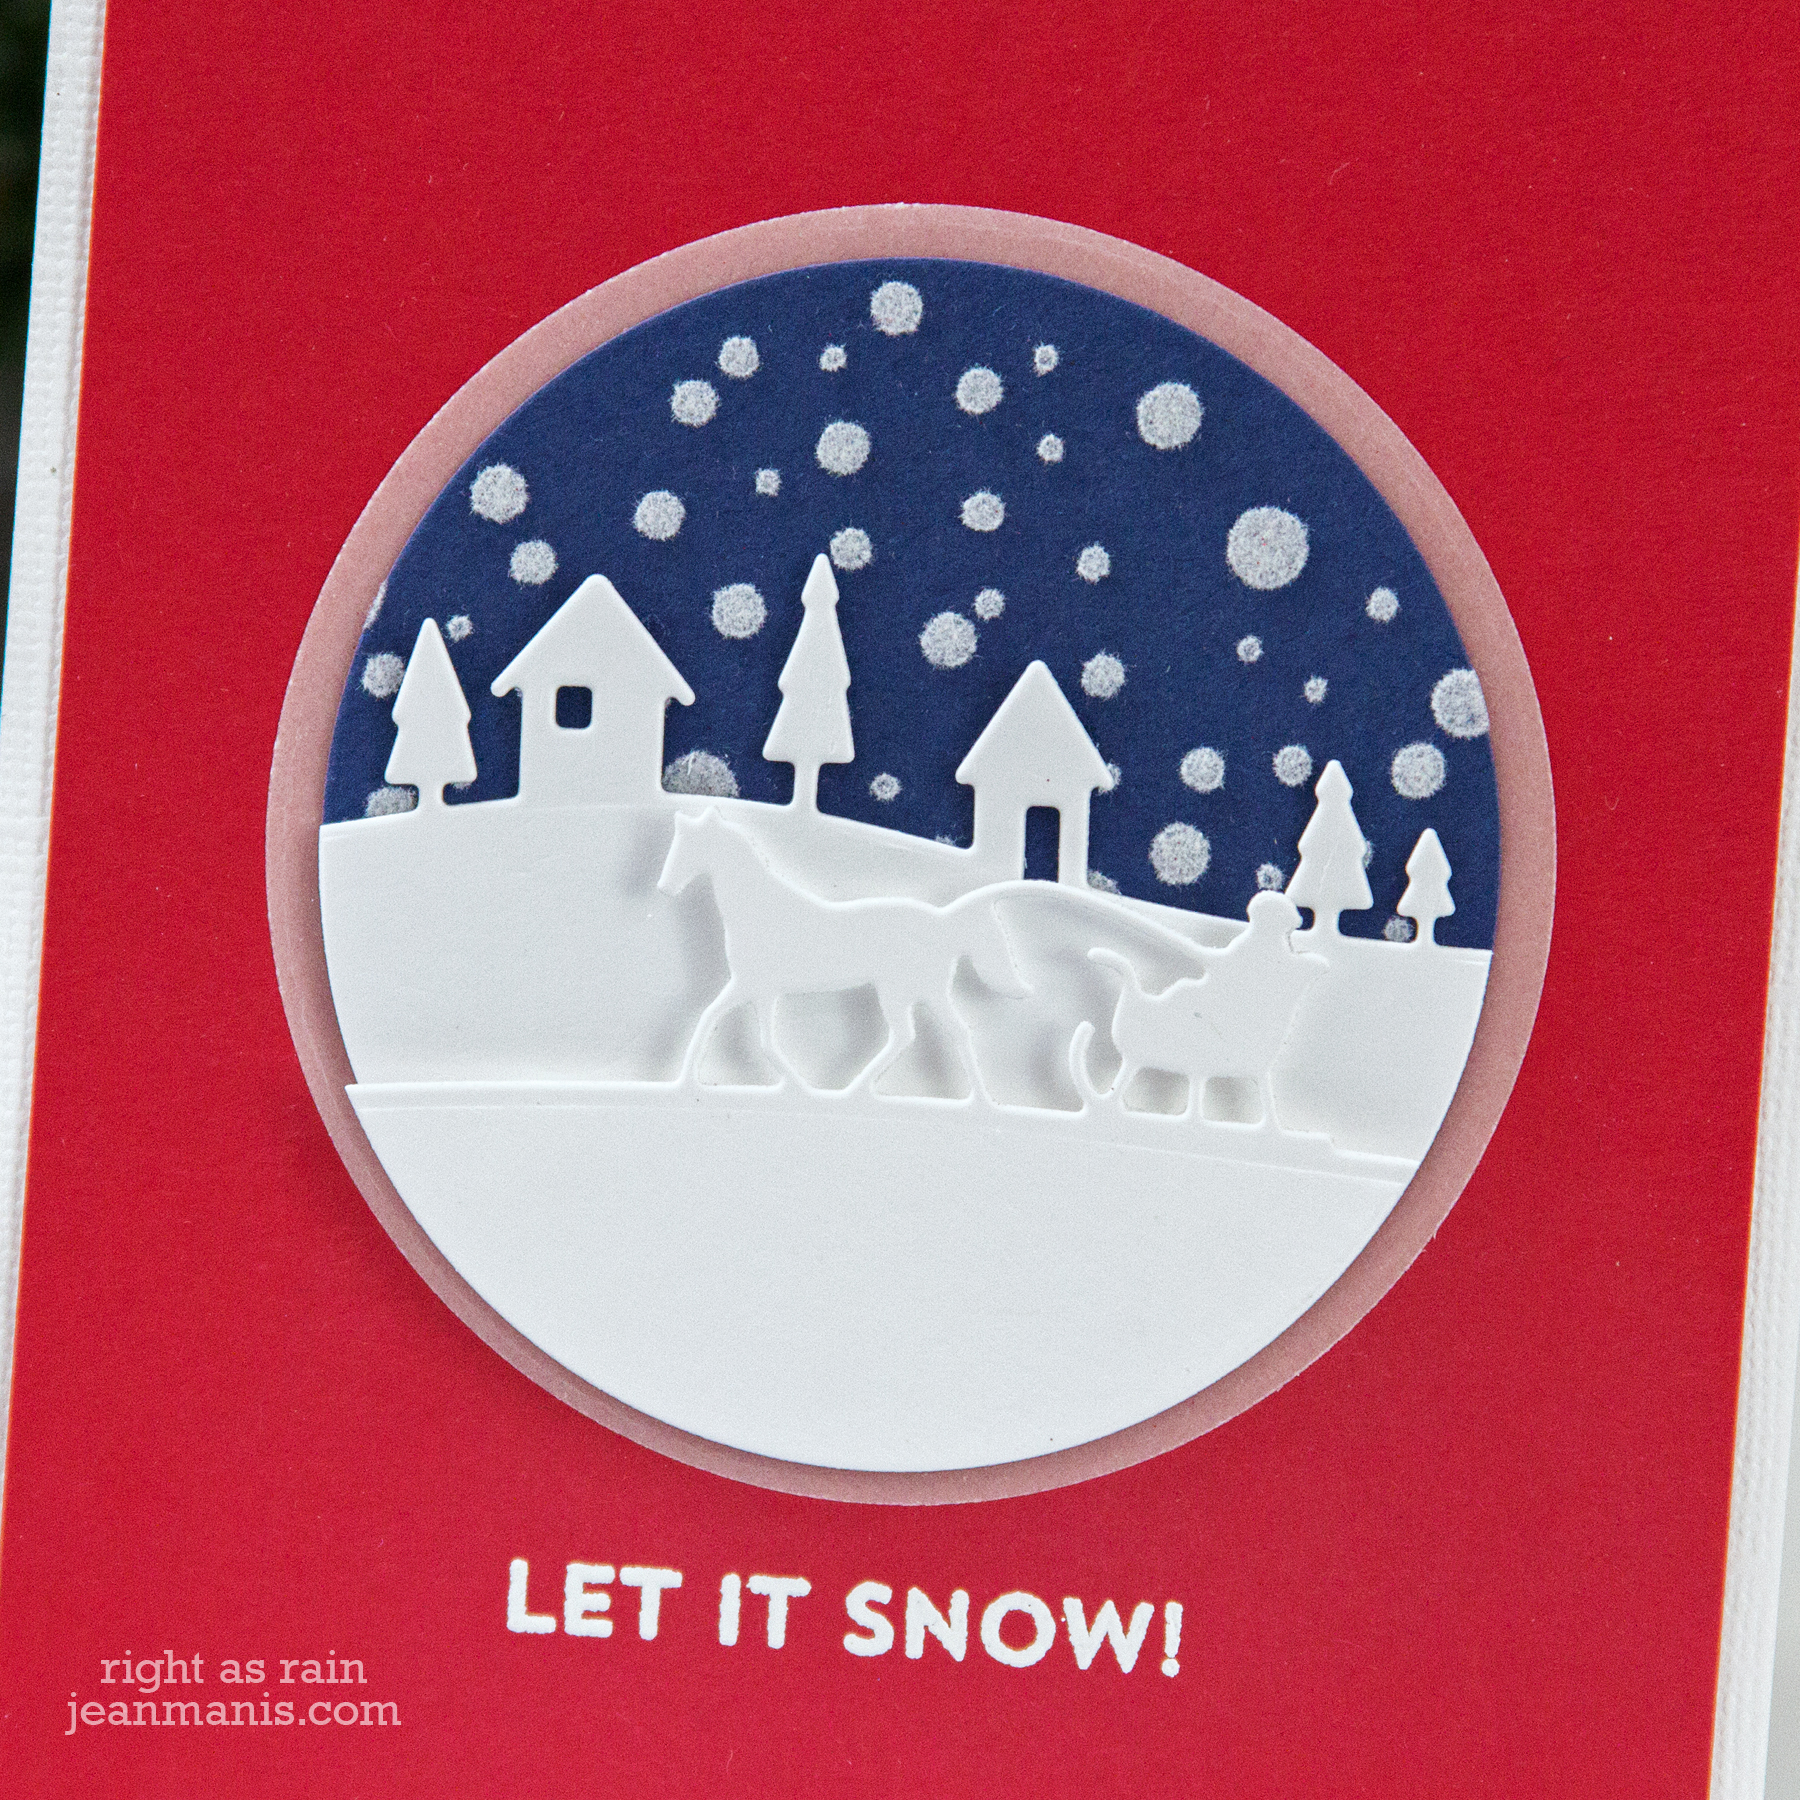
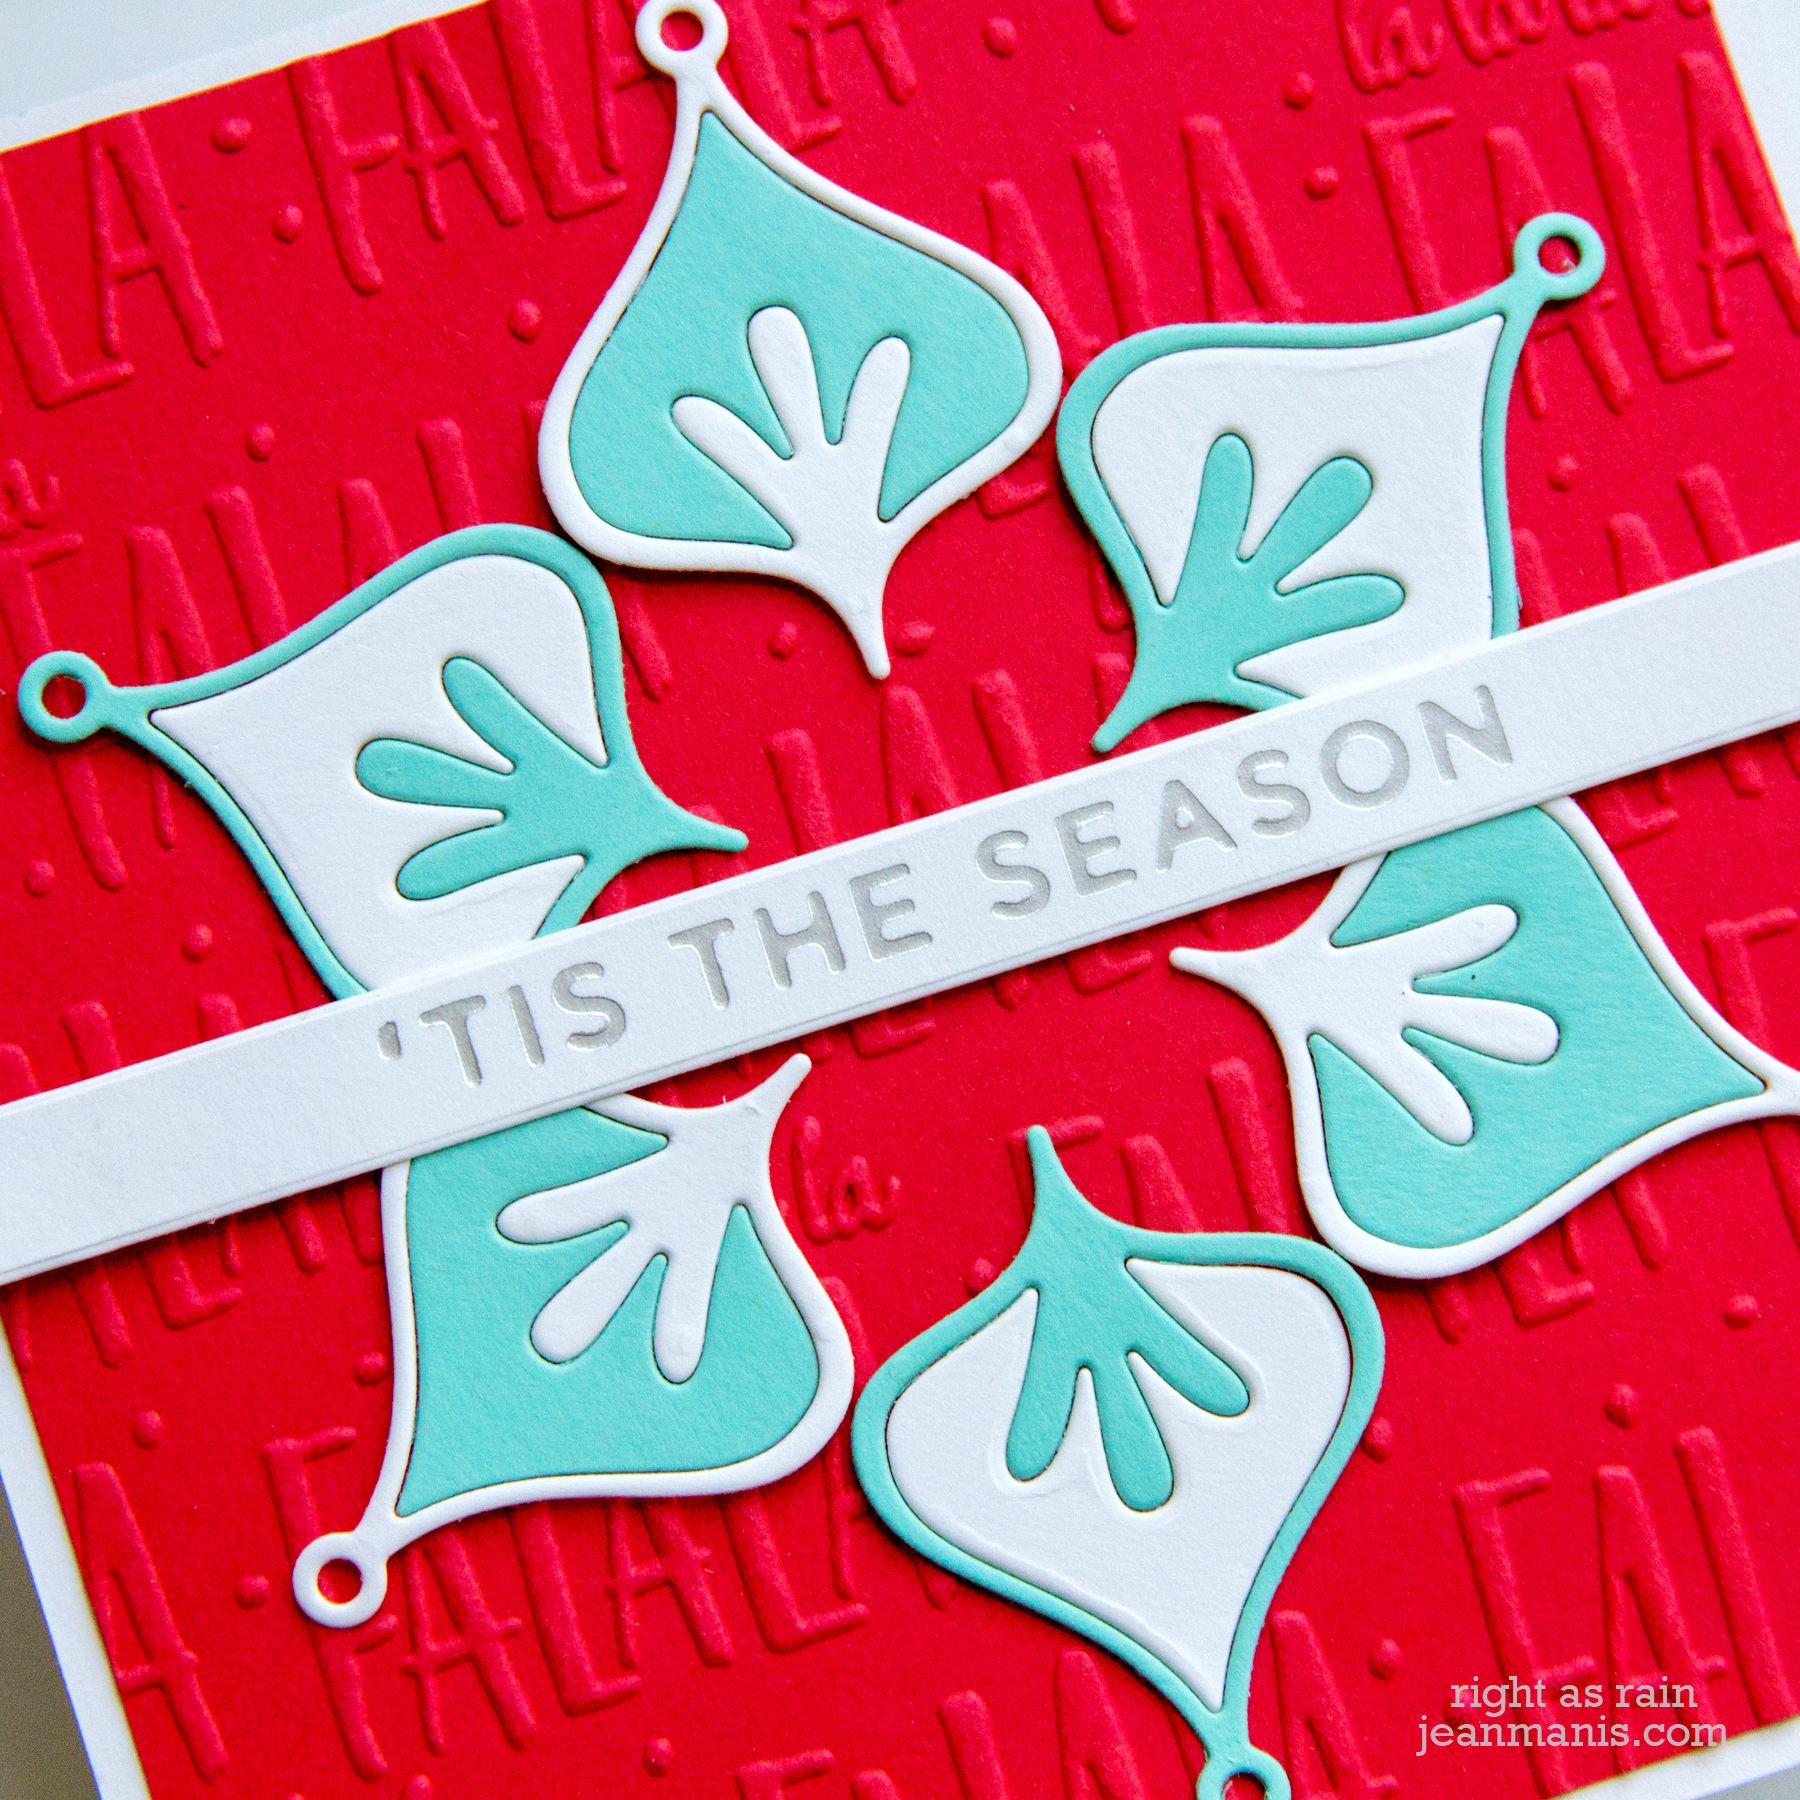
On my second card, I used a non-traditional color scheme of red, light teal, white, and silver.
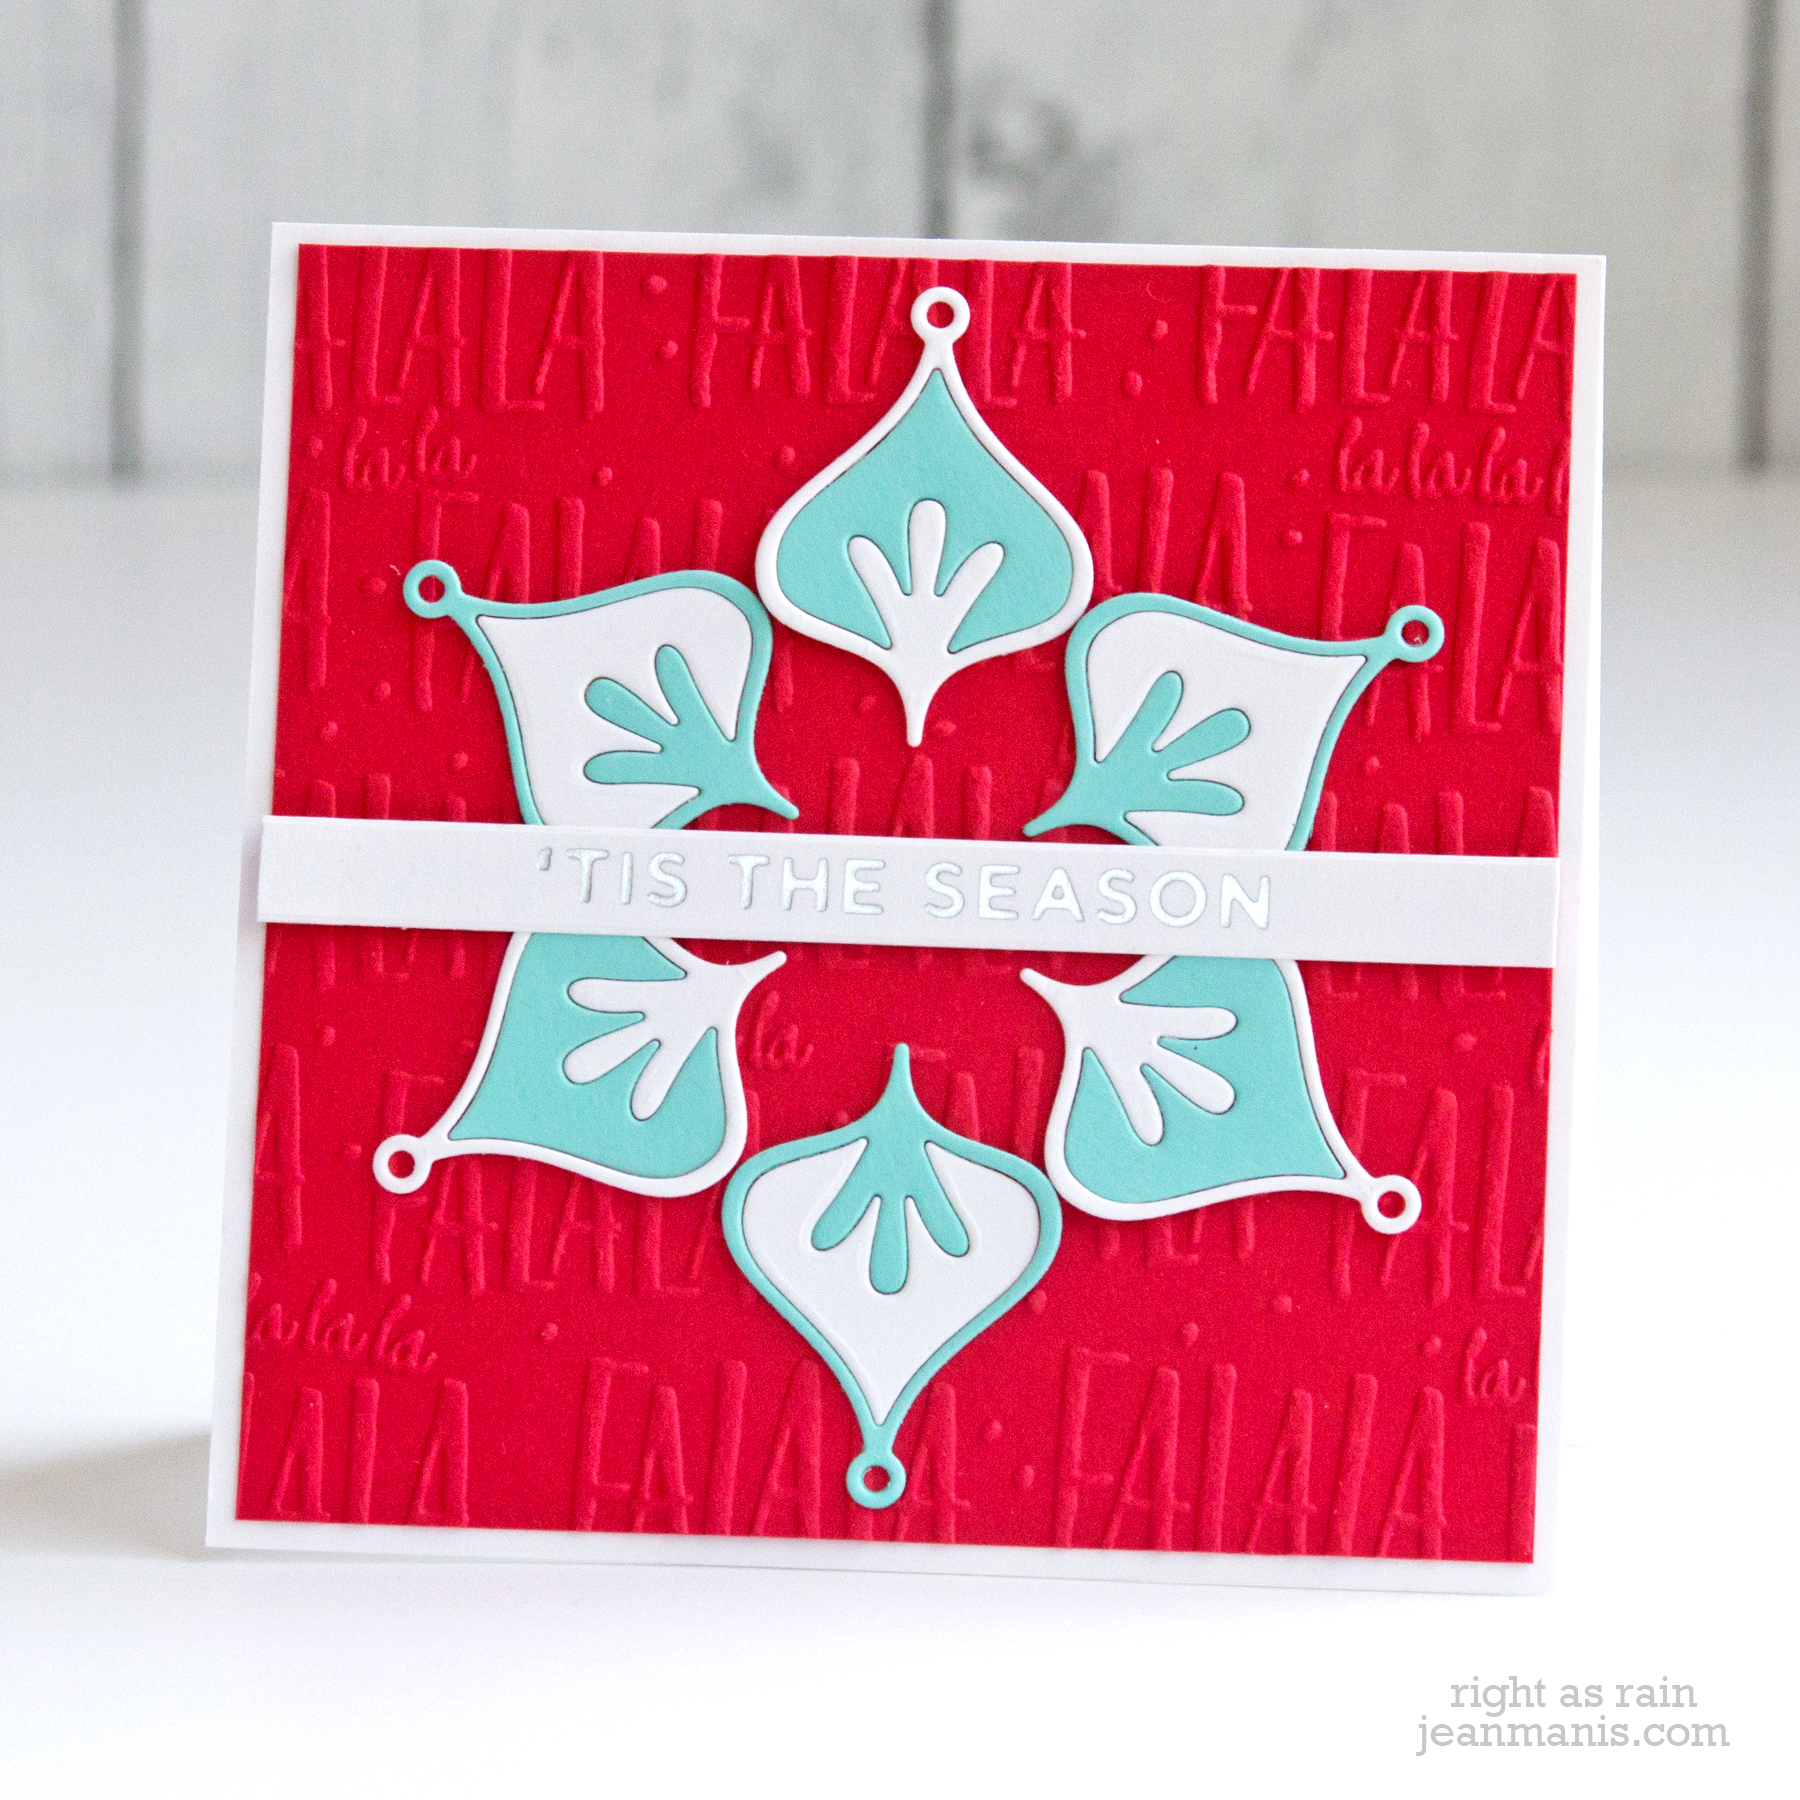
- I cut one of the Small Die of the Month set’s shapes six times, three times from a light teal and three times from white cardstock.
- I swapped the centers so that the inlay piece was the opposite color of the outline.
- I adhered the shapes to red cardstock dry-embossed with the Falala folder.
- I glimmer-foiled the Holiday Sentiments Series 2 sentiment in Matte Silver and cut it with its corresponding die.
- I added the sentiment to the panel and the assembly to a 4 1/4″ square white card base.
Thanks for visiting. Head next to the blog of Hussena Calcuttawala. See entire blog hop list after the supply list.
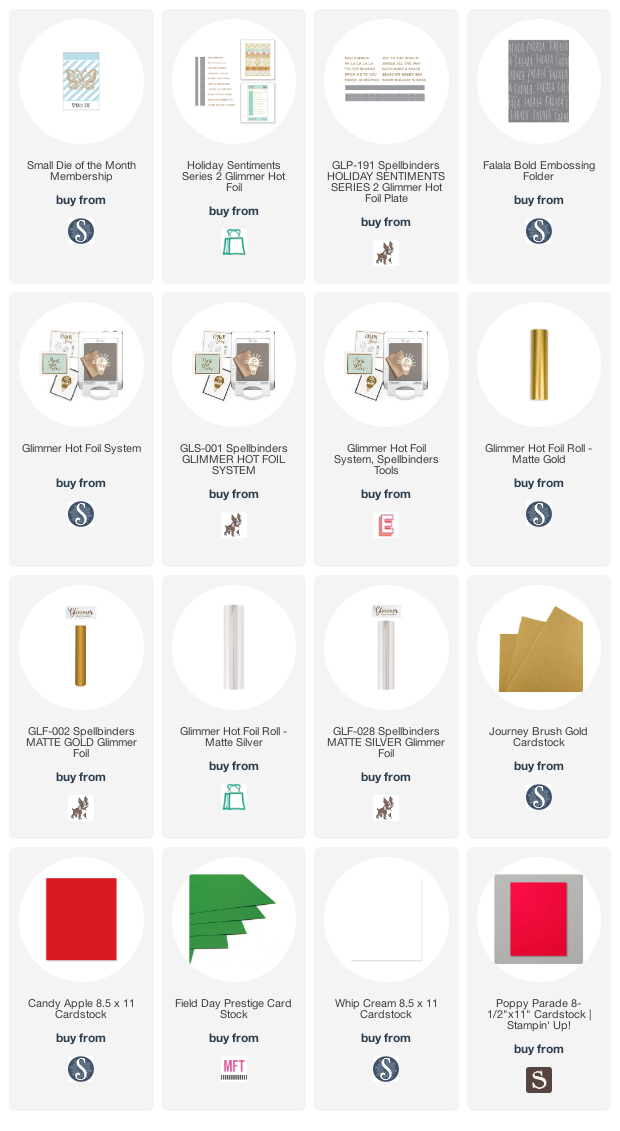
Supplies:
Blog Hop List:
Spellbinders Blog
Nichol Spohr
Tina Smith
Carrie Rhoades
Bibi Cameron
Jenny Colacicco
Laurie Willison
Joy Baldwin
Michelle Short
Jean Manis
Hussena Calcuttawala
Jill Hilliard
Virginia Lu
Ilina Crouse
Varada Sharma
Henriëtte van Mierlo