Hello! Today, I am sharing cards created with the Spellbinders December 2018 Card Kit. This kit is jam-packed with dies, stamps, embellishments, patterned paper, cardstock, card bases, and envelopes. Use the kit to create Christmas cards, as well as, cards for the New Year and early winter months. The color palette is fantastic and the patterned papers coordinate beautifully!
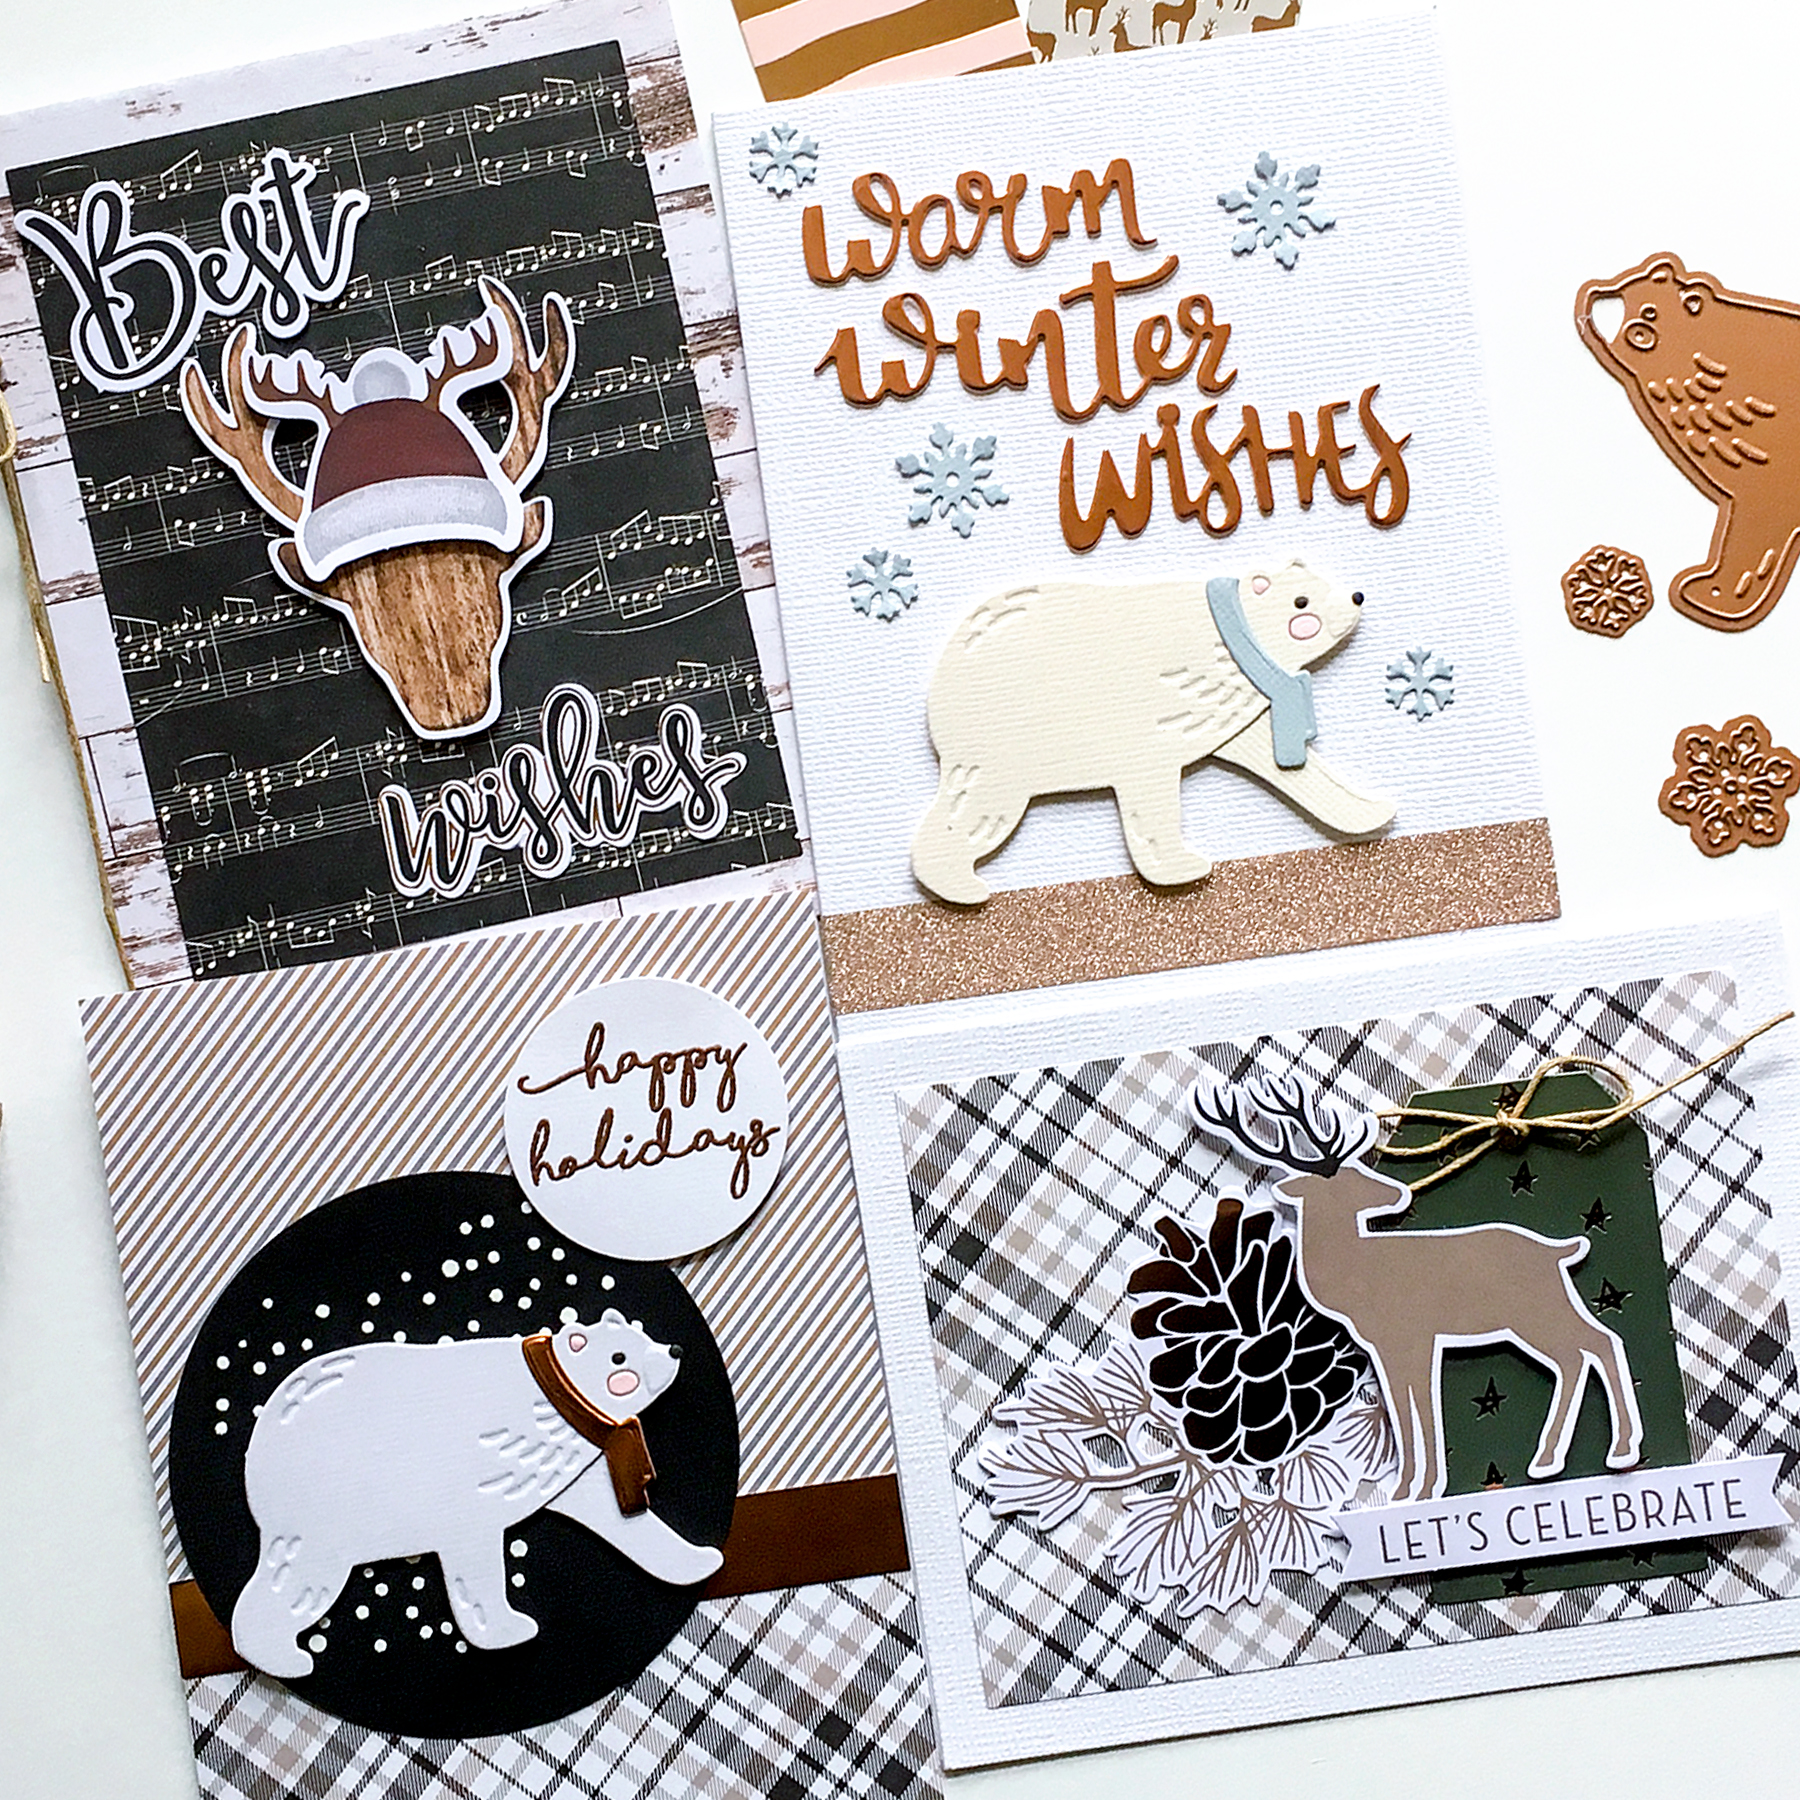
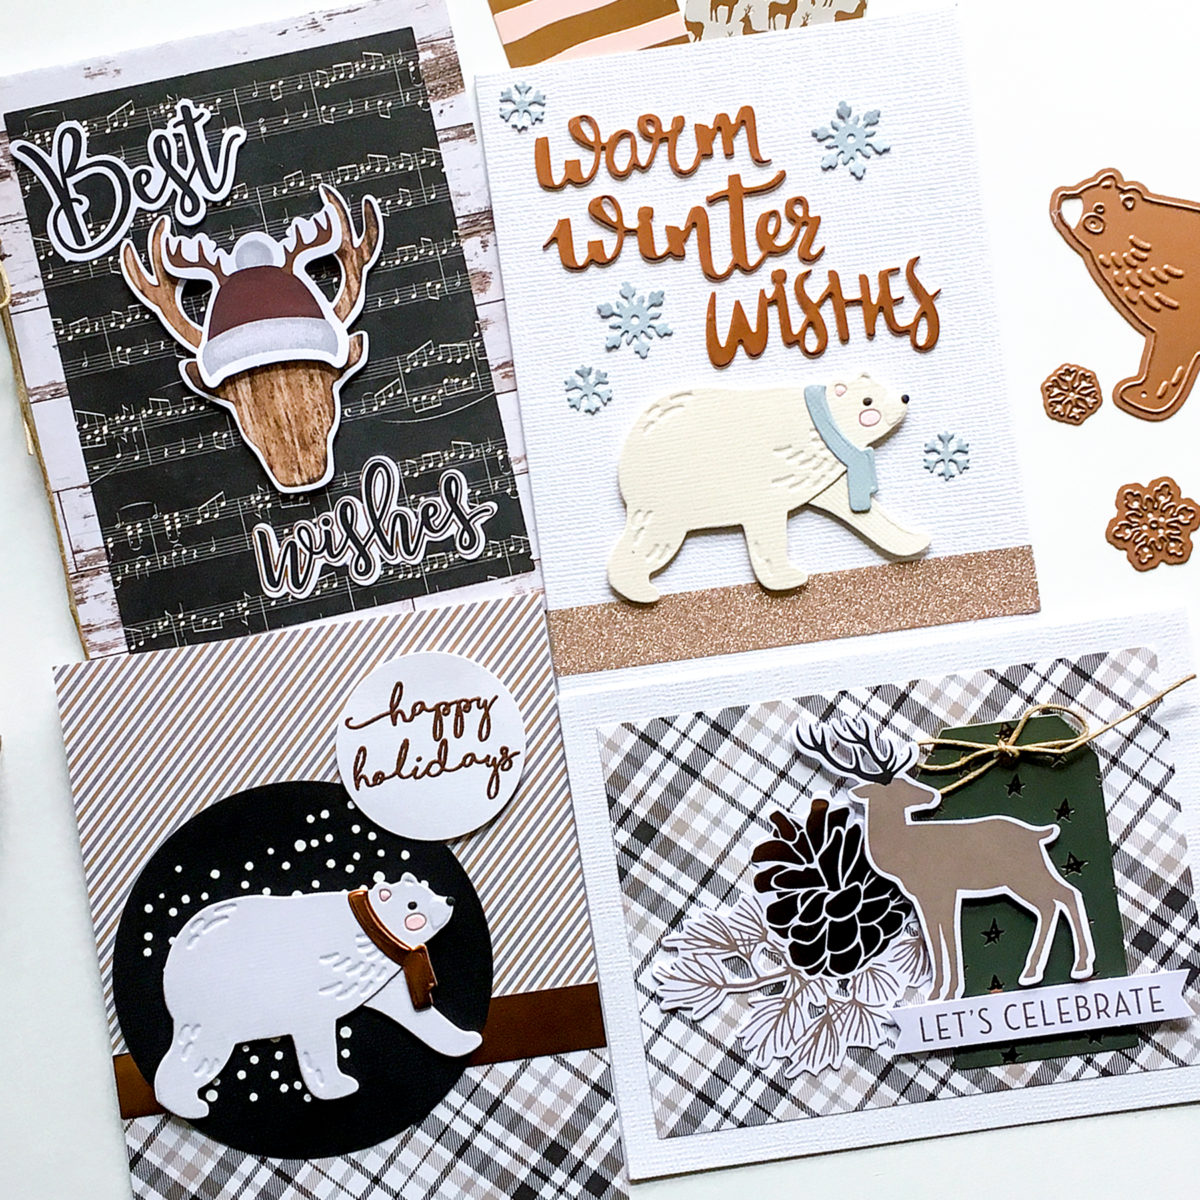
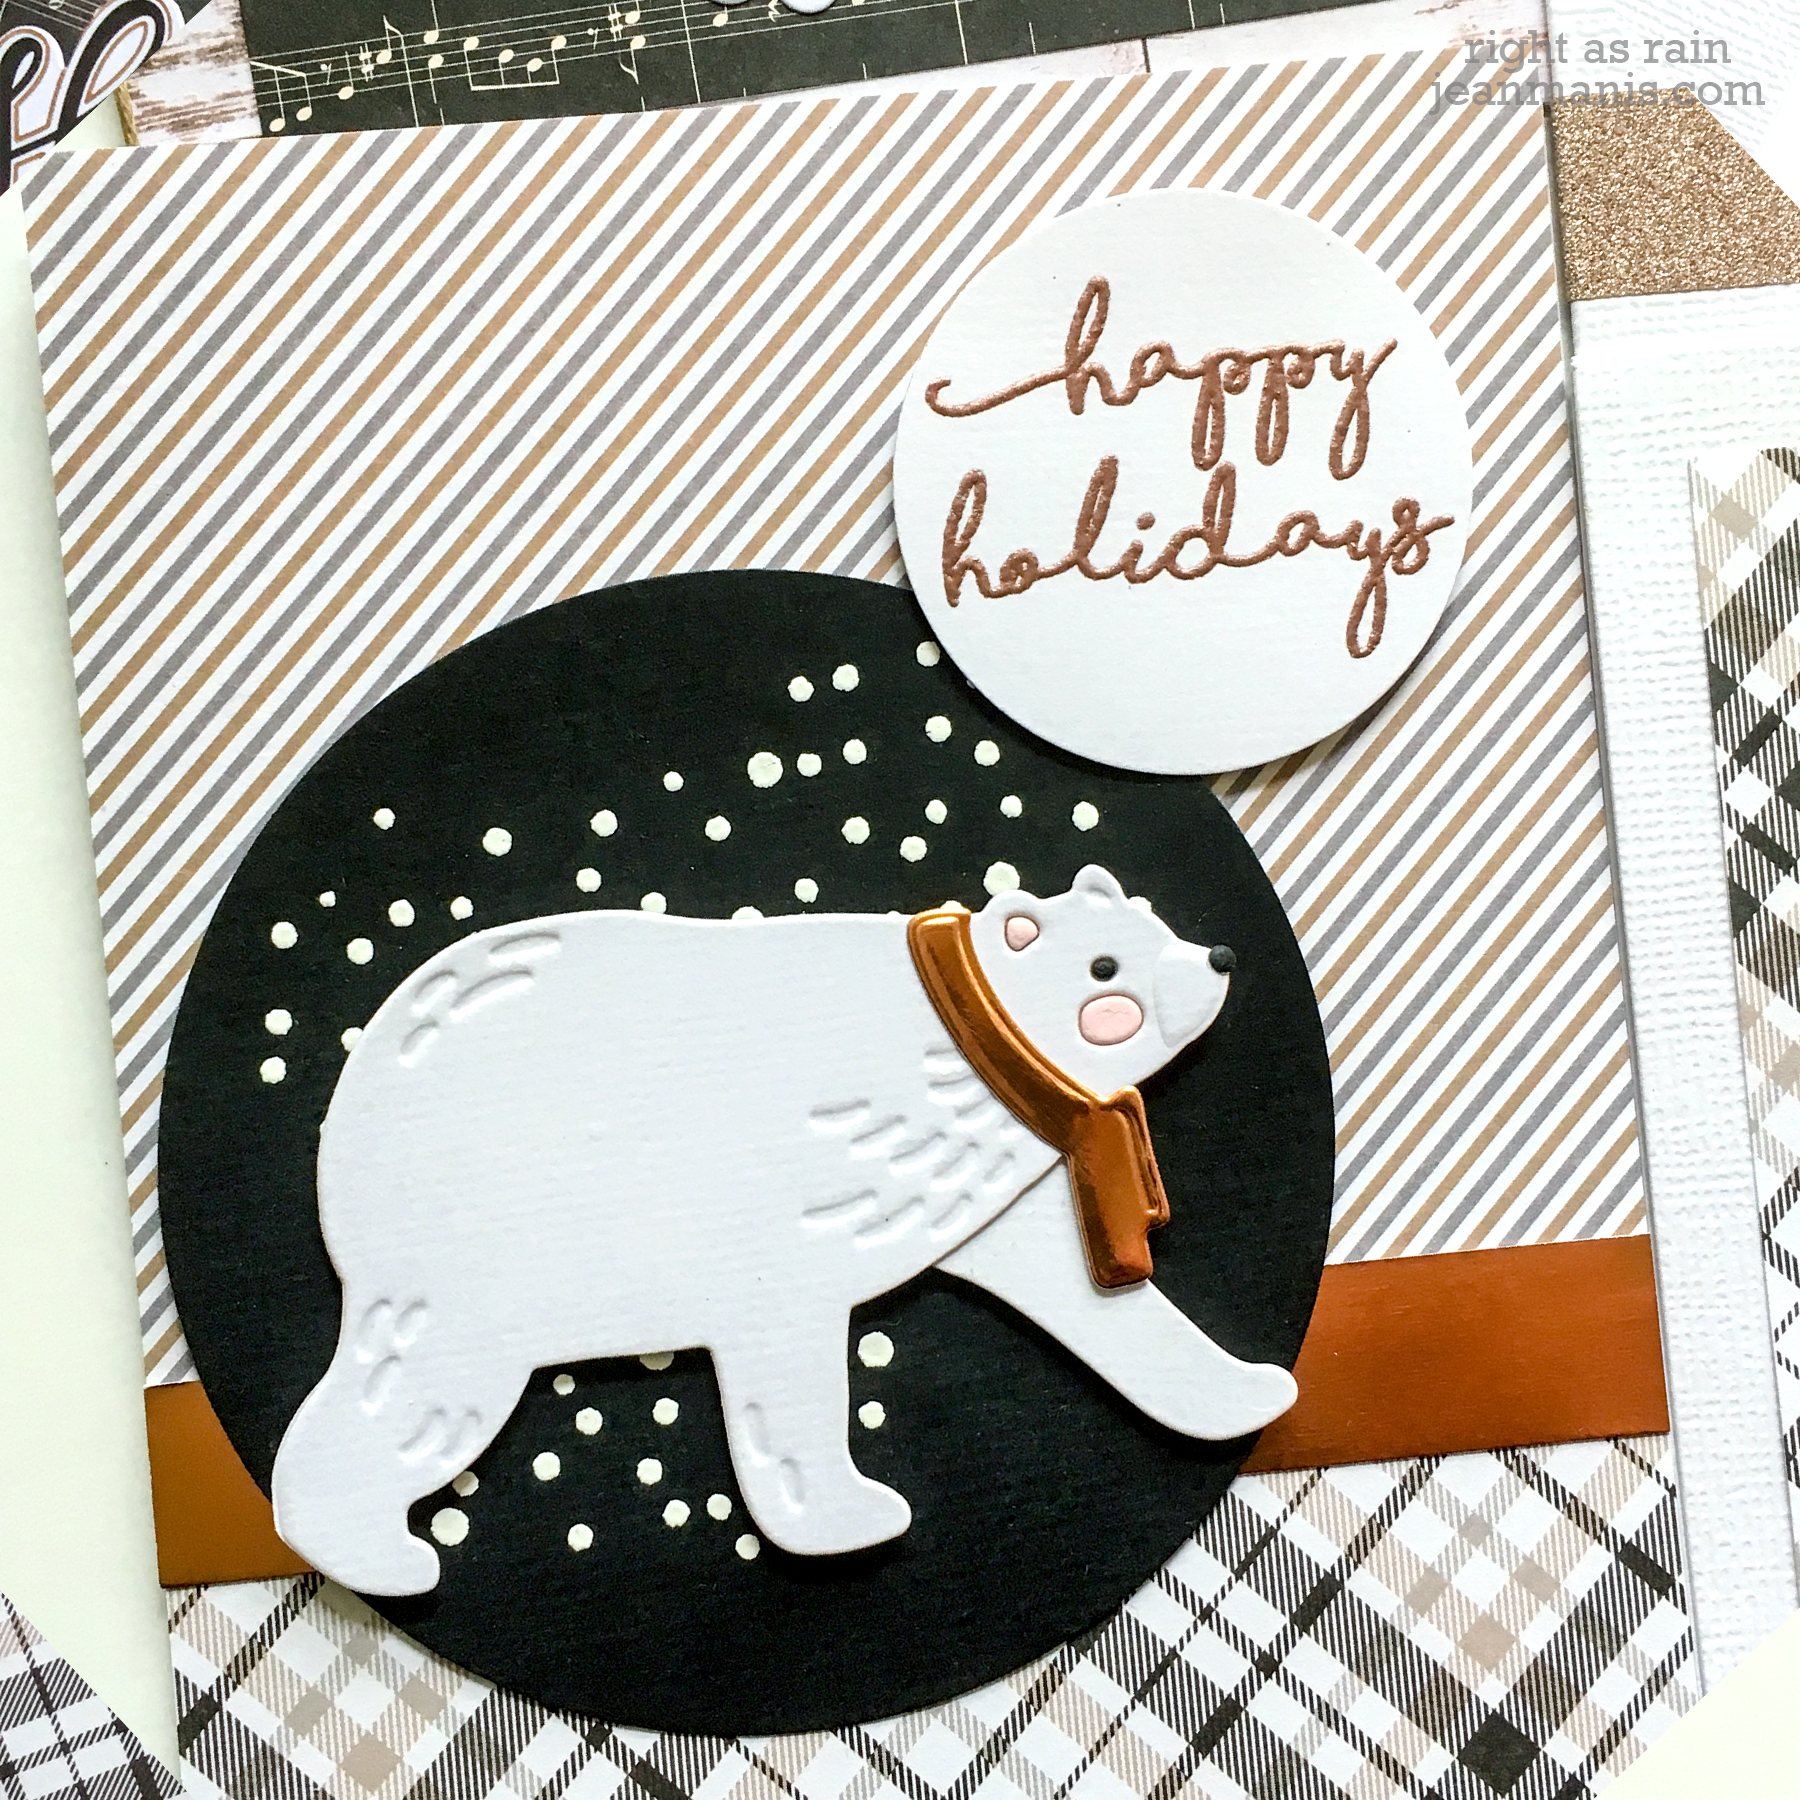
First up, let’s look at the cards I created with the polar bear die contained in the set.
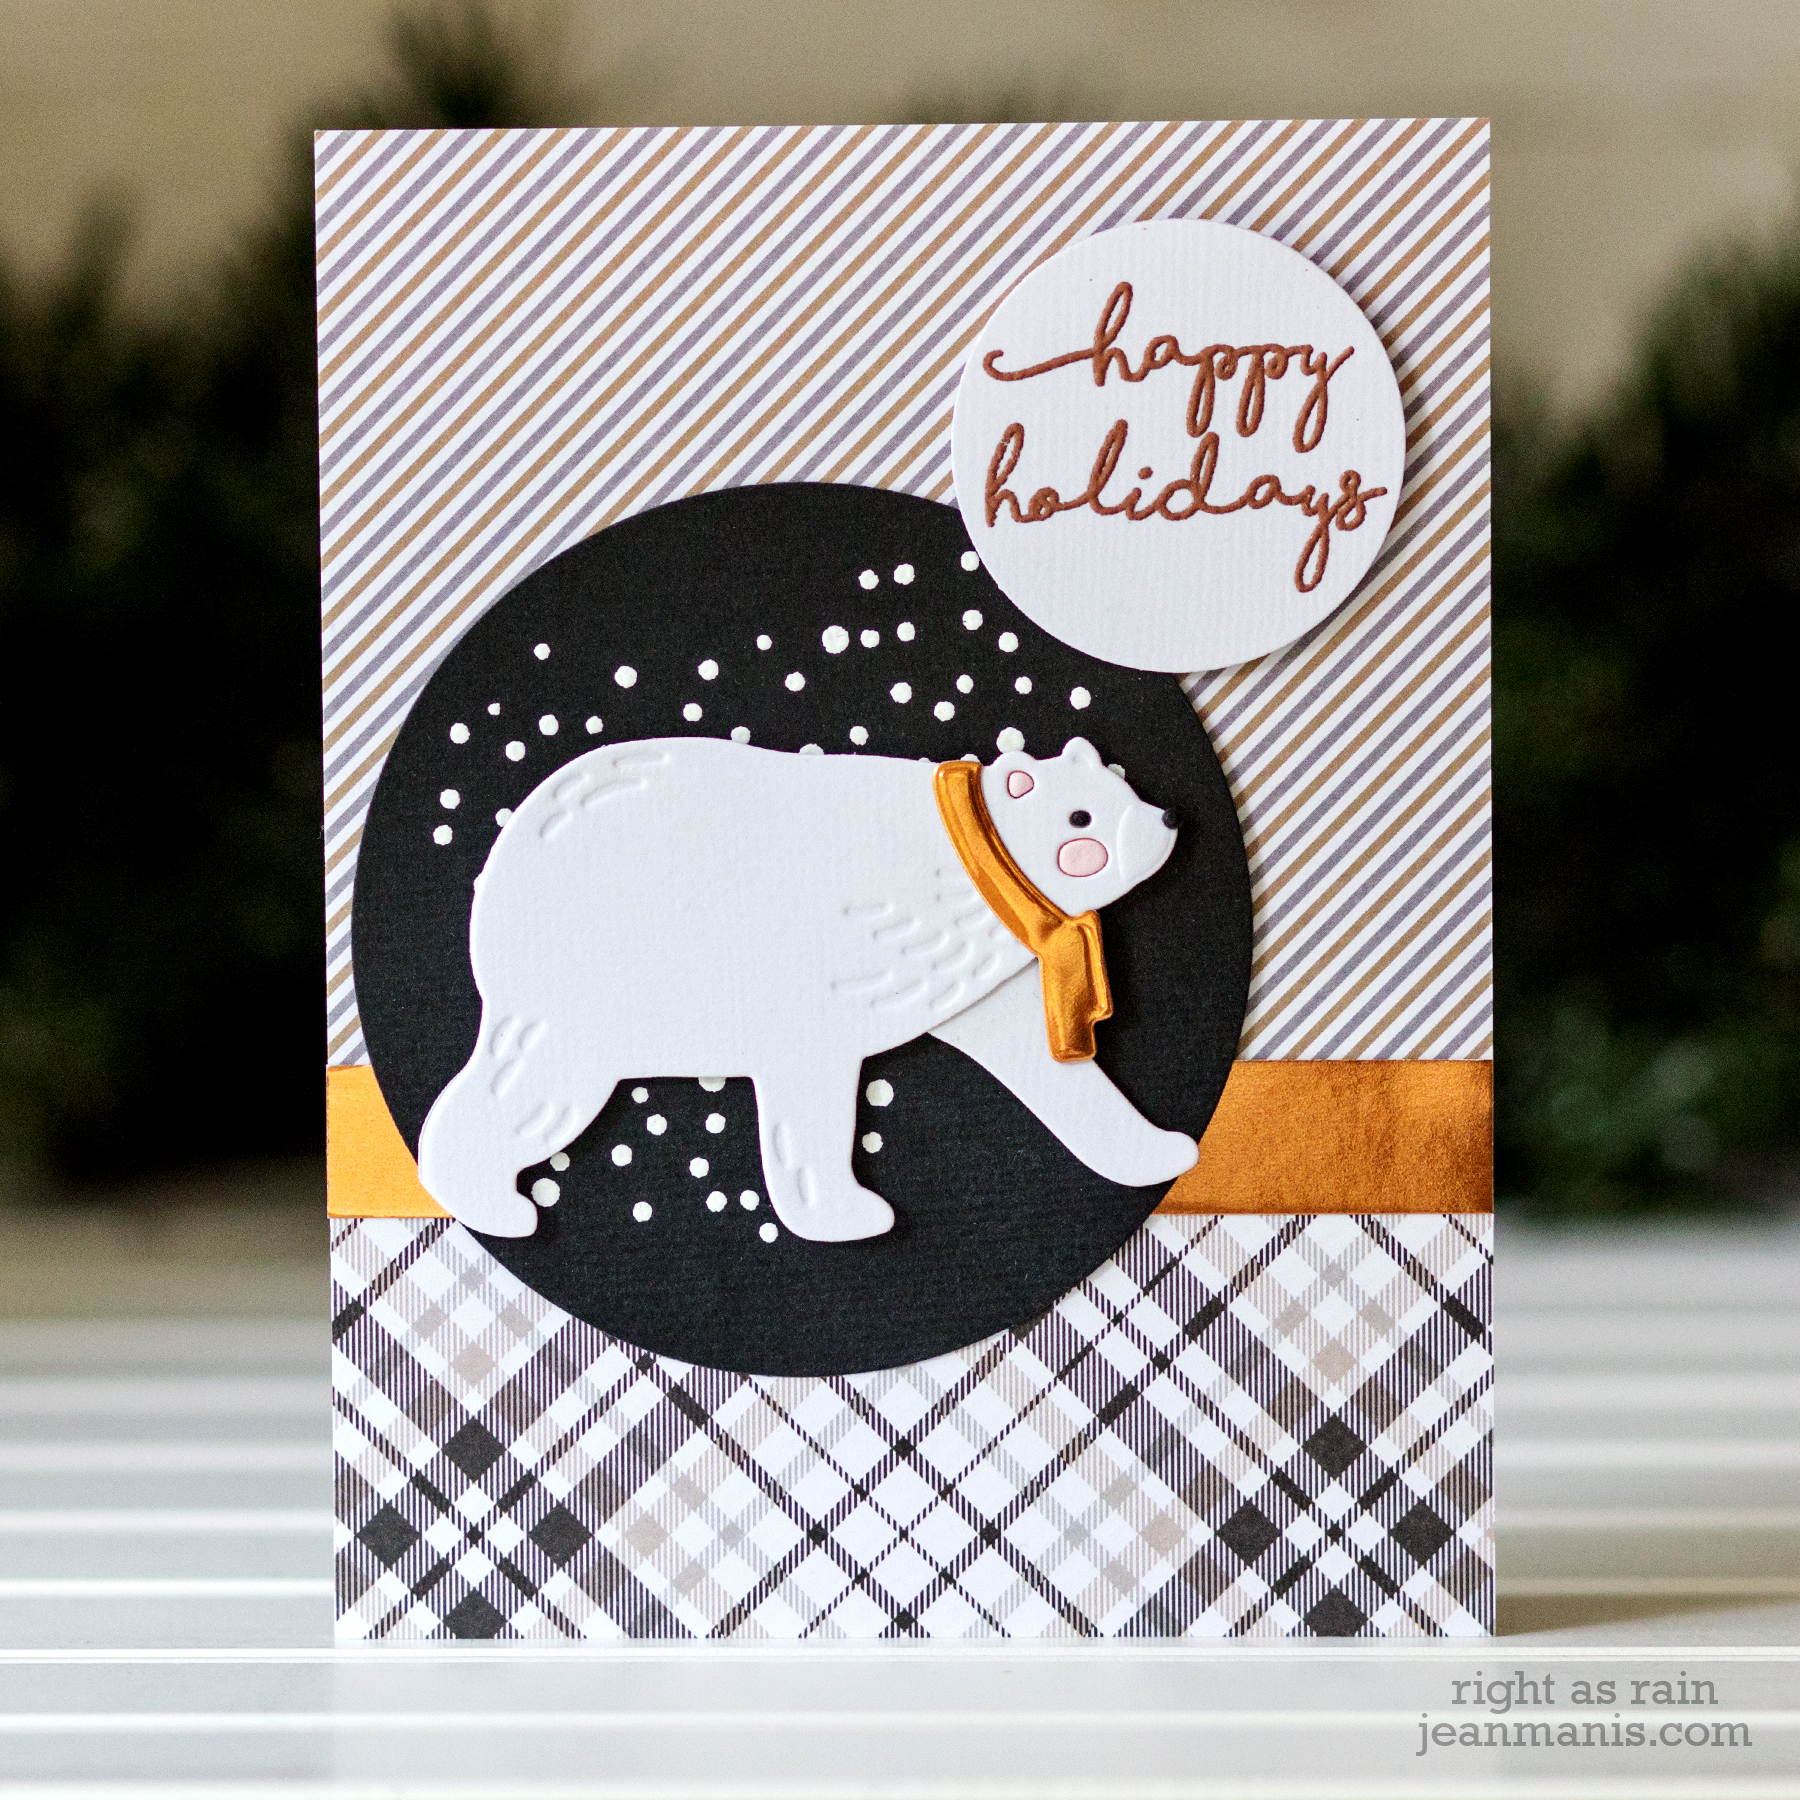
- To begin, I die-cut and embossed the bear using white cardstock included in the kit.
- I die-cut the scarf from copper foil included with the kit.
- I heat-embossed snow from the kit’s stamp set with white embossing powder on black cardstock contained in the kit, which I then cut with a Spellbinders circle die.
- I combined the copper foil and two of the kit’s patterned papers for the card background.
- I heat-embossed a sentiment from the kit’s stamp set with copper embossing powder, and cut it with a Spellbinders circle die.
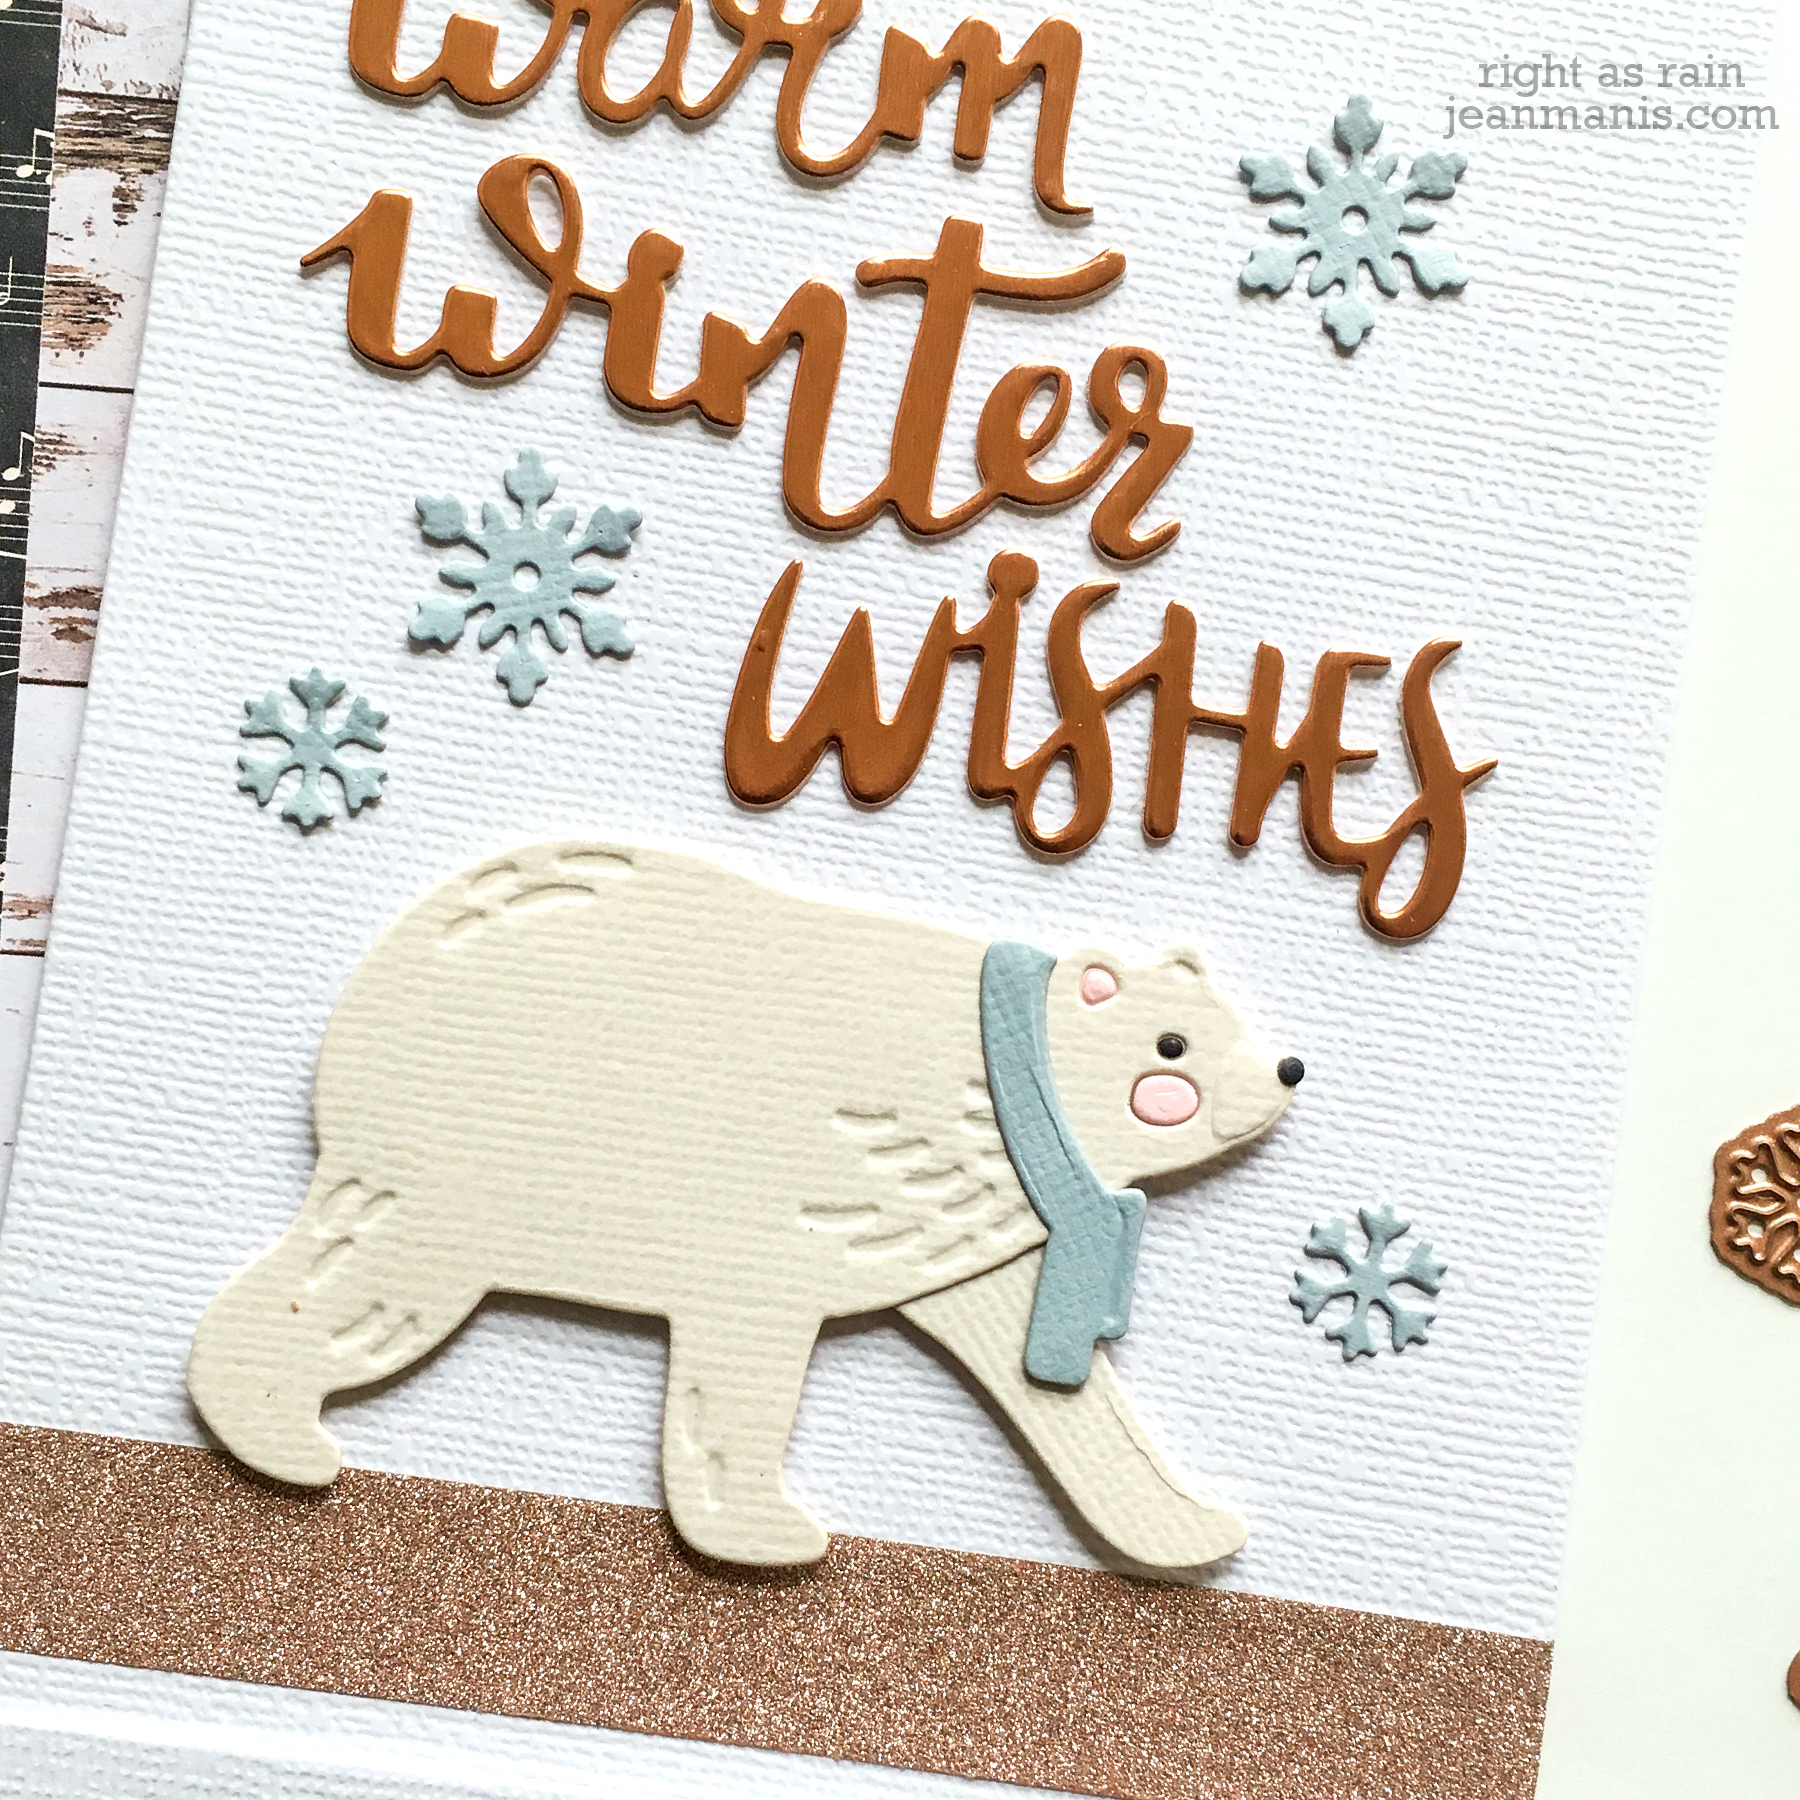
For my next card, I combined a die-cut sentiment with the polar bear.
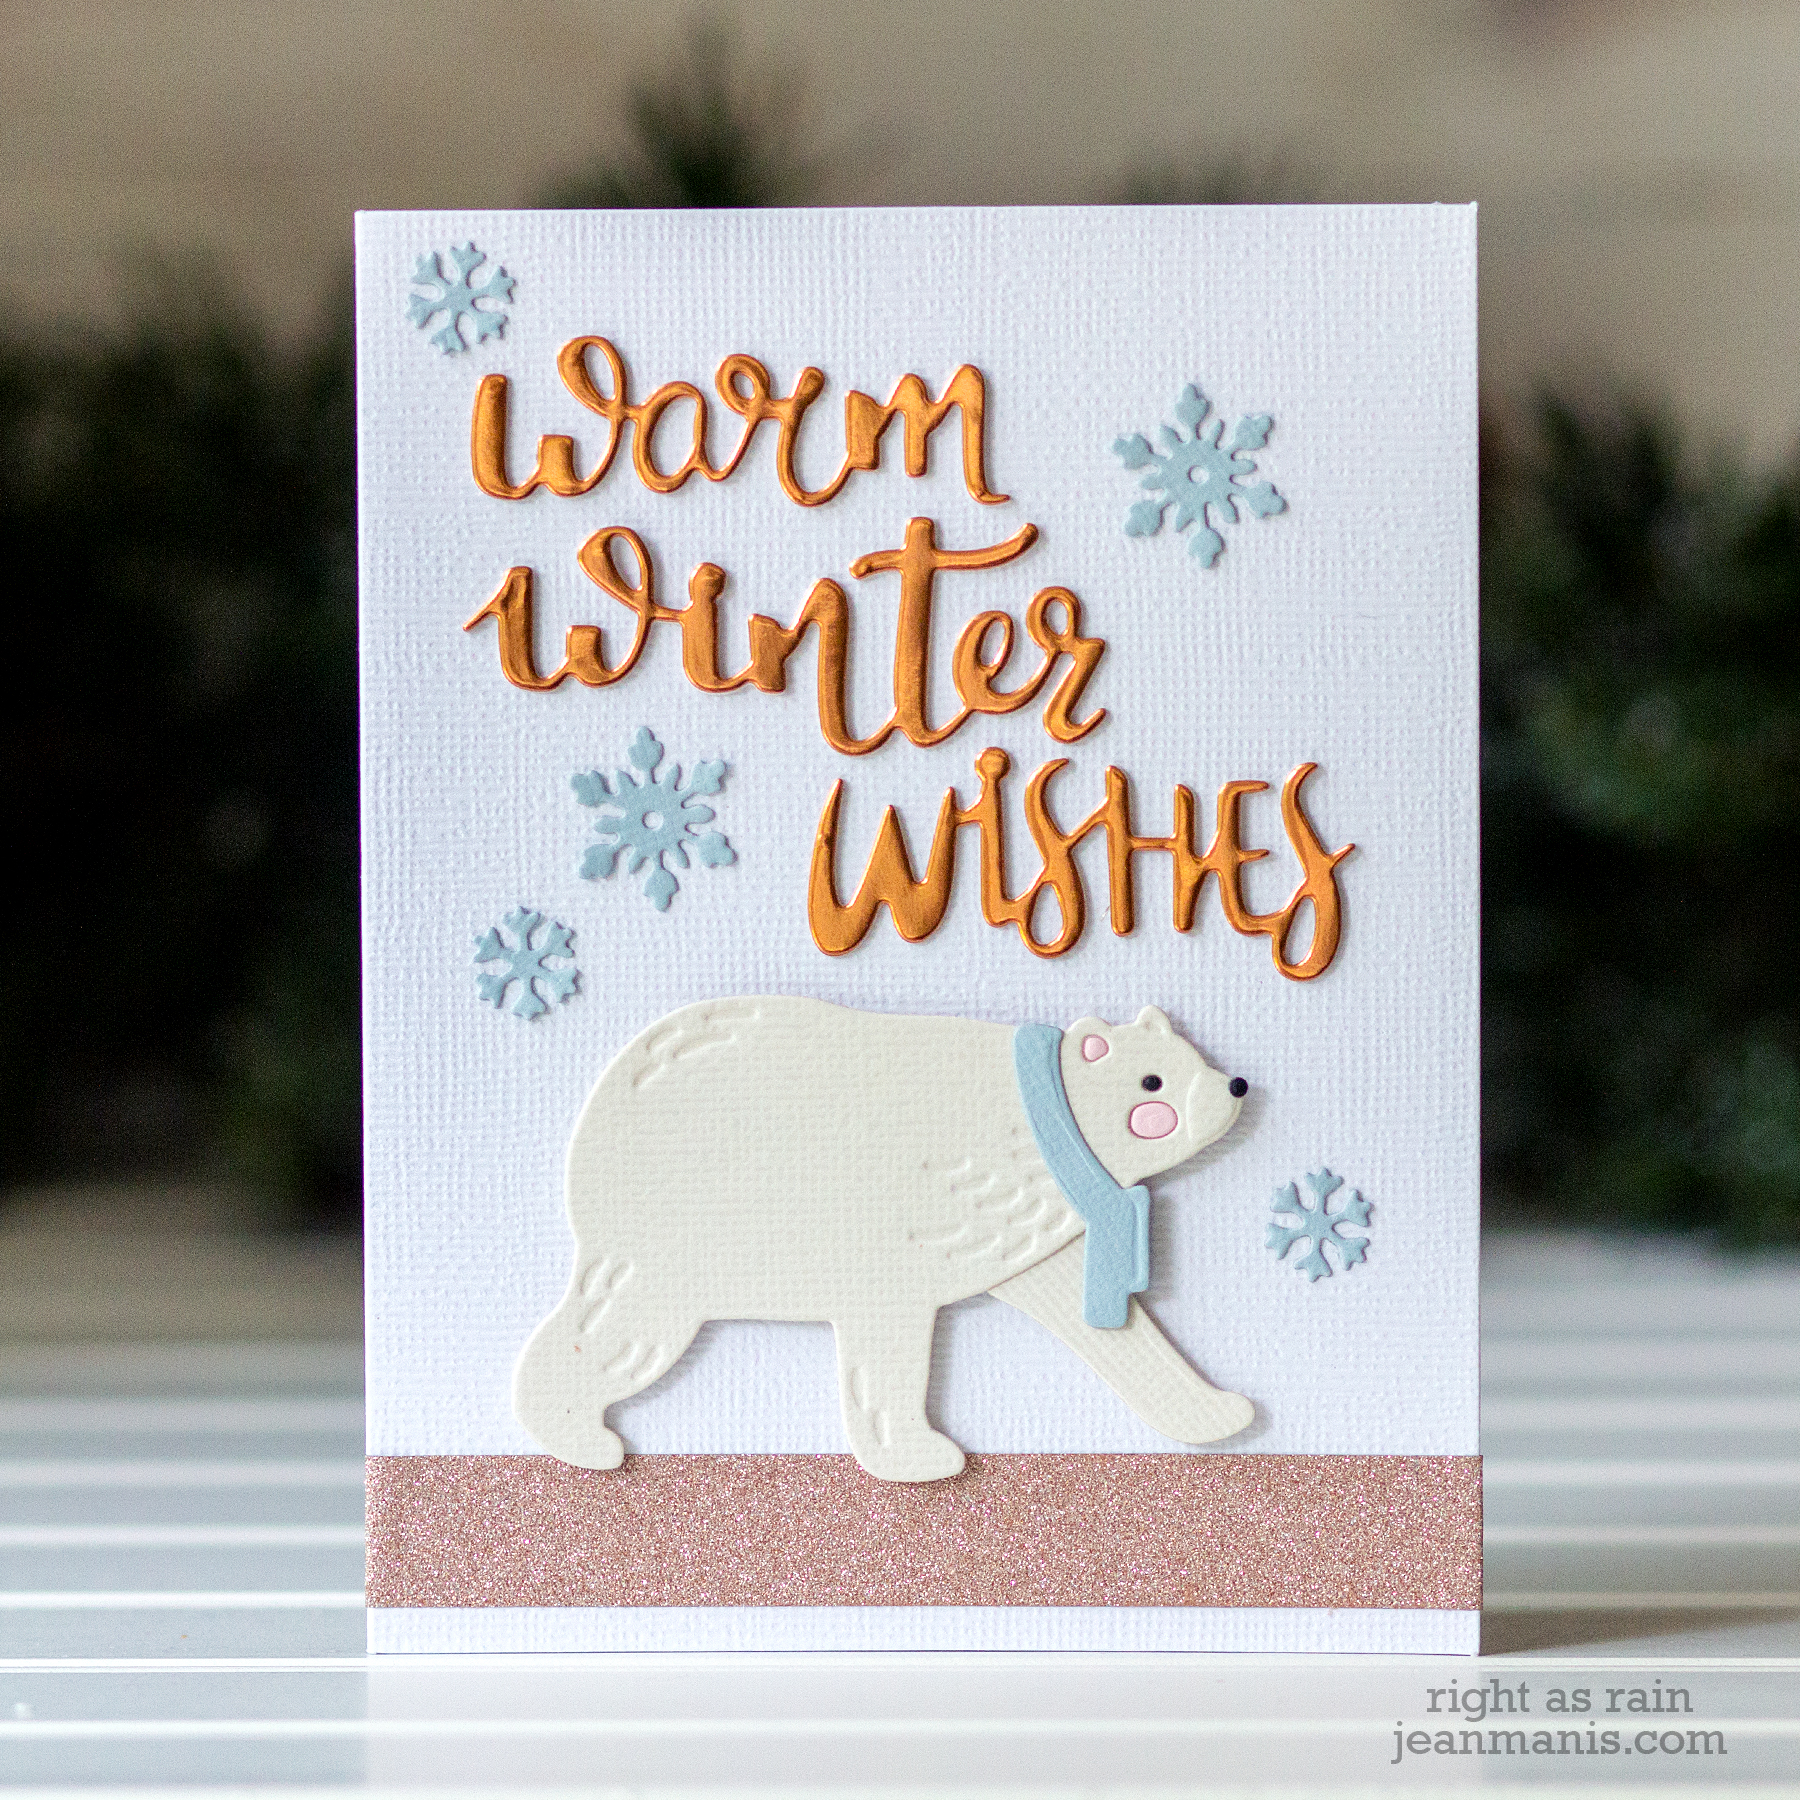
- I die-cut and embossed the bear using cardstock included in the kit (this bear is cut from a cream colored cardstock so that it will stand out on the card base, which is white).
- I die-cut the scarf from light-blue cardstock included in the kit.
- I die-cut the sentiment from copper foil. I also die-cut the sentiment from white cardstock, and adhered the two layers together to create additional depth.
- I die-cut the snowflakes from the same cardstock as the scarf.
- I ran a strip of the included glitter washi tape along the bottom of the card base to create a ground.
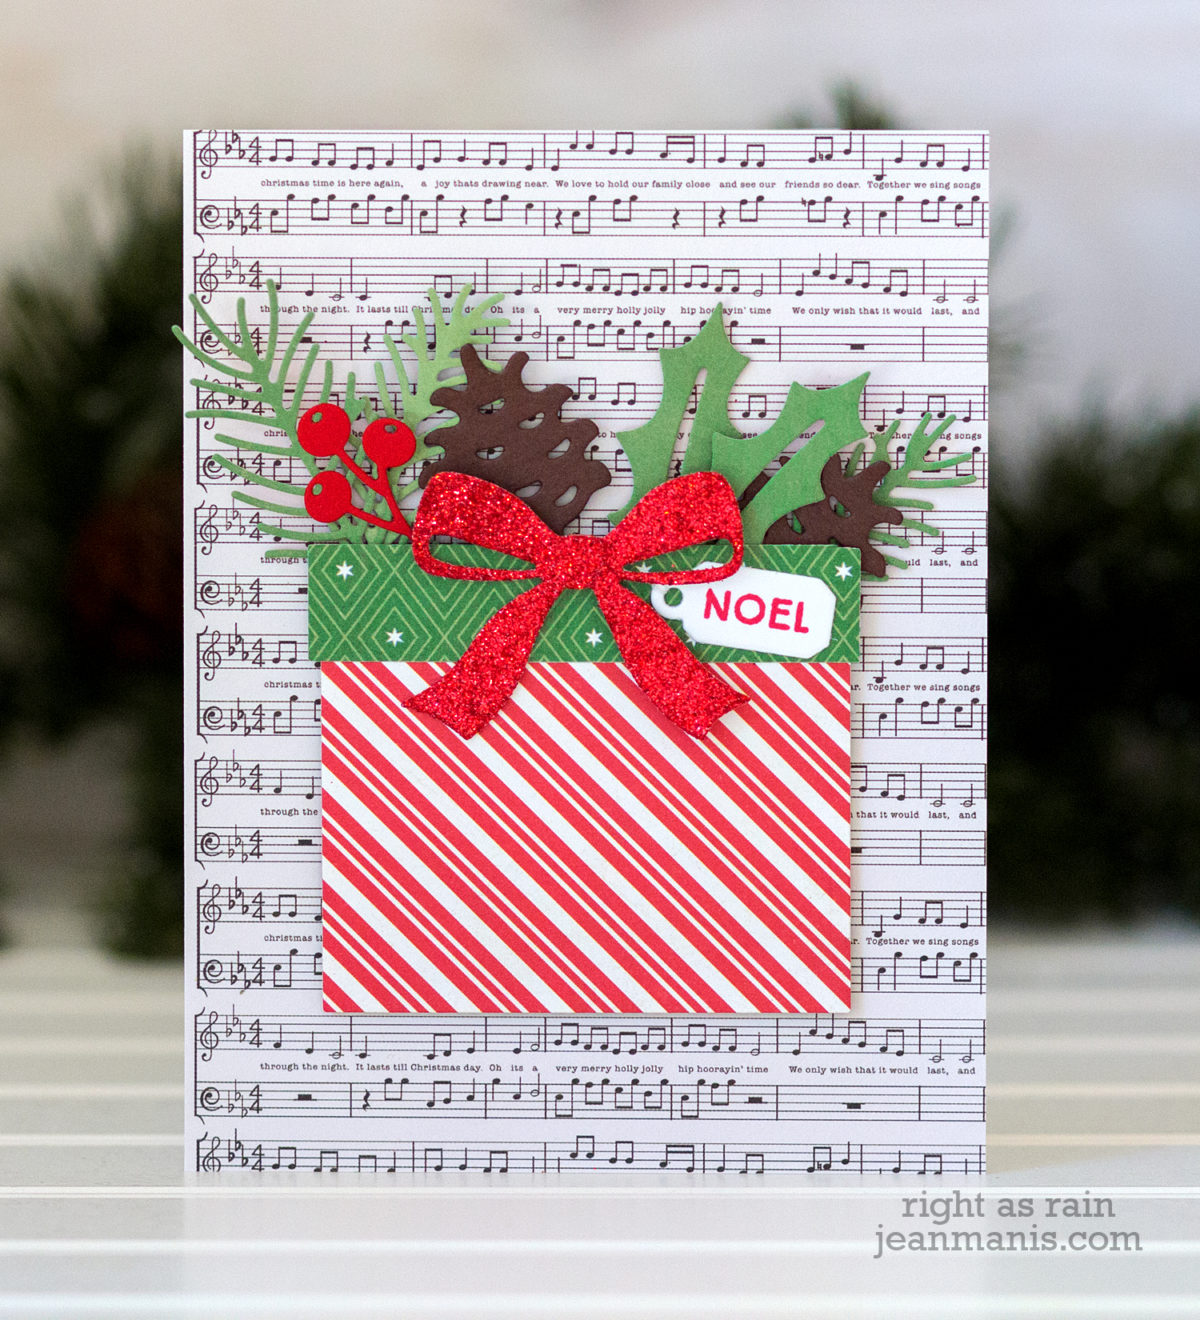
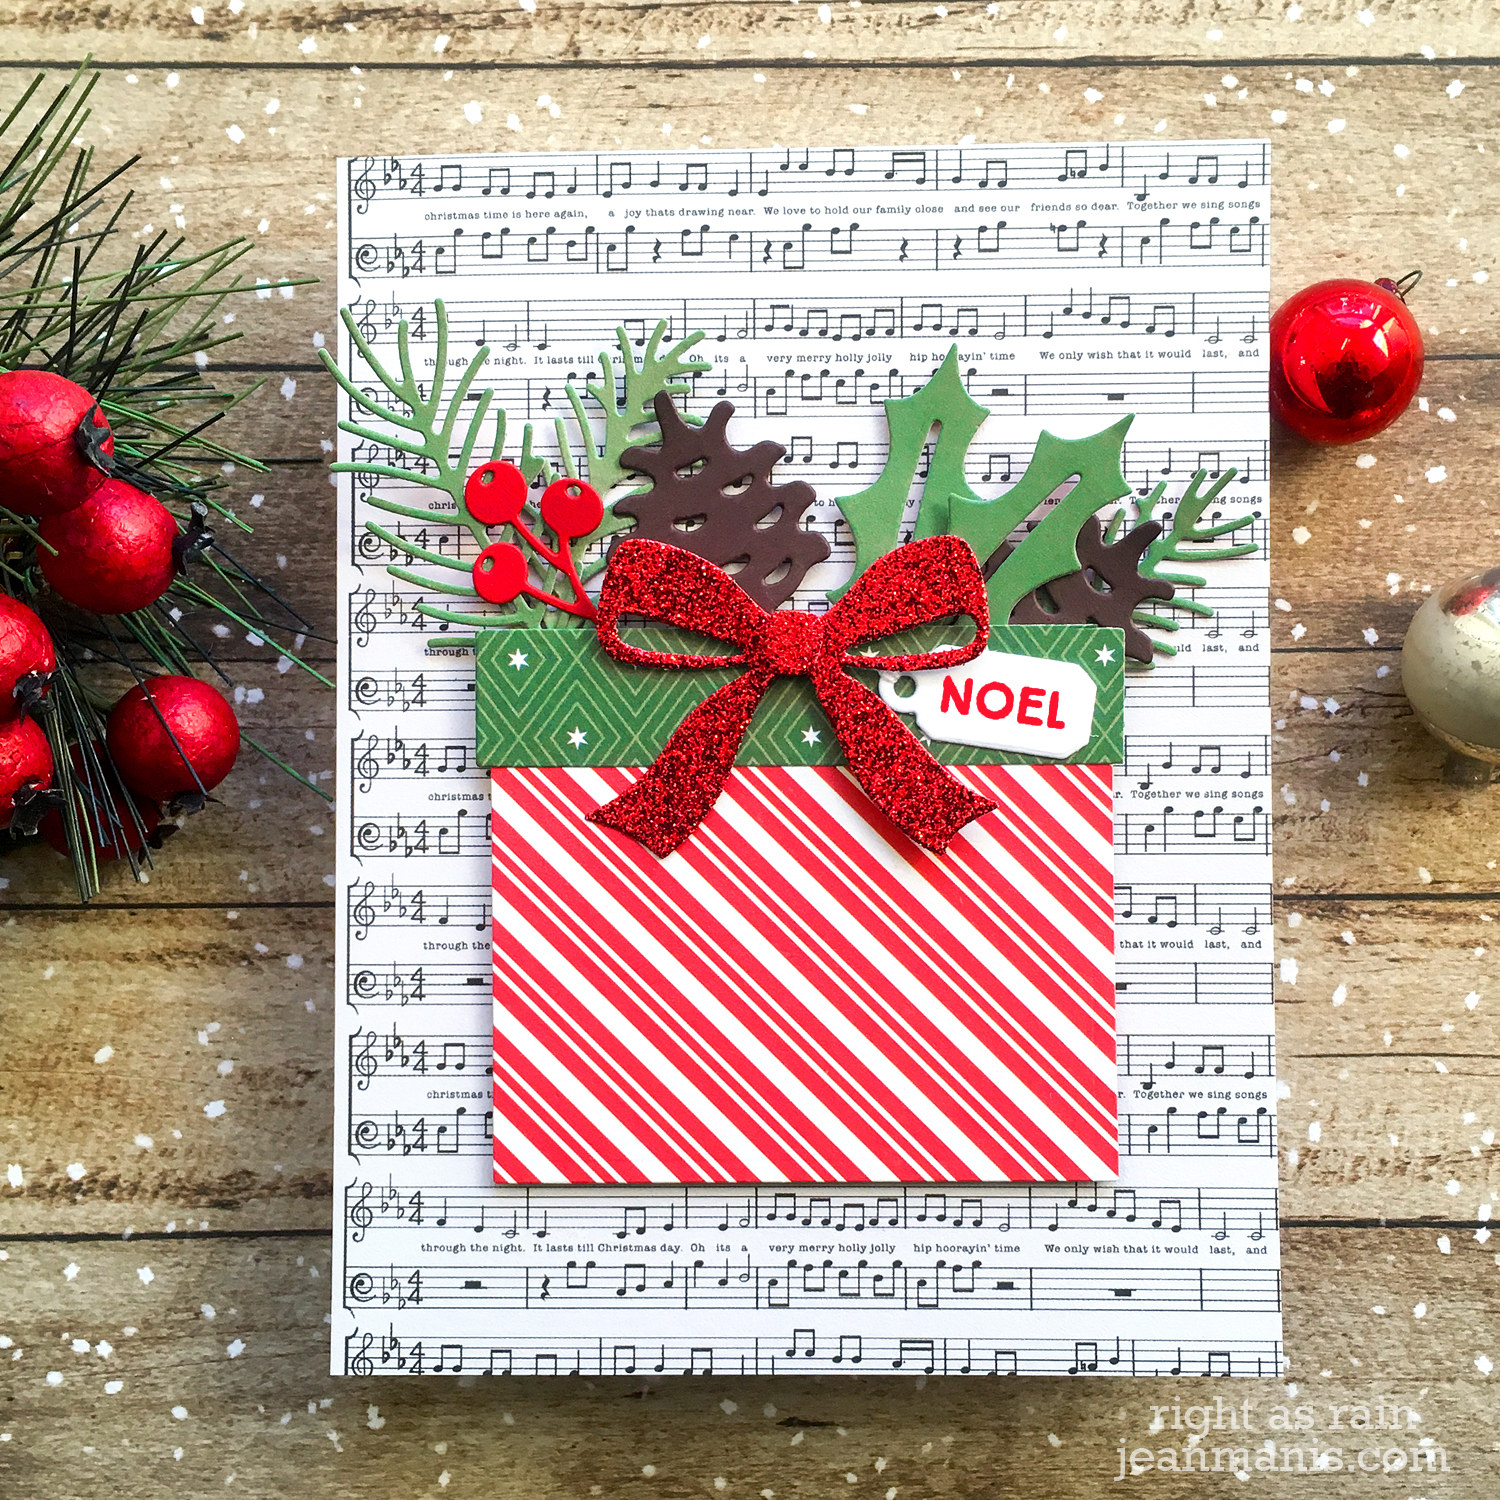
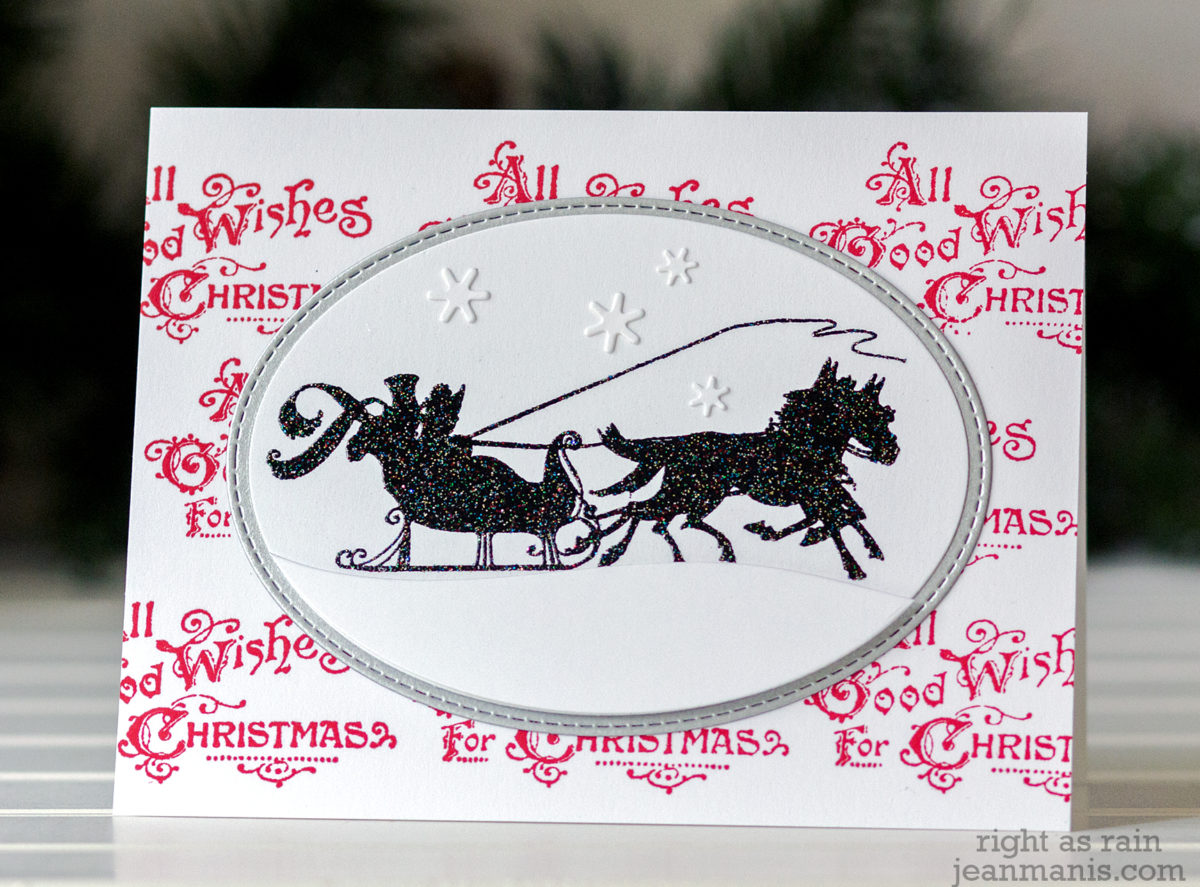
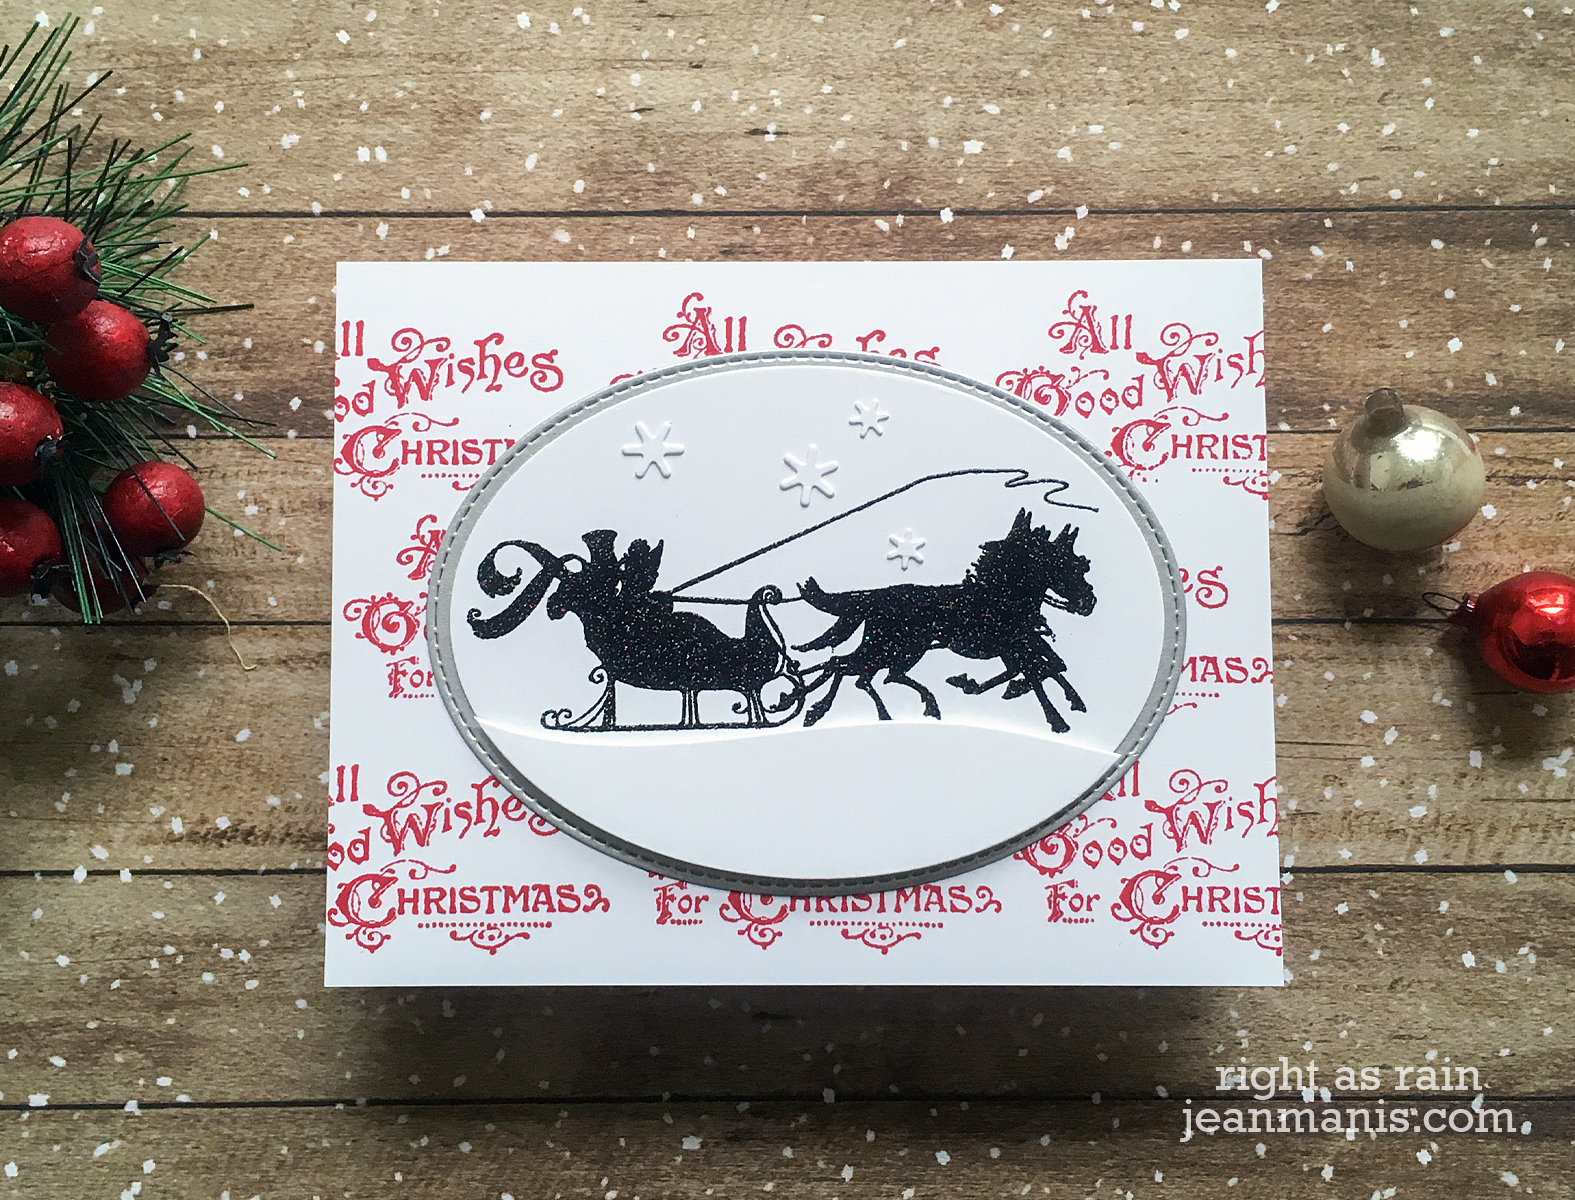
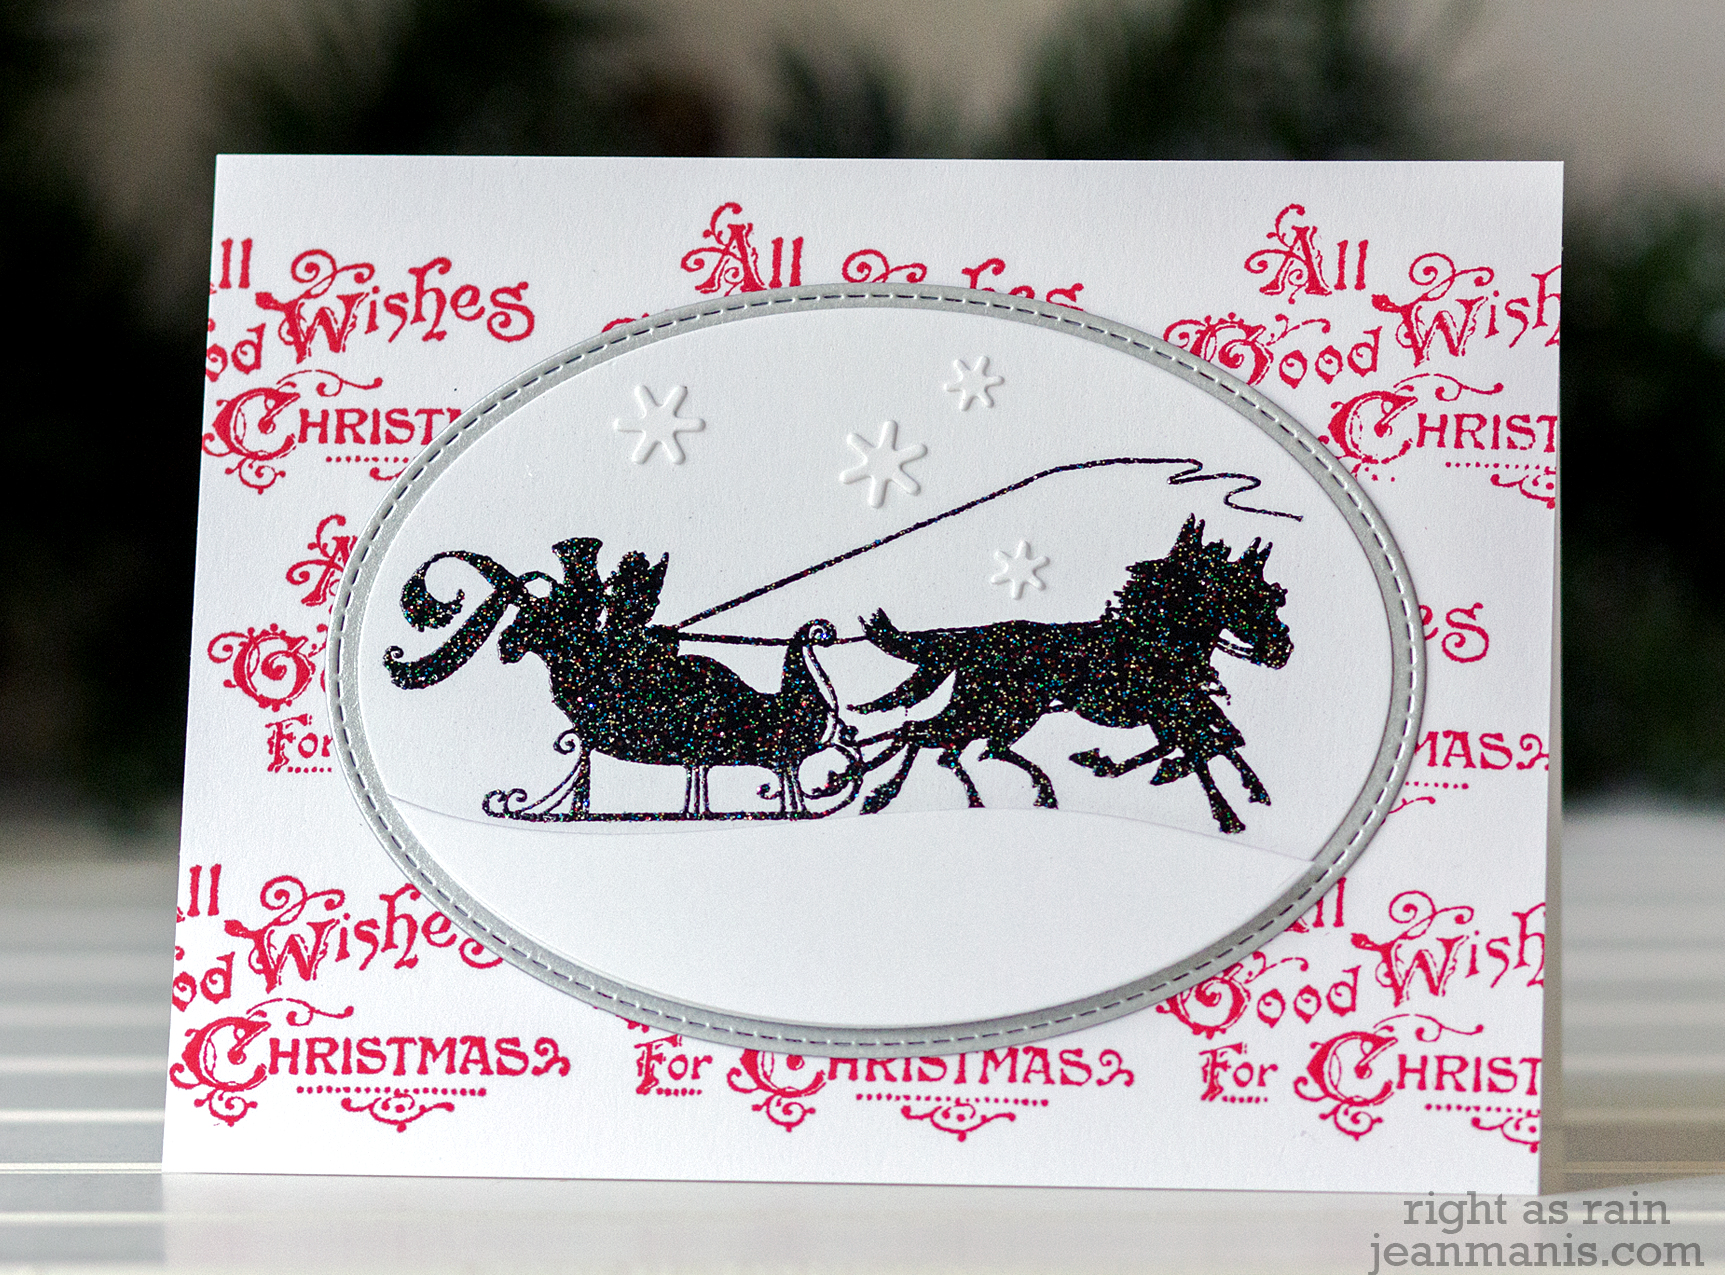
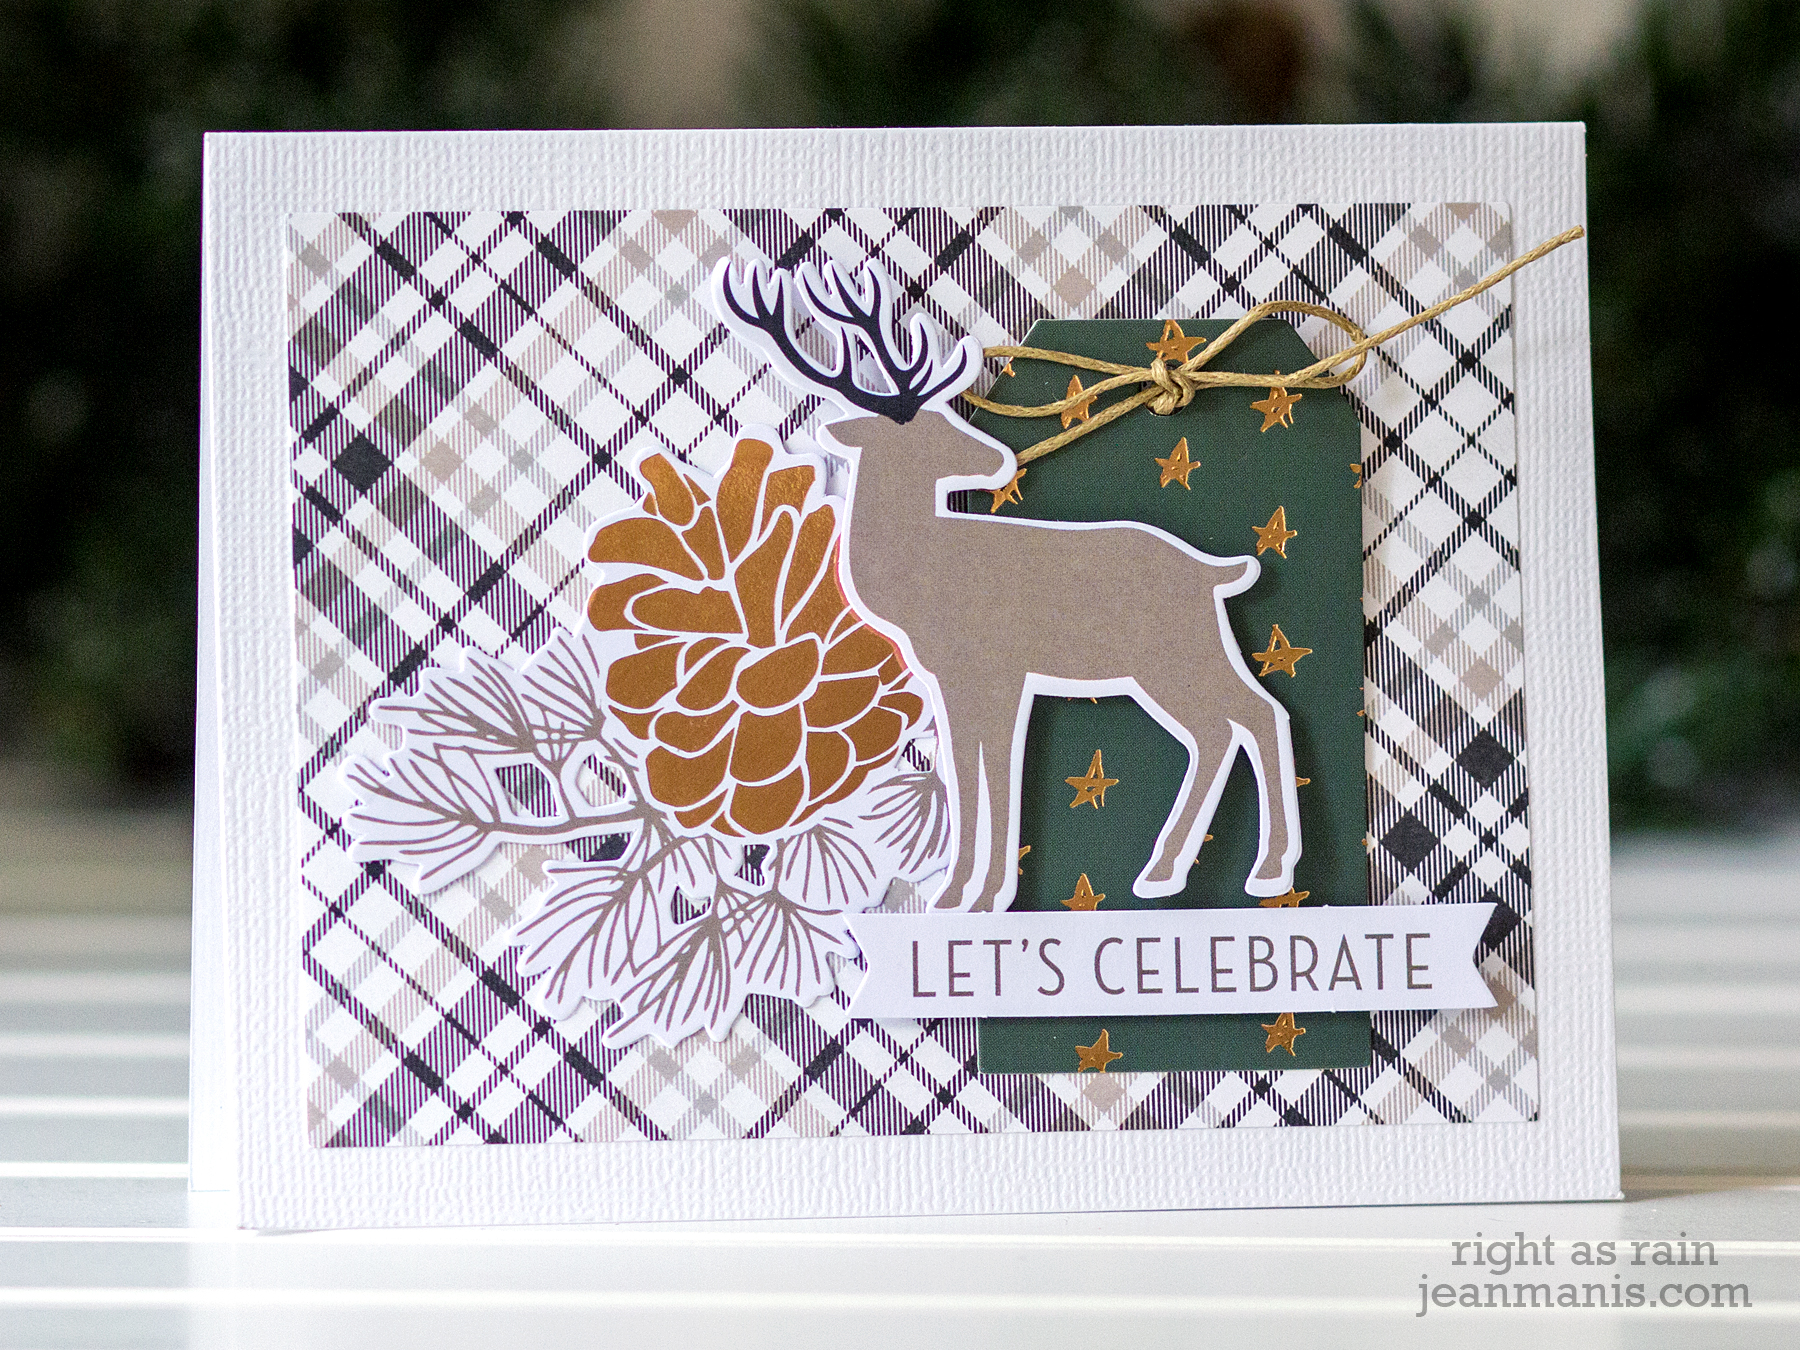
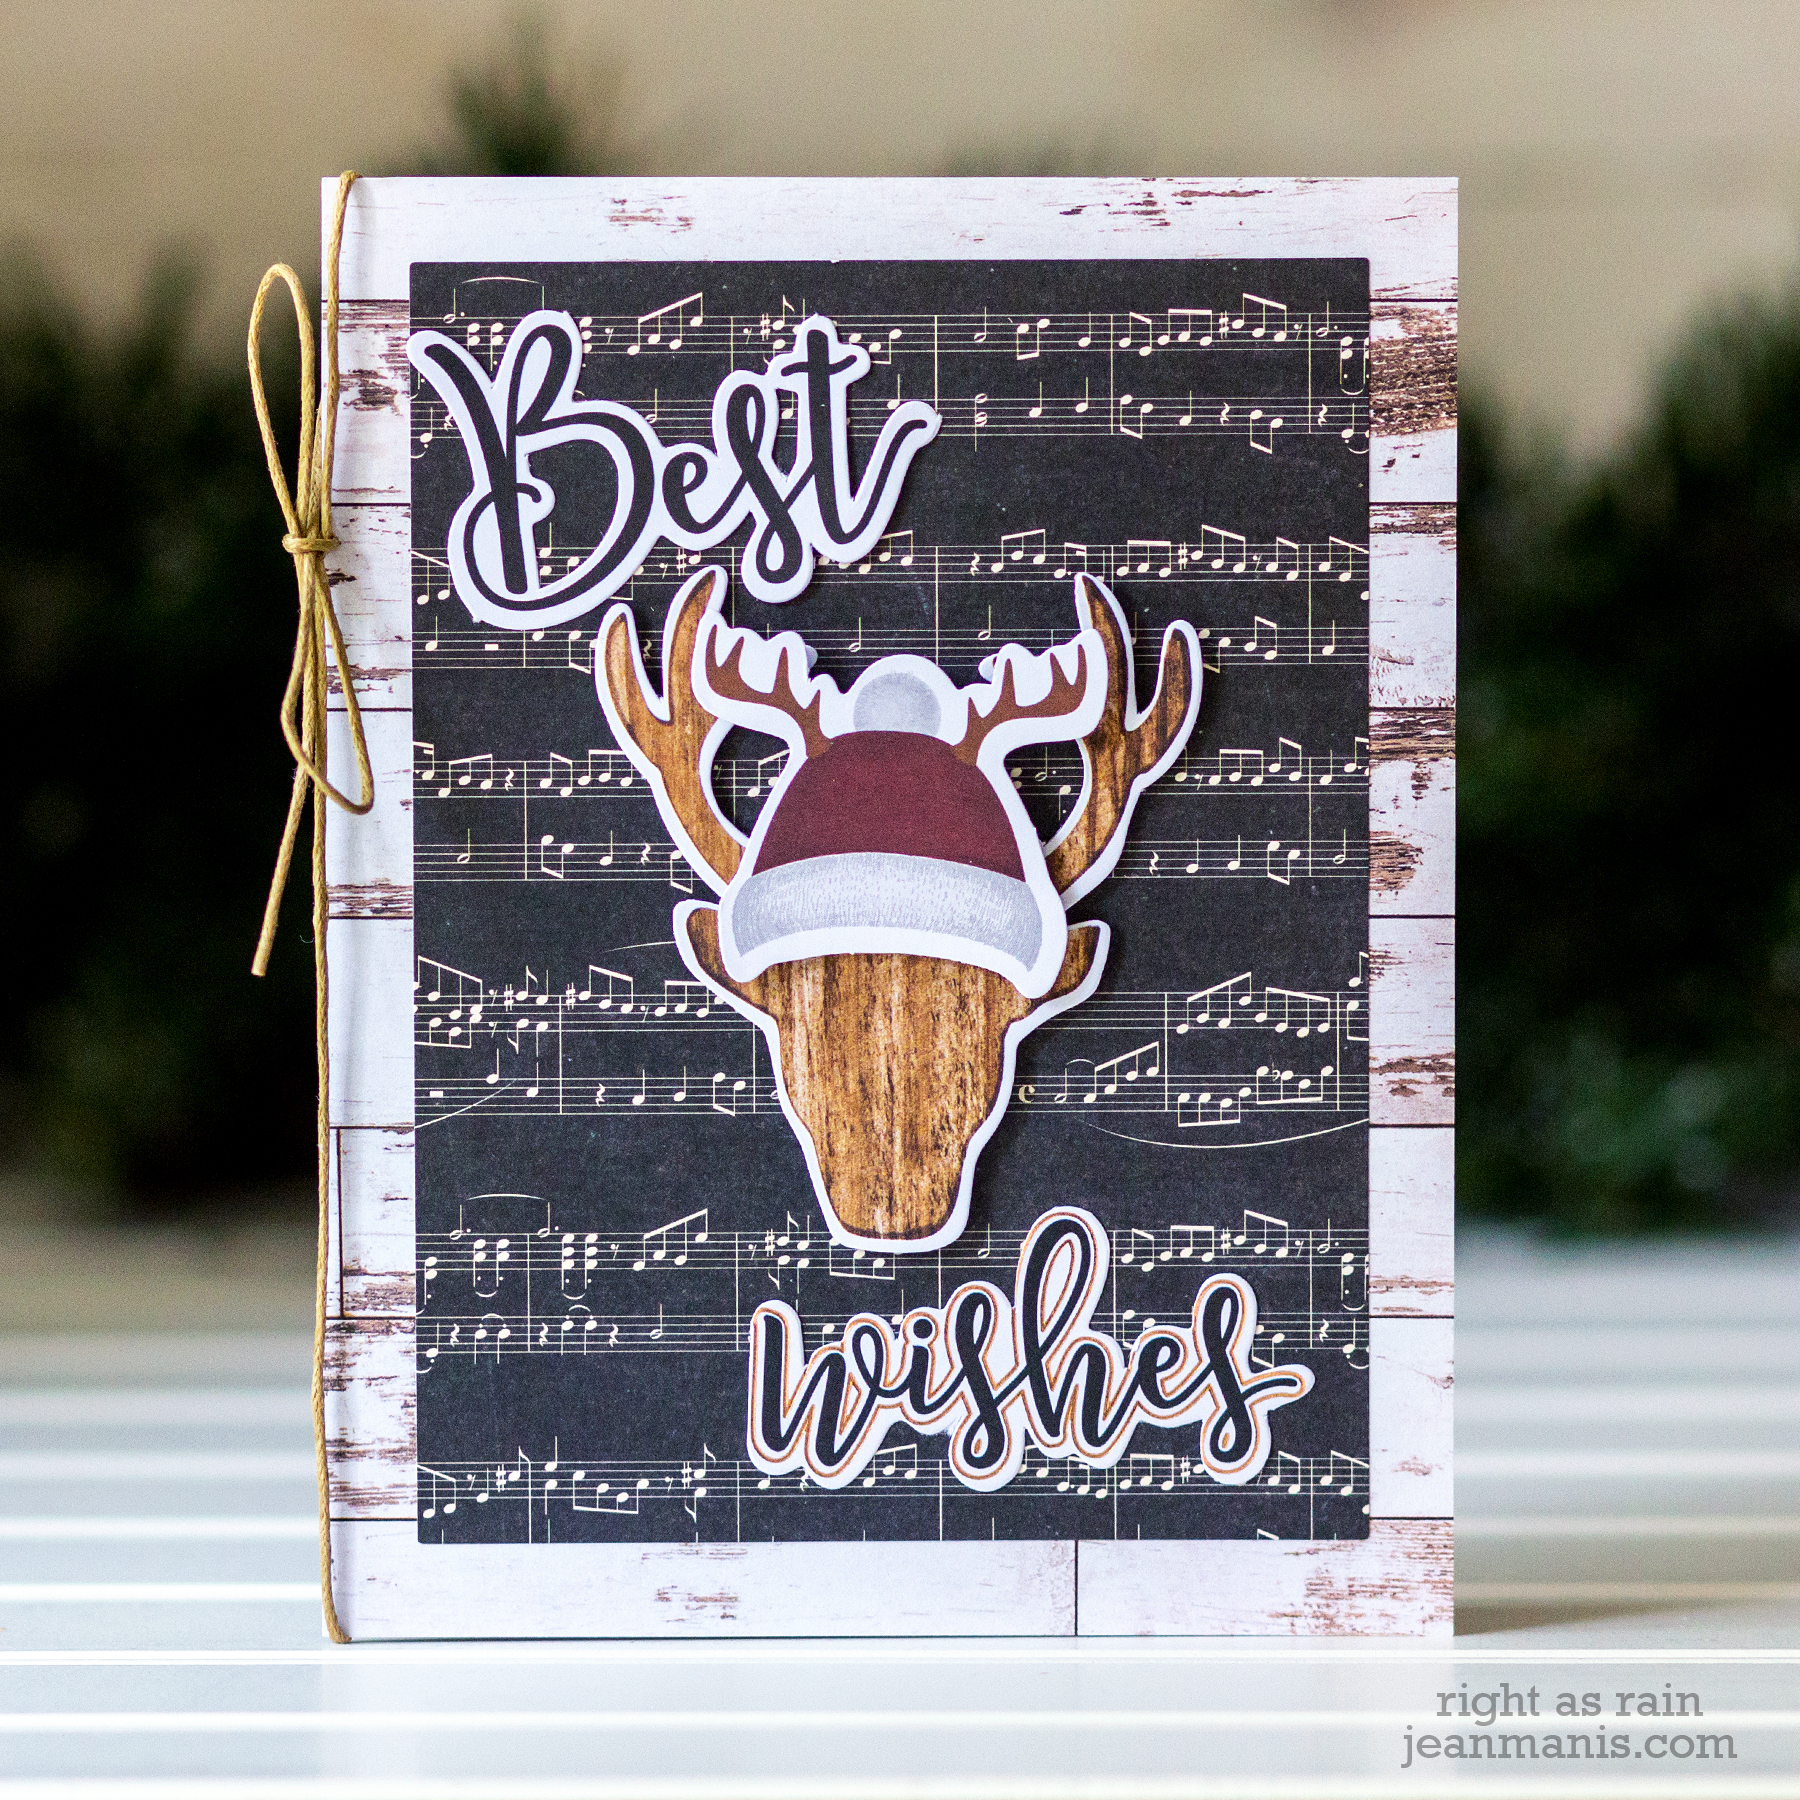
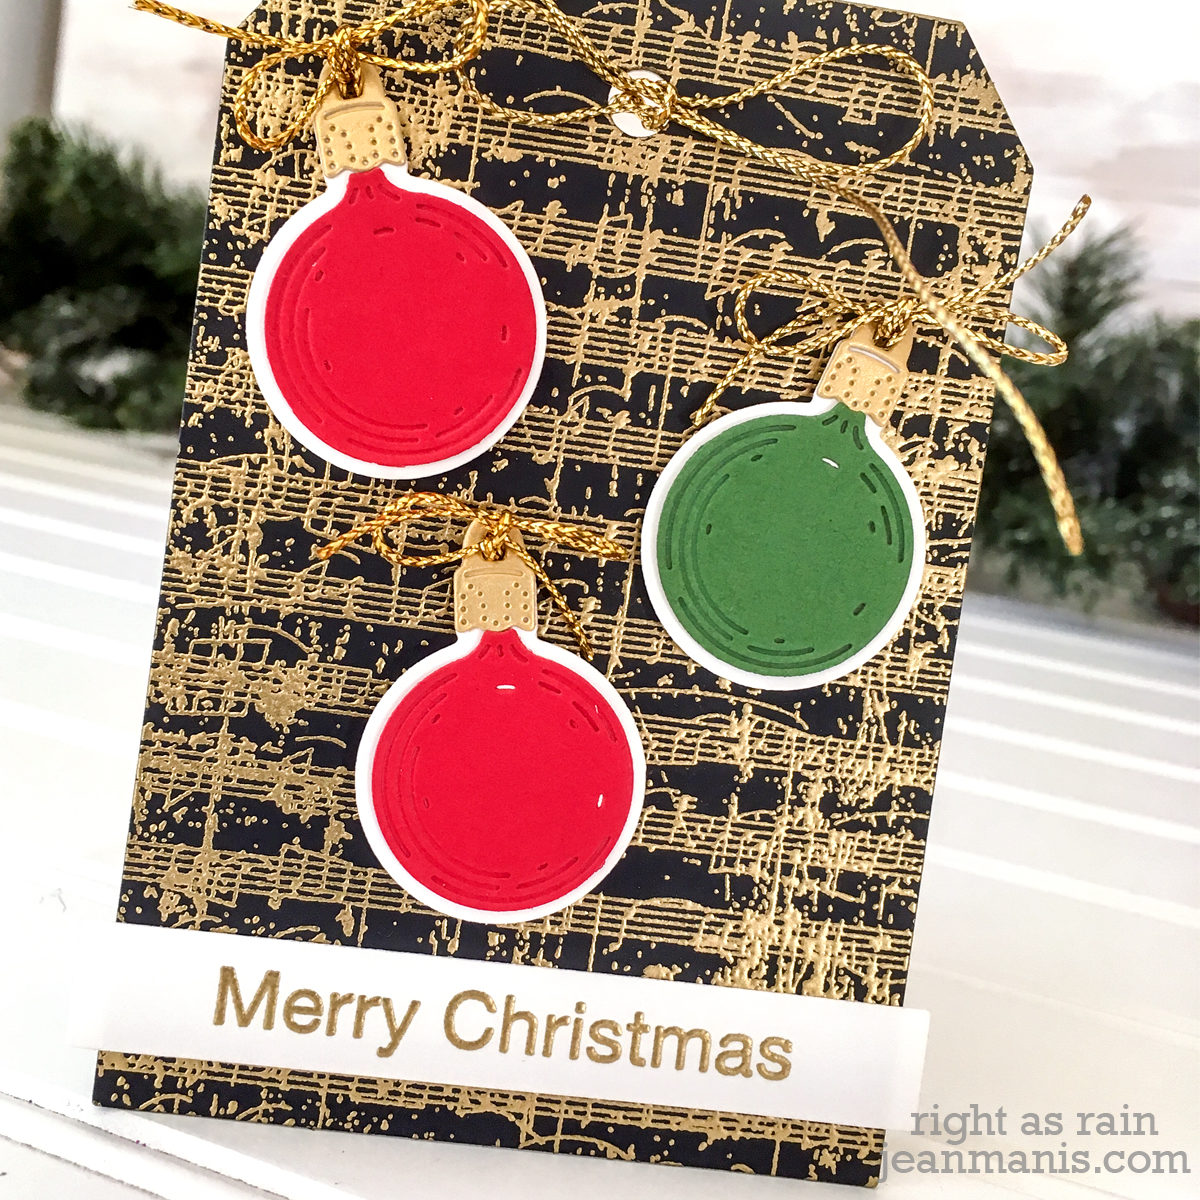
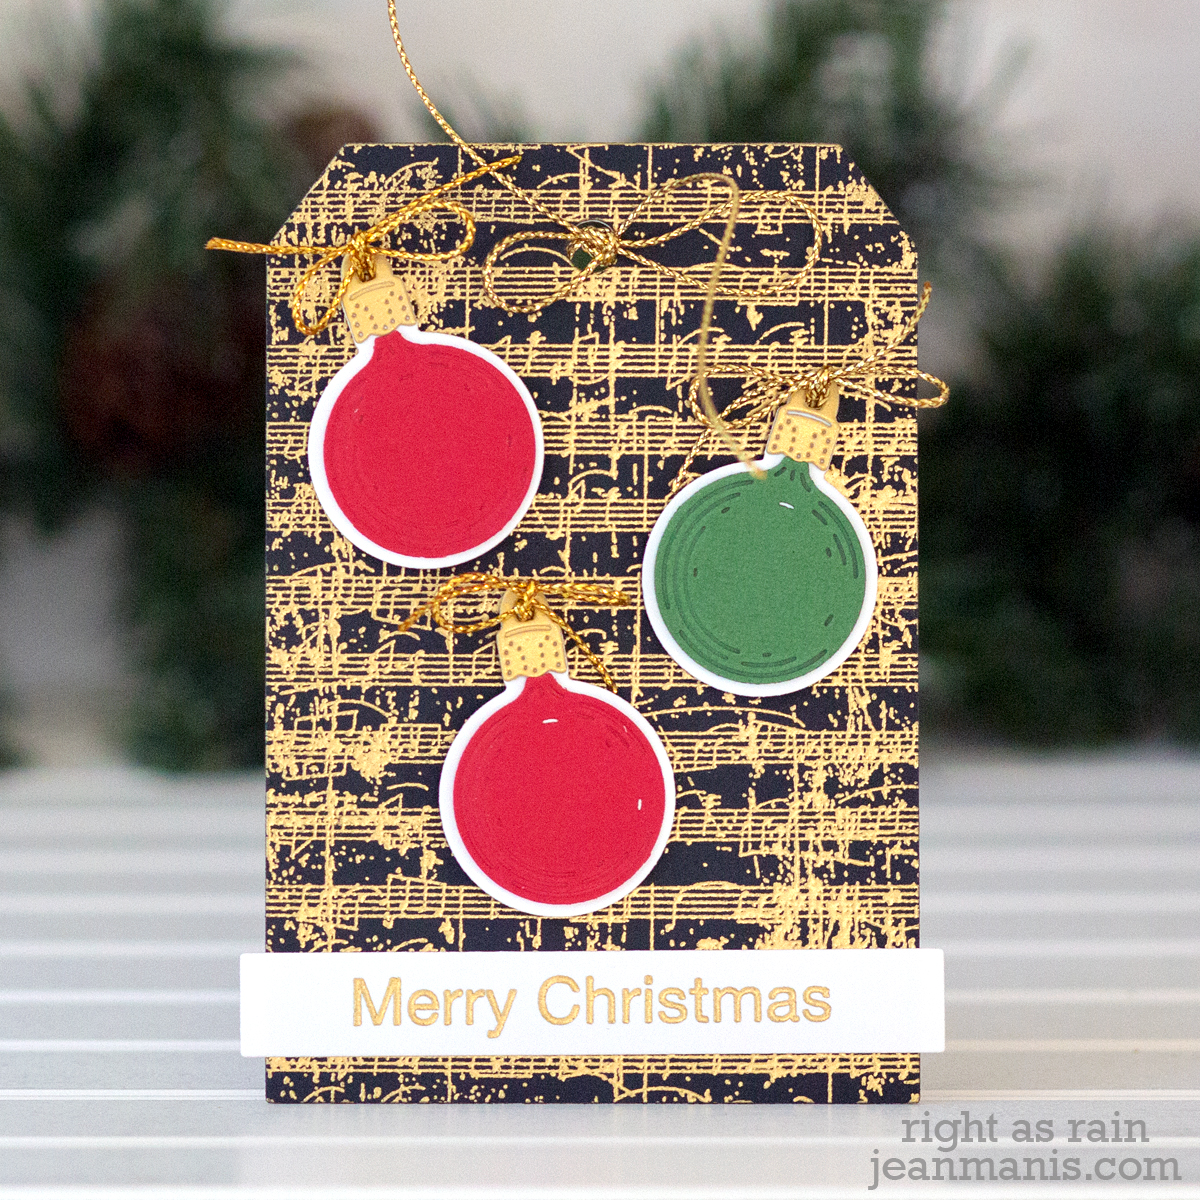
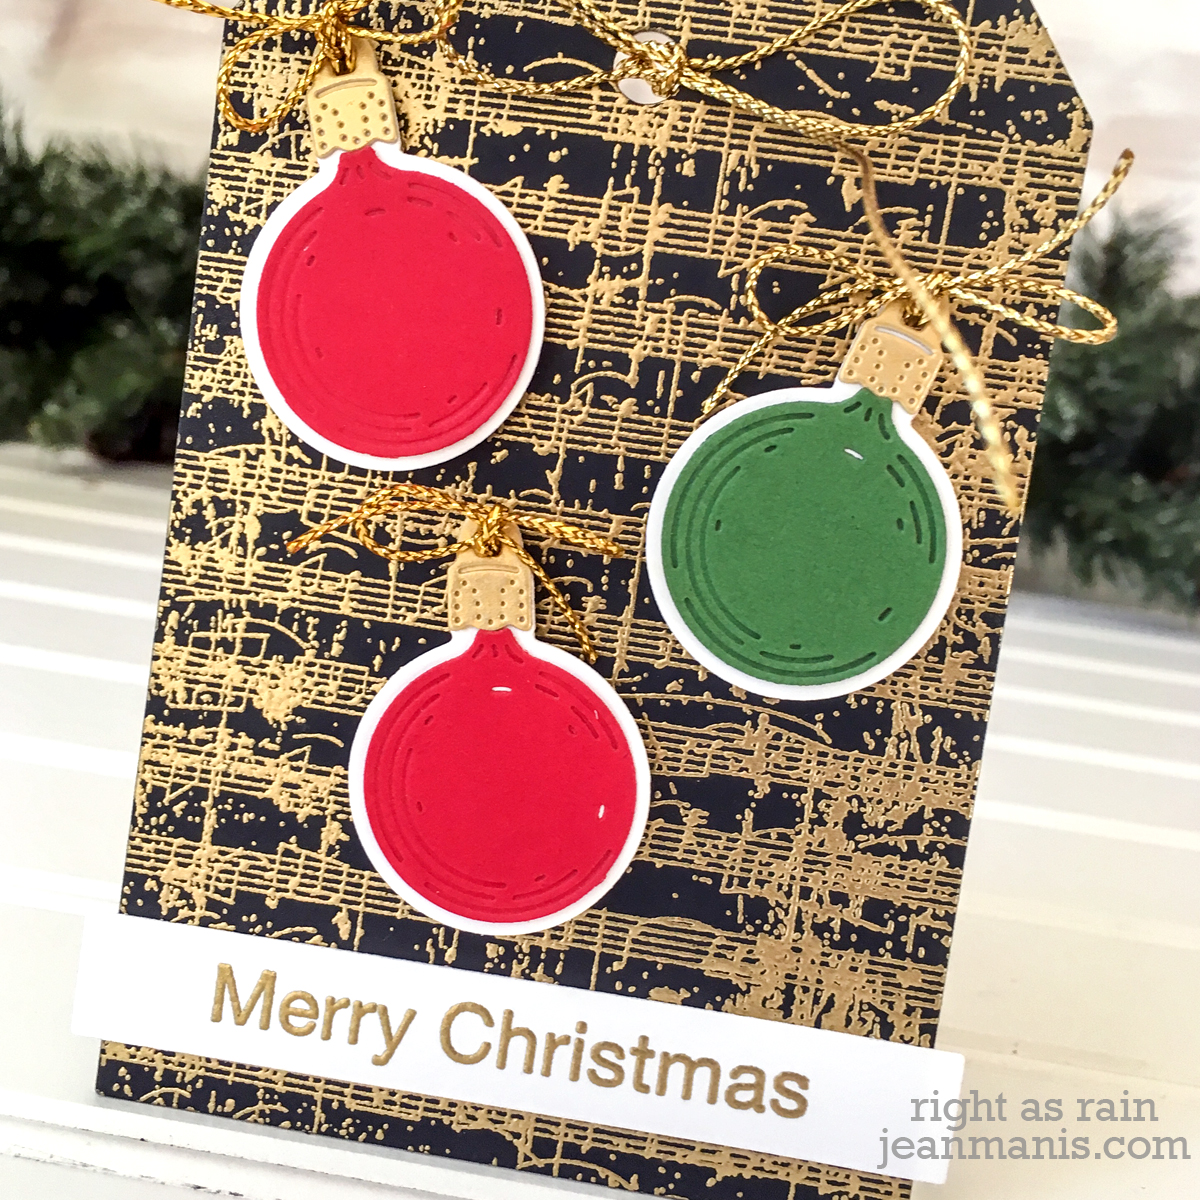
I also created two cards using just the Card Kit Extras. These took only a few minutes to make!
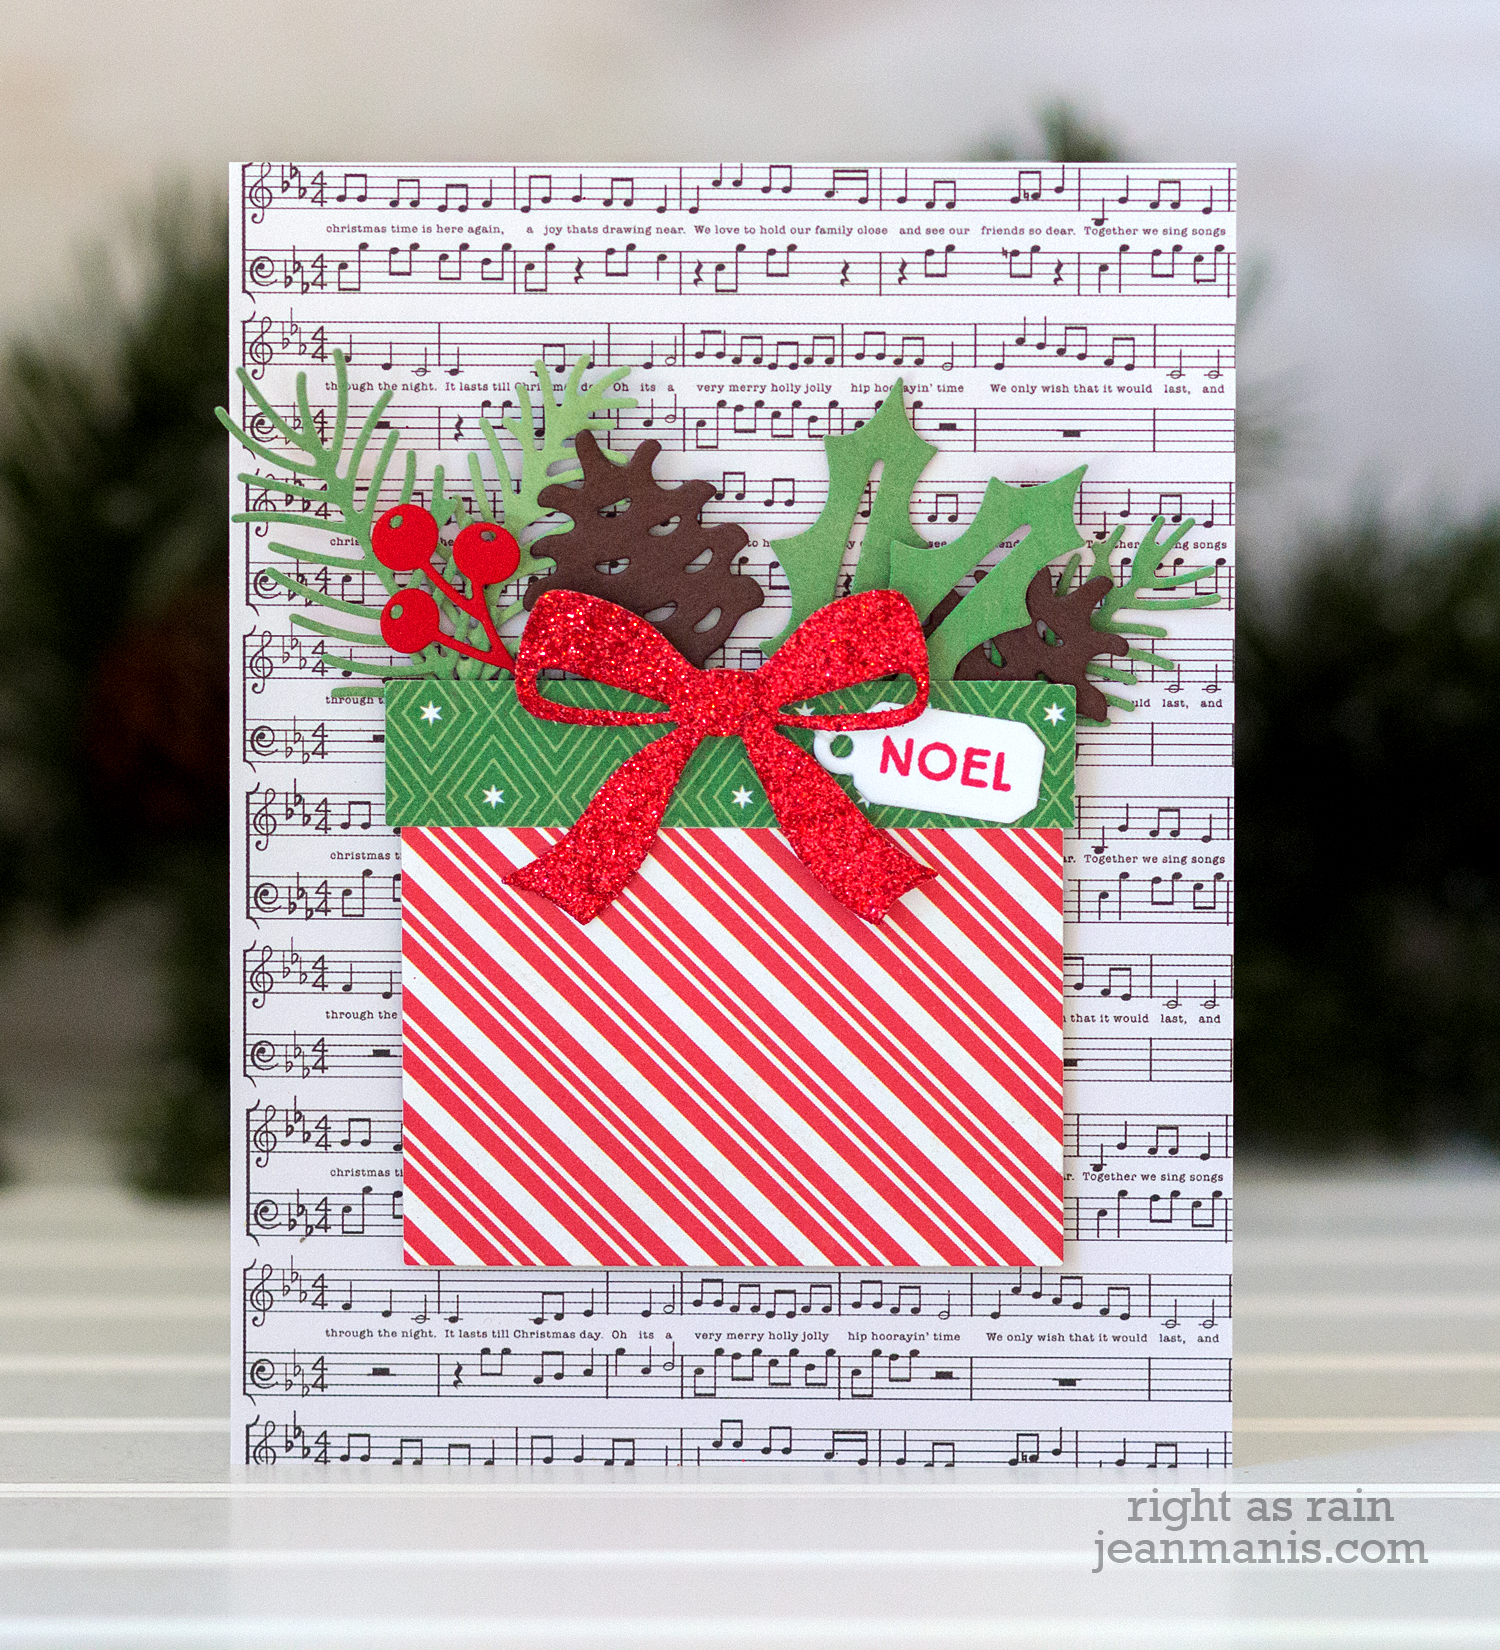
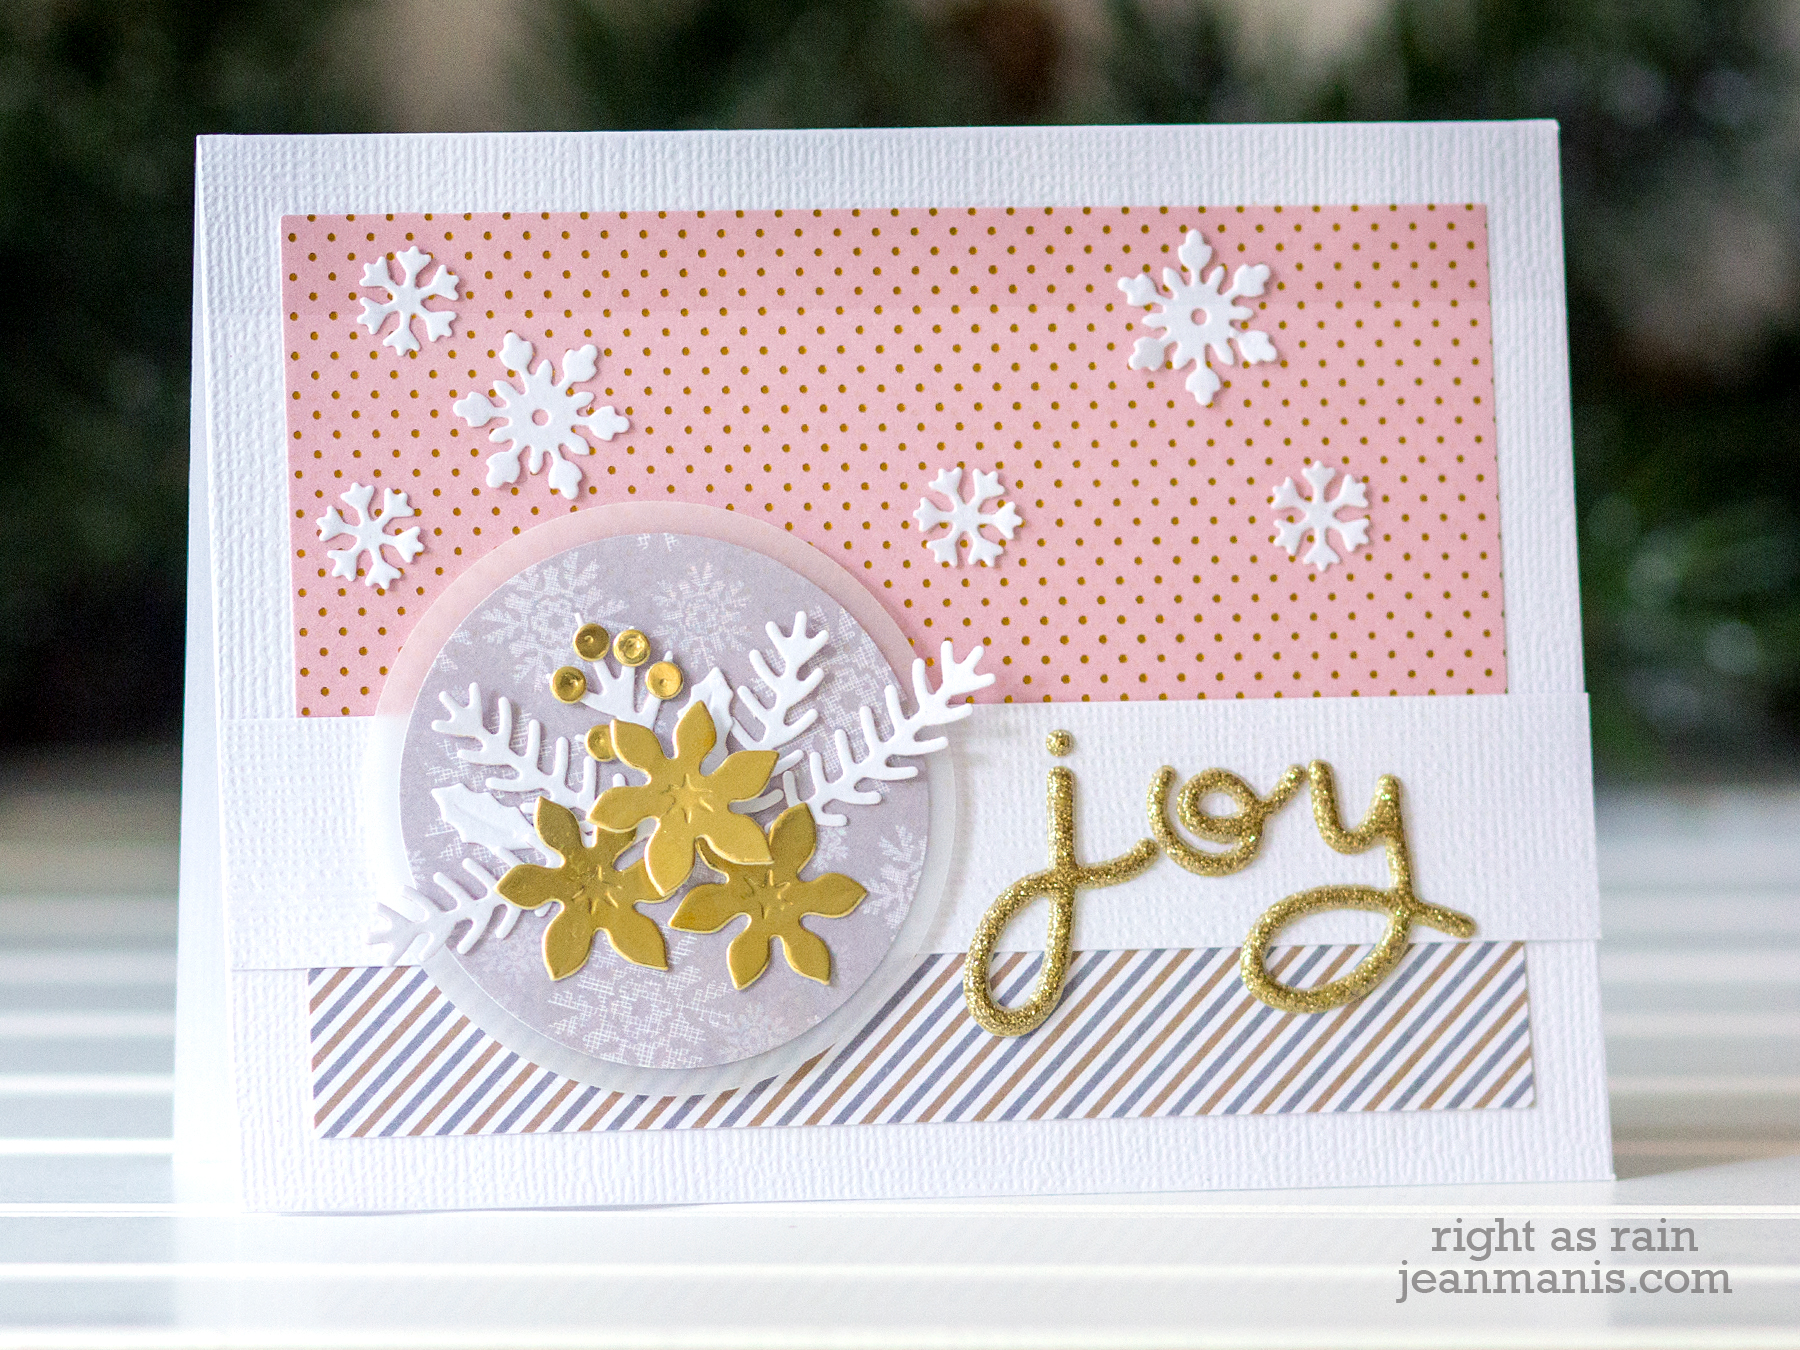
On my final card, I combined die-cut flowers and greenery, die-cut snowflakes, and a sentiment created with the set’s alpha letters. To spotlight the die-cut flowers and foliage, I cut light-gray patterned paper with a Spellbinders circle die, and again from vellum in the next size larger.
You can find more information about this kit on the Spellbinders blog.
Supplies:


 Supplies:
 Supplies: