Giveaway is now closed.
Hello! I am delighted to be part of the Spellbinders Holiday 2019 Blog Hop showcasing products by Becca Feeken. My projects showcase products from 3D Holiday Vignettes. You should have reached me from the blog of Amy Rysavy. I’ve included a full list of participants at the end of my post.
As part of the blog hop, Spellbinders is giving away a $50 gift certificate to one lucky blog reader to be selected from the comments across all of the blogs in the hop. Giveaway closes on Sunday, September 1st, 11:59 pm EDT. The winner will be announced in the blog hop post the following Tuesday. The winner is responsible for shipping cost, duties and taxes.
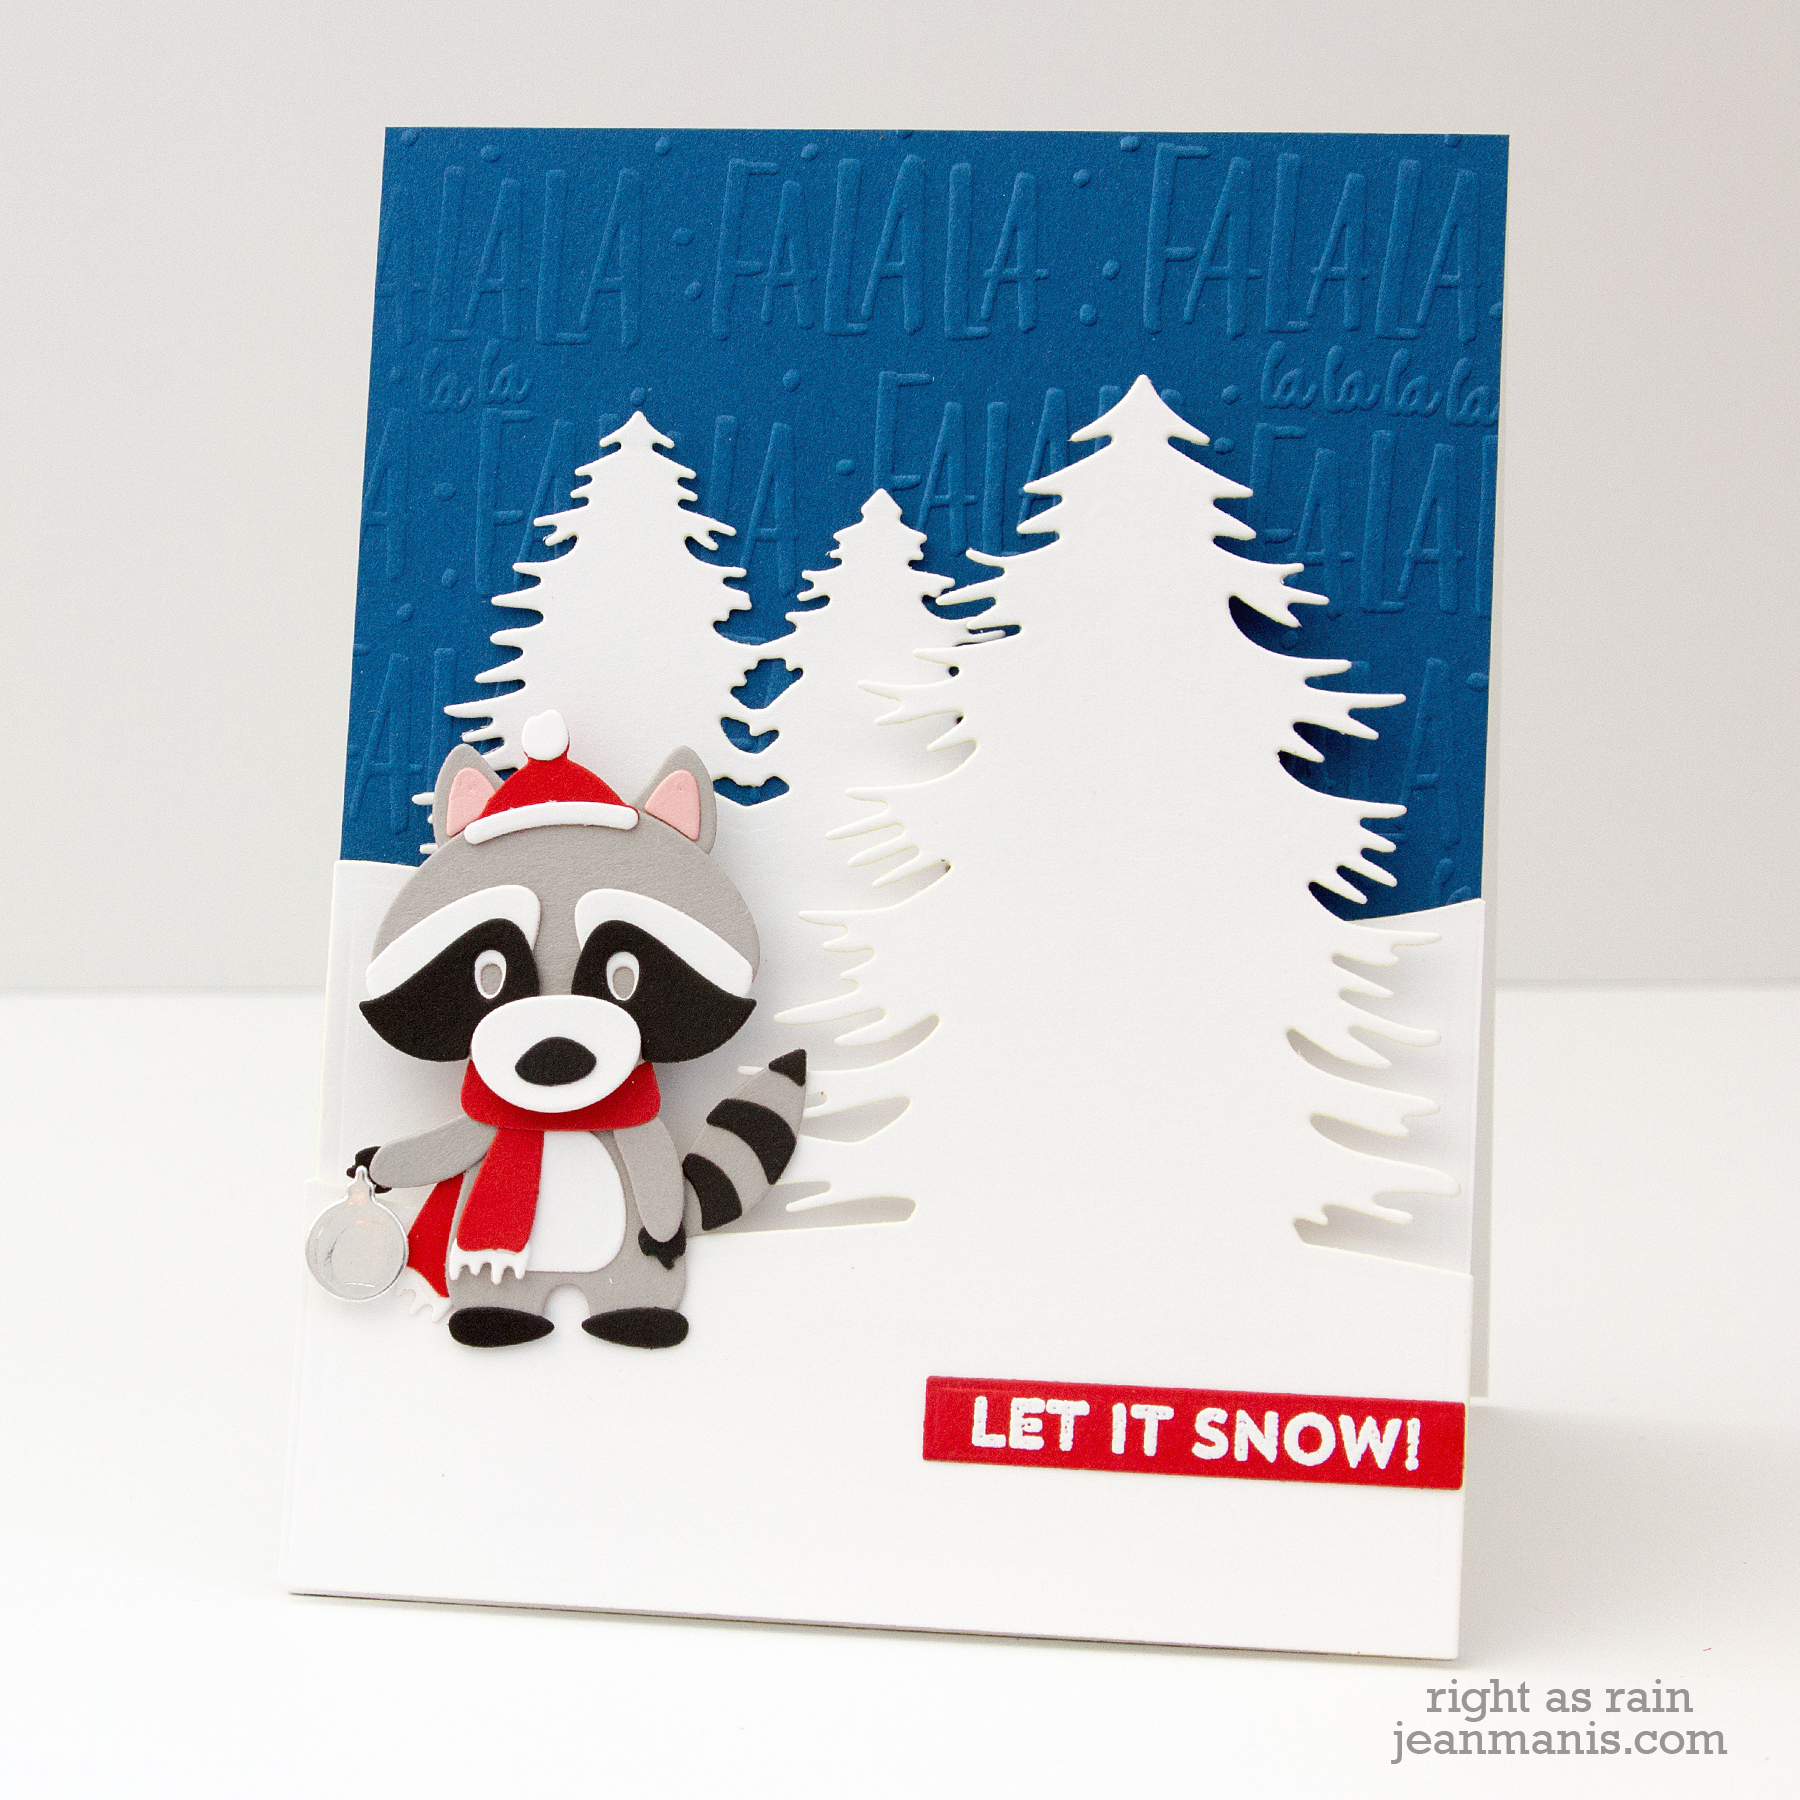
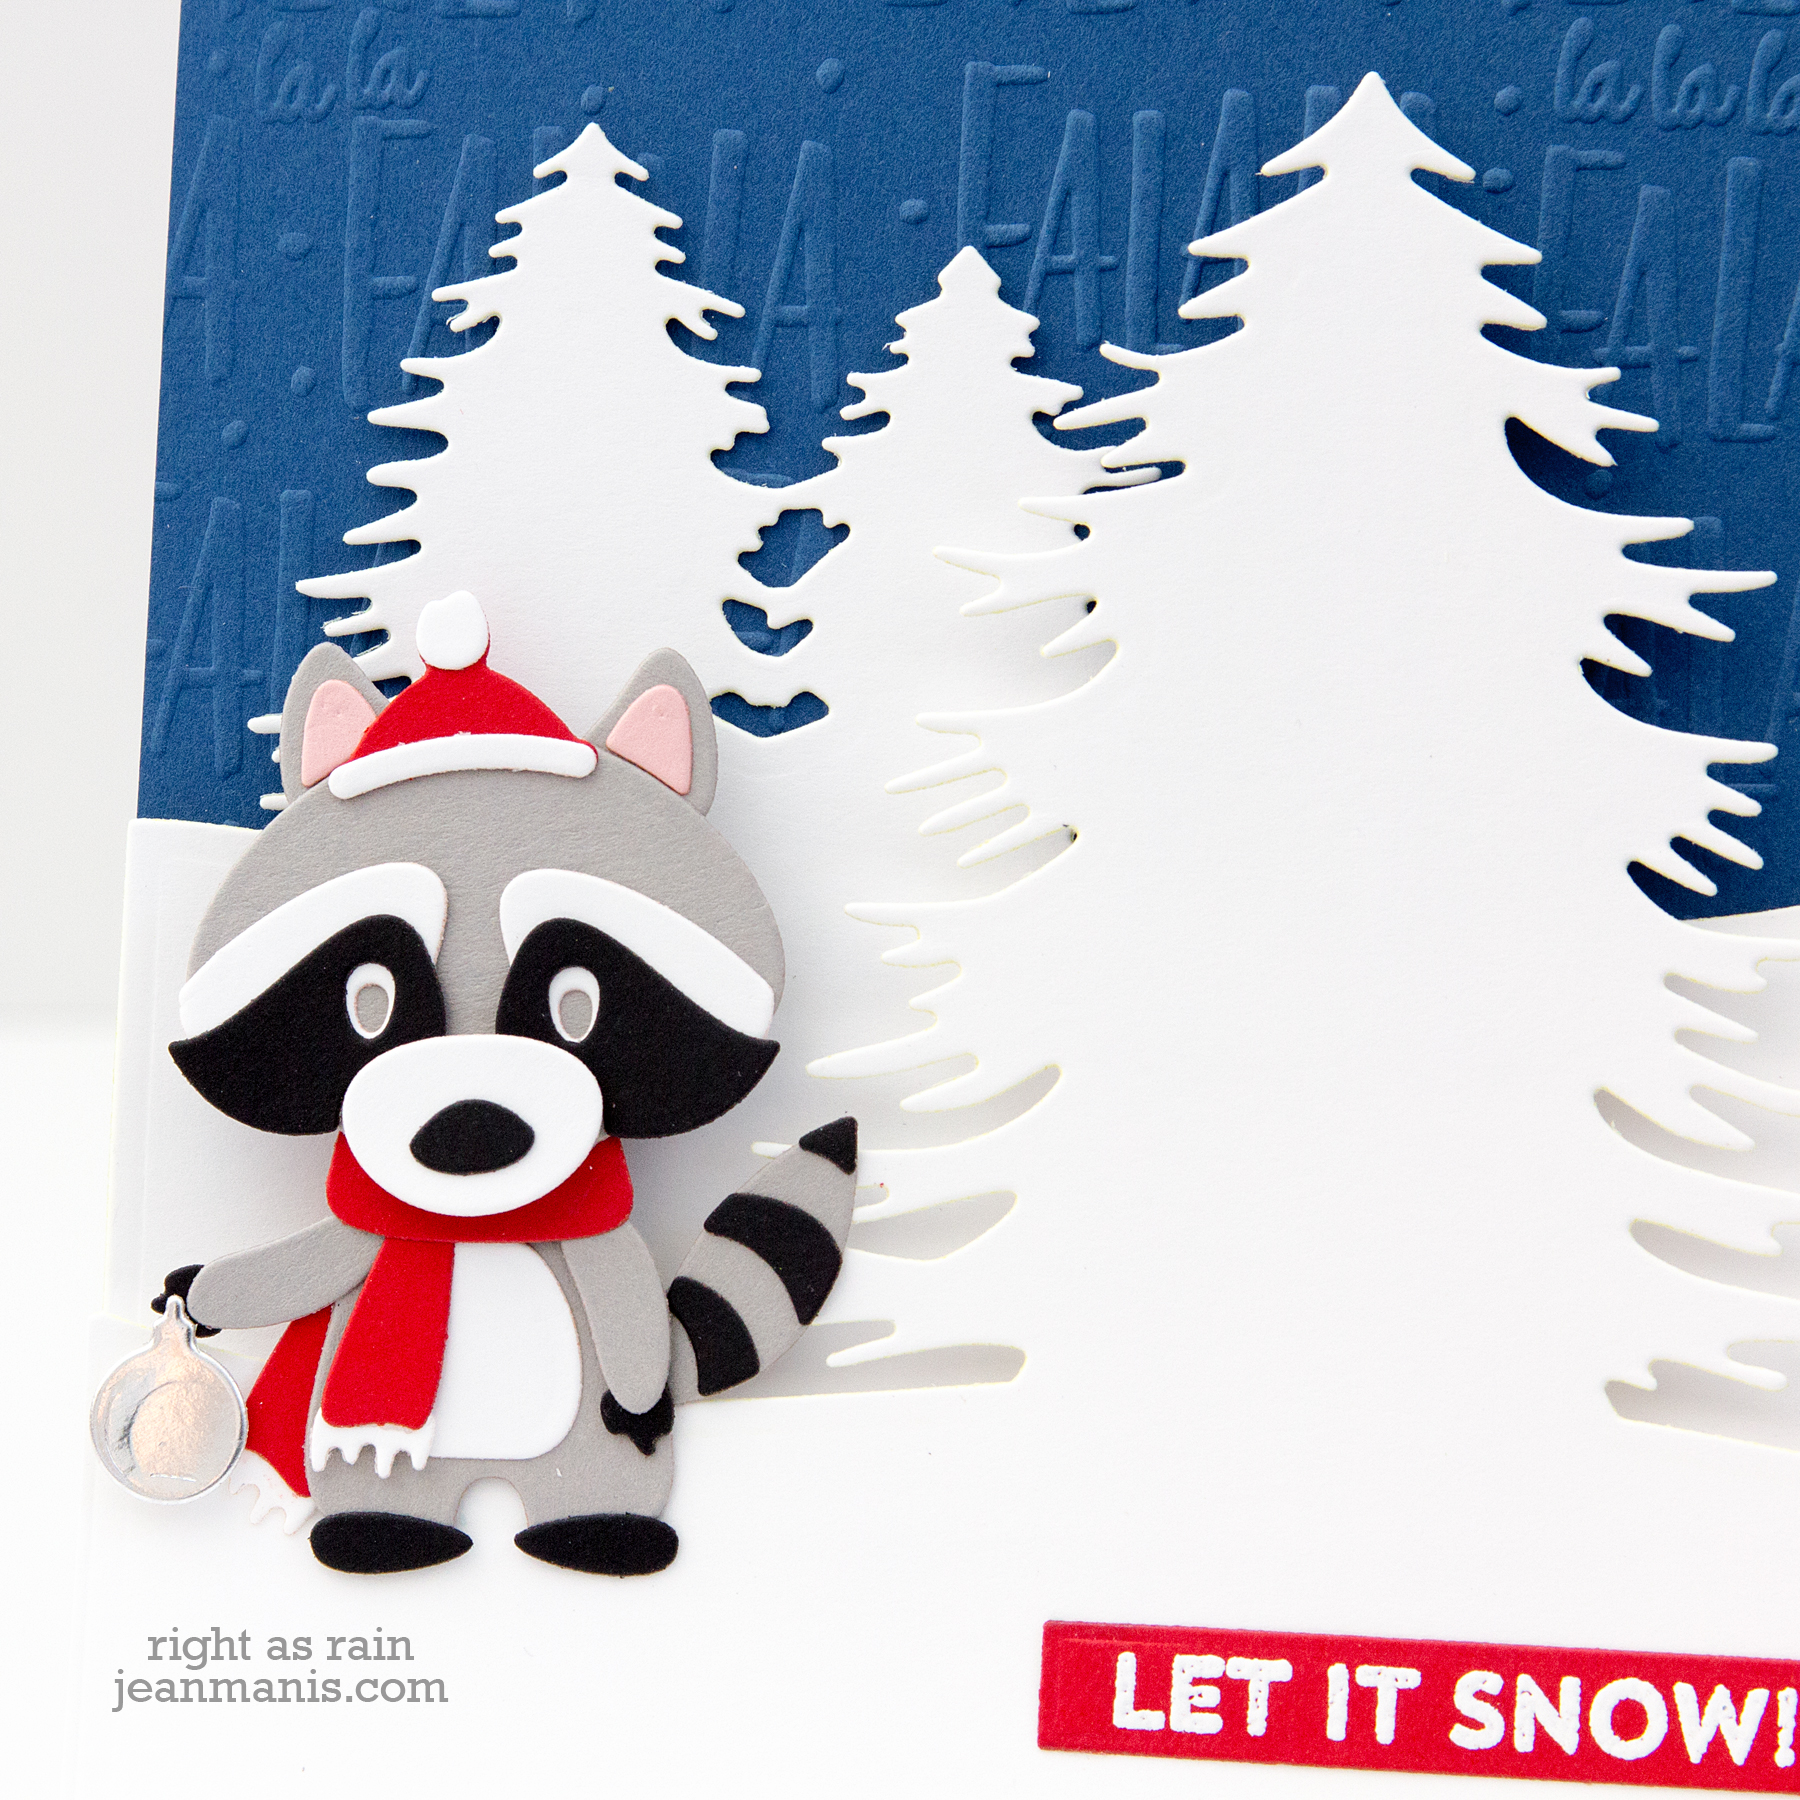
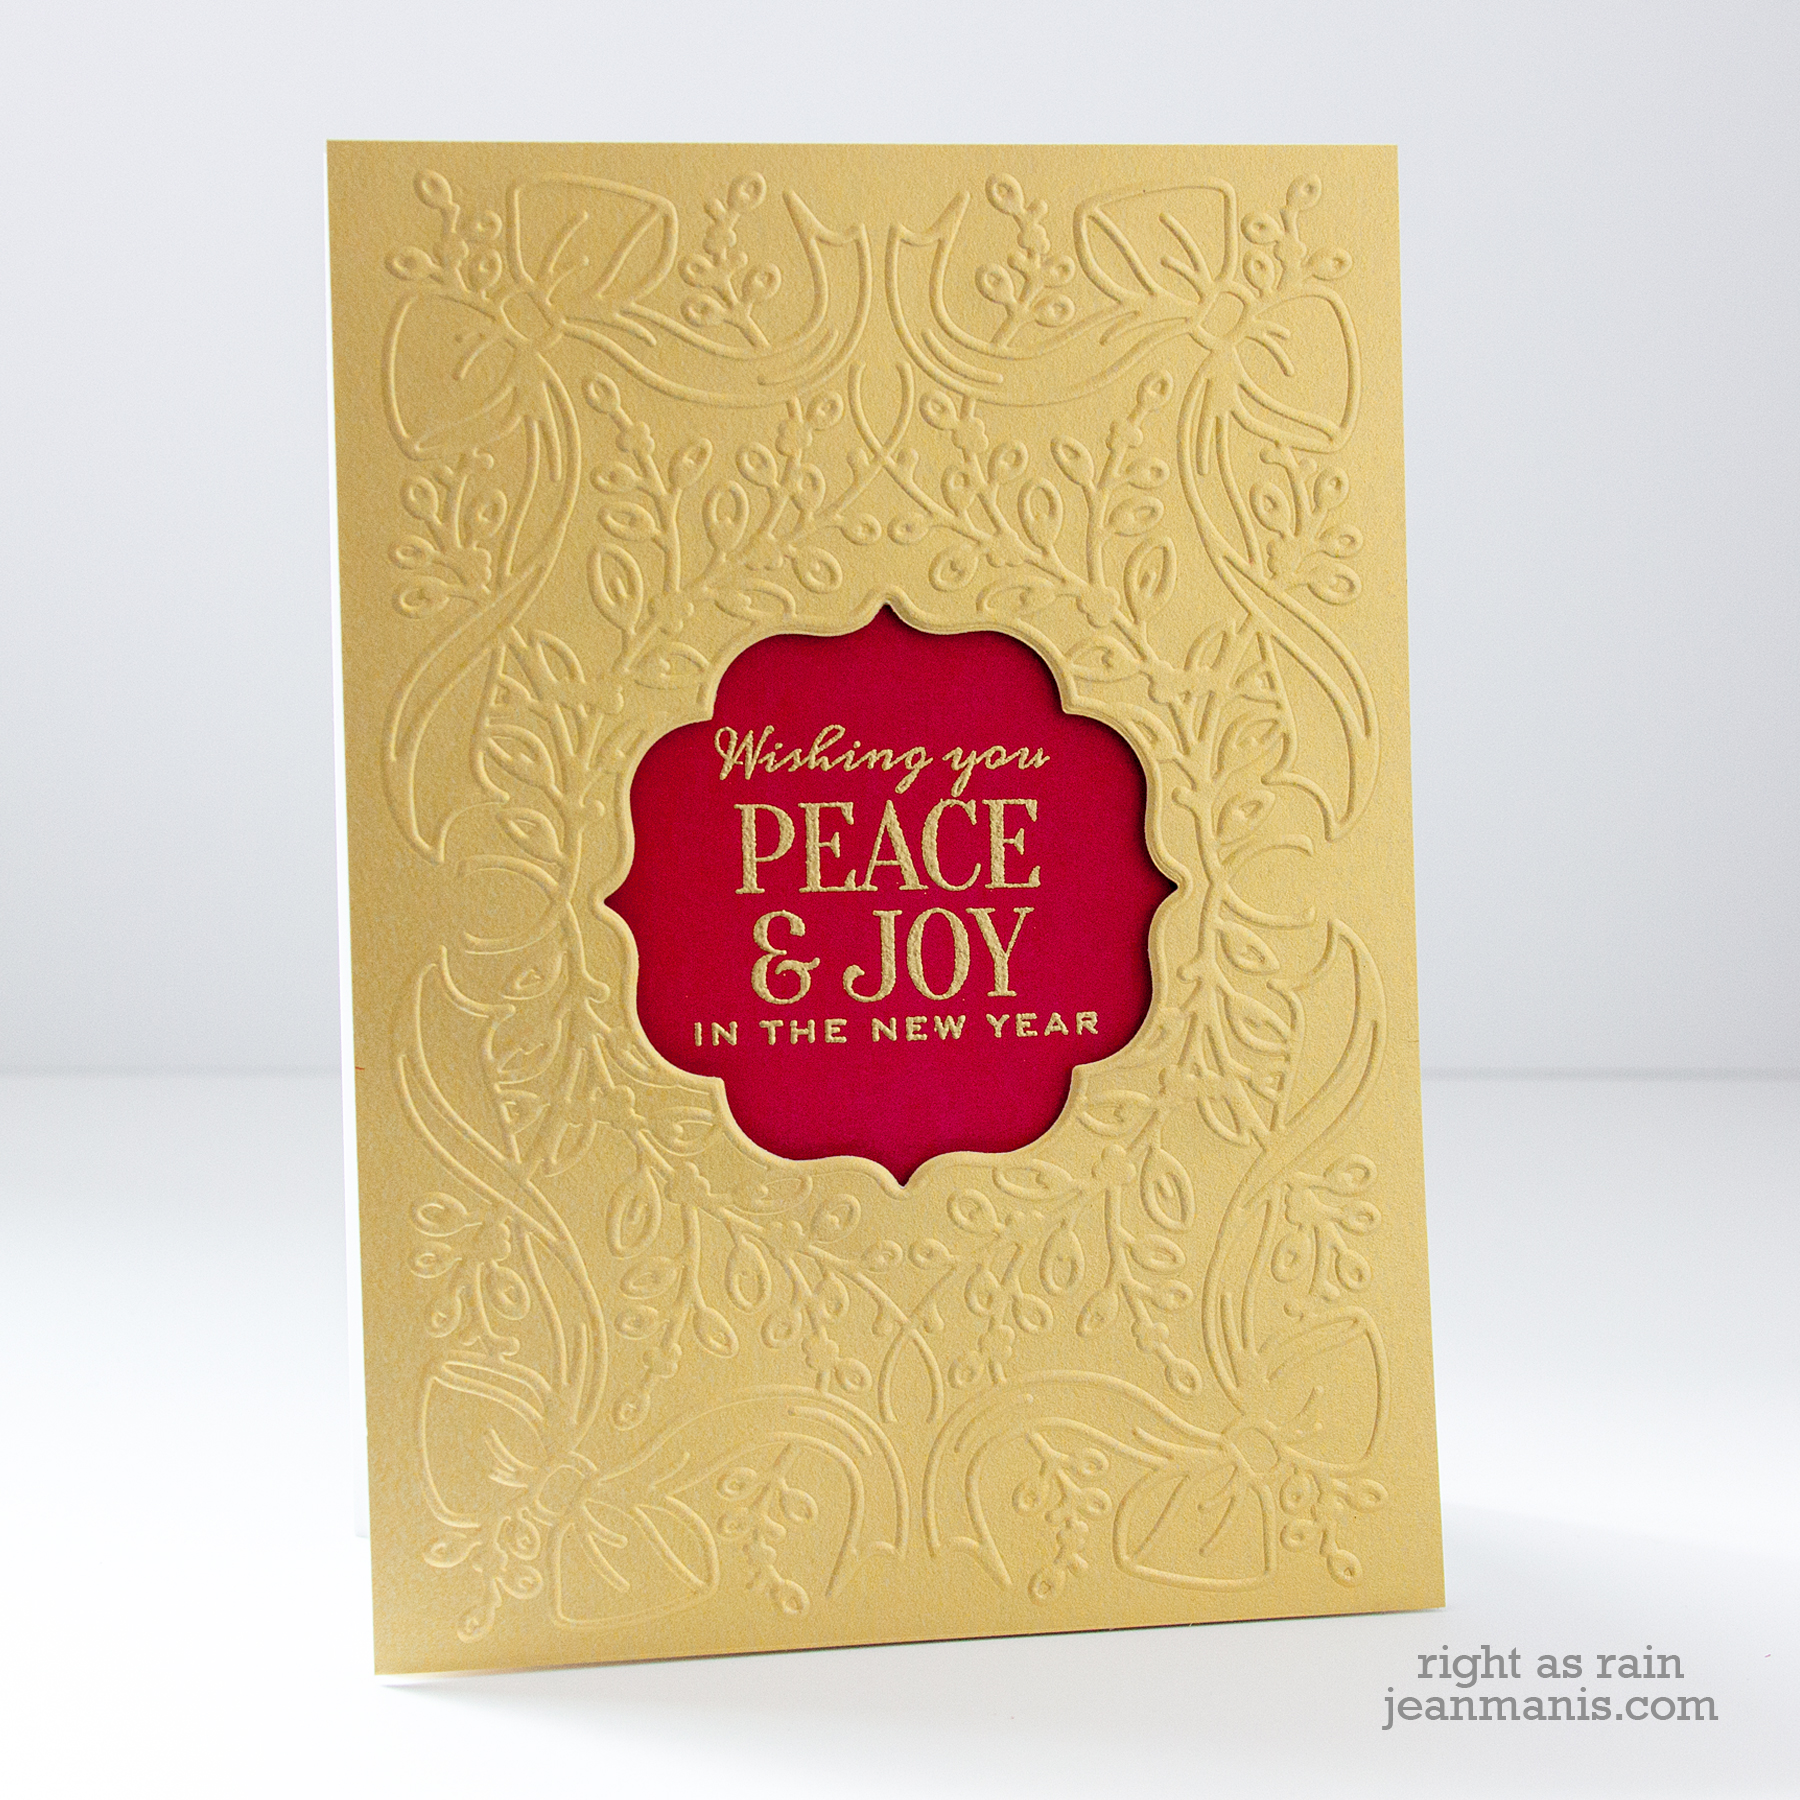
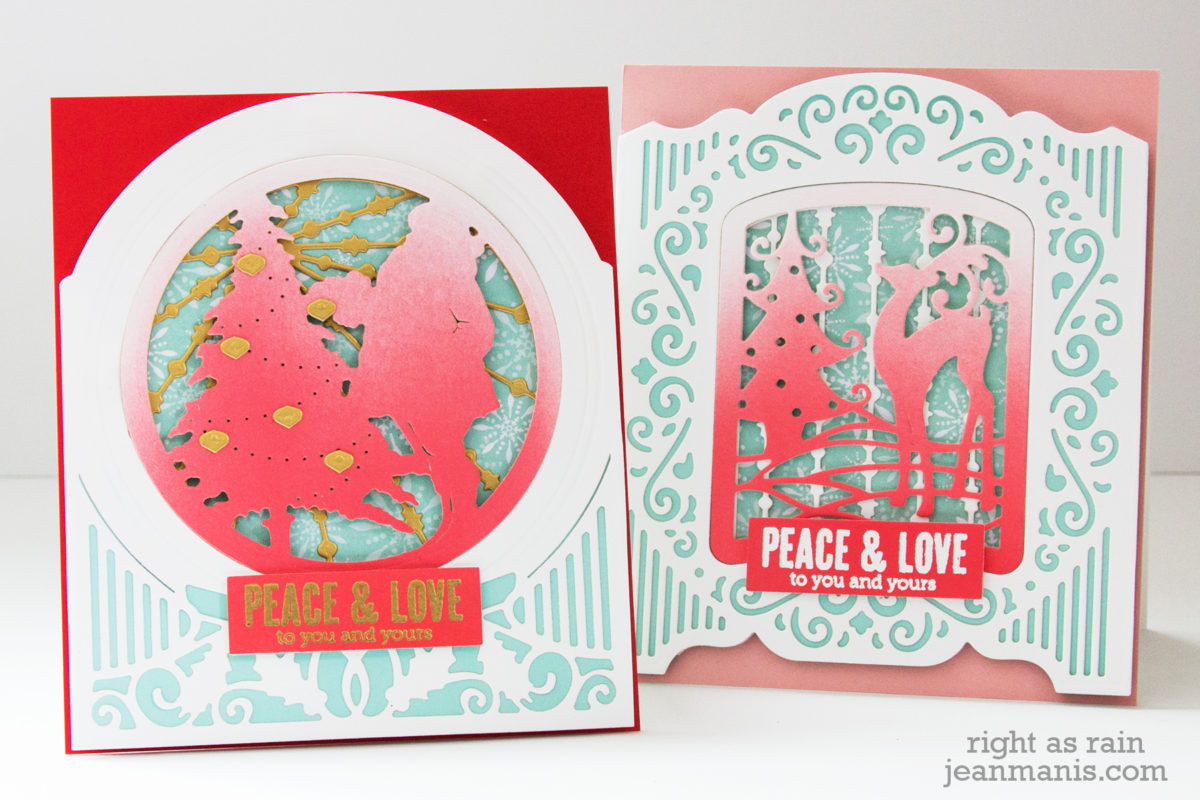
My cards use similar designs and the same color scheme. The cards measure 4 1/2″ wide by 5 1/4″ tall. The Becca Feeken dies do all of the heavy lifting in these projects – their detail is just amazing!
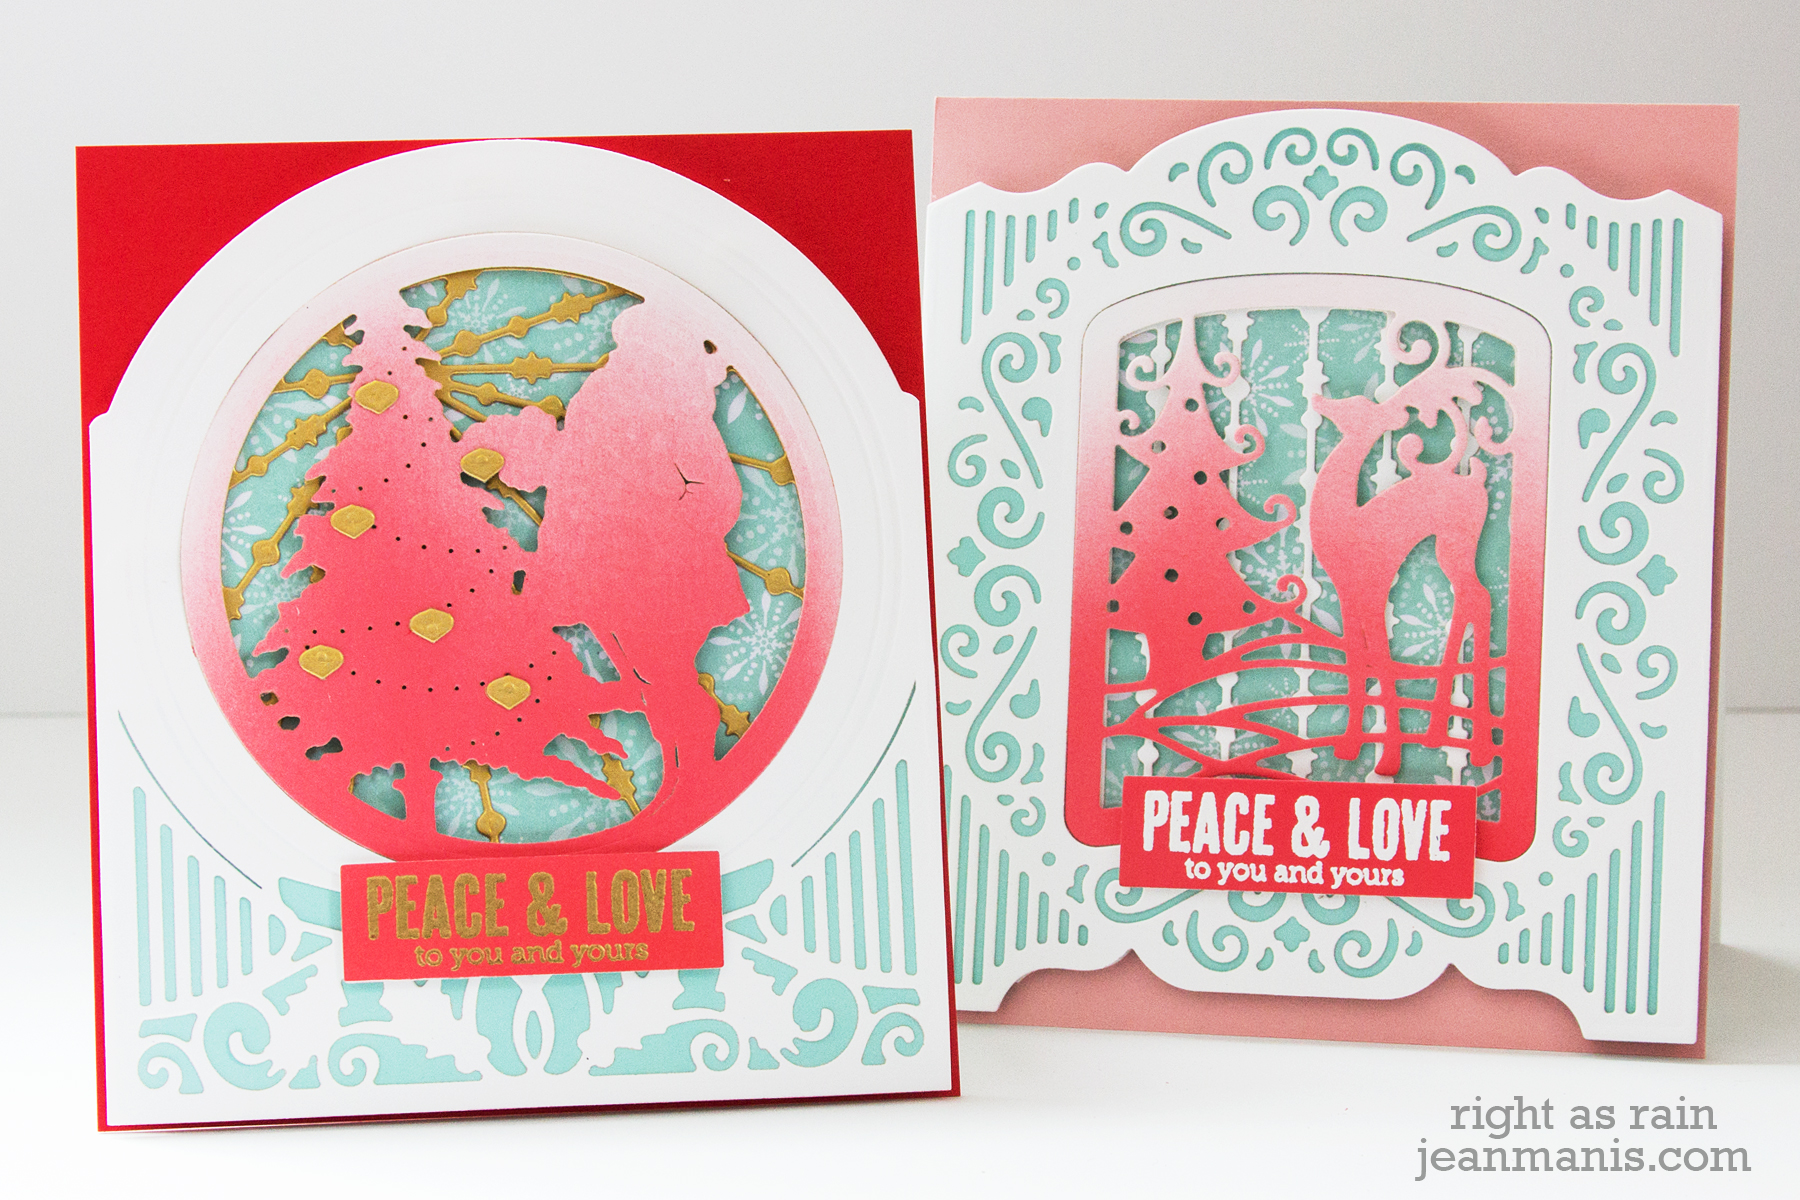
On my first card I’ve paired the Santa Claus set with the Grand Snow Globe.
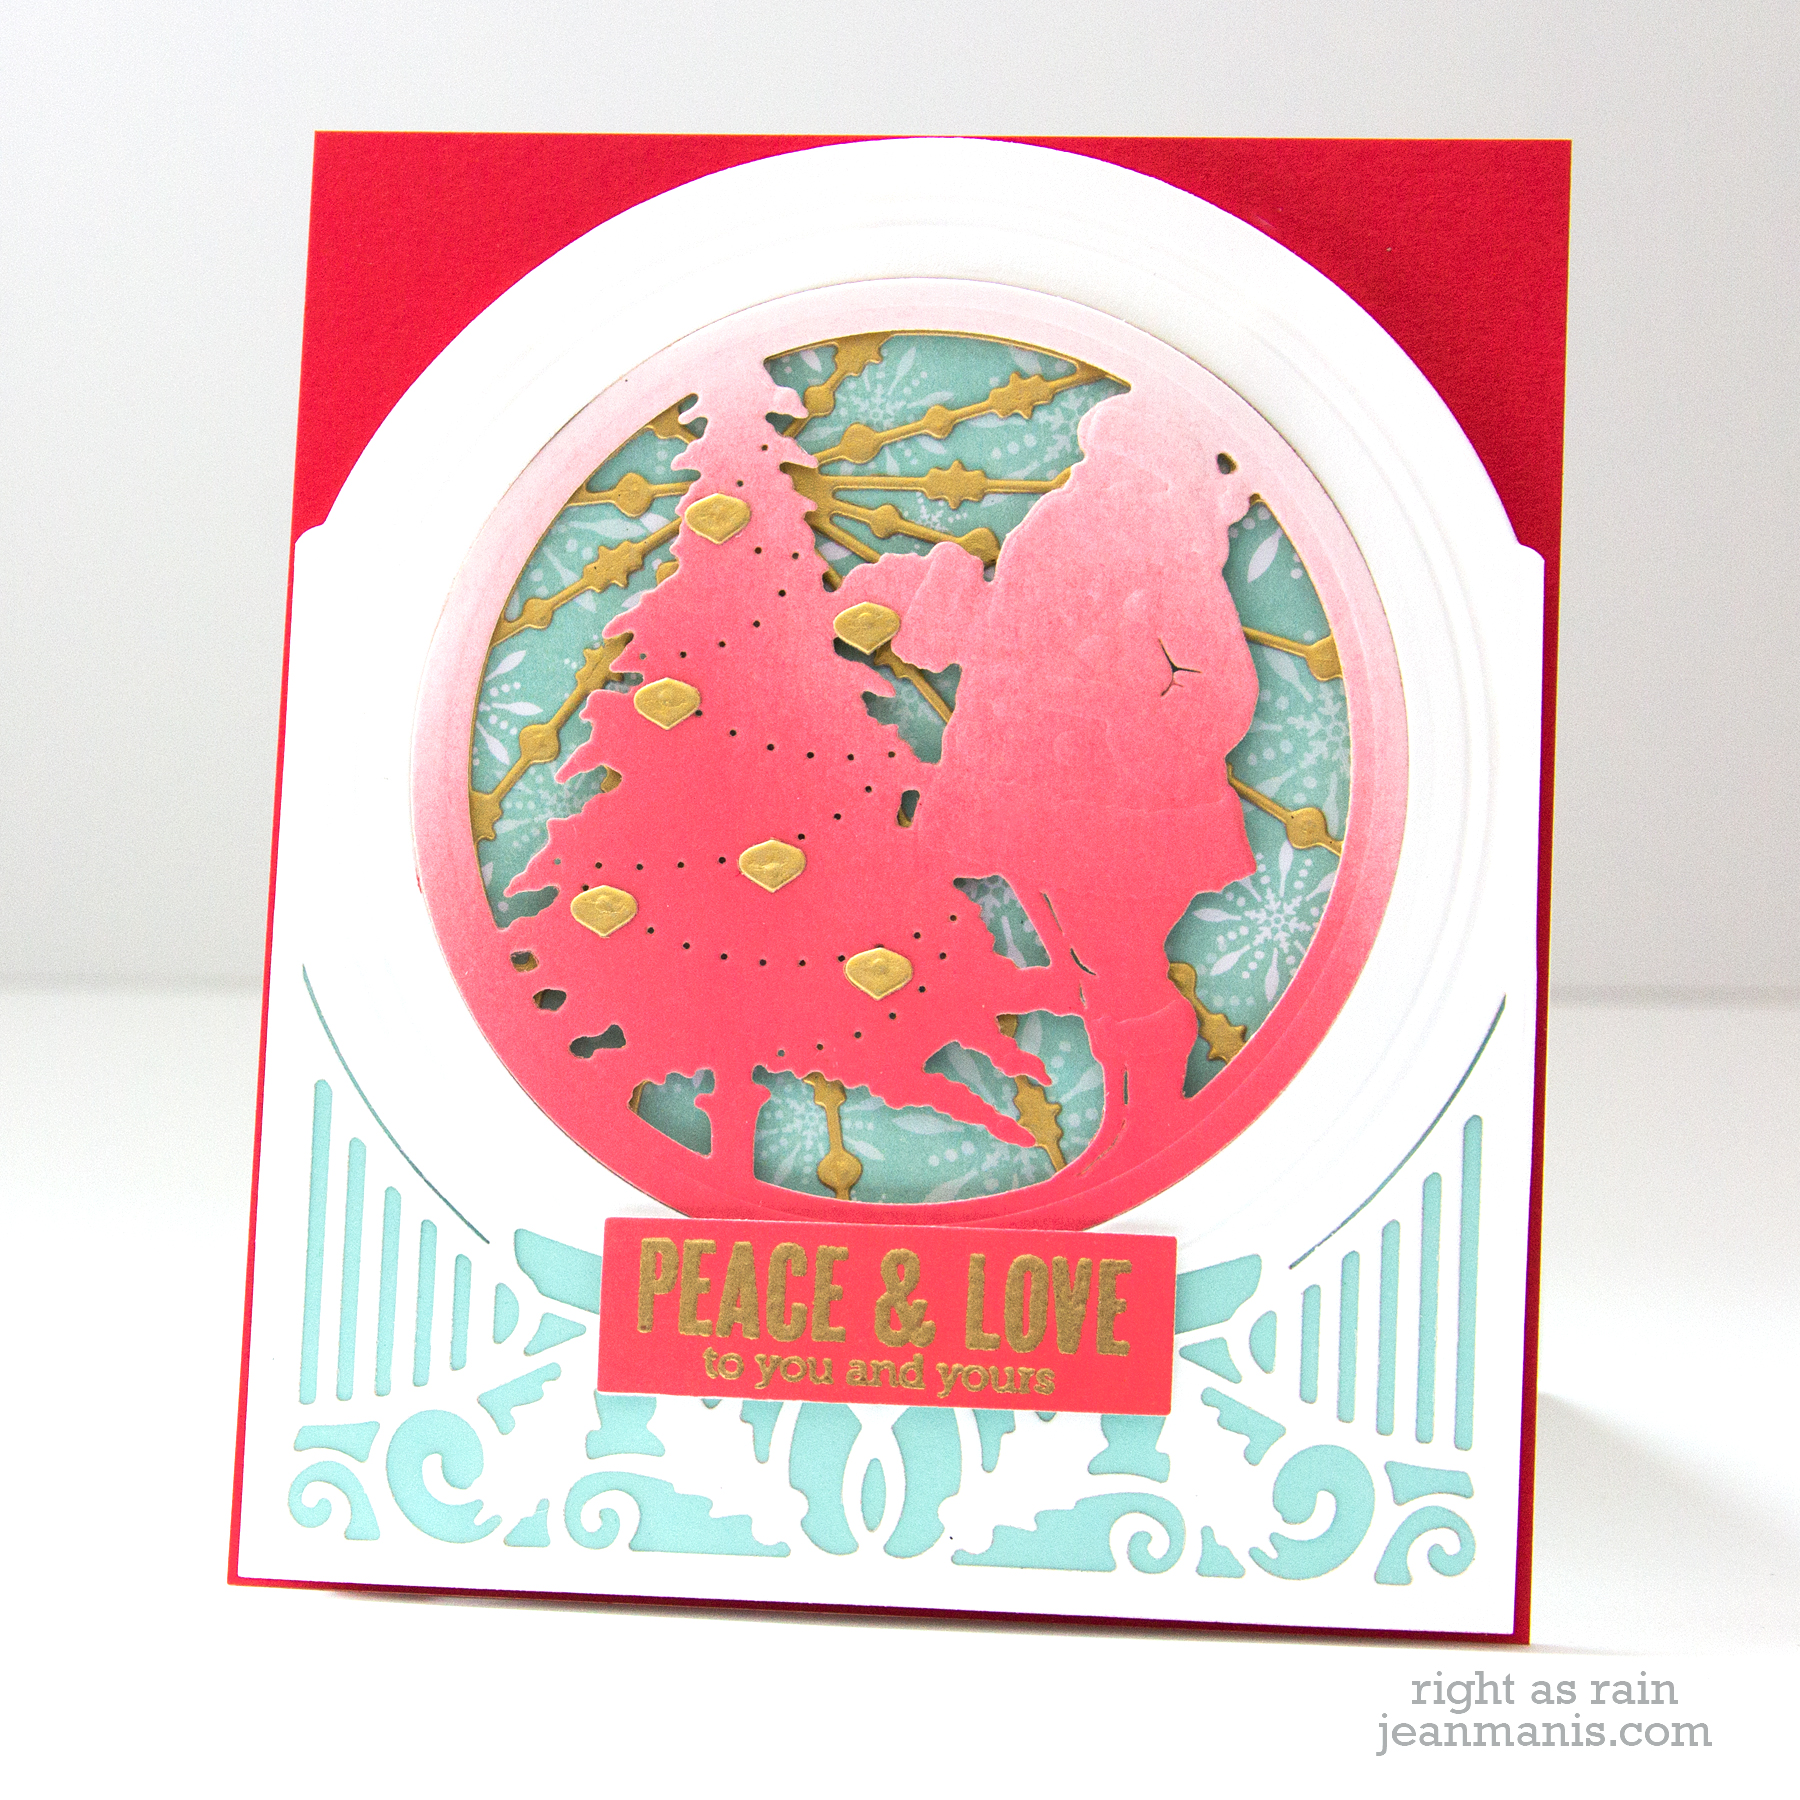
I cut the Grand Snow Globe frame from Whip Cream cardstock and backed it with light blue cardstock. I used the Grand Snow Globe pieces as a frame for my card, rather than to create a 3-D object; I trimmed the tabs from the sides.
I cut the front panel of the Santa Claus from Whip Cream cardstock to which I had applied Festive Berries Distress Oxide Ink.
I cut the star garland and ornaments from Brush Gold cardstock.
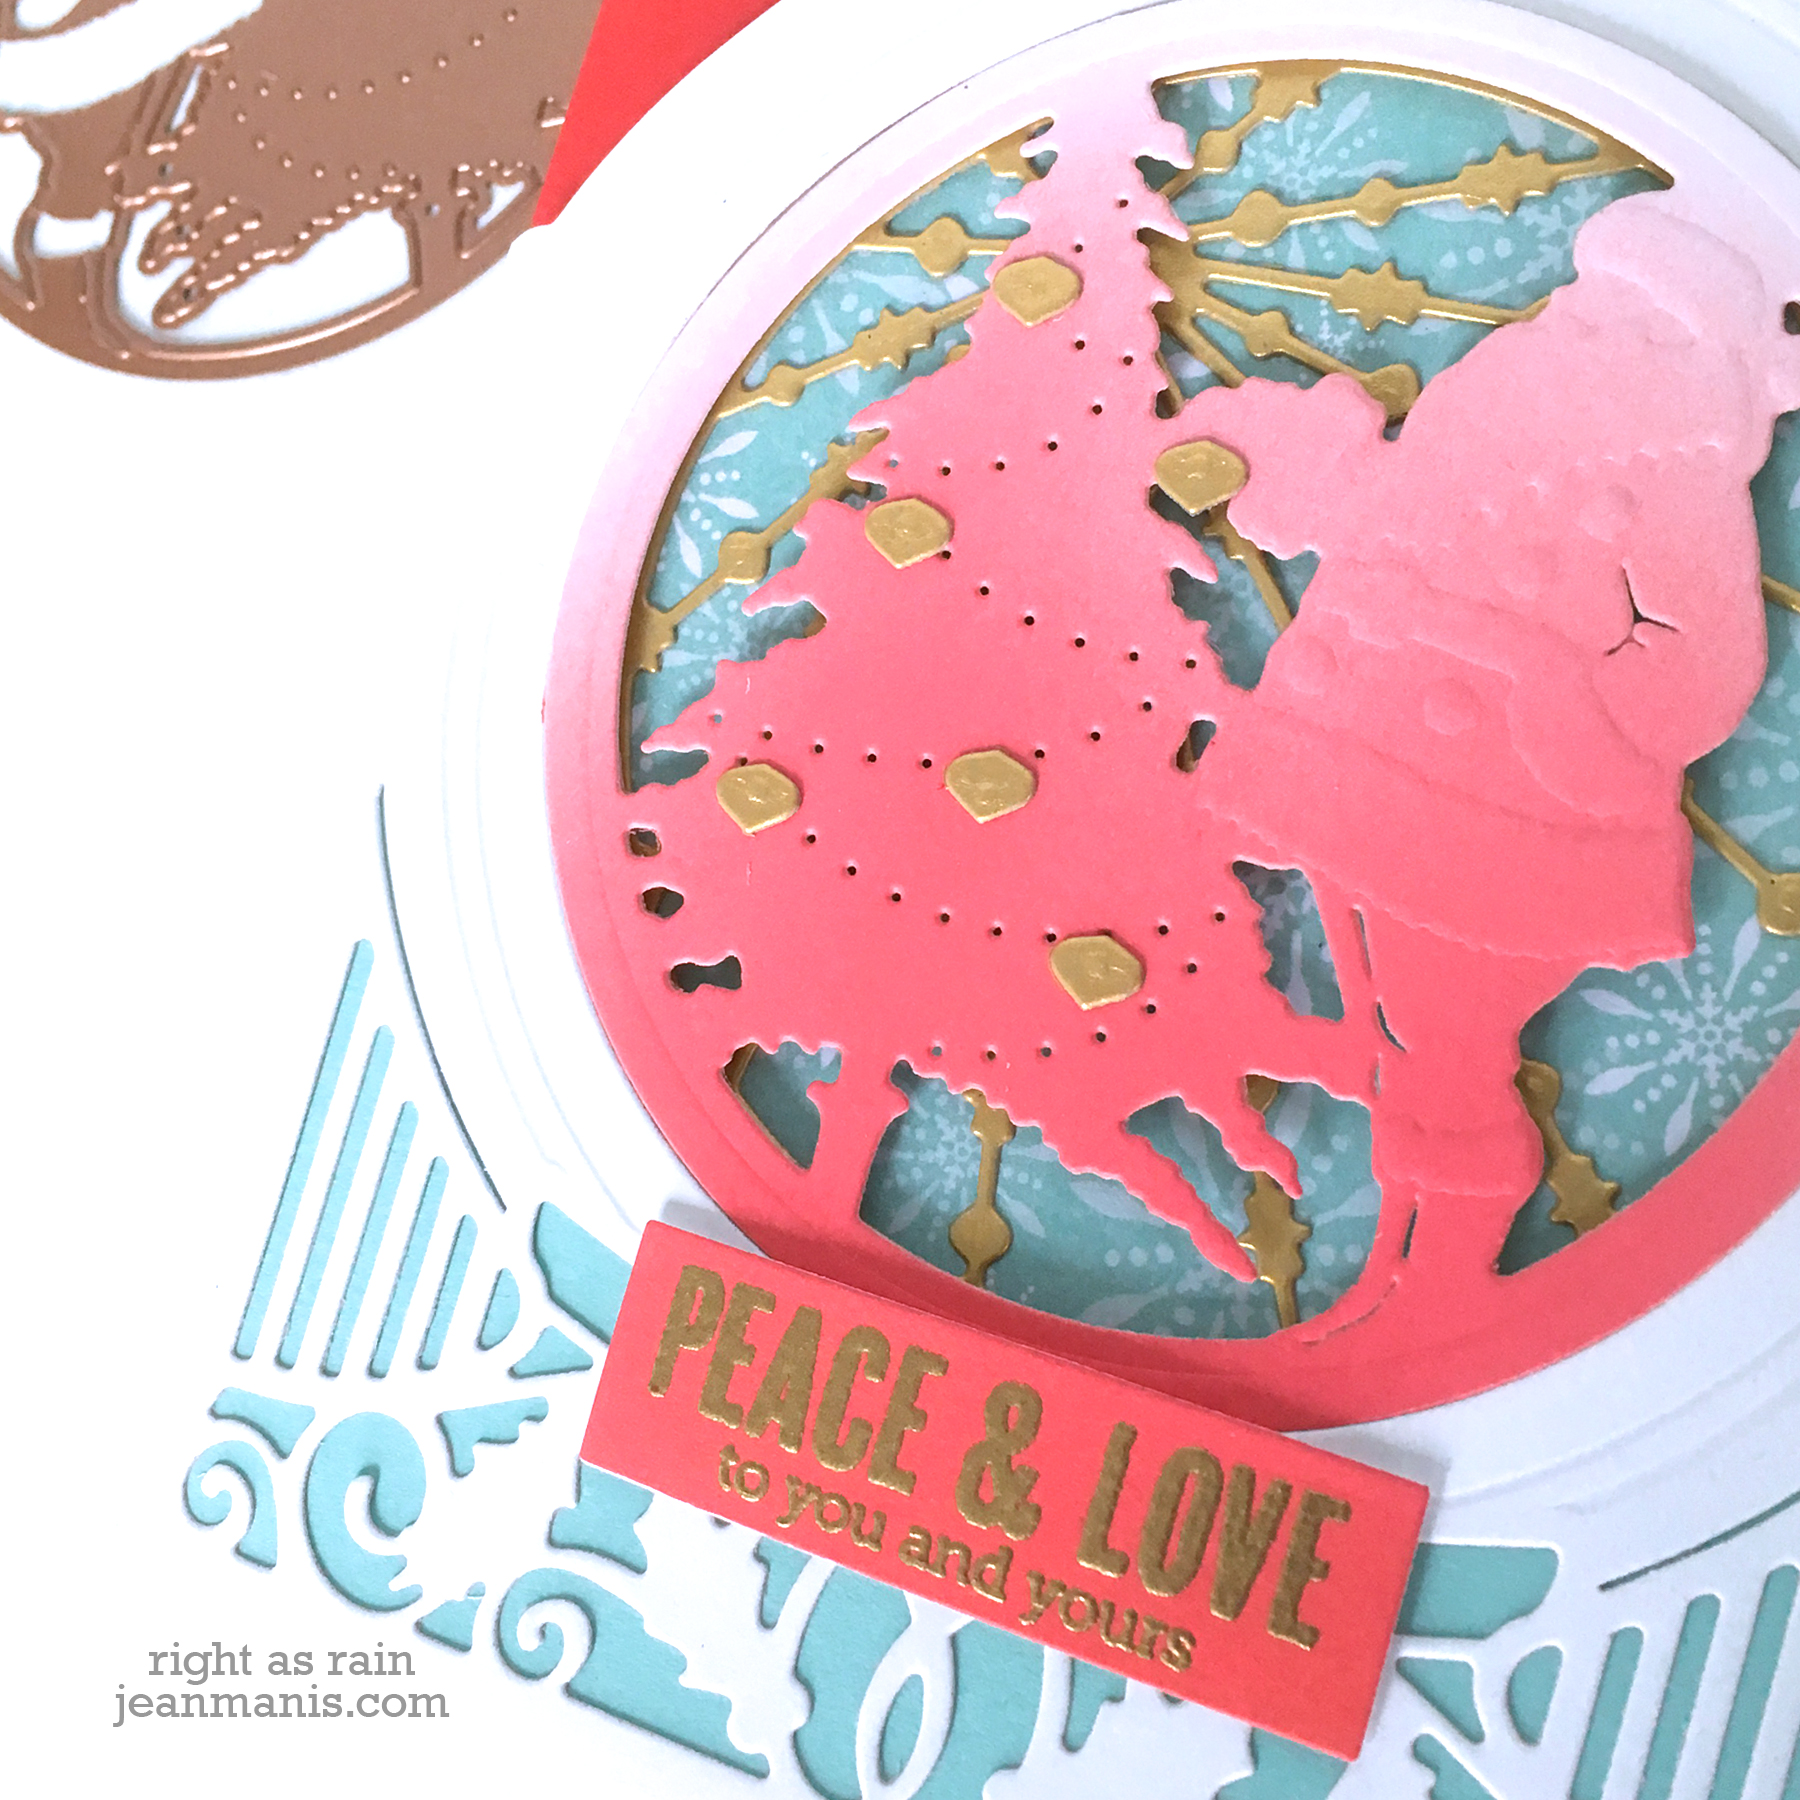
I heat-embossed with gold powder a sentiment on to cardstock colored with Festive Berries Distress Oxide Ink.
I placed the Santa piece into the Grand Snow Globe opening and taped it from behind.
I added the star garland piece to patterned paper, which I cut with the circle die in the set, and adhered them to a back panel.
I adhered the front panel to the back with foam adhesive and added the entire assembly to a card base. I then added the ornaments and sentiment.
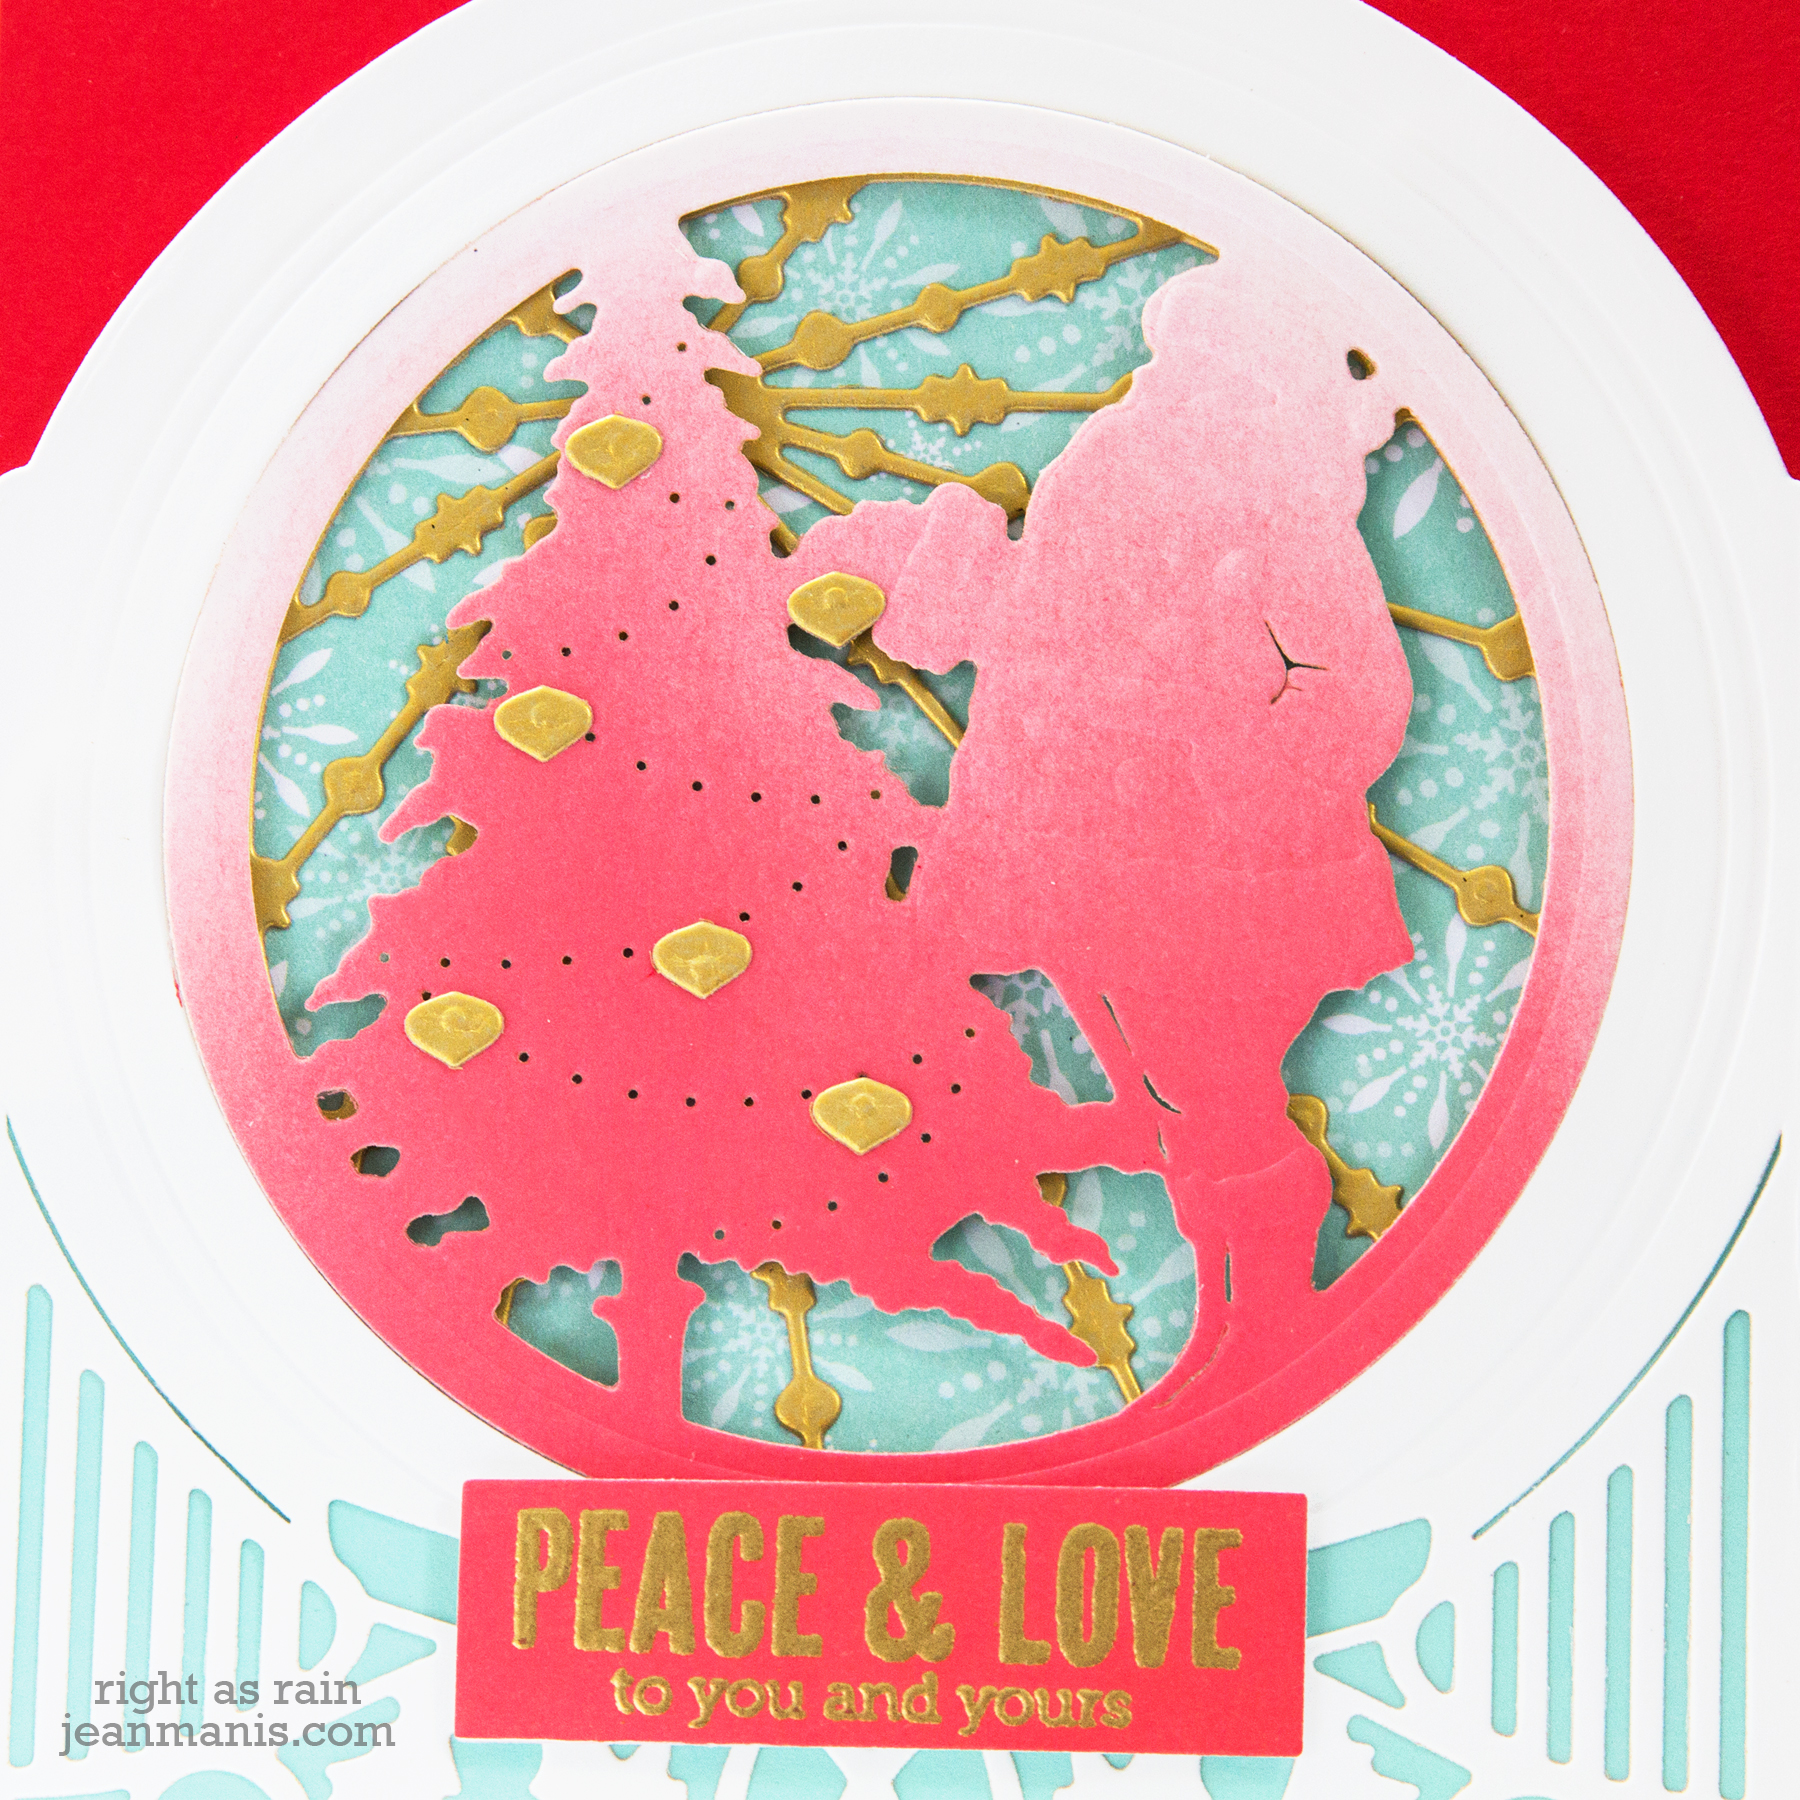
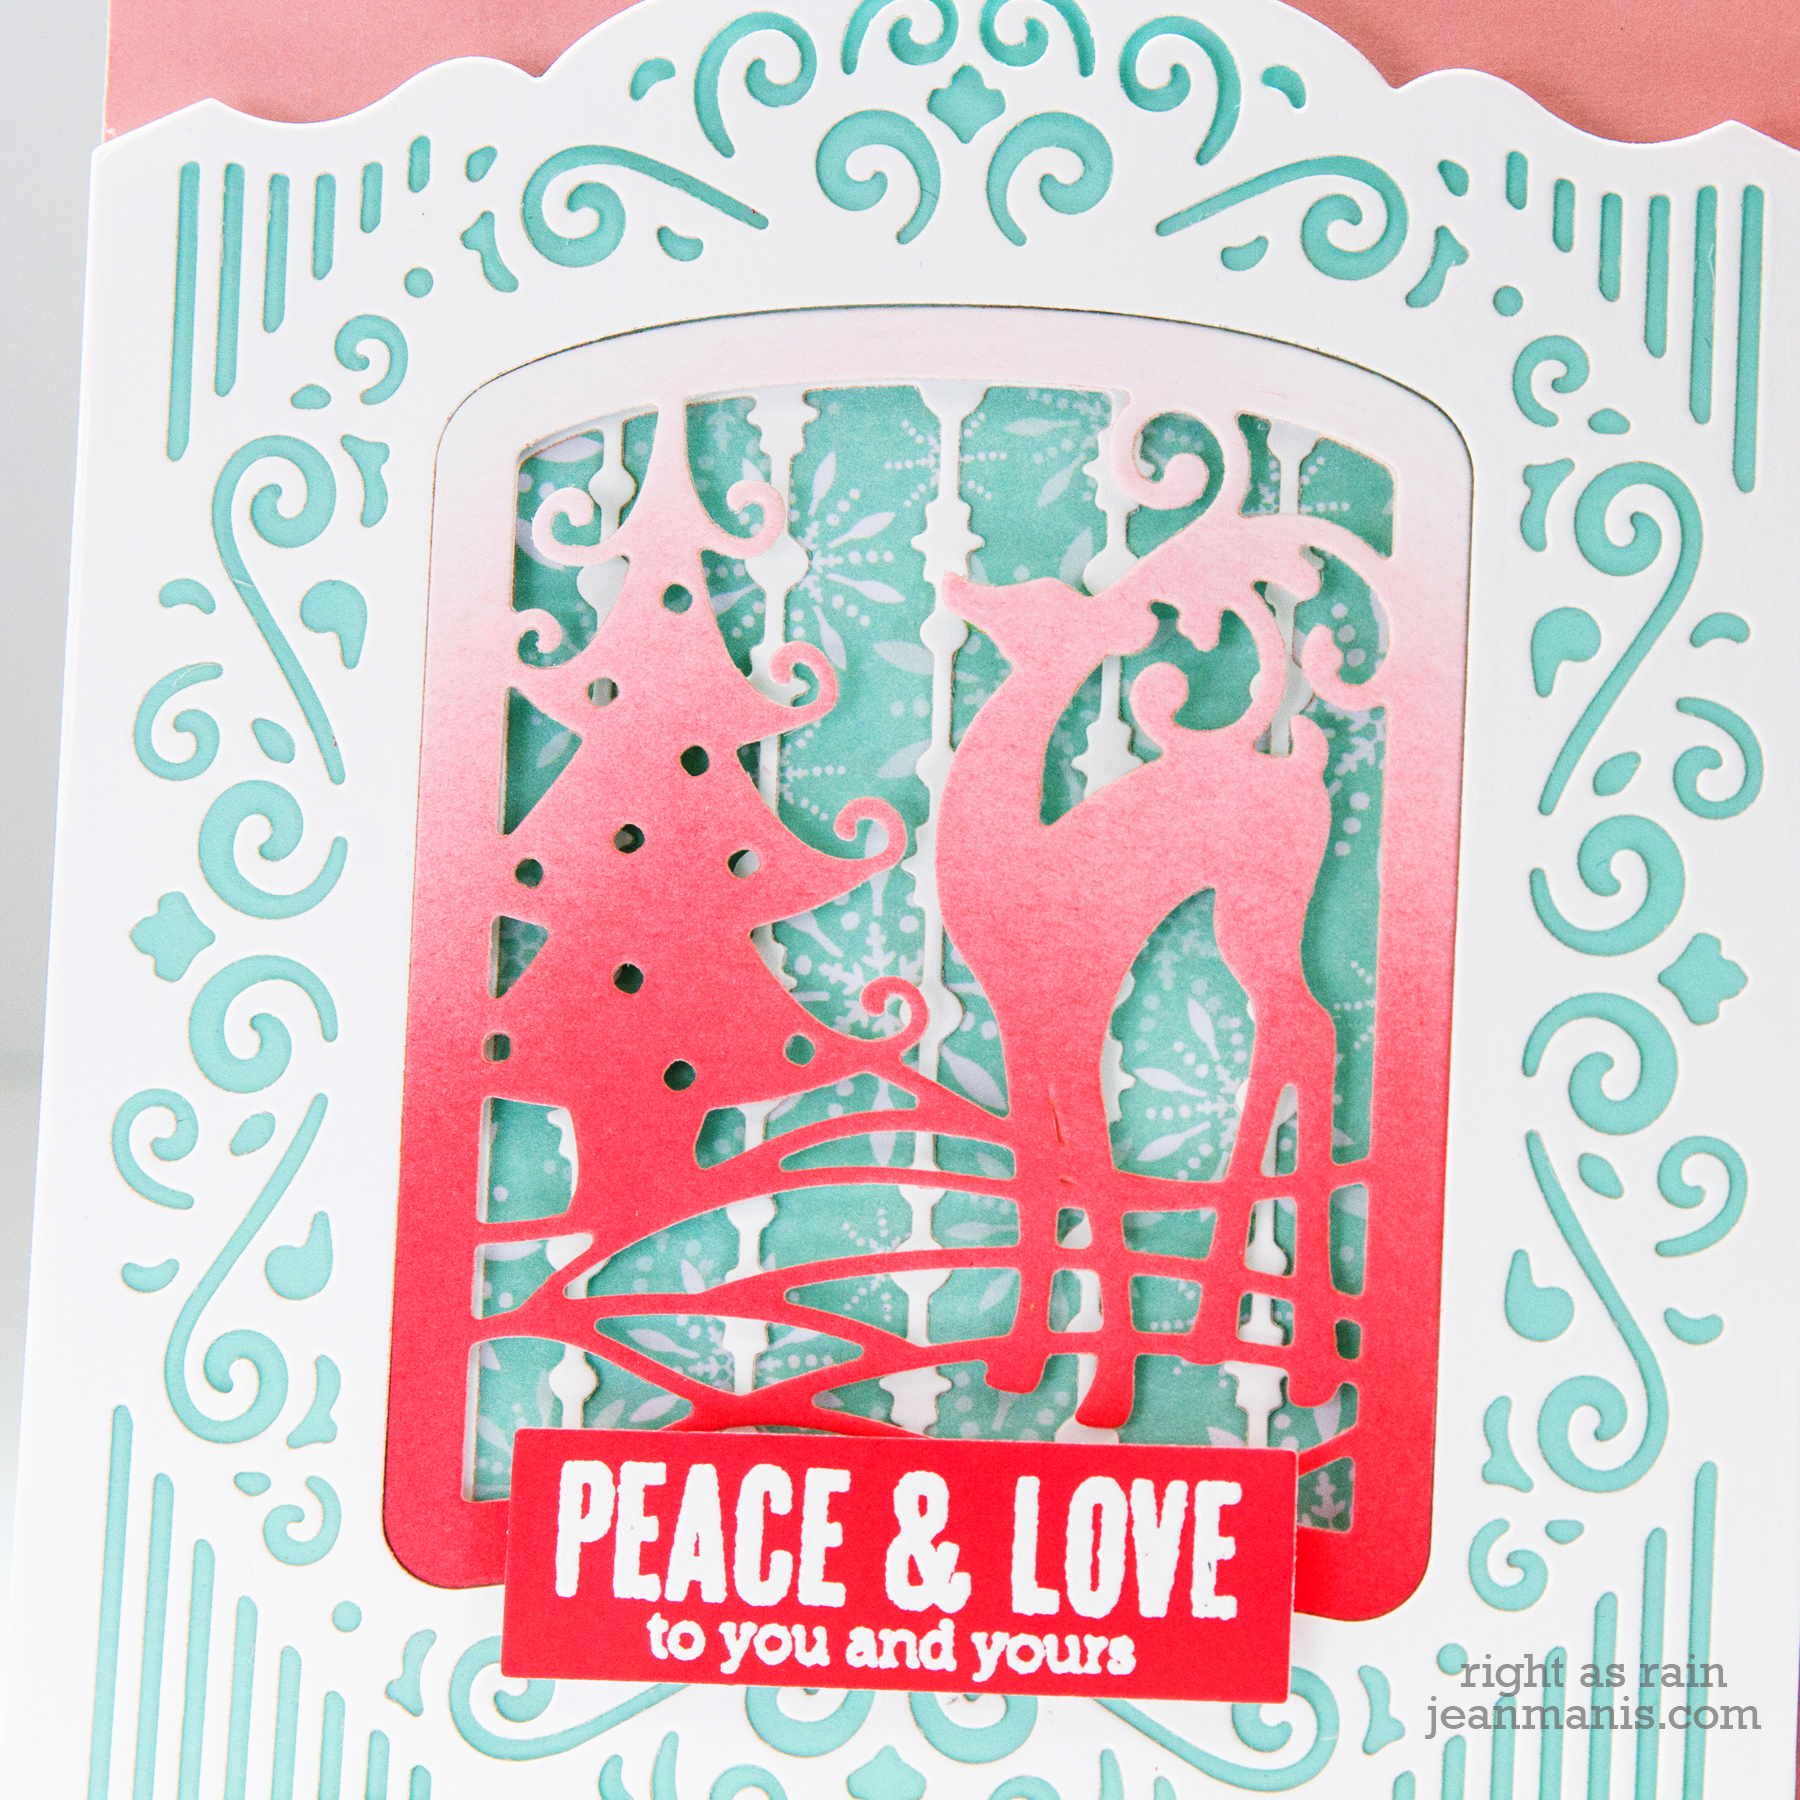
My second card pairs Reindeer Prance with the Grand Holiday Cabinet.
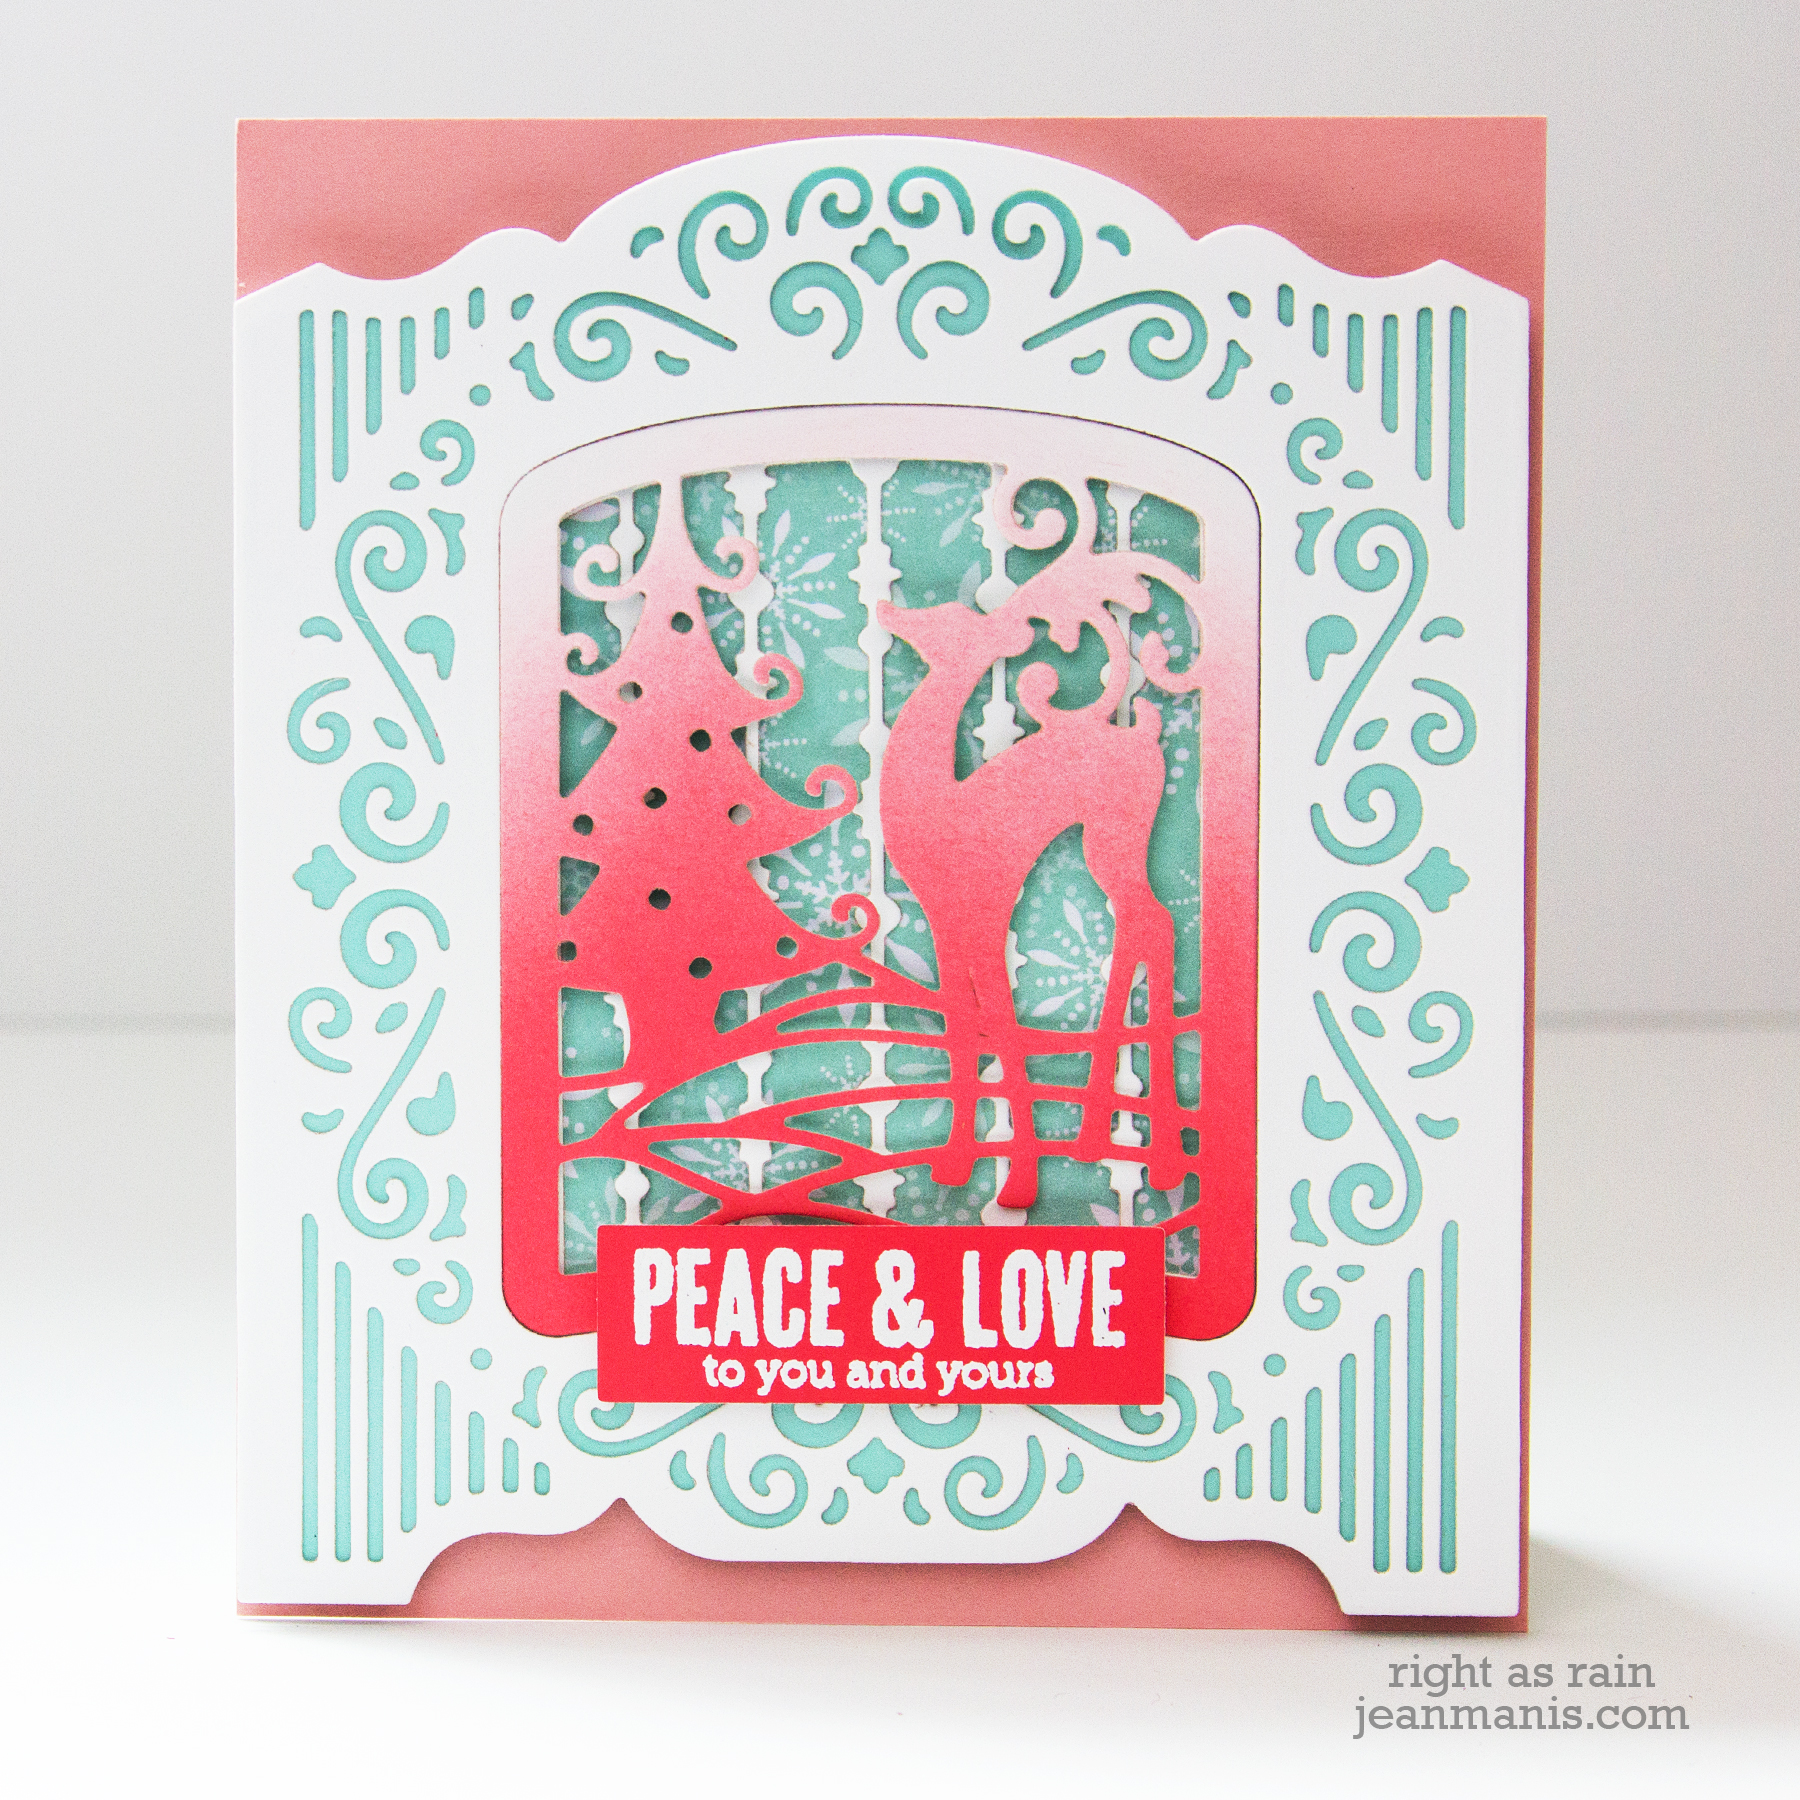
I cut the Grand Holiday Cabinet from Whip Cream cardstock and backed it with light blue cardstock (cut with the outline die in the set). I used the Grand Holiday Cabinet pieces as a frame for the card; I trimmed off the tabs that are used if making a 3-D object.
I cut the front panel of the Reindeer Prance from Whip Cream cardstock to which I had applied Festive Berries Distress Oxide Ink.
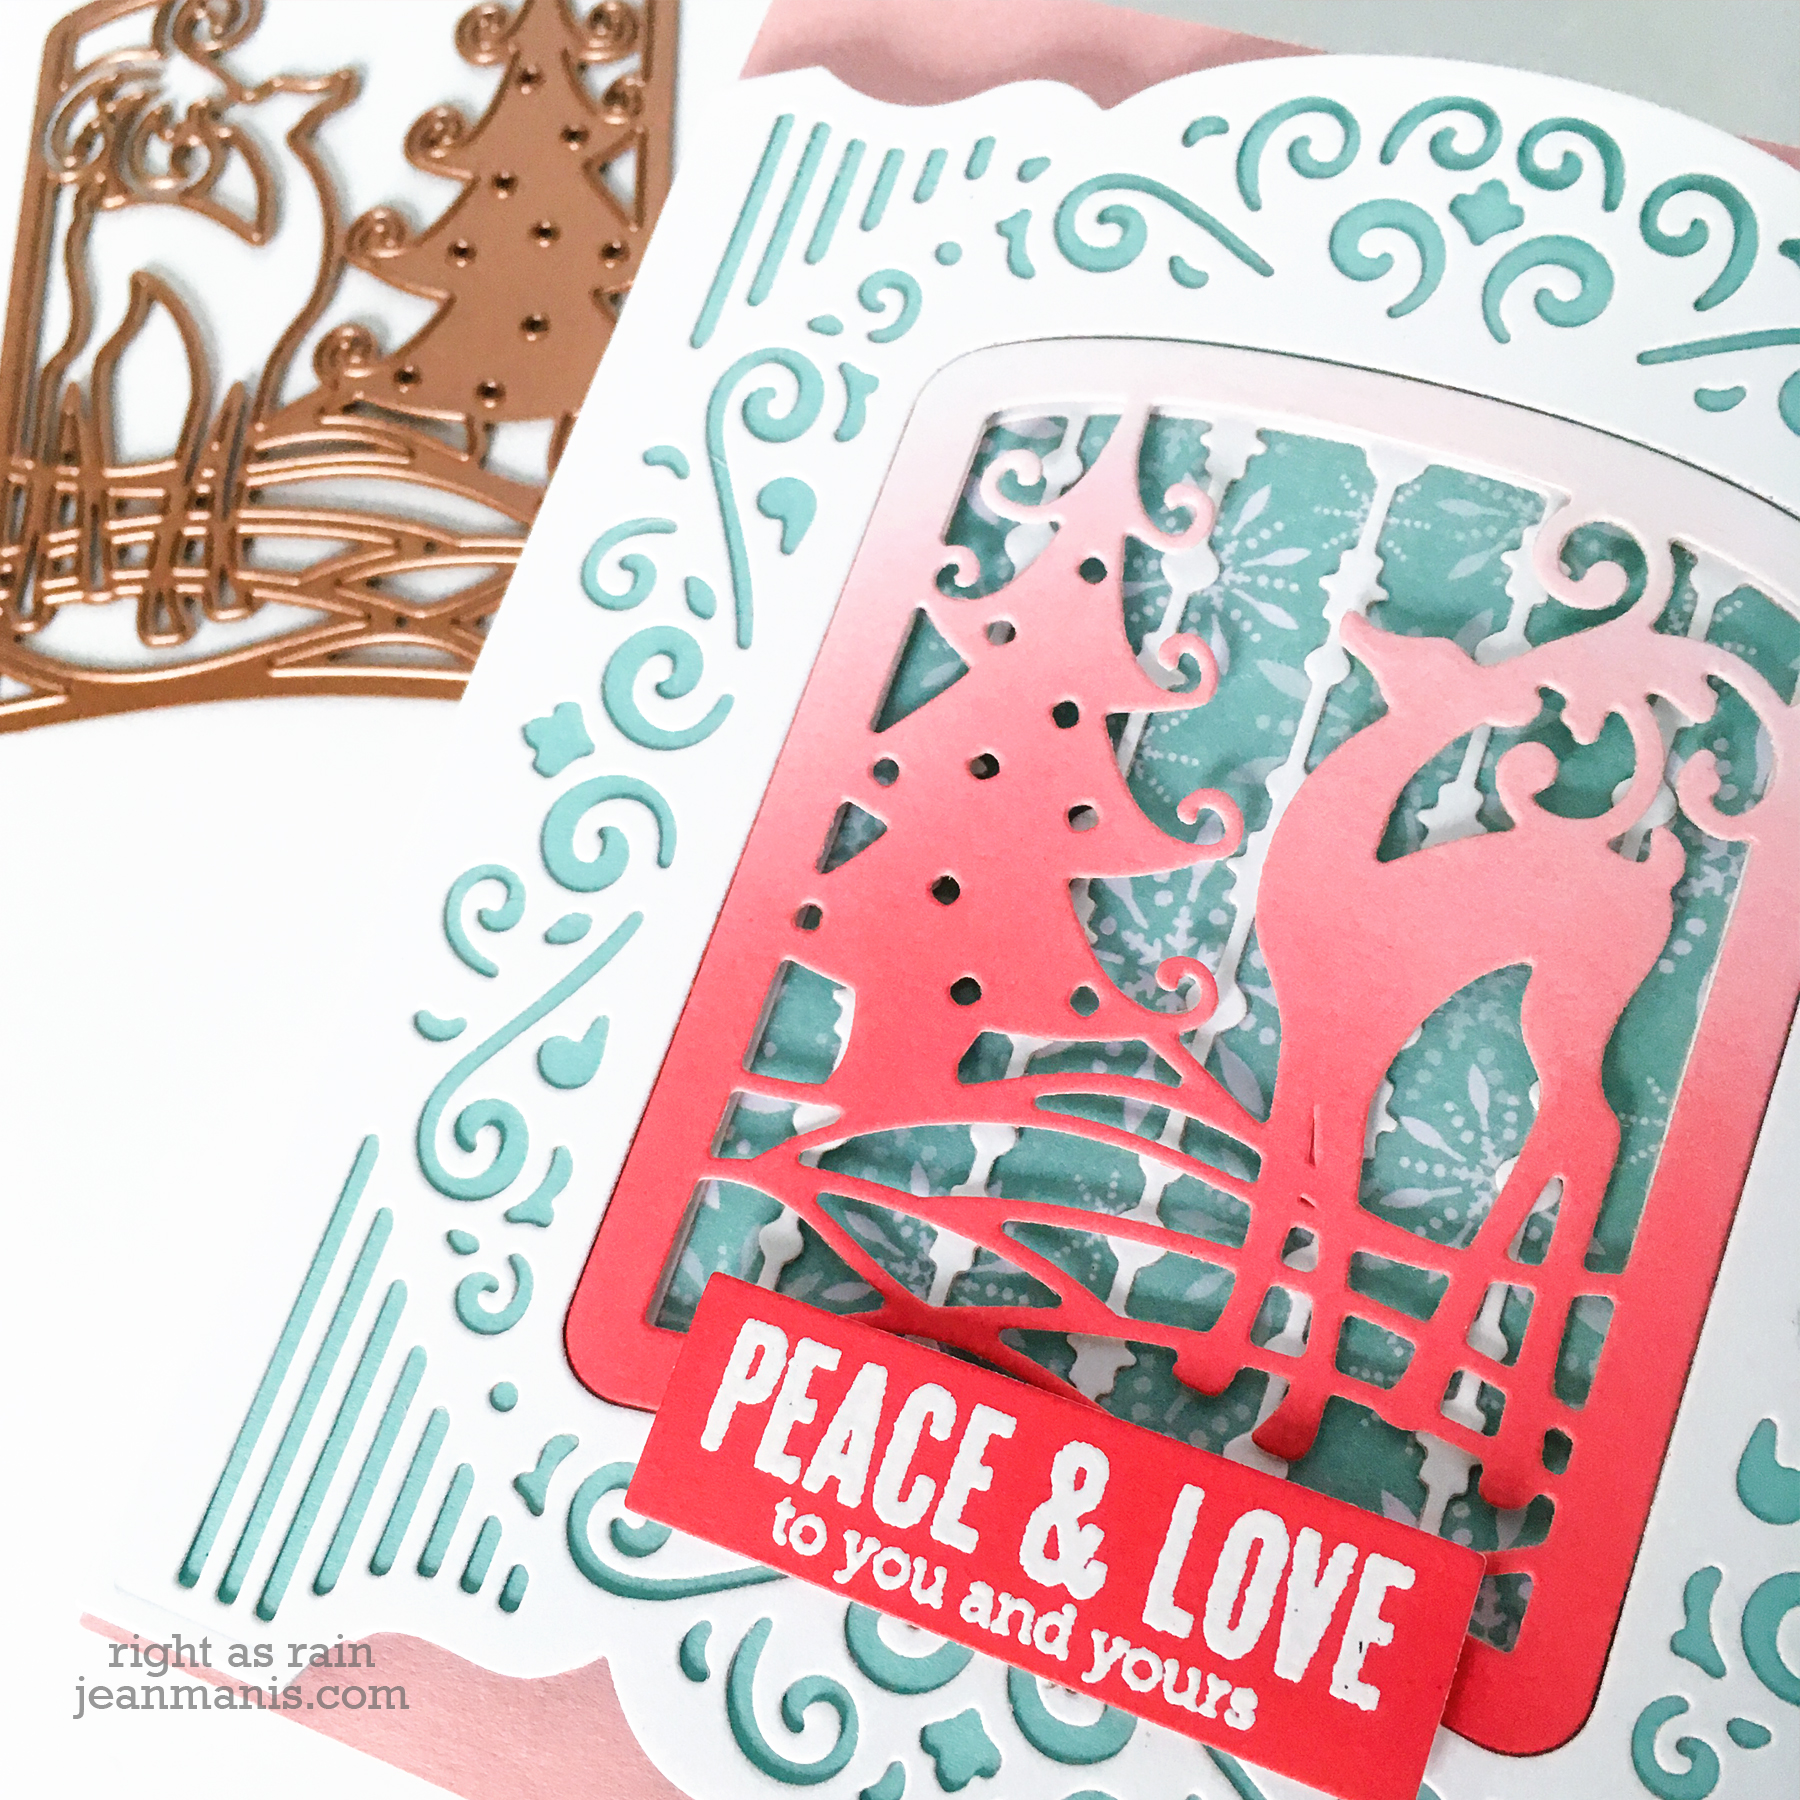
I heat-embossed with white powder a sentiment on to cardstock colored with Festive Berries Distress Oxide Ink.
I placed the Reindeer front piece into the Grand Holiday Cabinet opening and taped it from behind.
I added the snow/icicle/star garland piece to patterned paper, which I cut with the circle die in the set, and adhered them to a back panel.
I adhered the front panel to the back with foam adhesive and added the entire assembly to a card base. I then added the sentiment.
Thanks so much for dropping by! The next stop on the hop is the blog of Varada Sharma. I’ve included the entire list of blog hop participants at the end of the post.
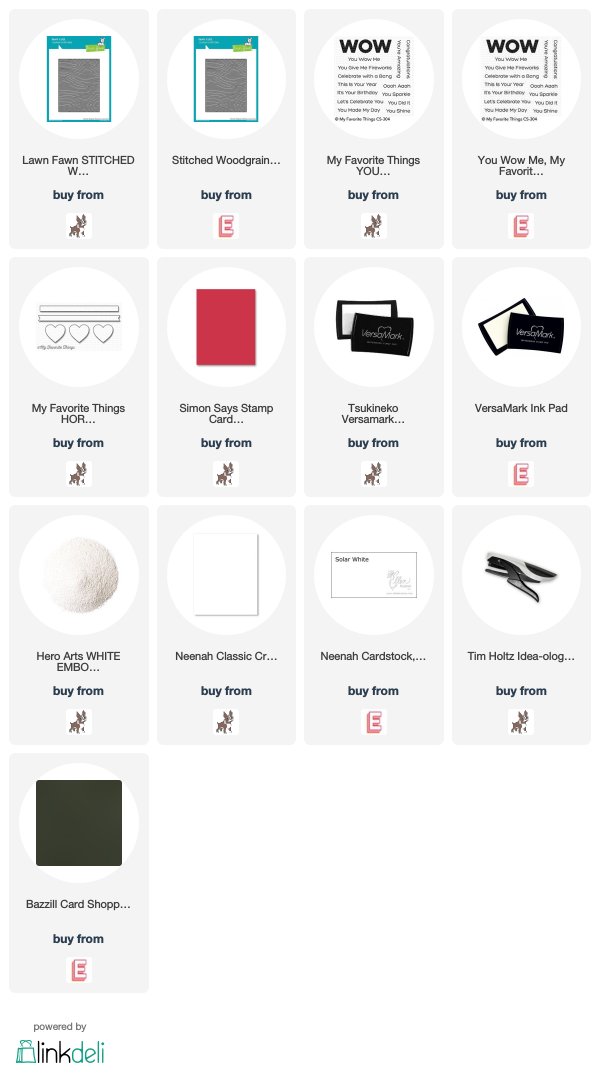
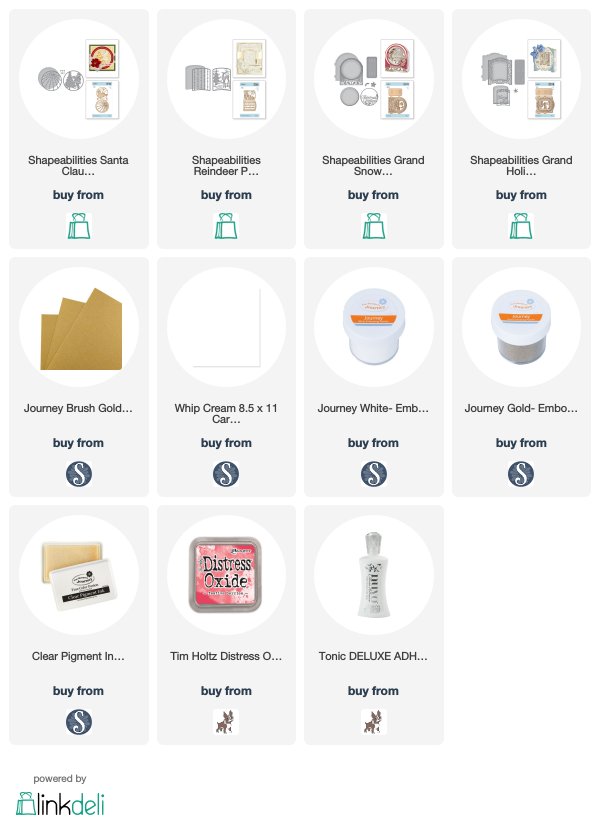
Supplies:
Blog Hop Participants:
Spellbinders
Becca Feeken
Hussena Calcuttawala
Bibi Cameron
Amy Rysavy
Jean Manis
Varada Sharma
Pam Sparks
Melody Rupple
Karin Åkesdotter</a