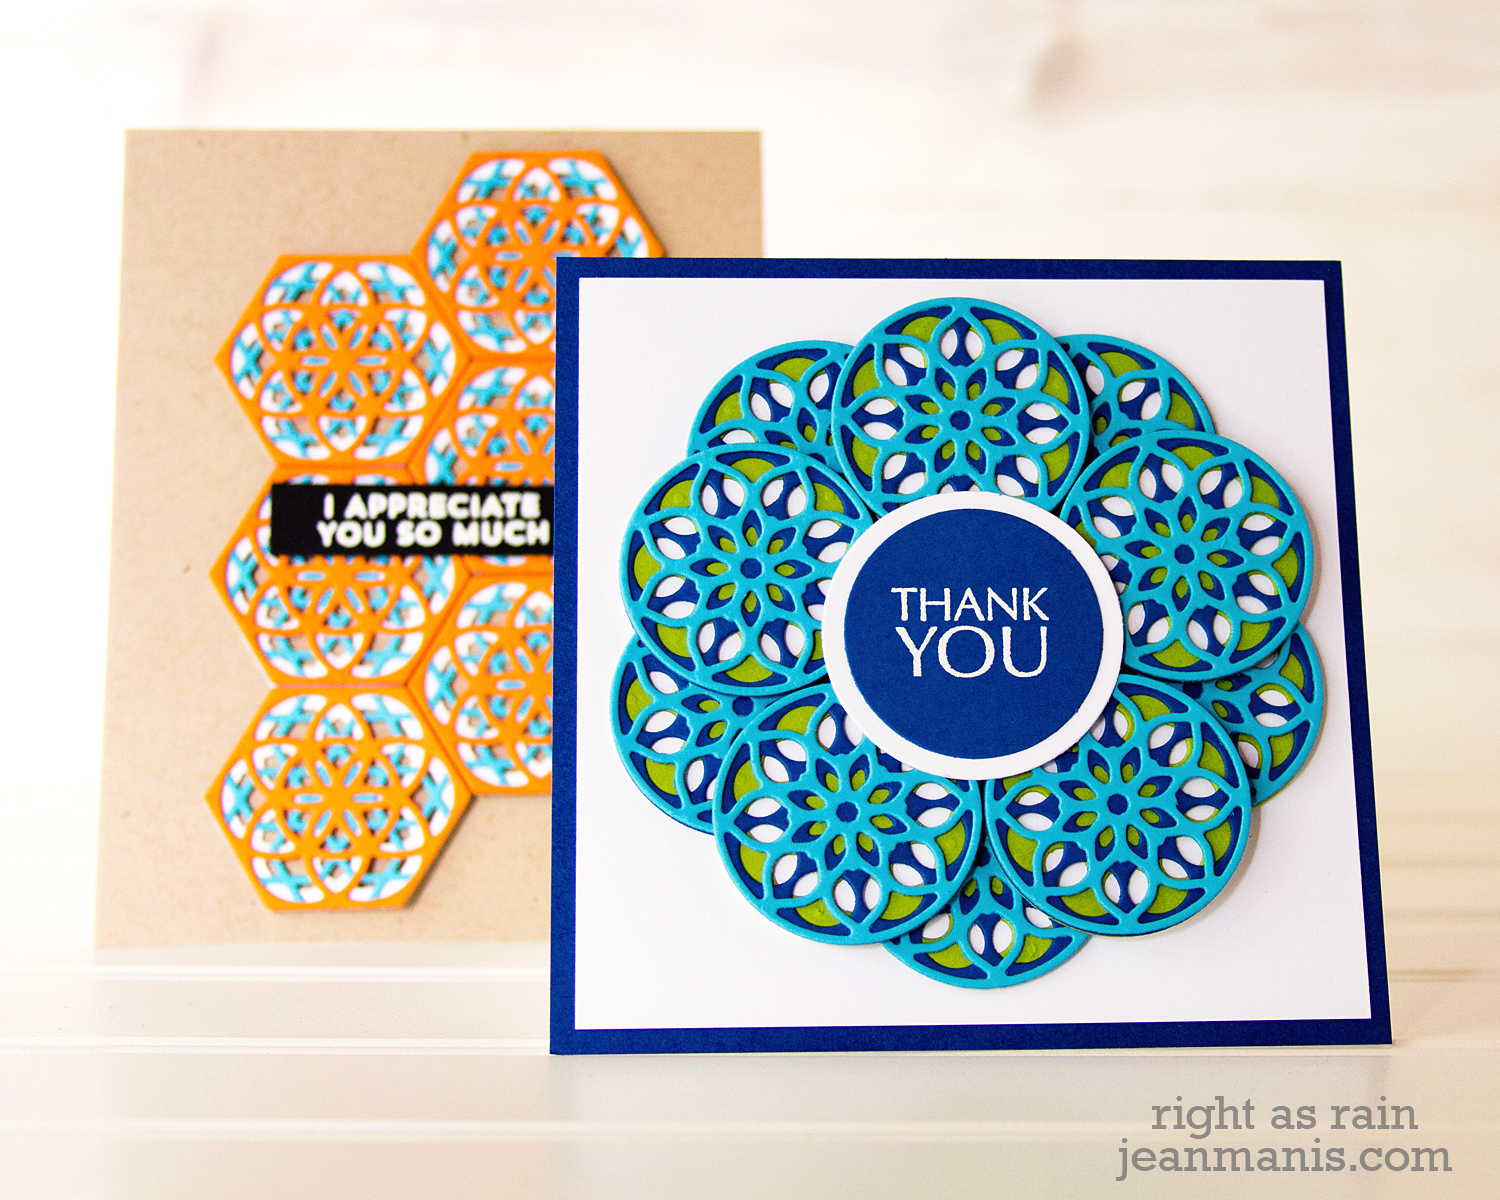
Hello! Today I am sharing a die-cut summer scene in which I have combined a number of Spellbinders/Fun Stampers Journey die sets. Knowing what you know about me – I love summer colors like red, white, and blue, and I love to die cut! I was inspired by my recent move to create a “Home Sweet Home” card.
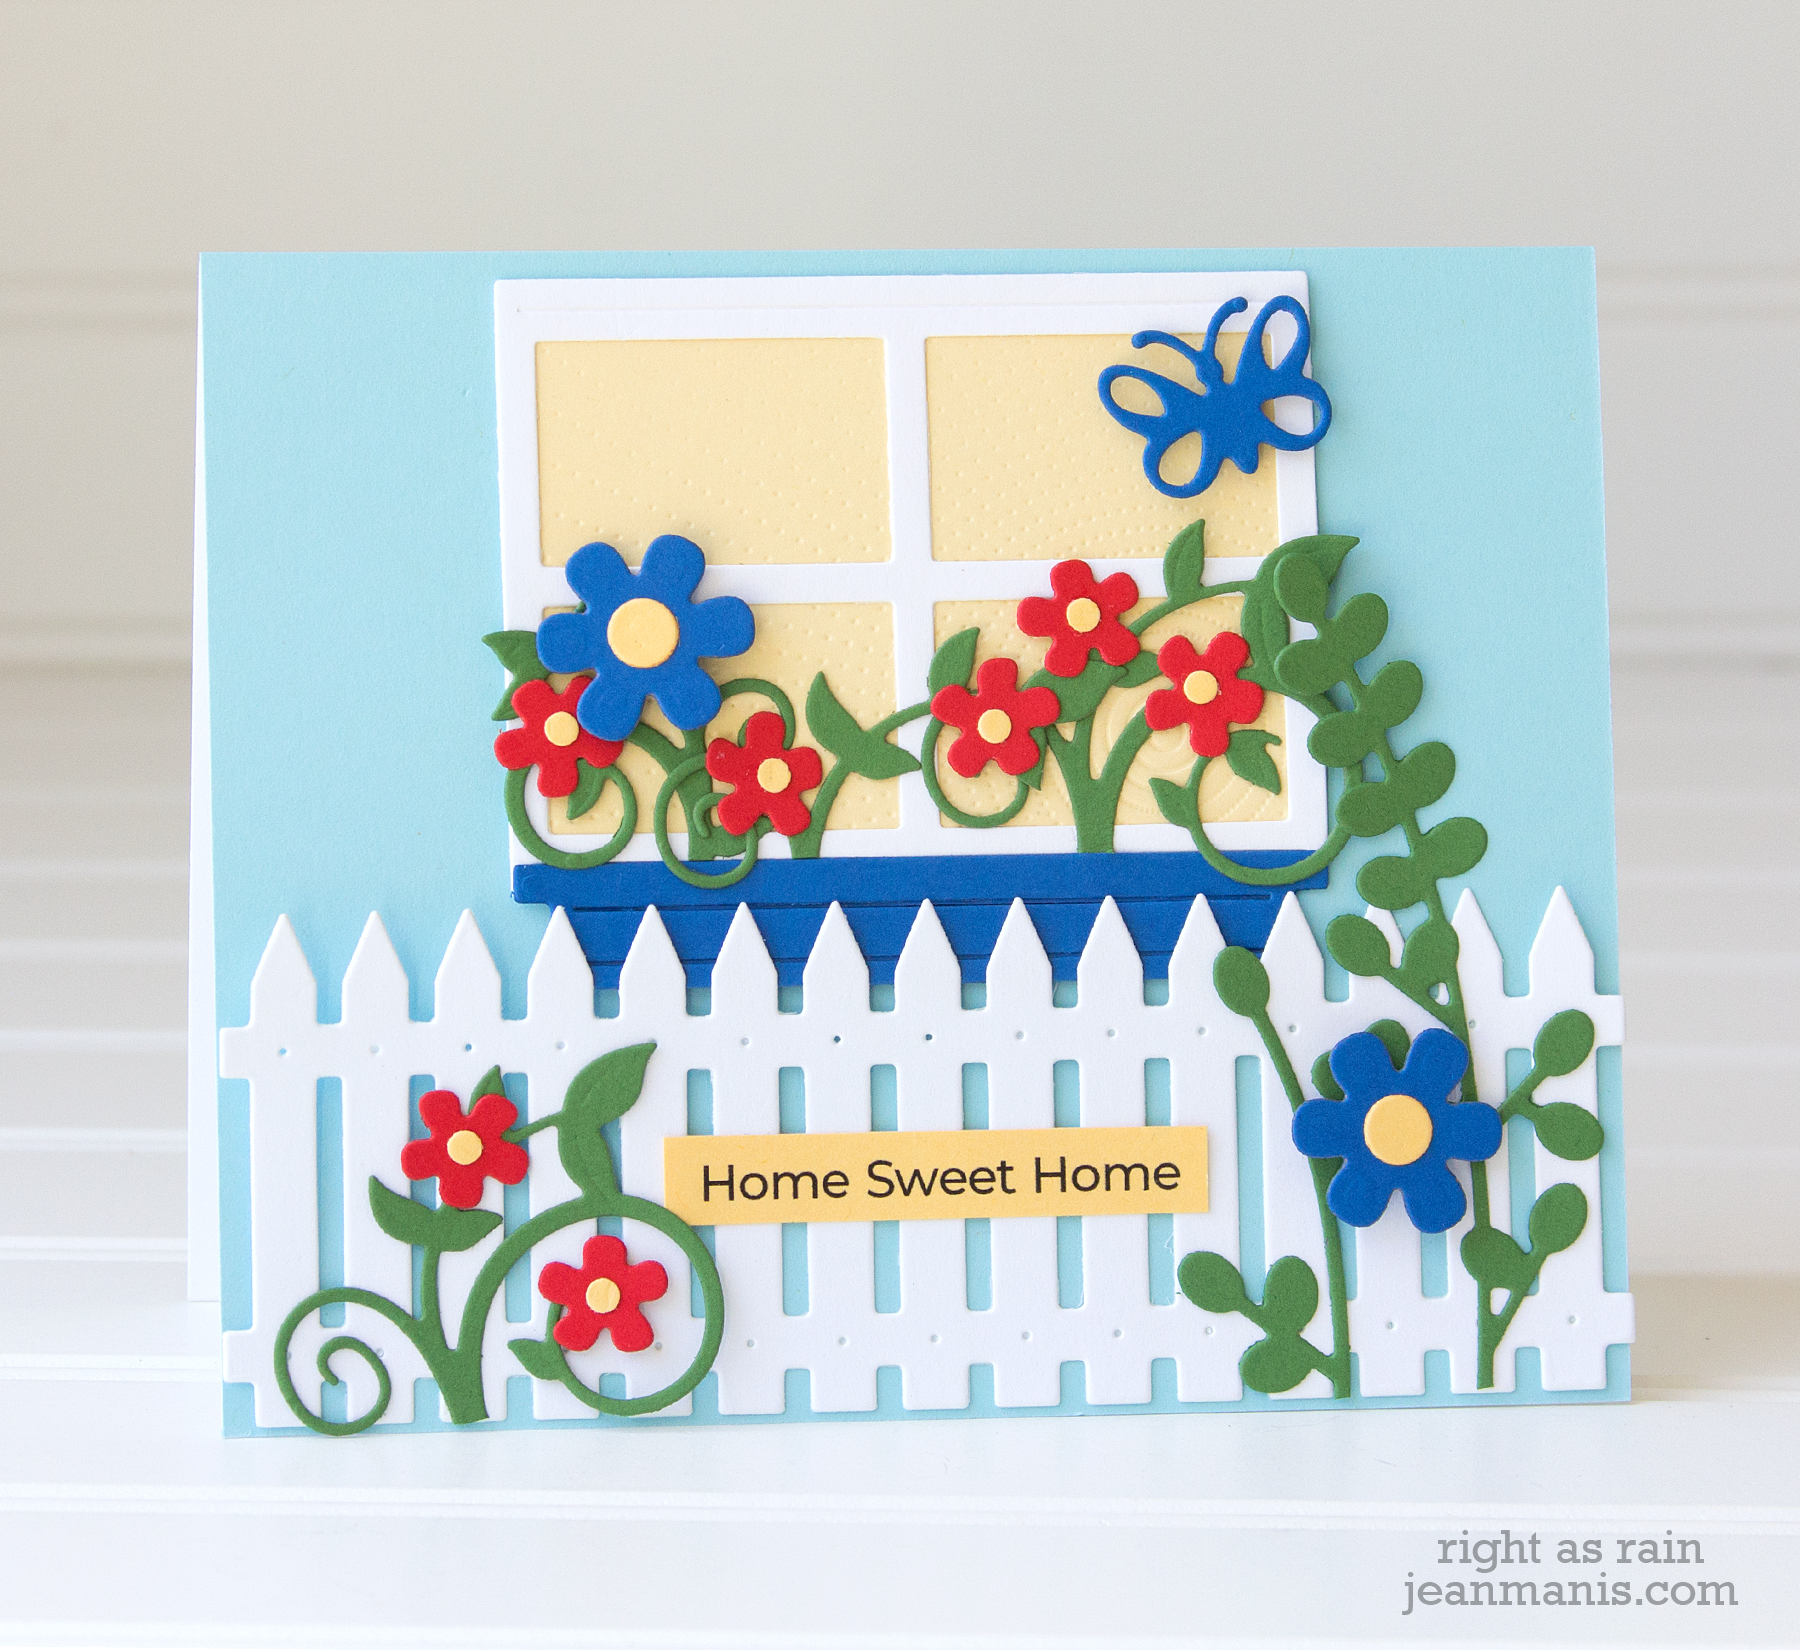
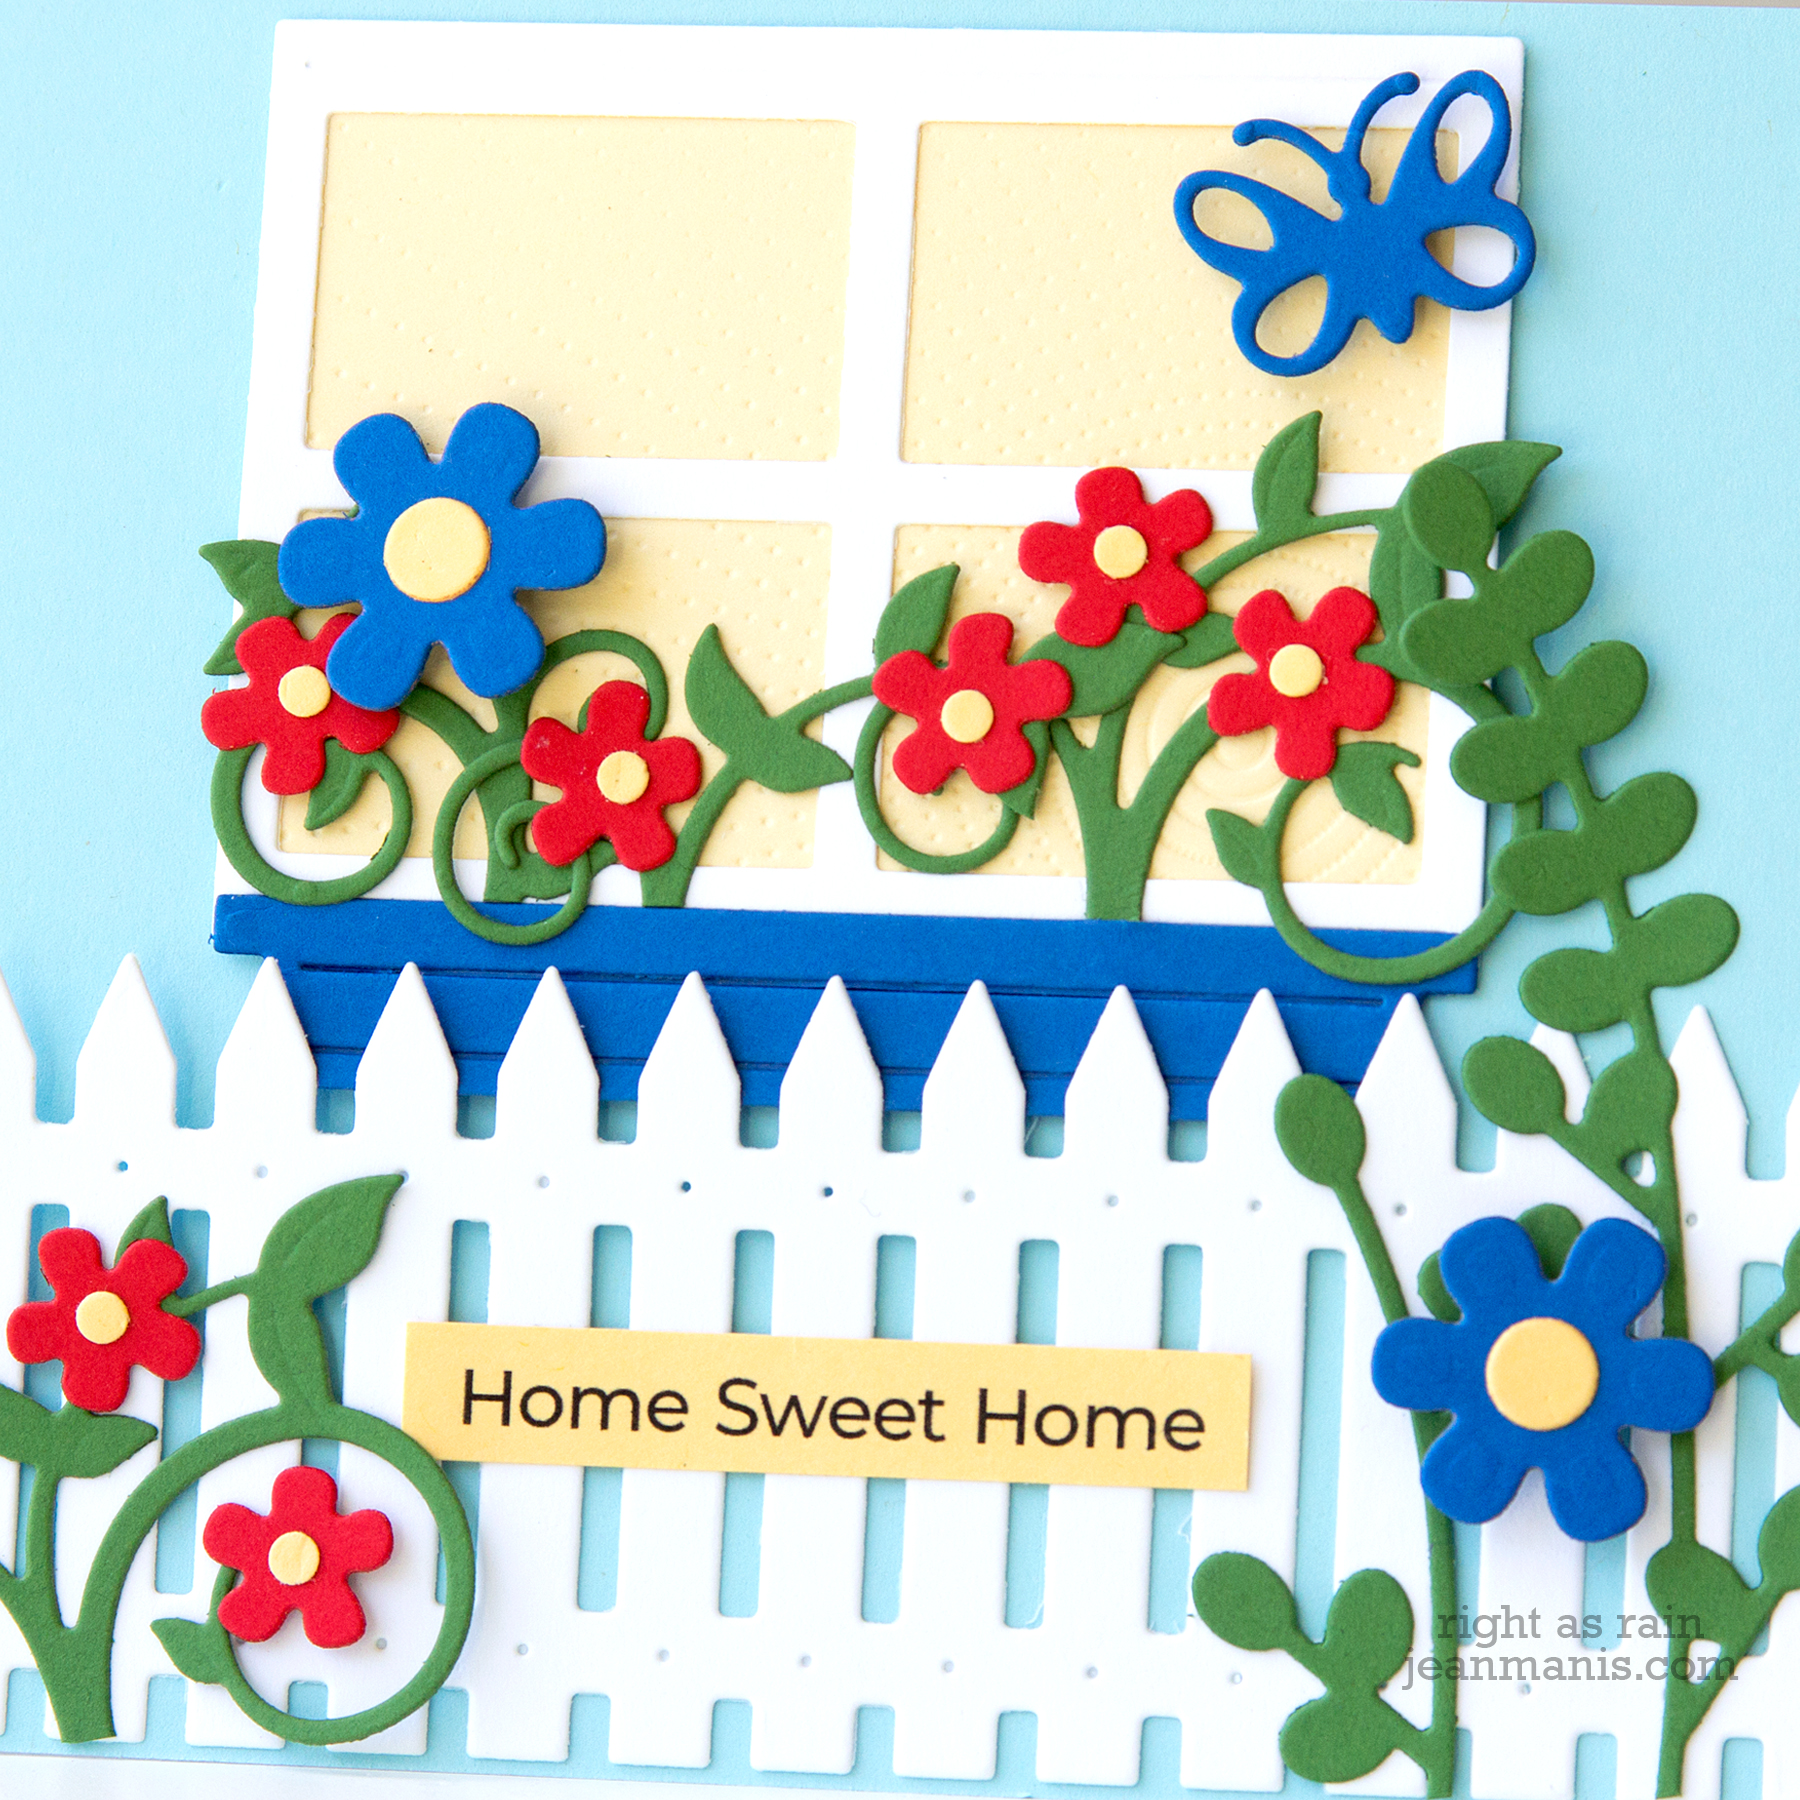
I rotated the window in the Window View die set and added the ledge piece below as a window box. In the background I dry-embossed the Banana Cream cardstock with the Bright Days embossing folder. In the foreground I added a fence cut with the Garden Fence die. To accommodate the window and the fence, I made the card 4 1/2″ tall by 5 1/2″ wide.
I used the A Little Birdie set to cut the small flowers and the green stems. I added a bigger spray of green with the Bloom Cluster die. The larger flower was cut with the Daisy die set. The butterfly is included in the Spring Flutter set.
I printed the computer-generated sentiment on Pineapple Smoothie cardstock.
Thanks for dropping by!
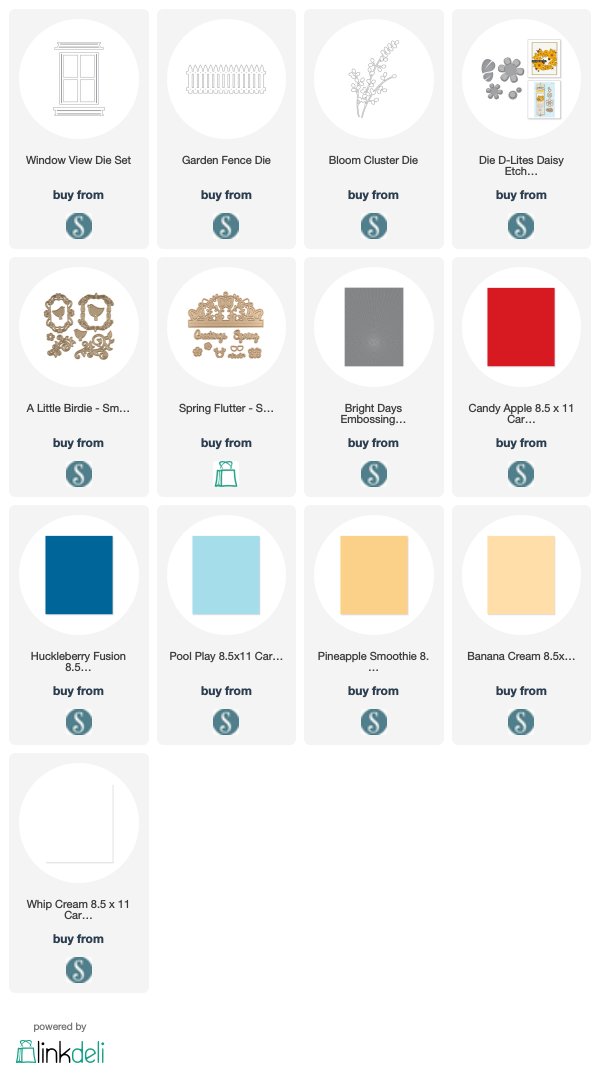
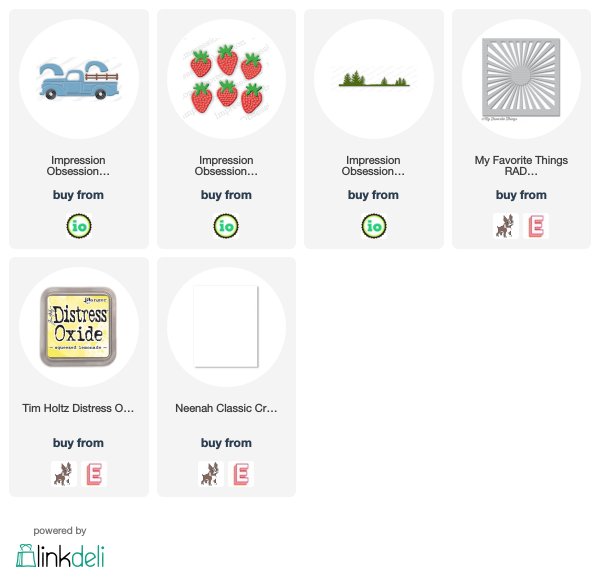
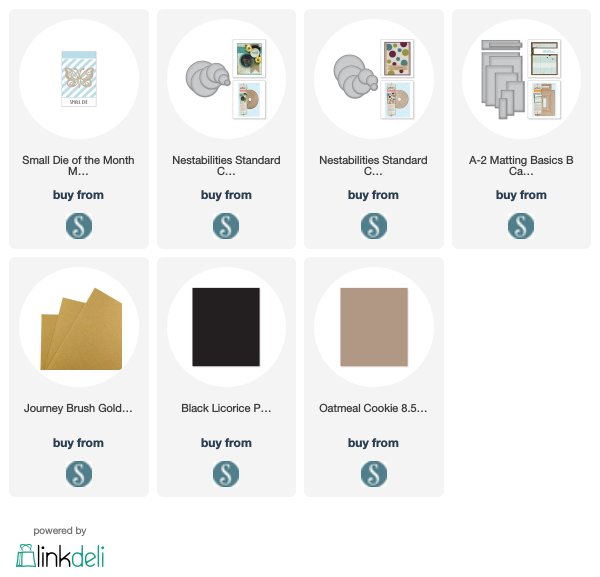
Supplies: