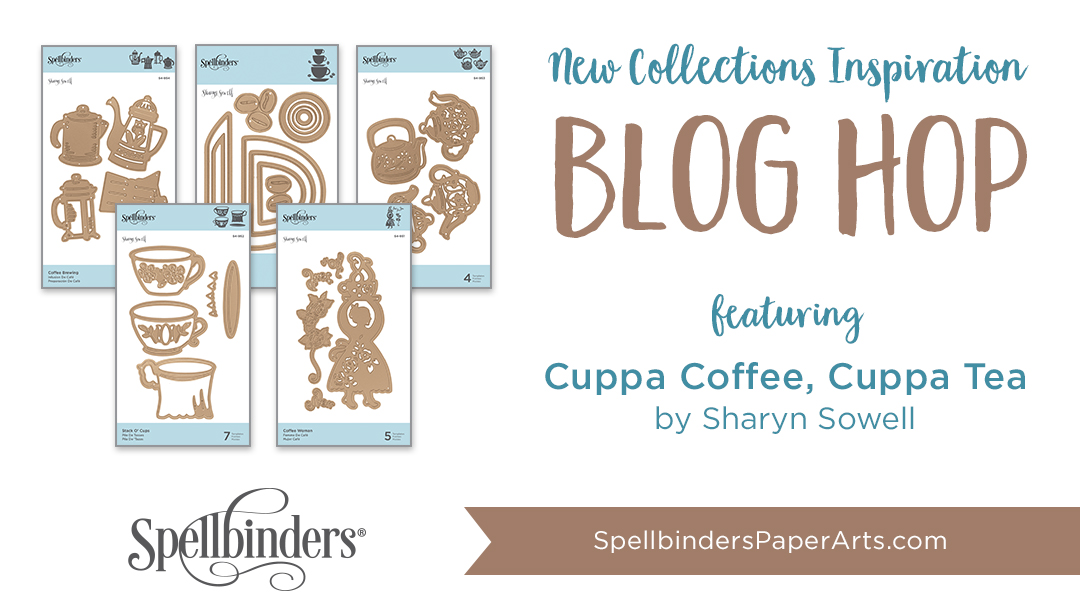
Hello! I am delighted to be part of today’s blog hop featuring the Cuppa Coffee, Cuppa Tea Collection by Sharyn Sowell for Spellbinders.
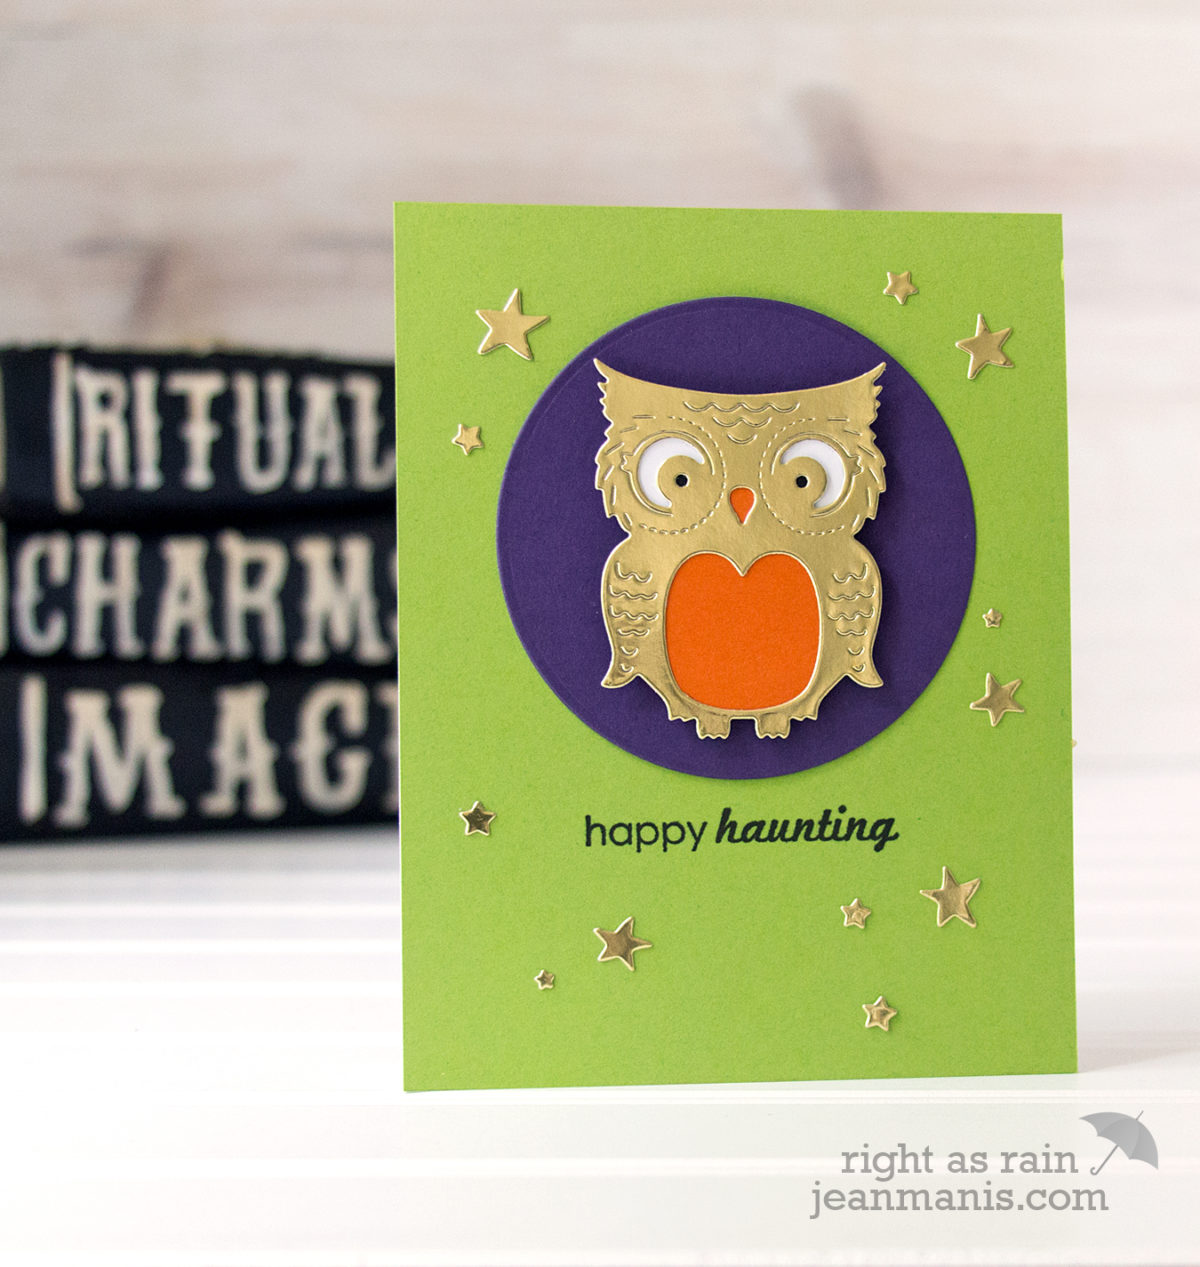
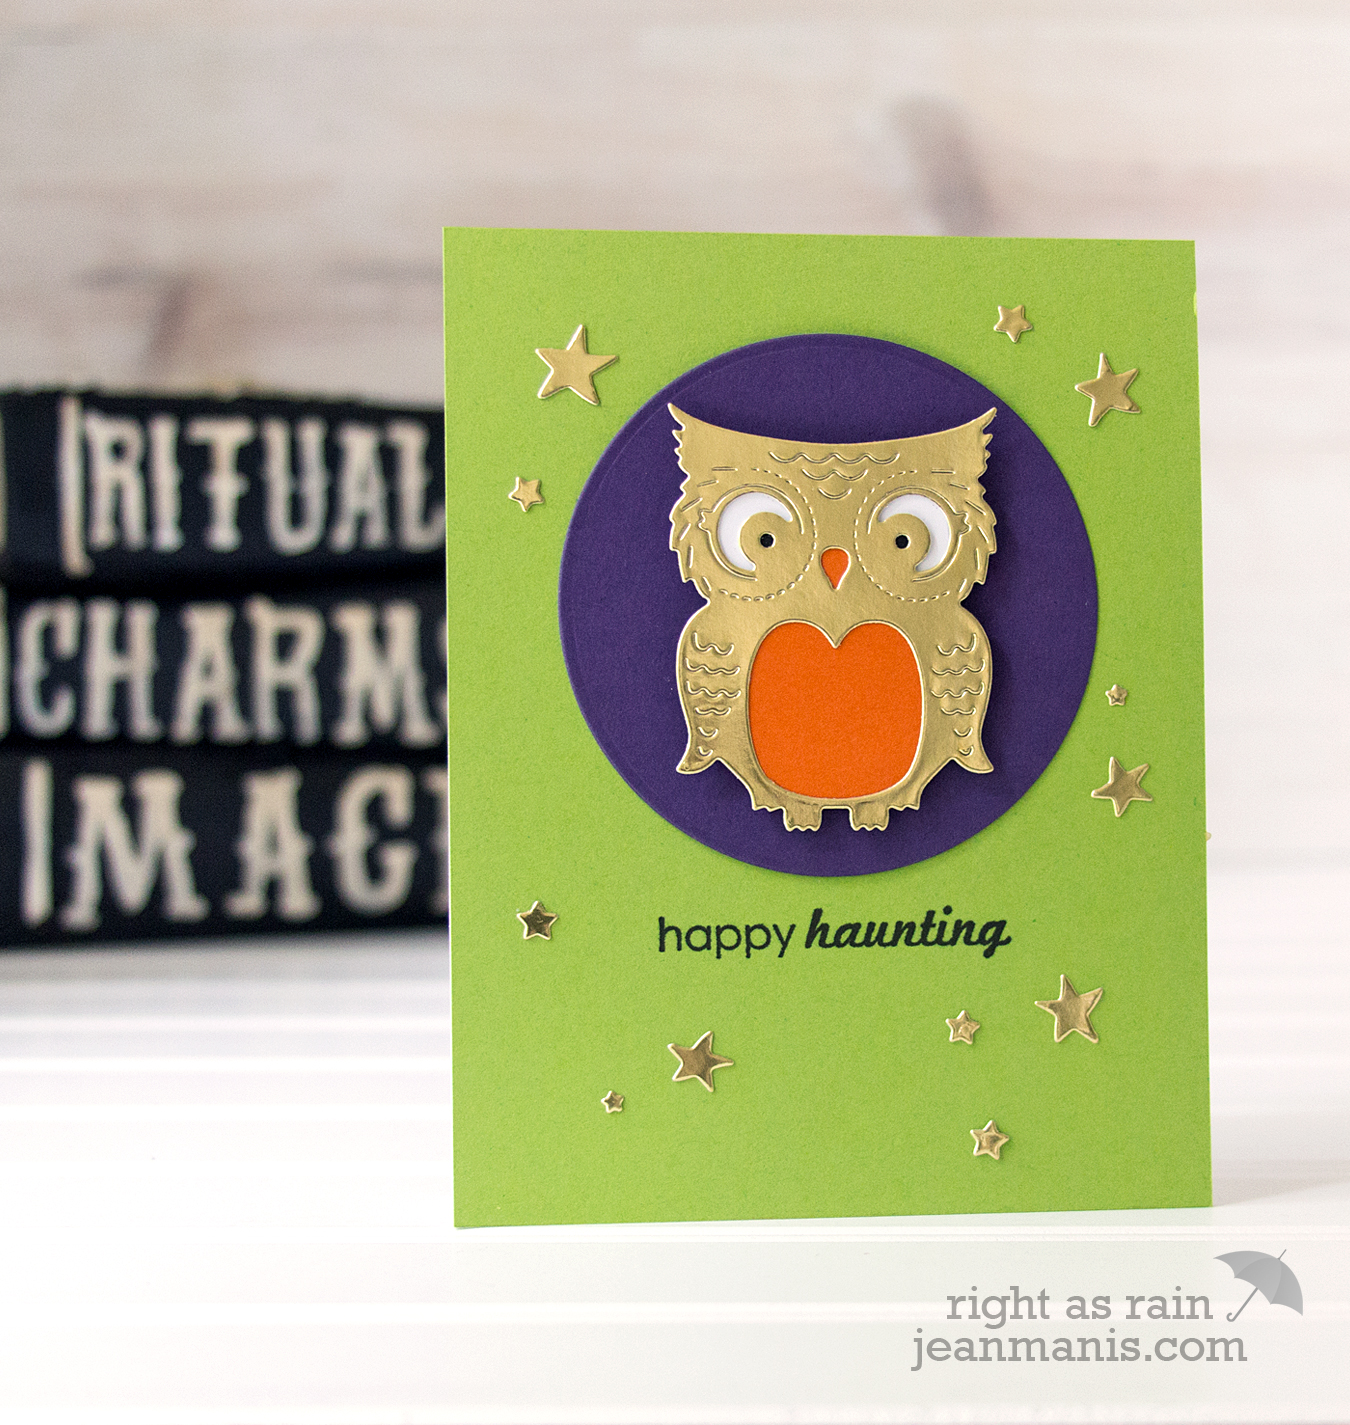
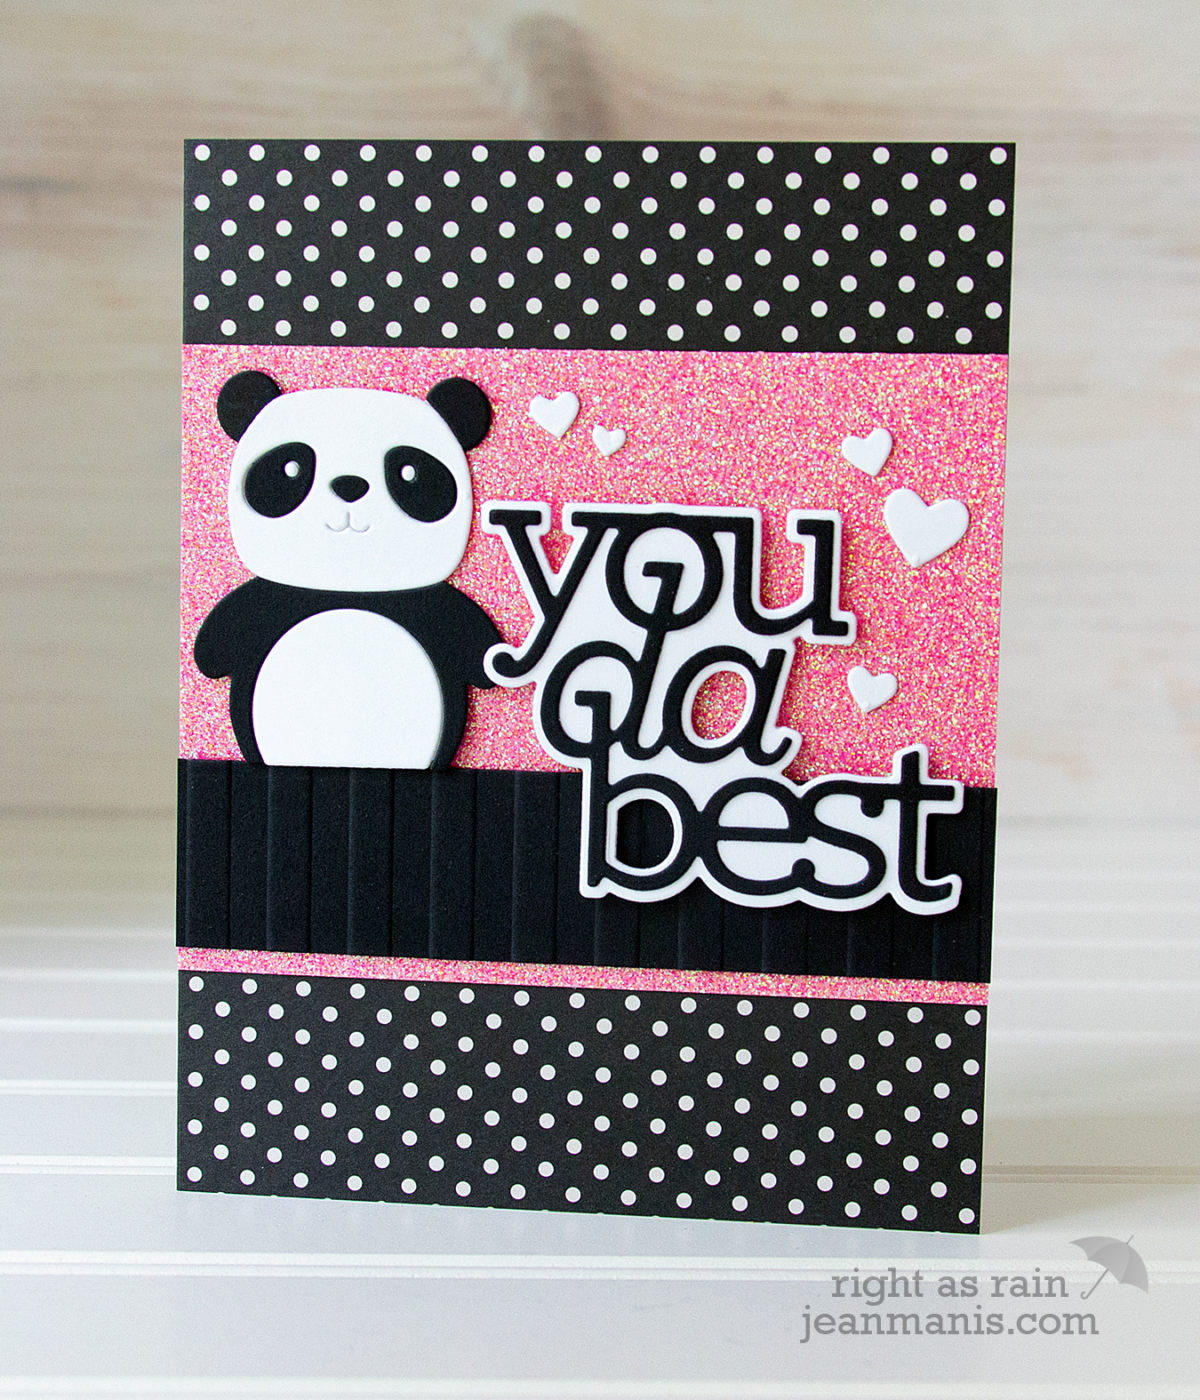
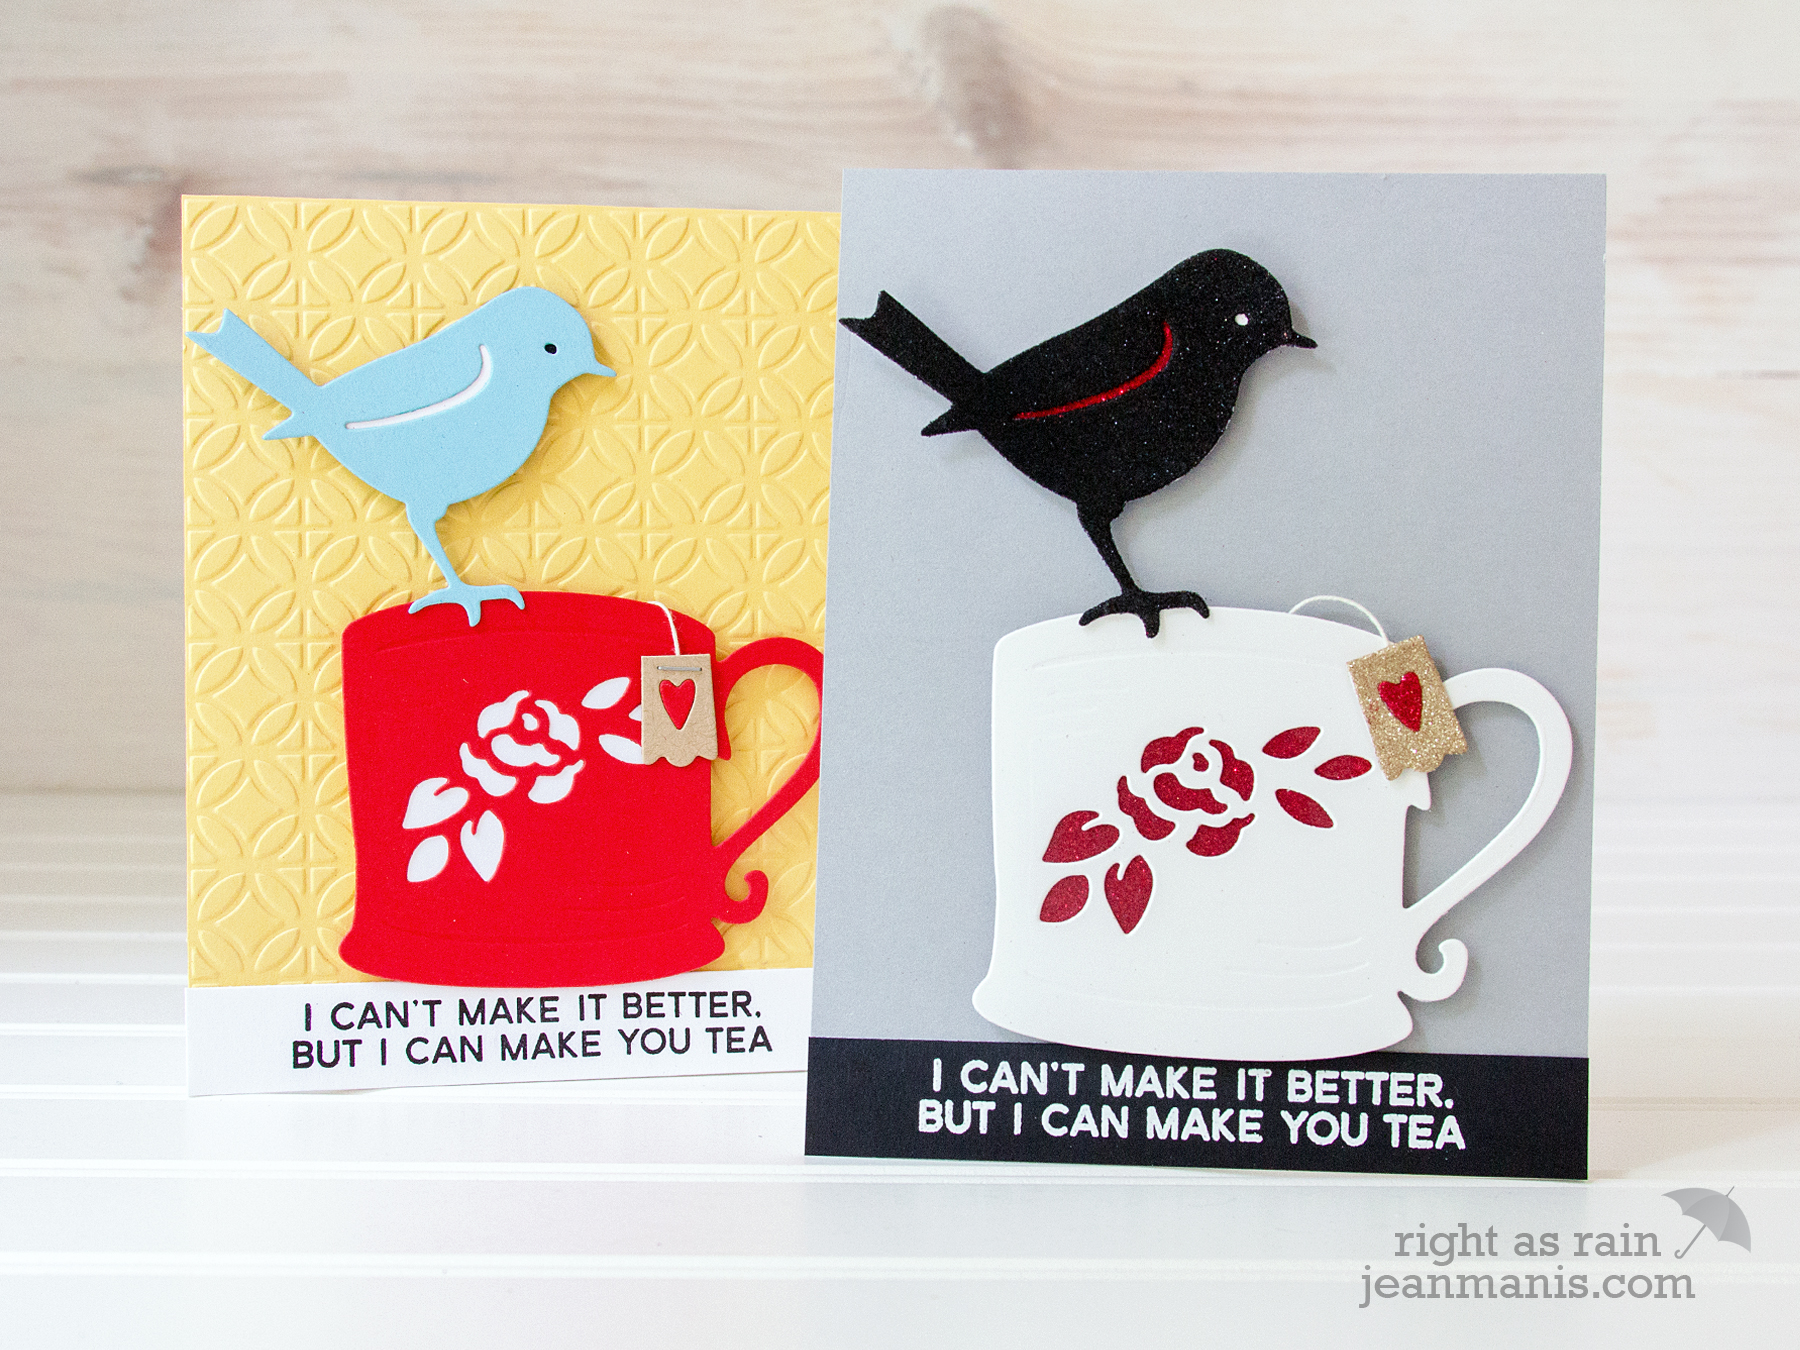 For the hop, I created two cards of the same design showcasing the Robin and Rosy Mug die set. I used different materials and color palettes on the two versions to illustrate the versatility of the set.
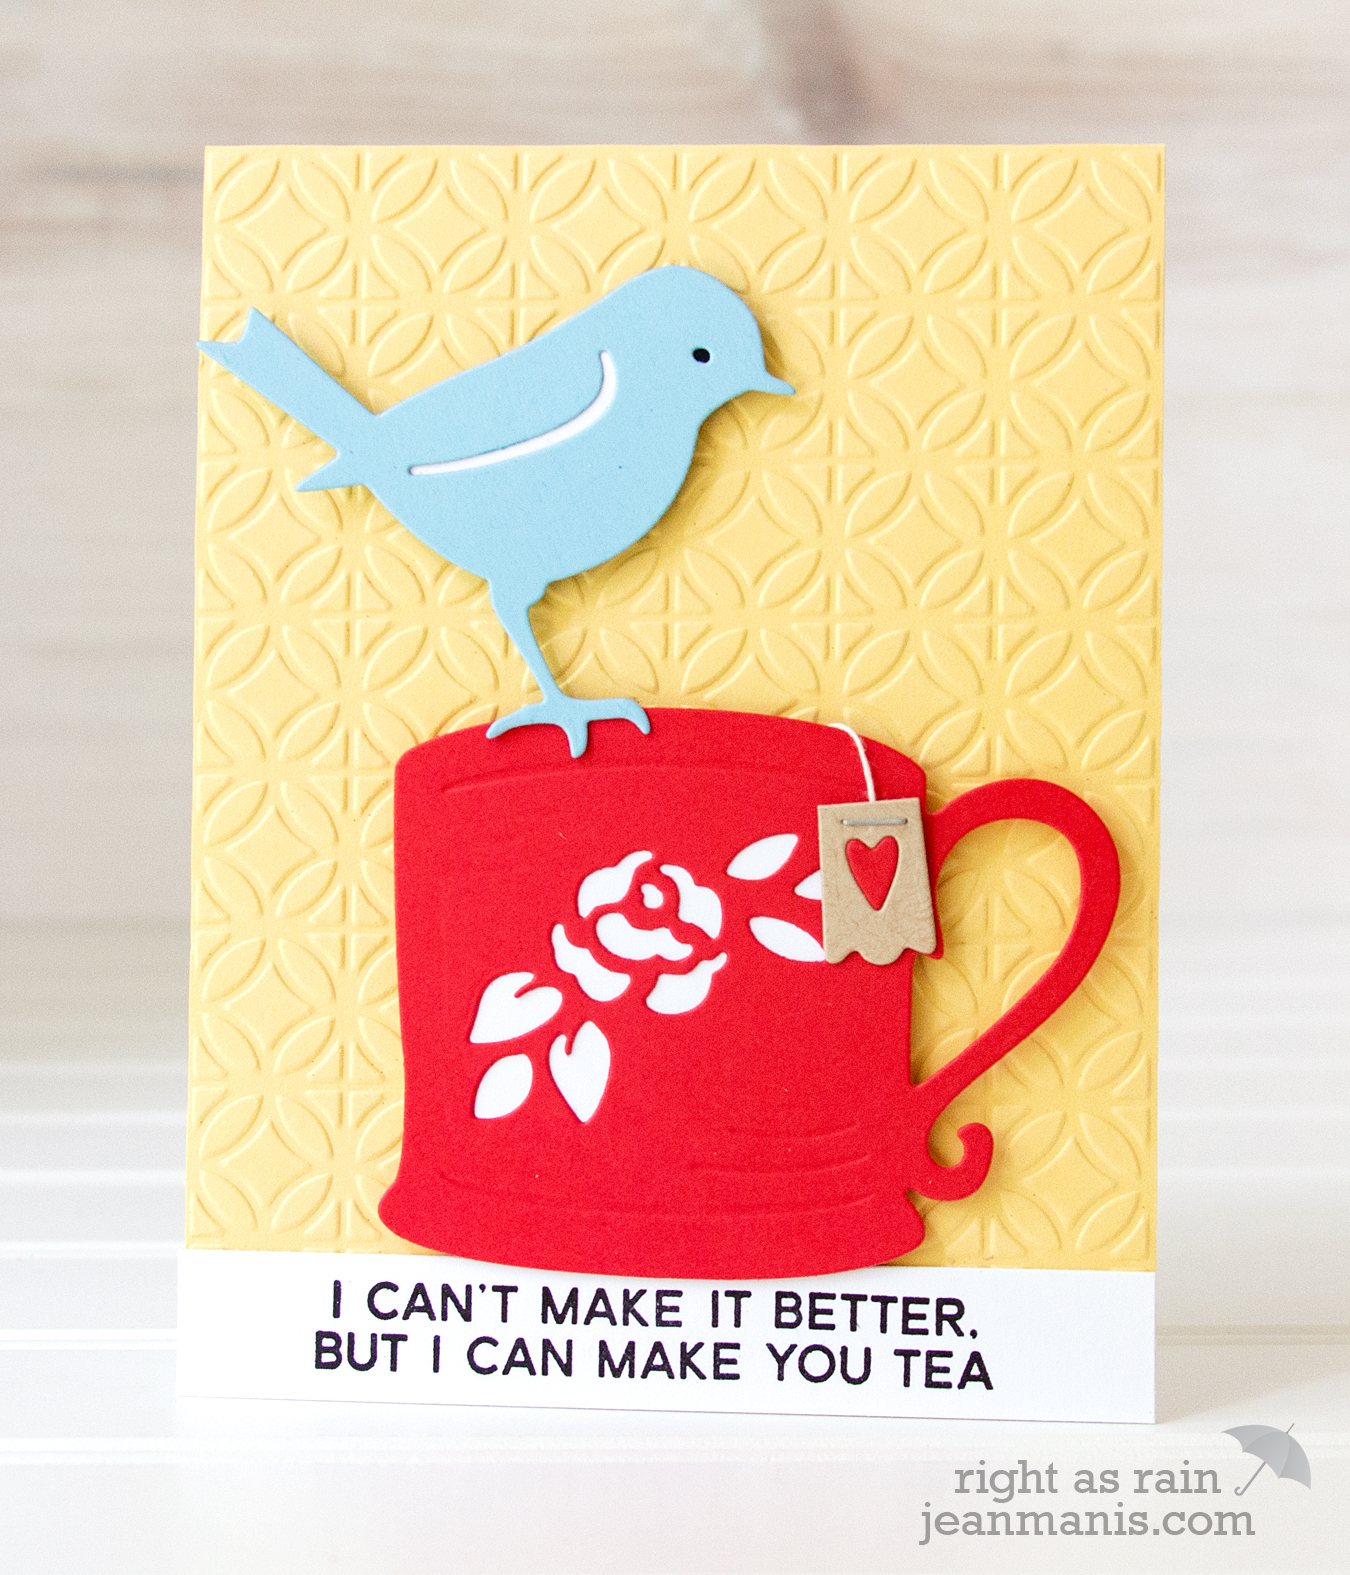
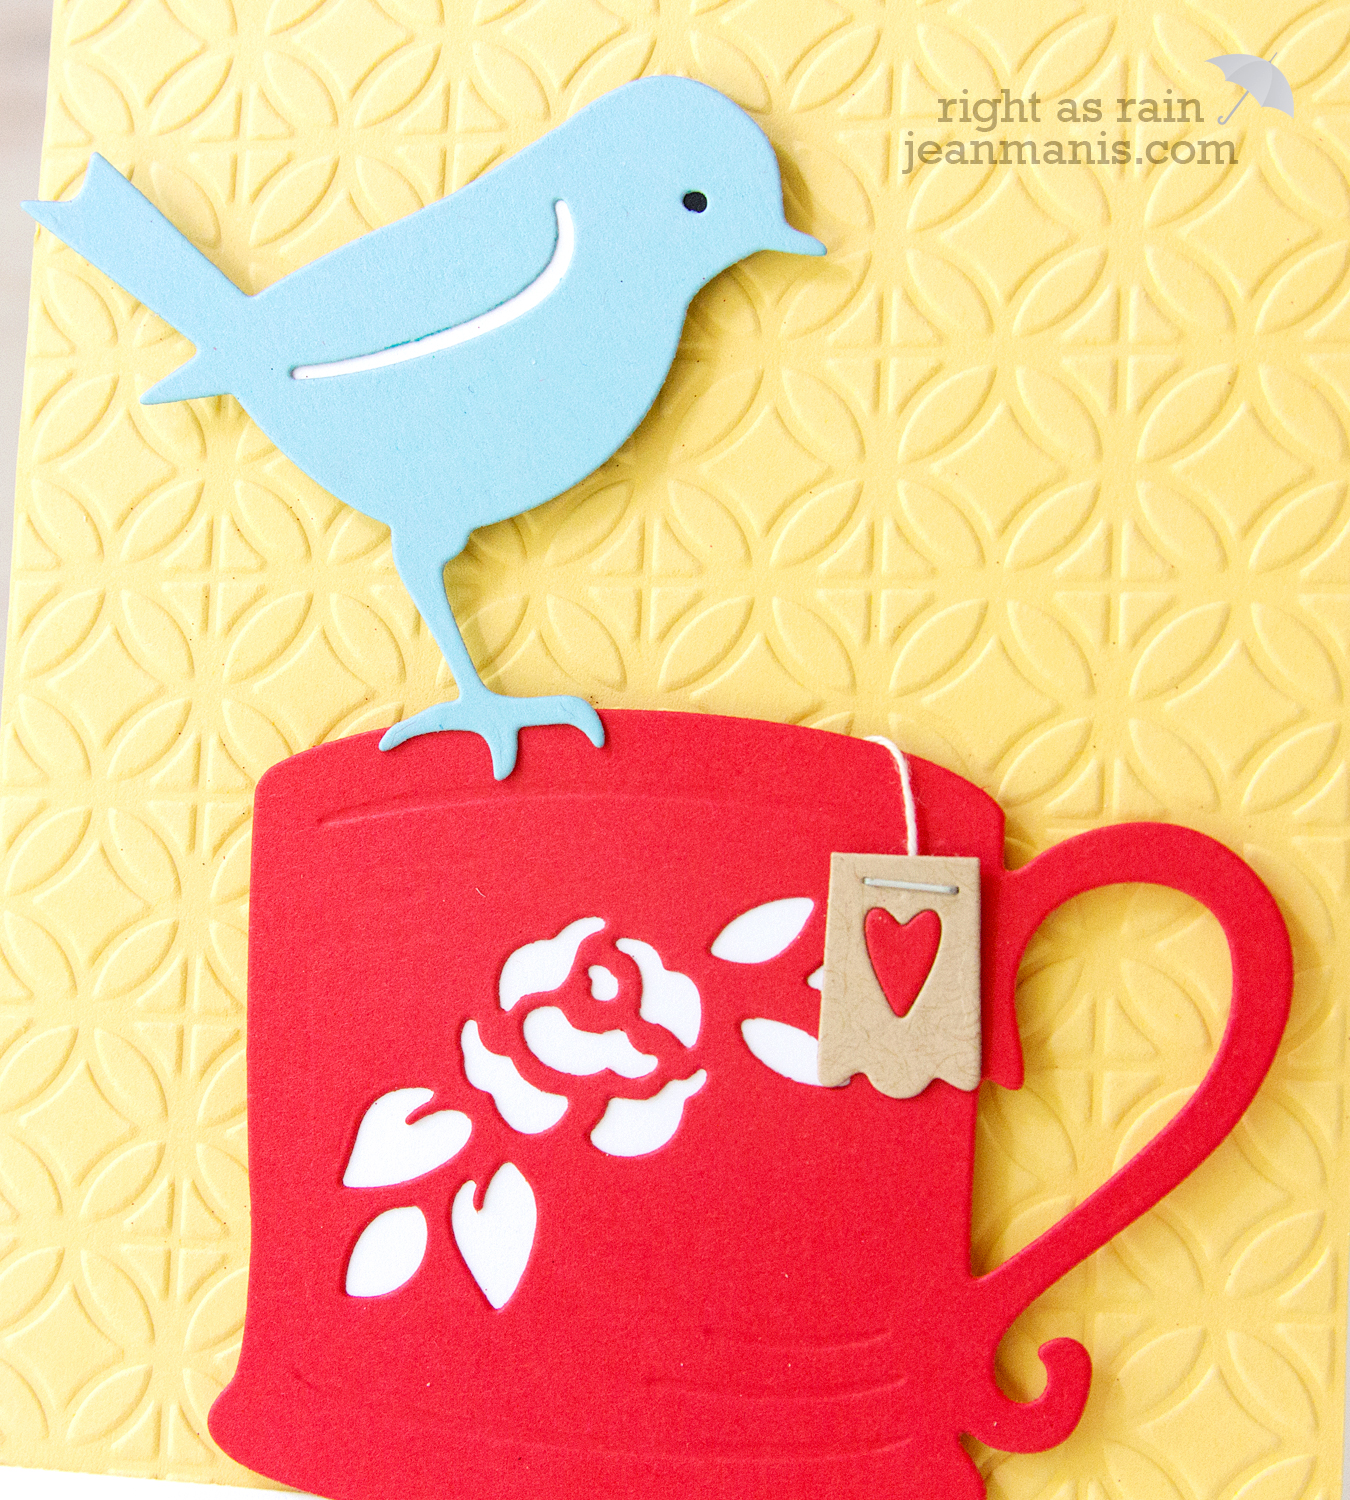
On my first card, I created a textured background using the Circles and Diamonds embossing folder. I die-cut the mug in the Robin and Rosy Mug set, with the floral insert, from red cardstock, which I backed with white cardstock. I cut the bird from light-blue cardstock, which I backed with white (for the wing detail) and black cardstock (for the eye). I attached string from an actual tea bag with a small staple to the die-cut tea bag (crafted from kraft and red). I stamped the sentiment in black ink on white cardstock.
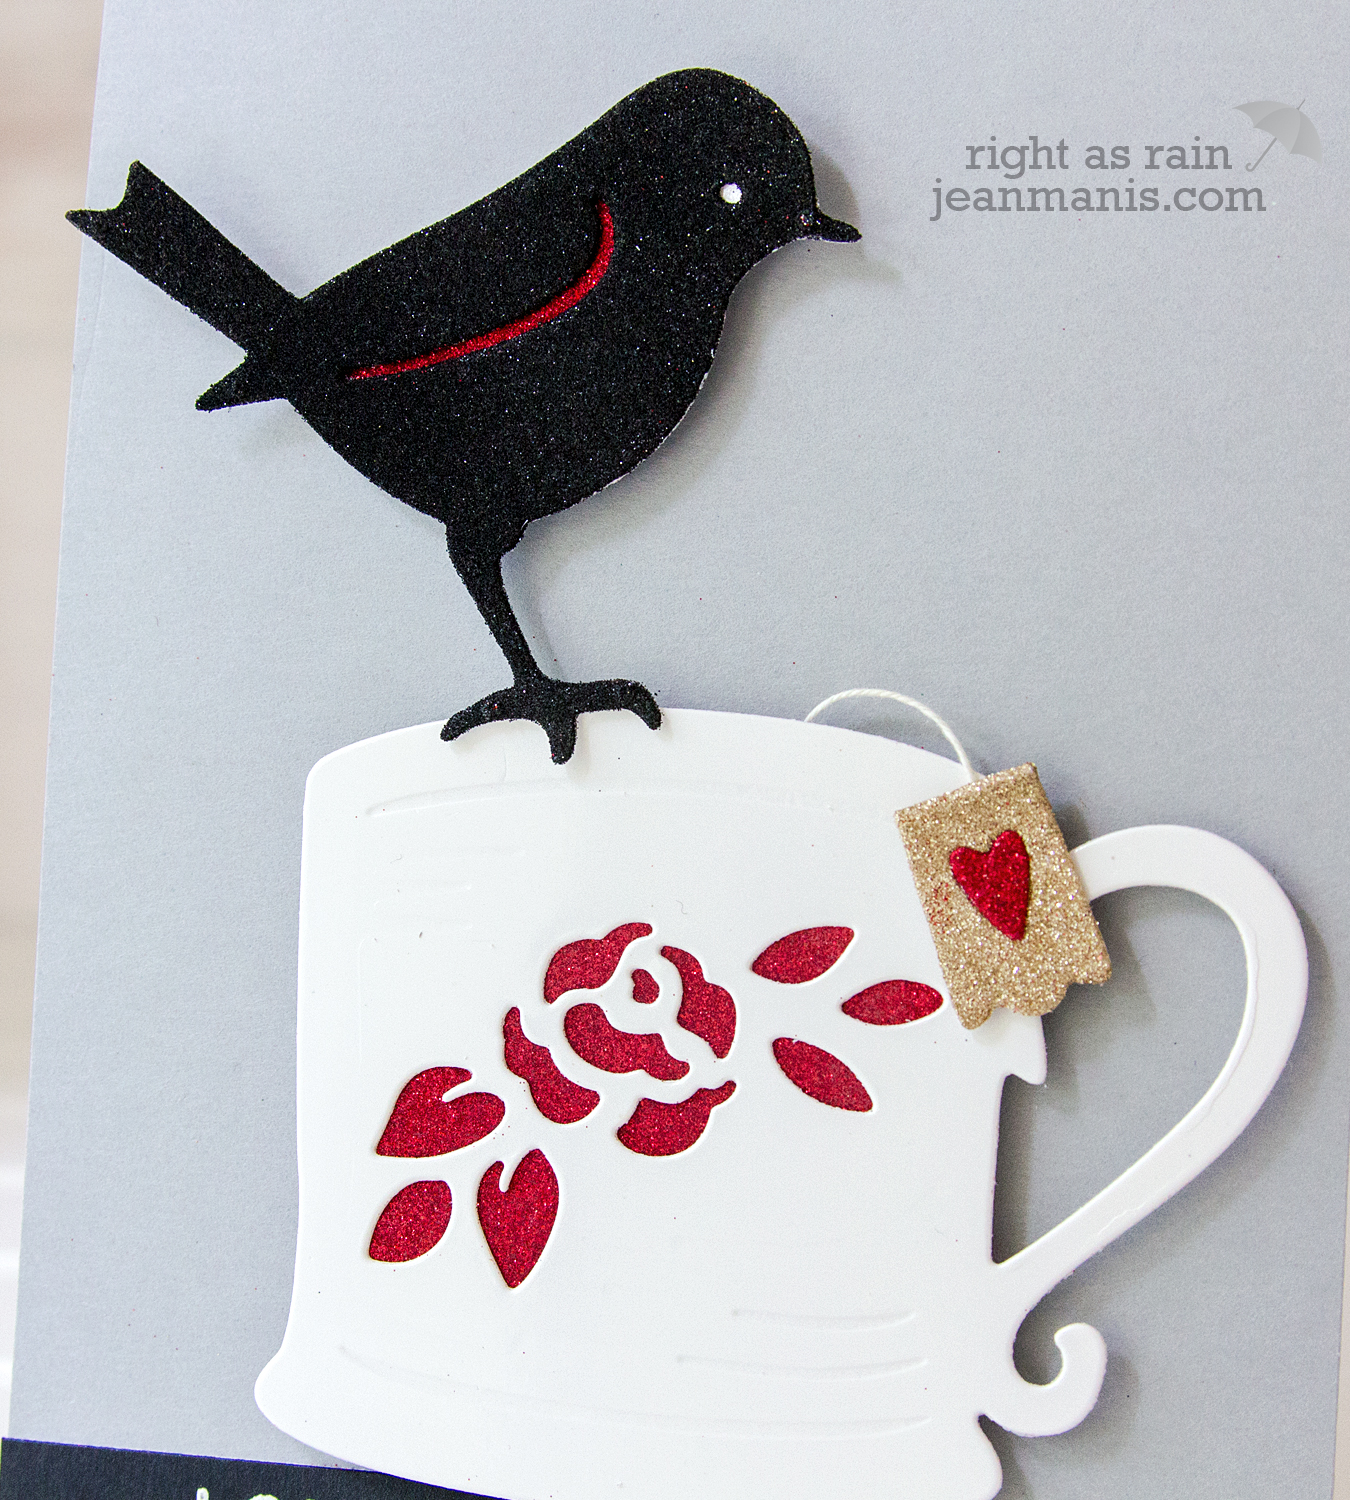
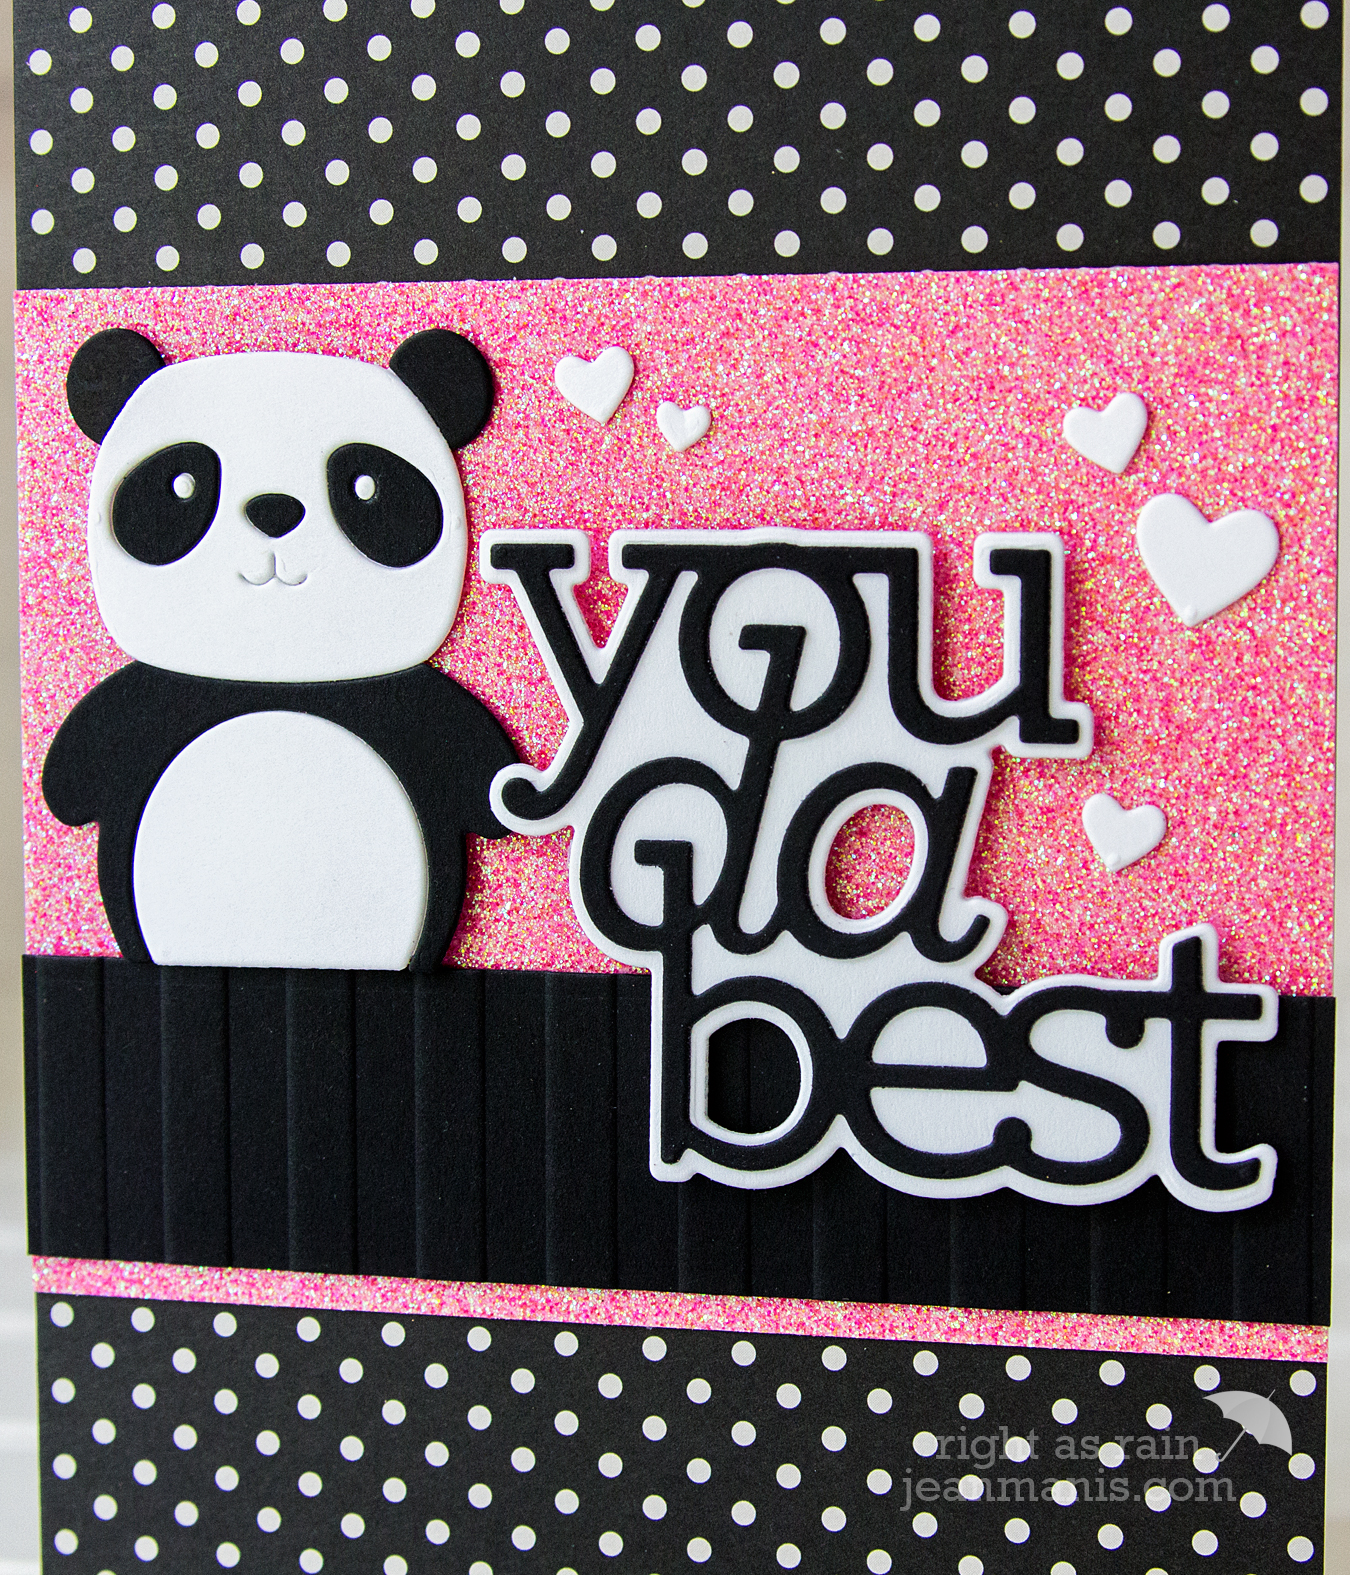
On my second card, I die-cut the tea mug with the floral insert from glossy white cardstock (to look like a china cup), which I backed with cardstock to which I had applied red microfine glitter.
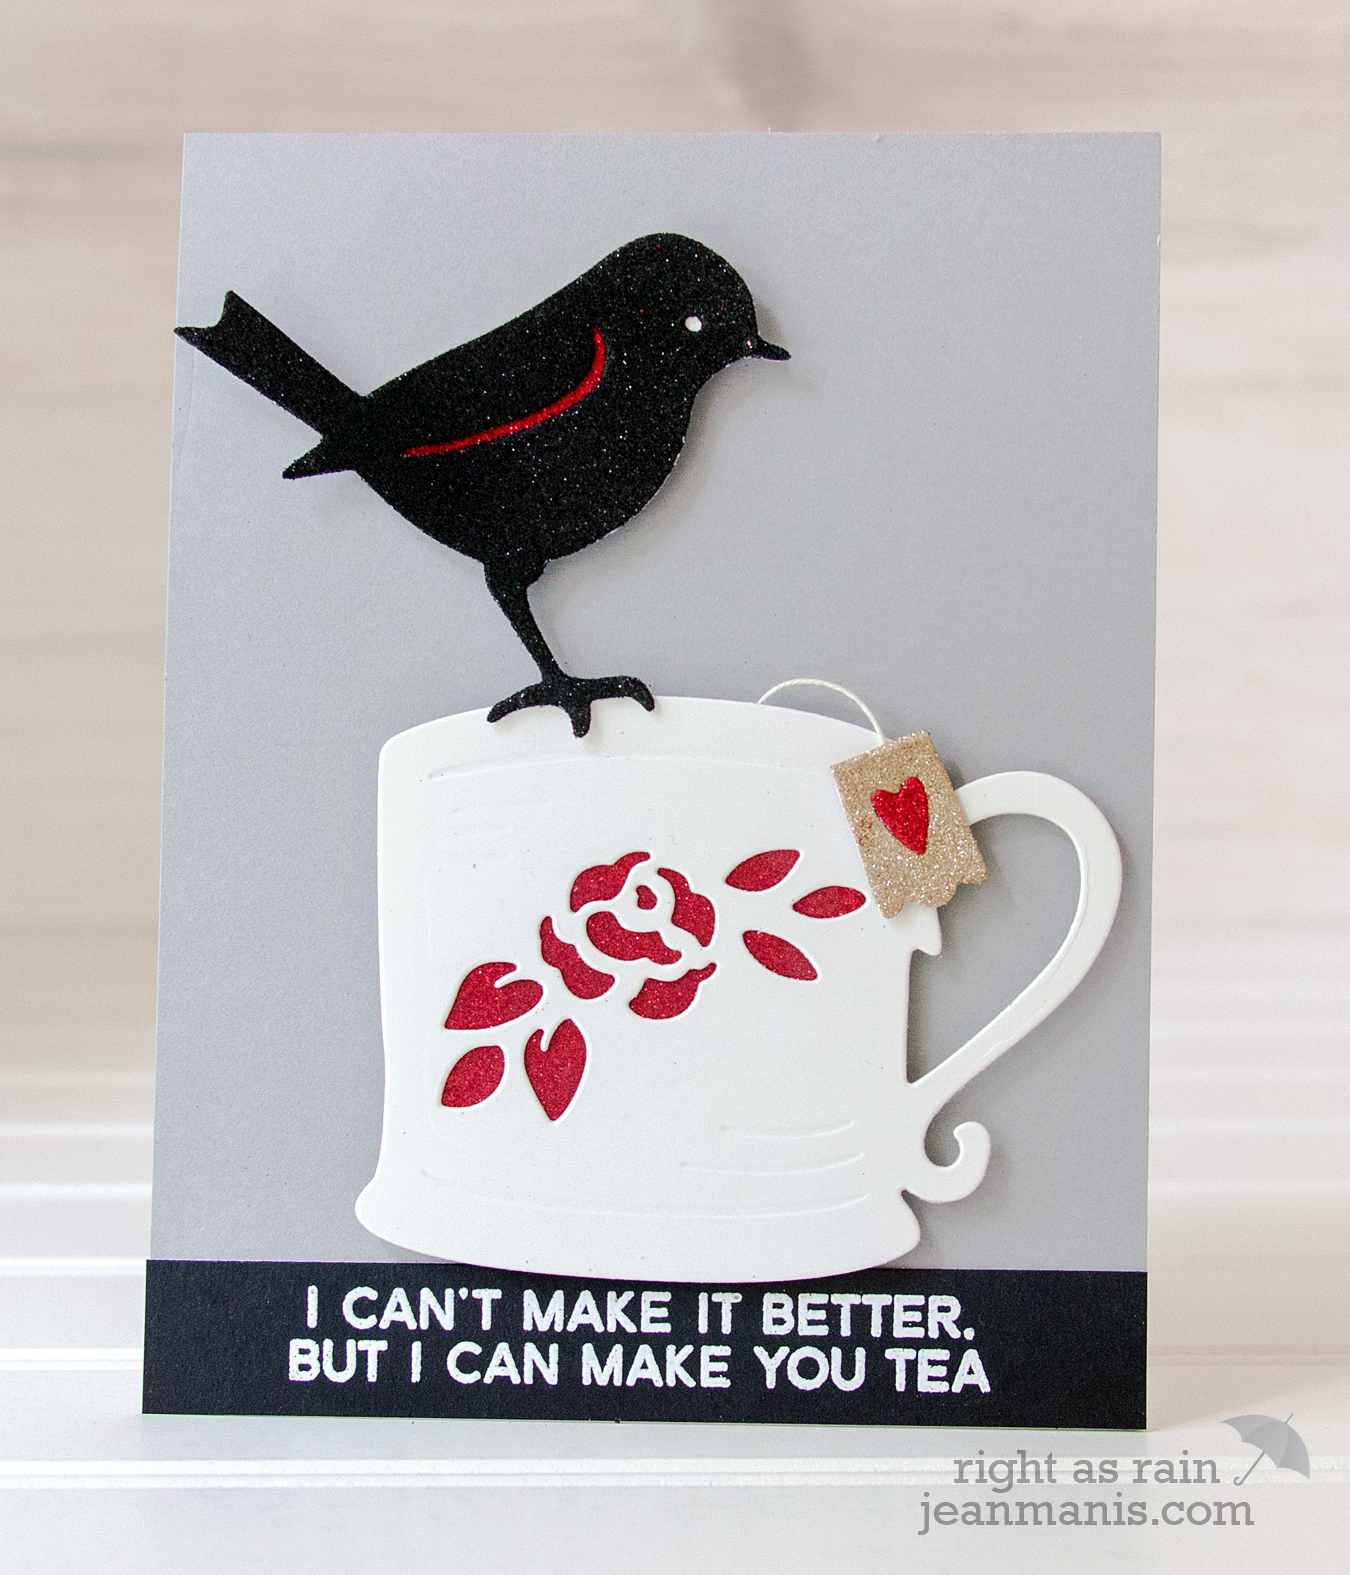
I cut the bird from cardstock to which I applied black microfine glitter. The bird is backed with red glitter (wing detail) and glossy white cardstock (eye). The tea bag is crafted from cardstock, to which I applied sand and red microfine glitter. I heat-embossed the sentiment in white on black cardstock.
Same die set, same design – two different looks!
To celebrate this release, Spellbinders is giving away a $50 gift certificate to one blog reader – selected from the comments across all of the blogs in the hop. Giveaway closes on Sunday, October 14th 11:59 pm EDT. The winner will be announced in the blog hop post the following Monday. (Winner is responsible for shipping cost, duties, and taxes.)
Spellbinders
Laurie Willison
Jean Manis
Justine Hovey
Yoonsun Hur
Tina Smith
Sandra Nagel
Sharyn Sowell
Supplies:


 Supplies: