This hop is now closed.
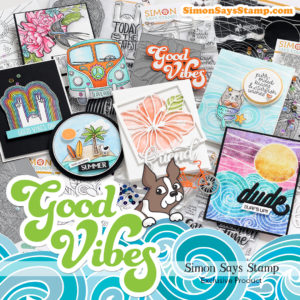
Hello! Today, I’m delighted to be sharing three projects as part of a Simon Says Stamp blog hop showcasing products from their GOOD VIBES release. Simon Says Stamp is giving away a $25 coupon to every stop on the hop! The list of stops is included at the end of my post.
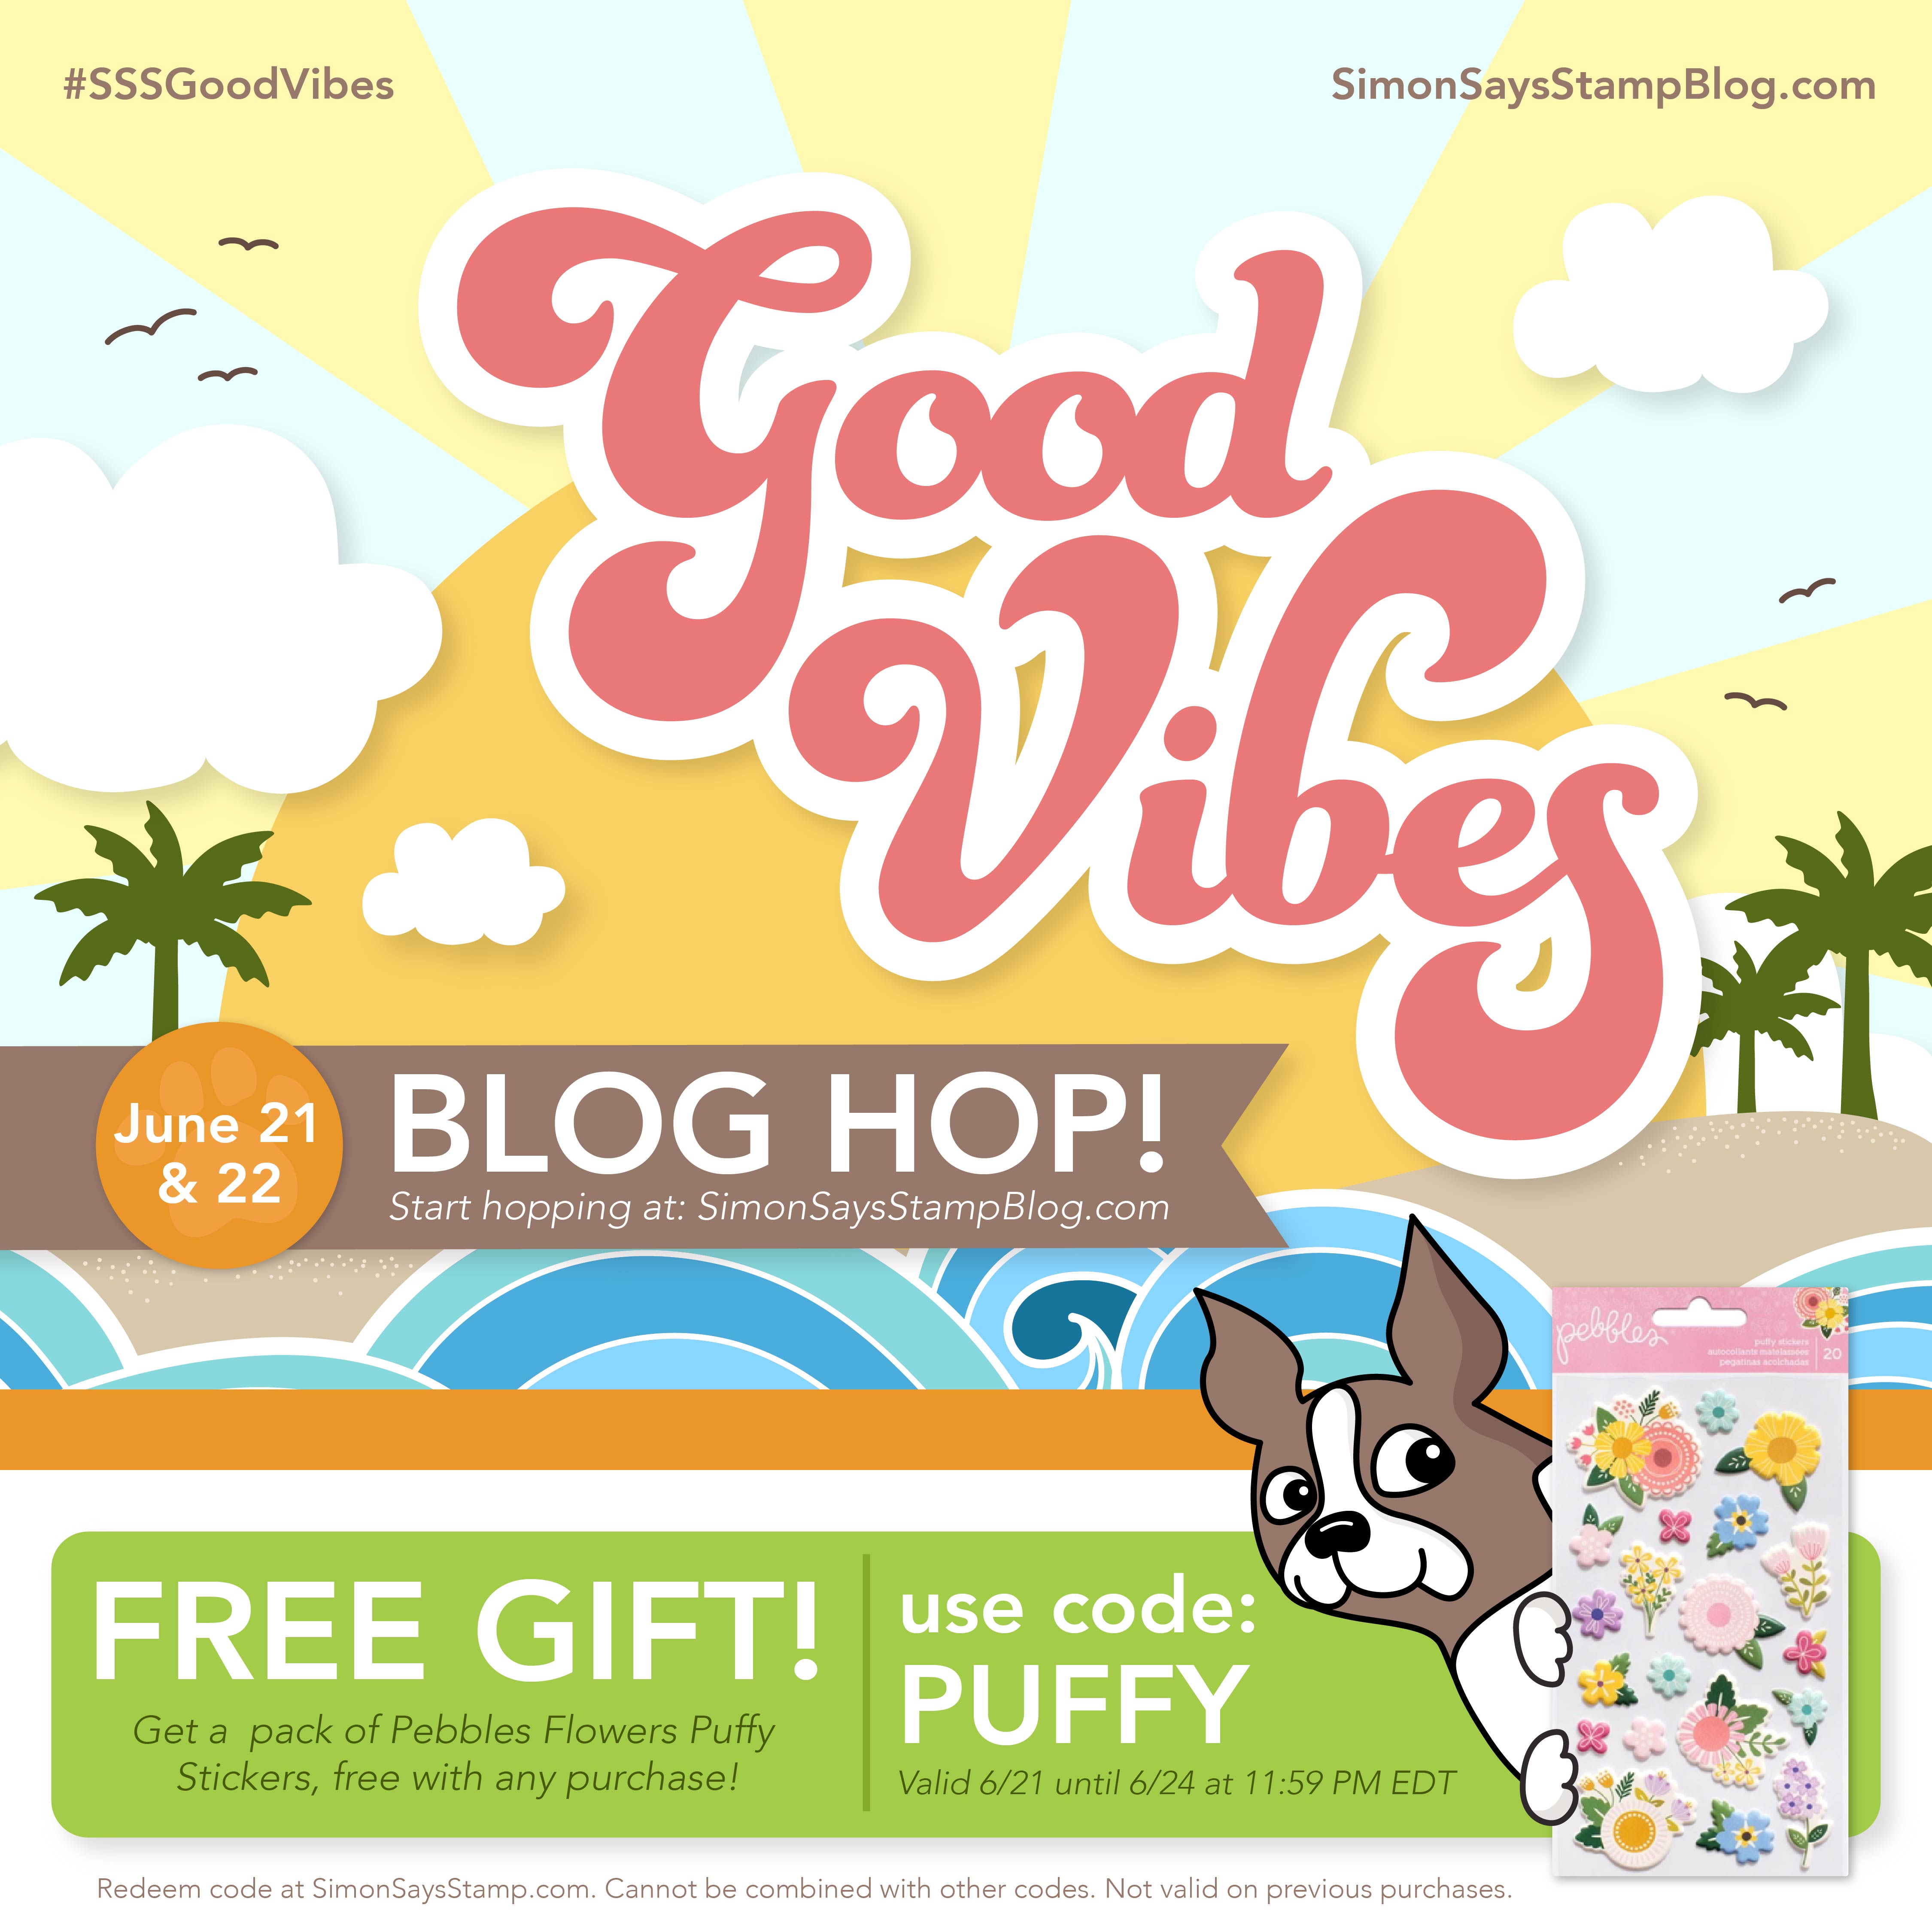
Additionally, use the code PUFFY for a pack of Pebbles Flowers Puffy Stickers, free with any purchase until Sunday, 6/24 at 11:59 pm EDT.
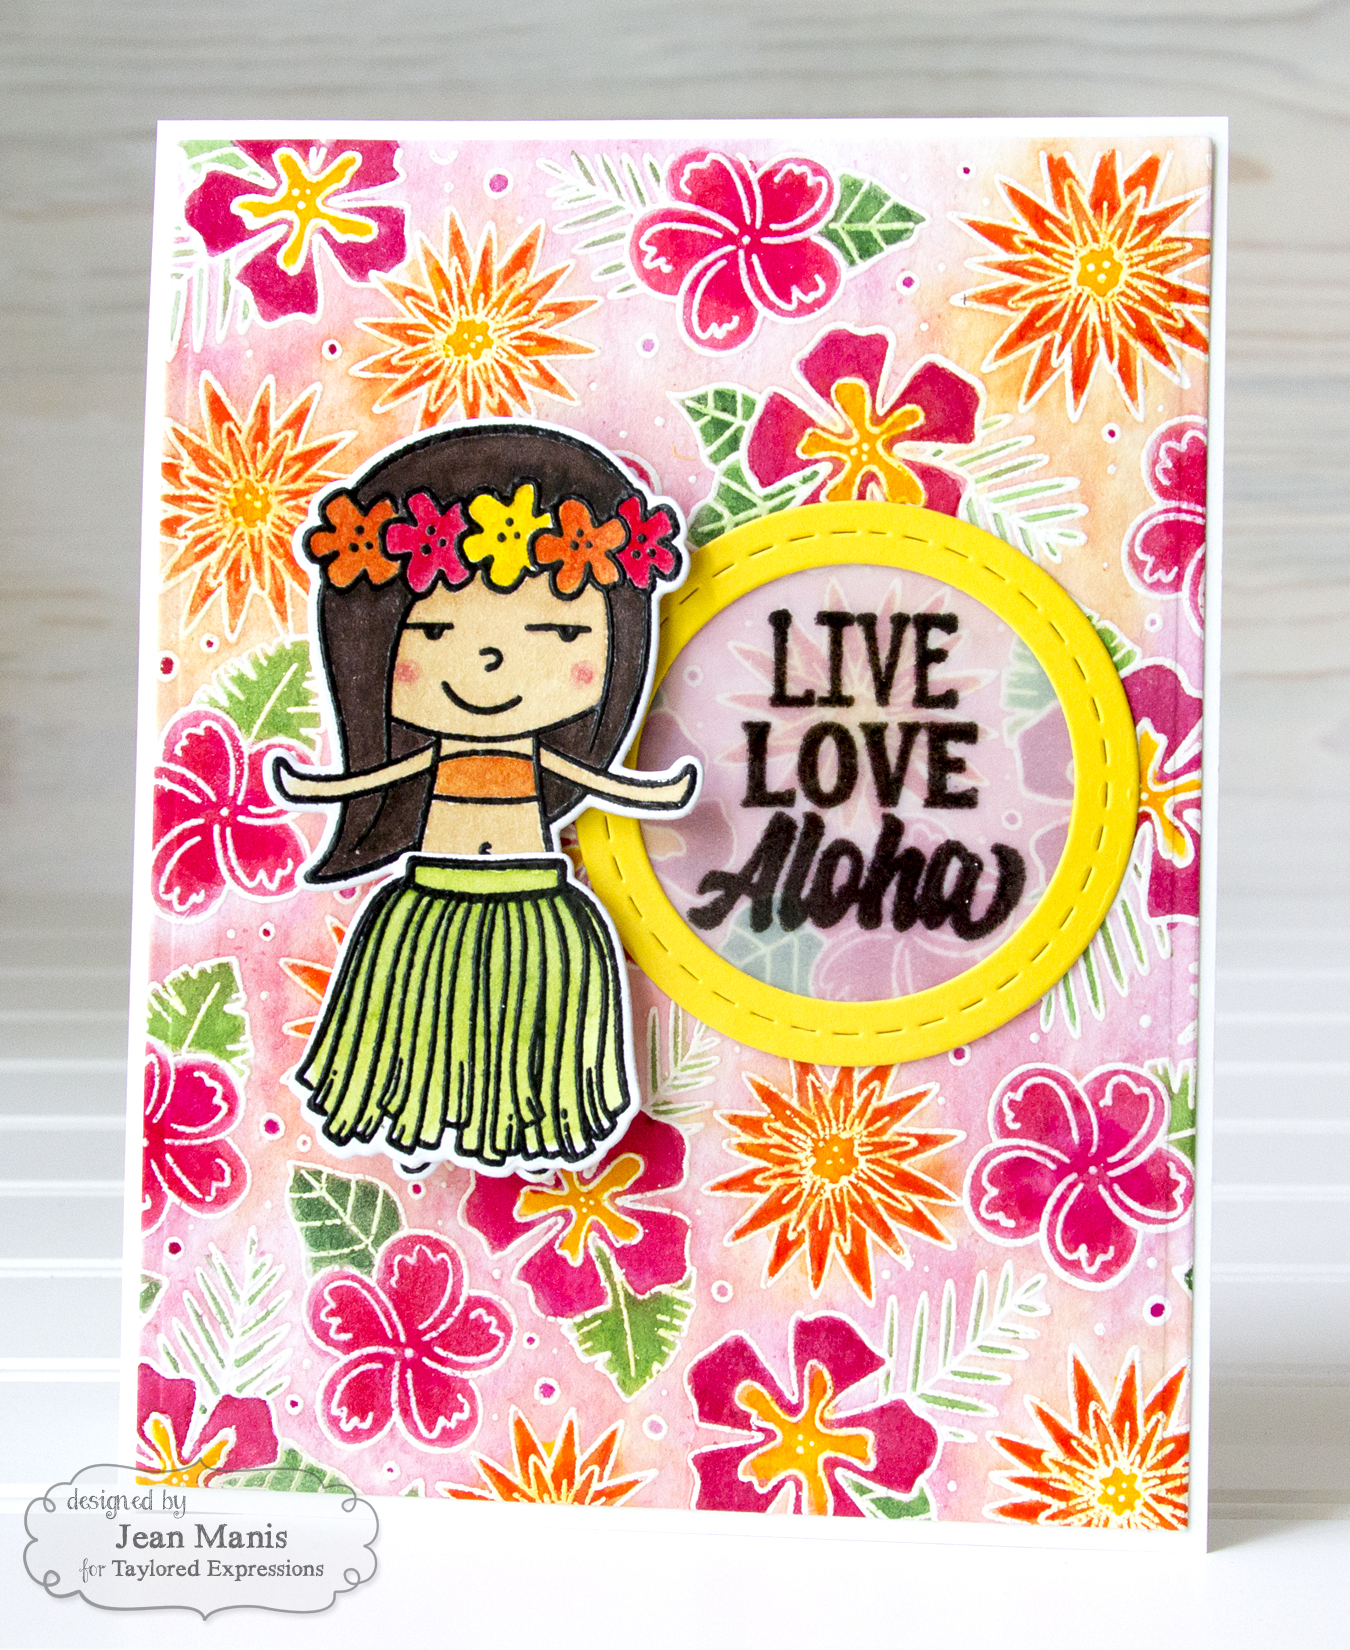
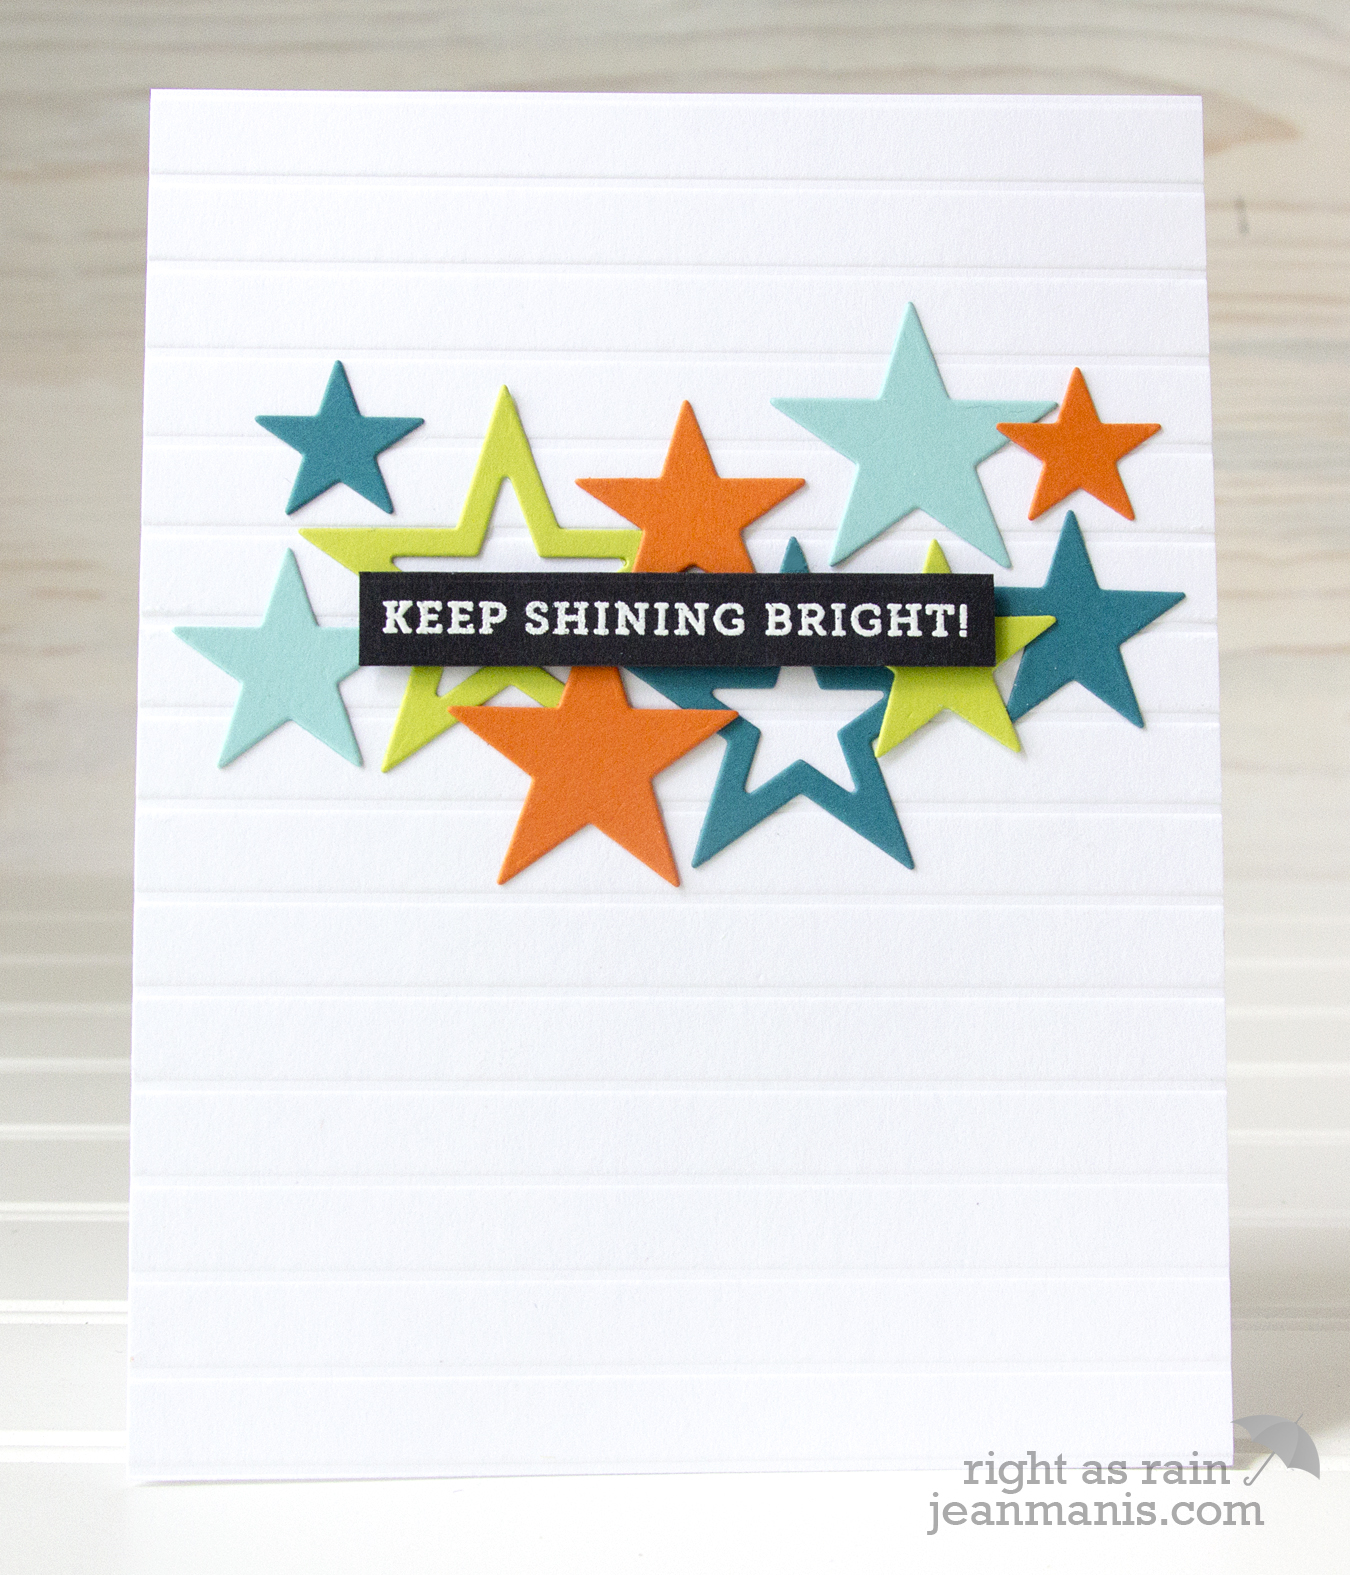
My first project features the Hibiscus Frame die with which I created a CAS friendship card in bright tropical colors.
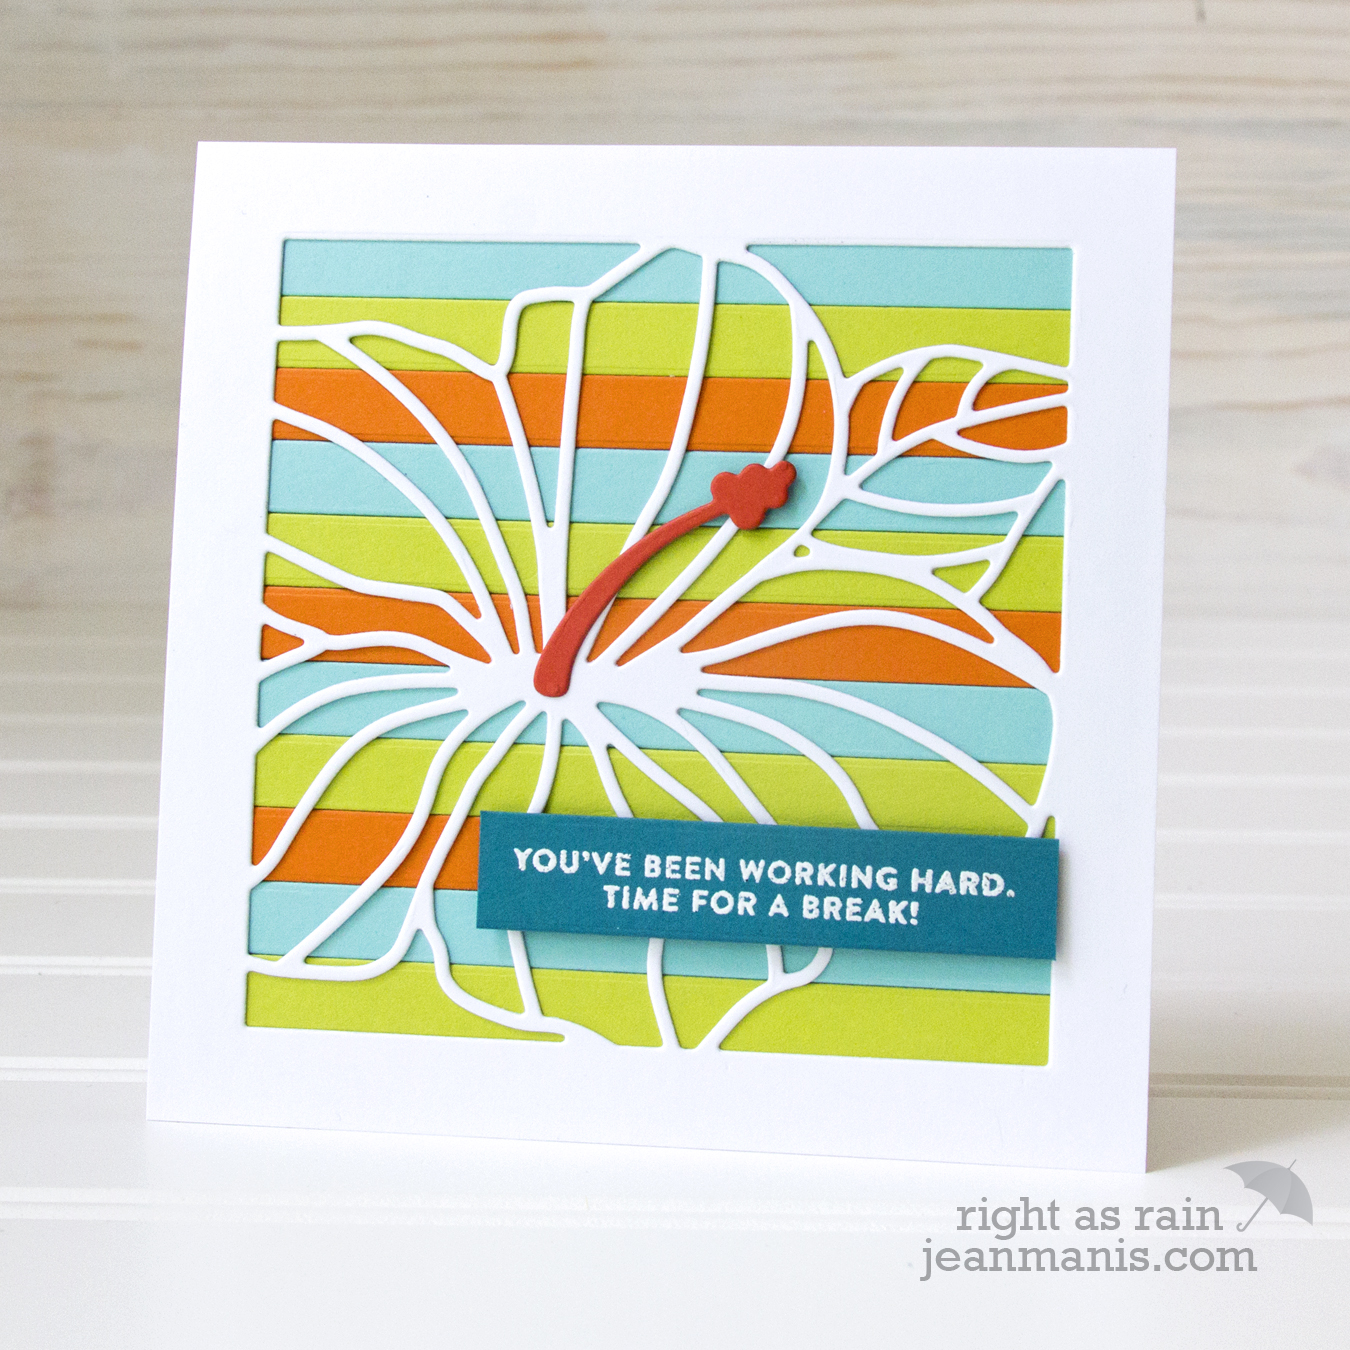
- I cut the Hibiscus Frame from 110 lb. white cardstock and trimmed it to 4 1/4″ square (the die cuts the inside but not the outside frame).
- For the background, I adhered strips of cardstock – Key Lime, Sea Glass, Tangerine Twist – from the Gina K Add-On pack to a piece of cardstock.
- I cut the small piece of the hibiscus from Coral Reef cardstock.
- To finish, I heat-embossed a sentiment from the Vacation Time set on Tranquil Teal and added it to the top.
For my next project, I created a CAS summer-themed card showcasing the Jazz Dance stencil.
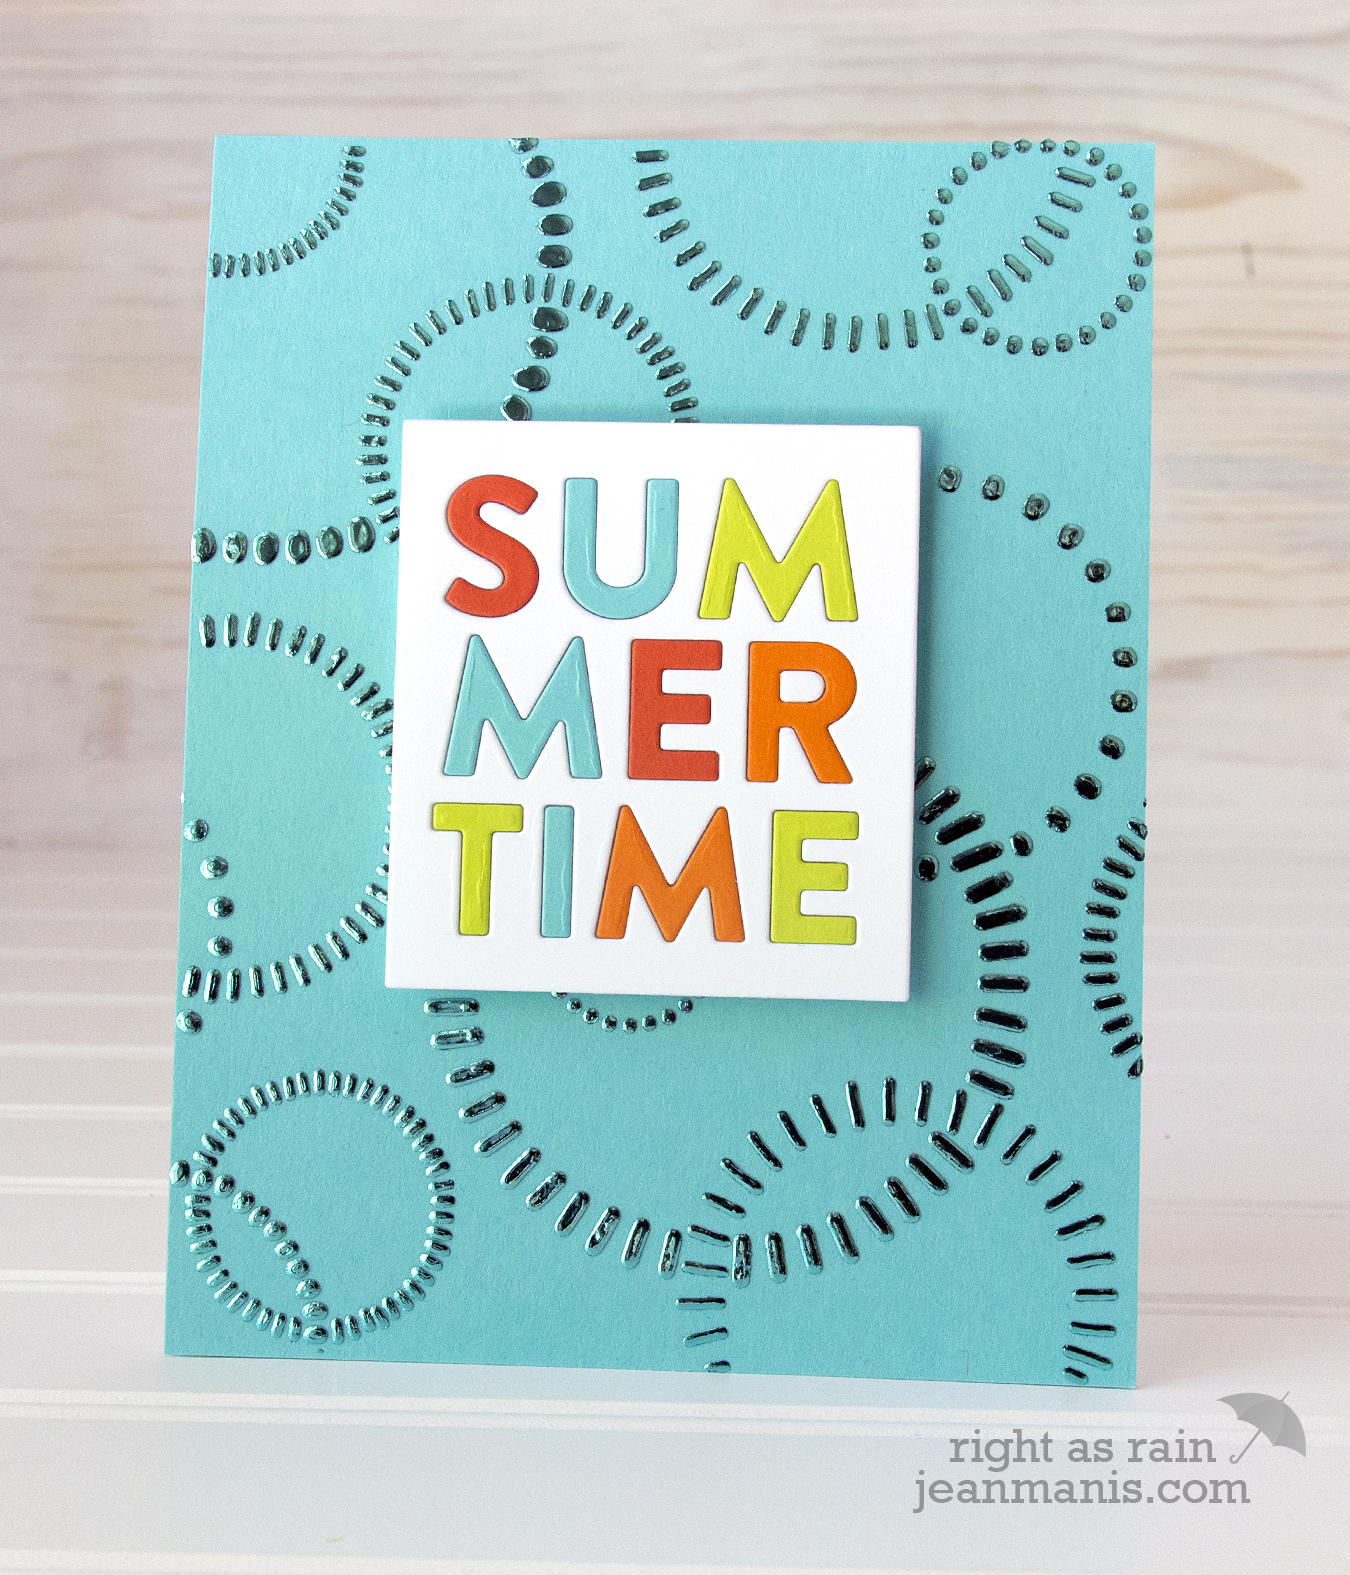
- I applied Deco Foil Transfer Gel through the Jazz Dance stencil on to Turquoise Sea cardstock.
- Once dried, I ran the stenciled panel through the Minc with matching Turquoise Sea foil to create a tone-one-tone background.
- I used the Summertime die for the sentiment. I cut Key Lime, Tangerine Twist, Coral Reef cardstock (all three included in the Gina K Add-On pack) and Turquoise Sea cardstock with the die and inlaid the letters in a white cardstock frame.

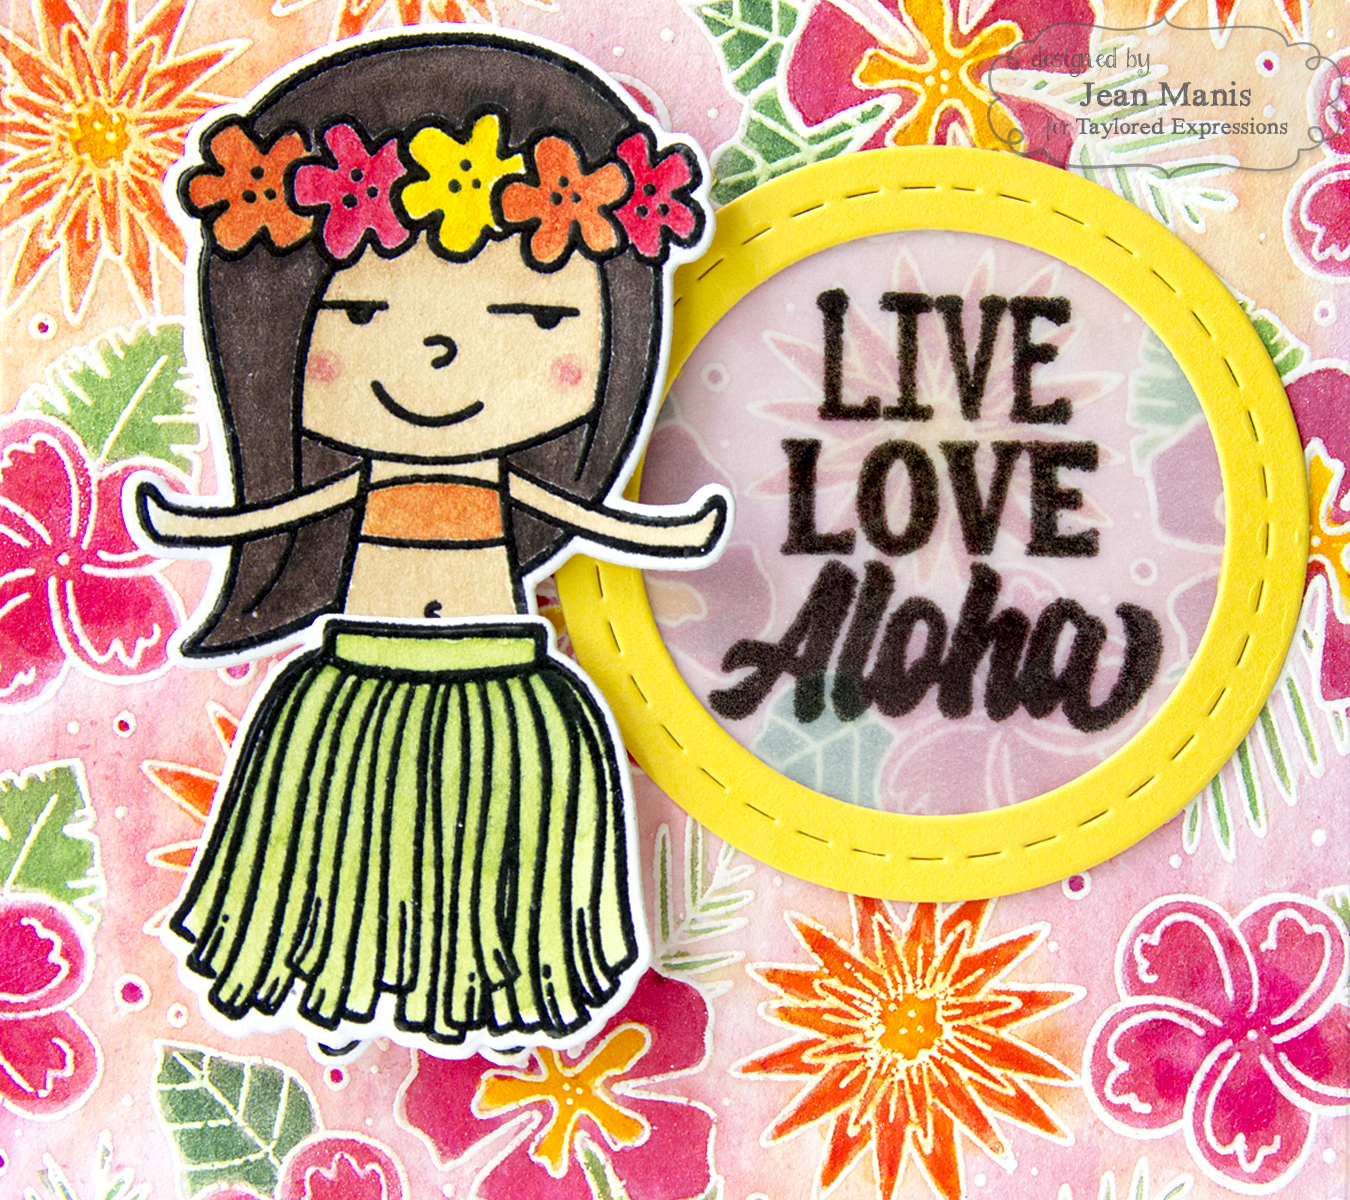
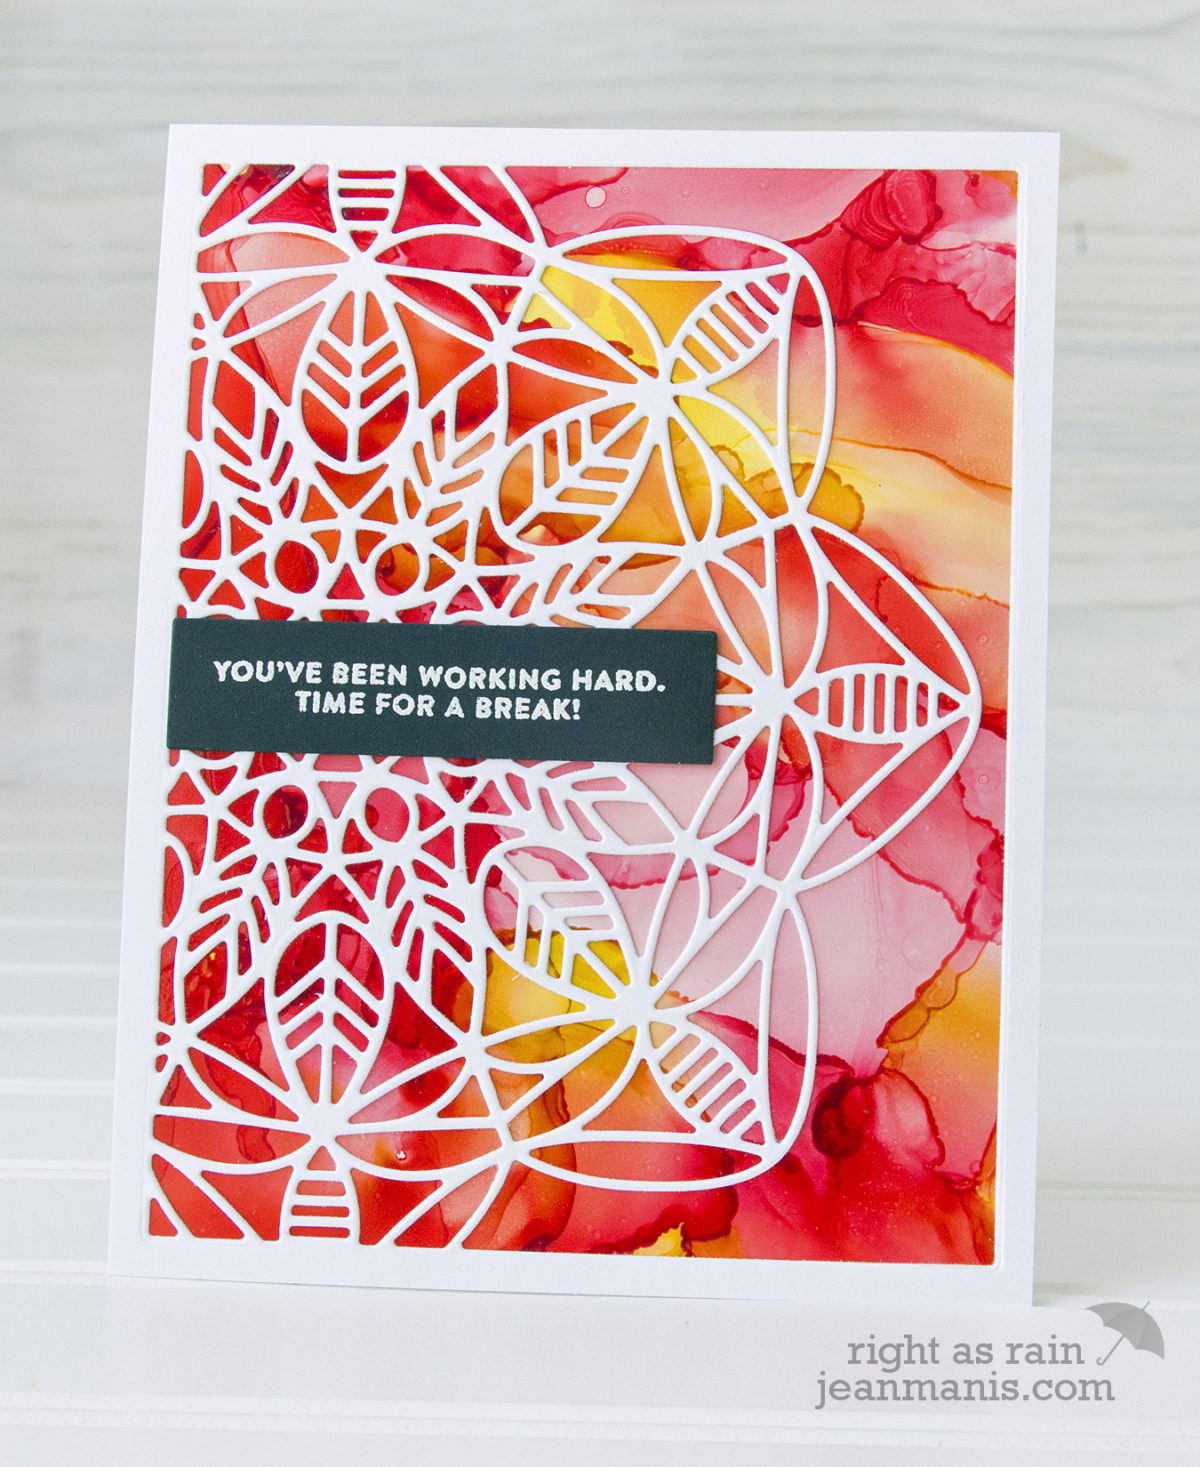
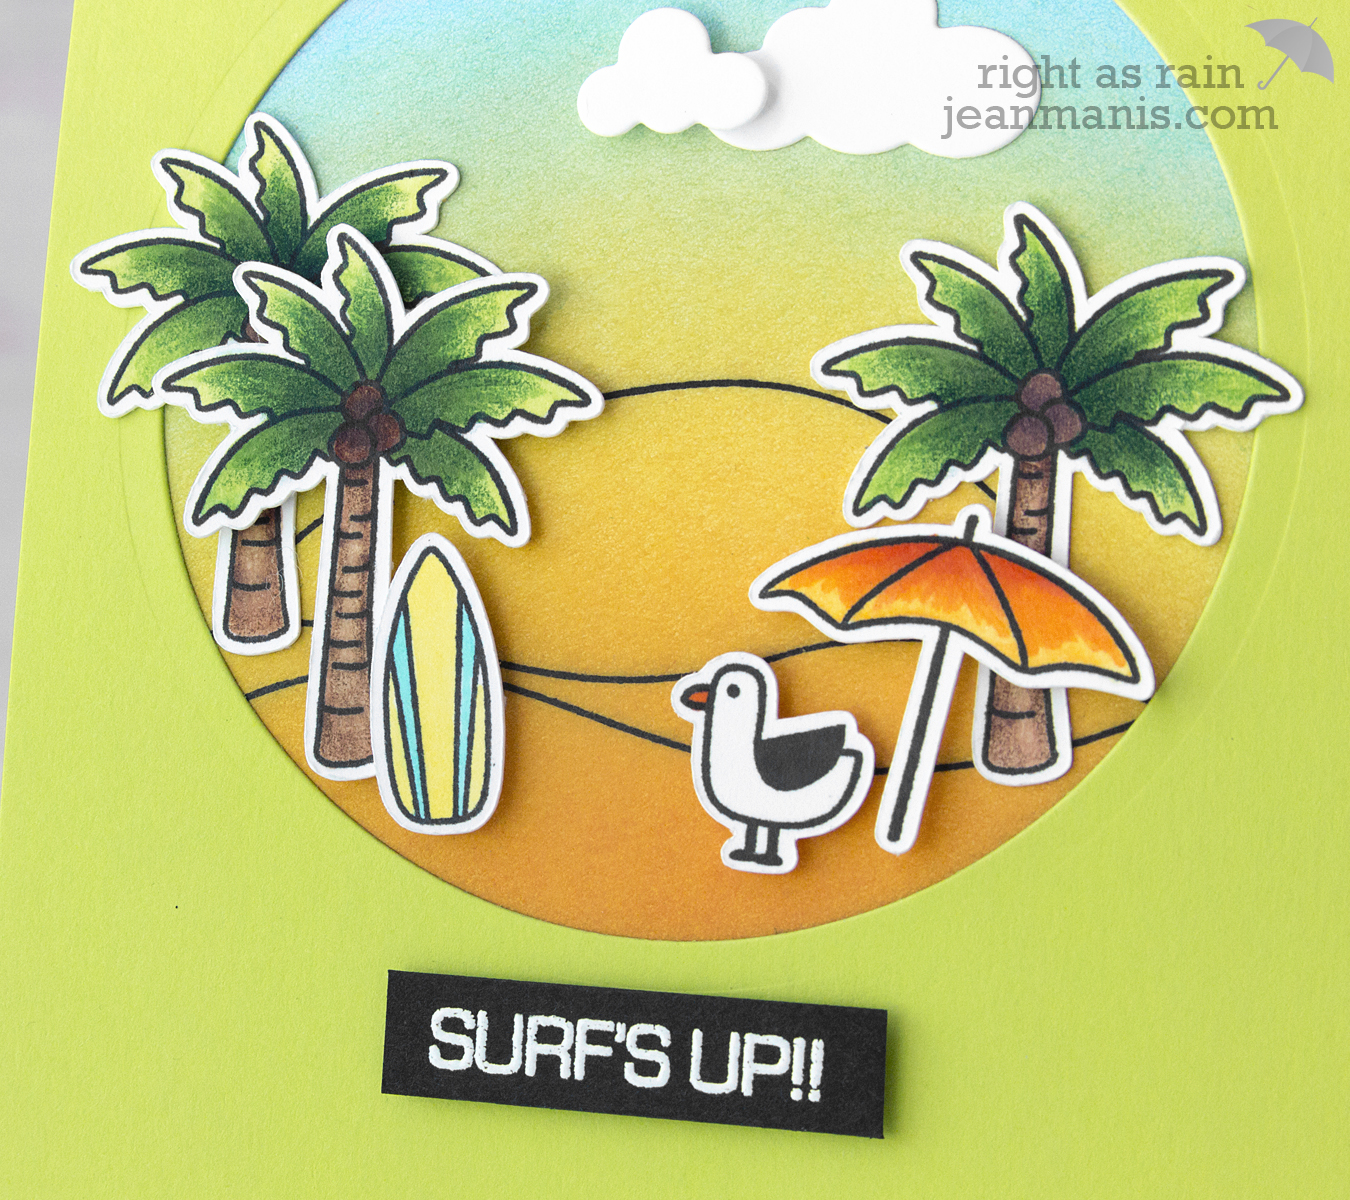
For my final project, I created a friendship card combining a sentiment from Vacation Time with the Big Friend die.
- To begin, I added Broken China Distress Oxide ink to a white cardstock panel and stamped the Vacation Time sentiment in Archival ink.
- I cut the Big Friend die sentiment from white cardstock and Coral Reef.
- I used the Blooming Circle die to cut the floral pieces from Lucky Clover, Sea Glass, Tangerine Twist, and Coral Reef (from the Gina K Add-On pack). I used a negative piece to place the small pieces on the card base.
- I used Turquoise Sea cardstock for the card base.
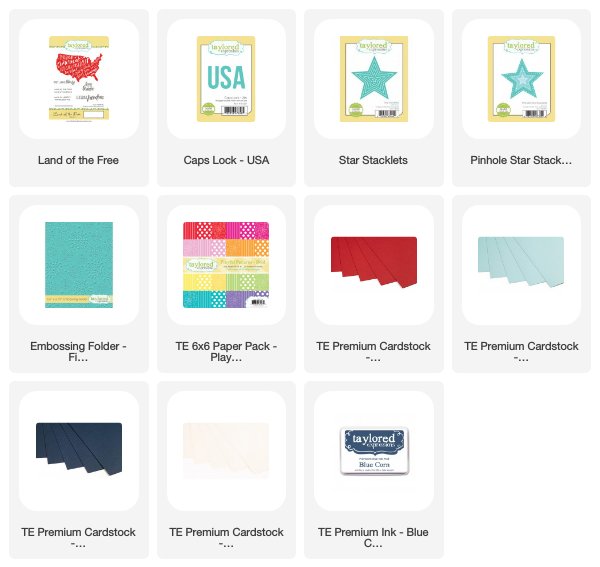
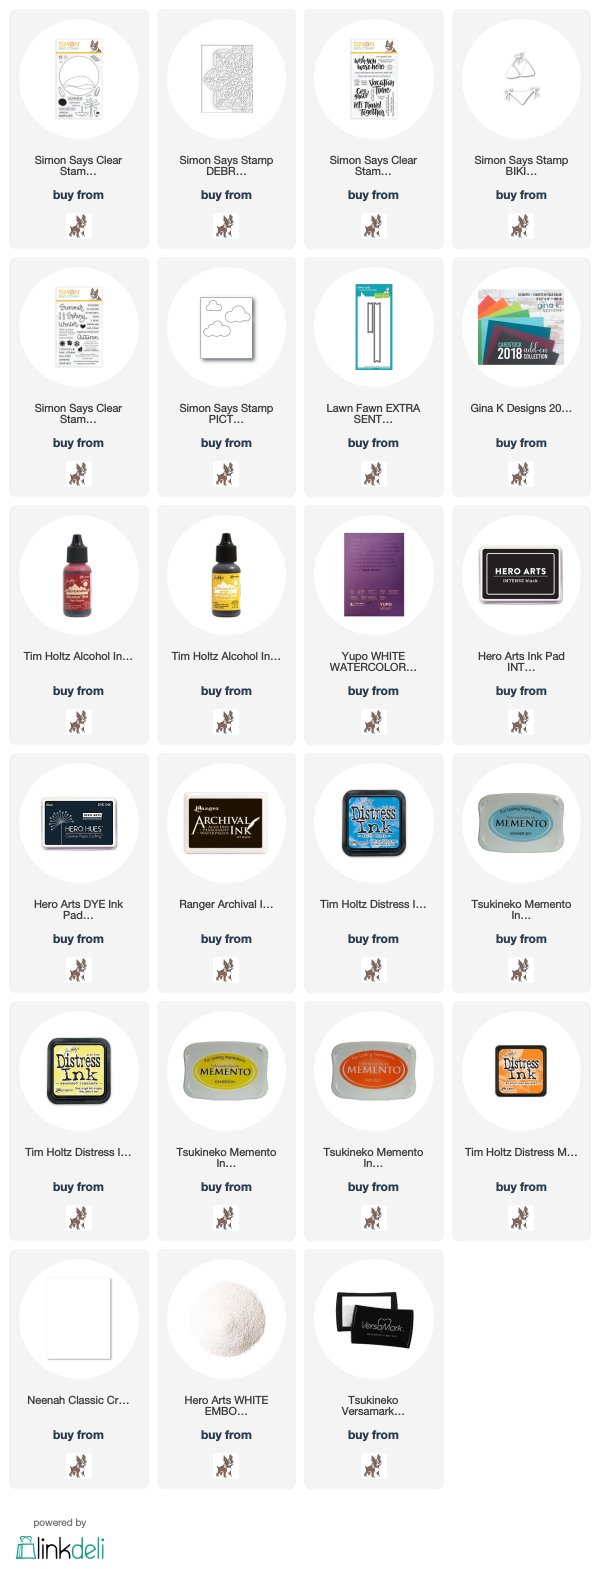
Supplies:
Time to get hopping!
Simon Says Stamp Blog
Debby Hughes
Laura Bassen
Yana Smakula
Yoonsun Hur
Amy Rysavy
Jean Manis
Vicky Papaioannou
Jenn Shurkus
Barb Engler
Lisa Addessa
Lea Lawson
Stephanie Low
Olga Direktorenko
Heather Ruwe


 Supplies: