Spellbinders Daisy Birthday Bliss

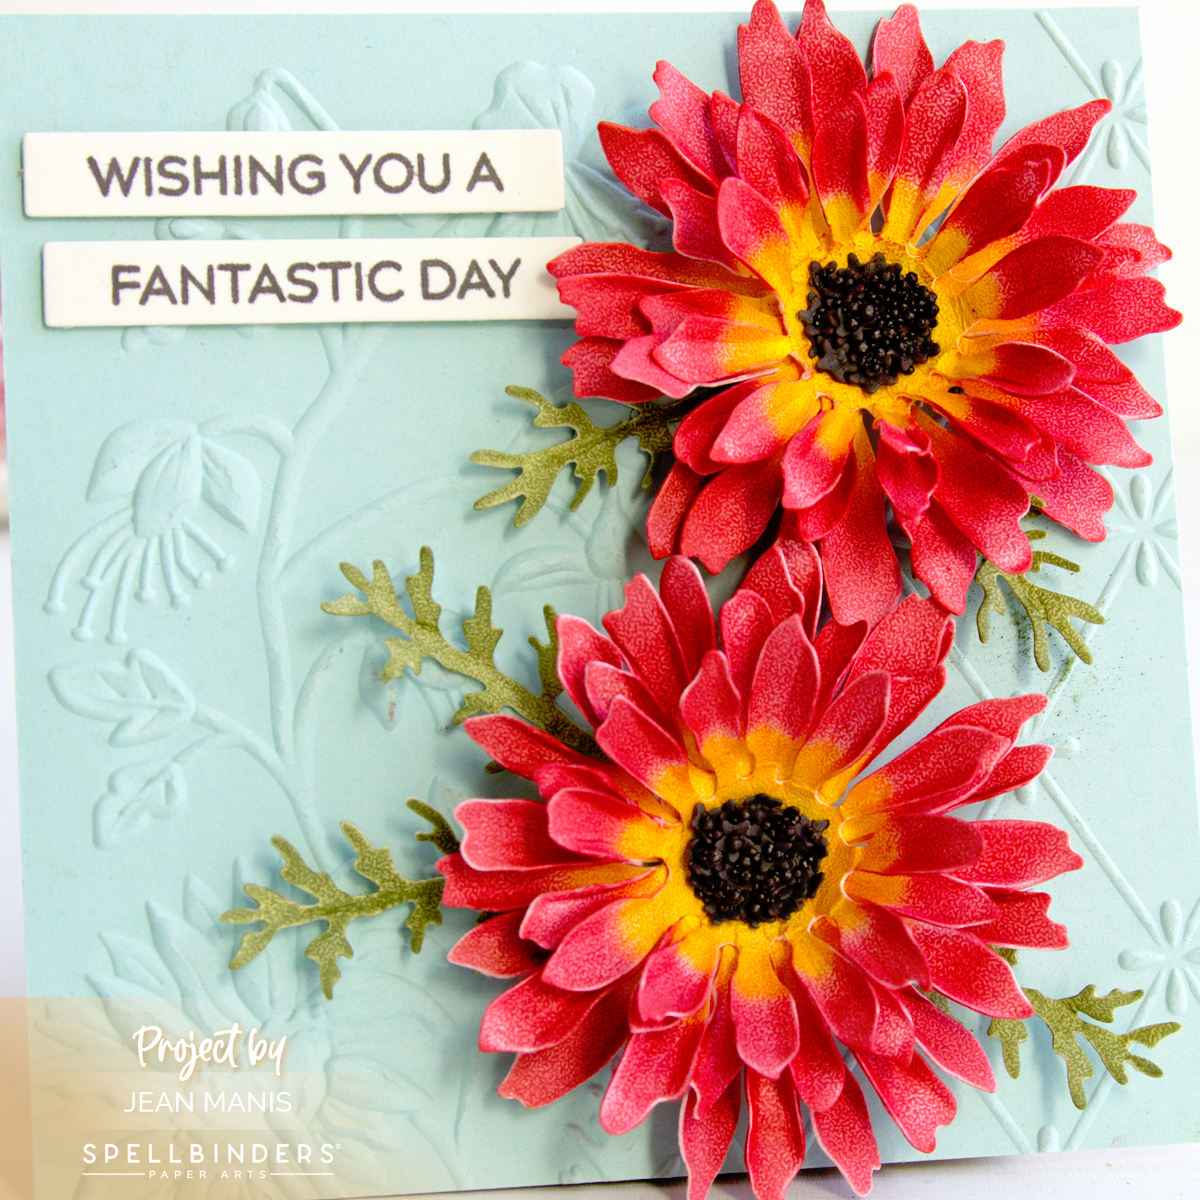
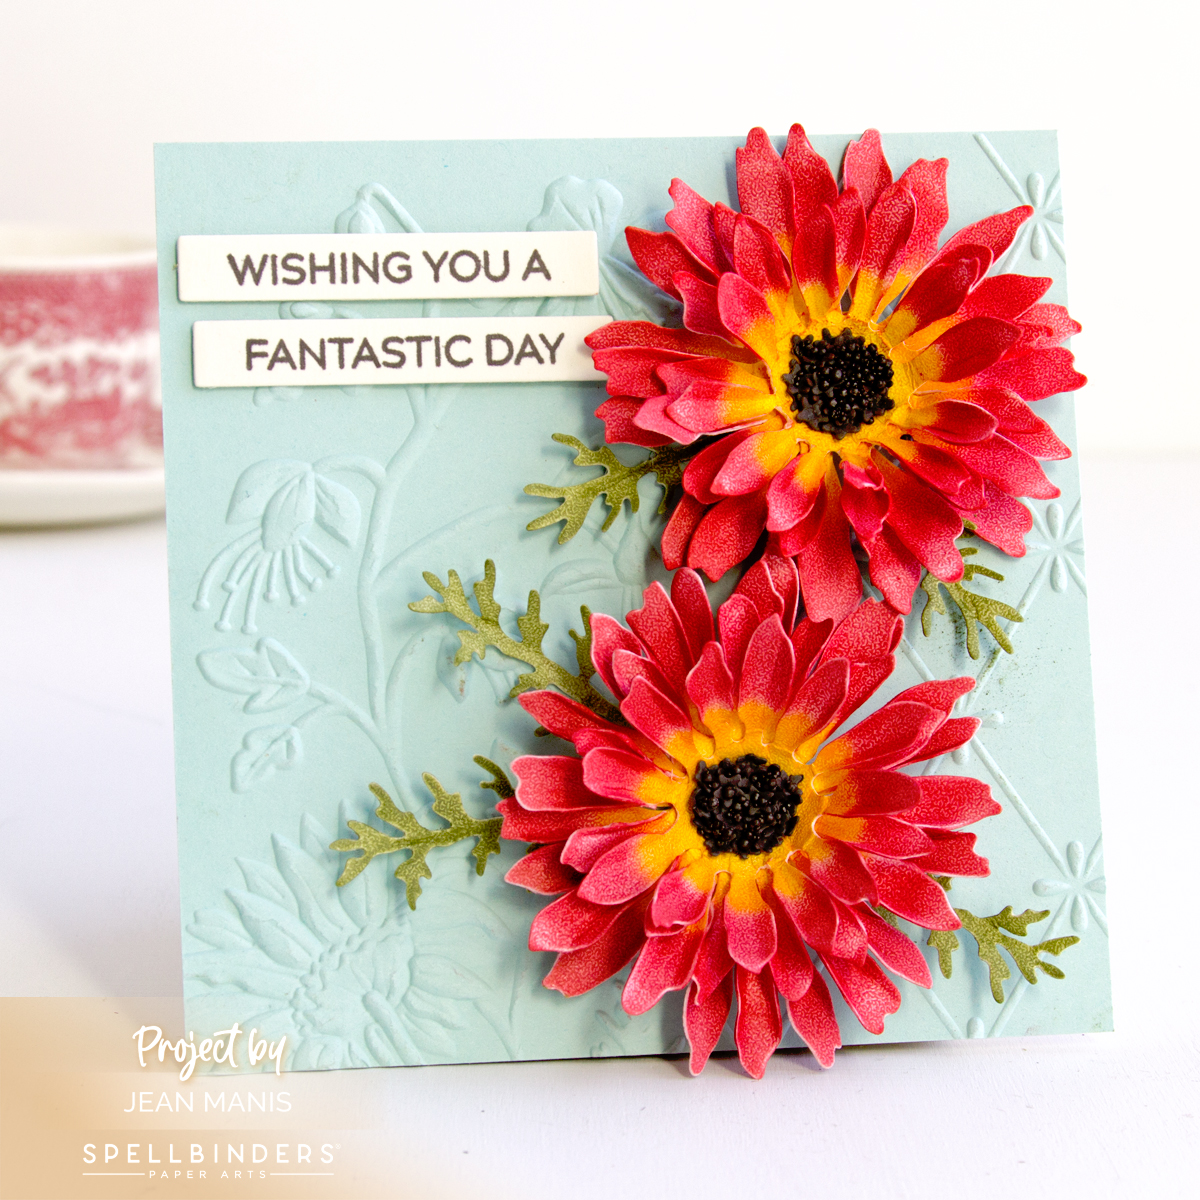
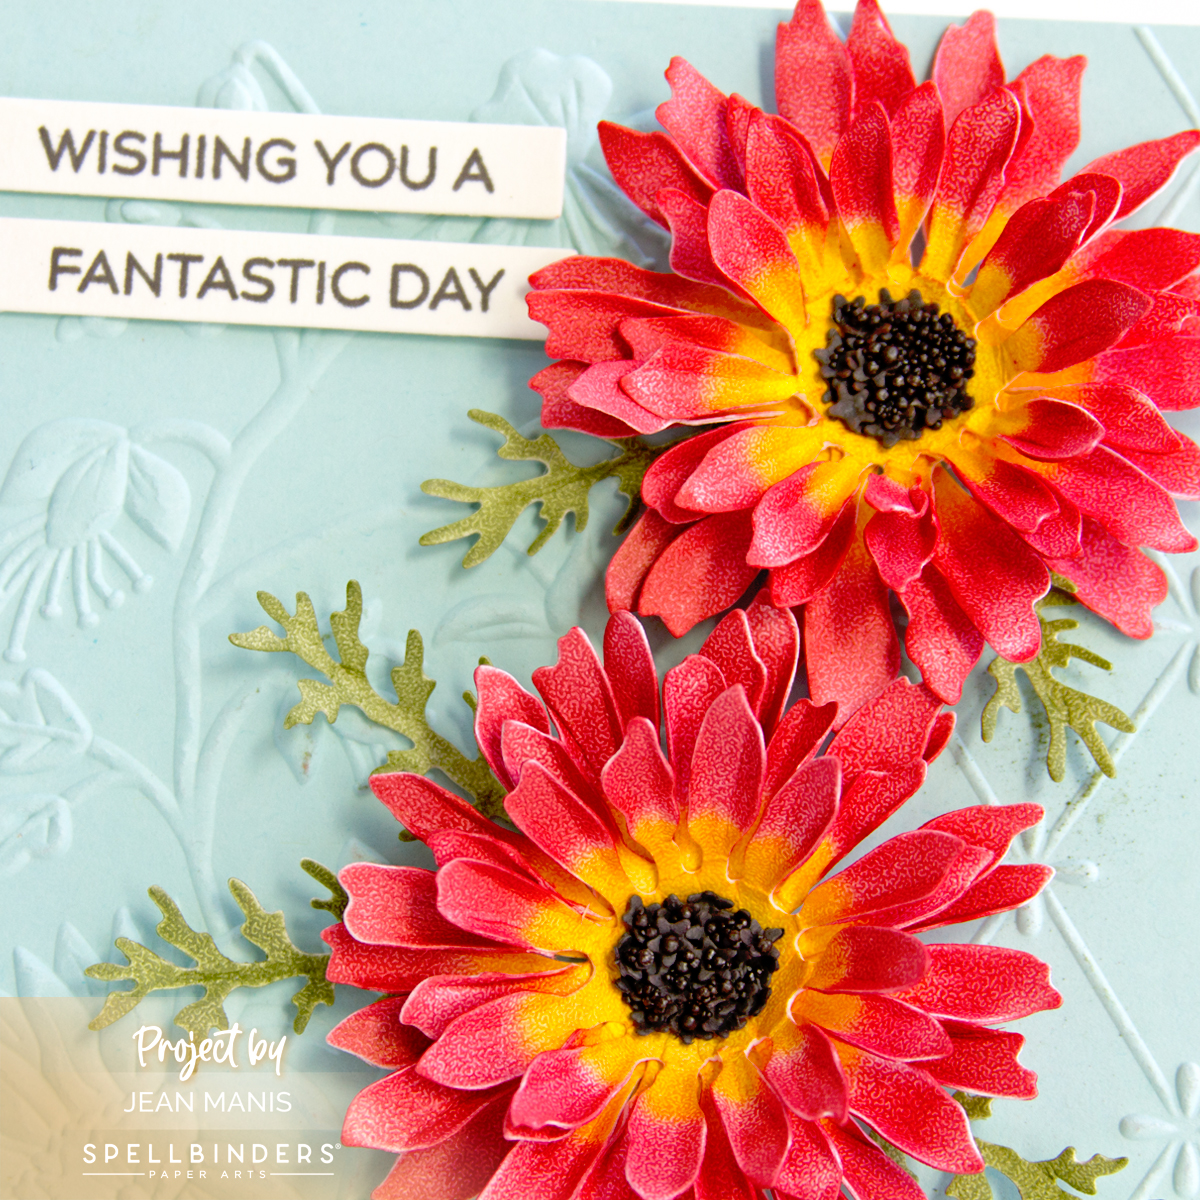
Hello! Today, I am sharing a floral birthday card created with the Spellbinders Fresh Picked Daisies die set paired with a BetterPressed sentiment. As I have mentioned before, following Christmas cards, birthday cards are the type I send most frequently.

Spellbinders Fresh Picked Daisies

    • Create an A2-sized card base and cover with textured pink cardstock.
    • With the Fresh Picked Daisies set, cut the daisy flowers and stems from cardstock. Assemble. Fussy-cut stems. Add assembled florals to card base.
    • Press the Let’s Celebrate Sentiments sentiment in black on Snowdrift cardstock. Cut with a banner die (I used a die included in a glimmer sentiment set).
    • Step into a world of daisy-infused birthday delight! With intricate die cuts and heartfelt sentiments, our handmade card promises to add a touch of warmth and charm to any celebration. Let’s dive into the creative journey behind this exquisite creation!
    • Add the sentiment to the card with foam adhesive.
    • Embellish with enamel dots.

Spellbinders Fresh Picked Daisies


Elizabeth Craft Designs Jungle Friendship

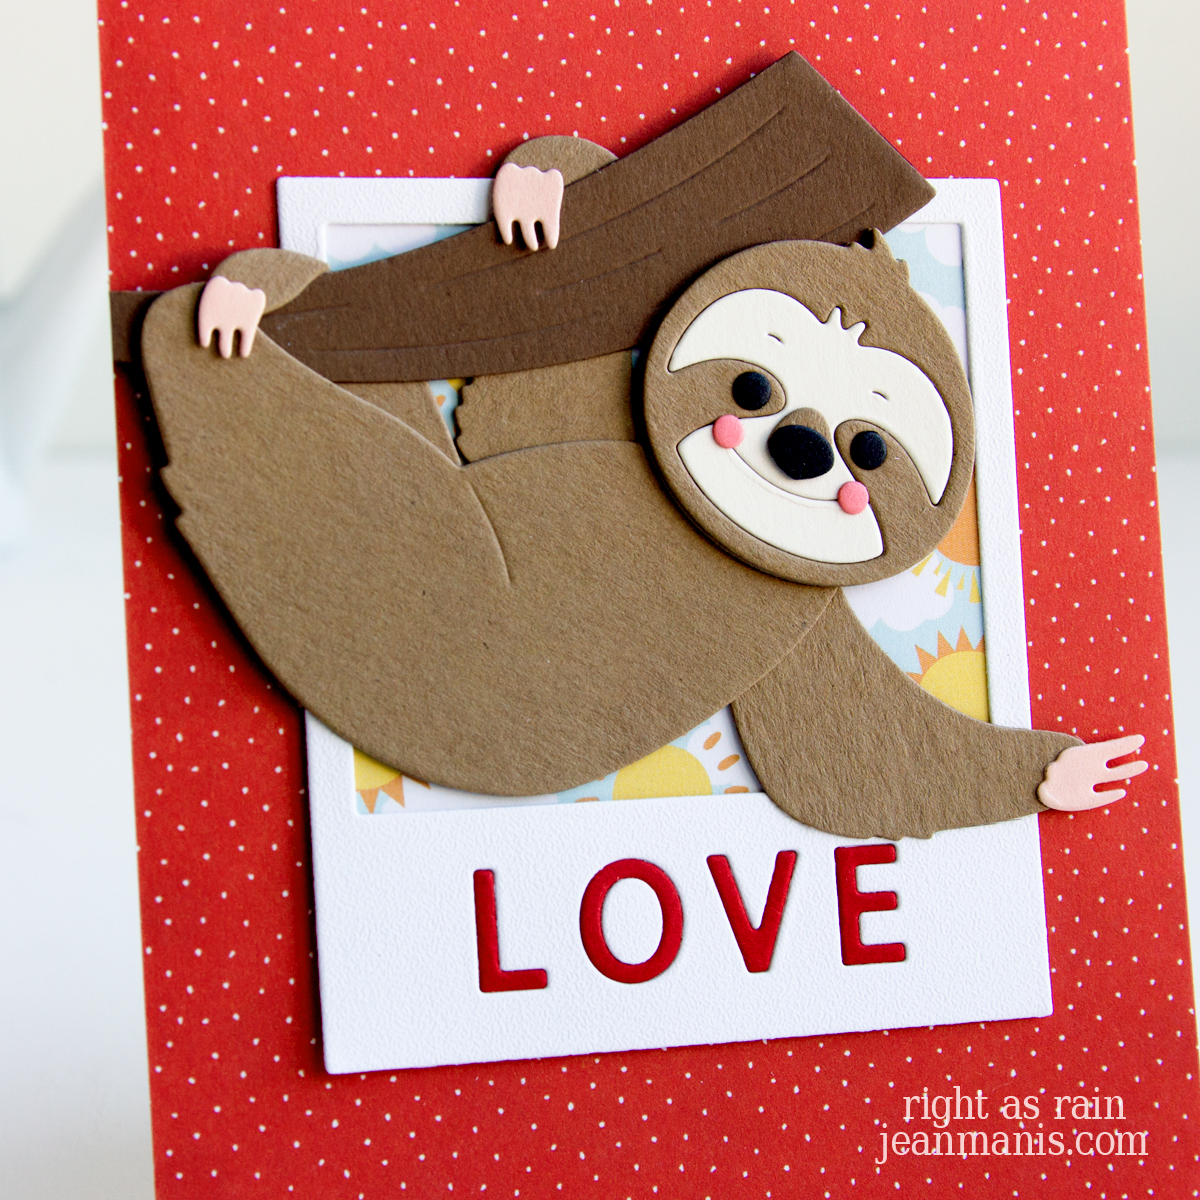
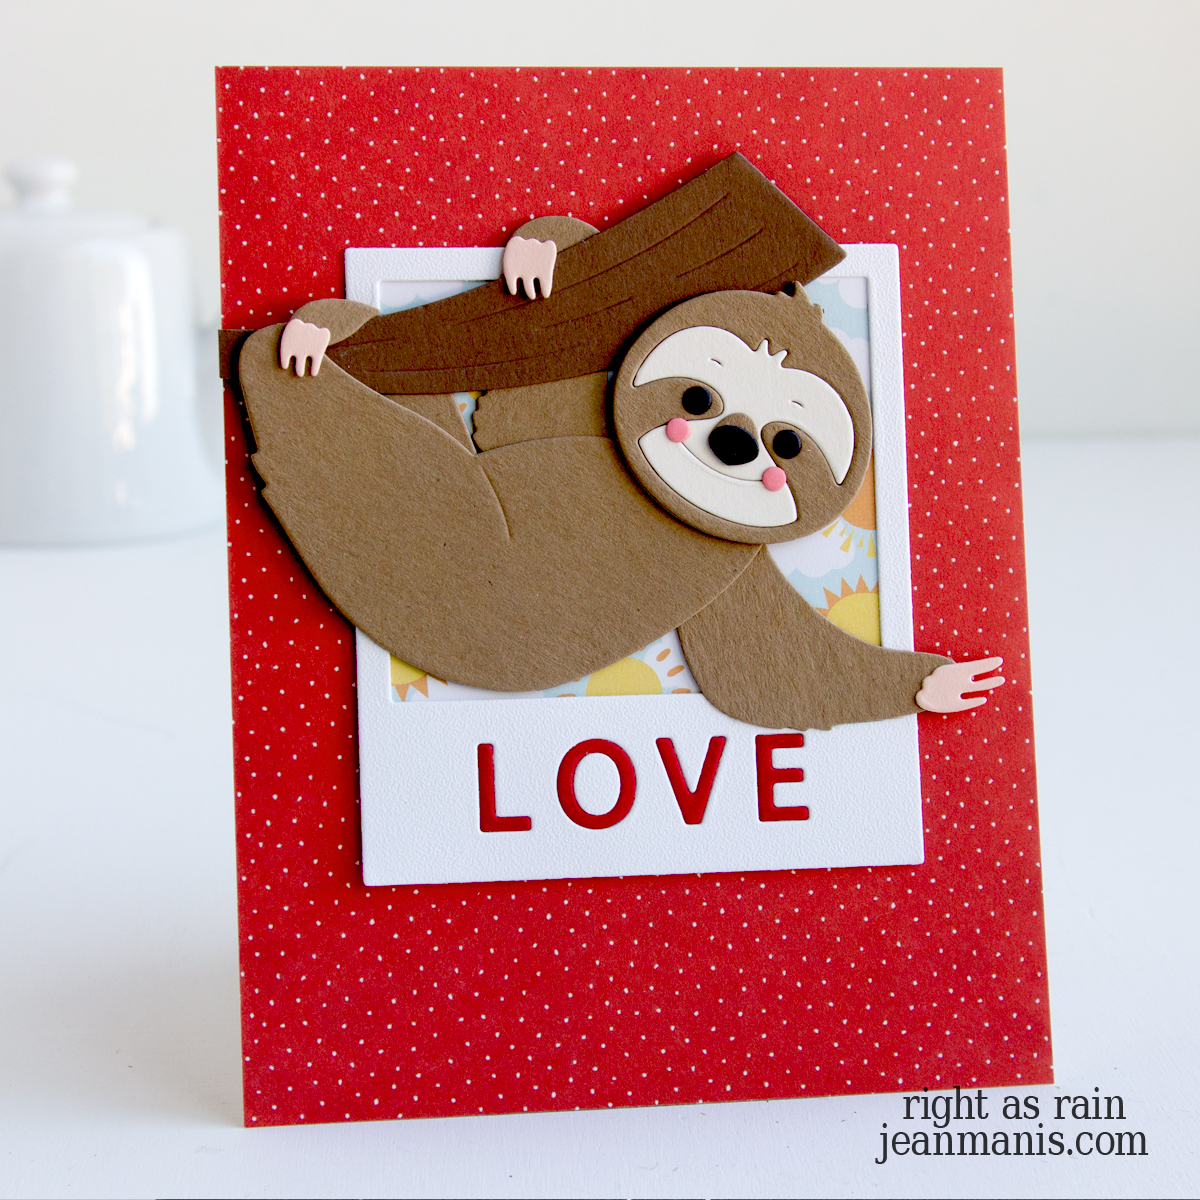
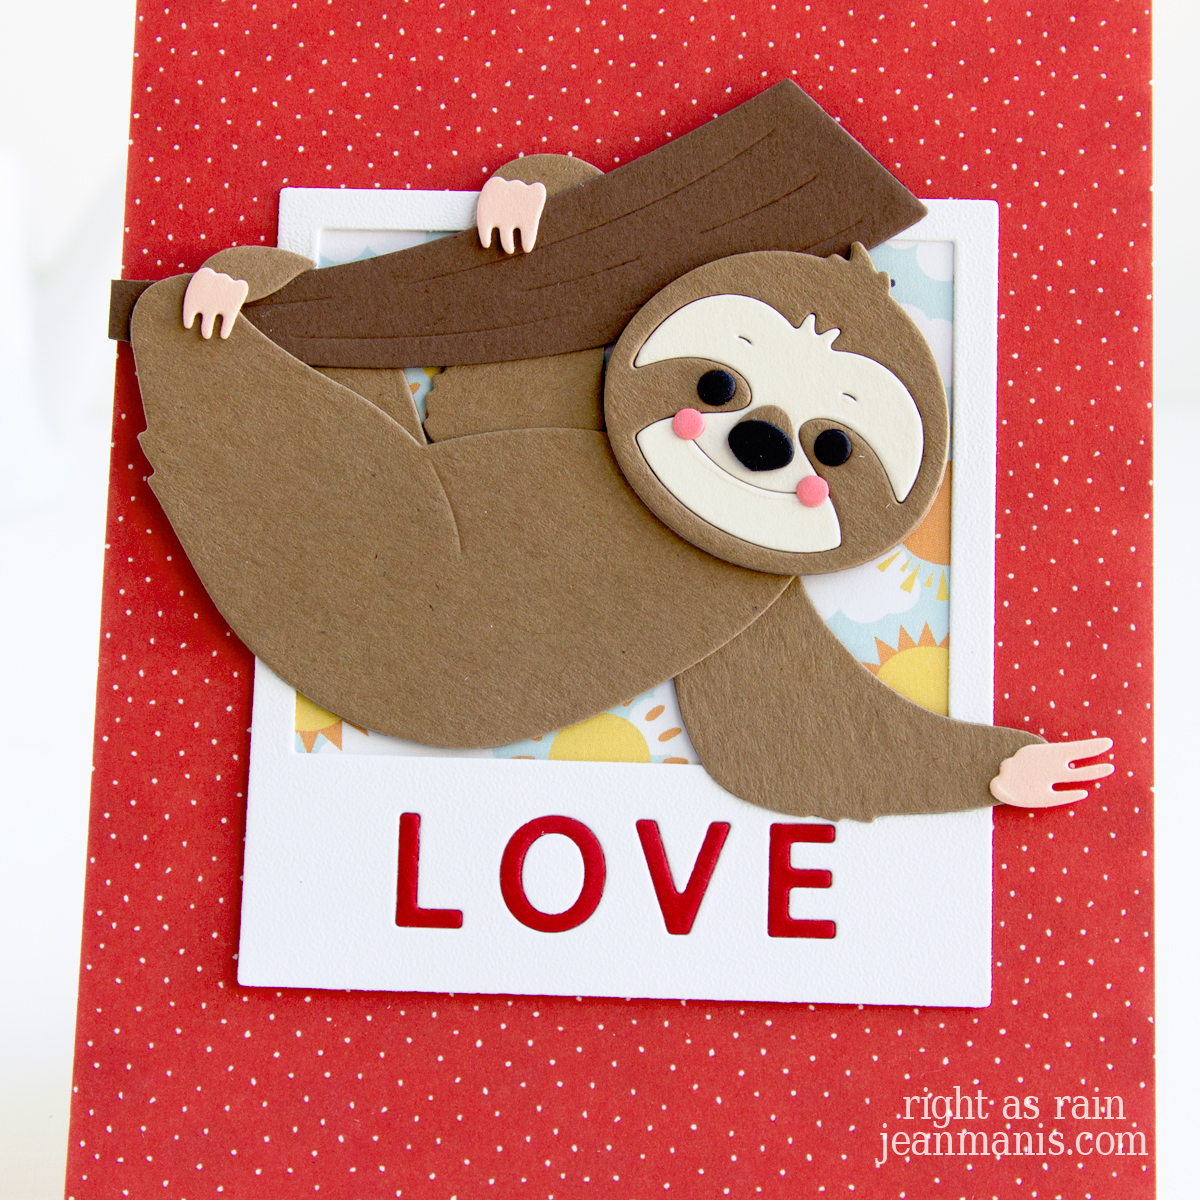
Hello! Step into the jungle with a friendship card featuring the Elizabeth Craft Designs Slow the Sloth hanging from a tree. The scene is set upon a jungle leaf background which reinforces the theme. A tropical flower adds a burst of color to the whimsical design.

Elizabeth Craft Designs Slow the Sloth

    • Cut the Leaves Background from Noble Fir cardstock. Add to a Sea Glass cardstock panel measuring 4″ x 5 1/4″. Add the assembly to a white, orange -peel textured, A-2 sized cardstock panel affixed to a card base. You can read about the use of cover plate dies to create card backgrounds HERE.
    • With the Slow the Sloth set, cut the sloth and tree branch from a variety of cardstock colors. Assemble and add to the card background with foam adhesive. You can watch an introduction to the Jungle Party collection and assembly of the sloth HERE.
    • Create sentiment and cut with an Everyday Sentiment Banner die. I created the sentiment “Let’s Hang Out” on my computer.
    • Embellish card with a hibiscus bloom and tropical leaf cut with dies in the Jungle Leaves set.

The sloth’s laid-back charm will bring a smile to the recipient and serve as a reminder to take it easy amidst life’s hustle and bustle!

Elizabeth Craft Designs Slow the Sloth


Spellbinders Stitching Friendship

Hello! Today, I am sharing a friendship card featuring a jar holding a miscellany of needlecraft supplies – scissors, a floss card, floss skein, thimble, buttons, needles – created with the Spellbinders April 2024 Large Die of the Month Club Kit, “Pins & Needles Jar.” Create a card for a different occasion by simply changing the sentiment!

Spellbinders April 2024 Large Die of the Month Club Kit – “Pins & Needles Jar"

Spellbinders April 2024 Large Die of the Month Club Kit – “Pins & Needles Jar"

Spellbinders April 2024 Large Die of the Month Club Kit – “Pins & Needles Jar"


Spellbinders Flossy Thanks

Hello! Today, I am sharing a thank you card featuring skeins of colorful needlecraft floss and a faux-stitched sentiment, created with the Spellbinders April 2024 Small Die of the Month Club Kit – “Faux Stitched Sentiments & Floss.”

Spellbinders April 2024 Small Die of the Month

Spellbinders April 2024 Small Die of the MonthThe “Faux Stitched Sentiments & Floss” die set features 9 cutting dies. Please note, the subscription sign-up window will open on the 6th of each month and close on the 27th (once existing club members subscriptions have been processed.) If there is additional inventory remaining, then they will be made available for new subscriptions and will have limited availability.

Spellbinders April 2024 Small Die of the Month


Tim Holtz Blooming Into Spring

Hello! It is hard to believe that Easter is already in our rear-view mirror and the calendar has been turned to April. I am sharing a spring-themed card using several Tim Holtz die sets paired with a sentiment in the Spring Shadows stamp set. I shared another spring-themed card with Tim Holtz supplies HERE.

Tim Holtz Blooming Into Spring

    • Stamp Spring Shadows sentiment on Waterfall cardstock. Cut panel with the A2-size die in the Lawn Fawn Large Stitched Rectangle Stackables set. Add to card base.
    • To create flowers and leaves, cut textured cardstock with the Modern Floristry and Brushstroke Flowers 2 sets. (I almost always cut Tim Holtz flowers from inked cardstock; for simplicity, I cut these from textured cardstock.) Assemble.
    • To create the barrel, cut Light Brown Woodgrain cardstock and Brushed Silver cardstock with dies in the Potted die. Add dimension by applying Walnut Stain and Black Soot ink. Assemble.
    • Add assembled barrel and floral elements to card front with foam adhesive.

Tim Holtz Blooming Into Spring