Today, I’m sharing a layout for which I created my own embellishments with Reverse Confetti stamps and Confetti Cuts.
Over the Thanksgiving holiday, our family took a quick excursion to Victoria, BC. We’d traveled there twelve years ago at Thanksgiving time and had been wanting to return for quite a while. My husband and son were good sports and let me snap some photos for an 8 1/2″ x 11″ layout.
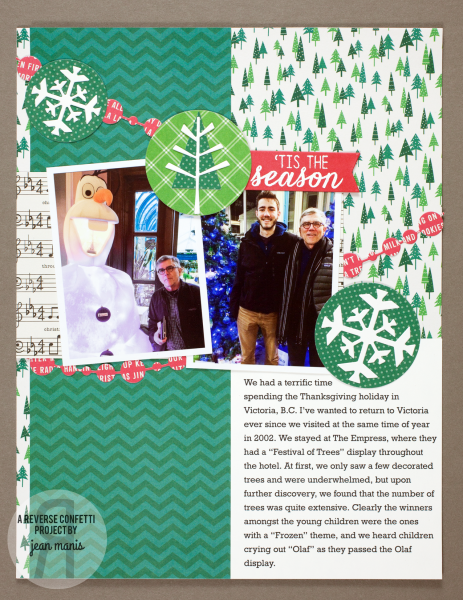
I used a sketch from Pagemaps for my layout.
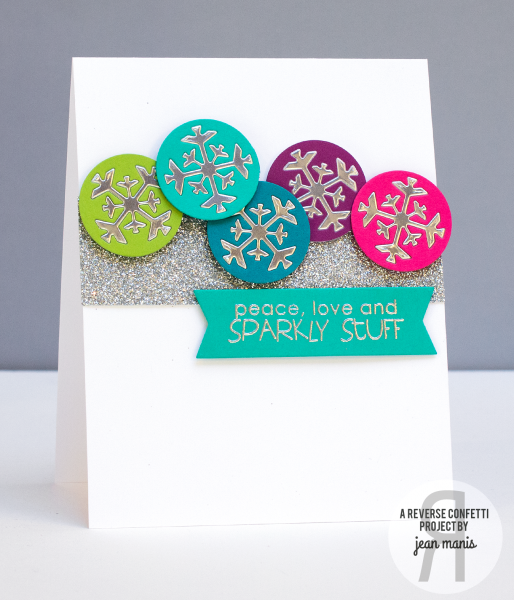
I cut the white snowflakes with the Let It Snow Confetti Cuts and added them to patterned paper circles. I cut the evergreen and limbs with the Branch Out Confetti Cuts, also adding those to a patterned paper circle. I cut the Circle Garland three times, out of red patterned paper for some color. I cut the sentiment flag with the Tag Me banner and heat embossed it with one of the Seasonal Sentiments.
By using a coordinated set of patterned paper (Pebbles “Home for Christmas” collection) with the Reverse Confetti products, this layout came together quite quickly!