Today, I’m sharing a shaker card created with the My Favorite Things Cool Day stamp and coordinating die sets.
I colored the bear, which I stamped with the Cool Day stamp and cut with the coordinating die, with Copics. I went with blue and pink to match my patterned papers. The bear was colored with W1.
The bear is so cute! I plan to color him again with a masculine color scheme!
I cut patterned papers with a die in the MFT STAX Decorative Circle Tag set. I added snow banks, cut with the MFT Snow Drifts set, to the background, and then adhered the bear. I cut the front ornament with a circle die that I backed with acetate. I added foam tape around the opening to create a sandwich for the sequins.
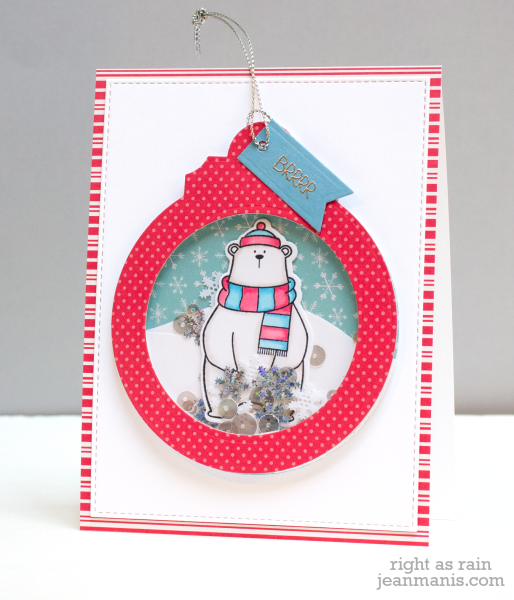
The ornament could be hung on a tree or added to a card base, which is what I did. I heat embossed a sentiment from Cool Day on a banner tag cut with the Fishtail Flags set. The white card panel was cut with Blueprints 13.
MFT Supplies: STAX Decorative Circle Tag, BB Cool Day stamp set with coordinating dies, Blueprints 13, Snow Drifts, Fishtail Flags Stax