Be Merry

Today, I’m sharing a card created with one Kristina Werner’s designs from the Online Card Classes Holiday Workshop. There are still plenty of cards from class that I’d like to make!

Online Card Classes Holiday Workshop

Kristina stamped lines with pigment ink on her card. I tried this idea, but wasn’t able to stamp lines that looked sharp, so I created strips from patterned paper instead. I heat embossed green and red cardstock with Lawn Fawn stamps. The patterned paper is from one of last year’s Echo Park collections. I stamped the owl with Memento black ink and colored him (her?) with Copics. Even though I didn’t mind fussy cutting stamped images too much, I really like the Lawn Cuts companion dies!

Supplies:

Poppystamps: O Tidings of Comfort & Joy

Today, I’m sharing a holiday card crafted in traditional colors from the Poppystamps release of 74 dies and 20 cling stamps.

Poppystamps: O Tidings of Comfort & Joy

I wanted to combine a homespun look with a little bling. To begin, I die cut a textured white cardstock strip with the Diamond Knit border. I only cut about 3/5 of the border on the left-hand side. I then rotated the die and cut the right-hand side. By this method, I was able to leave a background spot for the Fremont tree. I stamped the Comfort and Joy sentiment stamp, masking off the “to you” and the bird, directly onto the red card base to which I then adhered the knit border. I cut the Fremont Pine Outline from silver cardstock for some extra shine and glued it to the Fremont Pine Background with Glossy Accents. I adhered the tree, once dry, to the knit border with dimensional adhesive and finished the card off with a metallic twine bow.

Supplies:

Holiday Card Camp Day 5

Today’s Online Card Classes Holiday Workshop lesson was all about feminine and masculine cards. I crafted the cards shown by Debby Hughes with a few modifications.

Holiday Card Camp Day 5

The card size is 3 1/2″ x 5″ with a panel of 3″ x 4 1/2″. I’ve never crafted a card this size before, but I must say I like it a lot. I cut a Crafter’s Workshop blank template with the Savvy branch die, through which I applied the embossing paste. I tried using cardstock, as Debby did, but ended up placing the branch too high on the card. I heat embossed the branch. Key to this idea is using an embossing buddy on the cardstock before applying the paste. I used one of my new favorite Hero Arts sentiment sets heat embossed in white. The Savvy snowflake die was heat embossed with silver several times.

Holiday Card Camp Day 5

I took a shortcut with the feminine card by dry embossing the background rather than using paste. I also have fewer snowflakes on mine than Debby had on hers. I can only do so much bling! With two sons, I actually have an easier time crafting masculine cards than feminine ones.

Today was a fabulous class loaded with inspiration to which I’ll turn in the coming weeks!

Supplies:

Penny Black Joy to the World

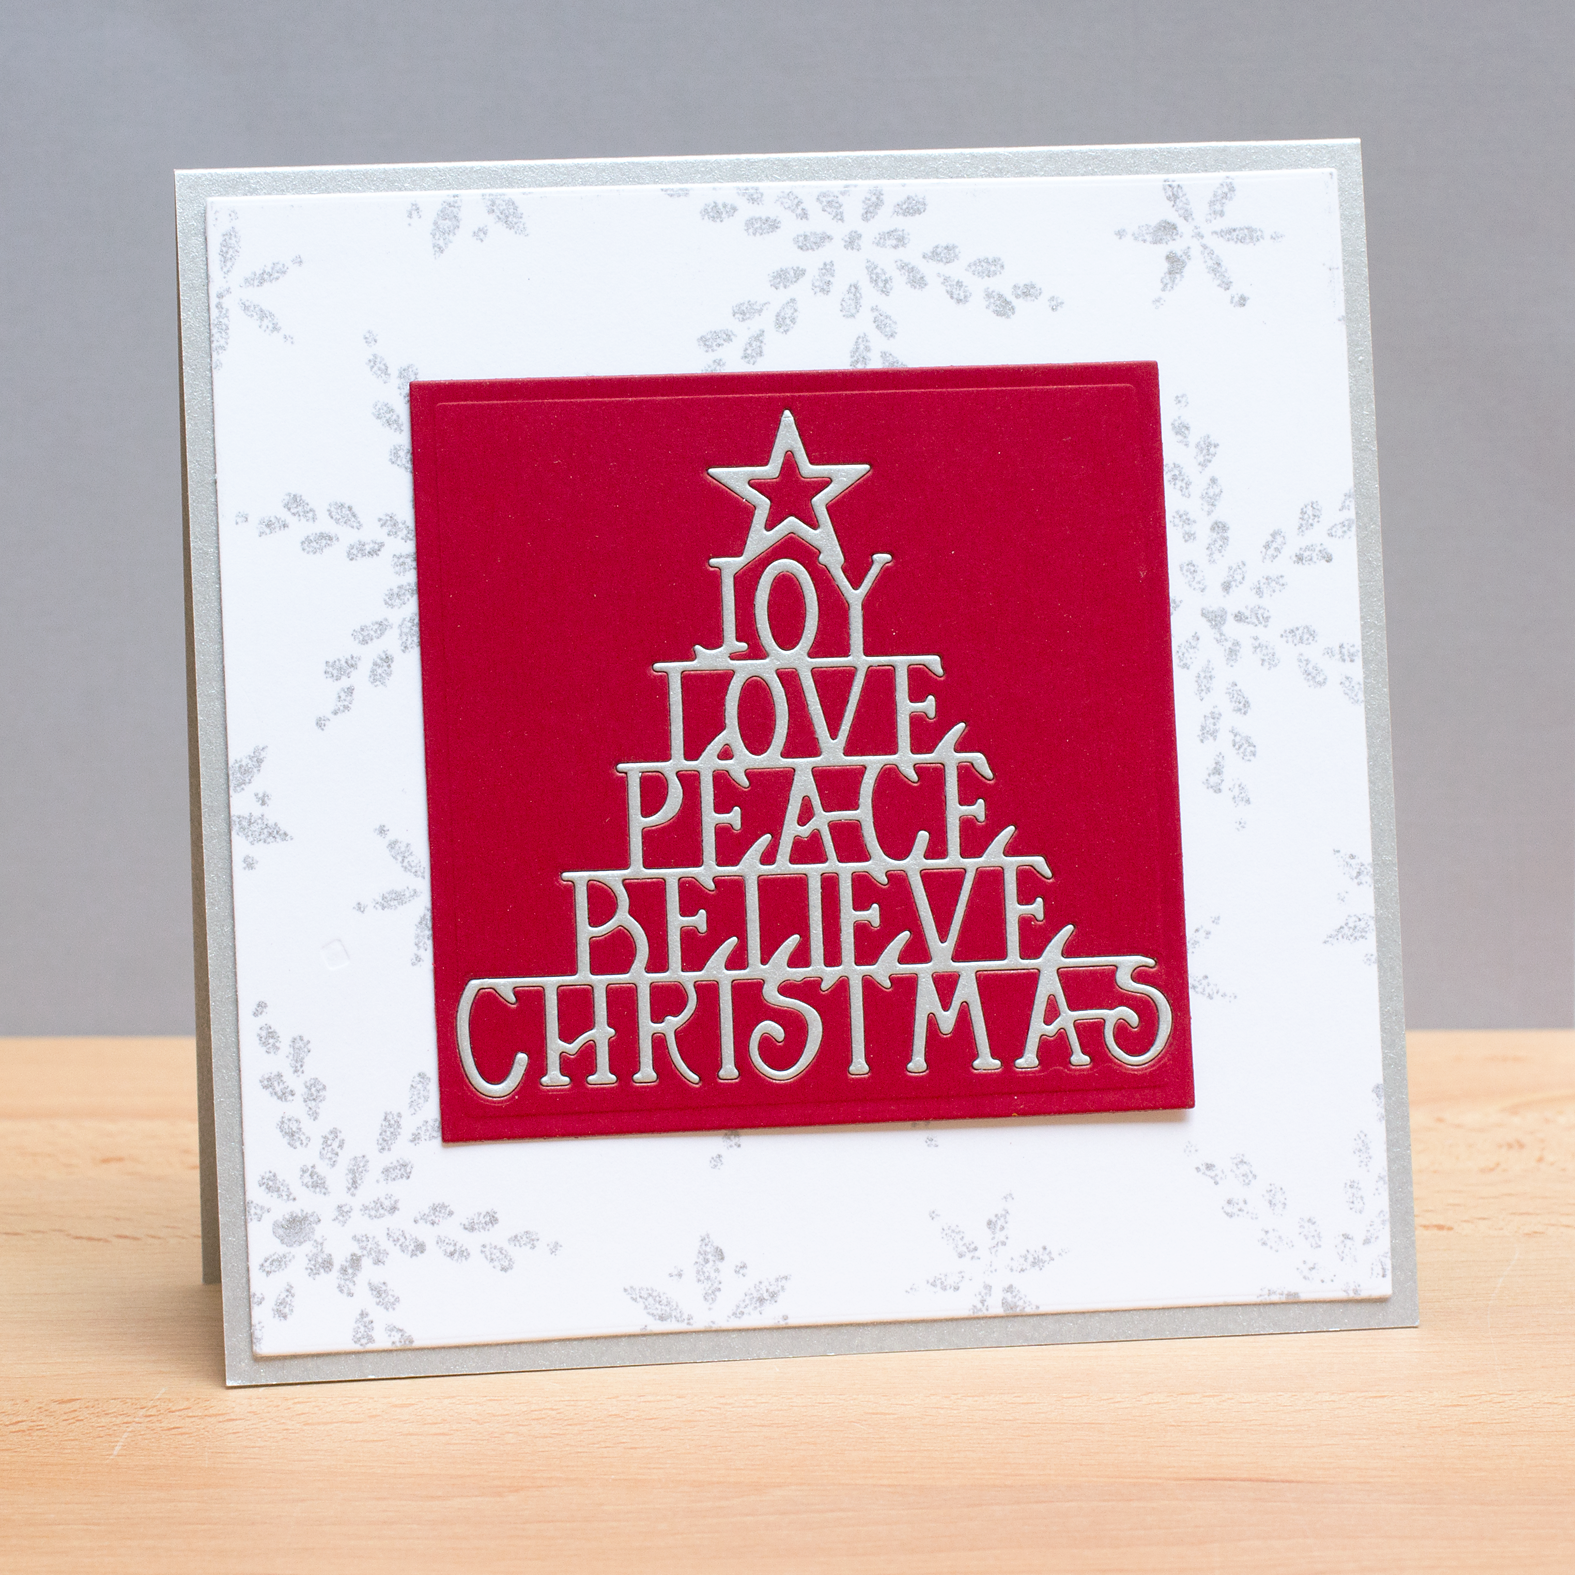
Today I’m sharing a card in which one of the holiday die cuts from Penny Black takes center stage. I really like adding metallic accents to my holiday cards, and in this case, my starting point was the outline of the Xmas Tree die cut in silver.

Penny Black Joy to the World

I die cut the Xmas Tree [51-012] in both white and silver cardstock. I pieced the two together and adhered the completed tree with dimensional adhesive onto a circle cut from cardstock stamped with the Penny Black Crystal Pattern [40-162] background stamp. I adhered the circle to a dry-embossed card base, and then I added a banner on which I heat-embossed a sentiment from Penny Black’s Season’s Wishes set [30-201]. I finished the card off with some sparkly jewels.


Holiday Card Camp Day 3

The focus of today’s Online Card Classes Holiday Workshop lesson was Clean and Simple Holiday Cards. For my first card, I followed one shown by Shari Carroll.

Holiday Card Camp Day 3

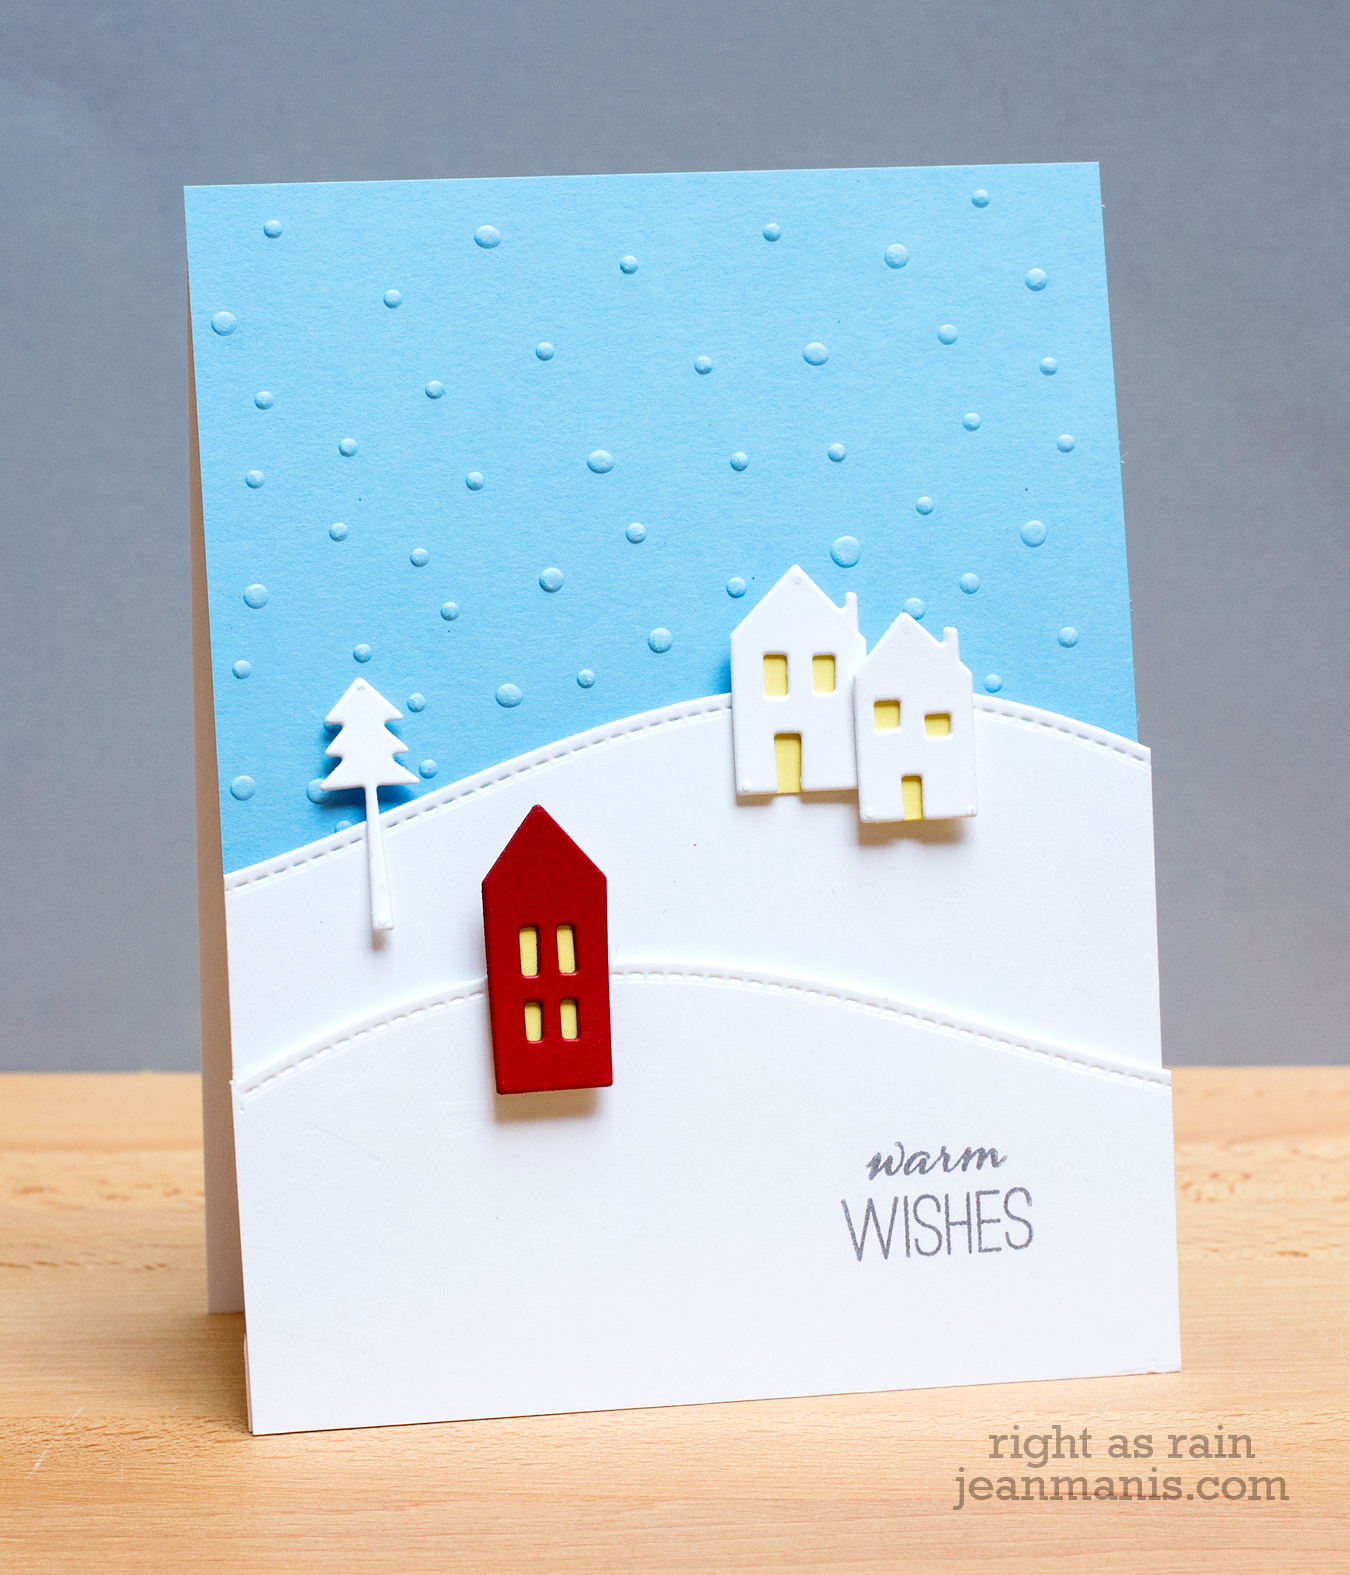
Shari used a repeating sentiment from Lawn Fawn, which was adorable. I looked through my stash and found a sentiment from a Technique Tuesday set that would work, although it wasn’t repeating. Because of the sentiment’s length, I ended up making the card 4 1/2″ wide, to provide white space on the side and bottom. I added some “snowflakes” with embossing paste in the sky.

Holiday Card Camp Day 3

For the second card, I made some modifications to an idea shown by Cristina Kowalczyk. I masked off a triangular area and colored in select parts of the Tim Holtz Dot Fade stencil with Copics to form a Christmas Tree. I wasn’t thrilled with the way the tree sides looked, they were raggedy, so I cut it out with the larger tree die cut from the Sizzix “Holiday Cheer” set. I silver heat embossed a sentiment from the Hero Arts “Naughty or Nice” set – really like the fonts in this set!