Hello! Following Christmas cards, birthday cards are the type I send most frequently. In this post, I’m excited to share a collection of birthday cards that I’ve crafted over the years.
Throughout this post, I’ll be using cards from my blog archive as examples. Click on the card image to be taken to the original post. Even if the specific products used on the cards may no longer be available, the focus is on how the theme is represented on the card.
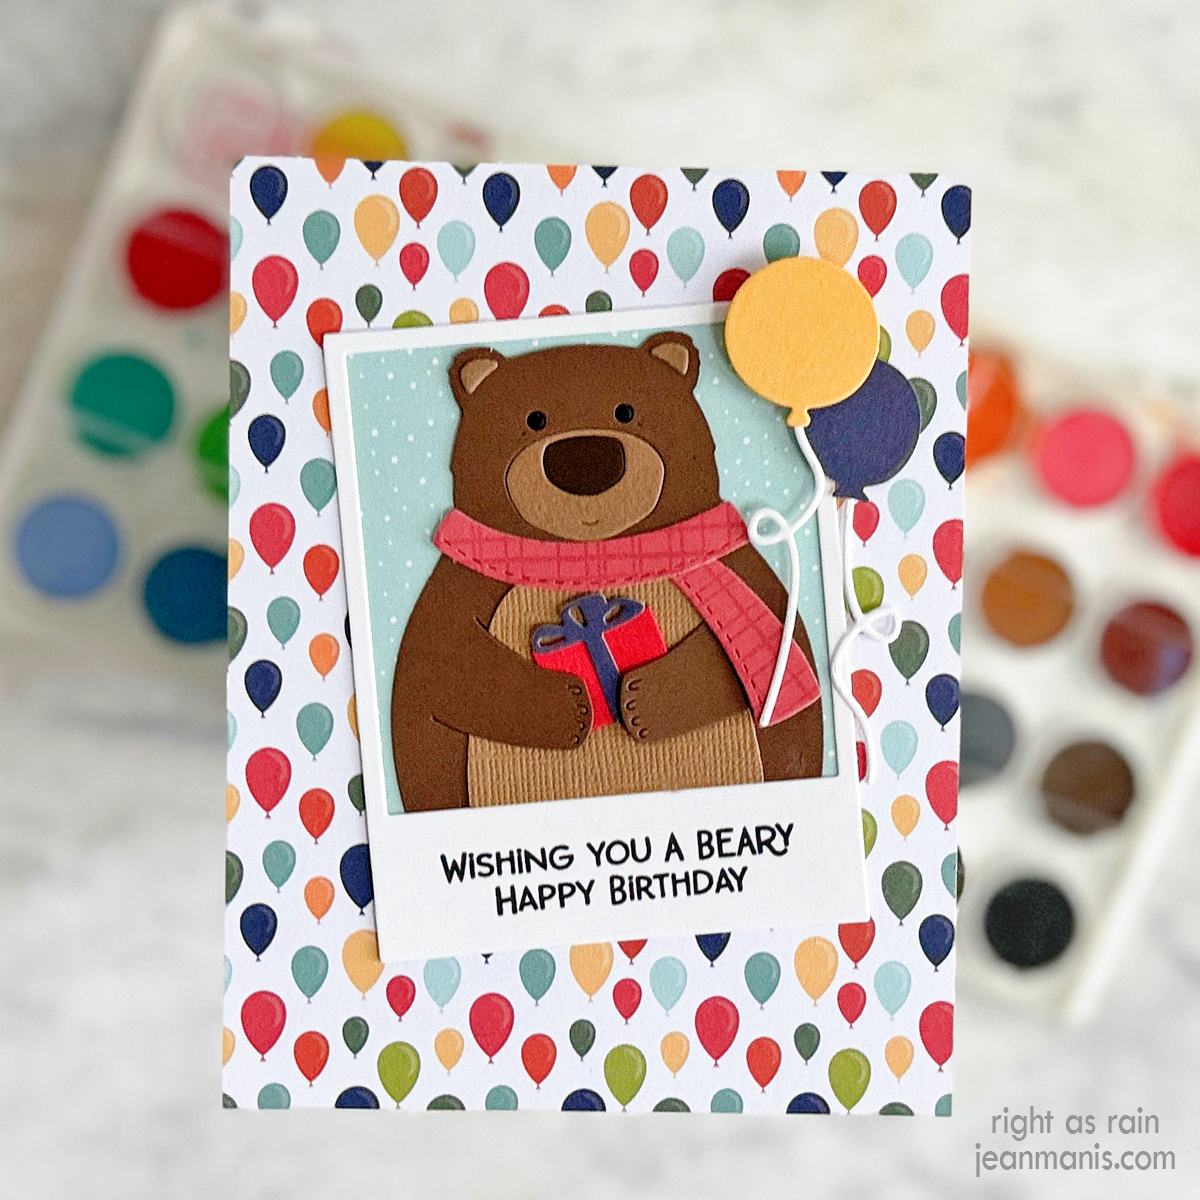
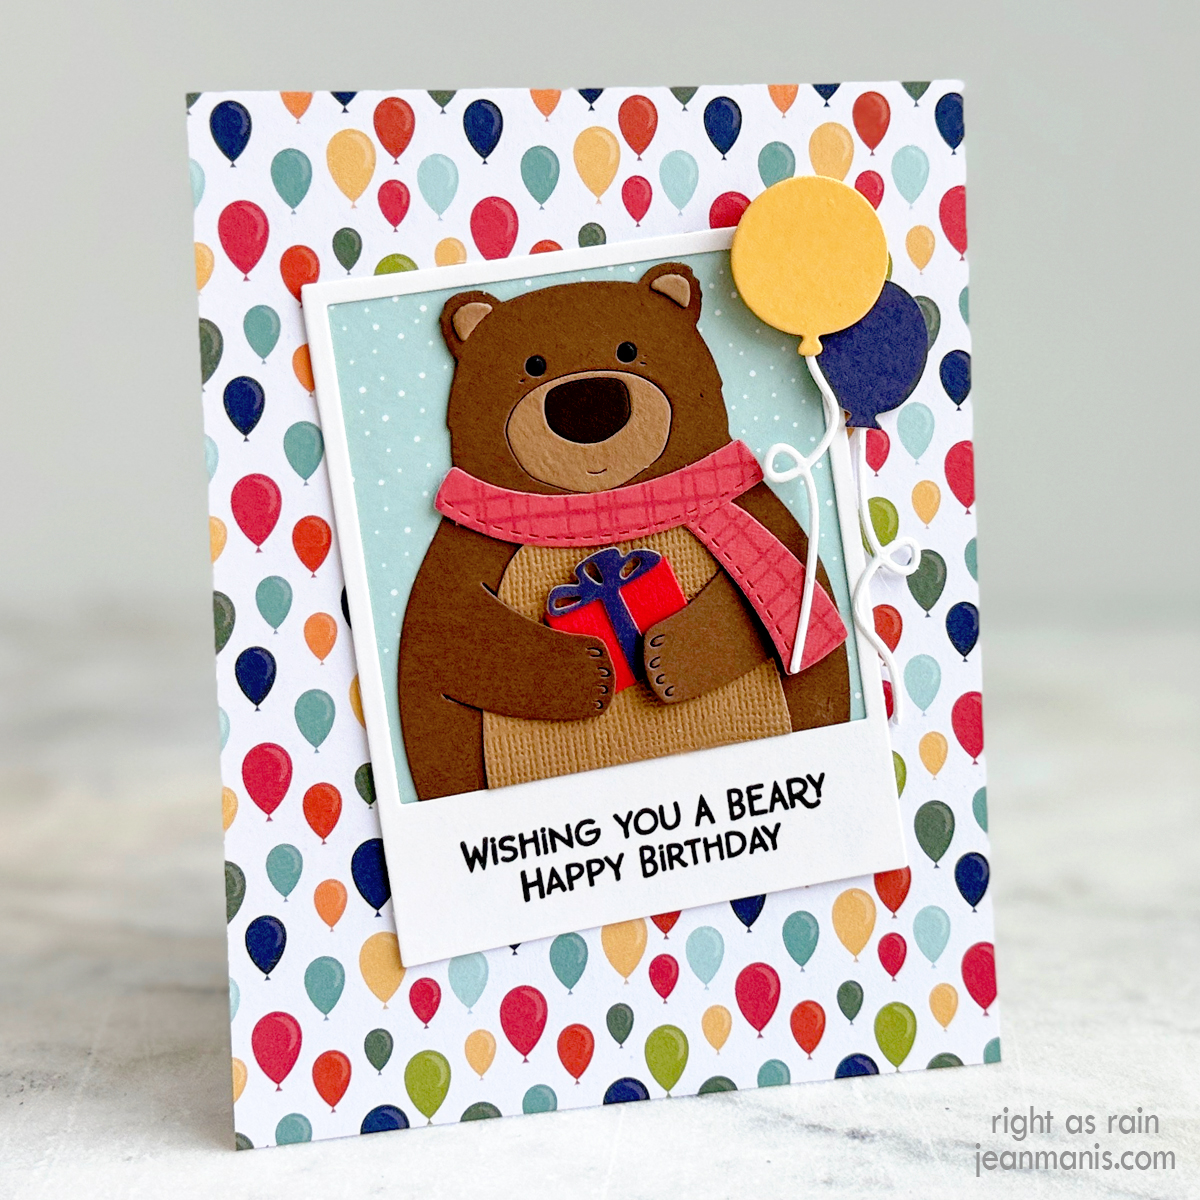
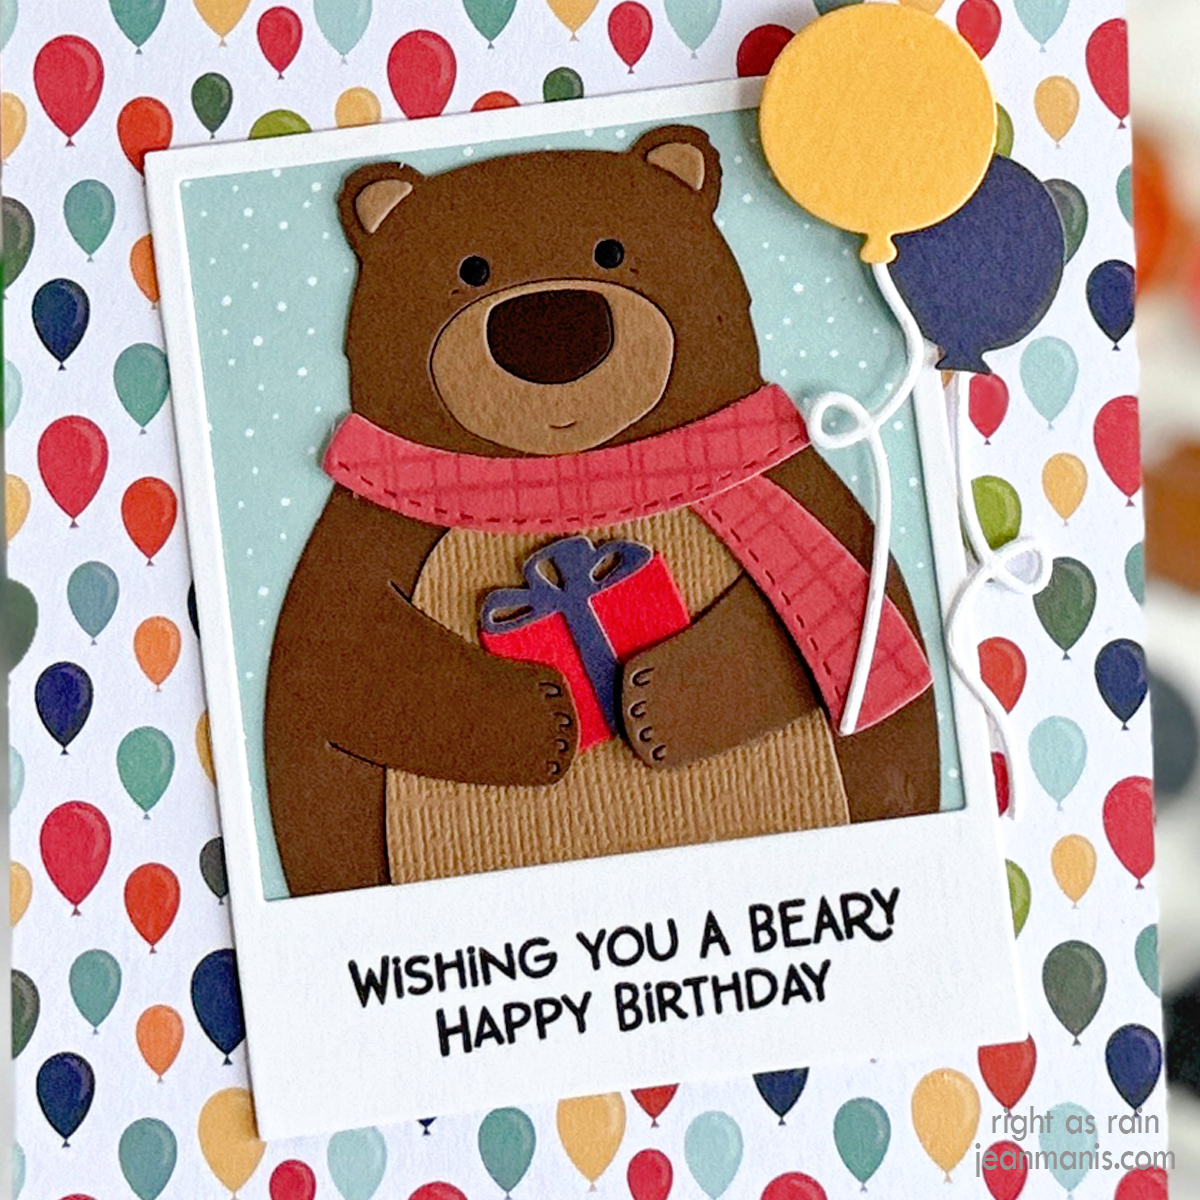
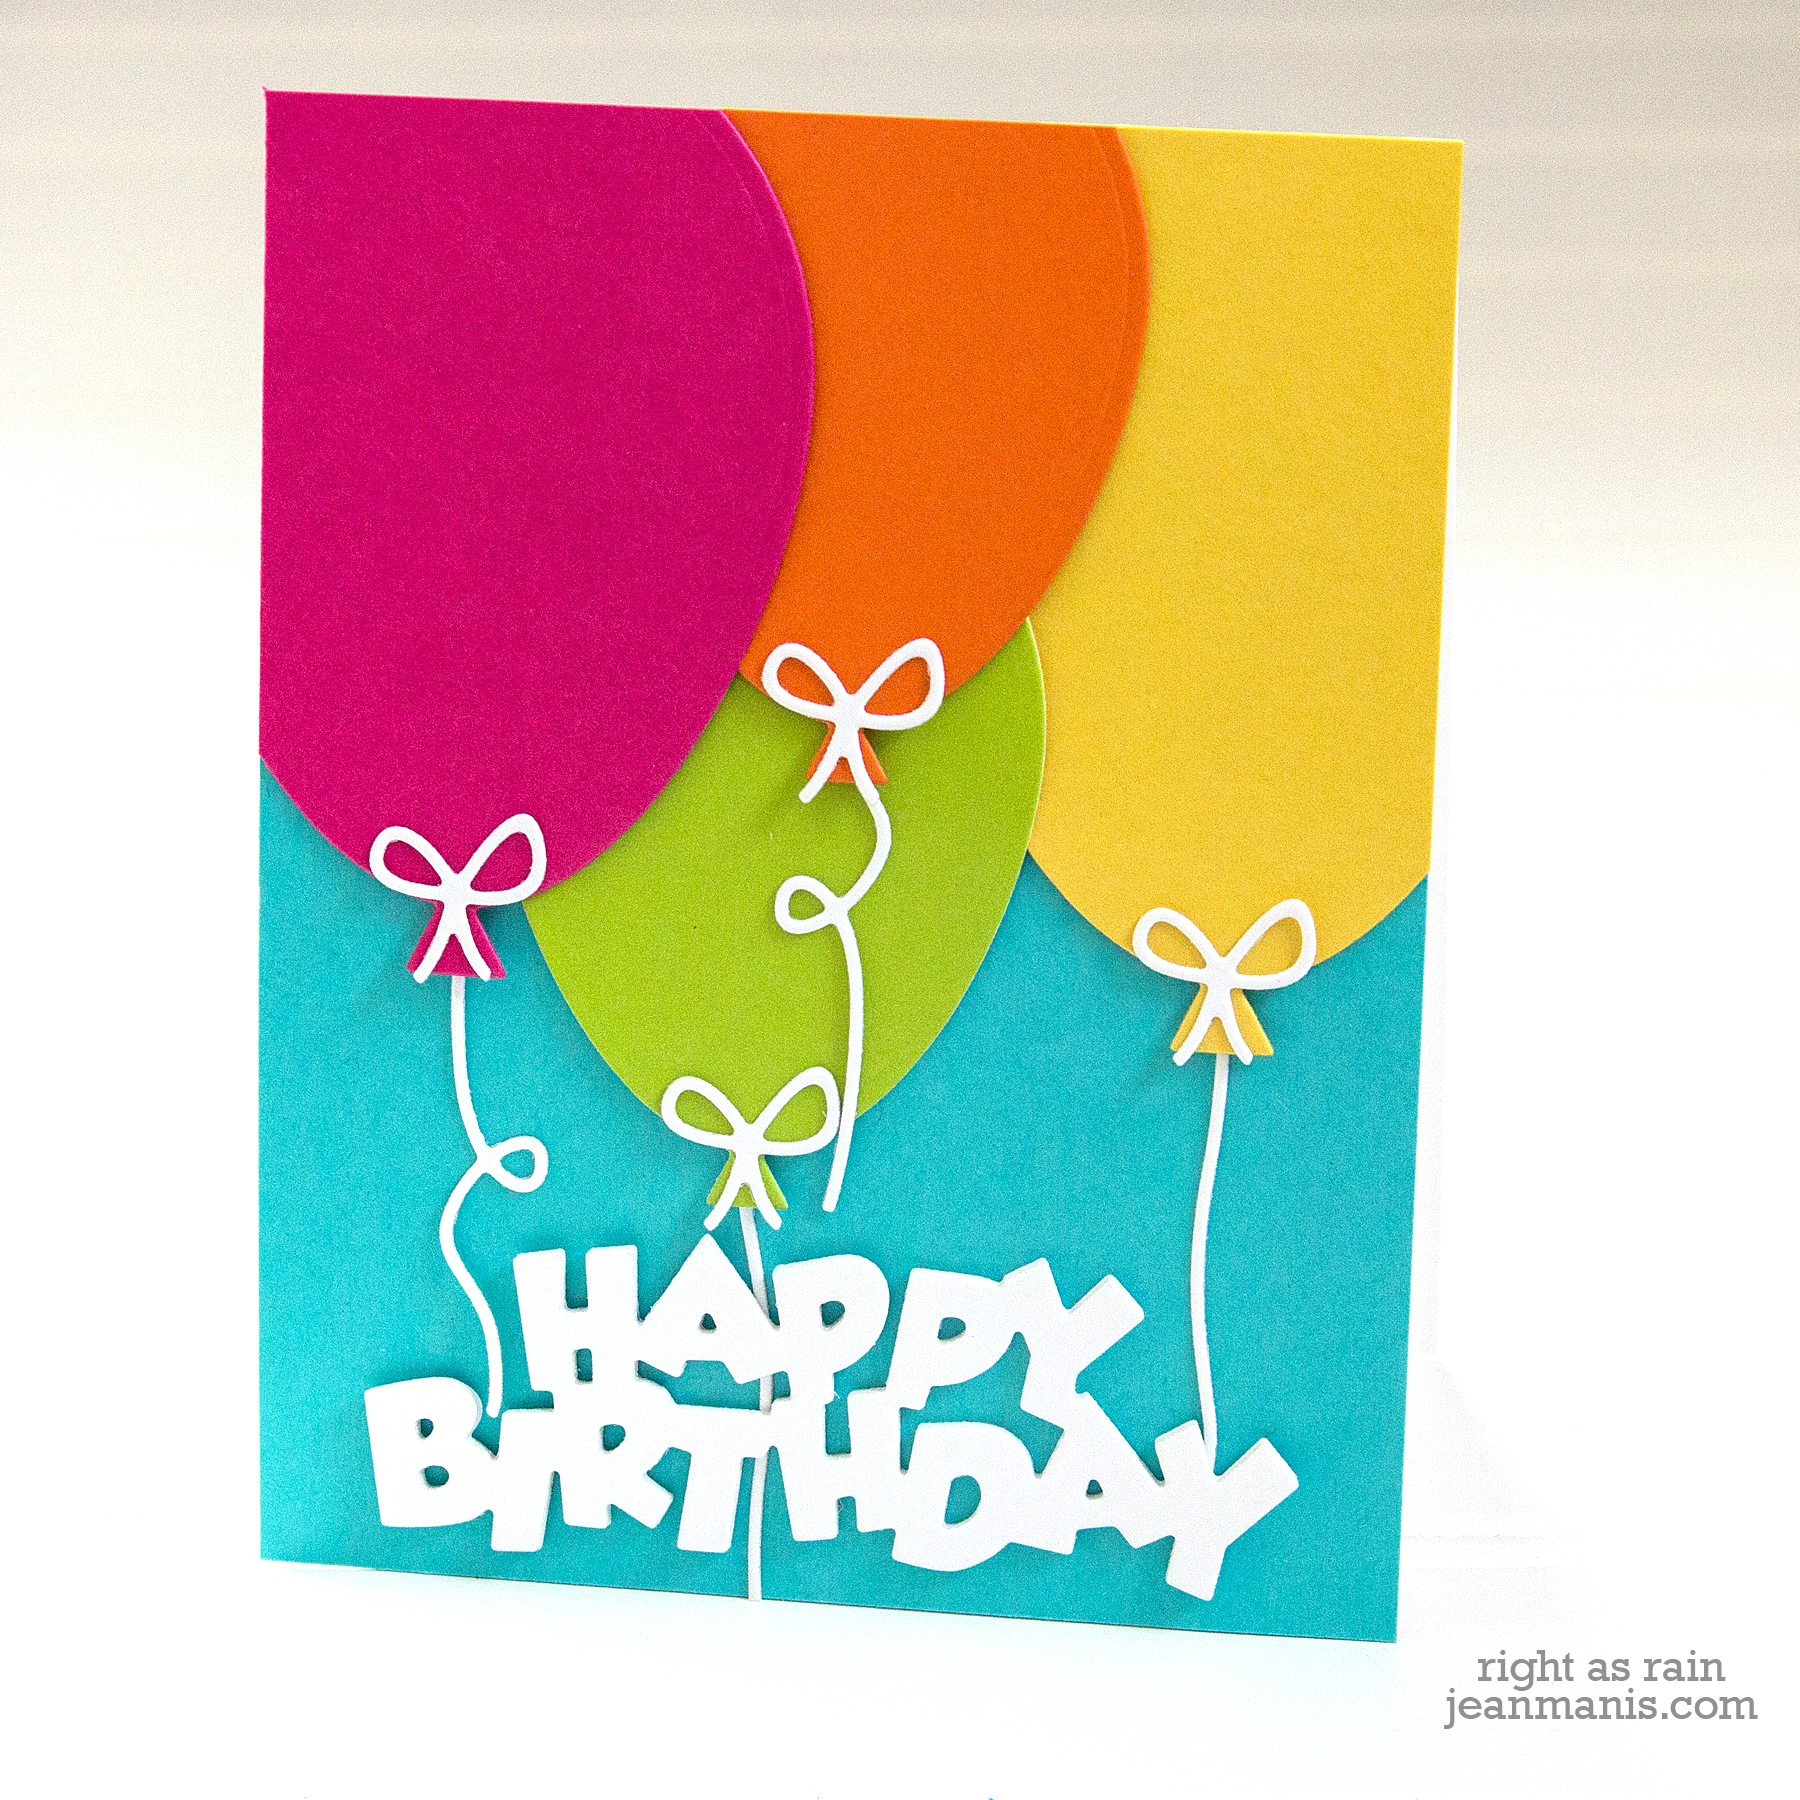
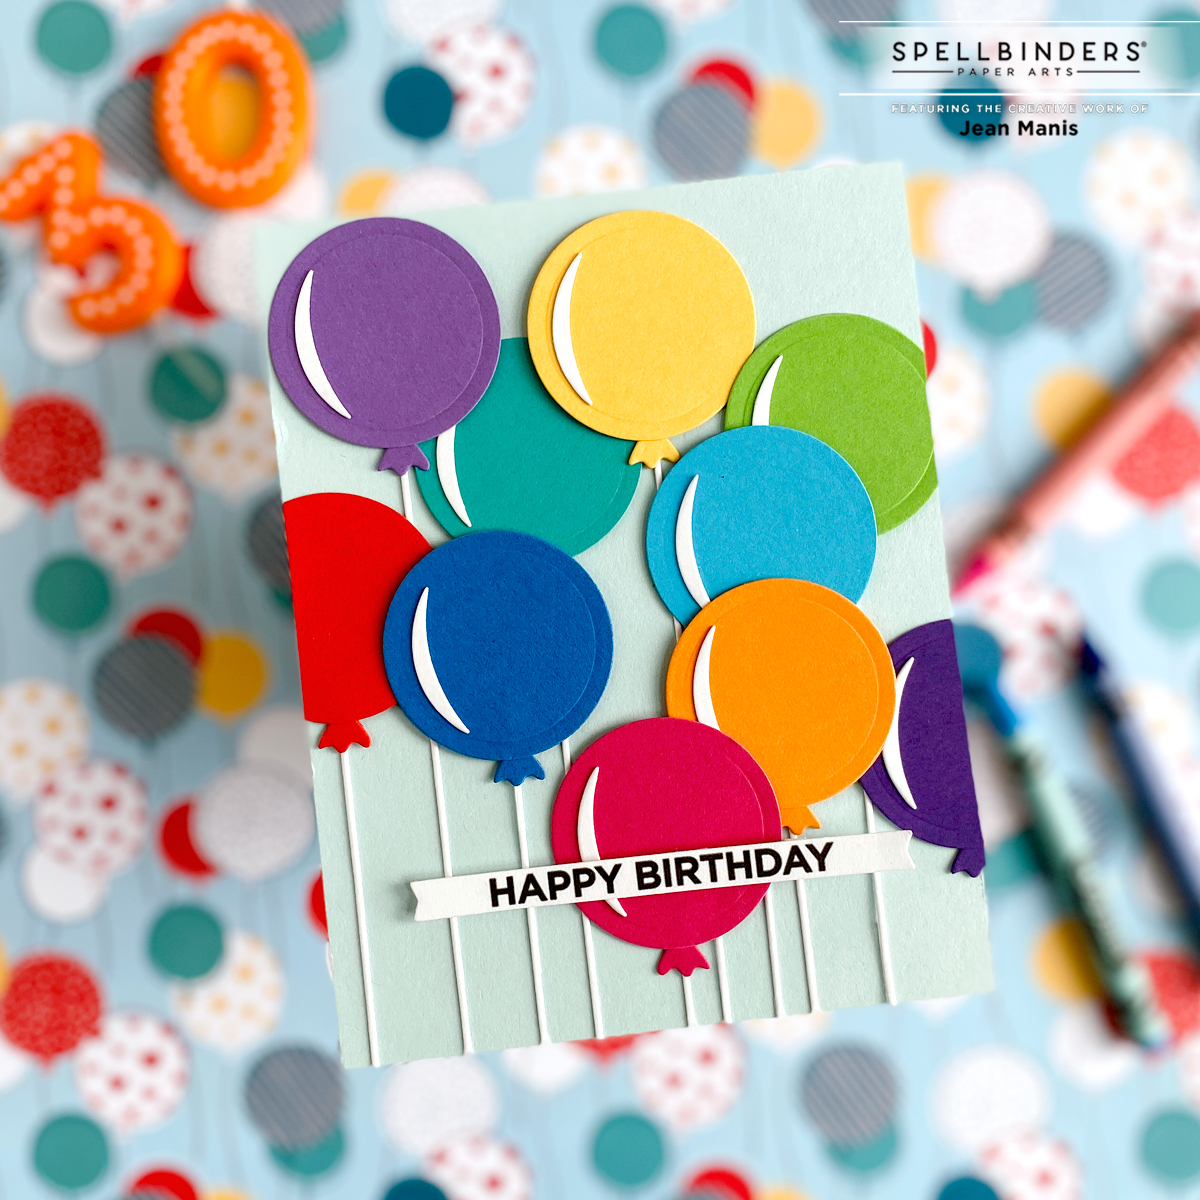
A birthday card adorned with colorful balloons and a straightforward “Happy Birthday” sentiment holds visual appeal with its clean and simple design. The graphic elements create a sense of celebration without unnecessary complexity.
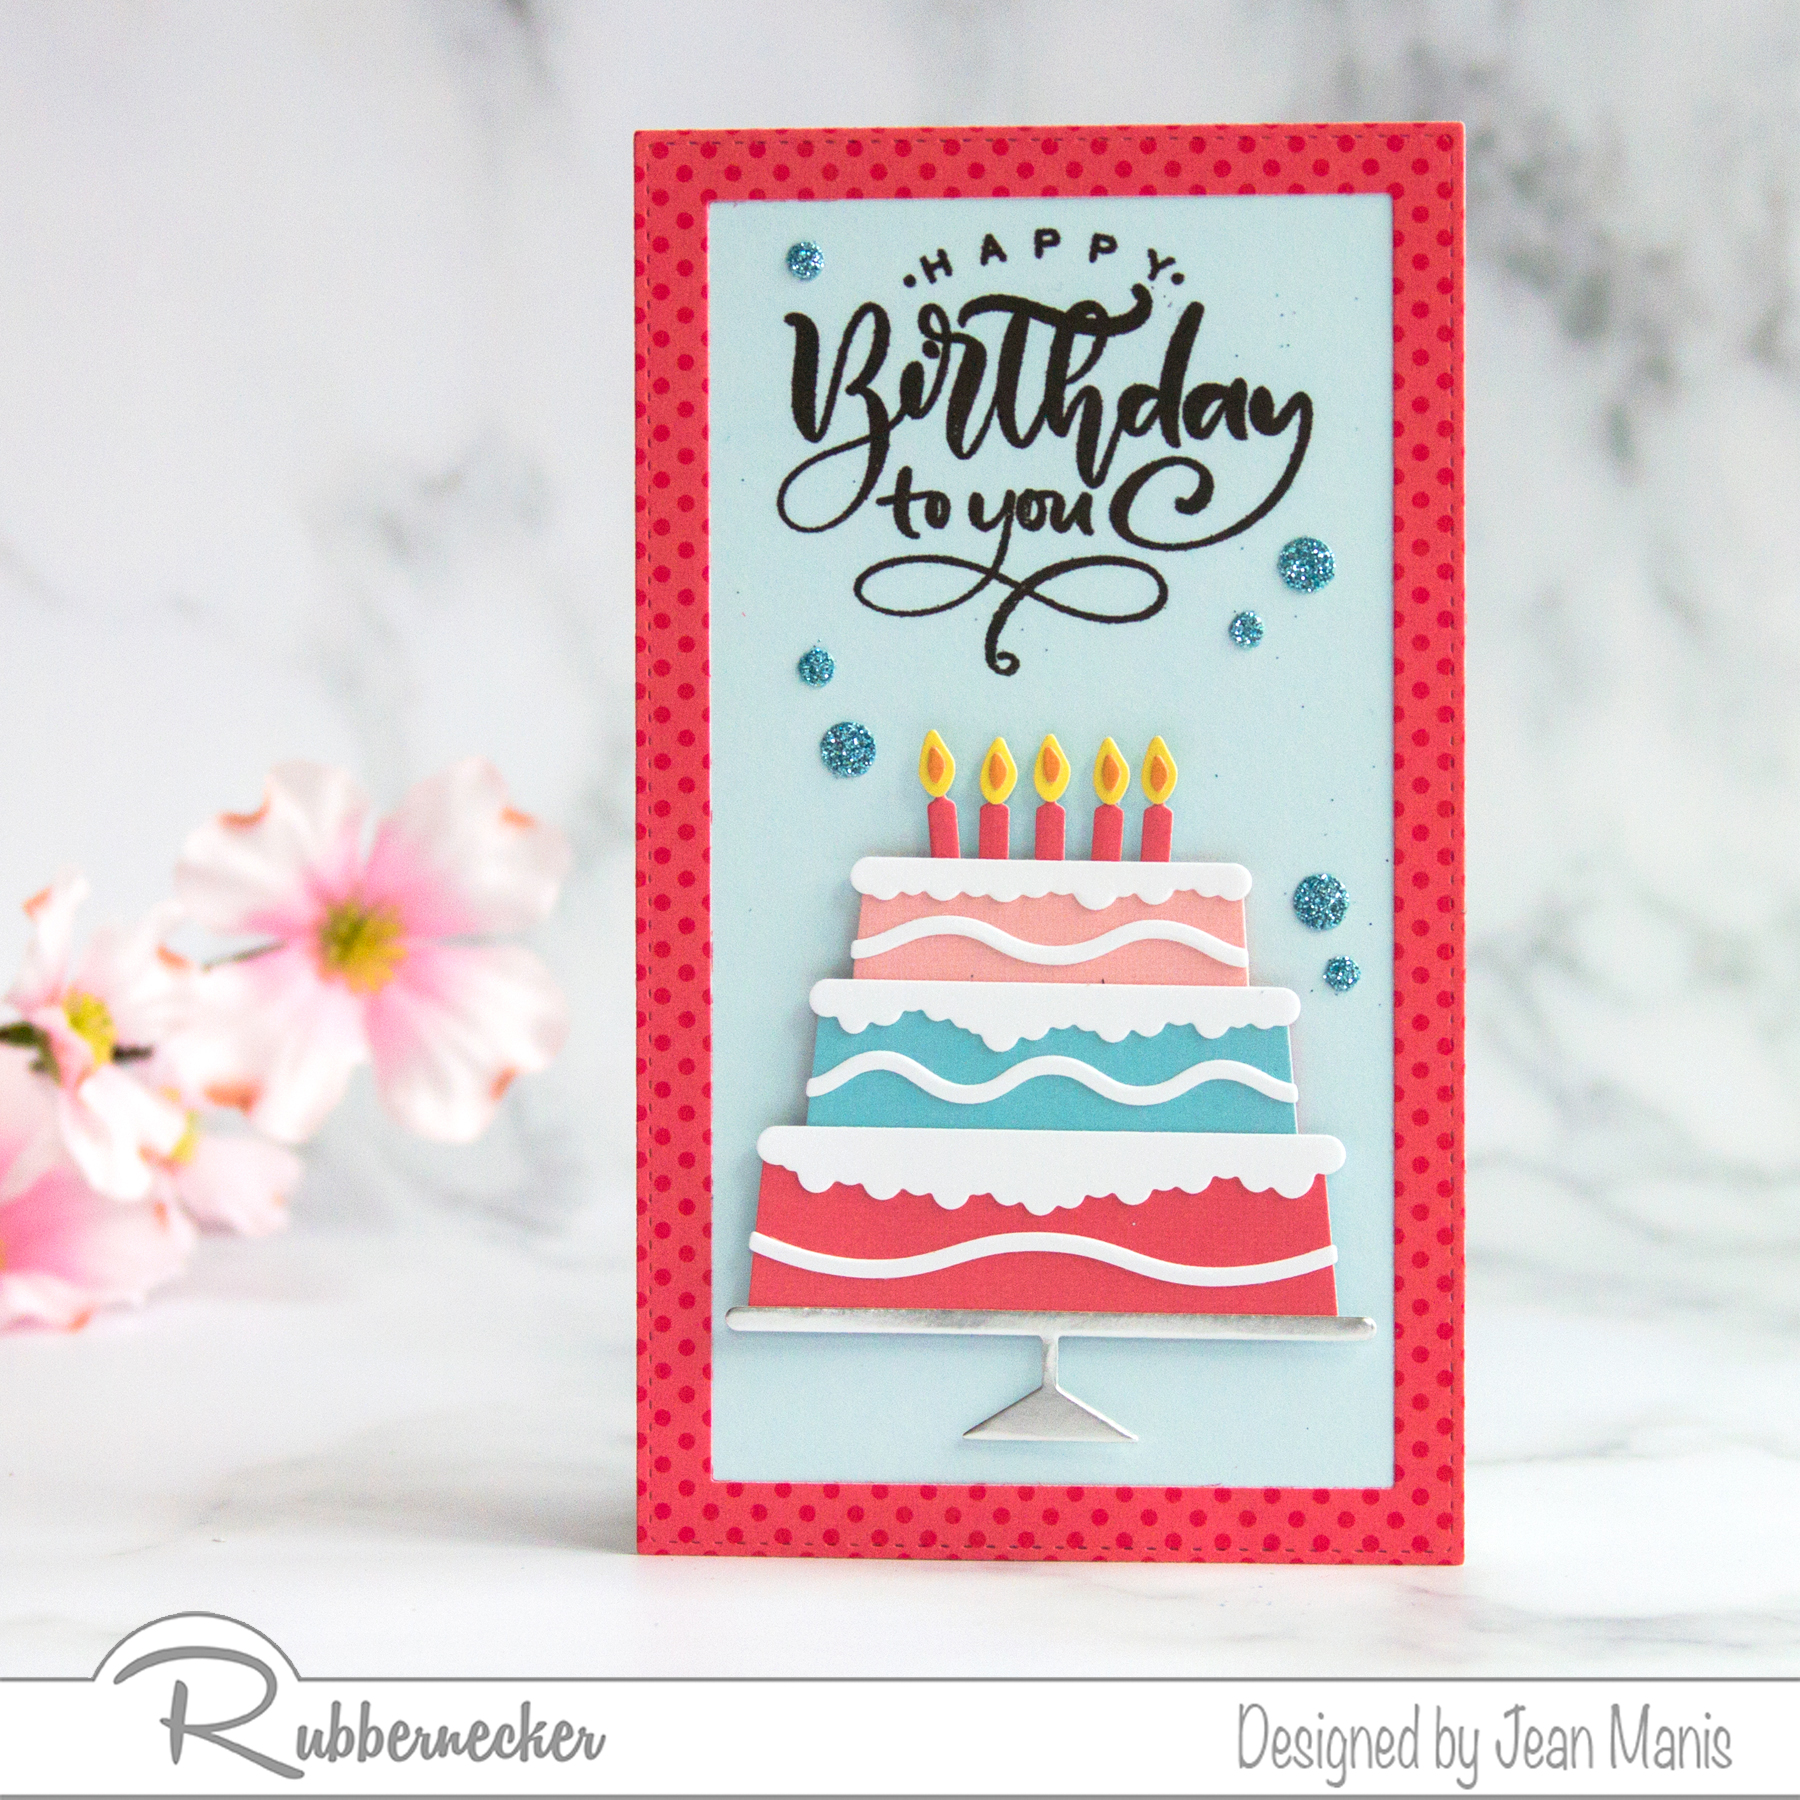
A decorated cake with candles is universally associated with birthdays, making it visually engaging for a broad audience. The colorful and decorative elements add a festive touch, enhancing the card’s appeal.
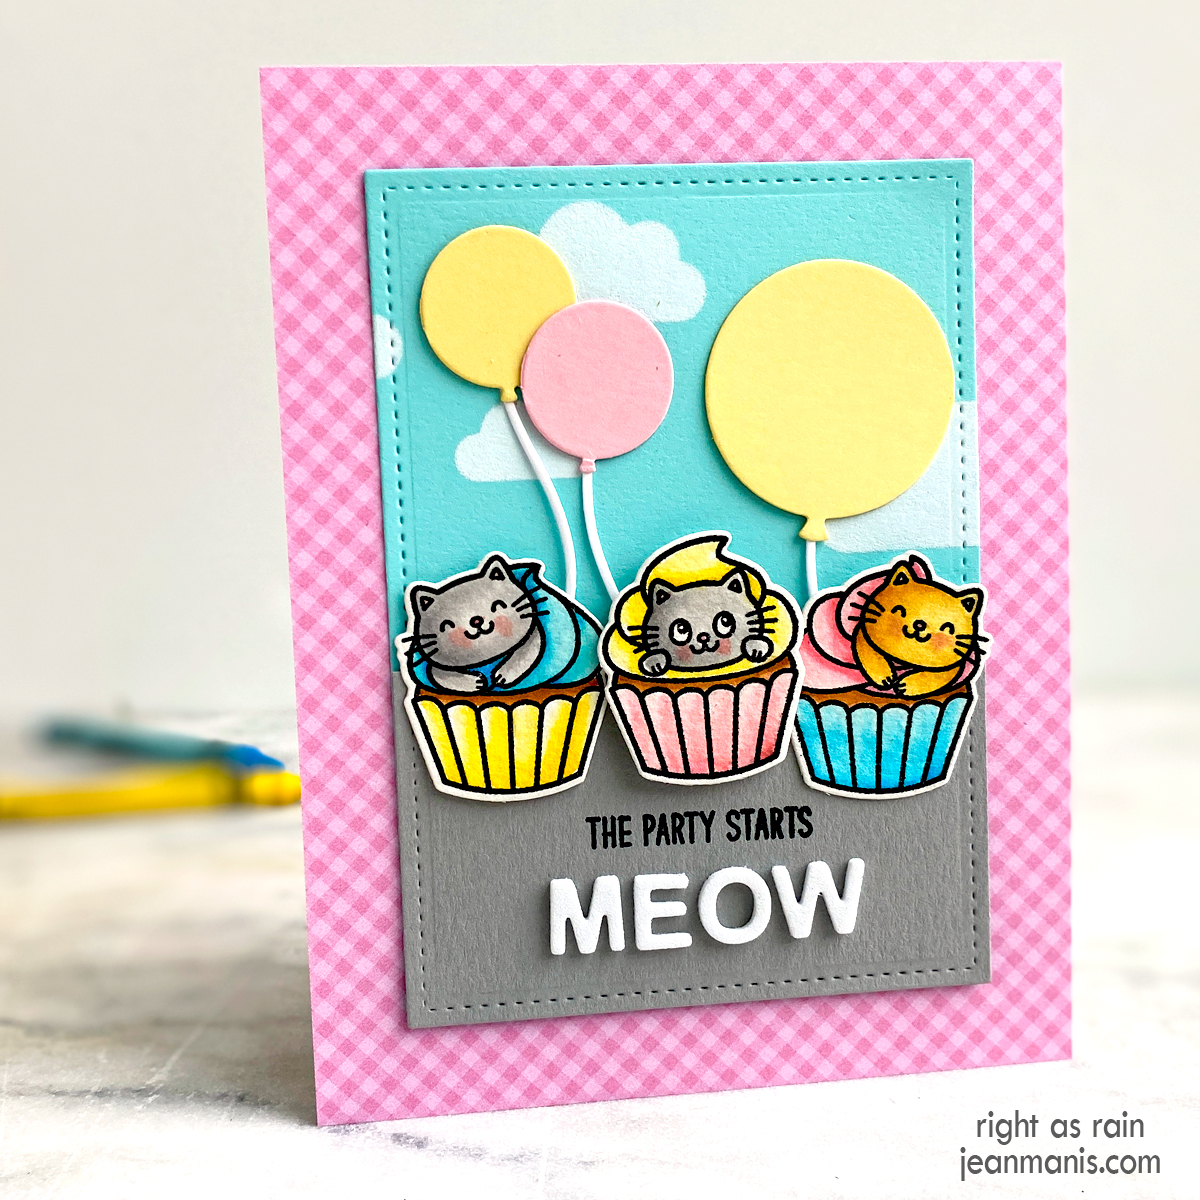
A card featuring cats in cupcakes combines whimsy and charm. This playful and cute depiction adds a unique and lighthearted touch to a birthday card that is particularly appealing to cat lovers.
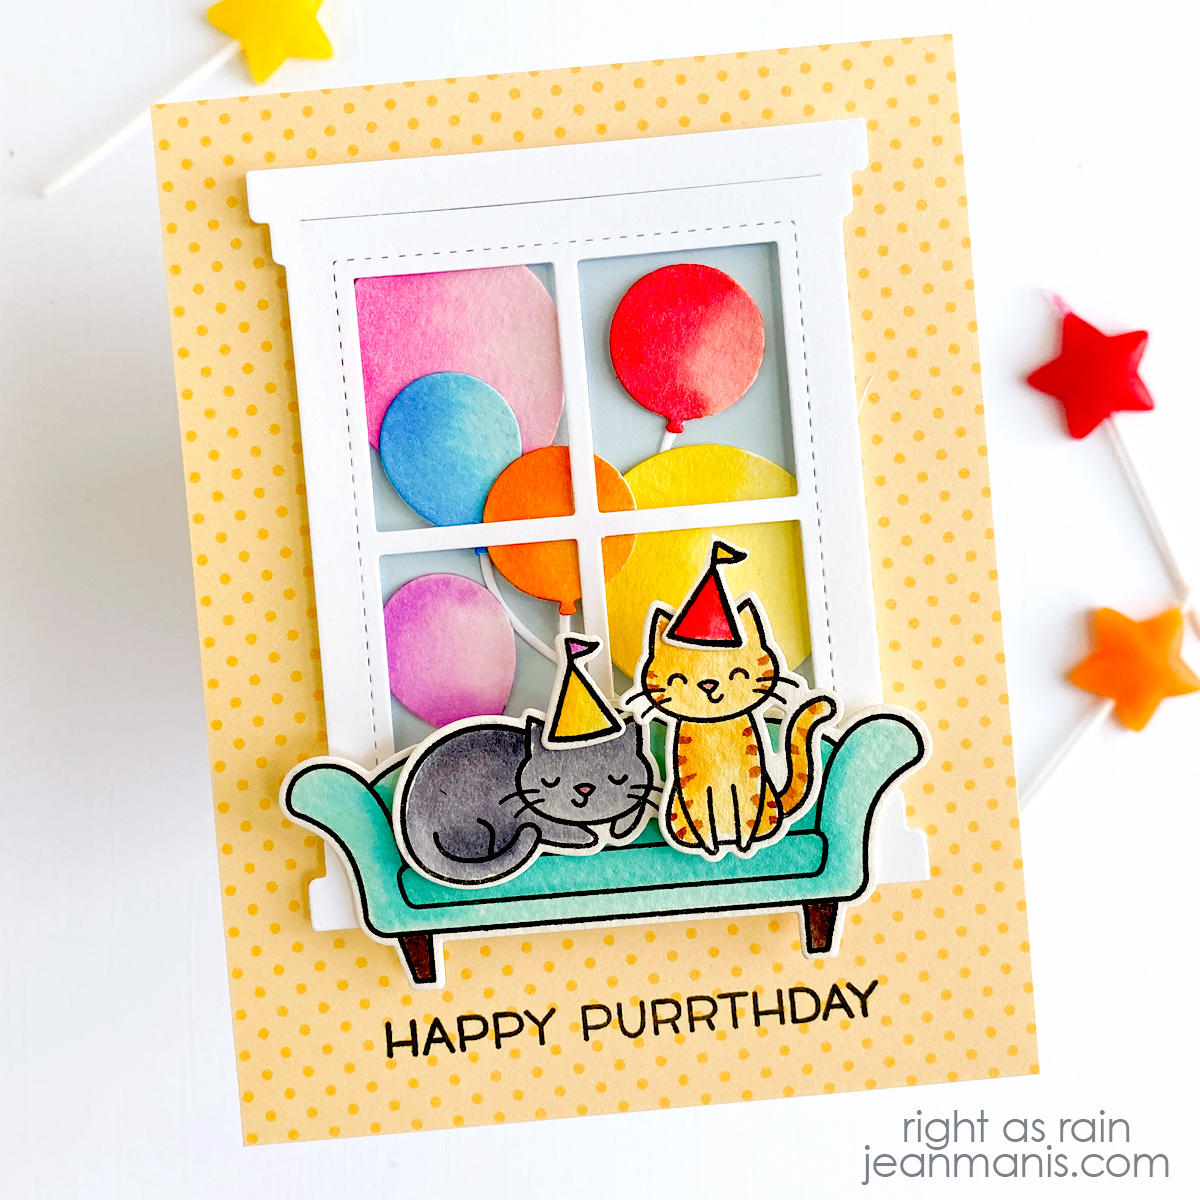
Another card appealing to cat lovers, cats wearing party hats in a cozy setting creates a sense of warmth and celebration. The addition of balloons outside a window adds a touch of festivity.
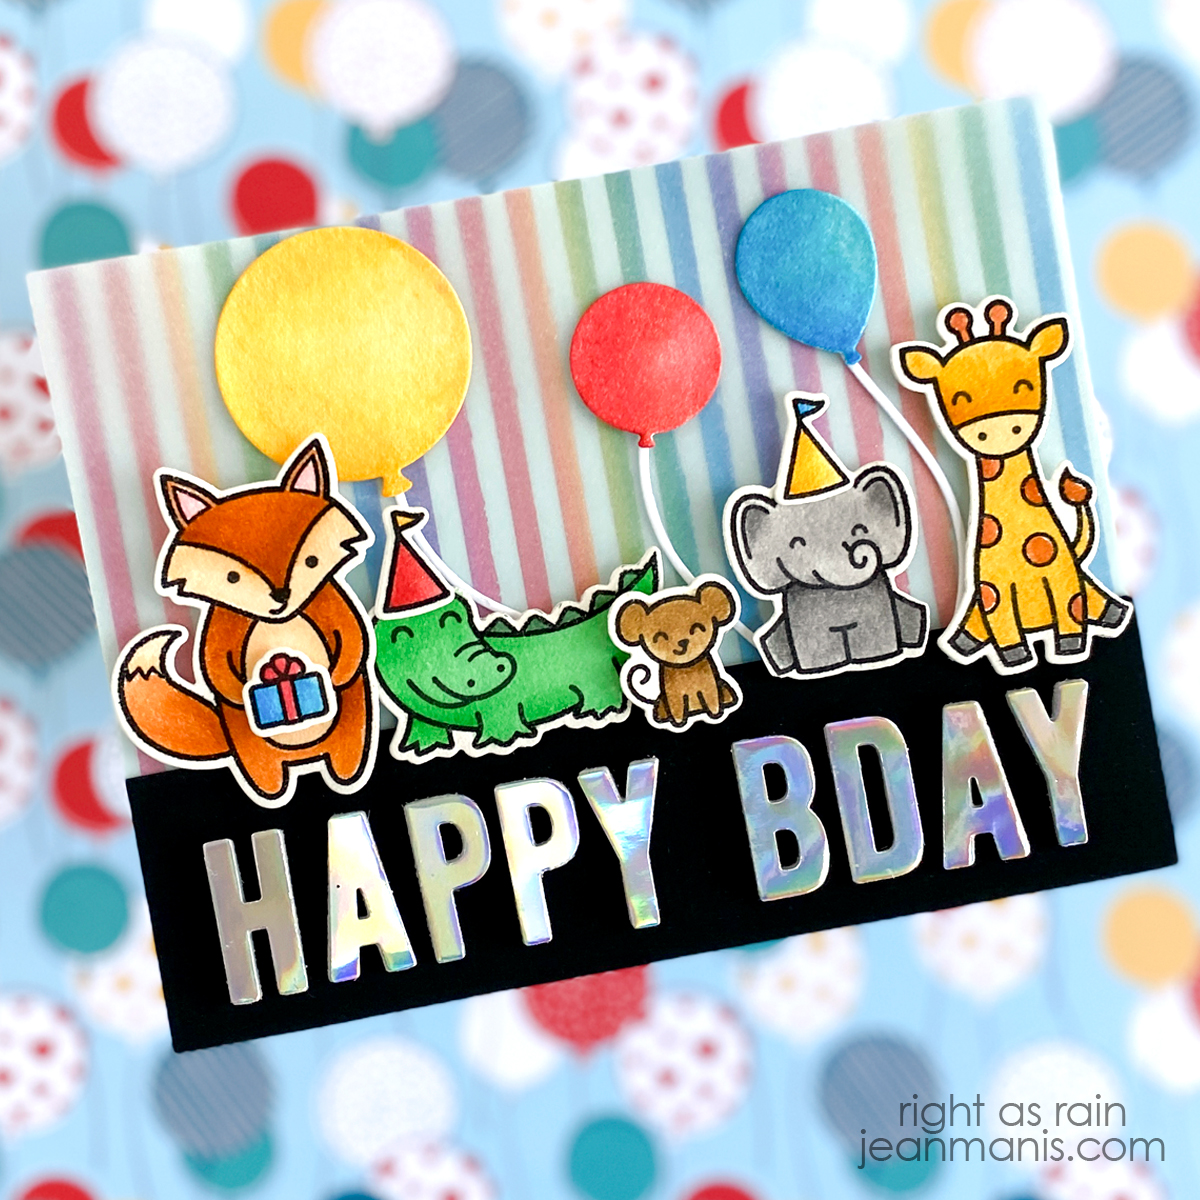
A mix of adorable animals adds a playful quality to a birthday card, while party hats, presents, and balloons create a celebratory atmosphere.
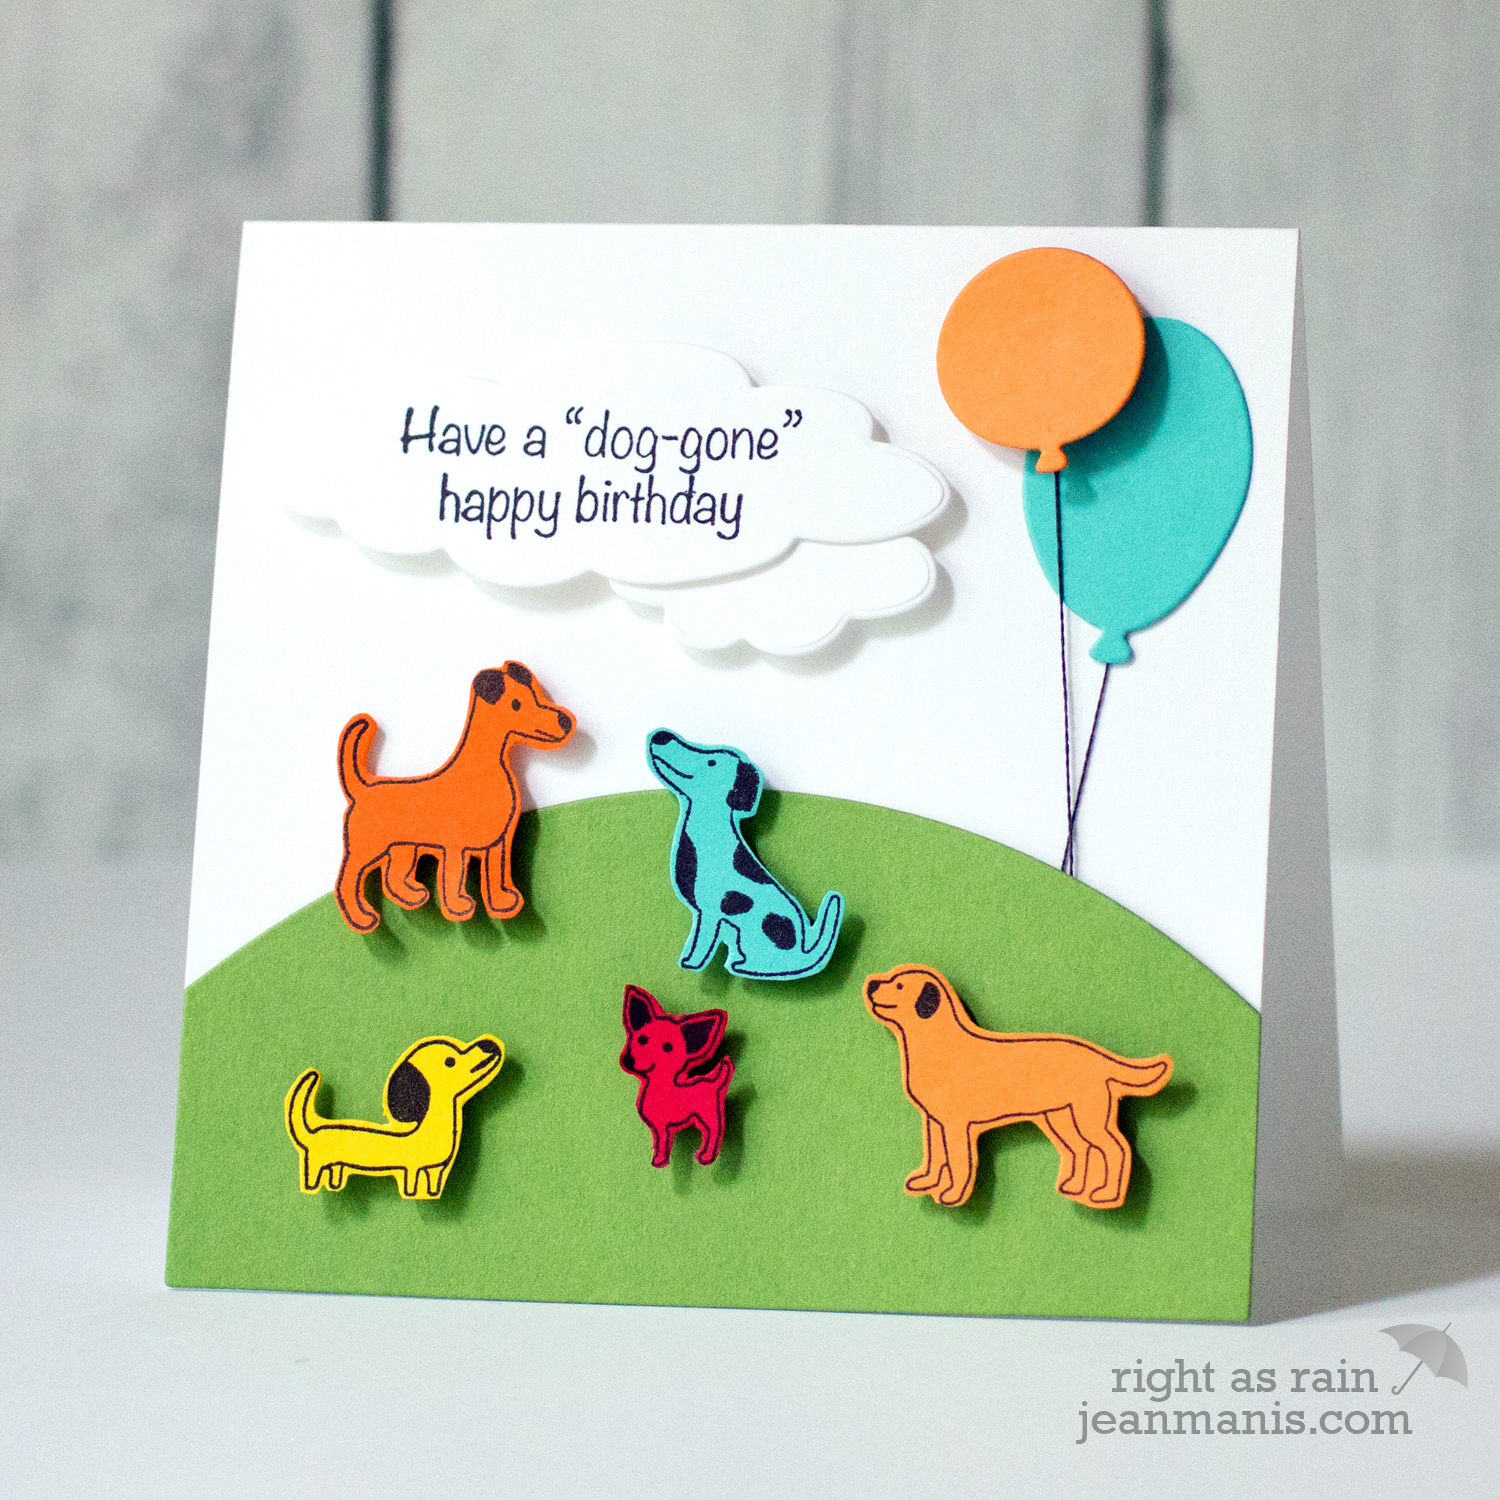
 Perfect for sending birthday joy to a dog enthusiast or someone who appreciates canine charm, a card showing dogs of various breeds at the park is heartwarming and festive.
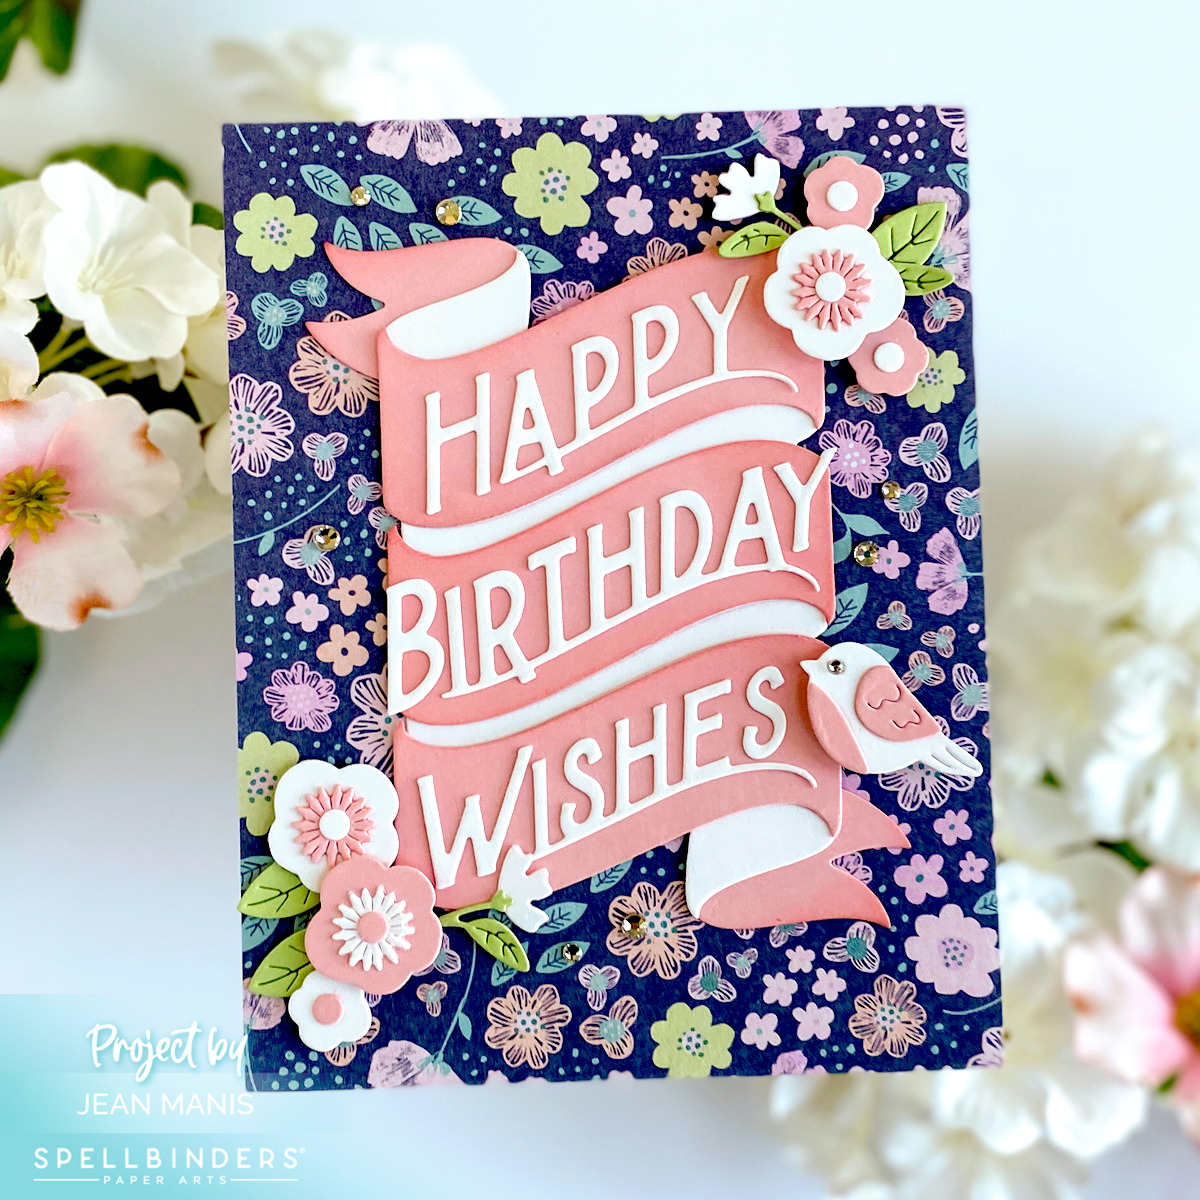
A birthday card with a die-cut sentiment of “Happy Birthday Wishes” on a banner background, set against floral-patterned paper and adorned with die-cut floral clusters, is fittingly feminine.
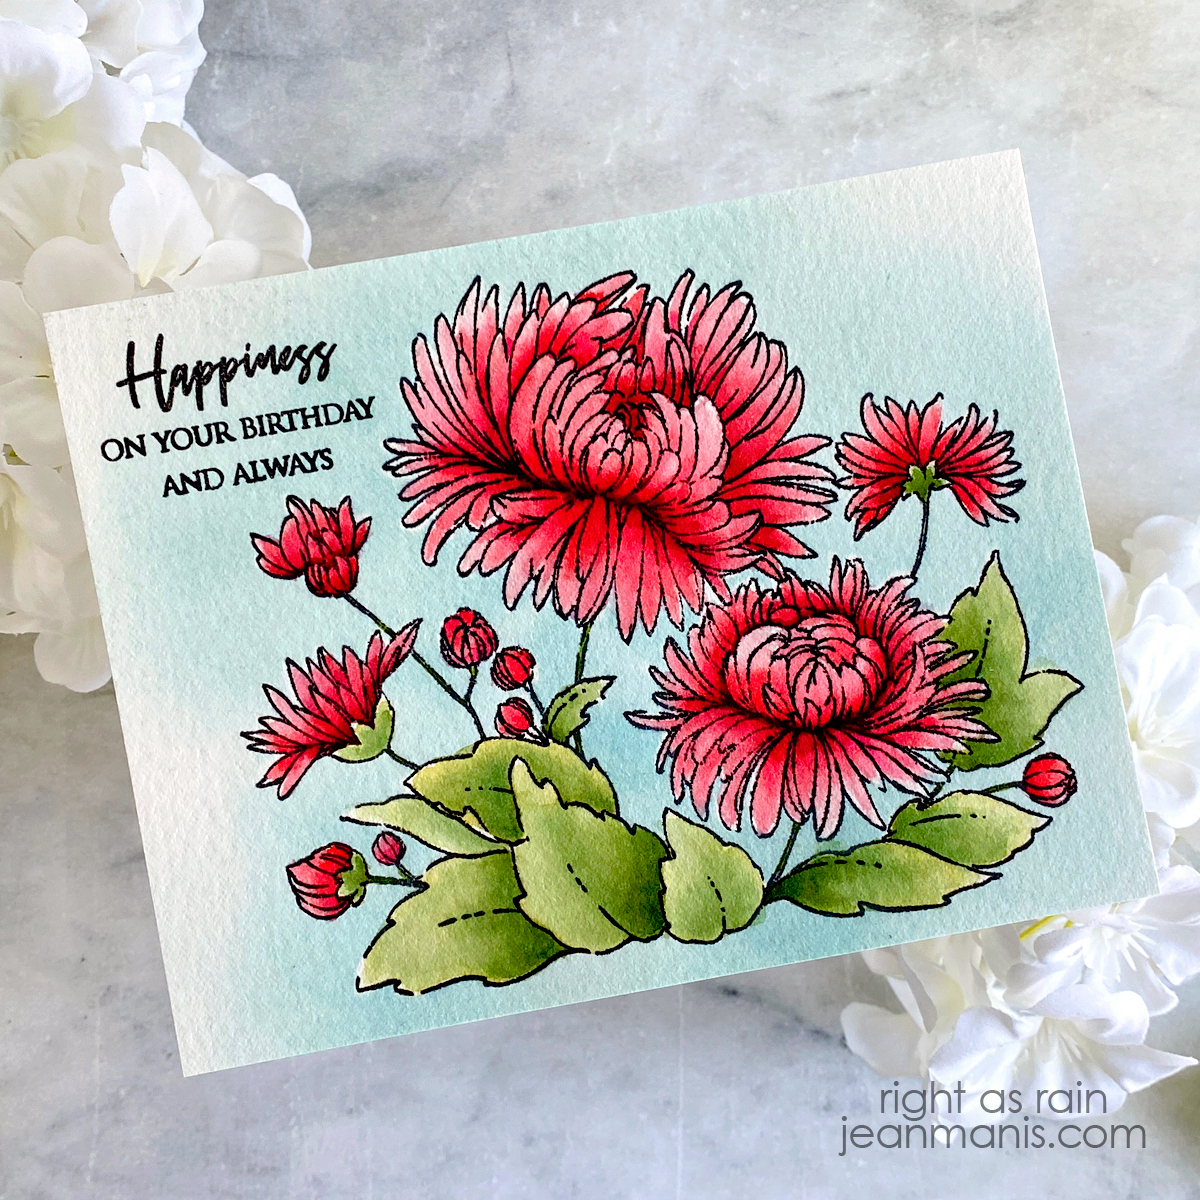
Both visually appealing and elegant, a birthday card featuring watercolored florals is not just a card but a miniature work of art that captures the eye.
Whether you’re captivated by colorful balloons, charmed by watercolored florals, or amused by cats and dogs ready to celebrate, the diverse birthday cards showcased above offer a range of styles and sentiments. I hope these cards spark your imagination, encouraging you to infuse your personal touch into birthday greetings.