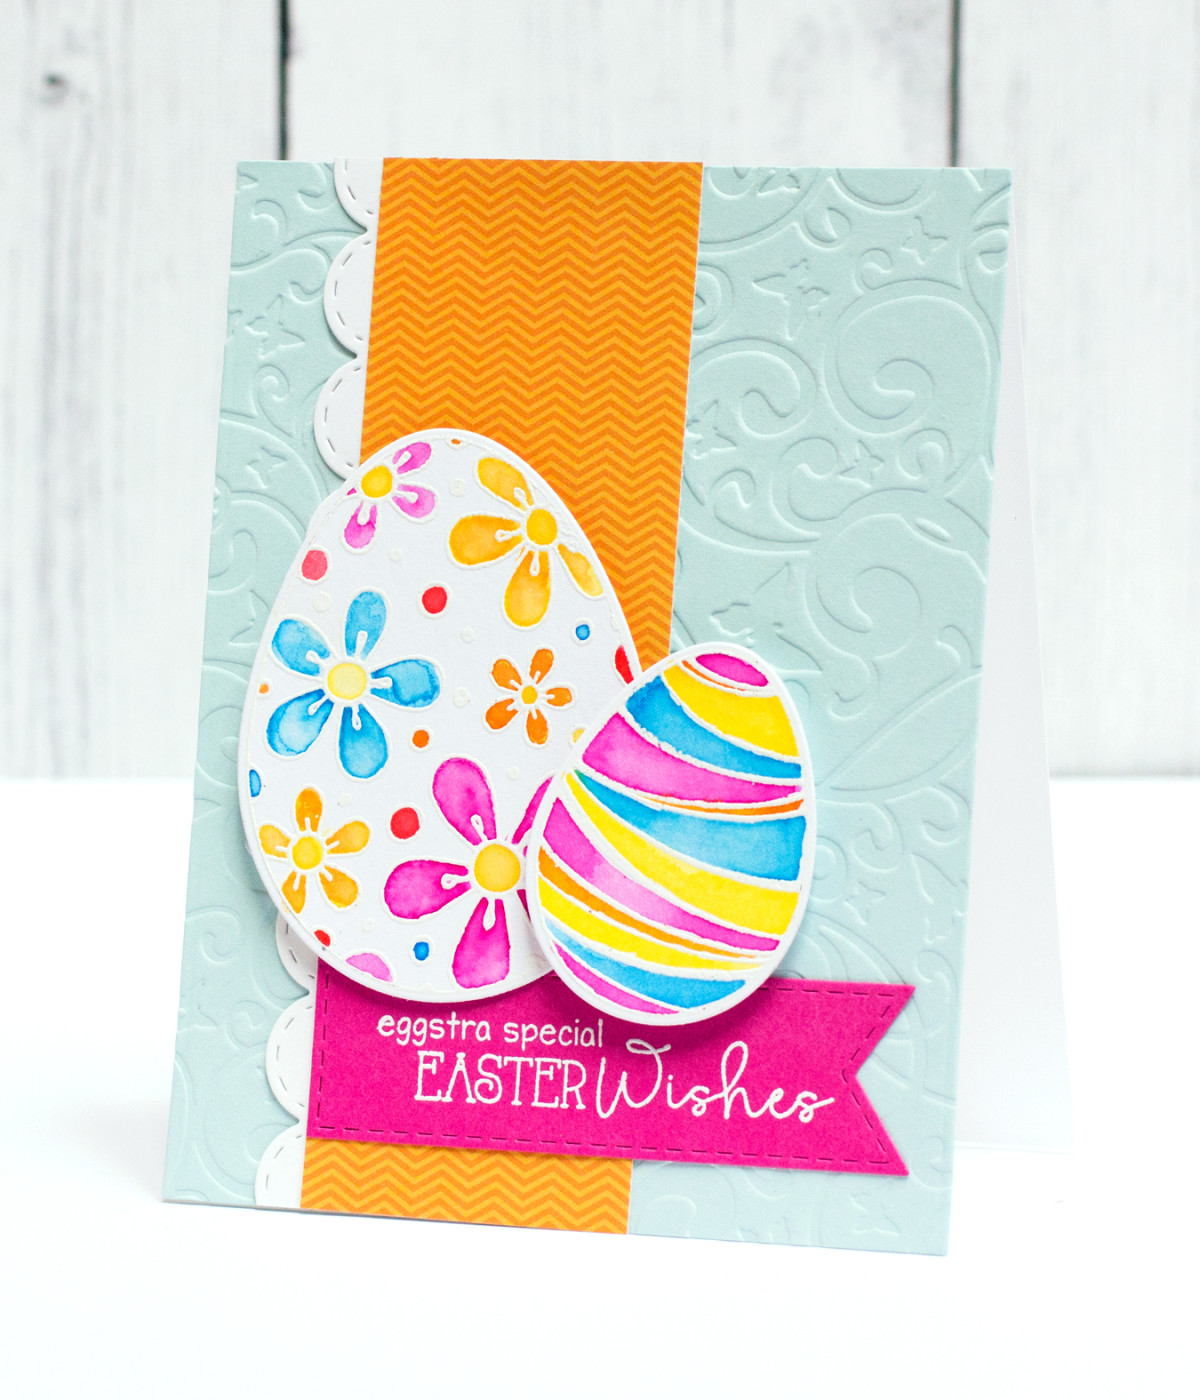
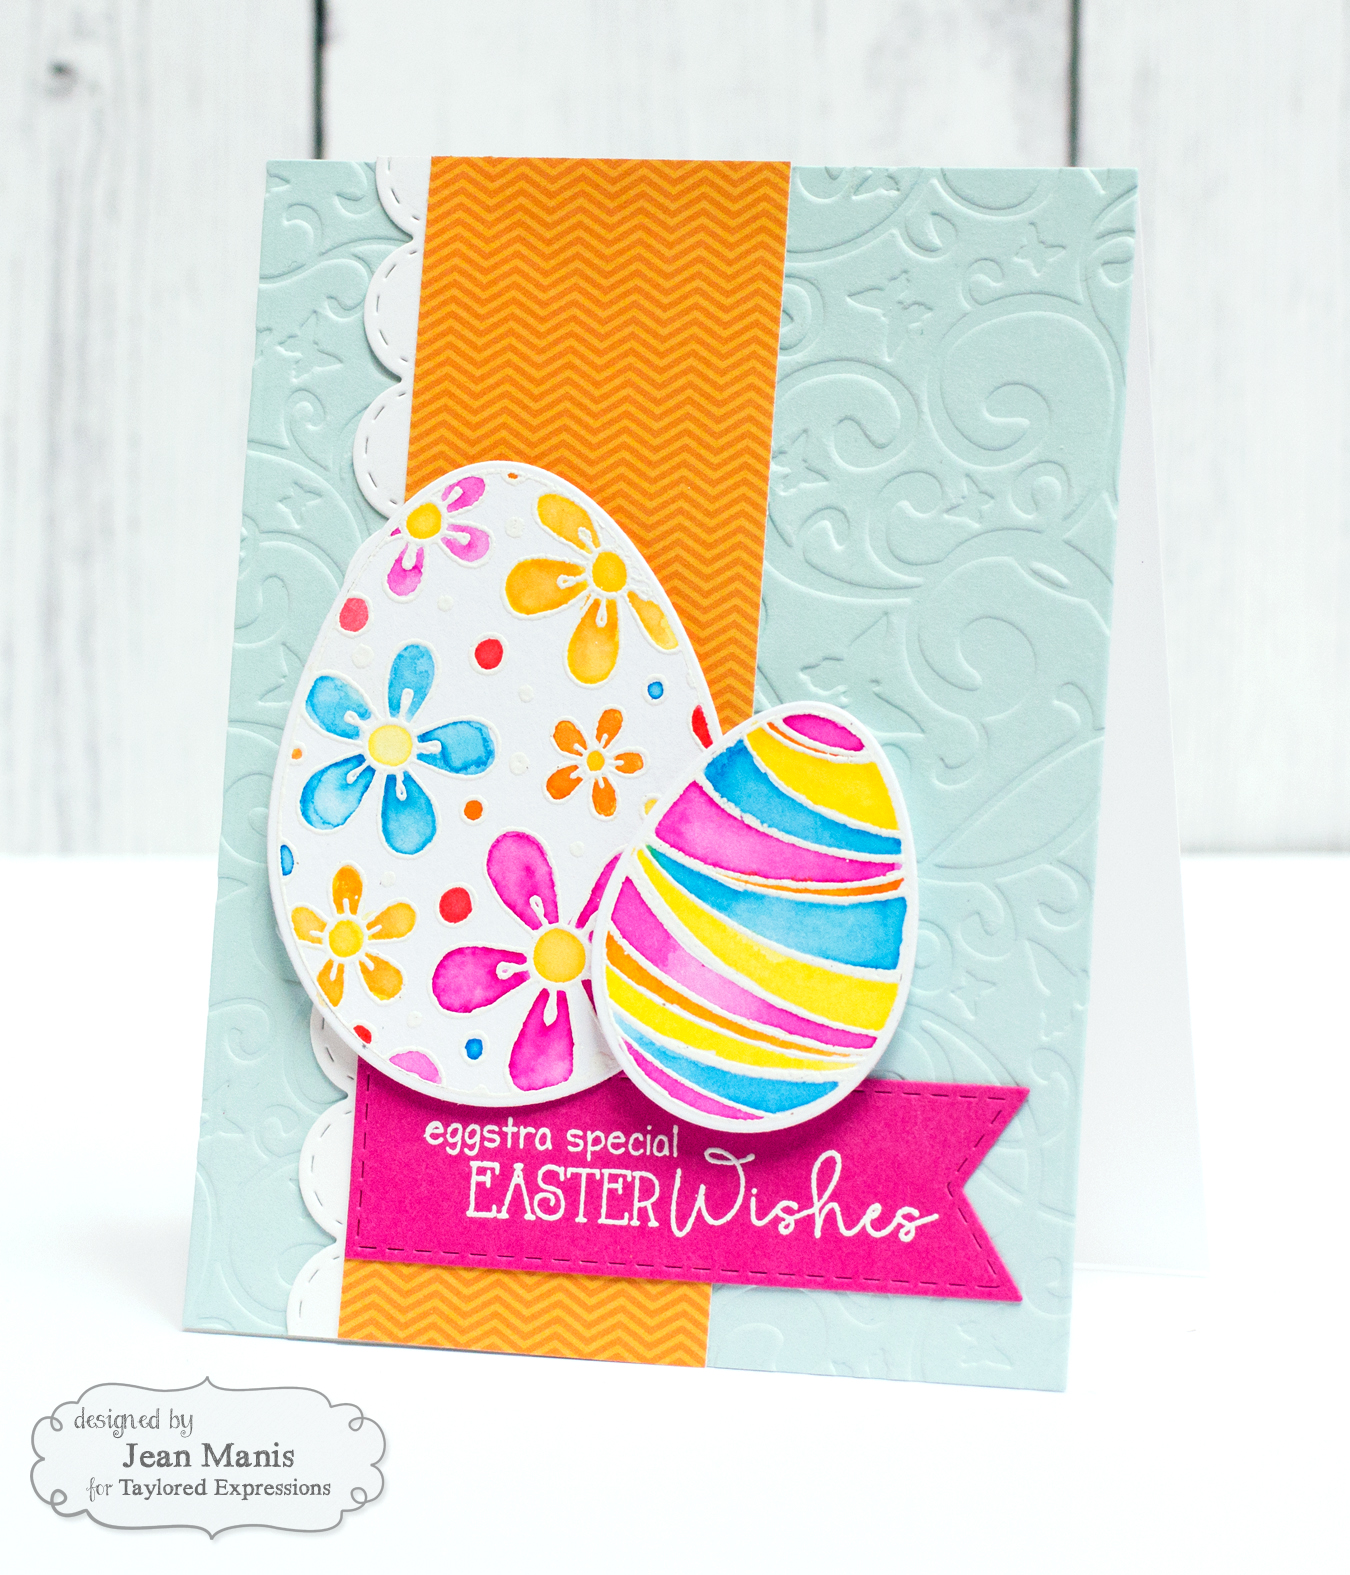
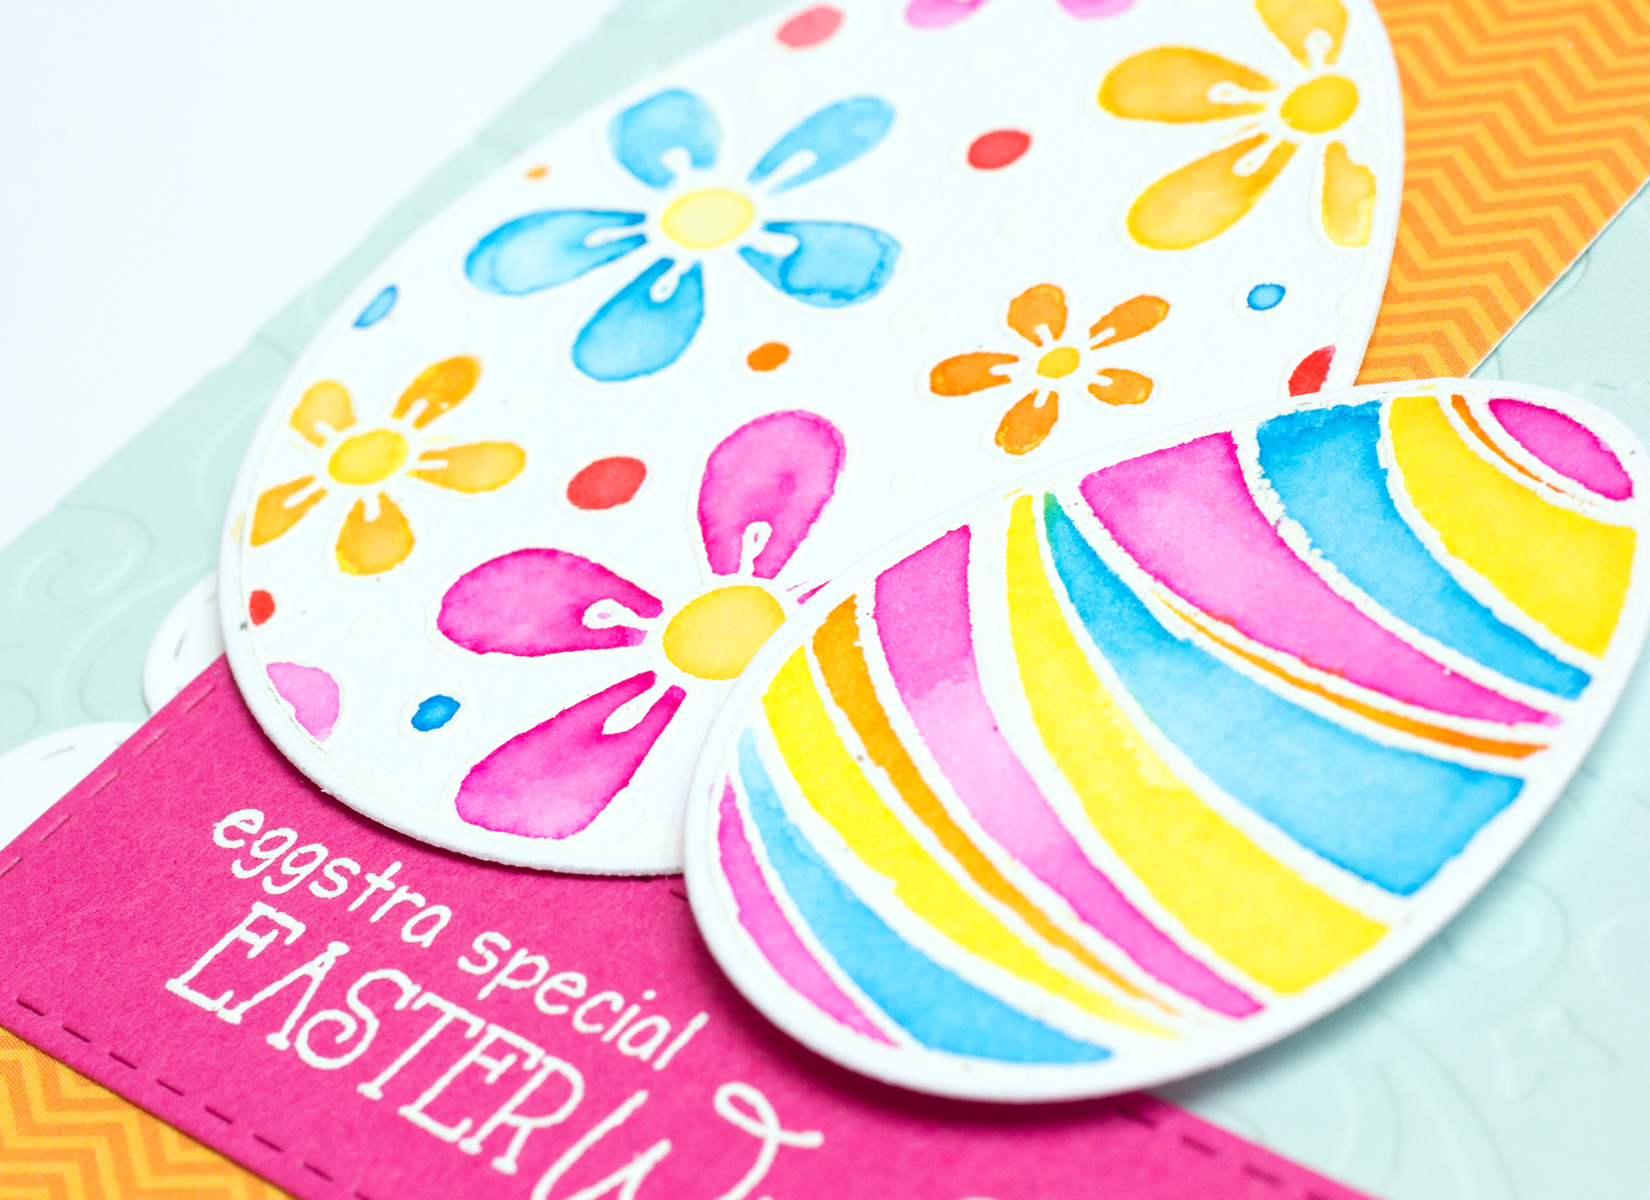
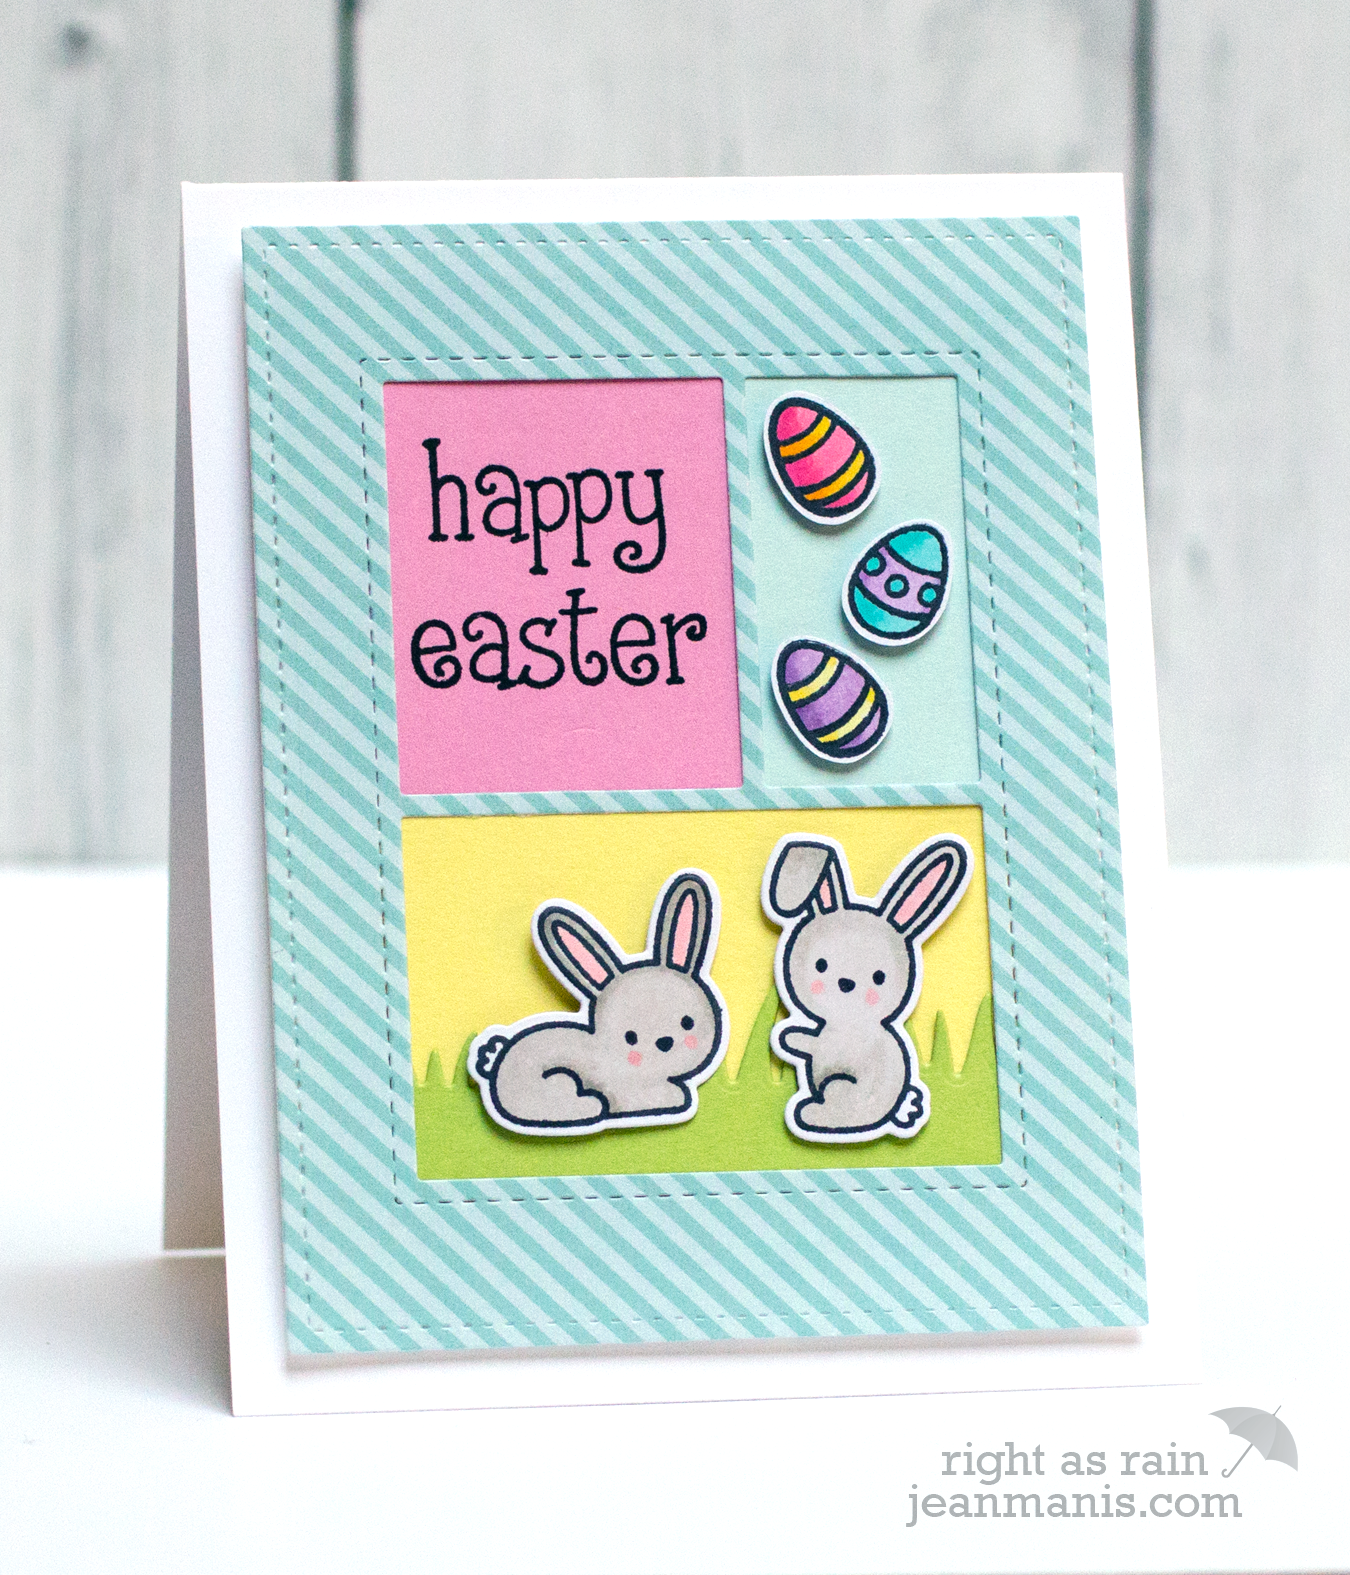
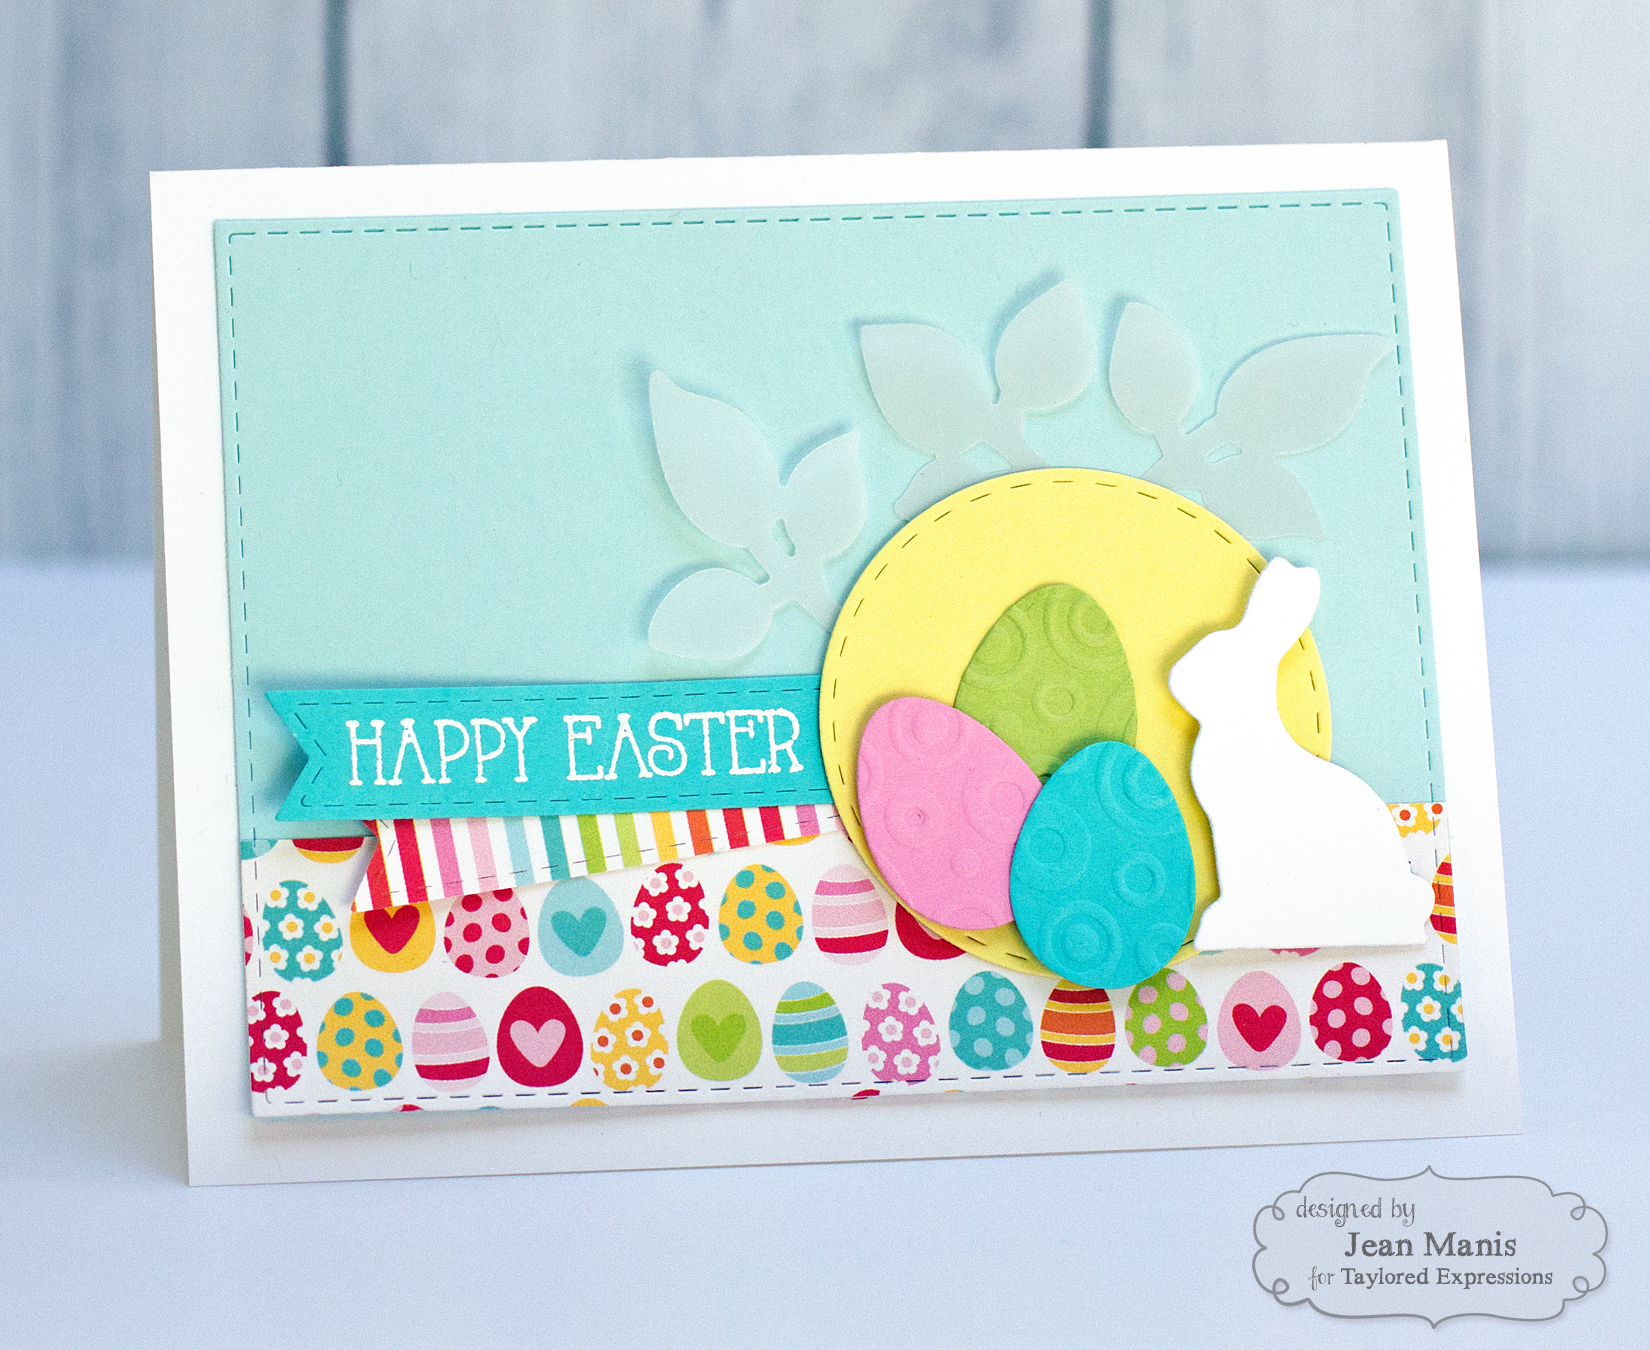
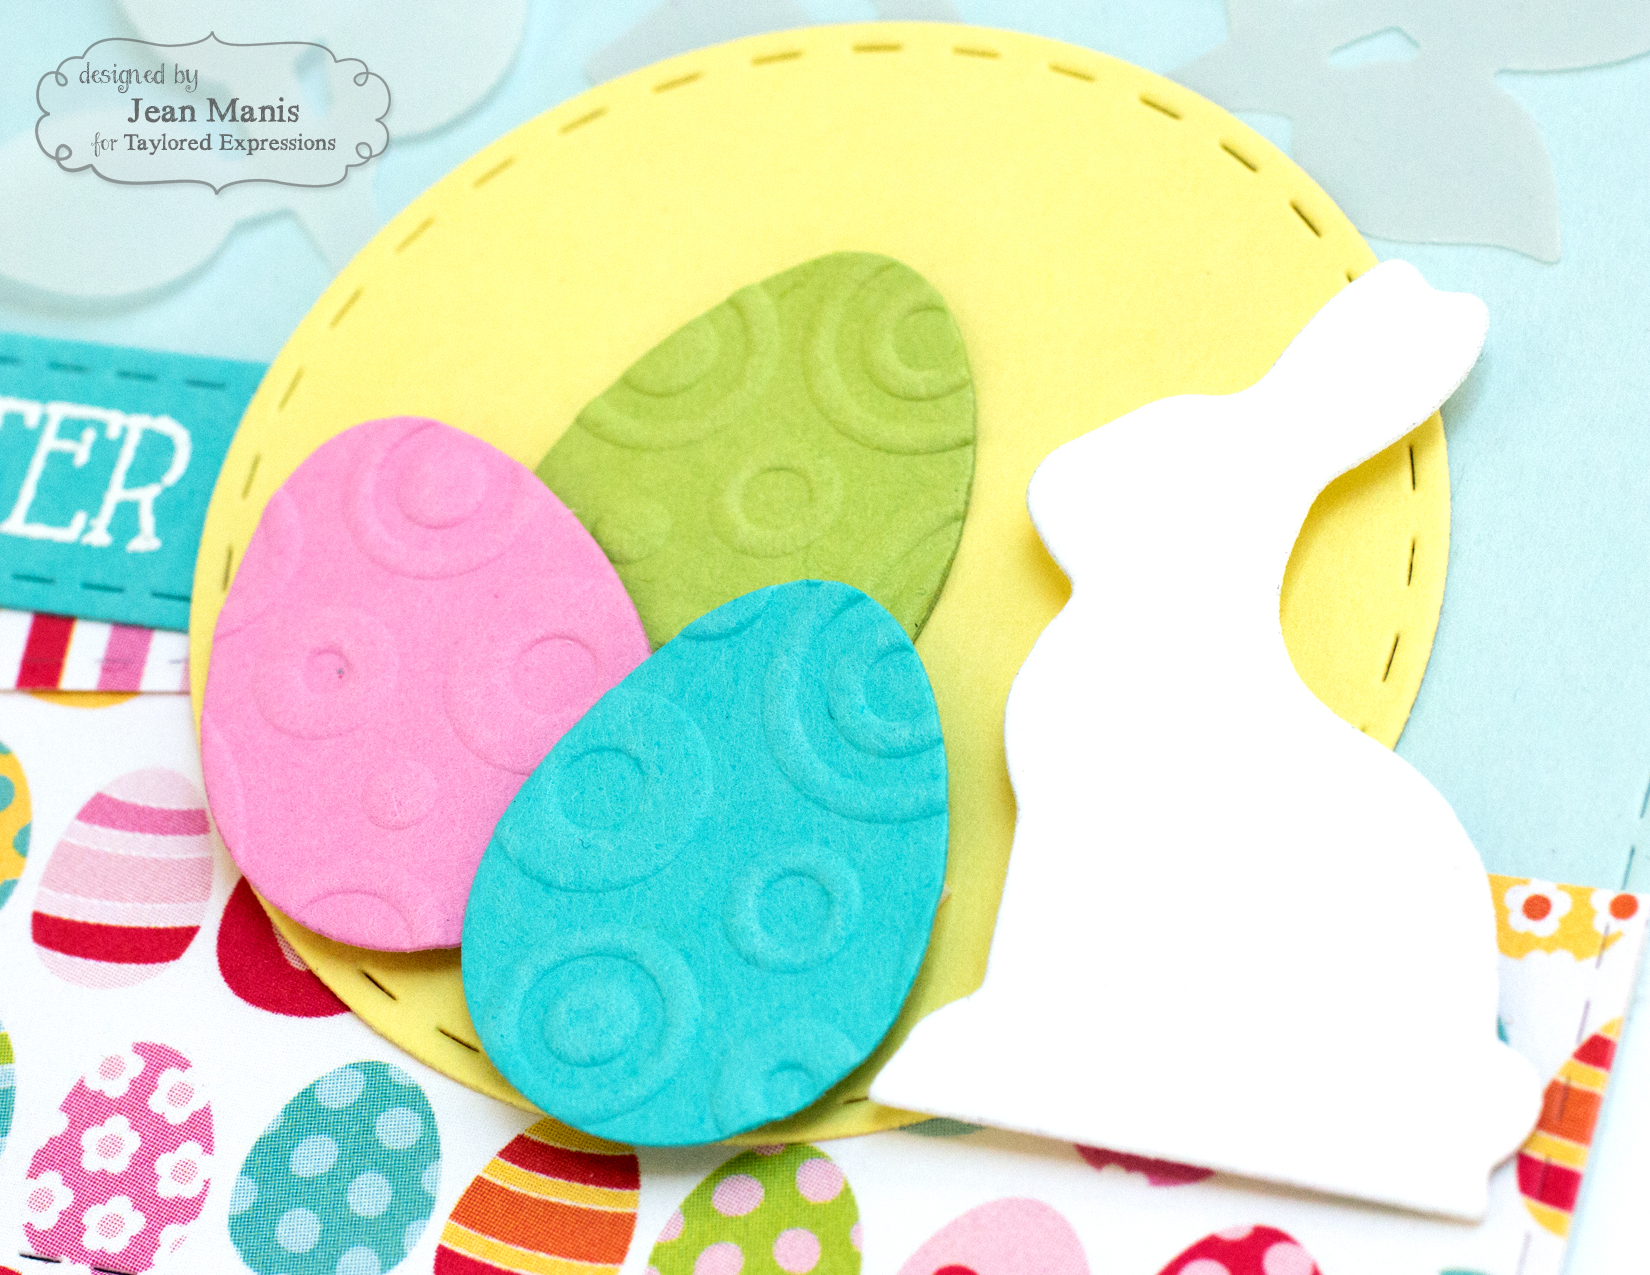
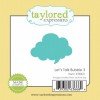
I’m sharing a CAS Easter card today featuring die-cut bunnies.
I cut the bunnies and squares from pink, orange, blue and yellow cardstock and adhered them to a card panel, onto which I’d printed the sentiment from my computer. A super-easy, super-fast card!
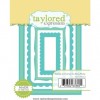
Poppy Stamps dies: Fuzzy Bunnies, Bunny Buddies, Fluffy Bunny


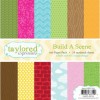
 Supplies (items in bold will be released March 3):