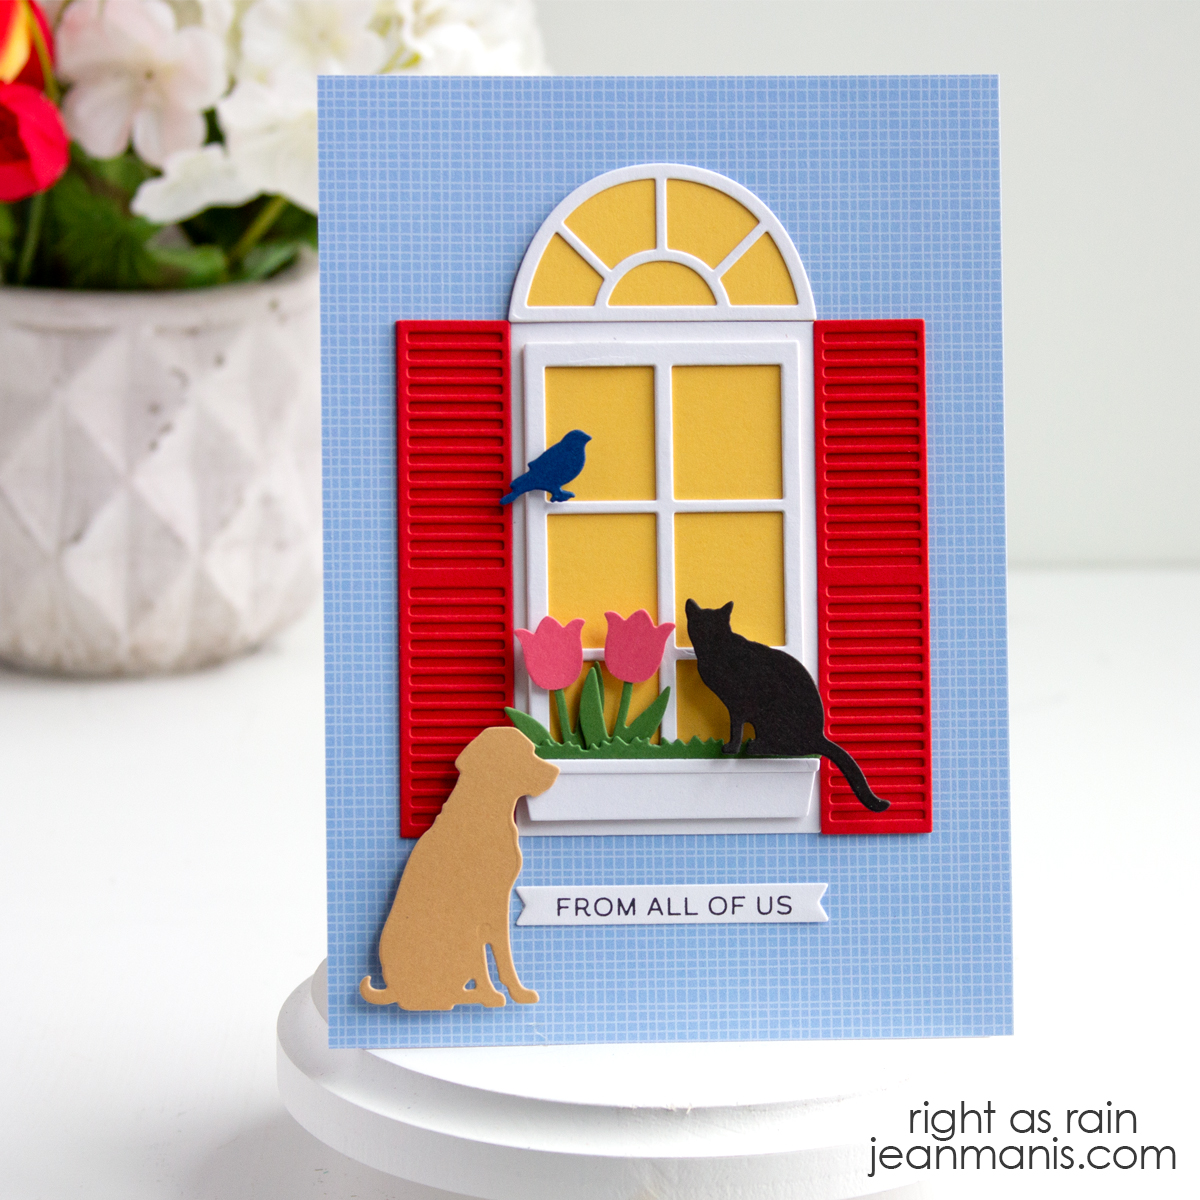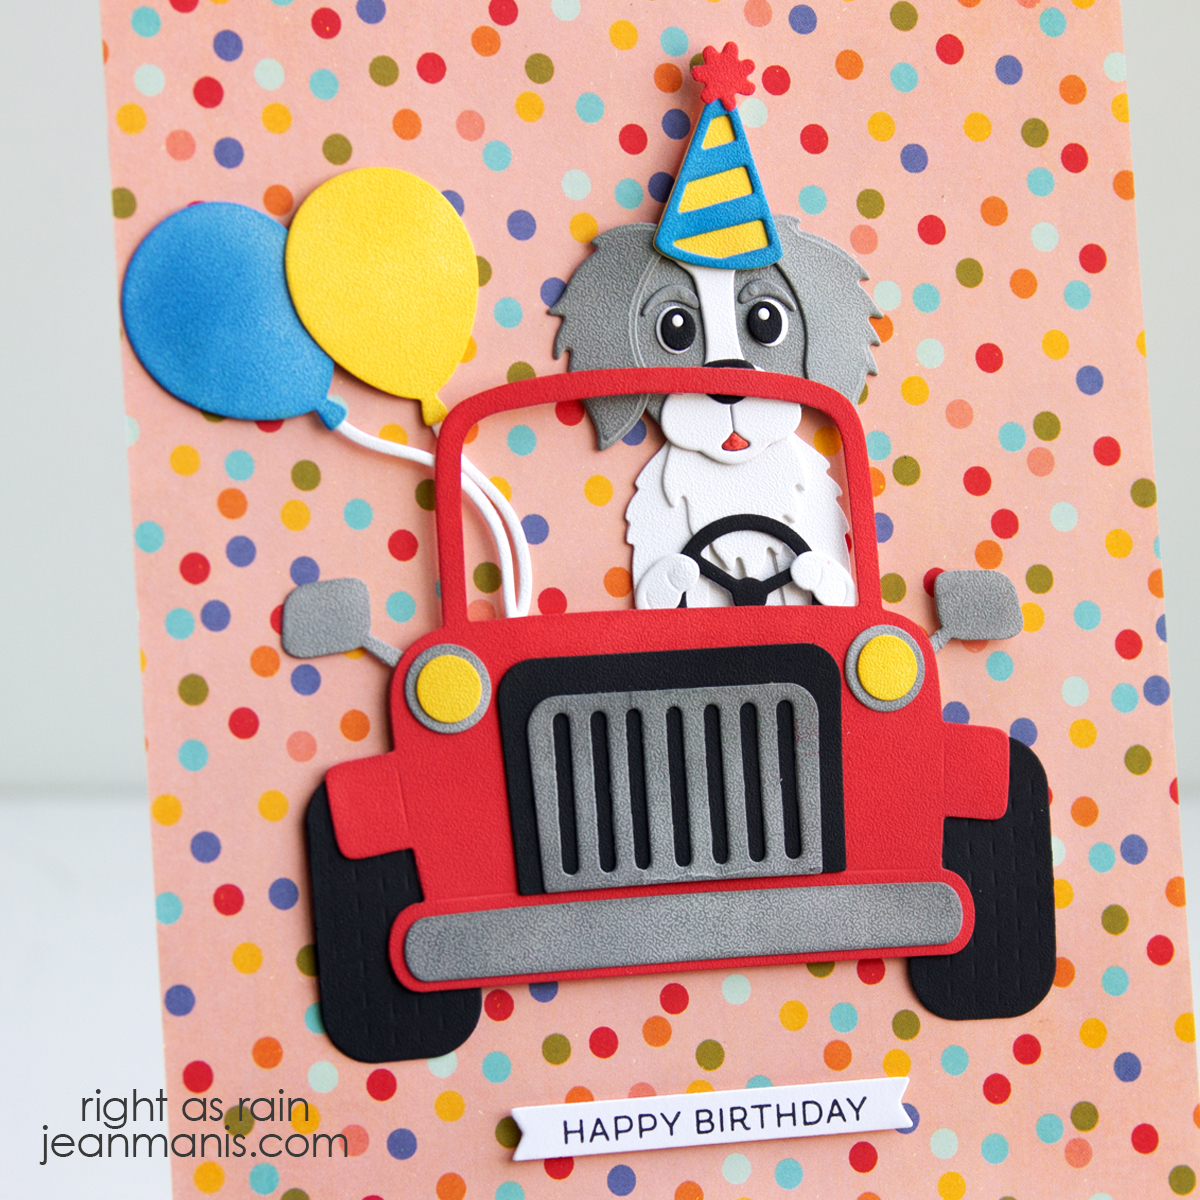
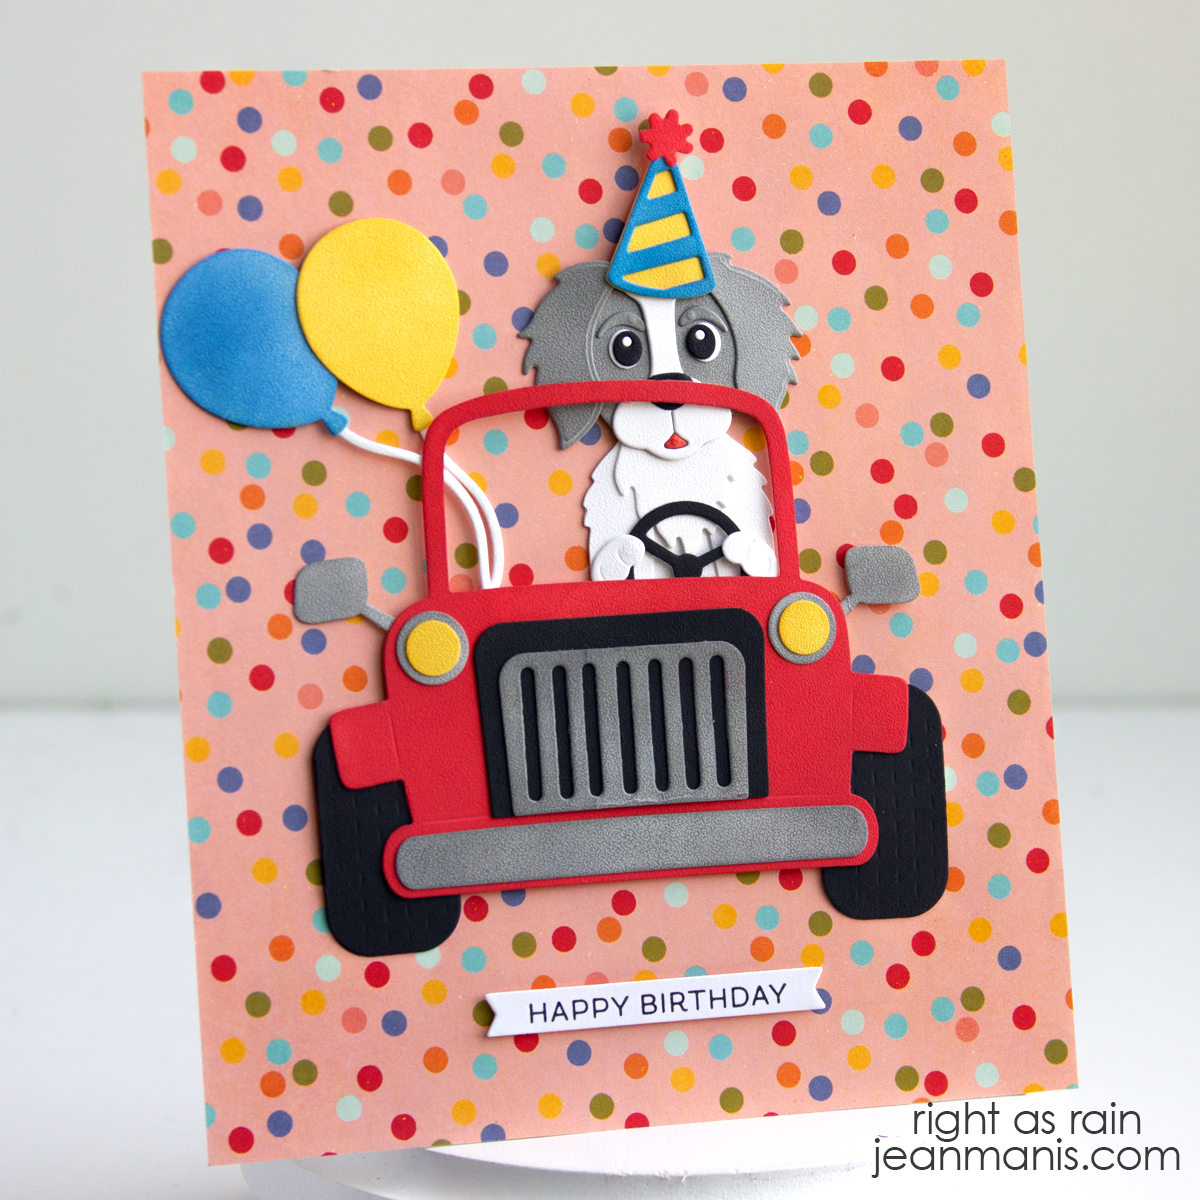
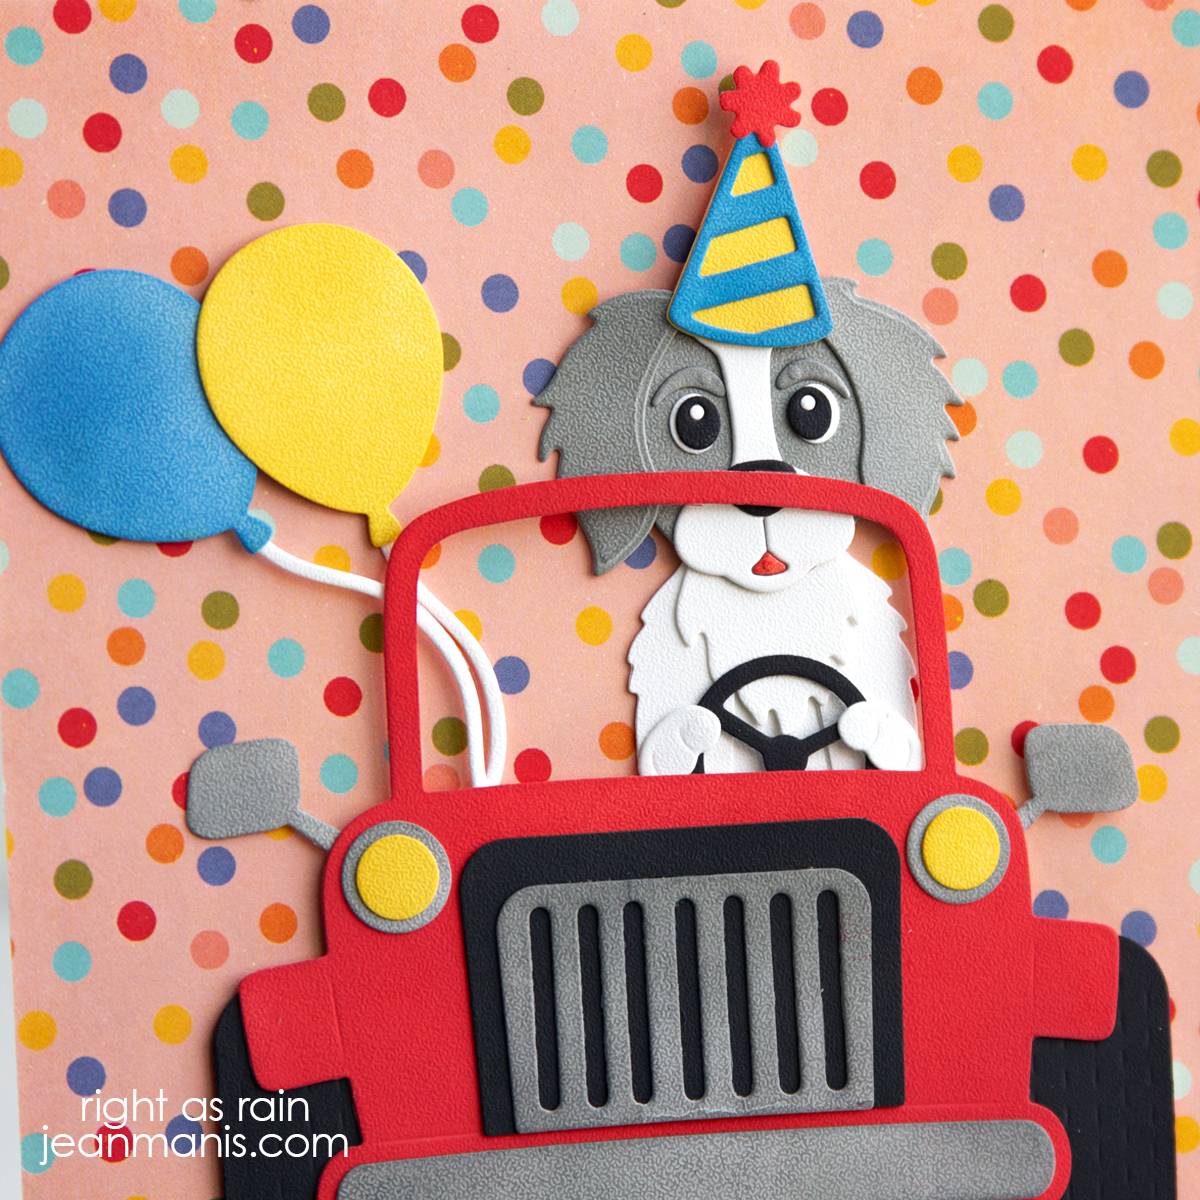
Hello! Today I’m sharing a birthday card (measuring 6″ x 7″) created with dies from Elizabeth Craft Designs. The Jeep die was originally designed for a now-retired collection. I paired it with a dog from the more recent Dog Days Collection. Swapping in a different animal gives the design a fresh personality while keeping a fun feel for anyone who enjoys a little adventure.
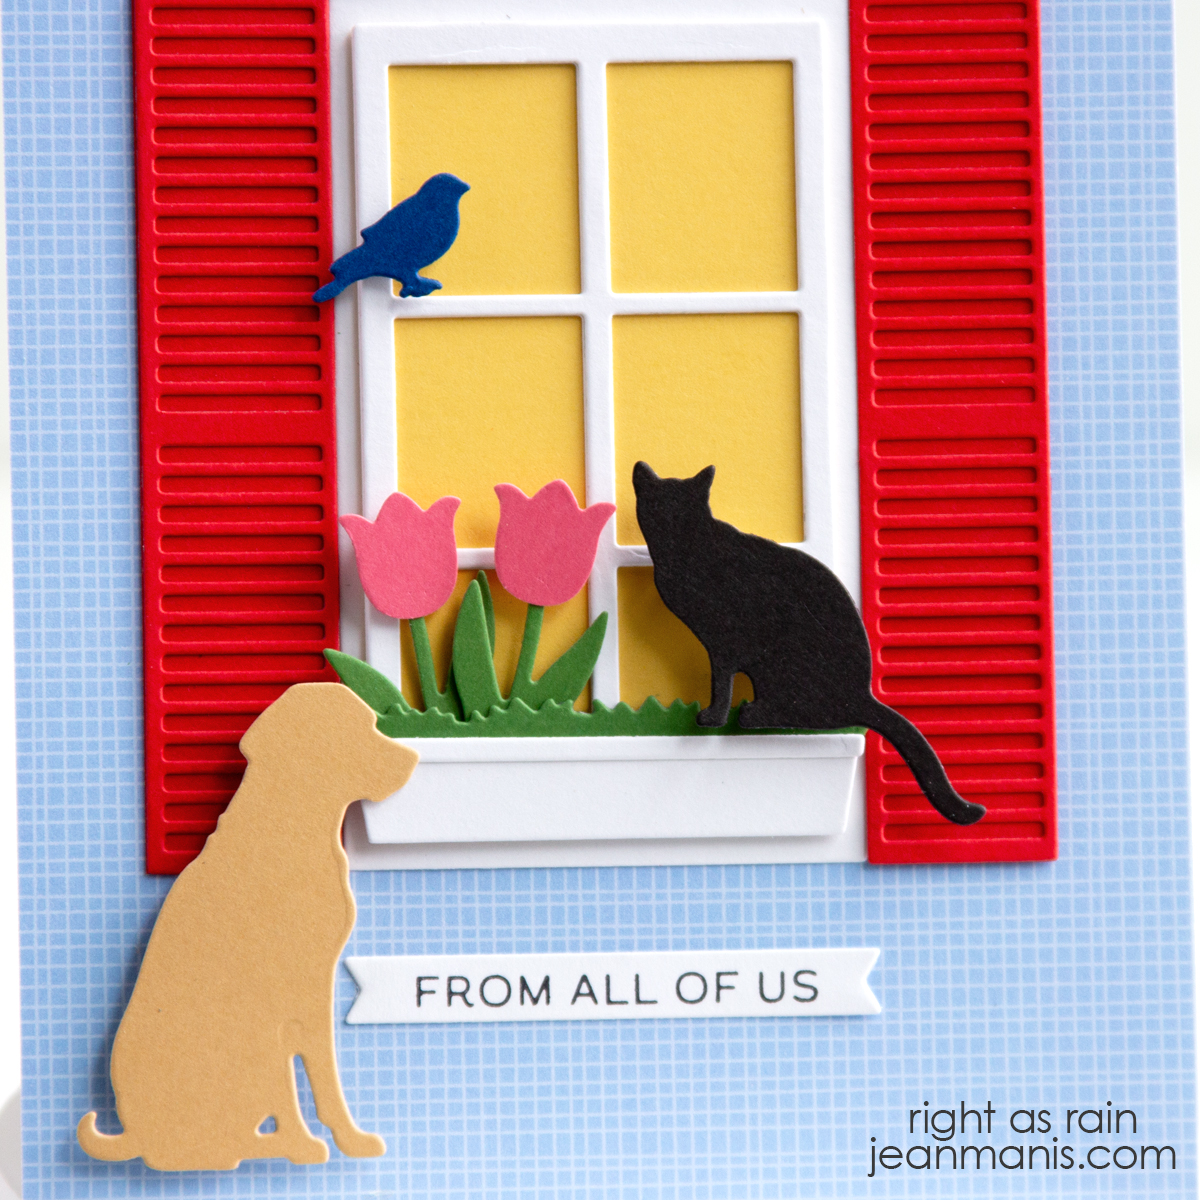
I added the “Happy Birthday” sentiment created from the Always and Forever Sentiments set from Spellbinders. I always end up with extra sentiments from this set since you press and cut 16 at a time, which makes it a great value. Those extras are perfect for adding to scene cards where the main focus is the imagery, and the sentiment supports the story.
I created a similar card with the monkey in the Jeep HERE. I created a scene with the dog in a car (part of the Dog Days Collection) HERE.
You don’t always need to reinvent the wheel when making cards. Mixing and matching older products from the same company can lead to fresh, unexpected combinations that feel brand new. It’s also a smart way to be economical with both your time and budget, getting more mileage from the products you already own.
Retired Elizabeth Craft Designs die sets: Safari Jeep, Party Accessories