Let’s Go Camping – Elizabeth Craft Designs

Hello! Today I am sharing an adventure-themed card featuring die sets from Elizabeth Craft Designs. Camping is one of my favorite summer themes, right up there with nautical!

Let's Go Camping - Elizabeth Craft Designs

  • I colored soft-finish cardstock with Distress Inks and cut the various pieces for the bear, tent, fire, and s’more stick.
  • I assembled the pieces.
  • I created a 5″ x 7″ background on which I heat-embossed the sentiment.
  • I trimmed the tent on the left-hand side (because I was running out of room!).
  • I added the assembled pieces to the scene, adhering the fire and the s’more with foam adhesive.
  • Once I had everything in place, I added the star sequins as the blue sky looked blank. Had I thought of it earlier, I might have added stars through a stencil instead.

Let's Go Camping - Elizabeth Craft Designs

Details:

Elizabeth Craft Designs Monkey Birthday Card

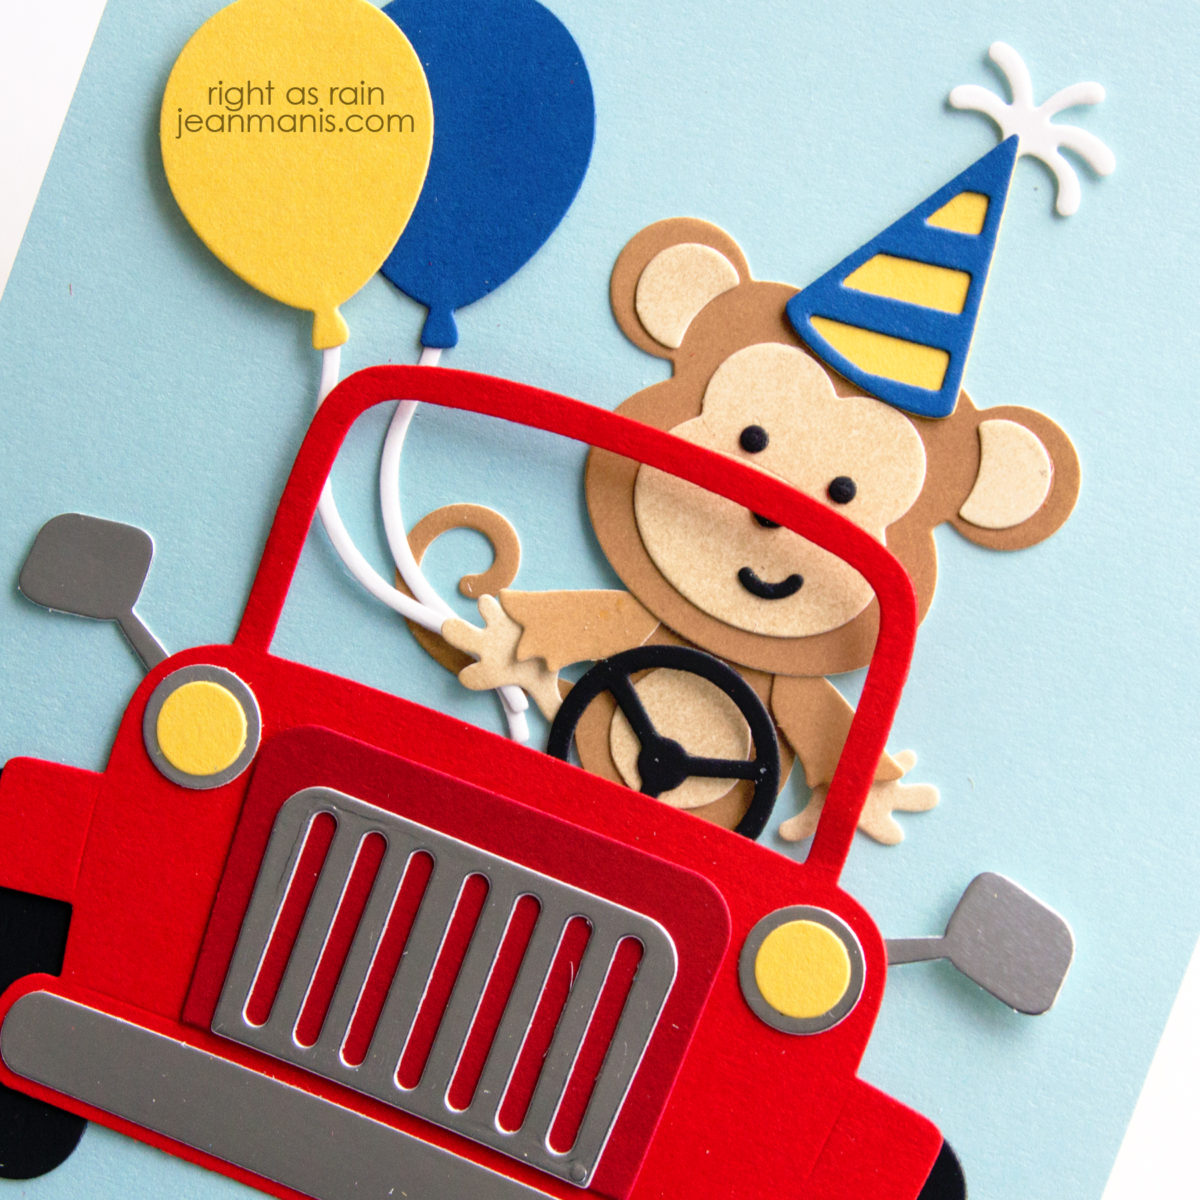
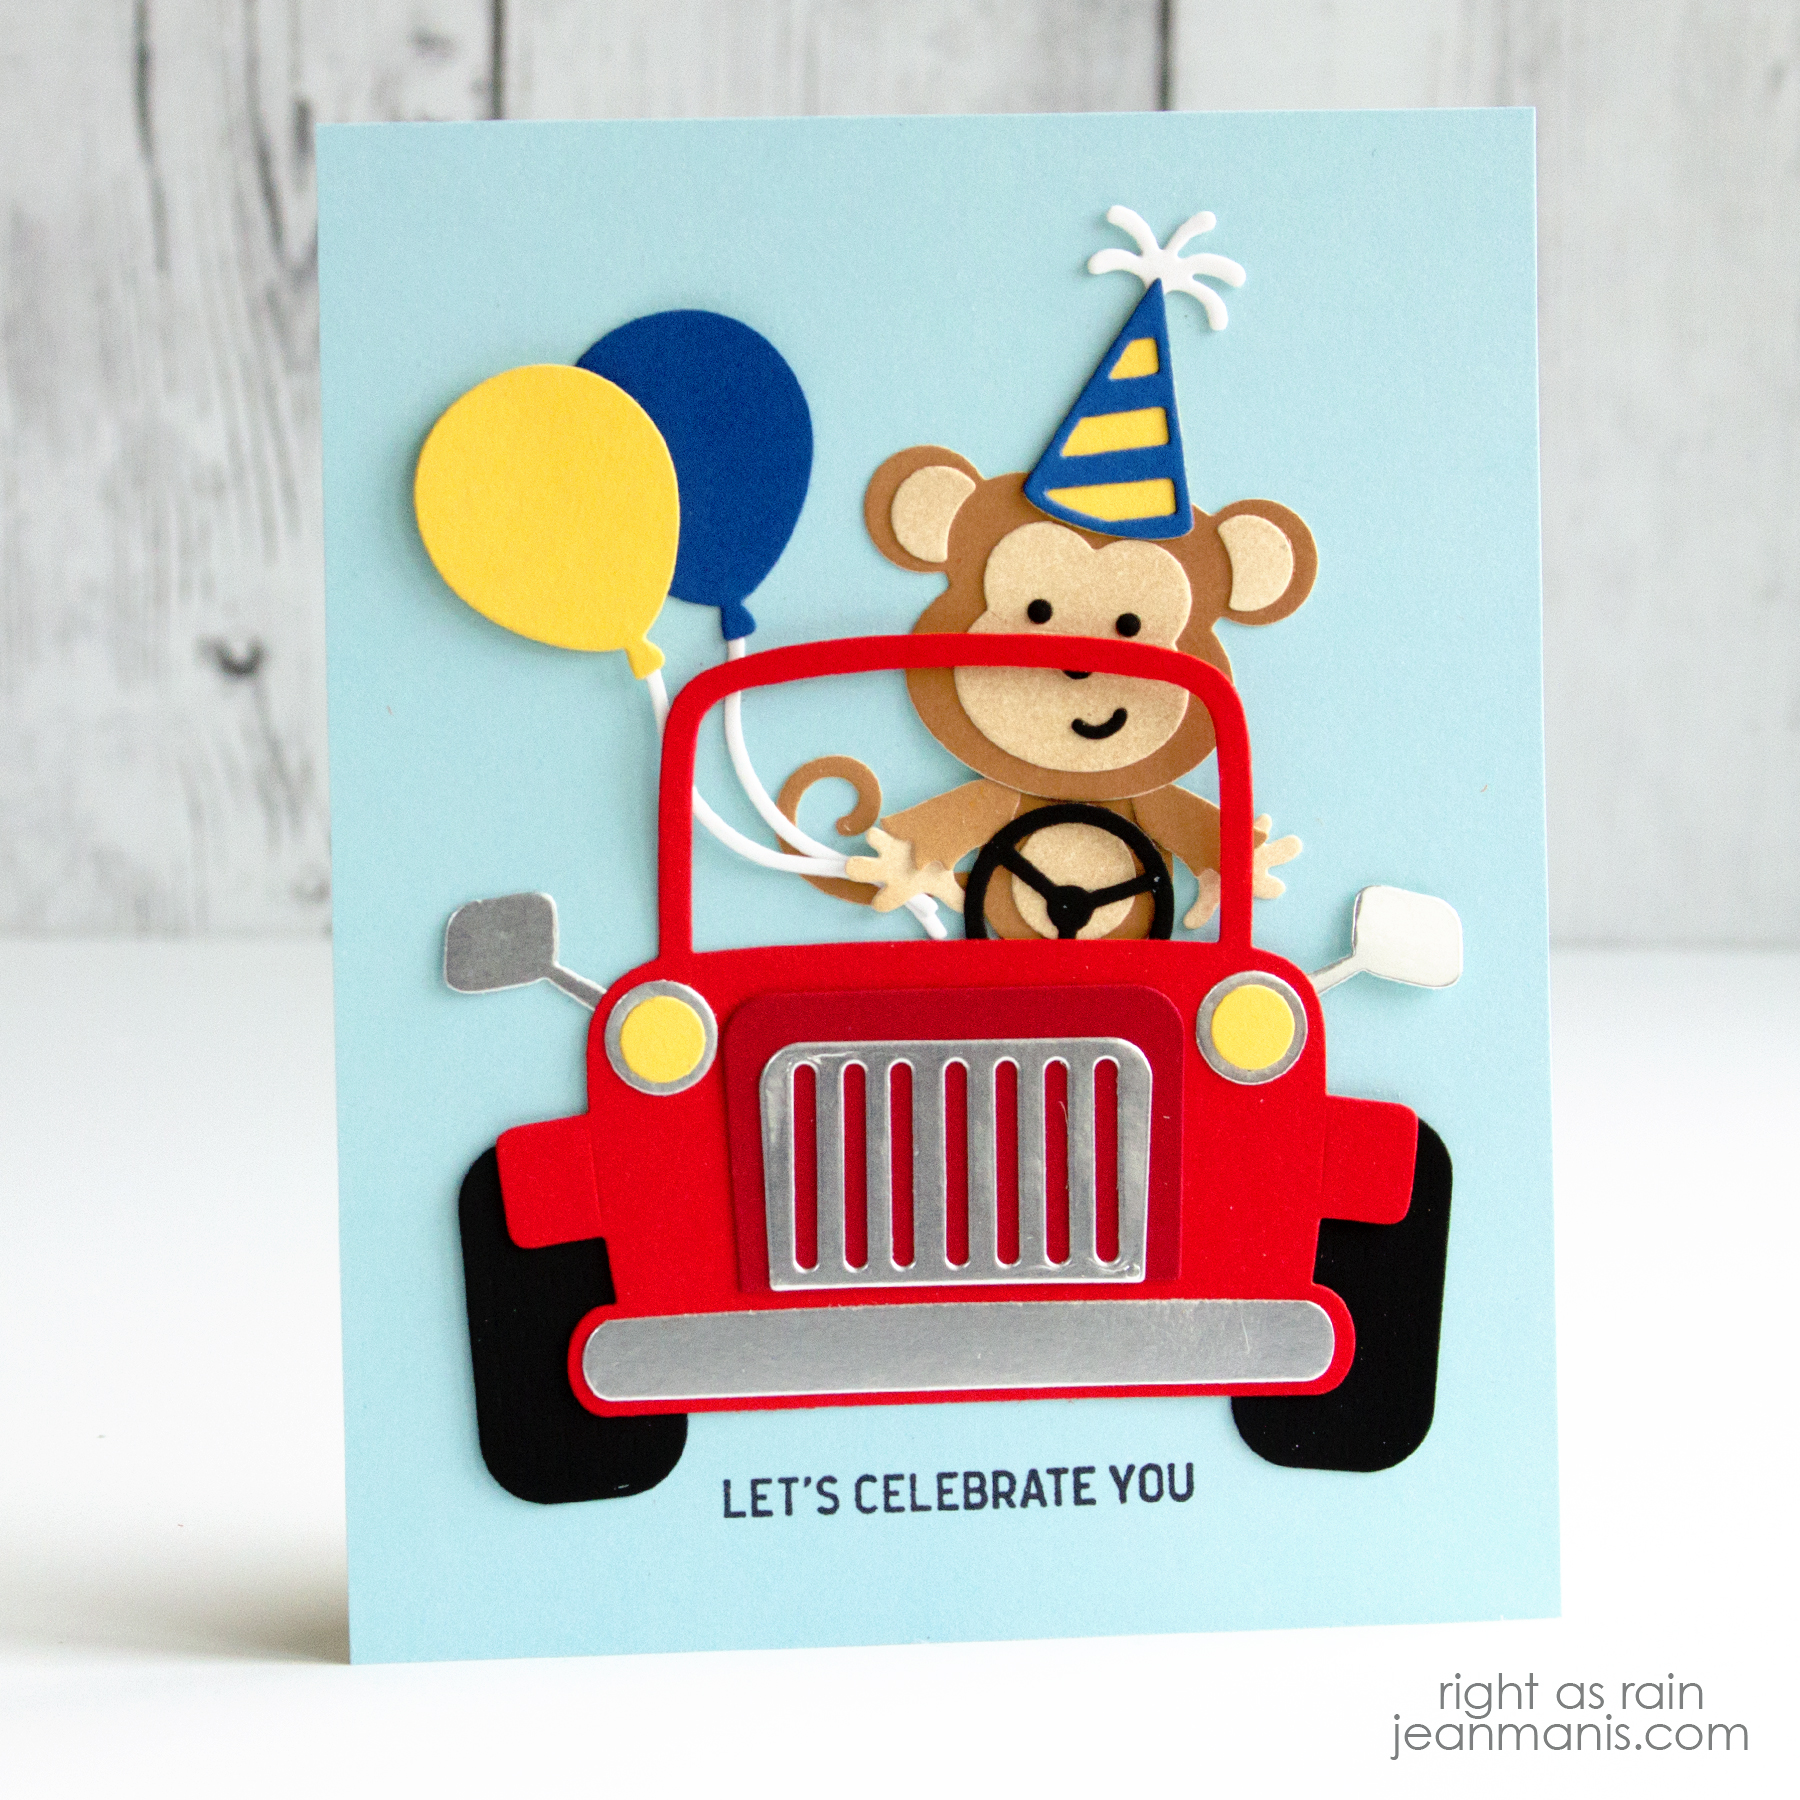
Hello! I recently created a listed of occasions for which I regularly need cards. While I create a lot of holiday-specific cards (Halloween, Christmas, Easter),  I’m often short on Thank You and birthday cards. Today I am sharing a whimsical birthday card featuring the Elizabeth Craft Designs Monkey. I’ve previously used this set here and here.

Elizabeth Craft Designs Monkey Birthday Card

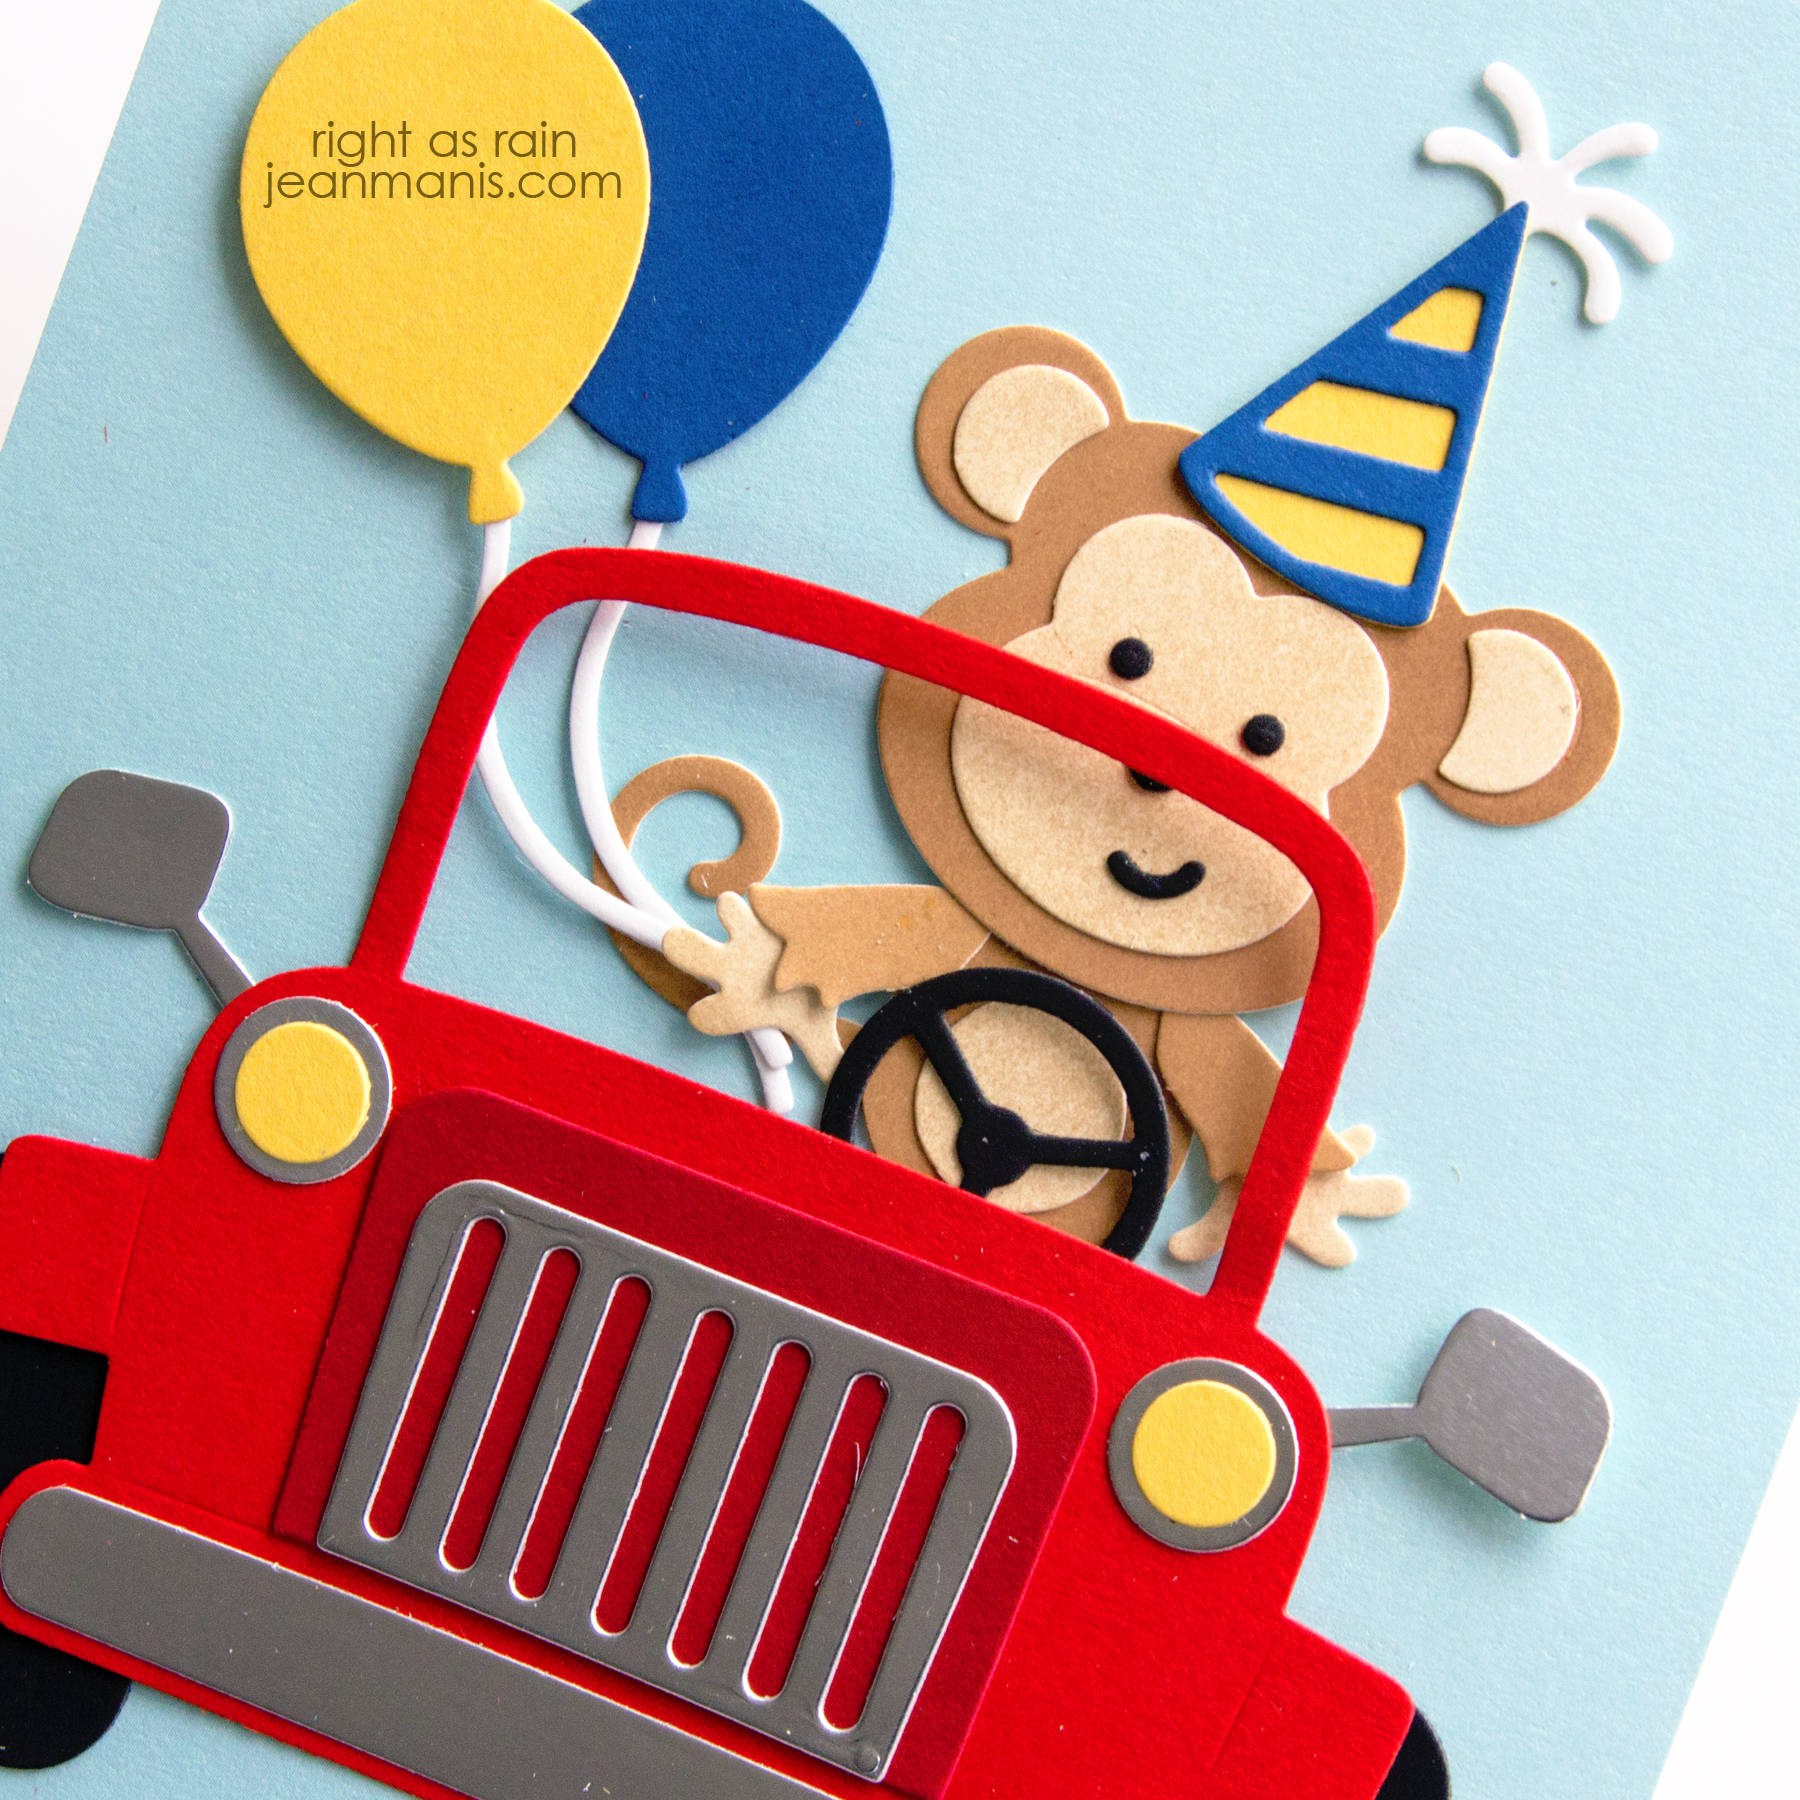
  • I die-cut the Monkey body from Bazzill 12 x 12 textured cardstock in brown and ivory. I own a lot of 12 x 12 cardstock from the period of time during which I scrapbooked.
  • I used the Make Me Smile dies to cut the eyes, nose, and mouth from black cardstock.
  • I assembled the monkey. Once assembled I decided that the ivory cardstock needed a little more color and I added Tea Dye ink with a small sponge applicator.
  • I cut the balloon and party hat using the Party Accessories set.
  • I stamped the sentiment on to a patterned paper rectangle.
  • I added the elements to the card.

Elizabeth Craft Designs Monkey Birthday Card

Supplies:

Elizabeth Craft Designs – Die-cut Scene

Hello! Today I am sharing a die-cut scene created with Elizabeth Craft Designs die sets.

Elizabeth Craft Designs - Die-cut Scene

    • I cut the Honey Bear (now retired) pieces and Forest Accessories (now retired) pieces from soft-finish cardstock. I colored the pieces with Distress Inks.
    • I assembled the bear with glue.
    • I created the sentiment on my computer, printed out the card front, and applied Tumbled Glass ink.
    • I added the scene pieces to the card front and then added the assembled bear with foam adhesive.

Elizabeth Craft Designs - Die-cut Scene

Supplies:

Elizabeth Craft Designs – Die-cut Winter Birds

Hello! Today I am sharing a winter-themed friendship card featuring the retired Elizabeth Craft Designs “Birds” die set paired with a Paper Smooches sentiment from the “Winter Sampler” set.

Elizabeth Craft Designs - Die-cut Winter Birds

  • I die-cut the pieces from cardstock, patterned paper, and flock material and assembled the birds.
  • I stamped the Winter Sampler sentiment on to cardstock which I cut with a skinny rectangular die.
  • I cut the turquoise circles and added them and the sentiment strip to a patterned paper base.
  • I added the assembled birds with foam adhesive.

Elizabeth Craft Designs - Die-cut Winter Birds

Supplies: Therm O Web White Latte Transfer Sheets

Elizabeth Craft Designs – Winter Birthday

Hello! I recently posted about how I’m trying to embrace winter this year rather than resist it. To that end, I am making winter-themed projects including this birthday card featuring Elizabeth Craft Designs dies.

Elizabeth Craft Designs - Winter Birthday

  • I cut the Polar Bear from soft finish cardstock and colored him lightly around the edges with the Hickory Smoke ink. I colored the eyes and mouth (I used the Paper Smooches Snowman 2 die for the mouth) with black Copic marker. I then assembled the bear.
  • I cut the Polar Bear’s hat and assembled it.
  • I cut the balloons using the Balloons and Party Accessories die sets.
  • I sponged Tumbled Glass ink on to the card base.
  • I stamped the MFT Ready Set Snow sentiment in the upper left corner.
  • I added the balloons and bear to the card base.

Elizabeth Craft Designs - Winter BirthdaySupplies: