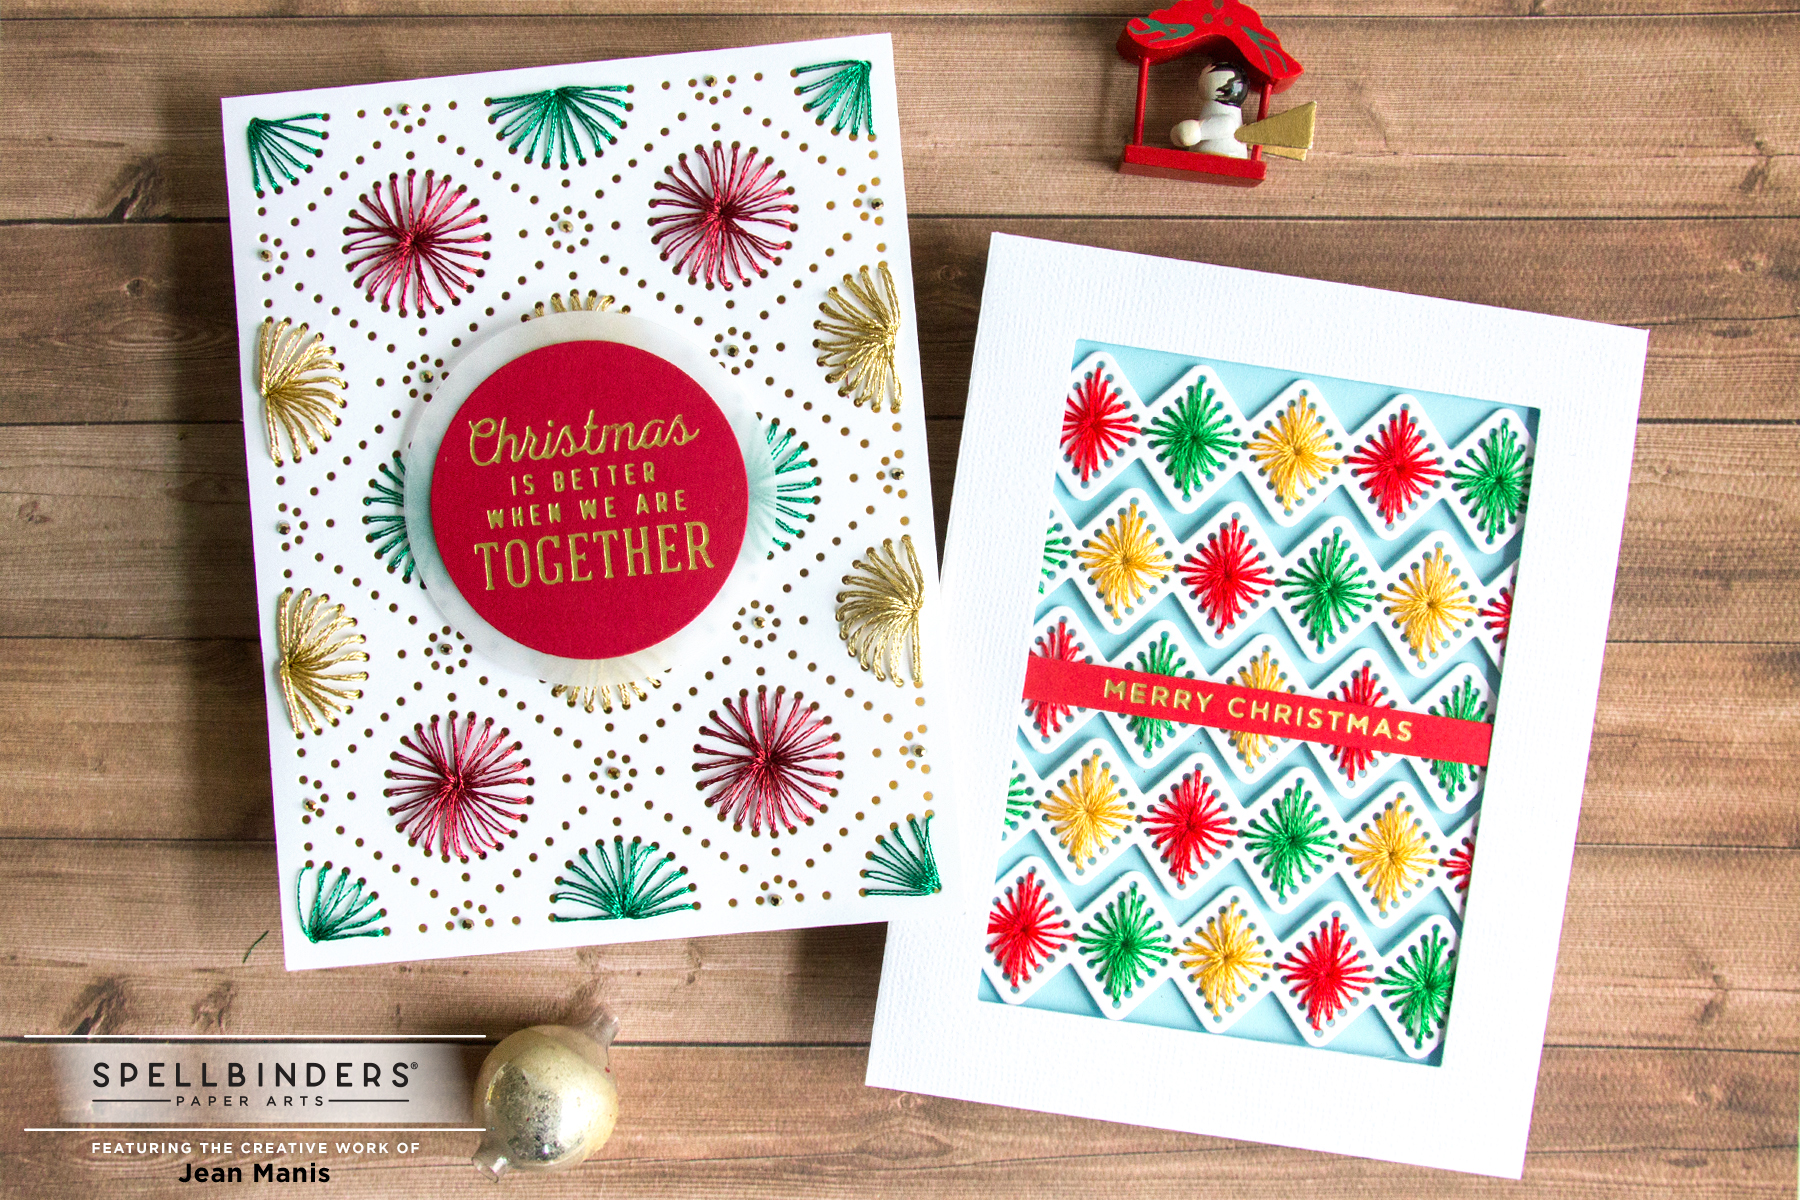
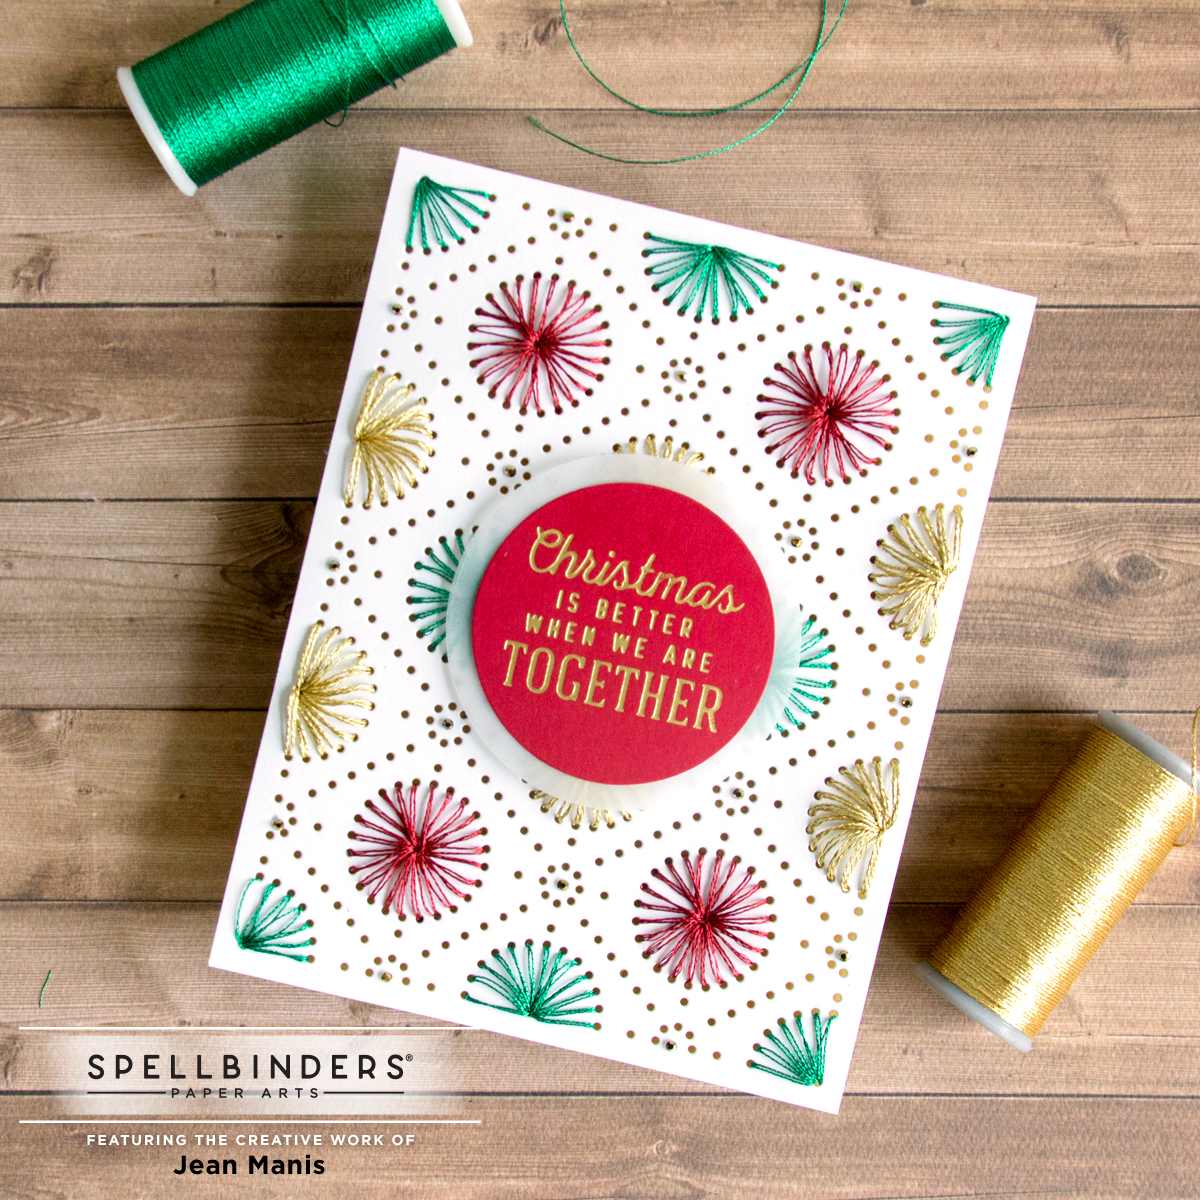
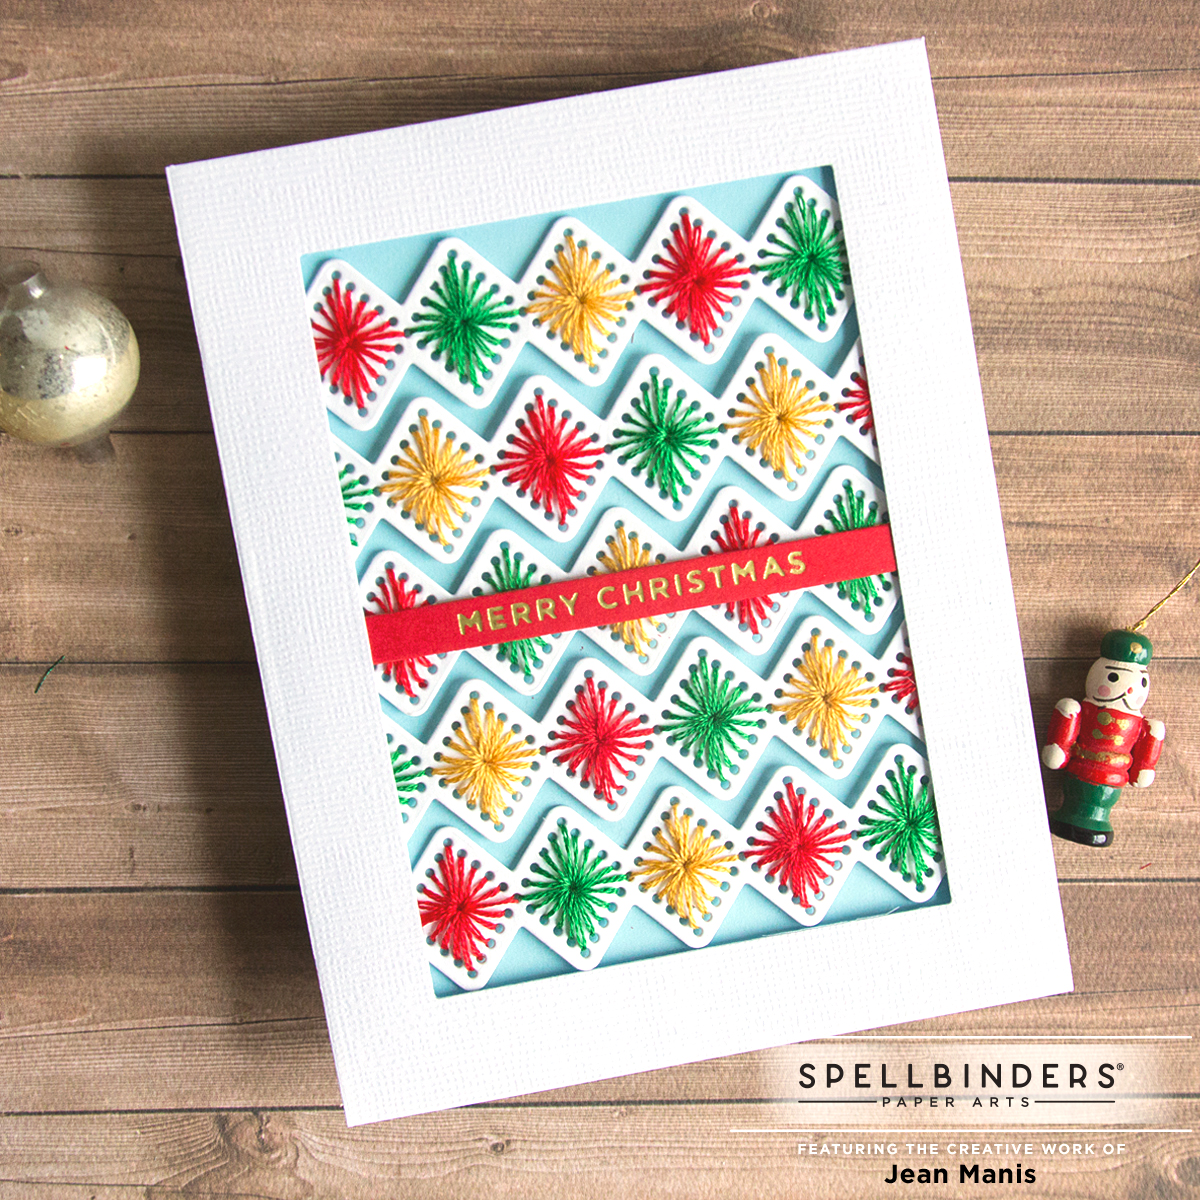
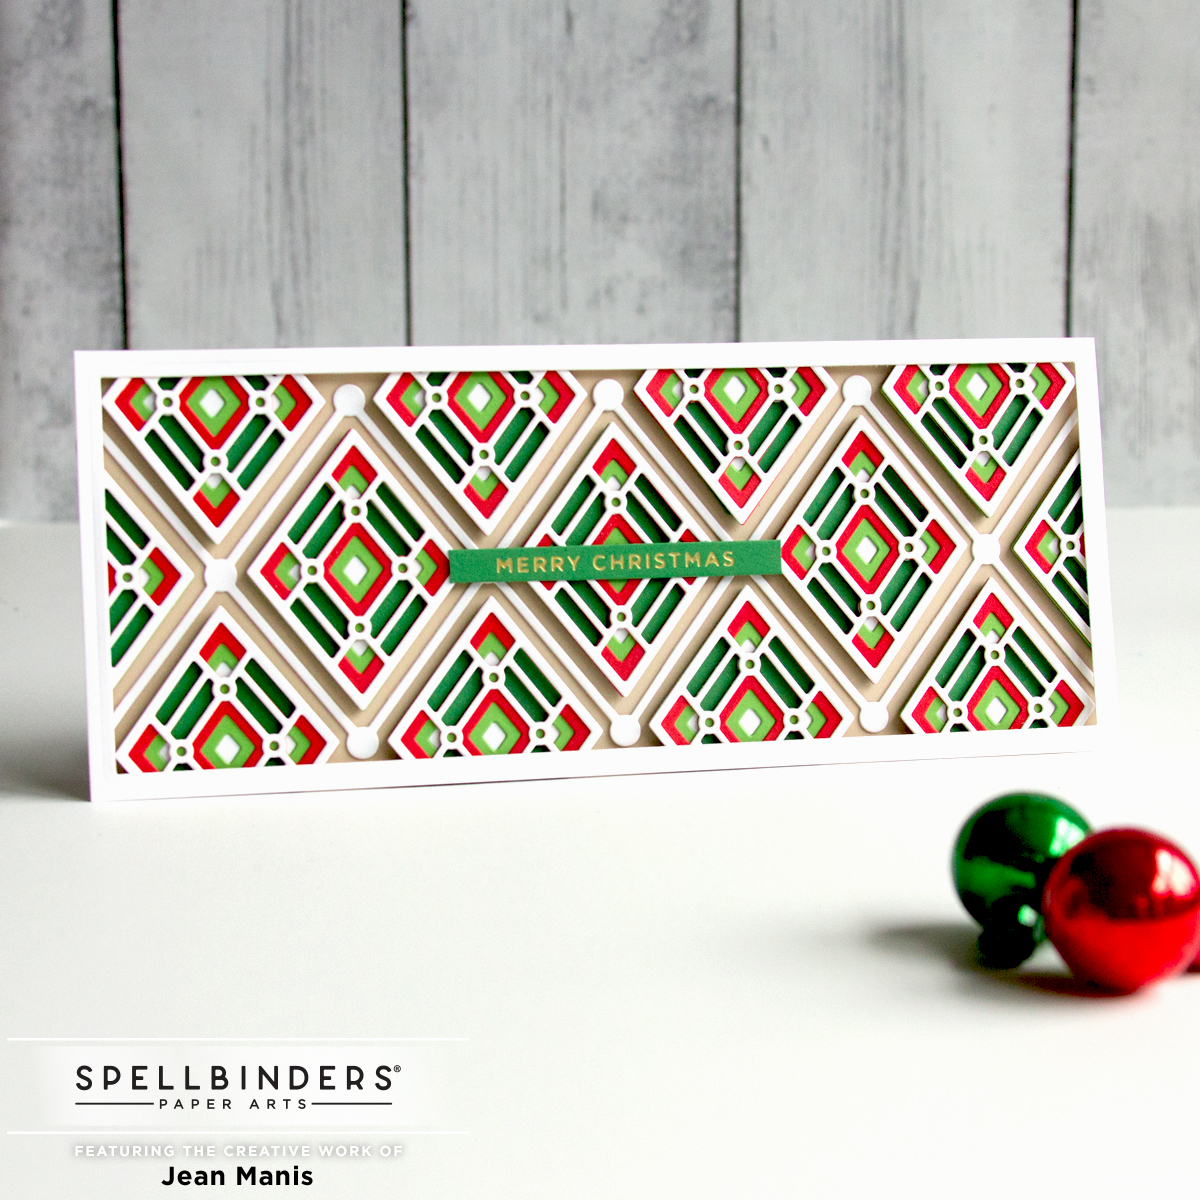
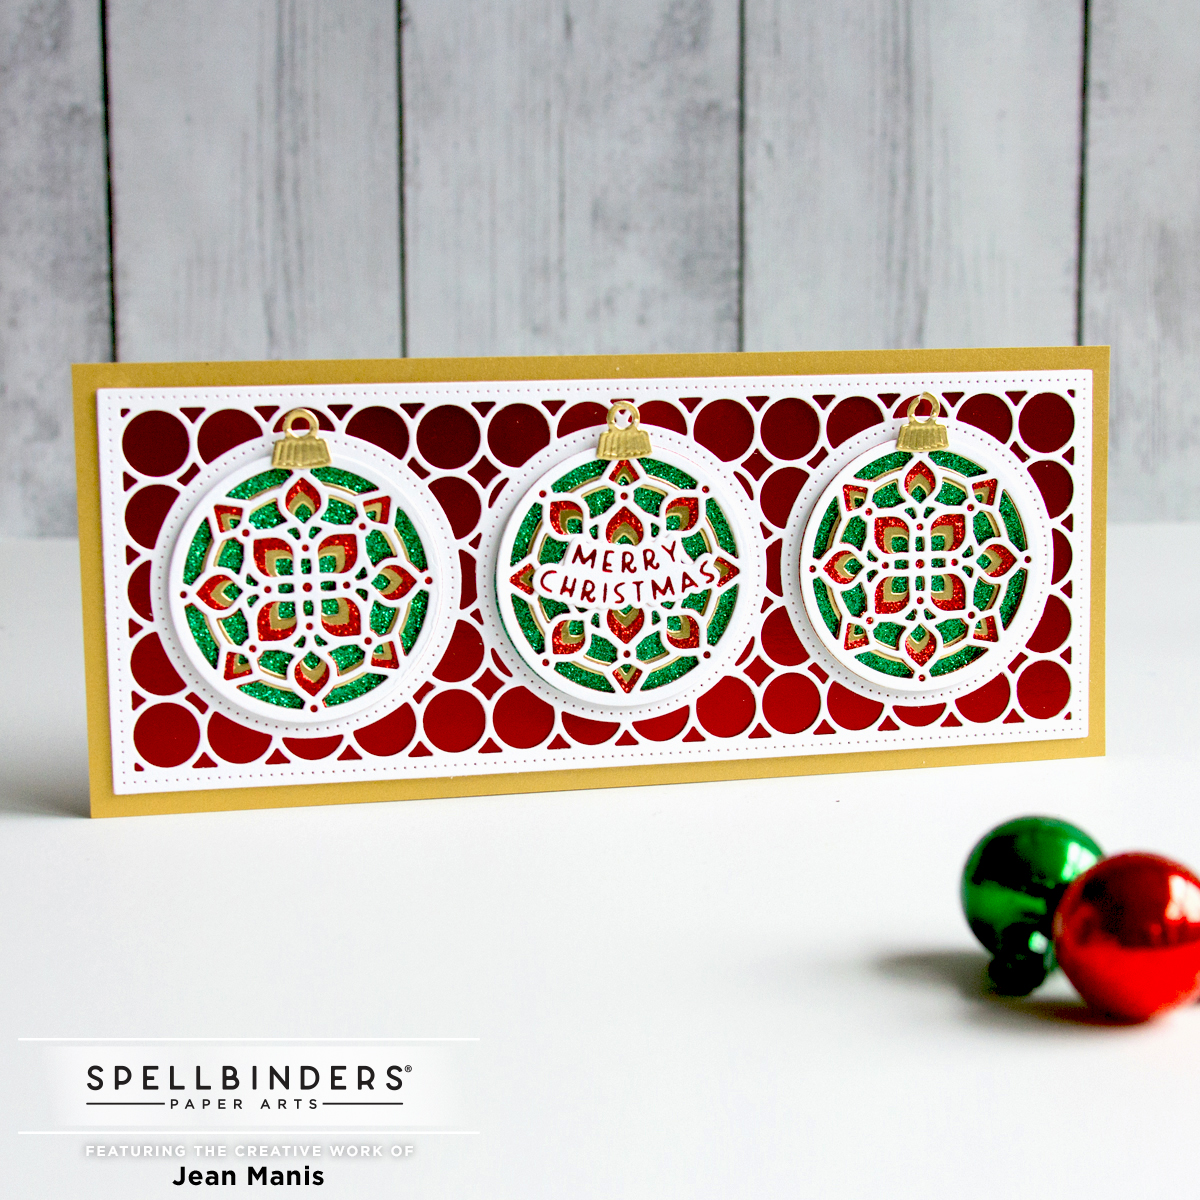
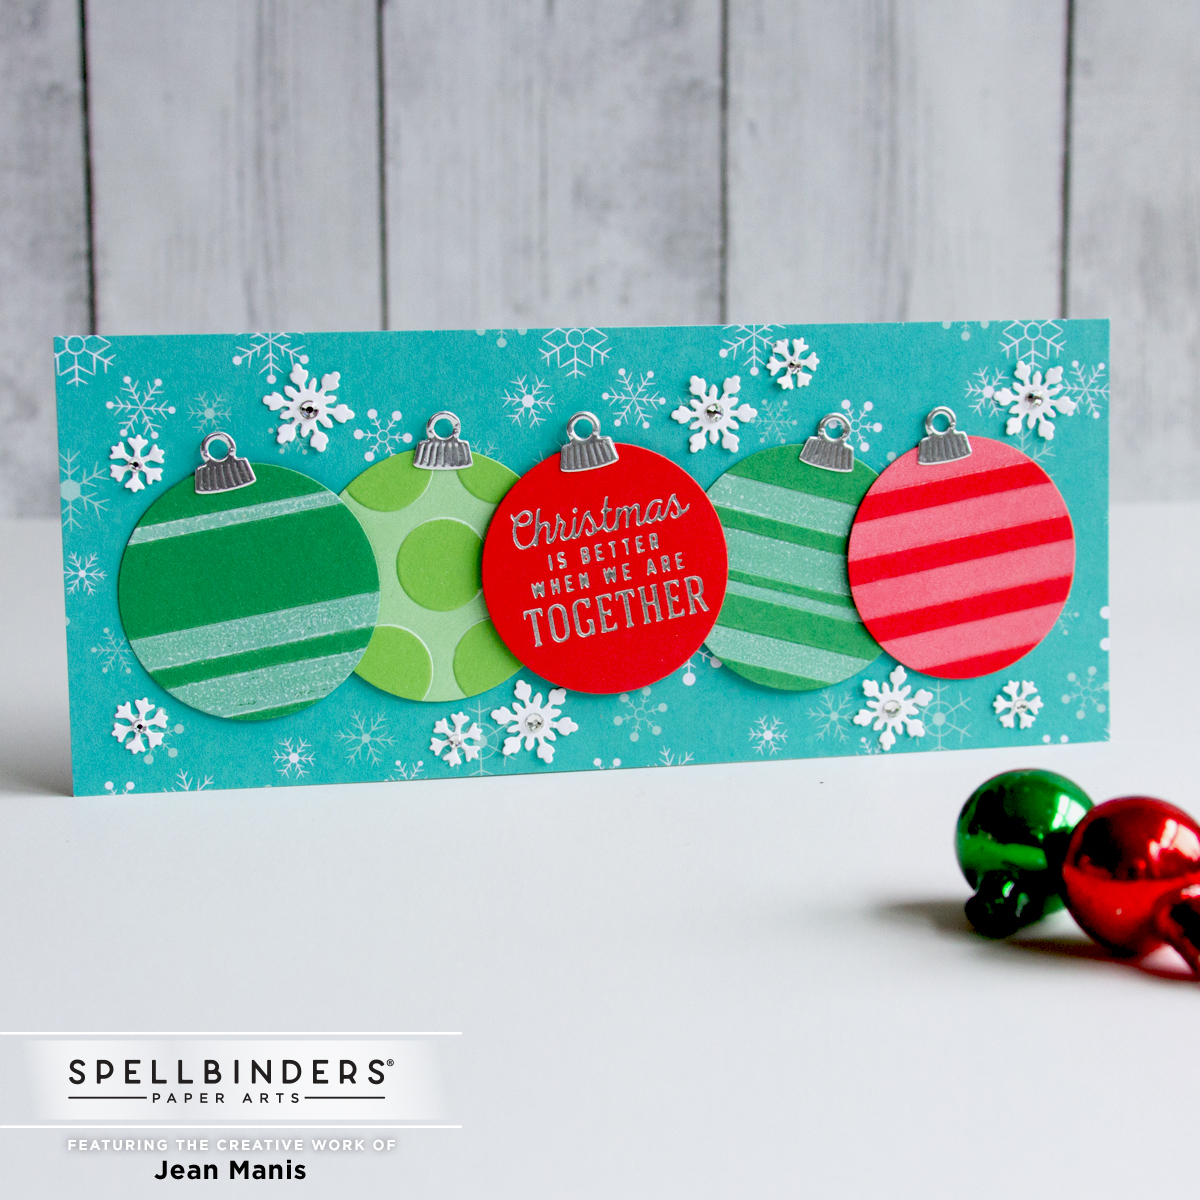
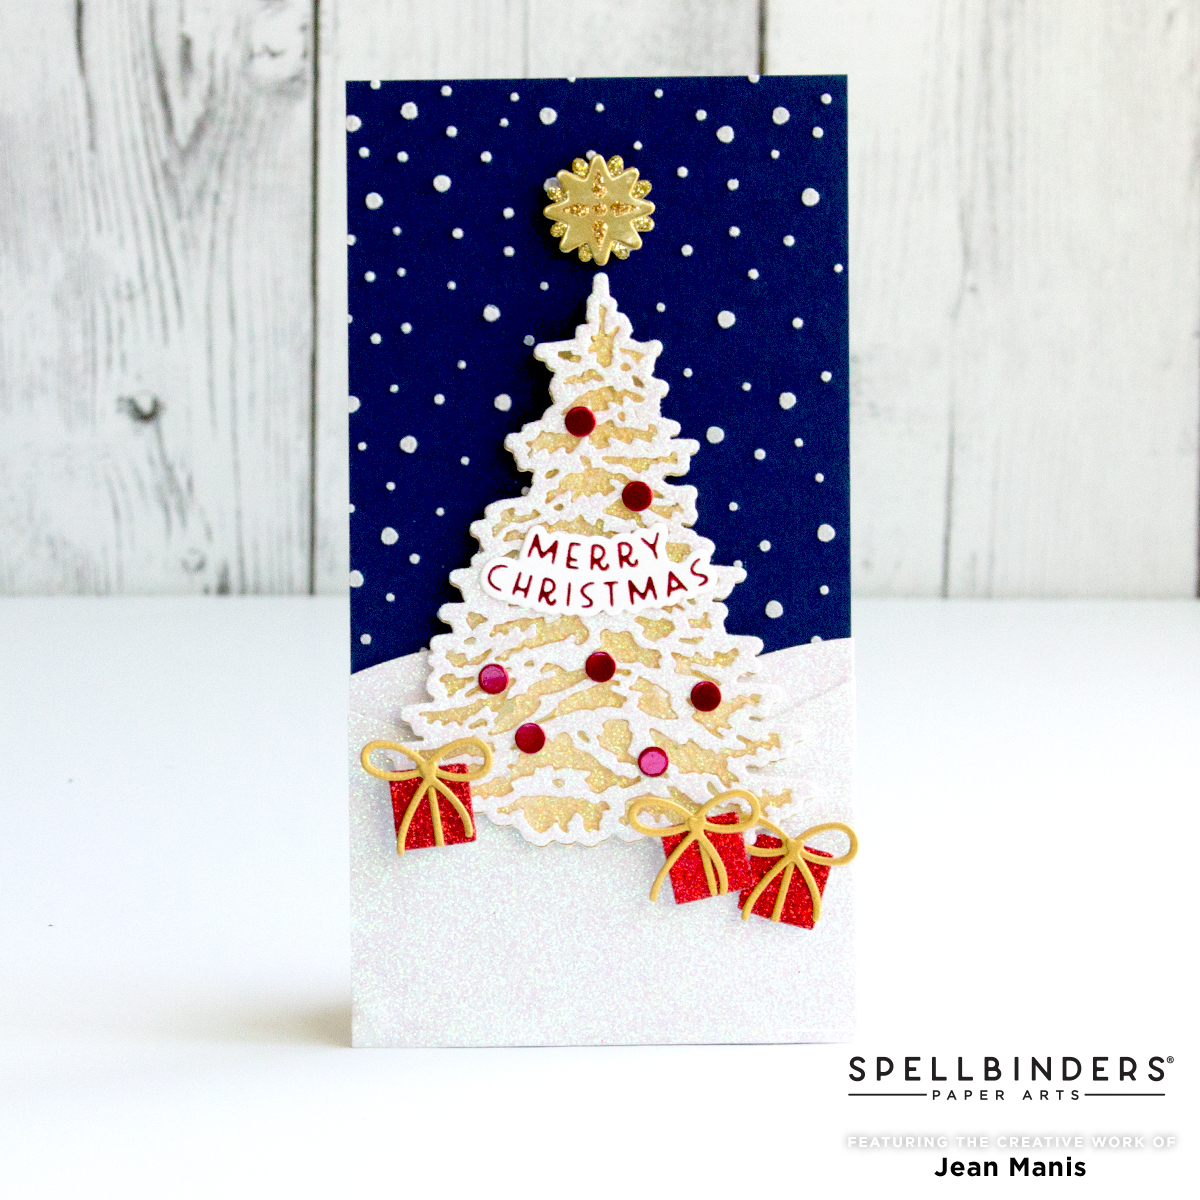
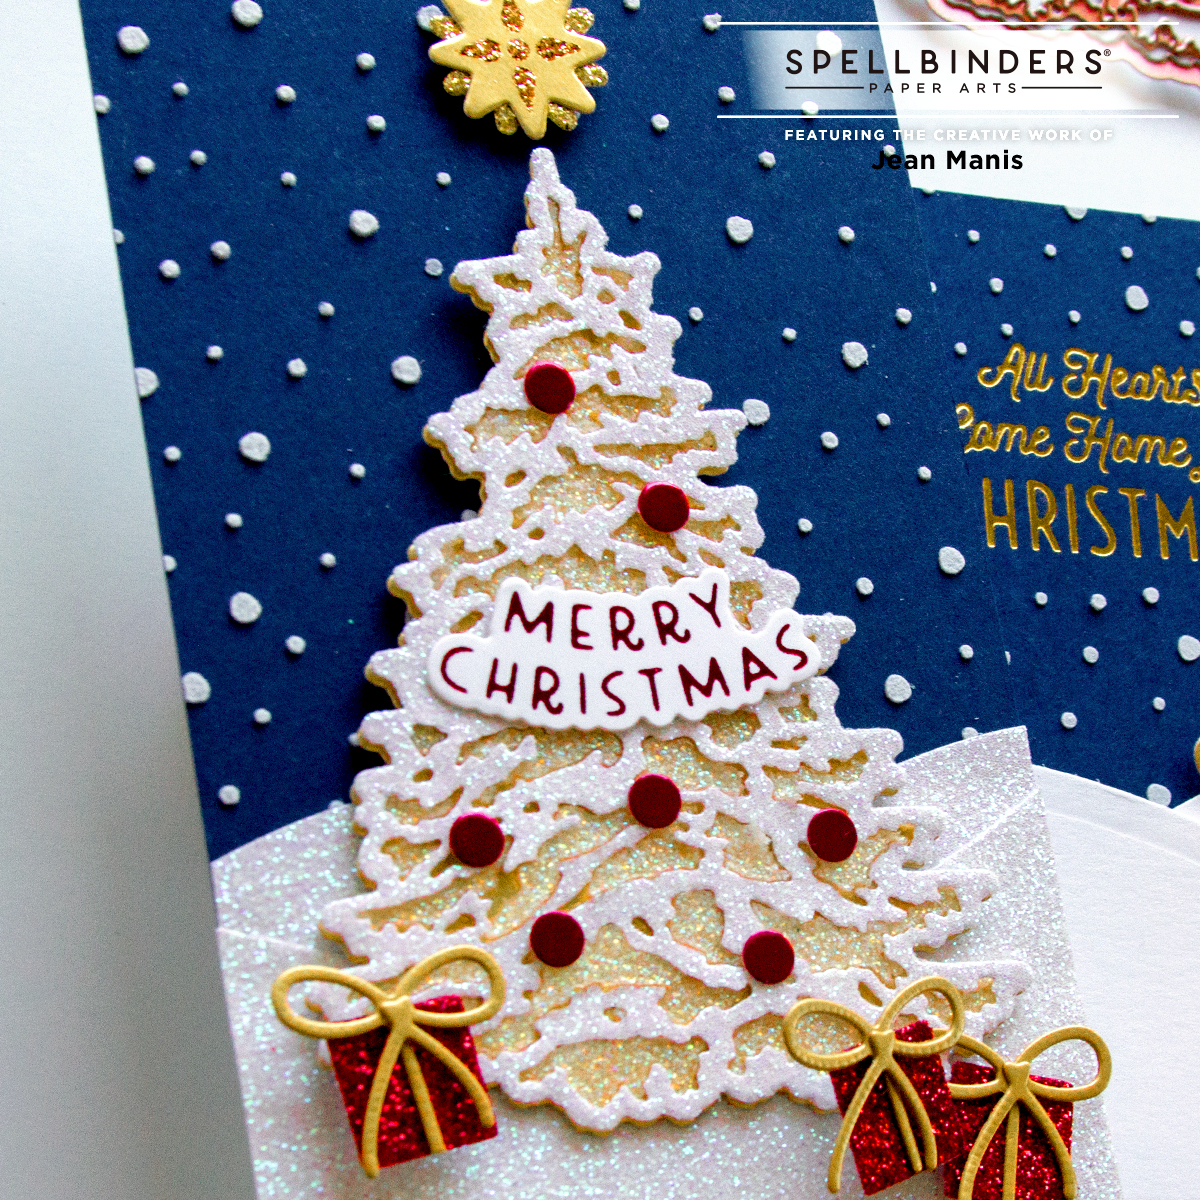
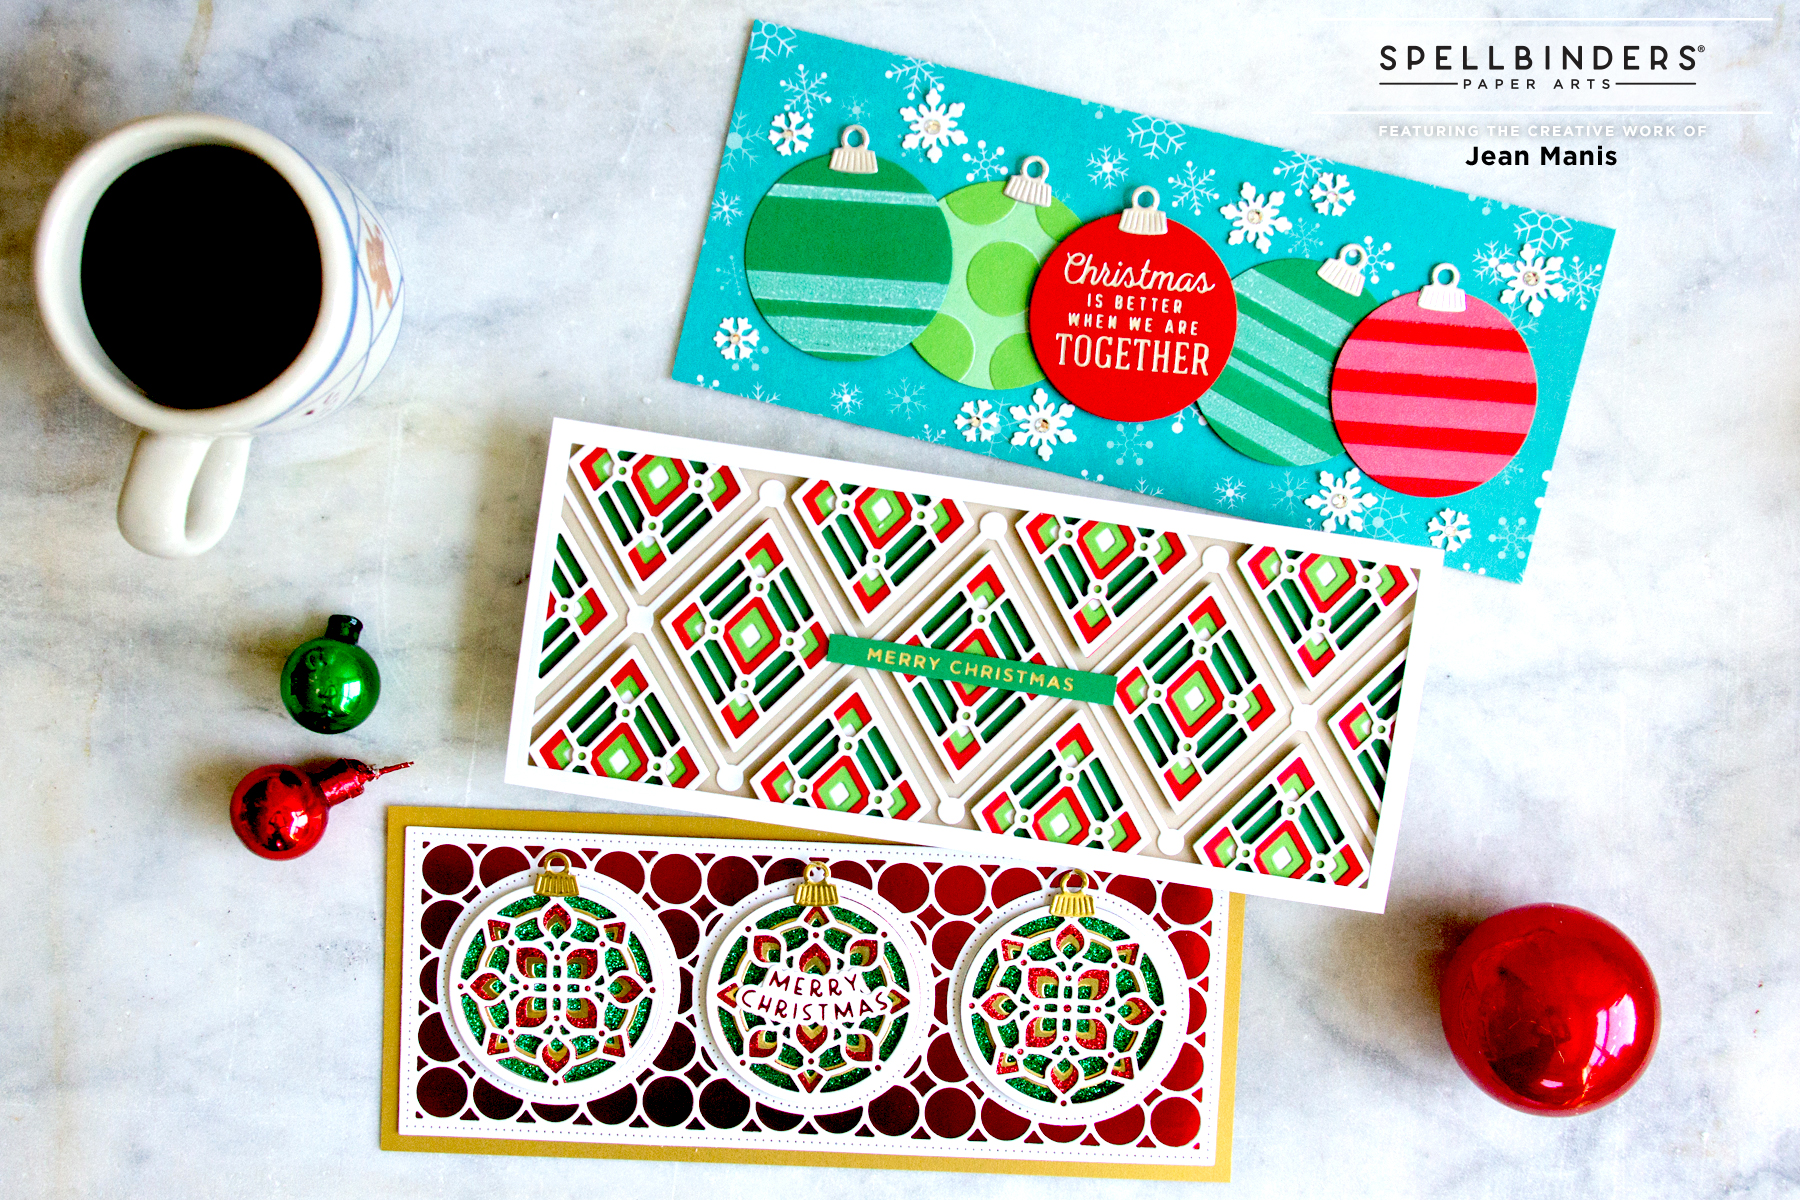
Hello! I am delighted to be a guest on the Spellbinders blog featuring three Christmas Slimline cards that use dry embossing, glimmer foiling, and diecutting. I would be most appreciative if you would head over to read about my cards and leave a comment!
Category: Glimmer Foil
Introducing Spellbinders Trim the Tree Collection
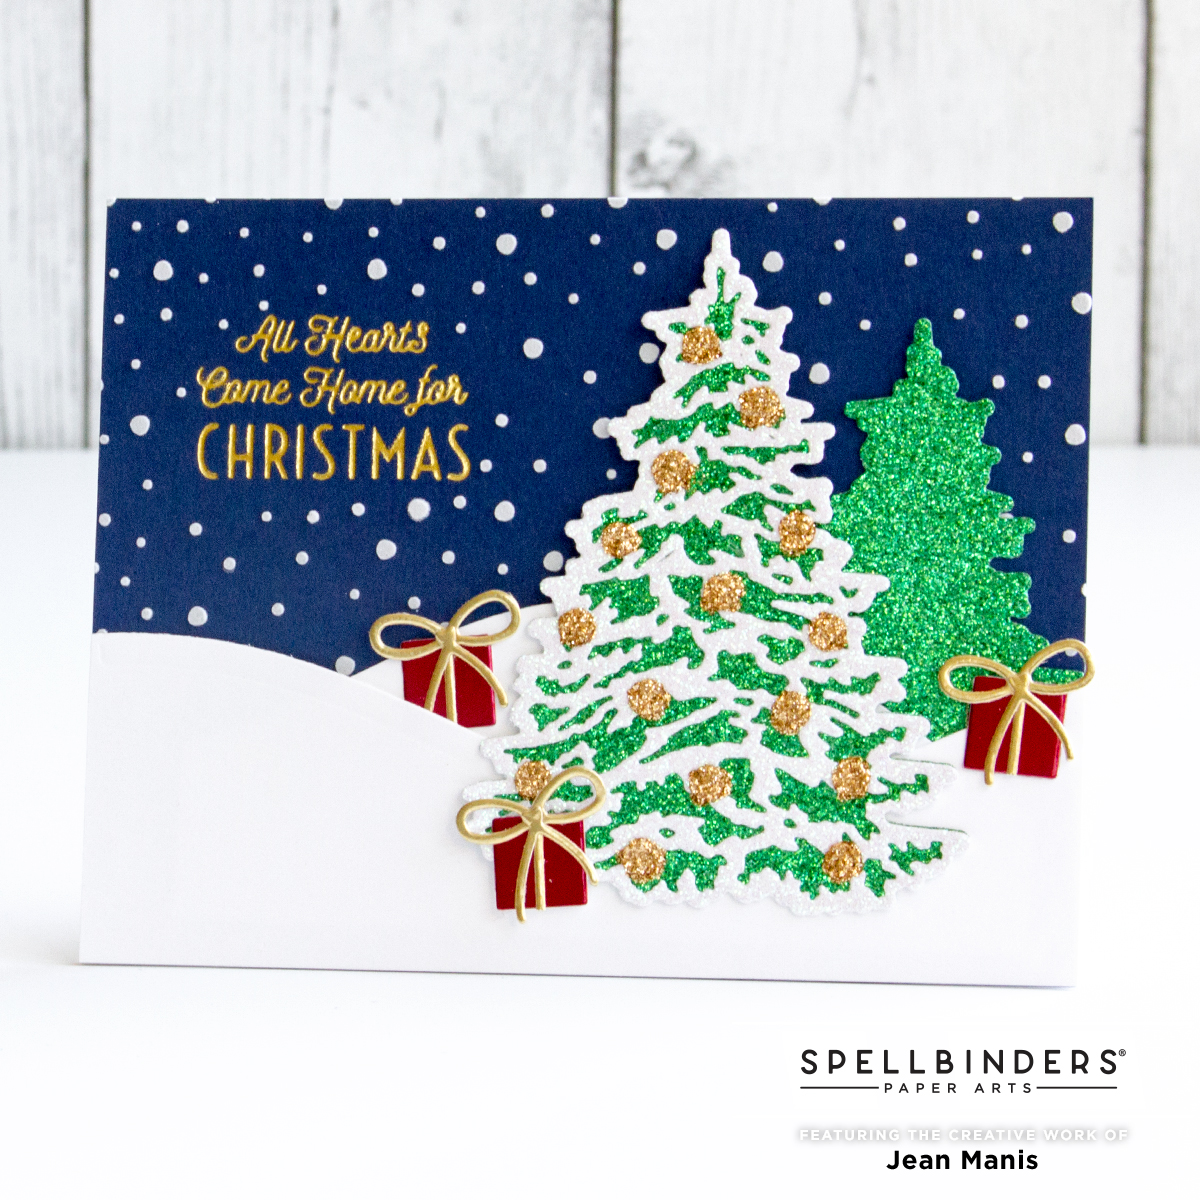
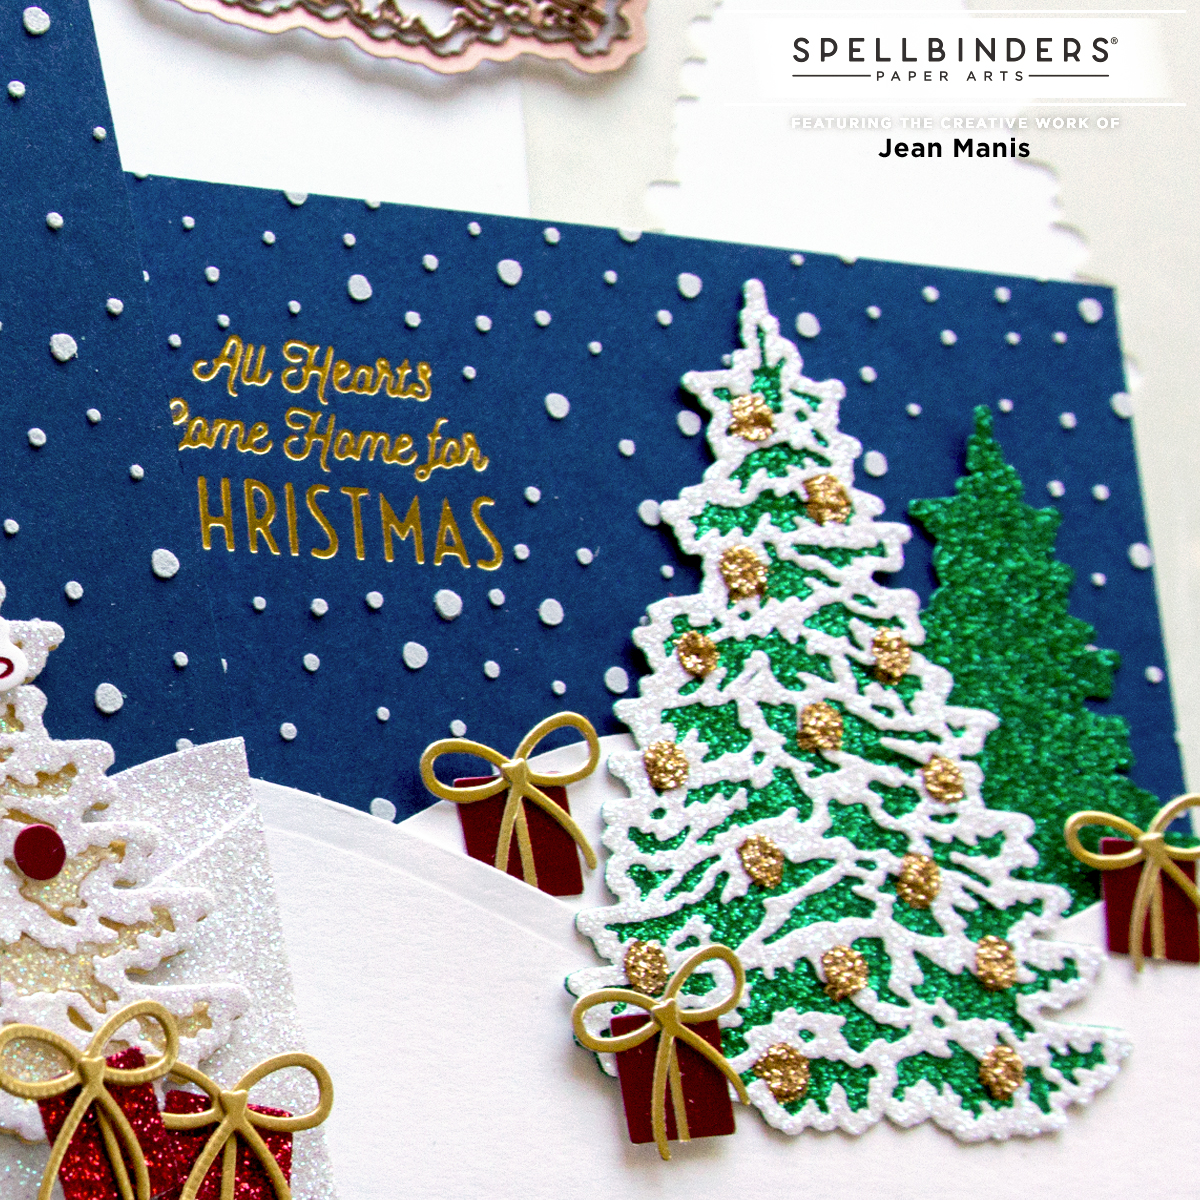
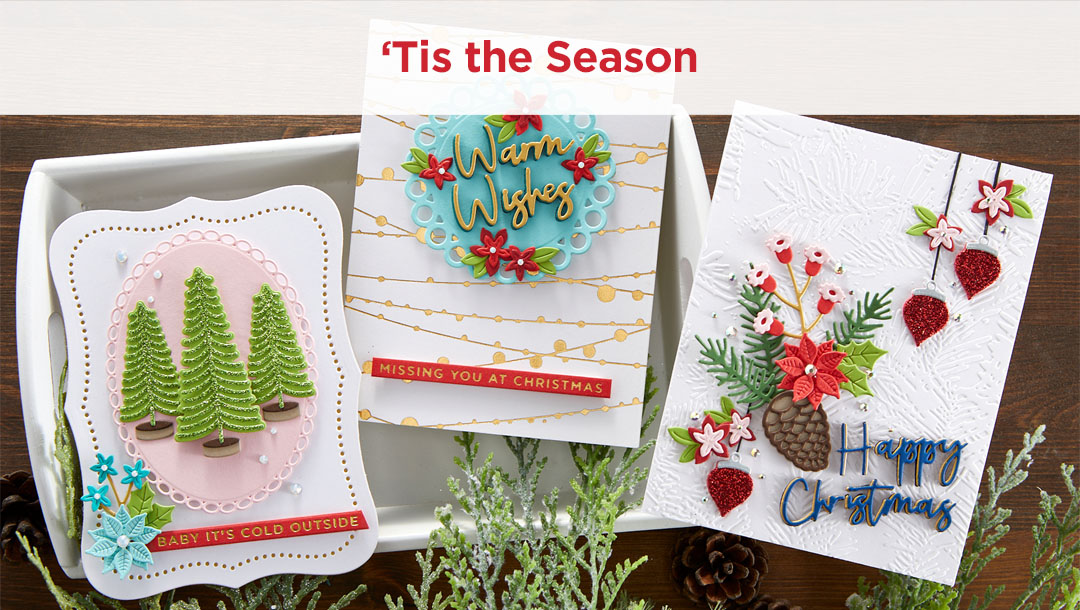
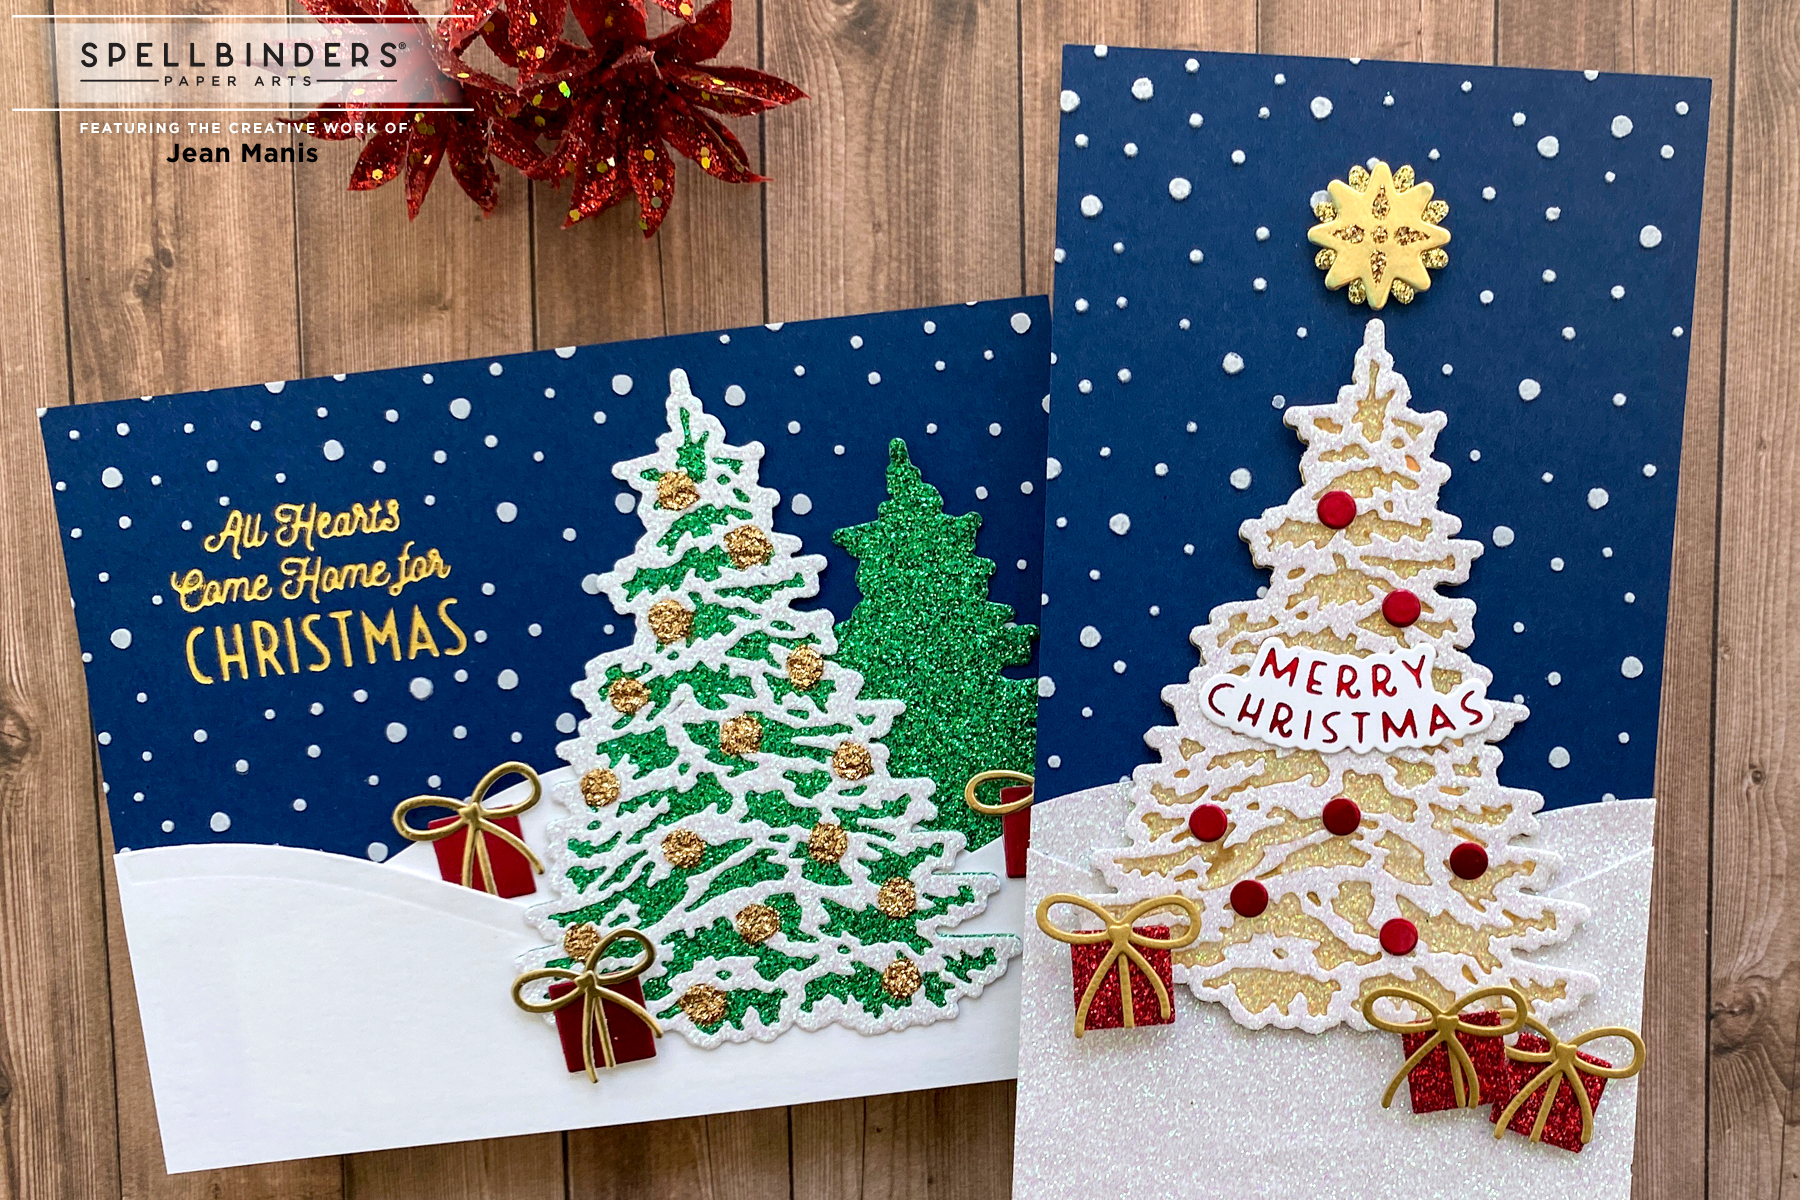
Hello! I am delighted to be a guest on the Spellbinders blog featuring two cards created with the recently-released Trim the Tree Collection, which includes dies, glimmer plates, and a stencil that work together or separately. I created the cards with a three-step approach: create the background, create the focal point(s), and embellish. Head to the post for all of the details!
Spellbinders – Christmas Collection – Be Merry
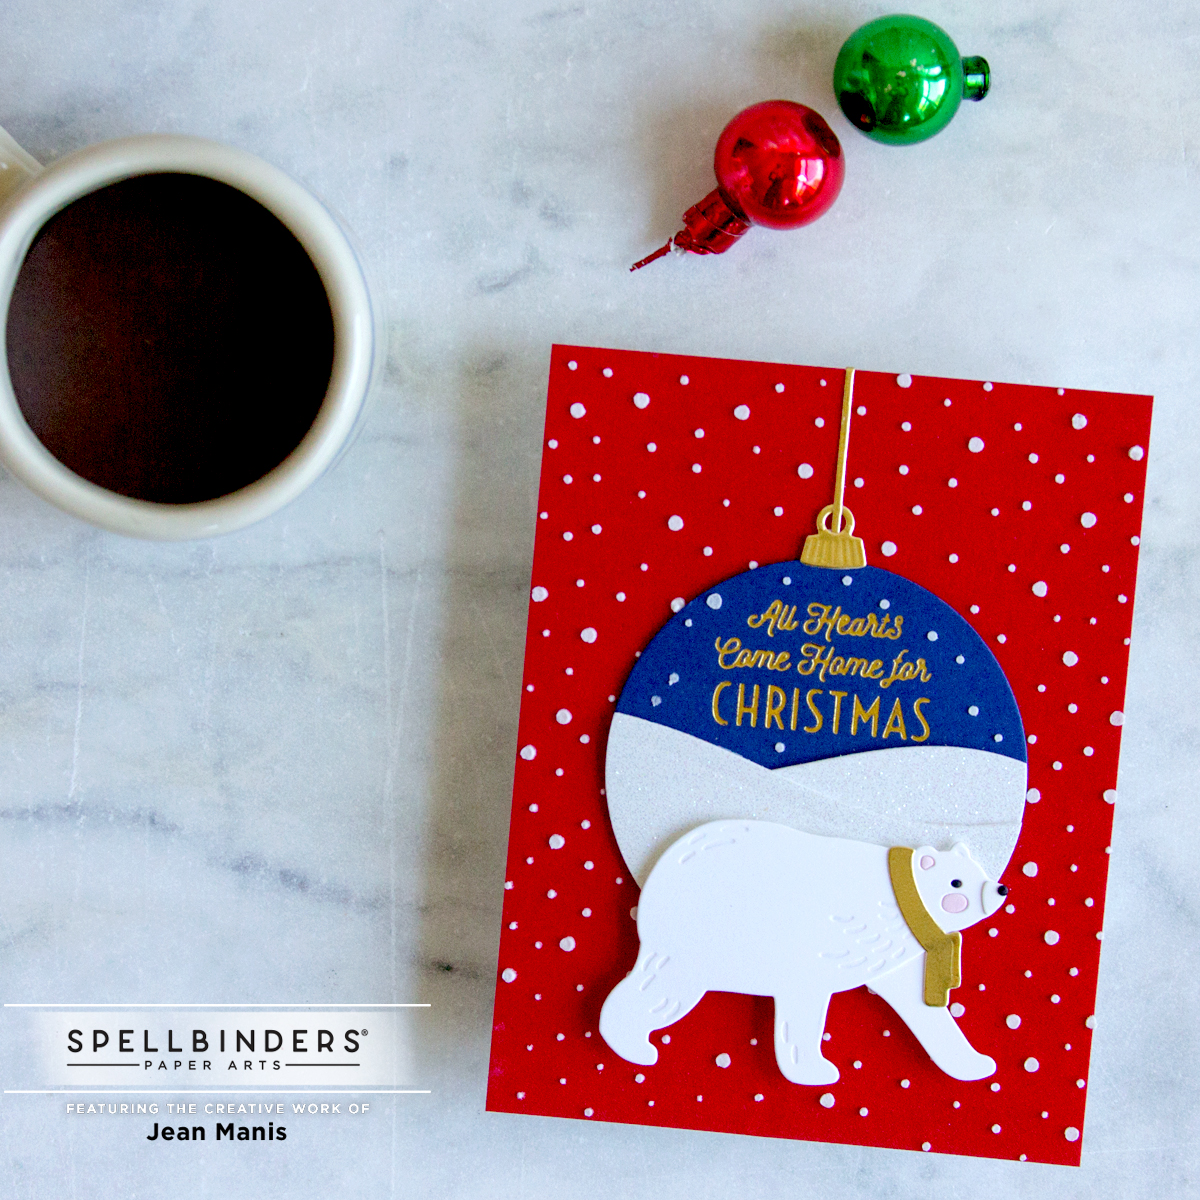
Hello! Today, I am sharing an A2-sized Christmas card showcasing products from the just-released Be Merry Collection at Spellbinders.
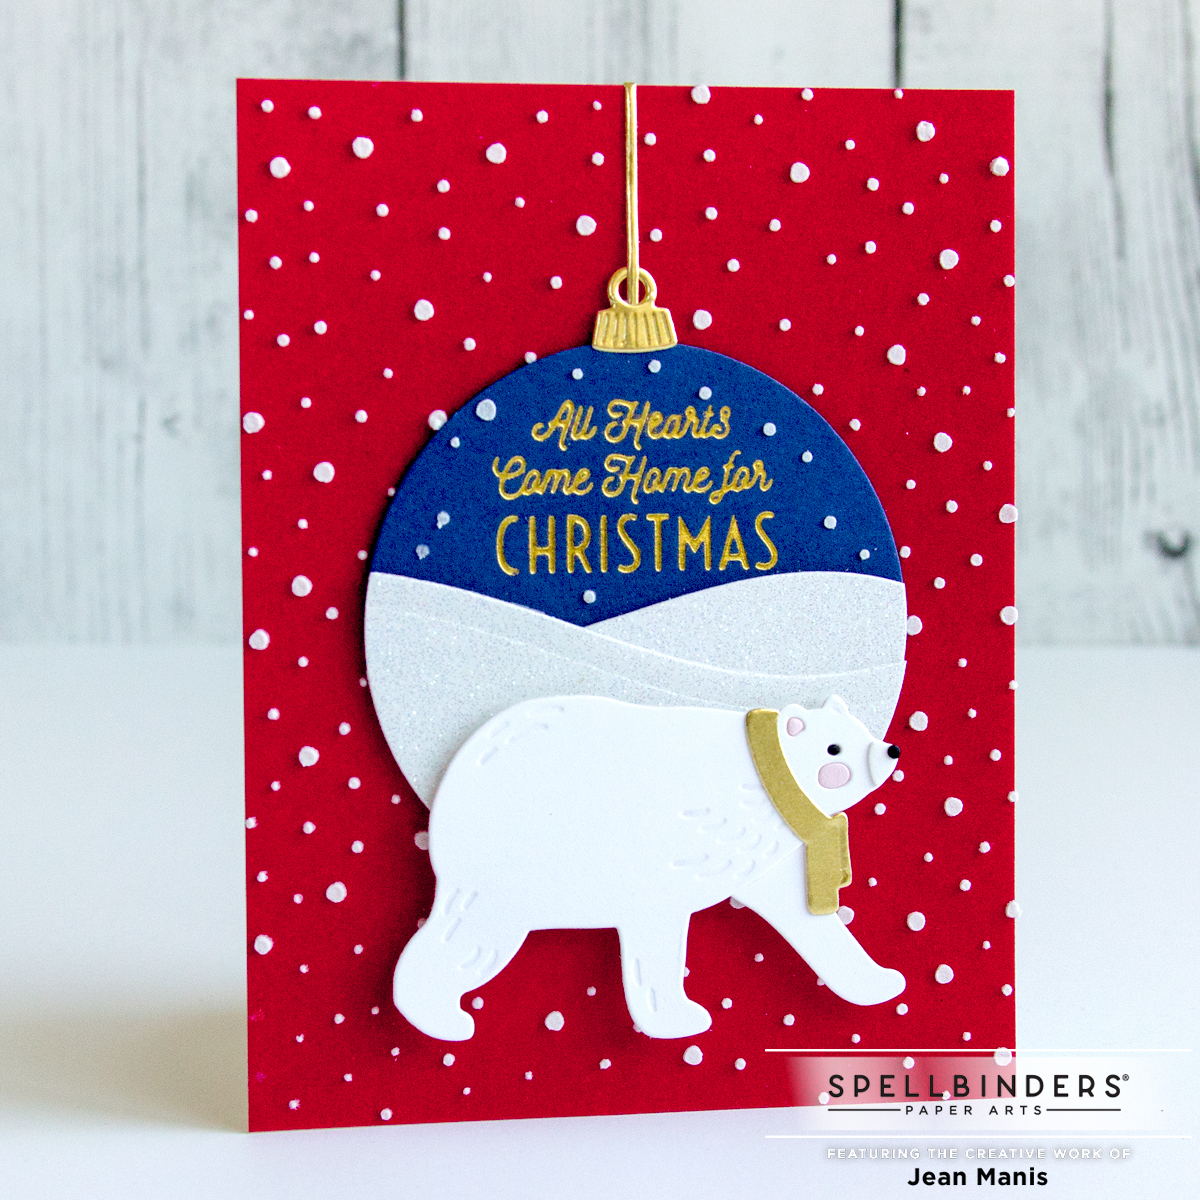
- I stenciled white paste through the Layered Christmas Tree stencil on to an A2-sized panel of red, velvet-textured cardstock.
- I glimmer-foiled the Gifts of Christmas sentiment in gold on to navy cardstock.
- After masking the sentiment, I stenciled white paste through the Layered Christmas Tree stencil. Once dry, I cut the sentiment with a 3 inch circle die.
- I die-cut the snowy hills from glitter cardstock with the dies in the Color Block Scenic Scape set and cut them with the 3 inch circle die. I adhered the snow banks to the navy circle.
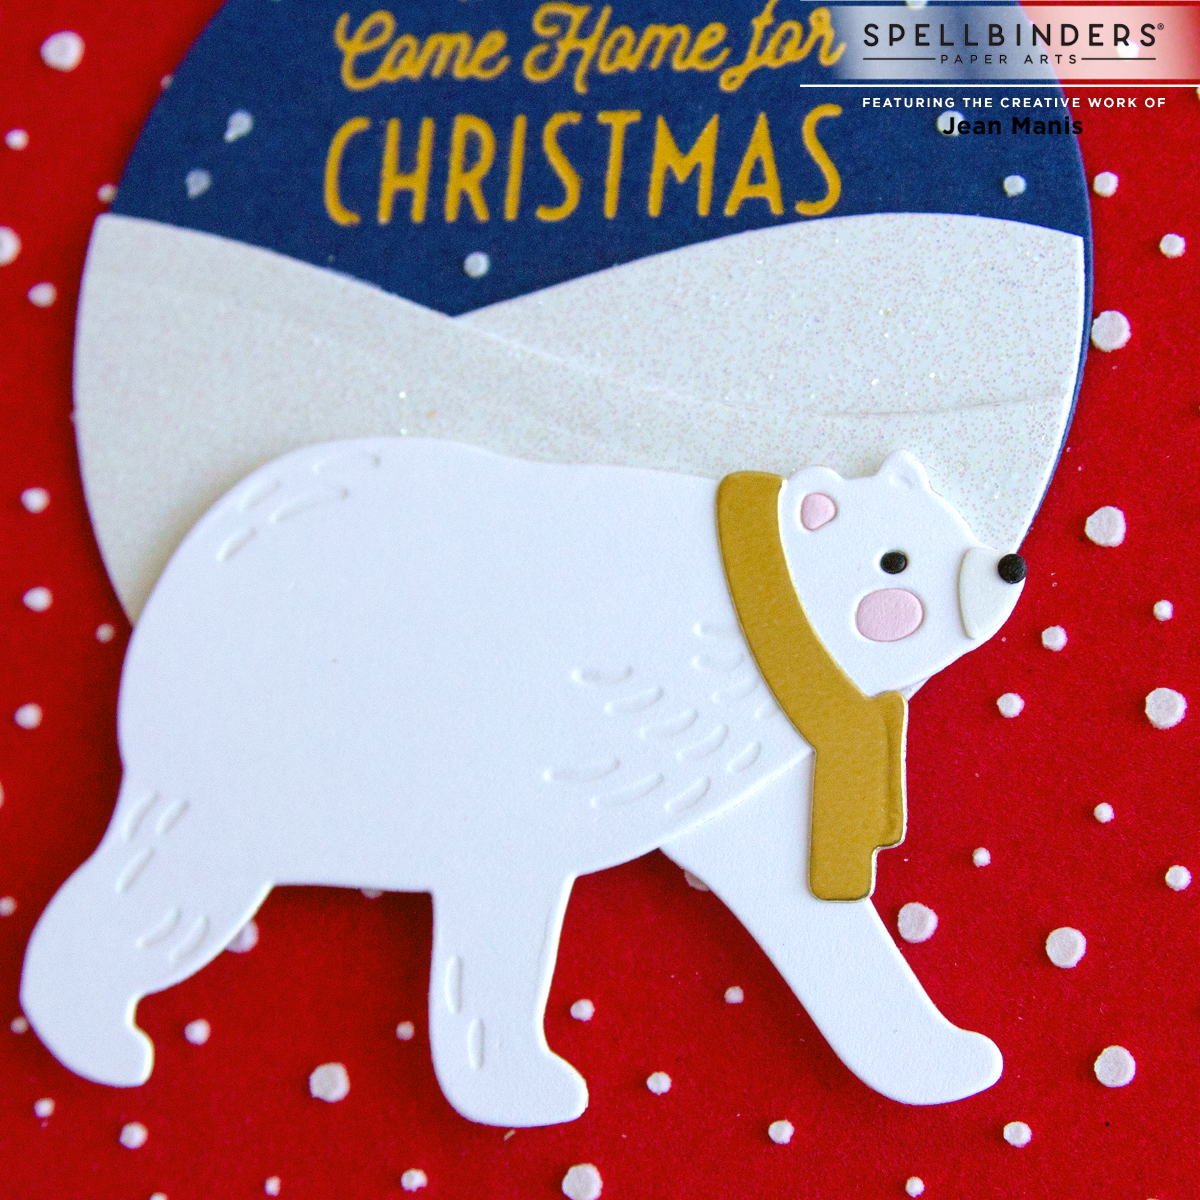
- I die-cut the Chill Bear from Snowdrift cardstock and gold foil.
- I die-cut the ornament top from gold foil with a die in the Circle Kaleidoscope Slimline die set. The ornament string was cut with a die in a previously-released Spellbinders Christmas die set.
- I added the ornament and bear to the red background.
Thanks for stopping by!
Spellbinders – ‘Tis the Season
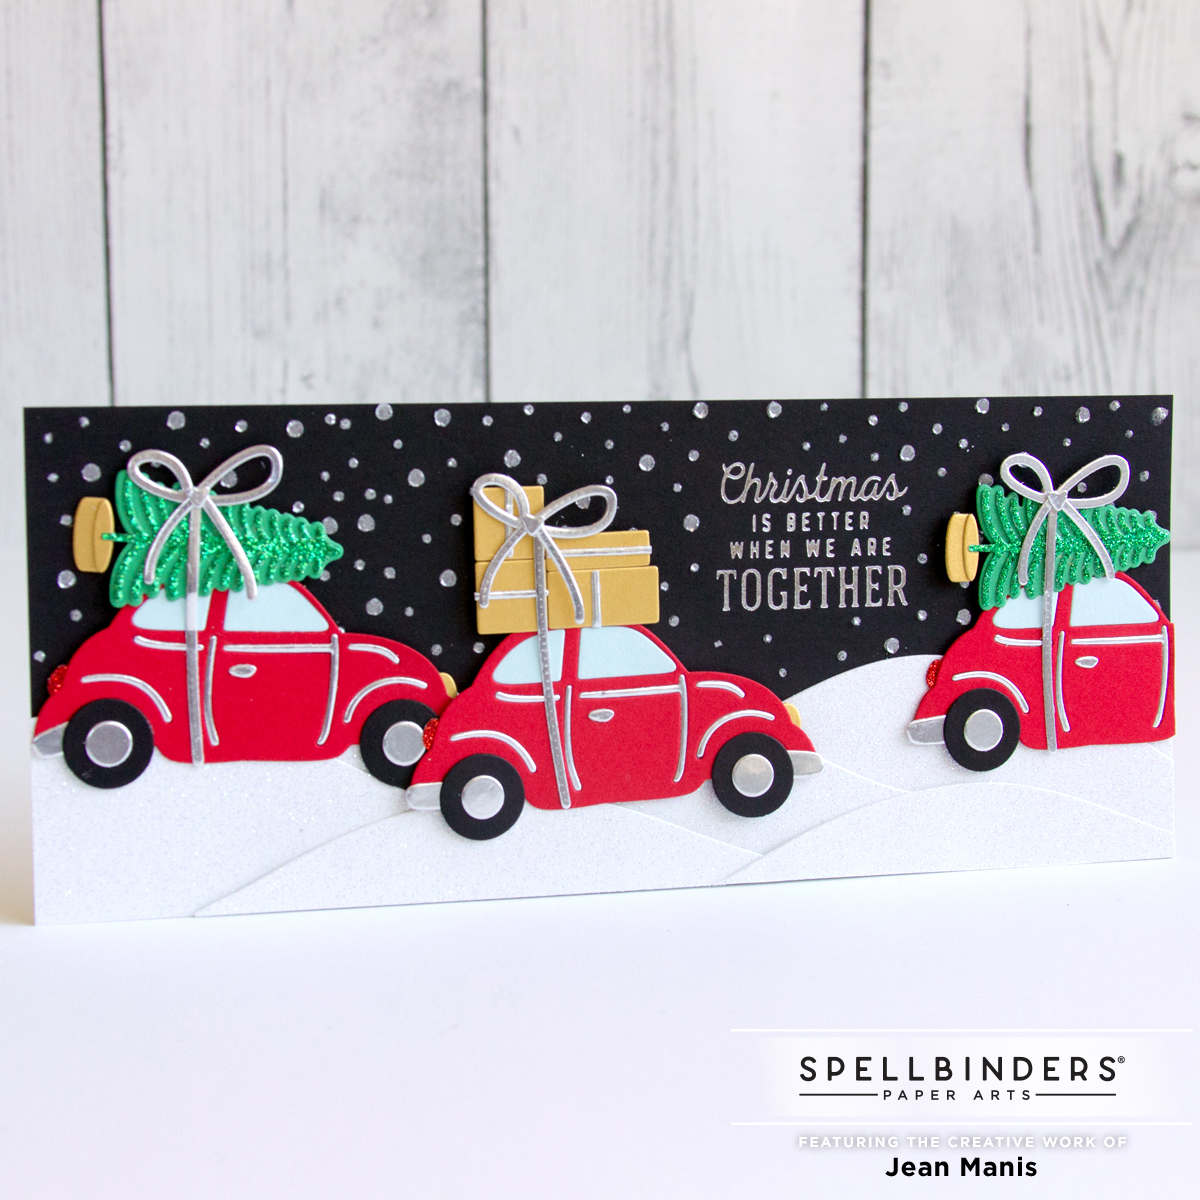
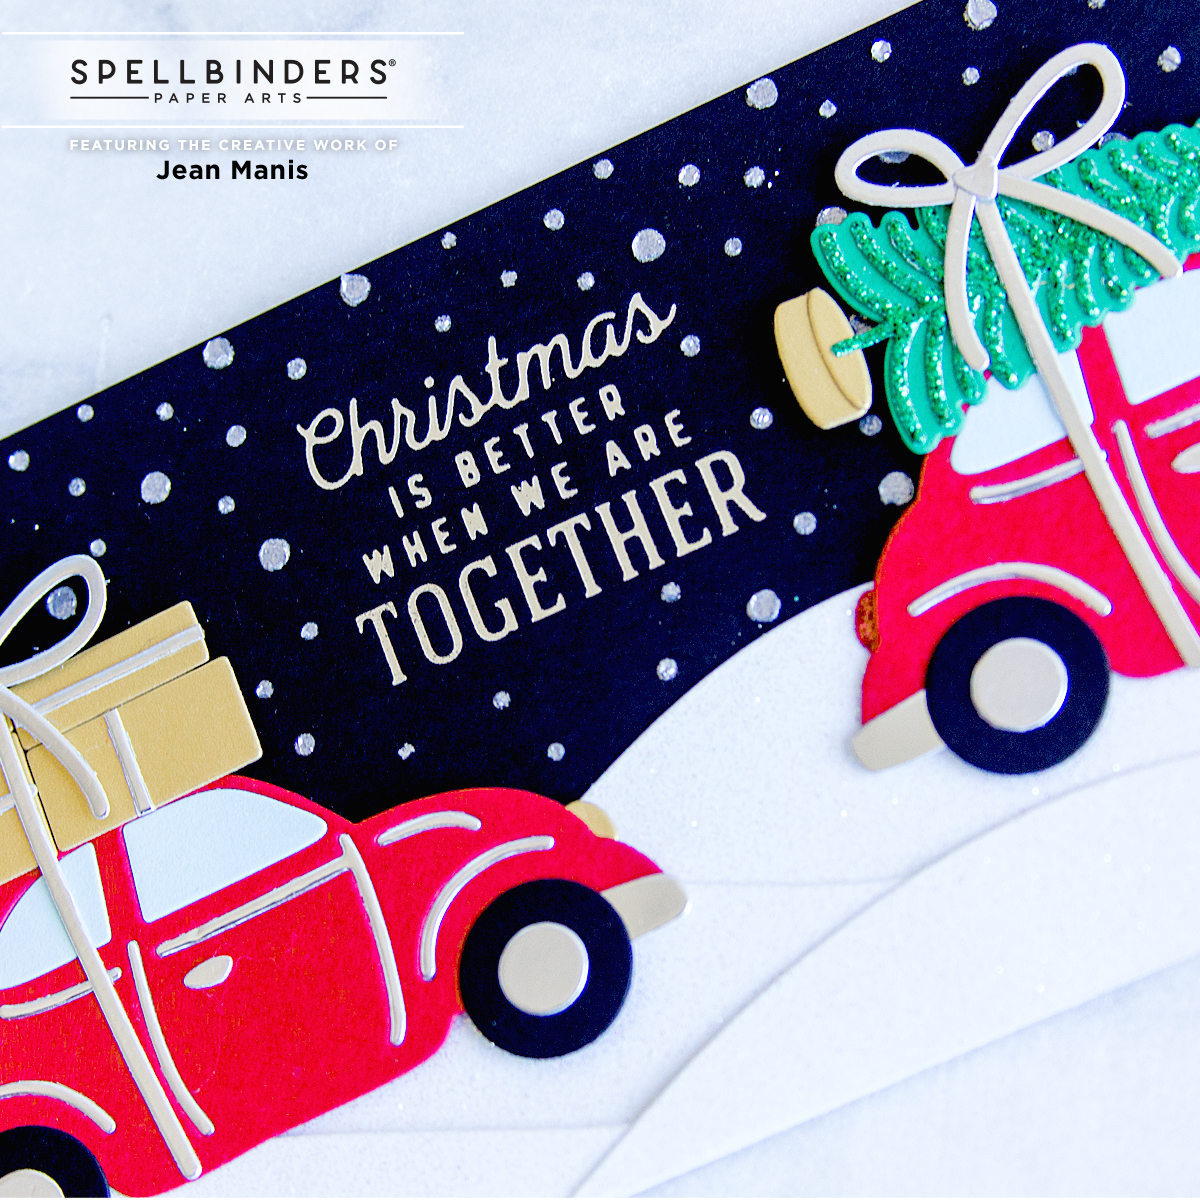
Fa la la! Today I am sharing a slimline Christmas card featuring products from the just-released ‘Tis the Season Collection at Spellbinders. With this card, the Gifts of Christmas sentiment was the starting point – “Christmas Is Better When We Are Together.” I figured I needed several vehicles headed in the same direction to be together for the holidays!
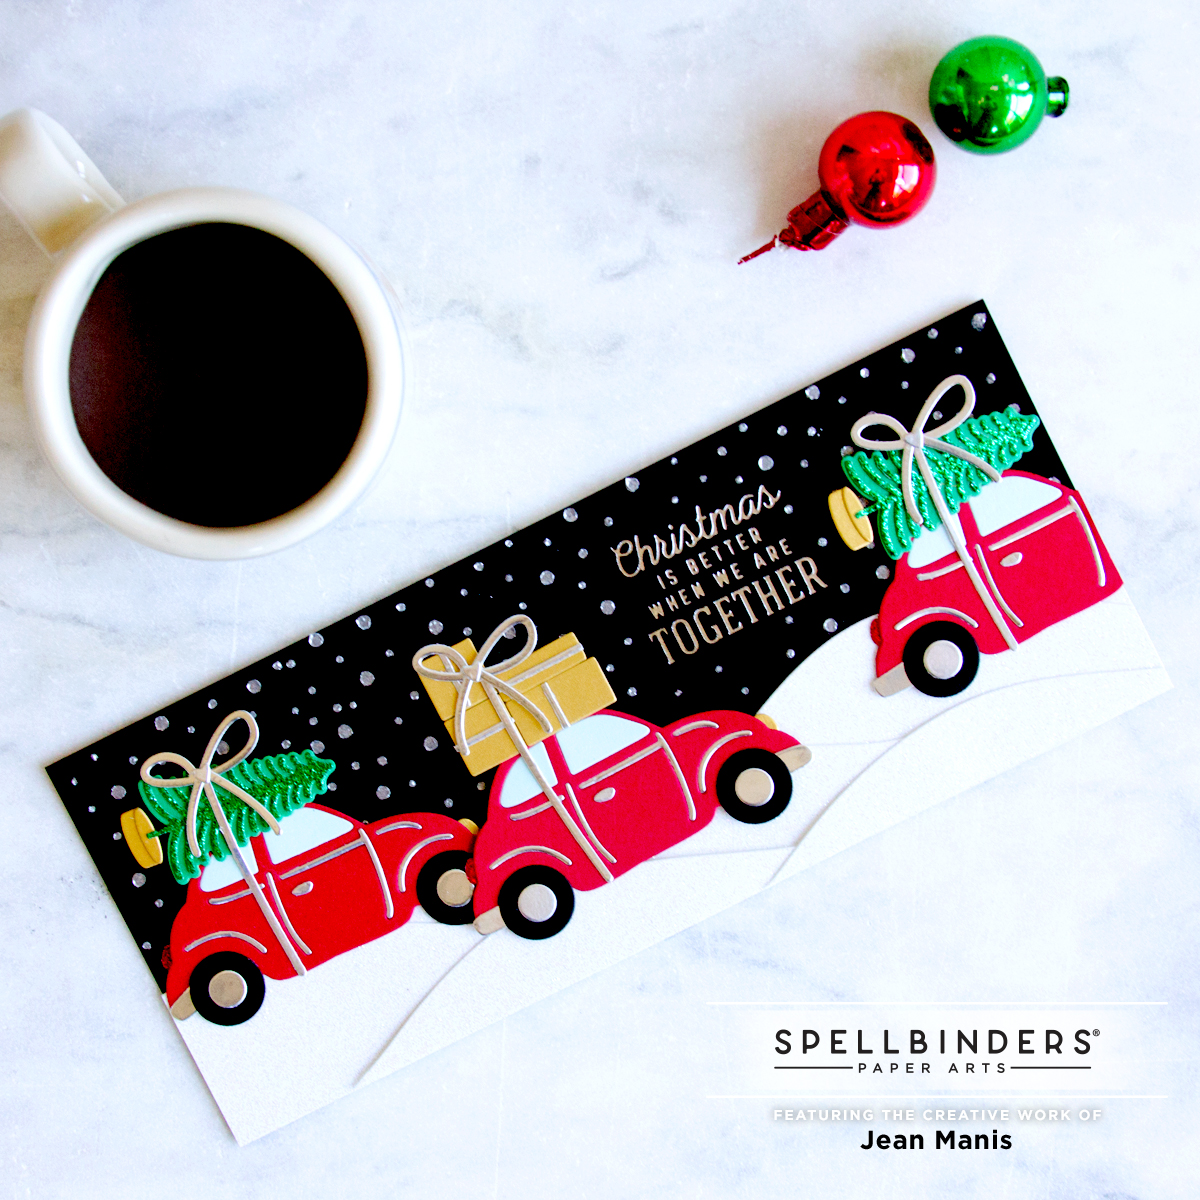
- I glimmer-foiled the Gifts of Christmas sentiment in silver on to a black cardstock panel.
- After masking the sentiment, I stenciled silver paste through the Layered Christmas Tree stencil.
- I die-cut the snowy hills from glitter cardstock with the dies in the Color Block Scenic Scape set. Once the background was dry, the snow banks were added.
- I die-cut the vehicles with the Special Delivery die set; they were assembled with the inlay technique.
- I added trees to the top of two of the vehicles created with the Bottle Brush Trees set and packages to the center car using the Shopping Spree set.
Spellbinders Christmas 2021 – Open House Collection – Part One
Hello! I am delighted to be sharing a Christmas card created with the just-released Open House Collection at Spellbinders. This collection can be used for a variety of holidays and occasions. Doors are one of my favorite card motifs. The idea of having friends and family at our door and into our home, after this past year plus, is a welcome idea! I will share another card from the collection tomorrow (the one on the left in the photo below).
The card I am sharing today measures 6 inches tall by 6 1/4 inches wide when fully opened. When closed, the card is 3 1/8 inches wide. I used double-sided, patterned paper for my base. The paper was scored so that two panels open to reveal the Christmas door in the center with stacks of packages on either side.
I die-cut two Topiary from Brushed Gold cardstock, glitter cardstock, brown cardstock, and gold foil and assembled the pieces.
I die-cut the door and side panels with the Open Door Base and Side Panel die sets from red felt cardstock, and Snowdrift cardstock. For the window panes, I die cut as vellum adhered to cardstock to which I added Tumbled Glass Distress Oxide ink.
I glimmer foiled the Tis the Season sentiment on to red felt cardstock and trimmed in so that it would fit on the door in the mail slot area. The top arched window was decorated with greenery and a bow.
I used the Shopping Spree set to cut stacks of packages from patterned paper and gold foil. I chose to keep the packages flat since the panels closed. If this had been a non-folding card, I would have popped them up with foam adhesive.
Thanks for stopping by! I will share another card (the one shown on the left in the top photo) tomorrow.