Spellbinders Christmas Foiled Basics

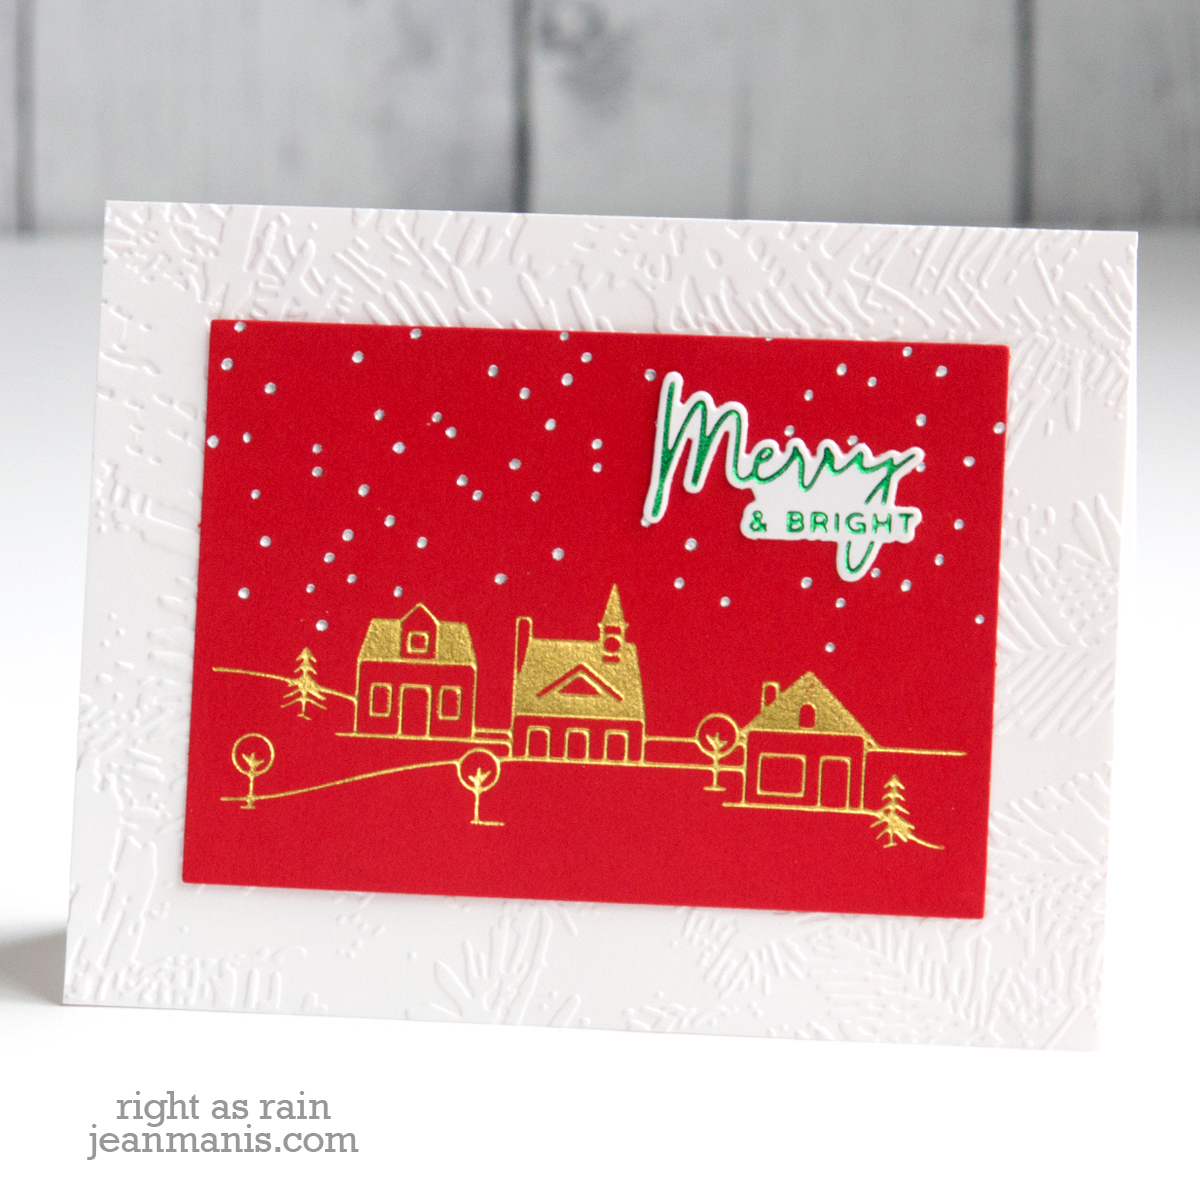
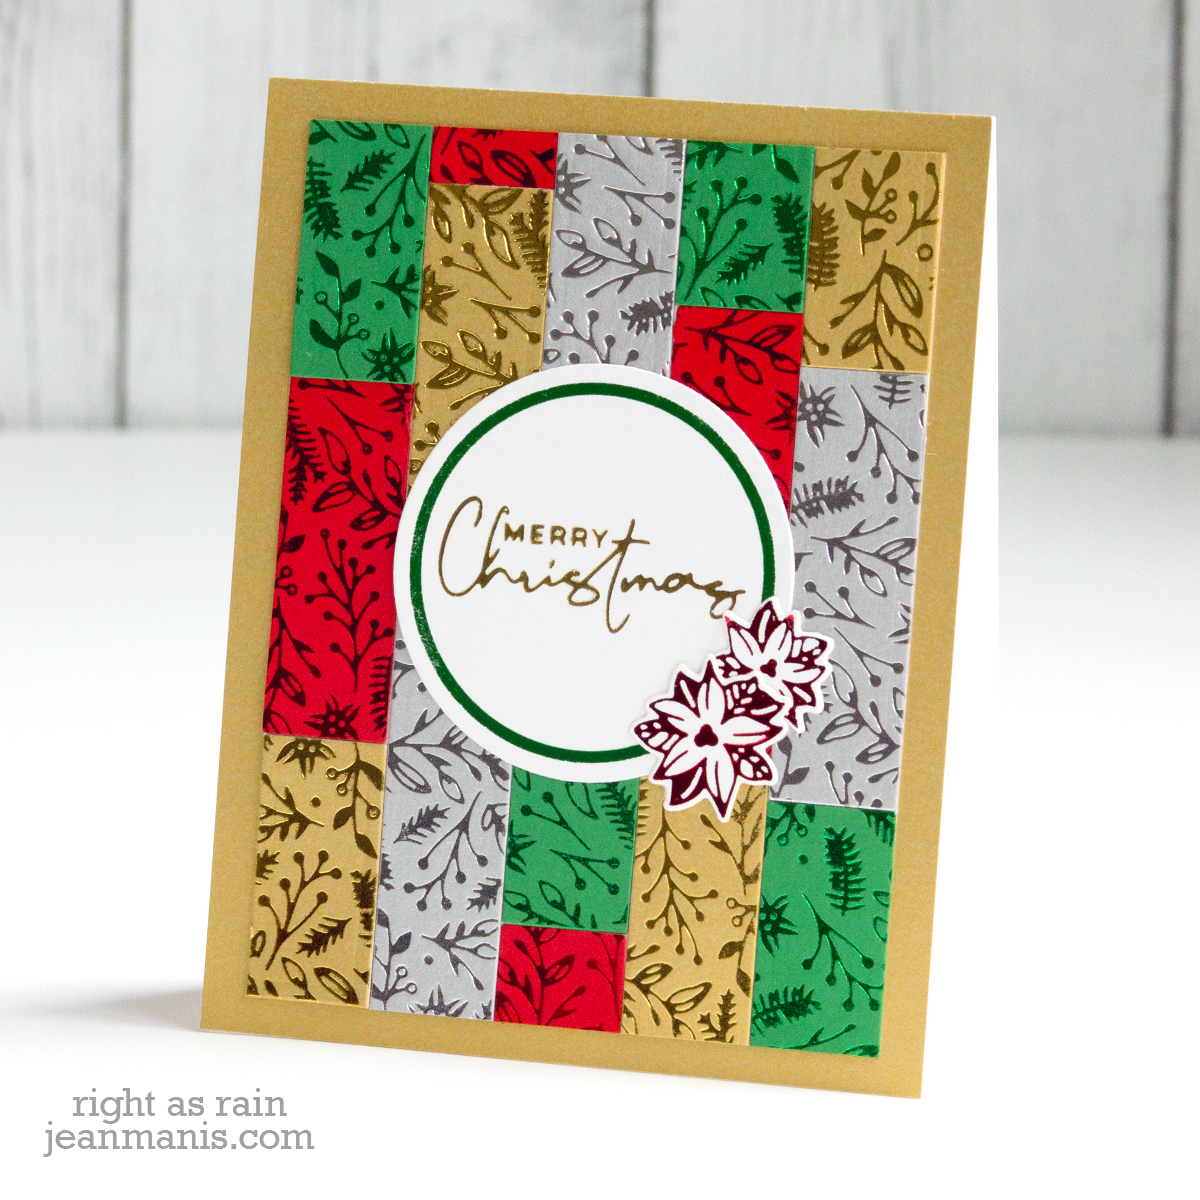
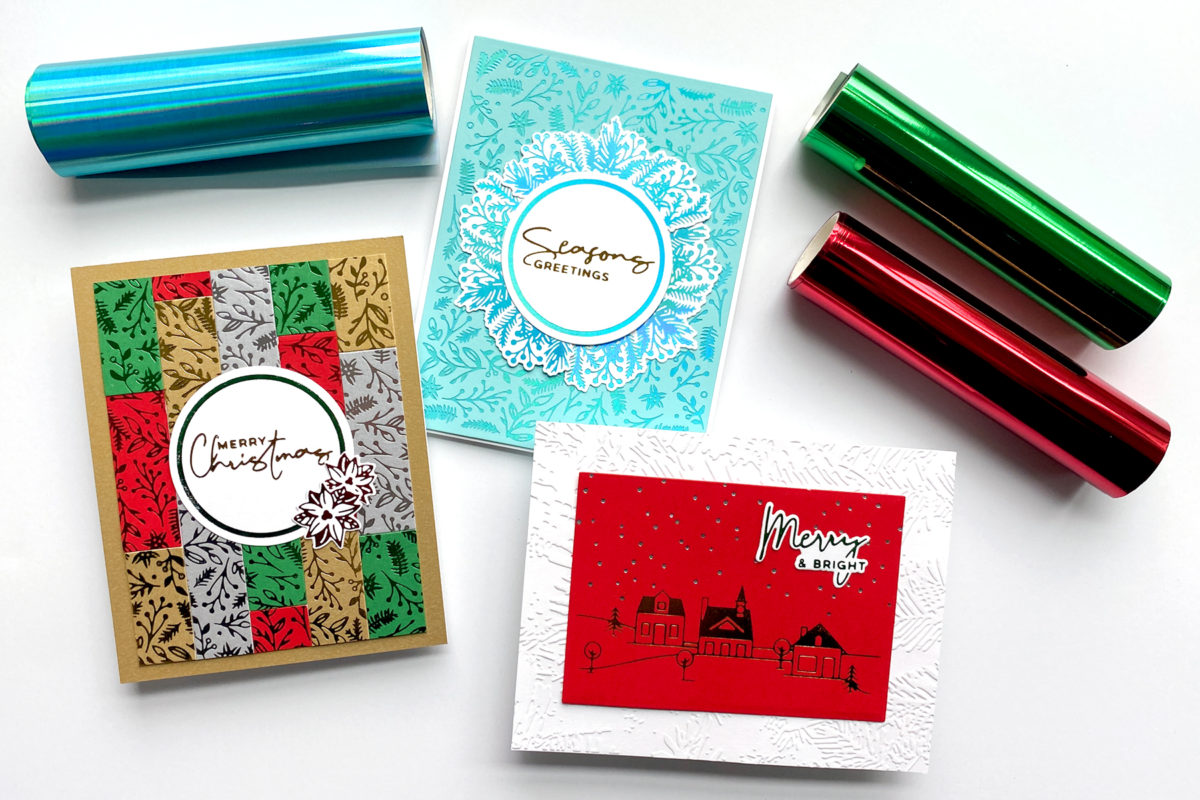
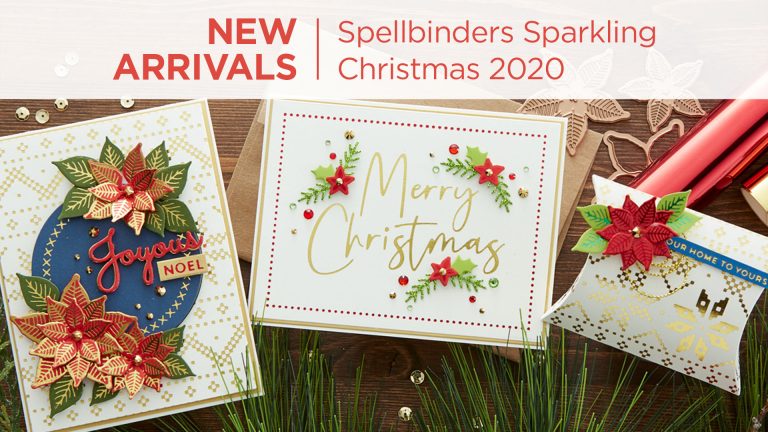
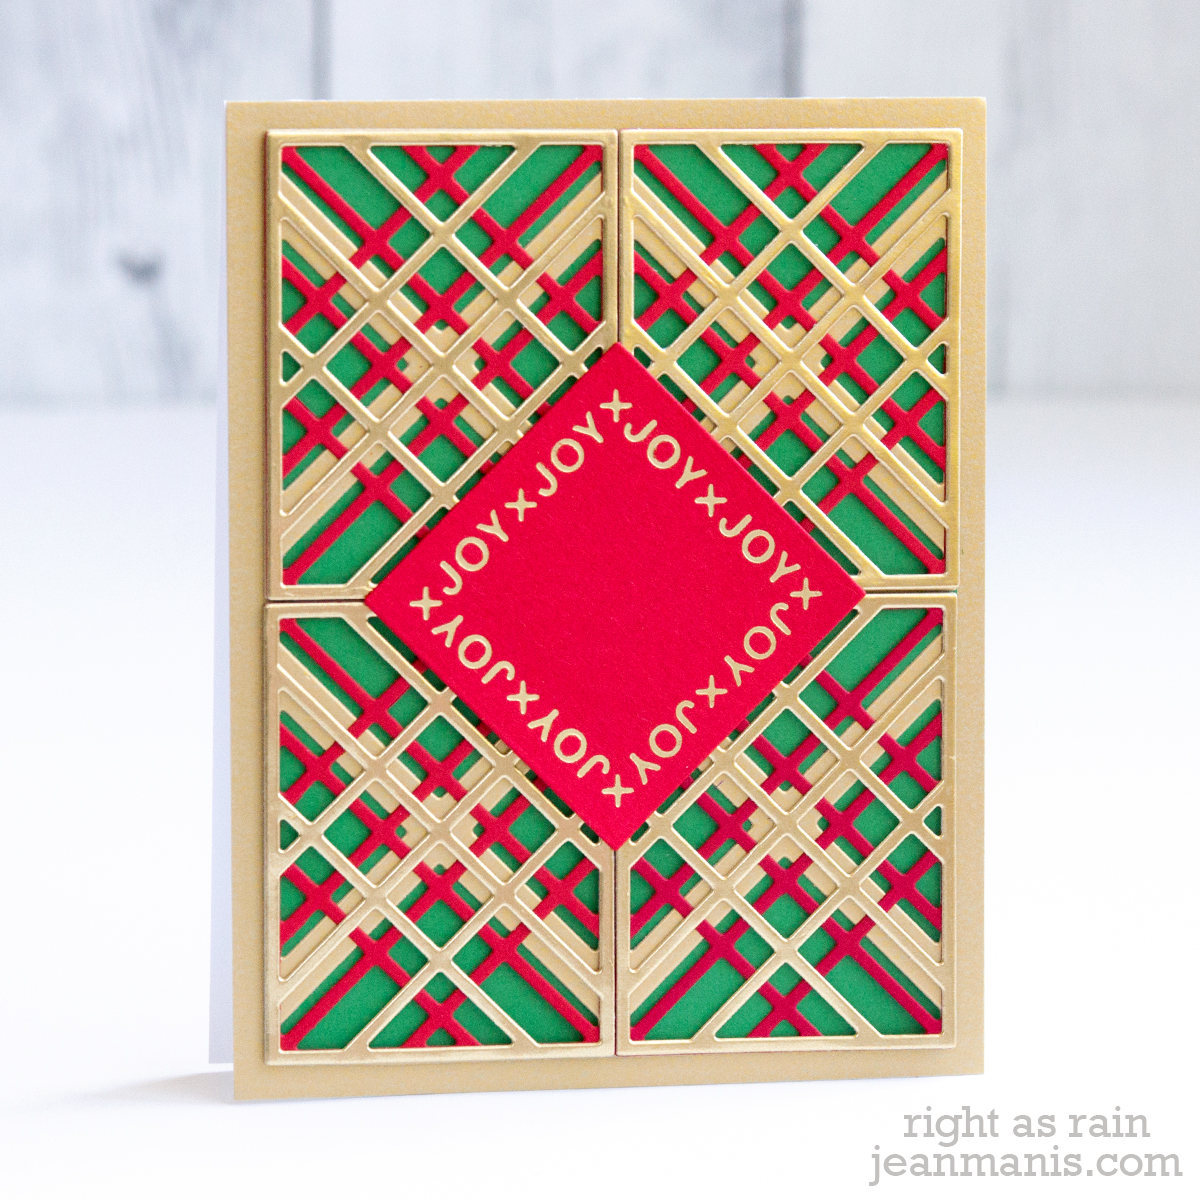
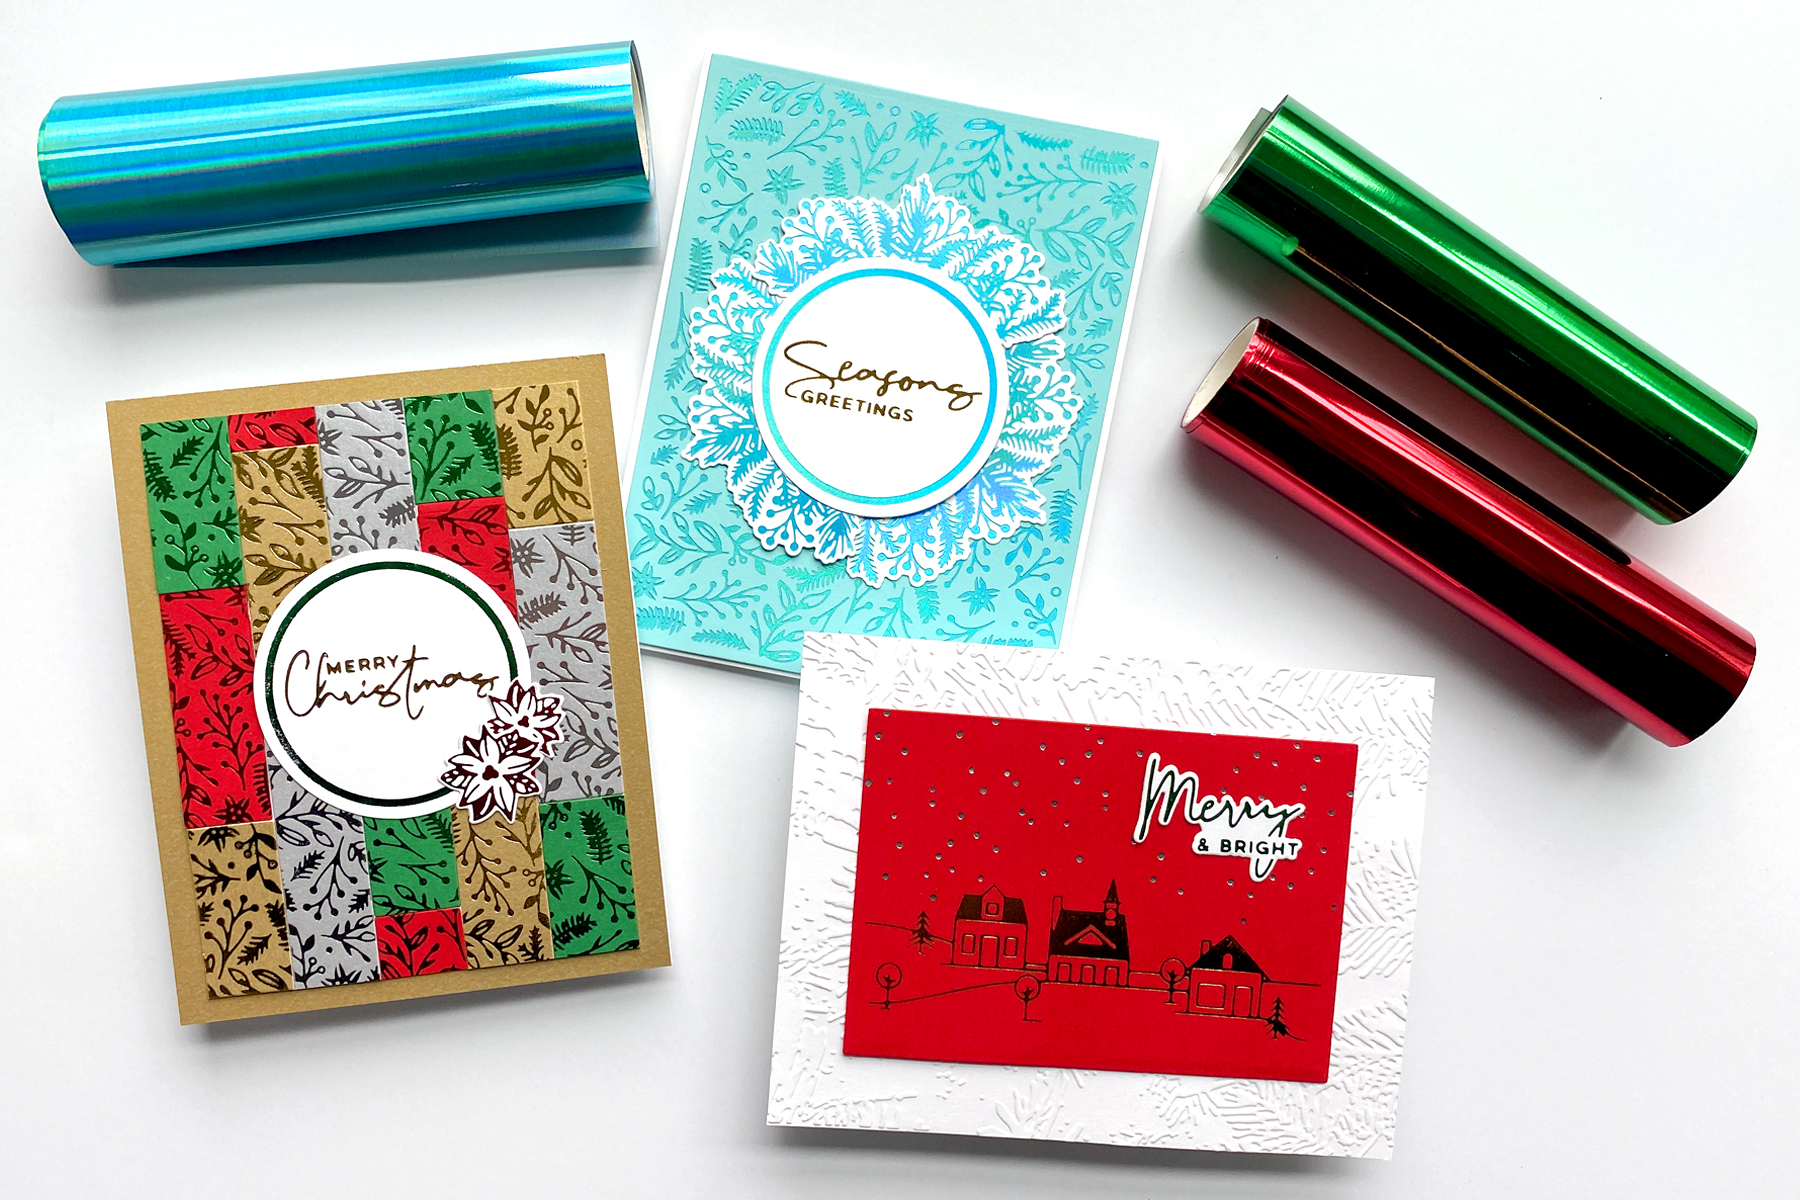
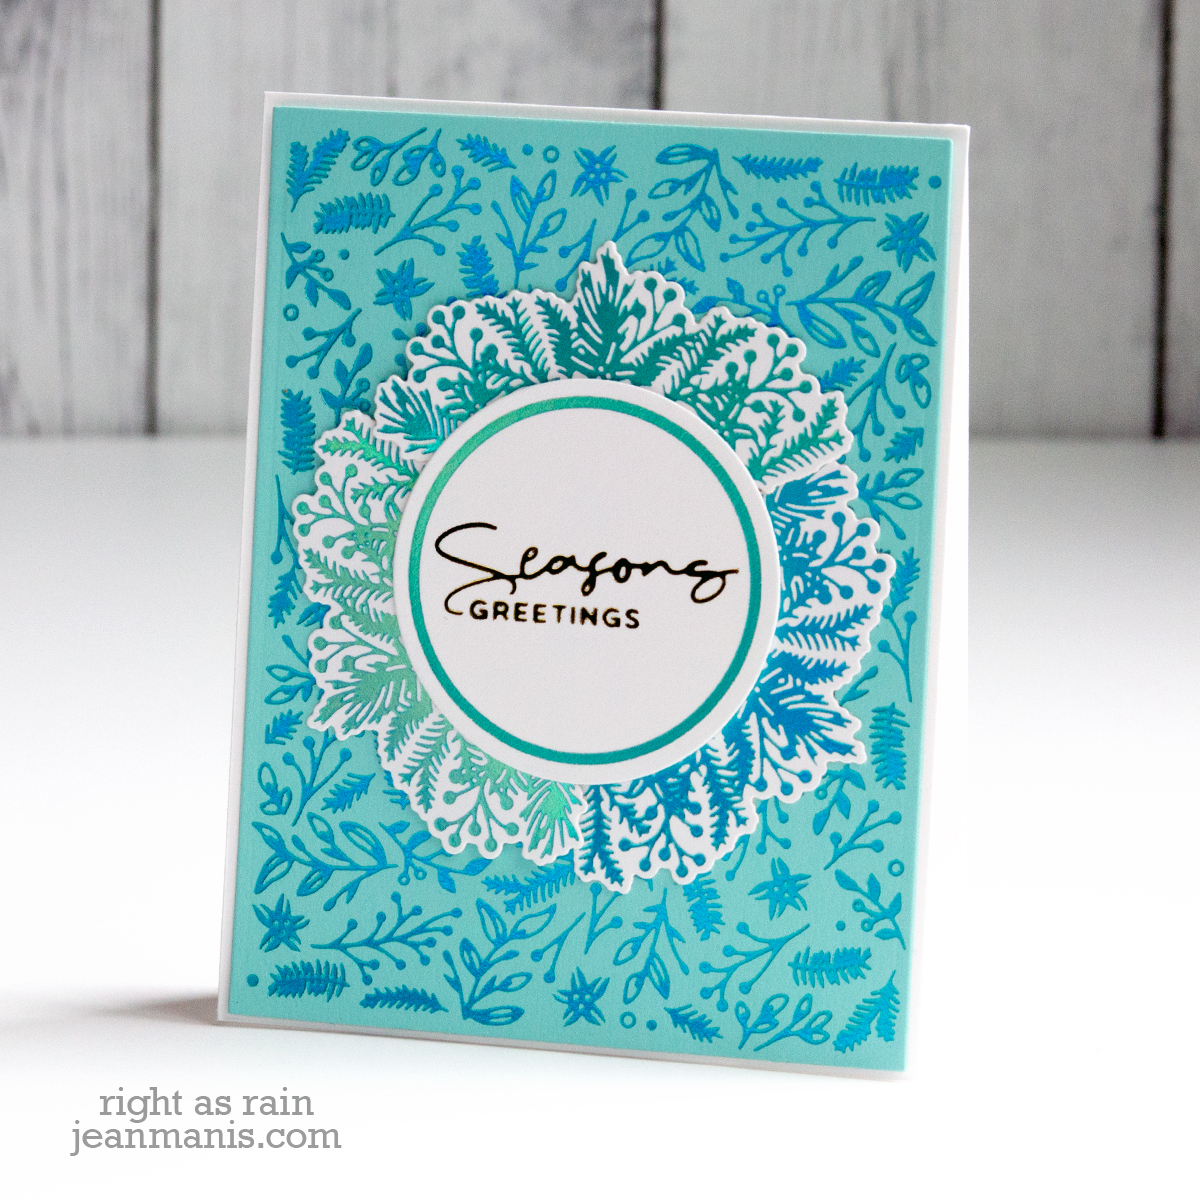
Hello! I recently shared three winter holiday cards on the Spellbinders Blog created with the Christmas Foiled Basics Collection by Yana Smakula.

Spellbinders Christmas Foiled Basics

I tried many different color combinations of Glimmer foil and cardstock. With more Glimmer foil experience under my belt, I was willing to foil several times on the same cardstock with different foil colors. At the same time, I took advantage of the collection’s companion dies to add foiled sentiments and elements without stress.

I hope you’ll head over to the post for additional details and to leave a comment!

Spellbinders Christmas Foiled Basics Spellbinders Christmas Foiled Basics Spellbinders Christmas Foiled Basics

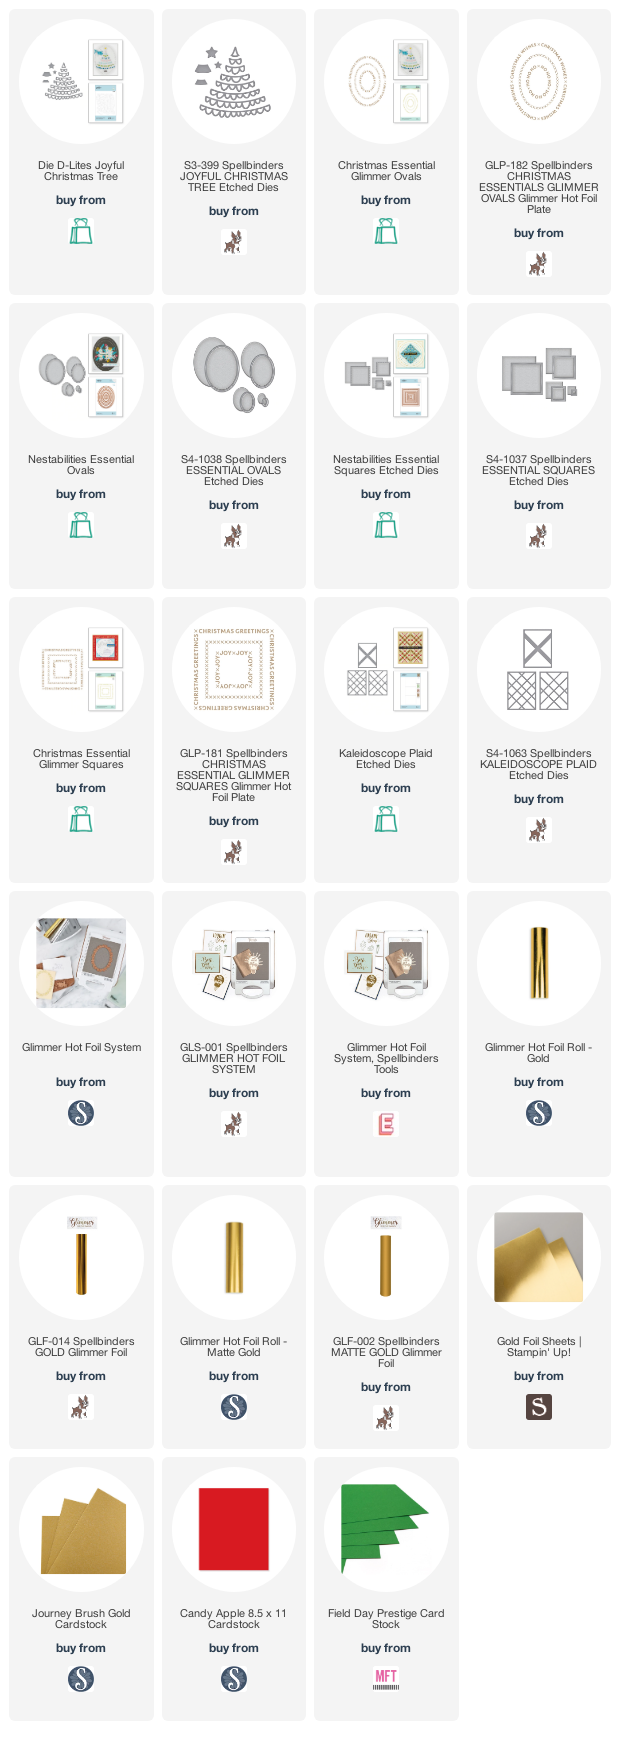
Supplies:

Spellbinders Sparkling Christmas

Spellbinders Sparkling Christmas

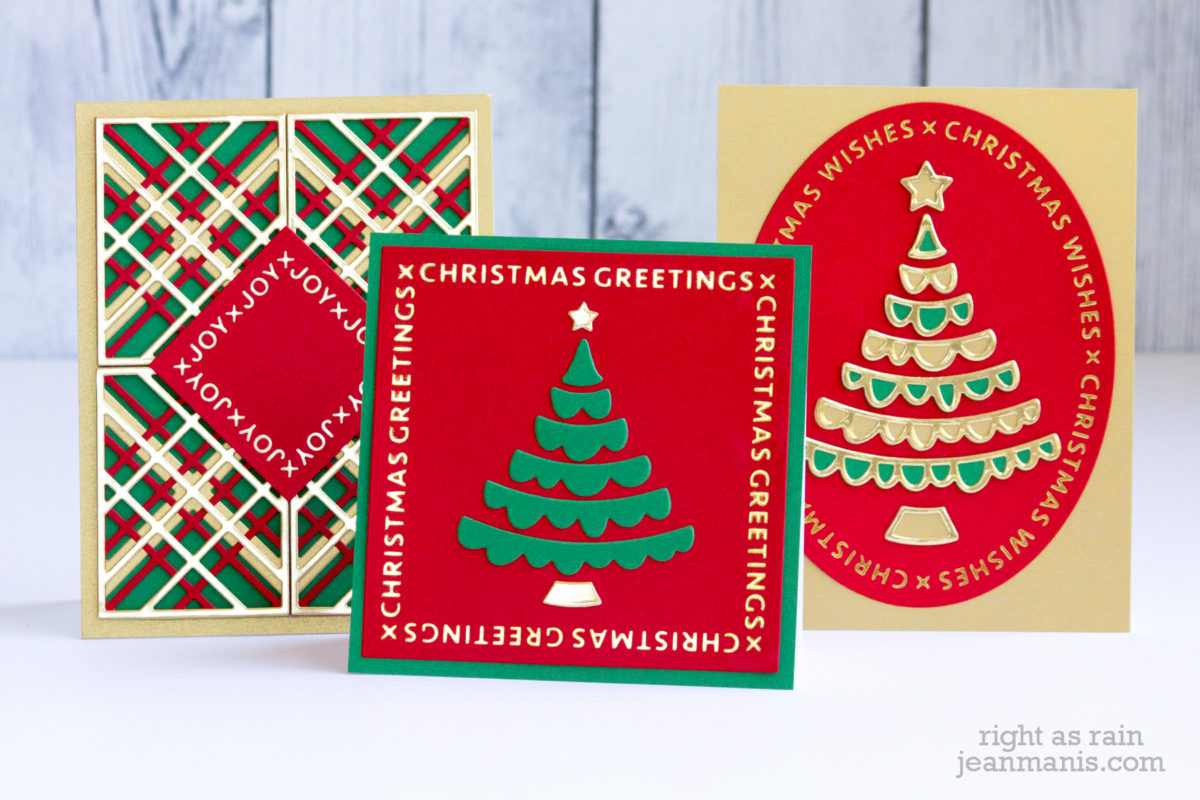
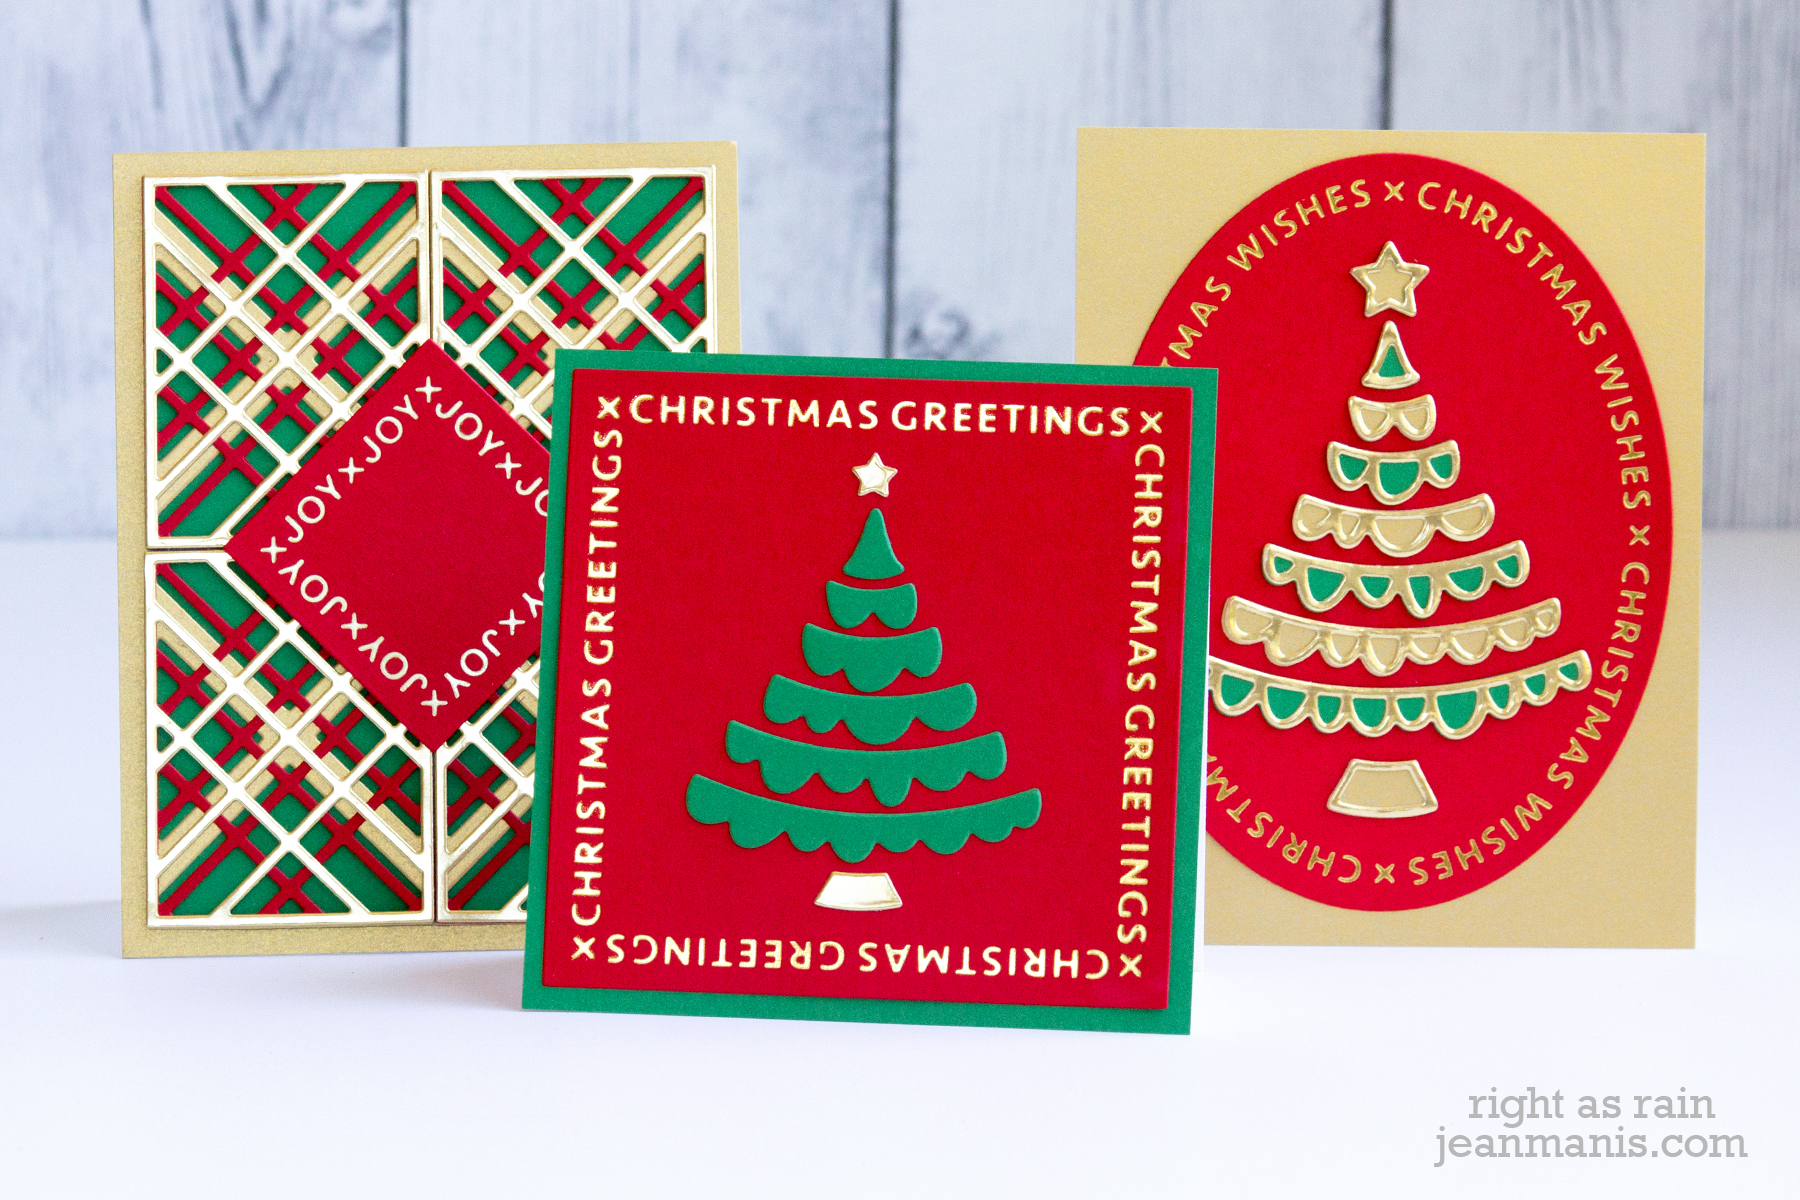
I recently wrote a guest post for the Spellbinders blog in which I shared holiday cards that combine two of my favorite techniques–die-cutting and foiling–using products in the Sparkling Christmas Collection. For all three cards, I used a color scheme of red, green, and gold. With this collection, you’ll create elegant and distinctive holiday cards.

Spellbinders Sparkling Christmas

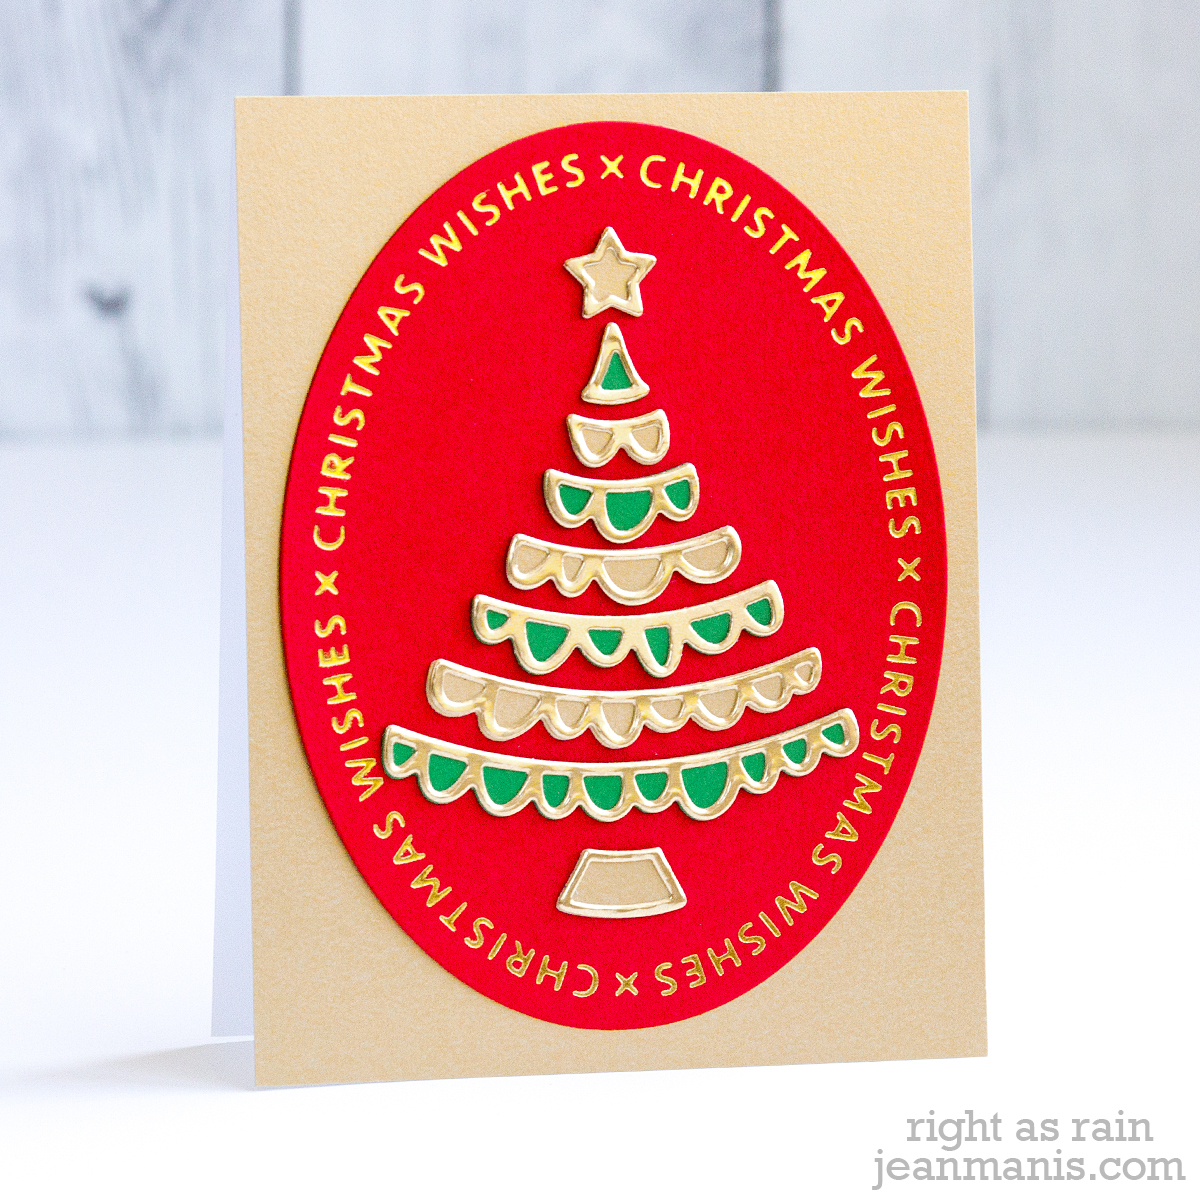
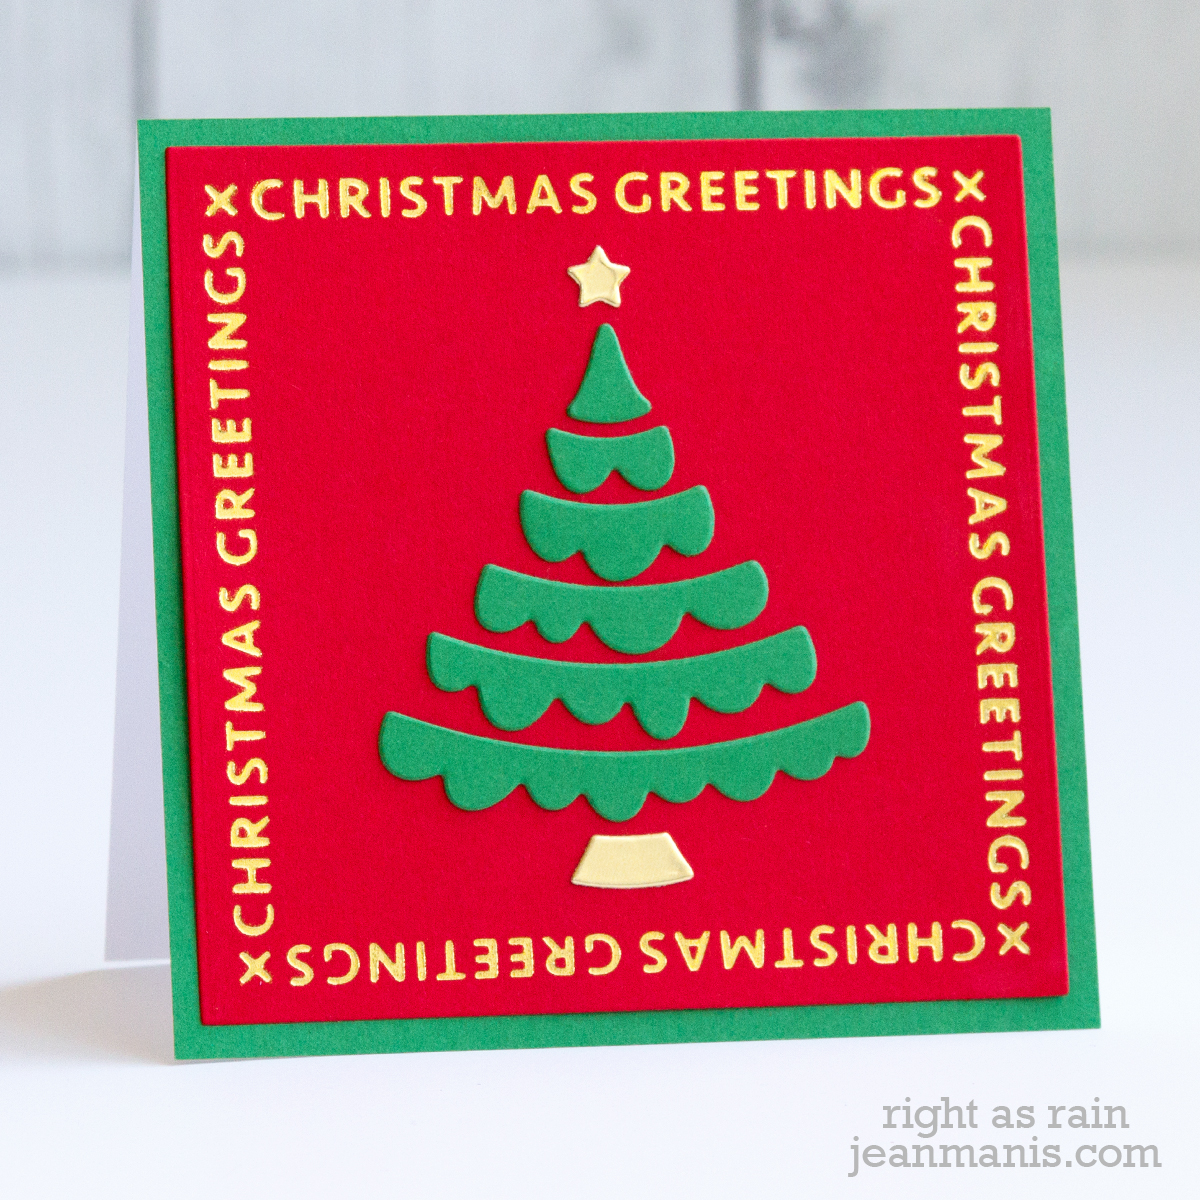
I created two cards with the Joyful Christmas Tree die set.

Spellbinders Sparkling Christmas

Spellbinders Sparkling Christmas

On the final card I created a plaid background with the Kaleidoscope Plaid die set.

Spellbinders Sparkling Christmas

I’d love for you to visit to read about the details and leave a comment!

Supplies:

Spellbinders August Clubs Blog Hop

Spellbinders August Clubs Blog Hop

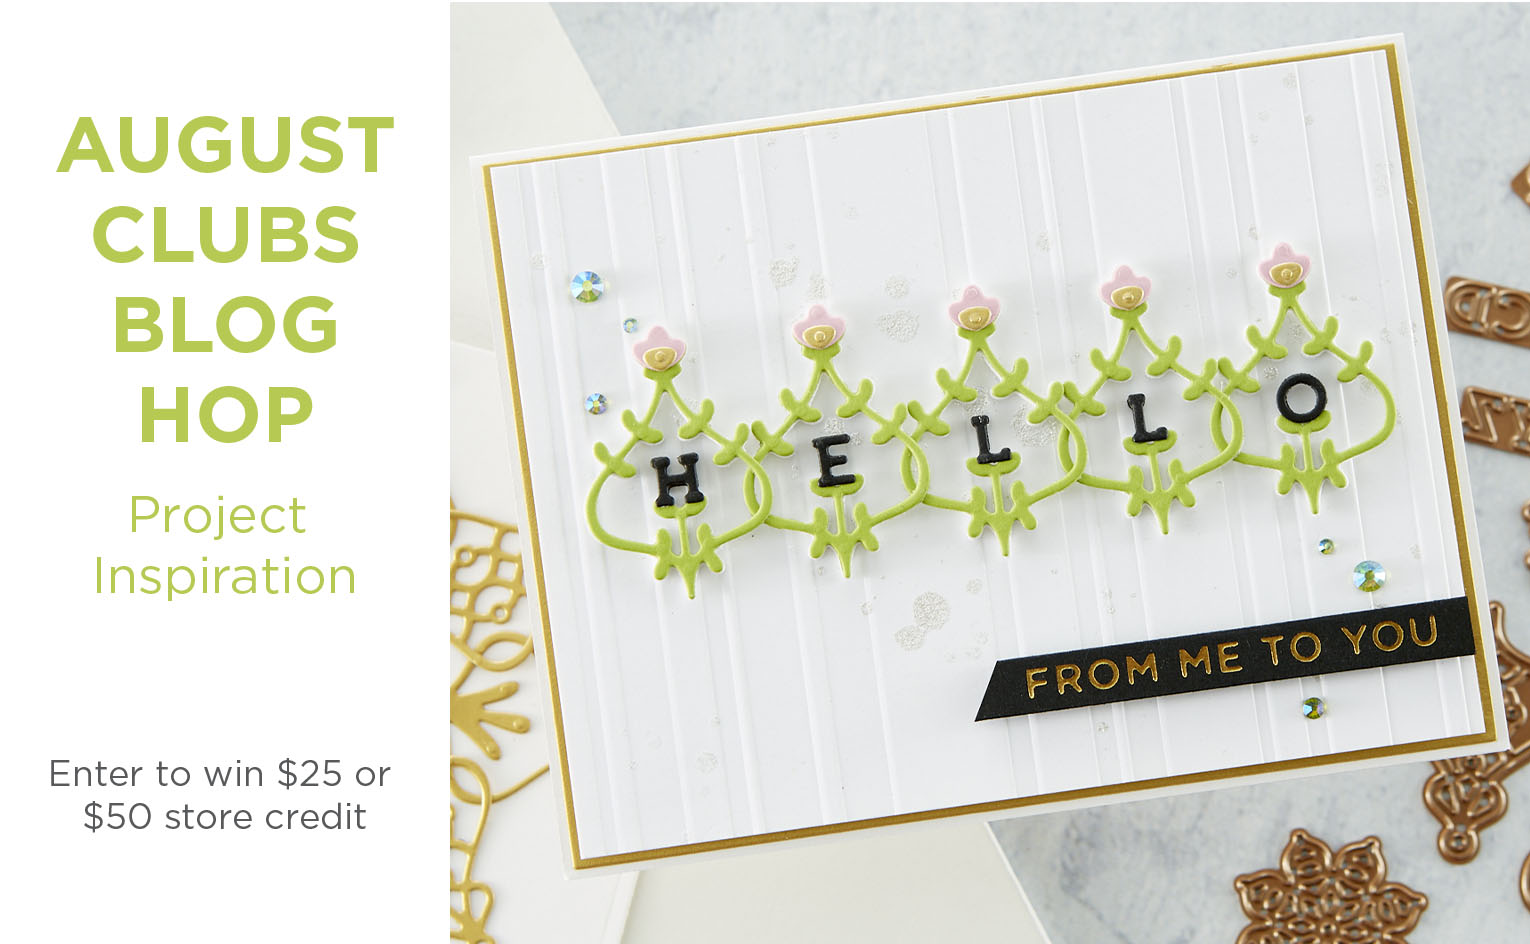
Hello! Today, I am delighted to be participating in a blog hop along with other papercrafters sharing projects created with the Spellbinders August 2020 Club Subscriptions. You should have reached me from the blog of Michelle Short.  (The entire list of participants is included at the end of my post.) For the hop, I created CAS, Christmas-themed cards showcasing the August Small Die of the Month kit from Spellbinders – “Sitting Pretty.”

To celebrate this release, Spellbinders is giving away a $50 gift certificate to 3 lucky blog readers, selected from the comments on the Spellbinders blog. Hop along for additional chances to win. Giveaway closes Sunday, August 30, 11:59 pm EDT. The winner will be announced in the blog hop post the following Tuesday. The winner is responsible for shipping cost, duties and taxes.

Additionally, I will draw a winner to receive a $25 gift certificate from commenters on my blog. The deadline to comment is Thursday, August 27, 9:00 pm PDT. Please note: store credit (gift certificate) cannot be applied to Club Subscriptions. Store credit can be applied to shop past Club products, Club extras, and regular releases.

Let’s take a look at the cards I created for the hop! (I shared another card created with the August Small Die of the Month kit in this post.)
Spellbinders August Clubs Blog Hop

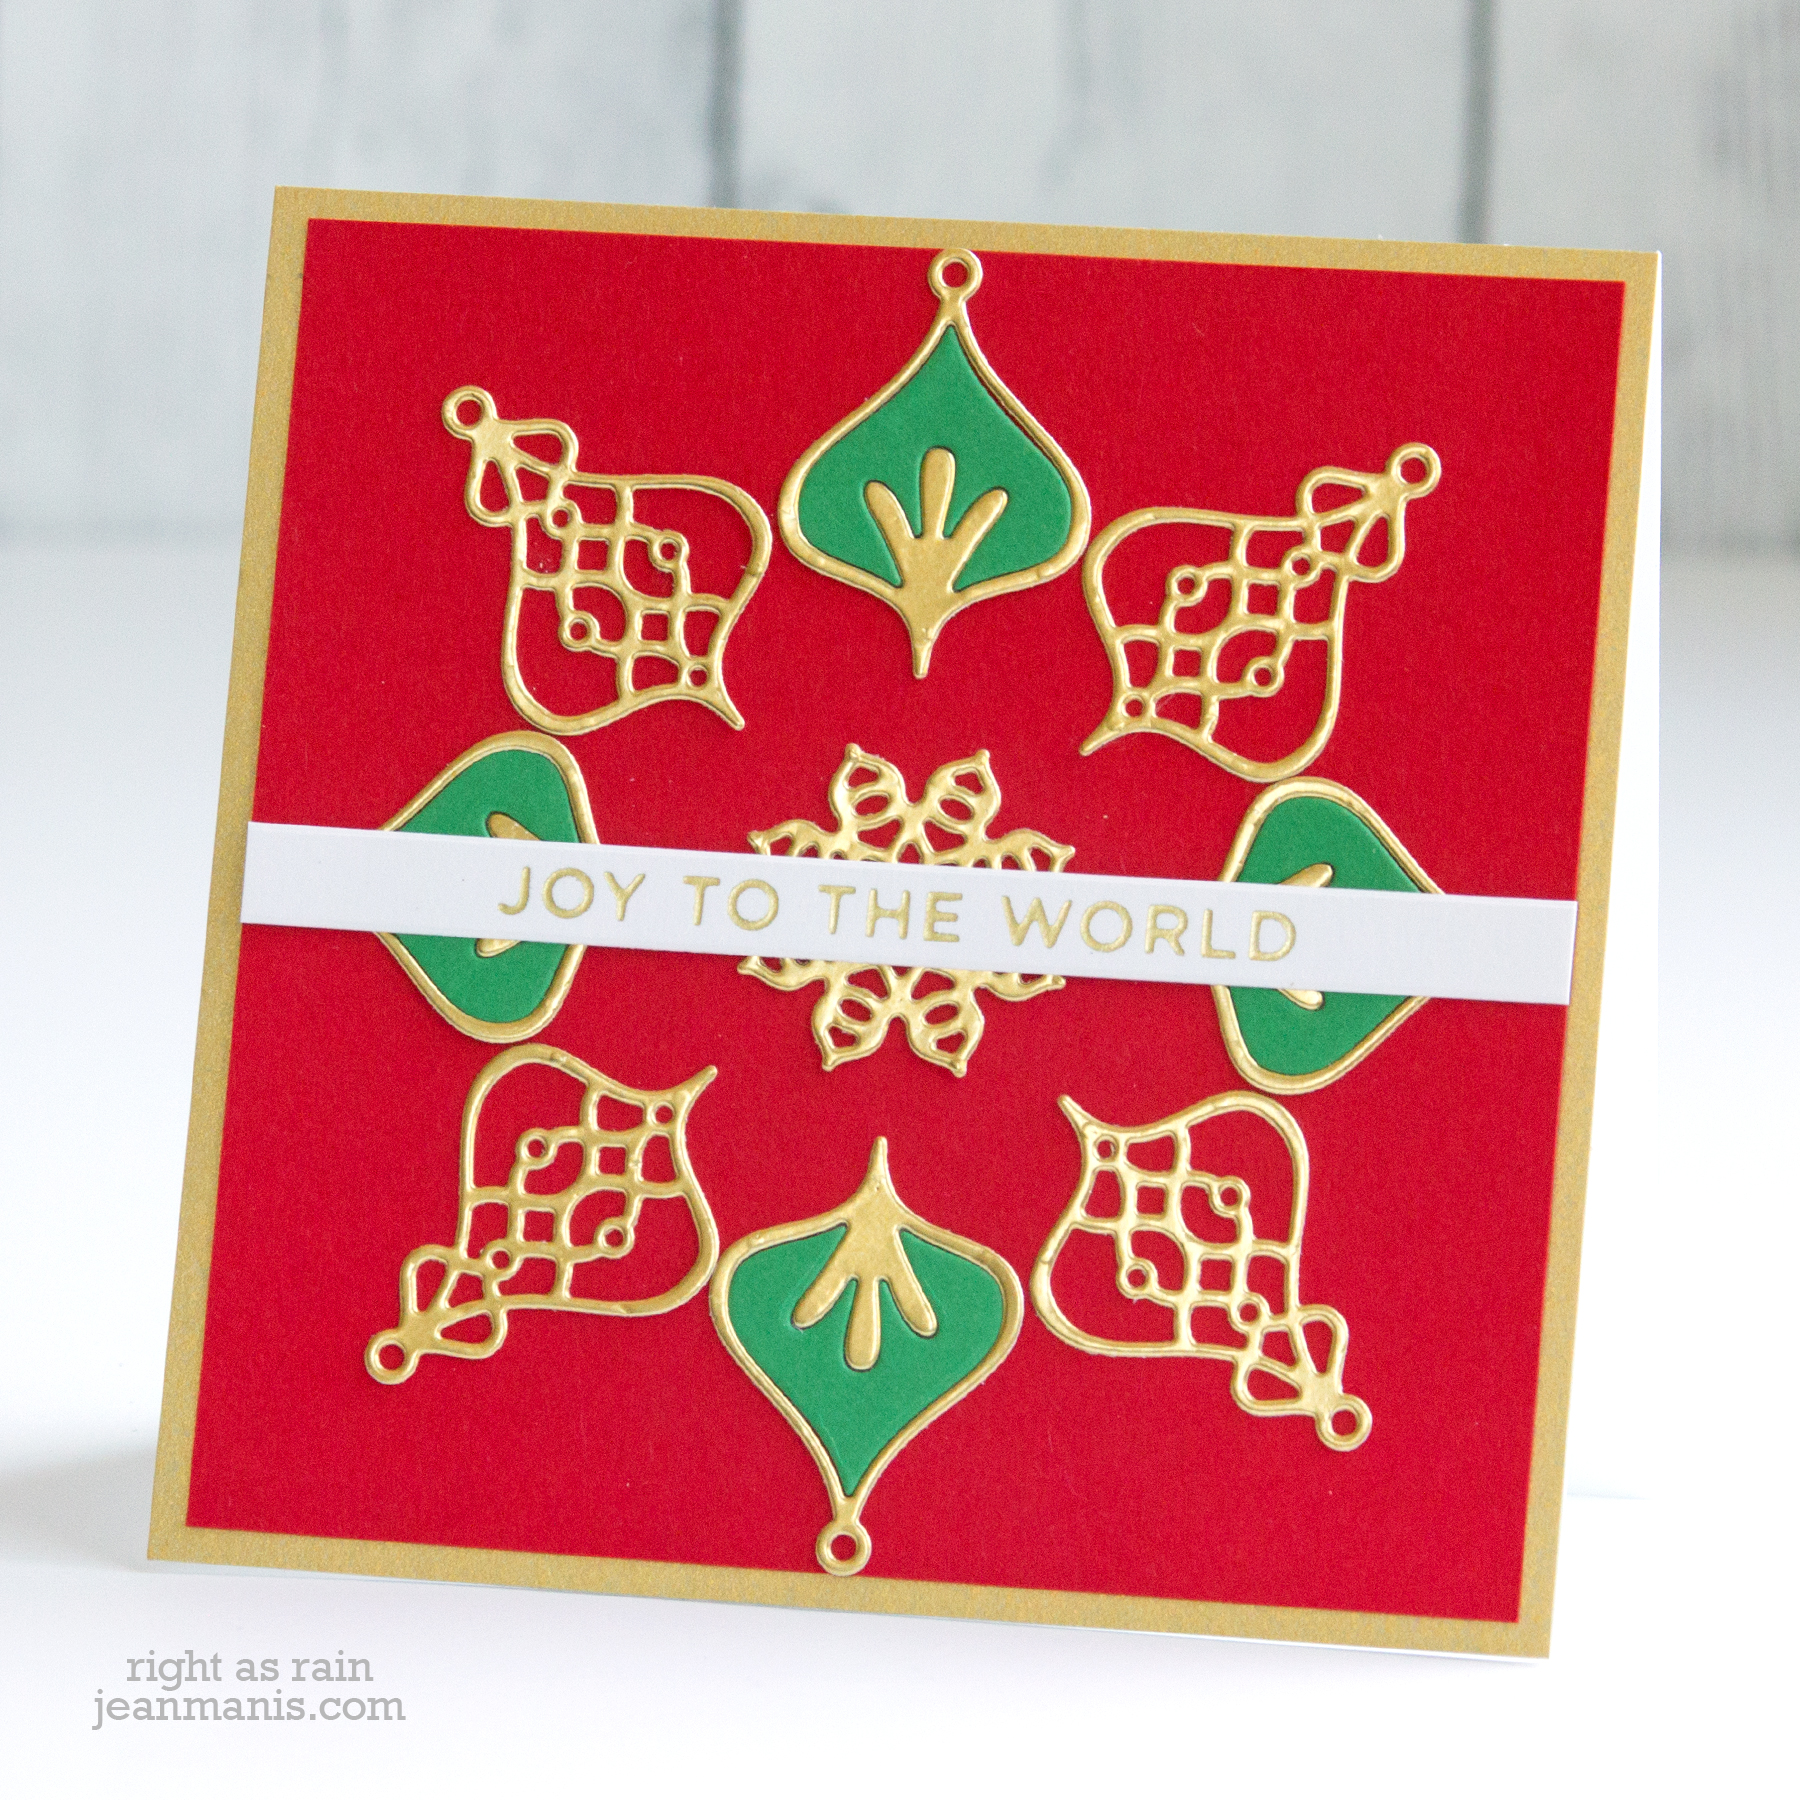
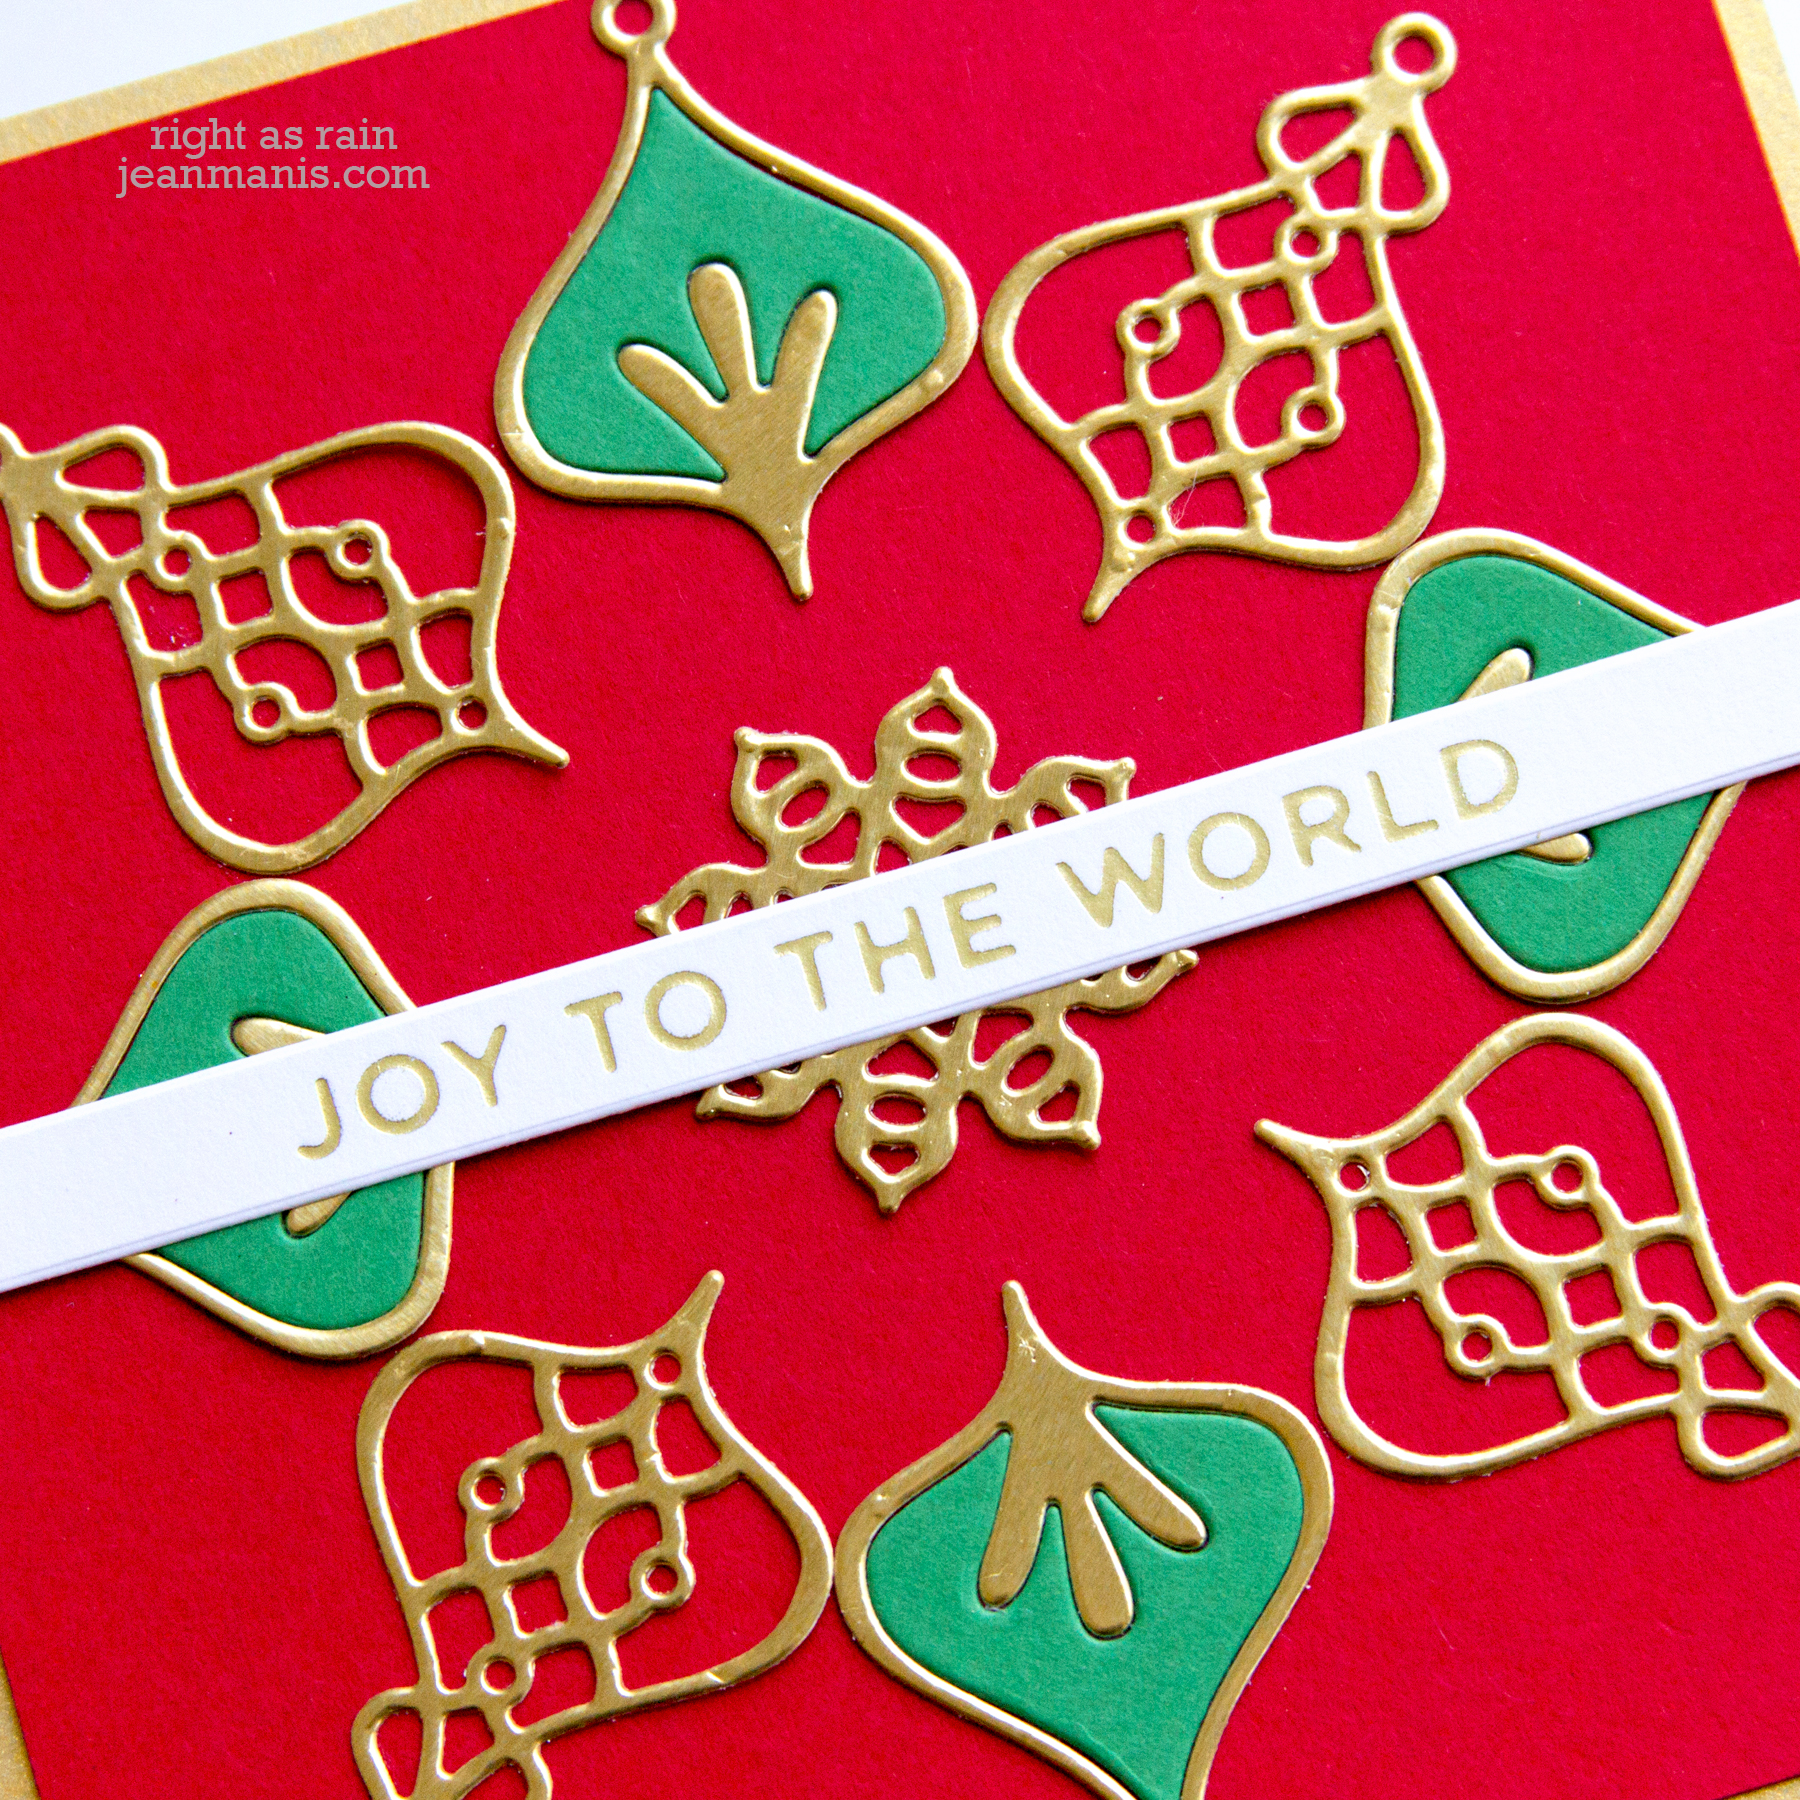
My first card was created with a traditional color scheme of red, green, and gold.
Spellbinders August Clubs Blog Hop

  • I cut two of the shapes in the the August Small Die of the Month kit from gold foil cardstock (each four times).
  • I cut green cardstock with one of the dies, four times, to create an inlay on four of the shapes.
  • I cut the center medallion from gold foil cardstock.
  • I glimmer-foiled the Holiday Sentiments Series 2 sentiment in Matte Gold on white cardstock and cut it with the die in the sentiment set.
  • I adhered the eight pieces around the center medallion on a red cardstock square measuring 4 1/2″. I adhered the sentiment strip to the center.
  • I added the assembly to a Brush Gold card base measuring 4 5/8″ square.
Spellbinders August Clubs Blog Hop

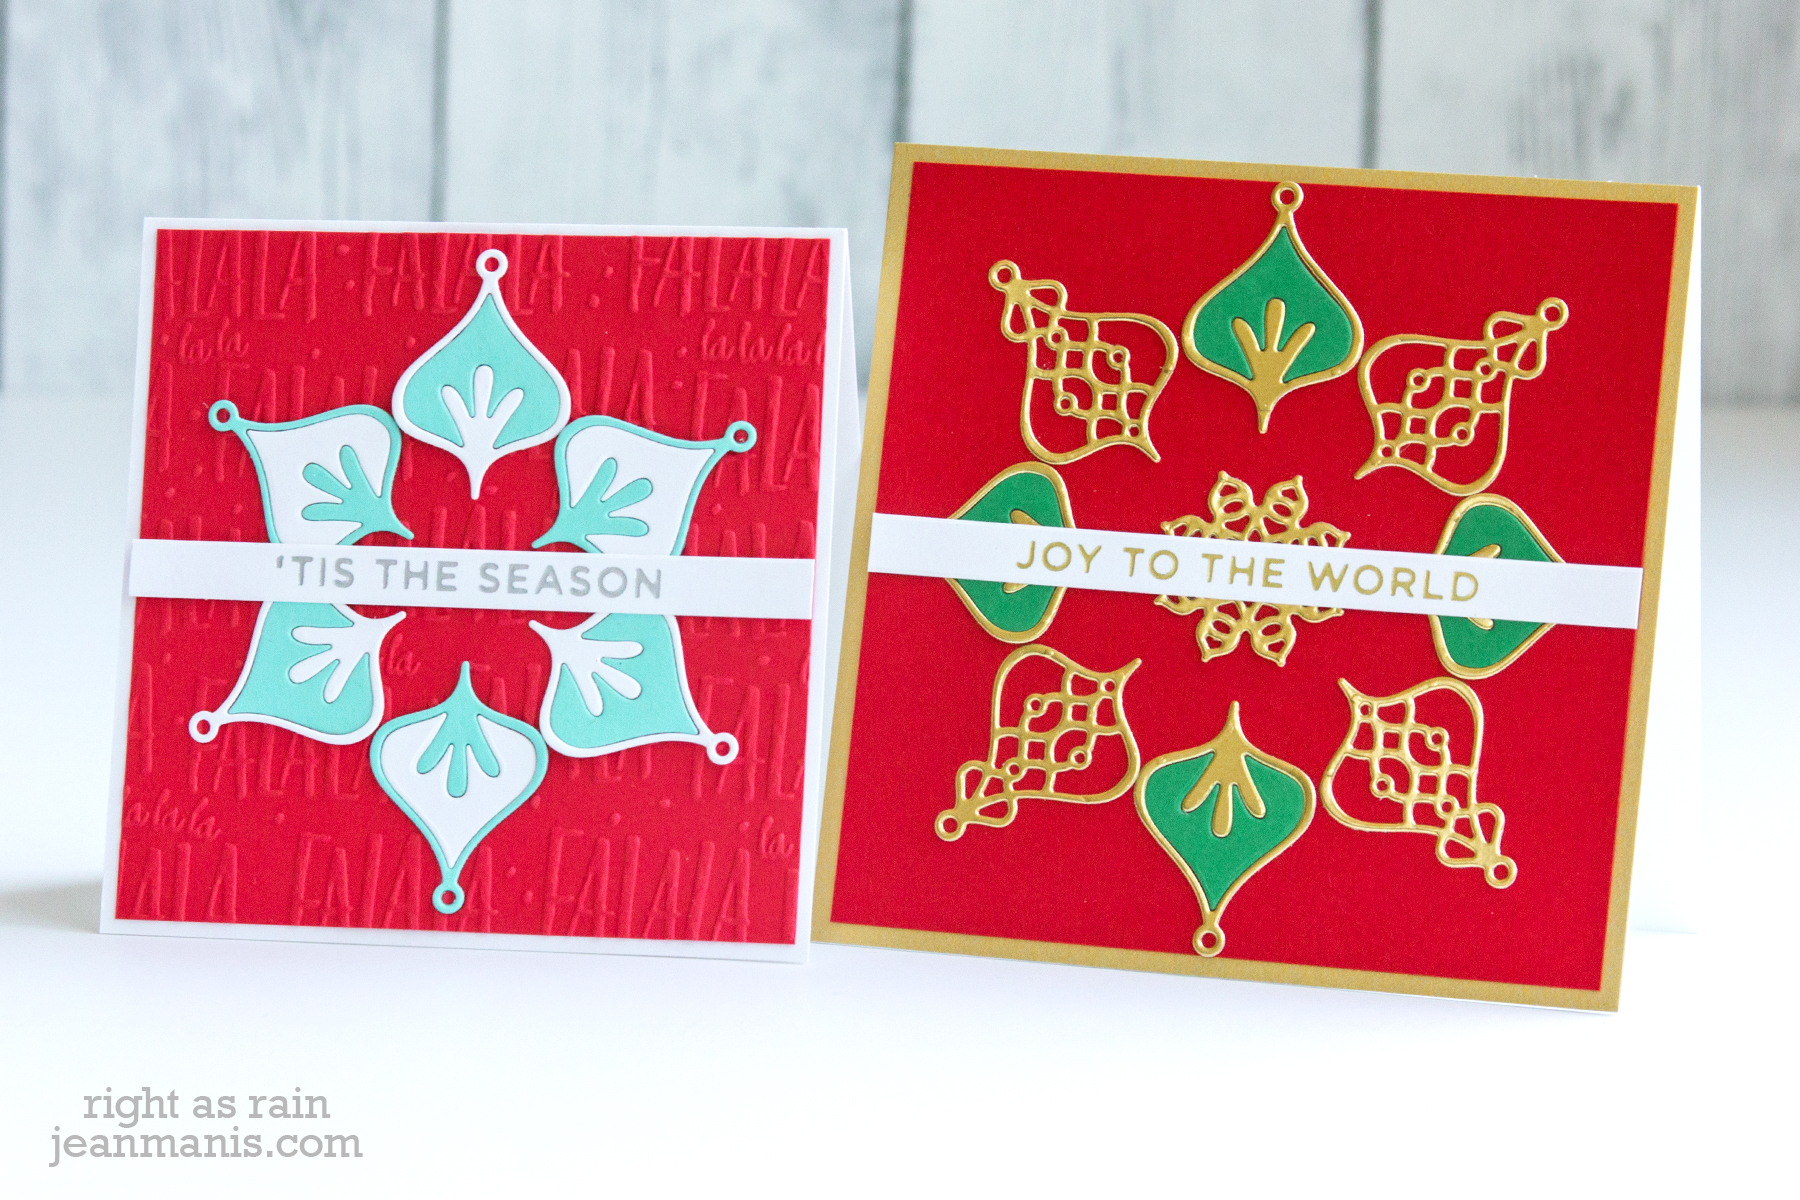
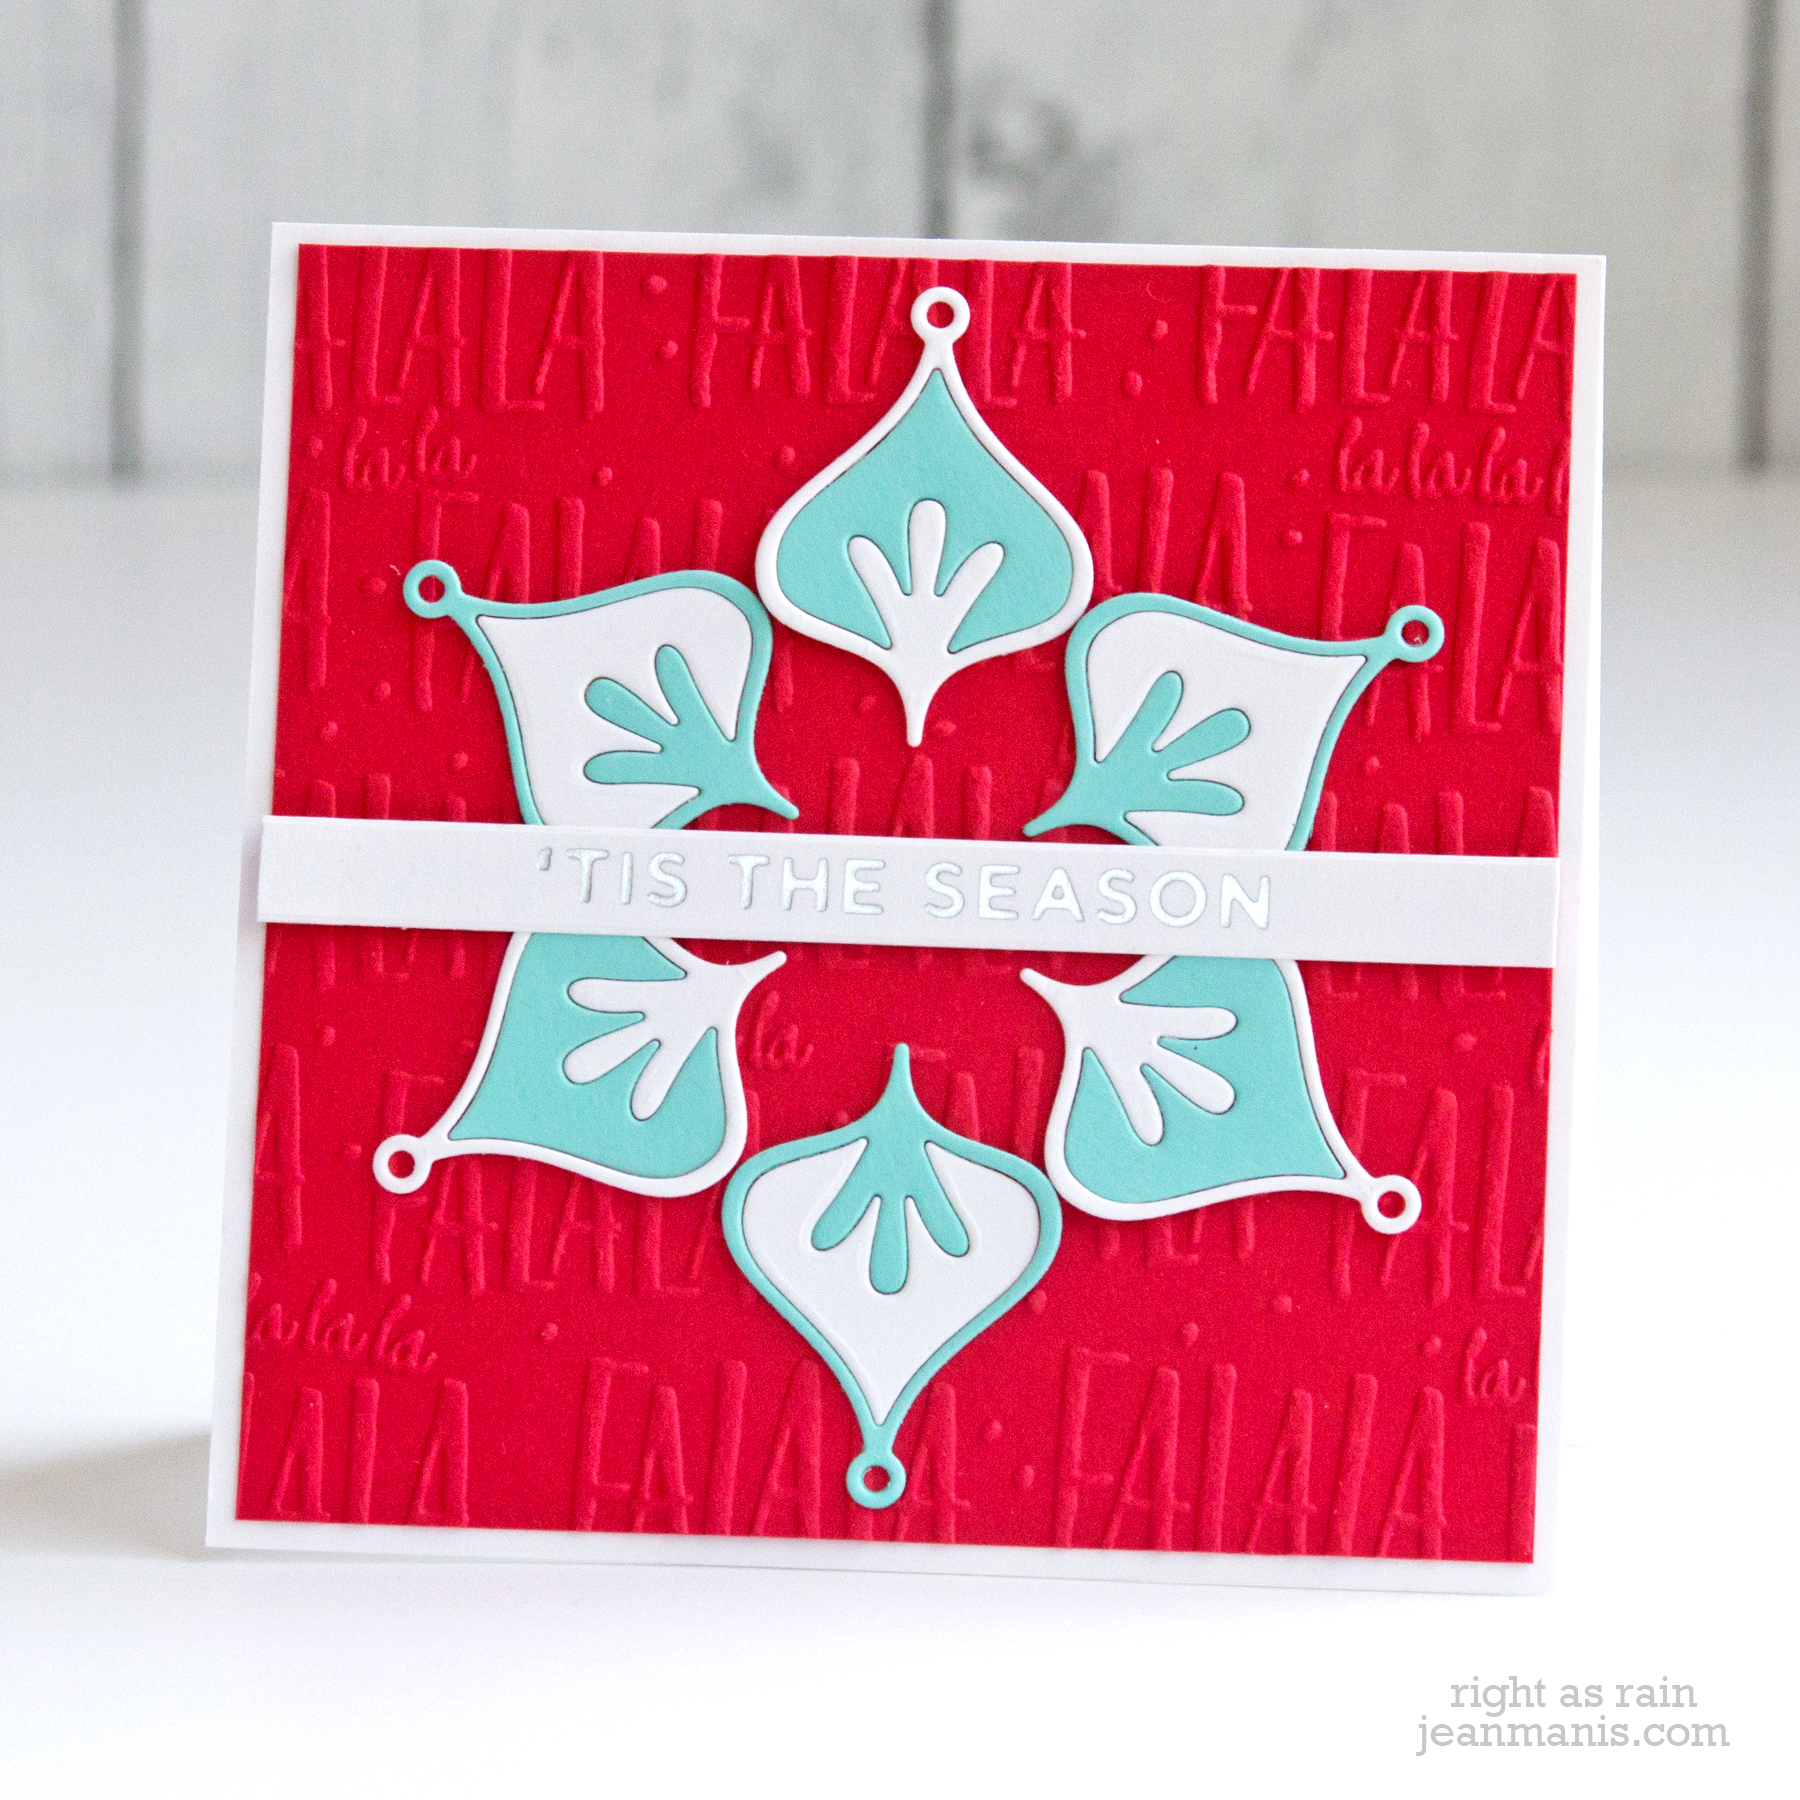
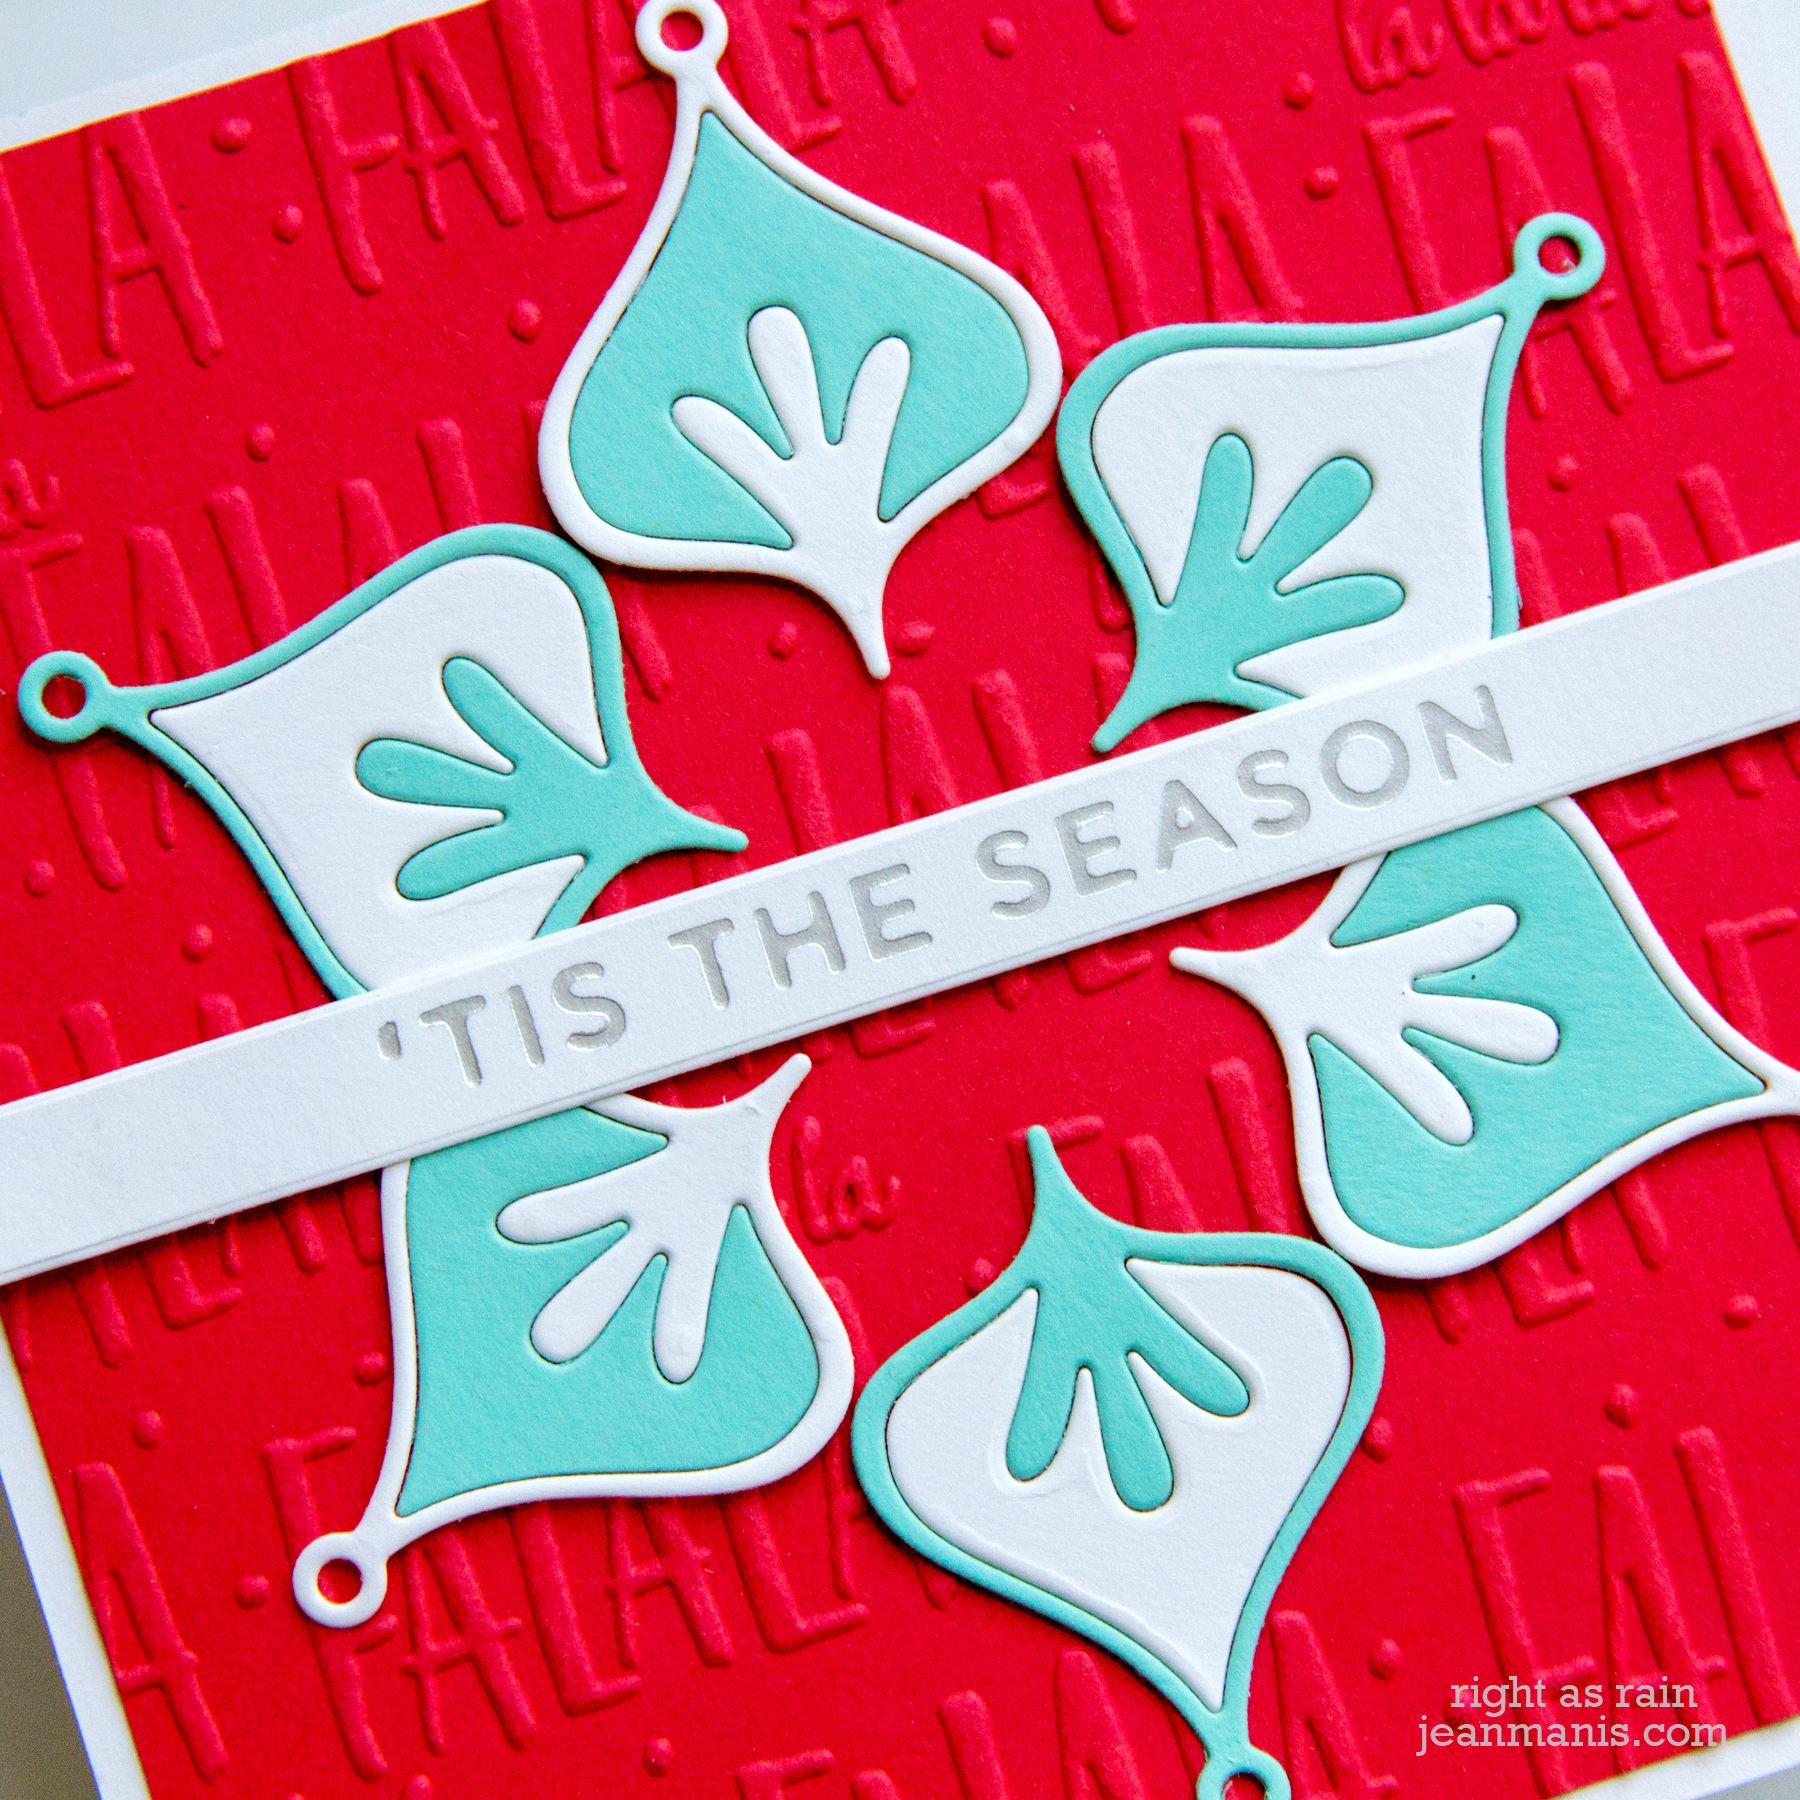
On my second card, I used a non-traditional color scheme of red, light teal, white, and silver.
Spellbinders August Clubs Blog Hop

  • I cut one of the Small Die of the Month set’s shapes six times, three times from a light teal and three times from white cardstock.
  • I swapped the centers so that the inlay piece was the opposite color of the outline.
  • I adhered the shapes to red cardstock dry-embossed with the Falala folder.
  • I glimmer-foiled the Holiday Sentiments Series 2 sentiment in Matte Silver and cut it with its corresponding die.
  • I added the sentiment to the panel and the assembly to a 4 1/4″ square white card base.
Spellbinders August Clubs Blog Hop

Thanks for visiting. Head next to the blog of Hussena Calcuttawala. See entire blog hop list after the supply list.

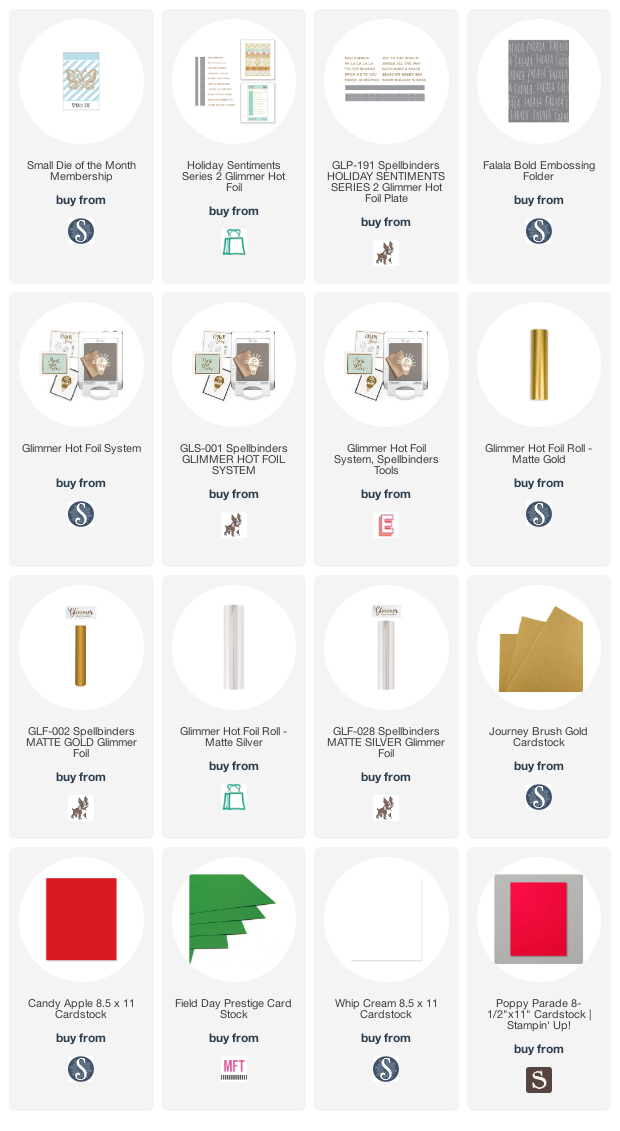
Supplies:
Blog Hop List:
Spellbinders Blog
Nichol Spohr
Tina Smith
Carrie Rhoades
Bibi Cameron
Jenny Colacicco
Laurie Willison
Joy Baldwin
Michelle Short
Jean Manis
Hussena Calcuttawala
Jill Hilliard
Virginia Lu
Ilina Crouse
Varada Sharma
Henriëtte van Mierlo
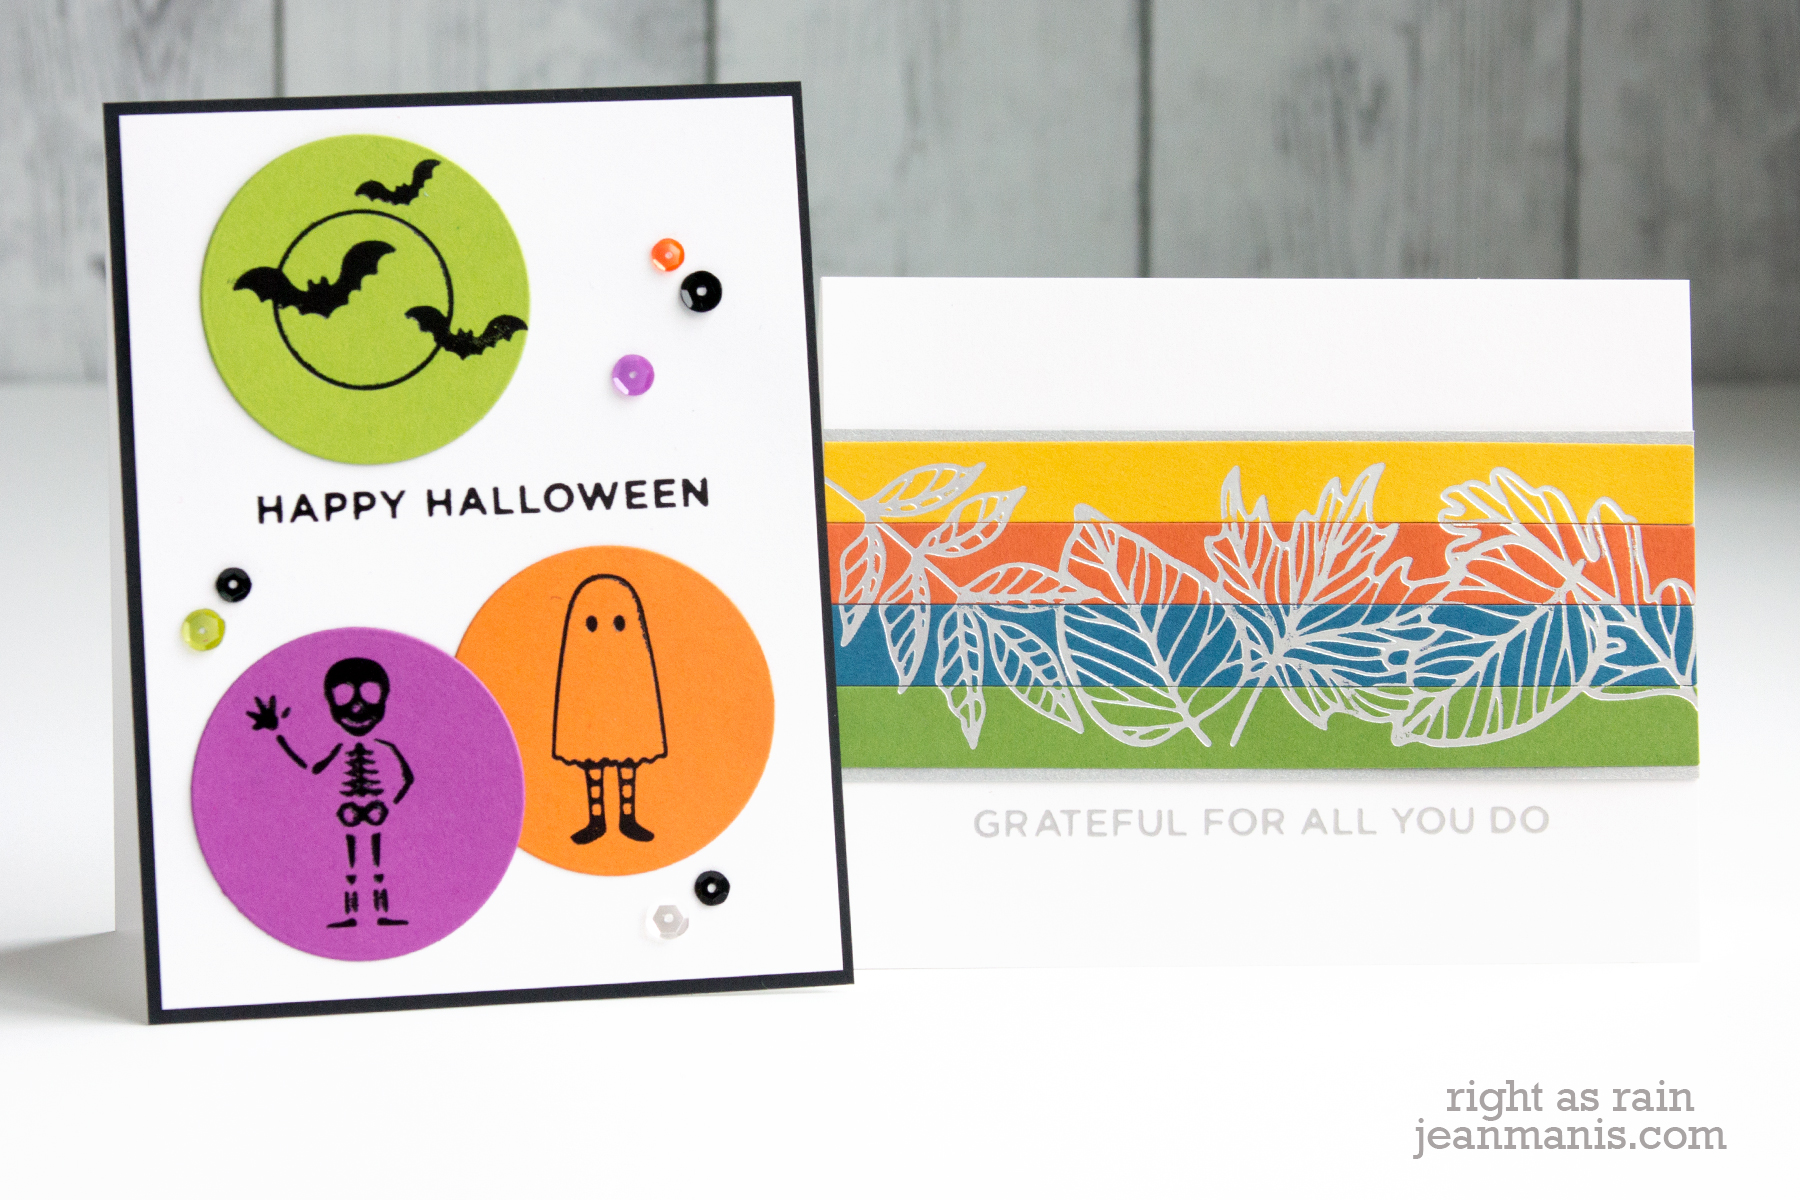
Spellbinders – Halloween and Fall Foiled Projects

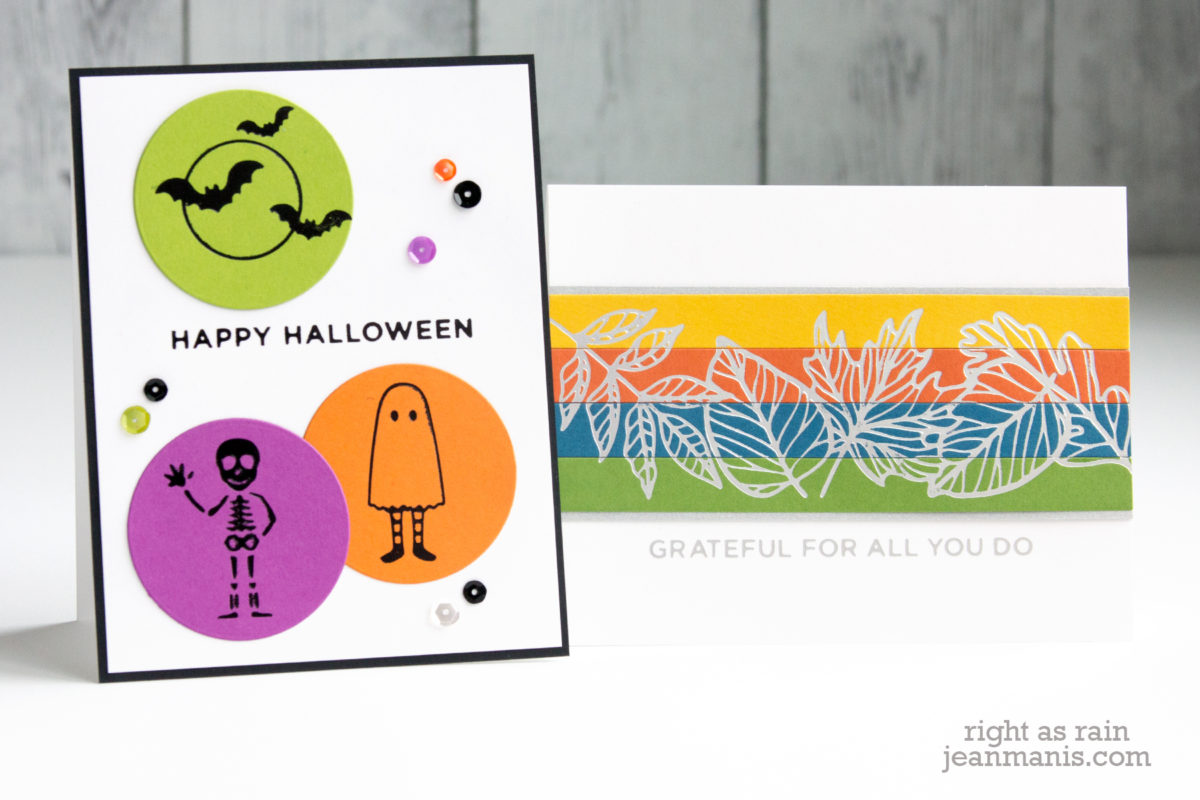
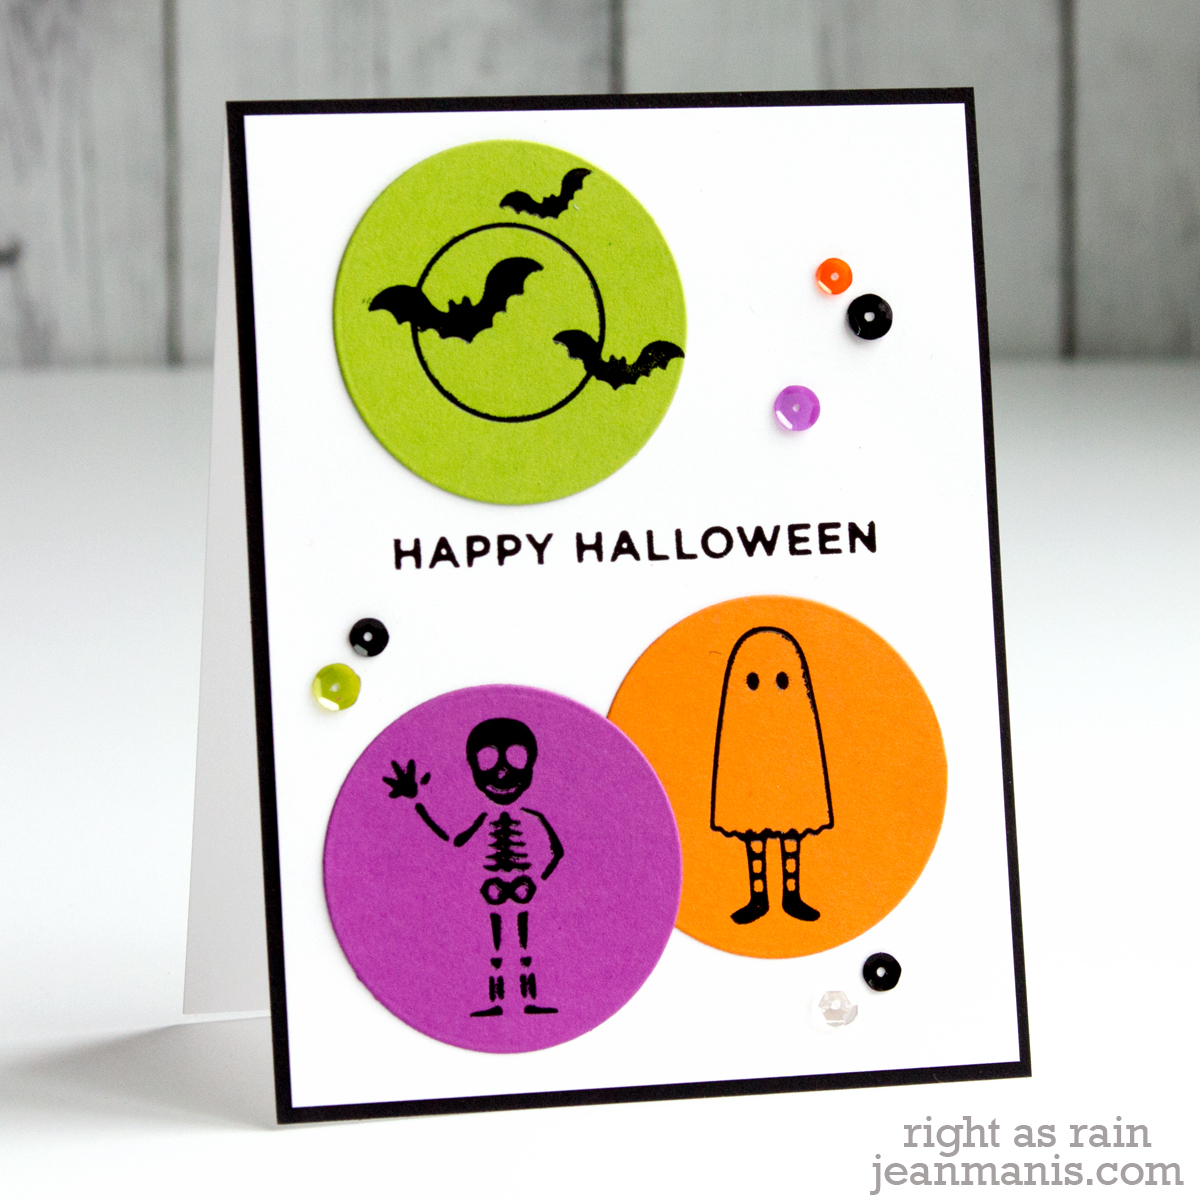
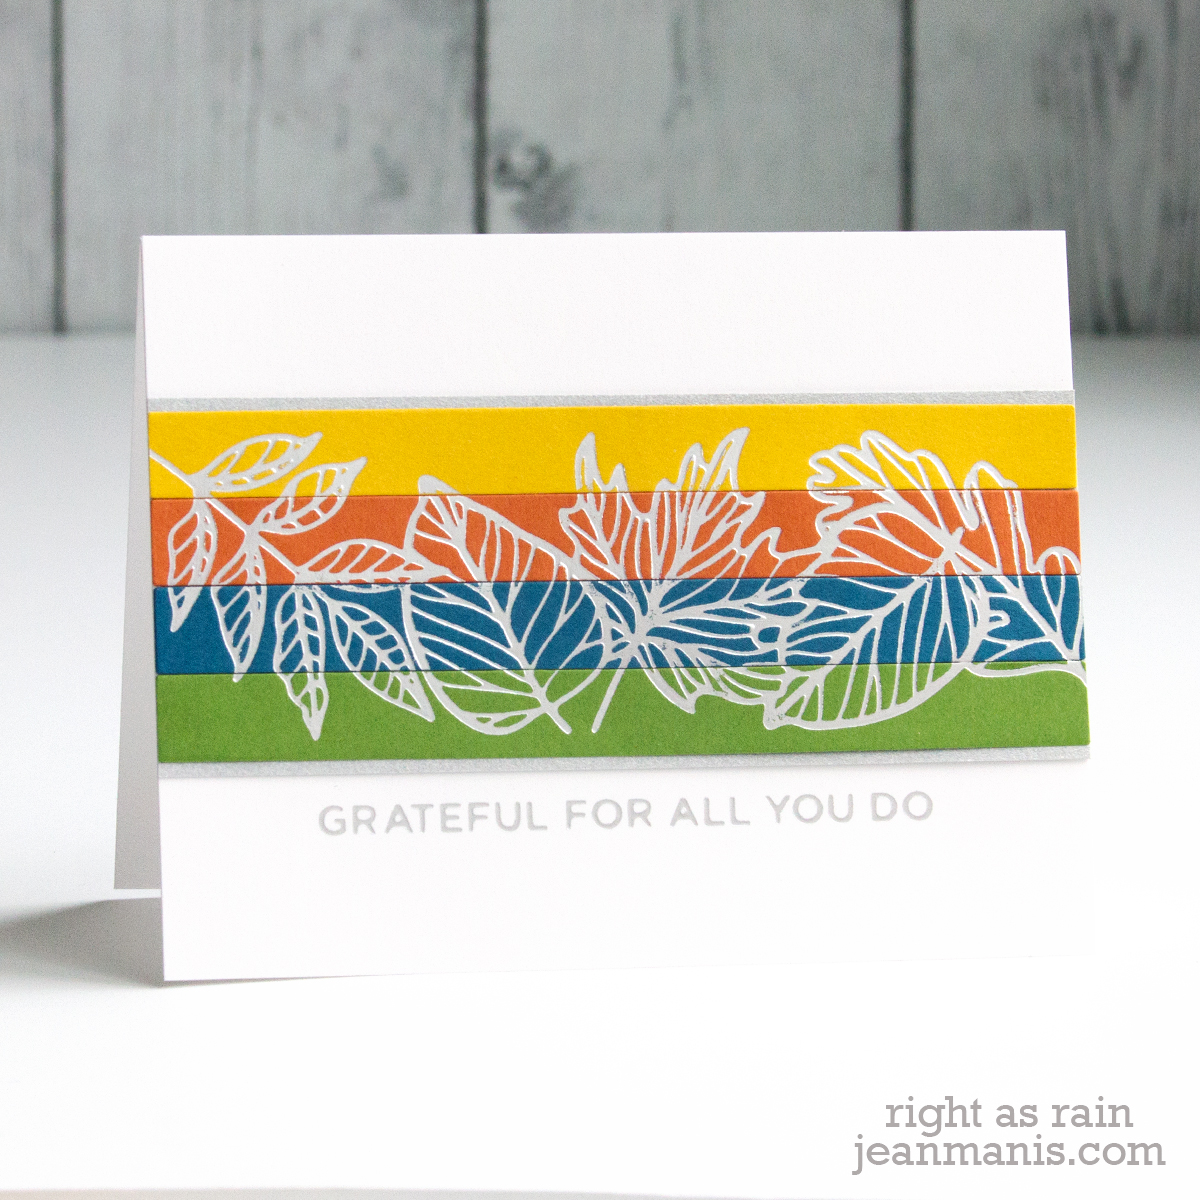
Hello! I’m delighted to be a guest on the Spellbinders blog sharing cards that showcase some of the just-released products in their Halloween & Fall 2020 Collection.

For both of the cards, I foiled images on colorful cardstock. Although I’ll be sad to see summer end, I’m excited about the upcoming season. I’m a self-professed Halloween fan, in large part because of the colors!

Spellbinders - Halloween and Fall Foiled Projects Spellbinders - Halloween and Fall Foiled Projects

I hope you’ll head over to the Spellbinders blog for all of the details.

Supplies:

Spellbinders – Wonderland StoryTime Paint Pens

Spellbinders - Wonderland StoryTime Paint Pens

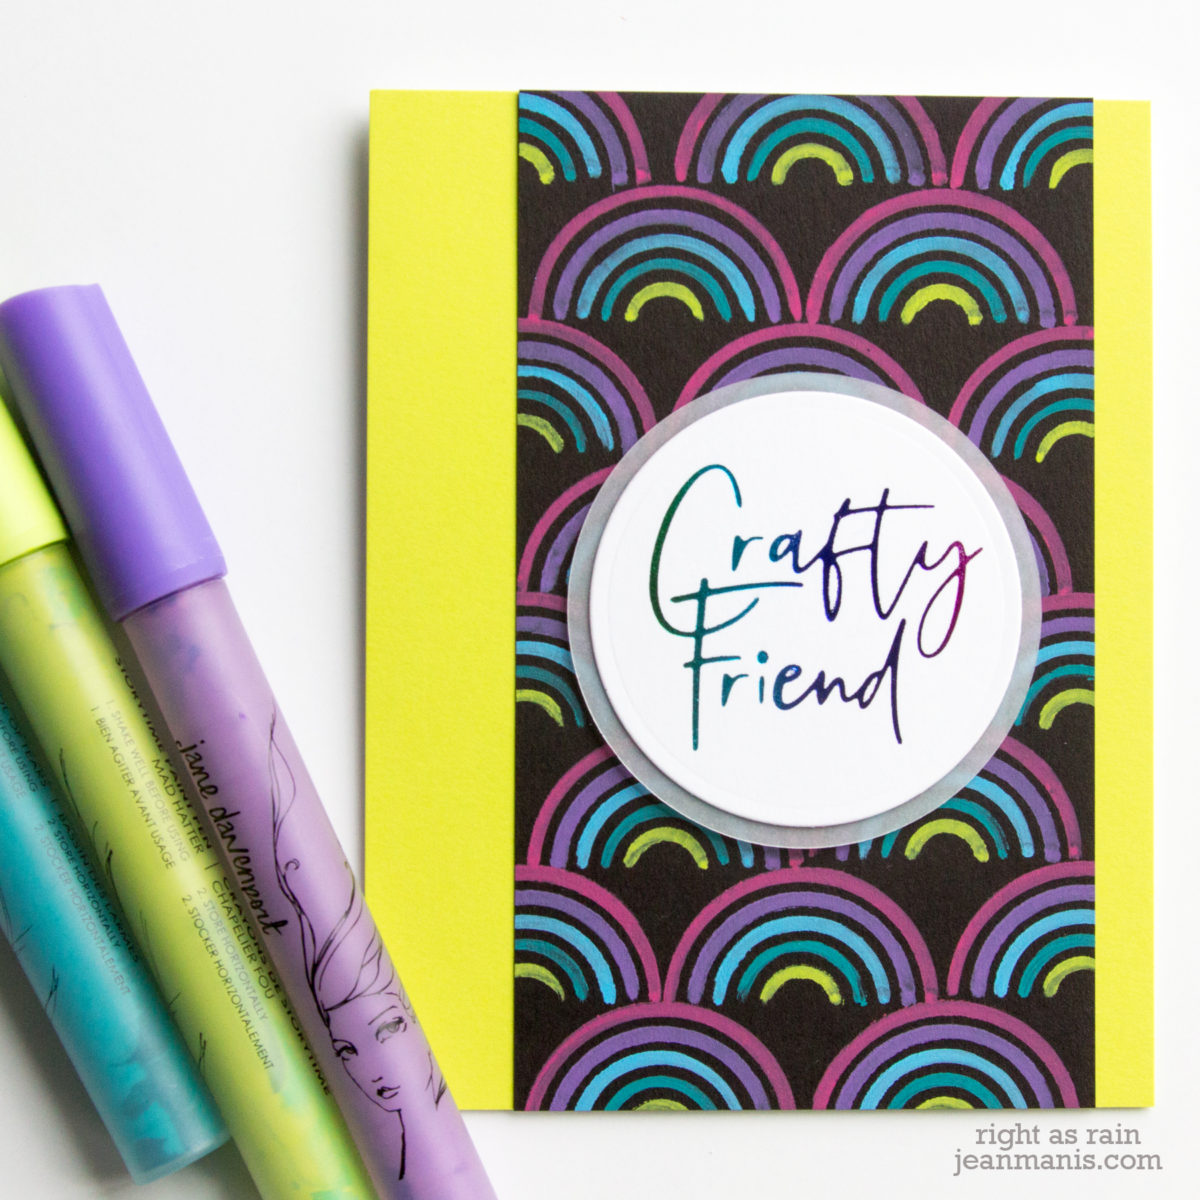
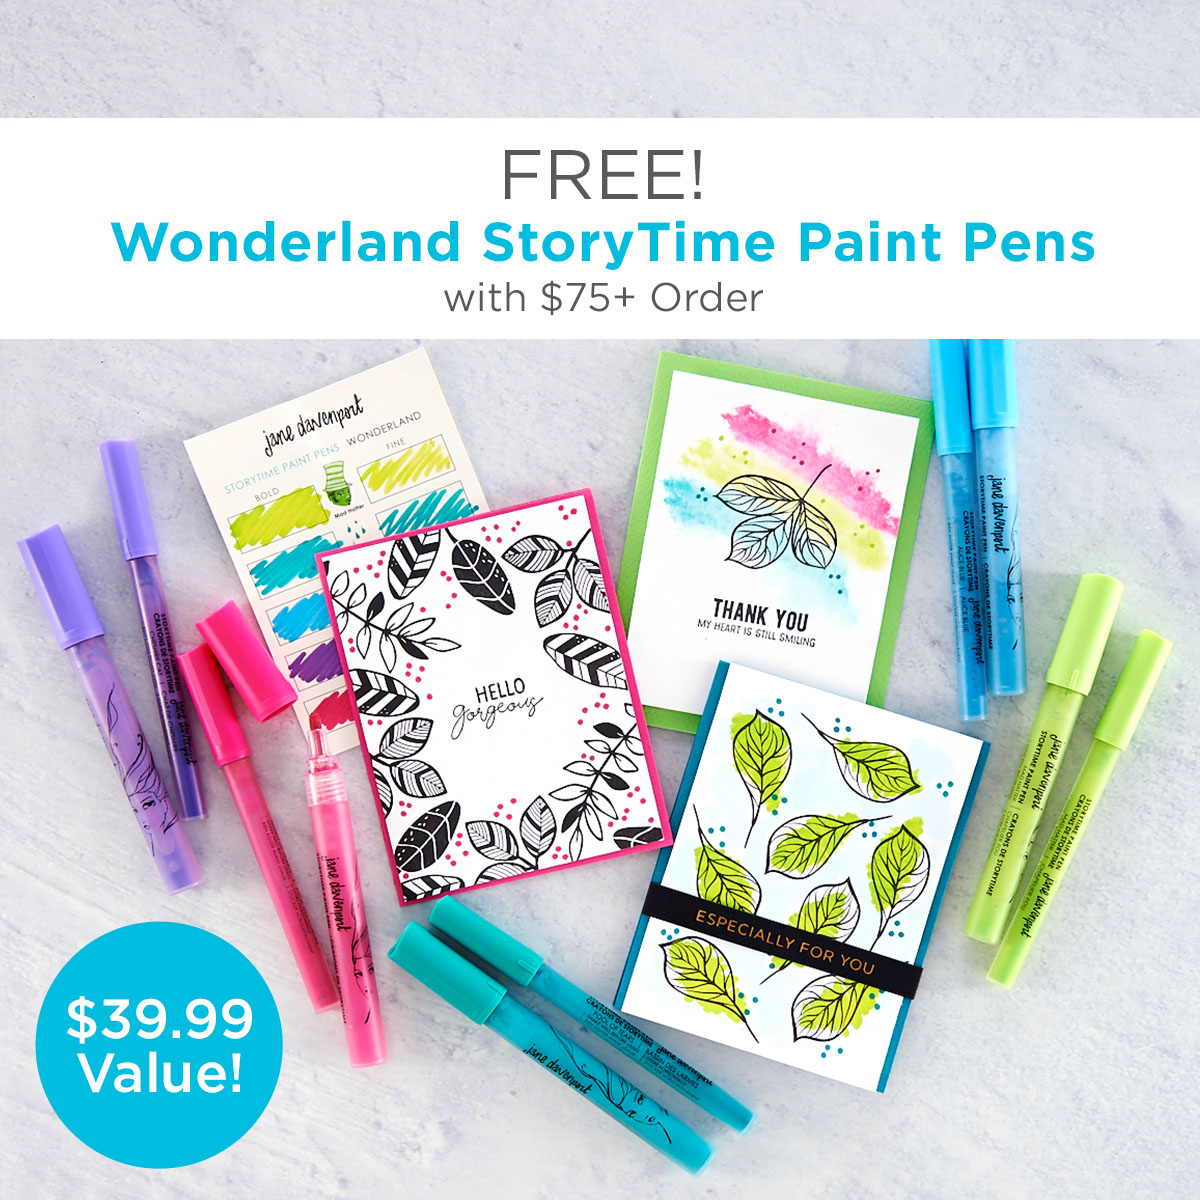
Hello! Today I am featuring two CAS cards created with Spellbinders supplies showcasing the Jane Davenport Wonderland StoryTime Paint Pens, a set of 10 acrylic paint pens – five colors with two different nibs (broad and fine).

Spellbinders is offering the pen set as part of a “Gift with Purchase” promotion: FREE Wonderland StoryTime Paint Pens with a $75+ order – a $39.99 value!

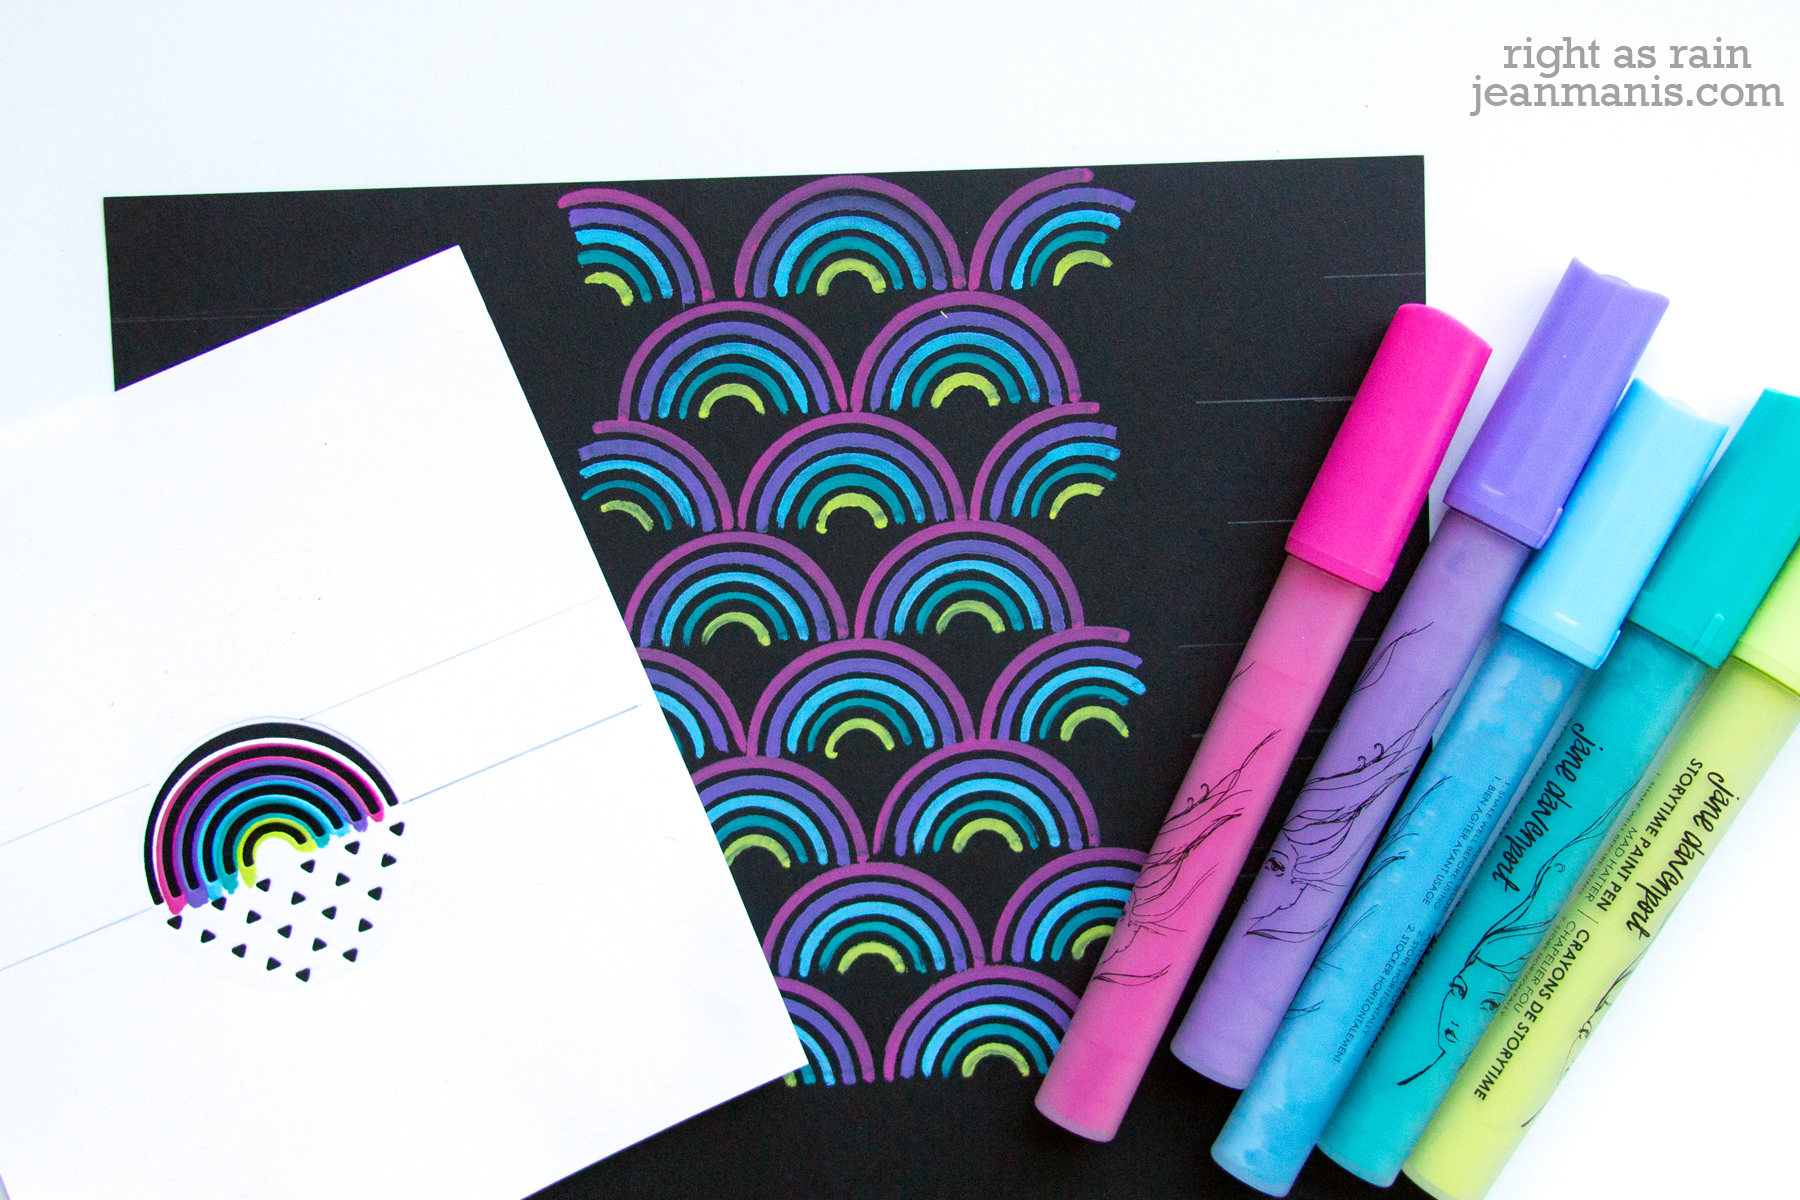
It’s easy to add paint to a papercrafting project with the pens.  On my projects, I created stencils using Spellbinders dies. Using the broad nibs, I “painted” on to black cardstock. Because the paint is fast-drying, I could move to the next line immediately.

Spellbinders - Wonderland StoryTime Paint Pens

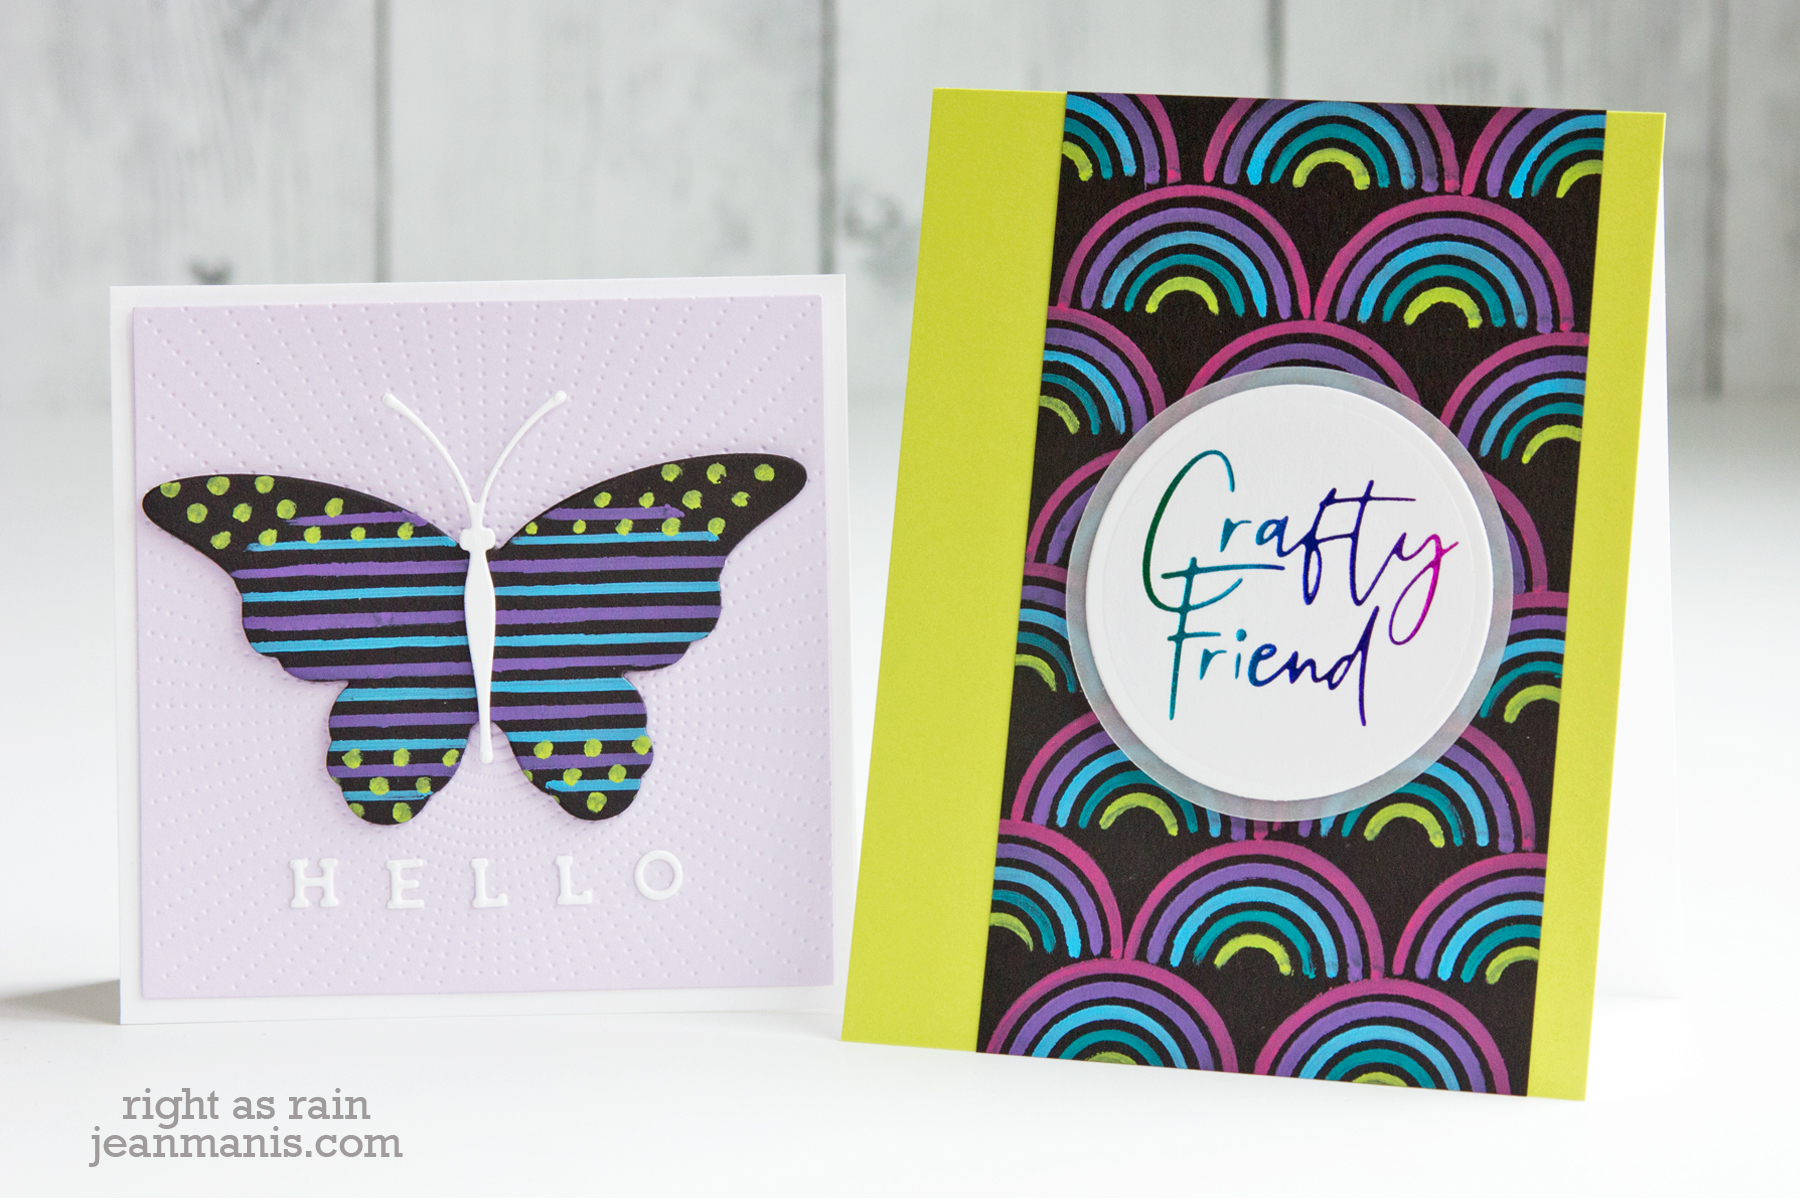
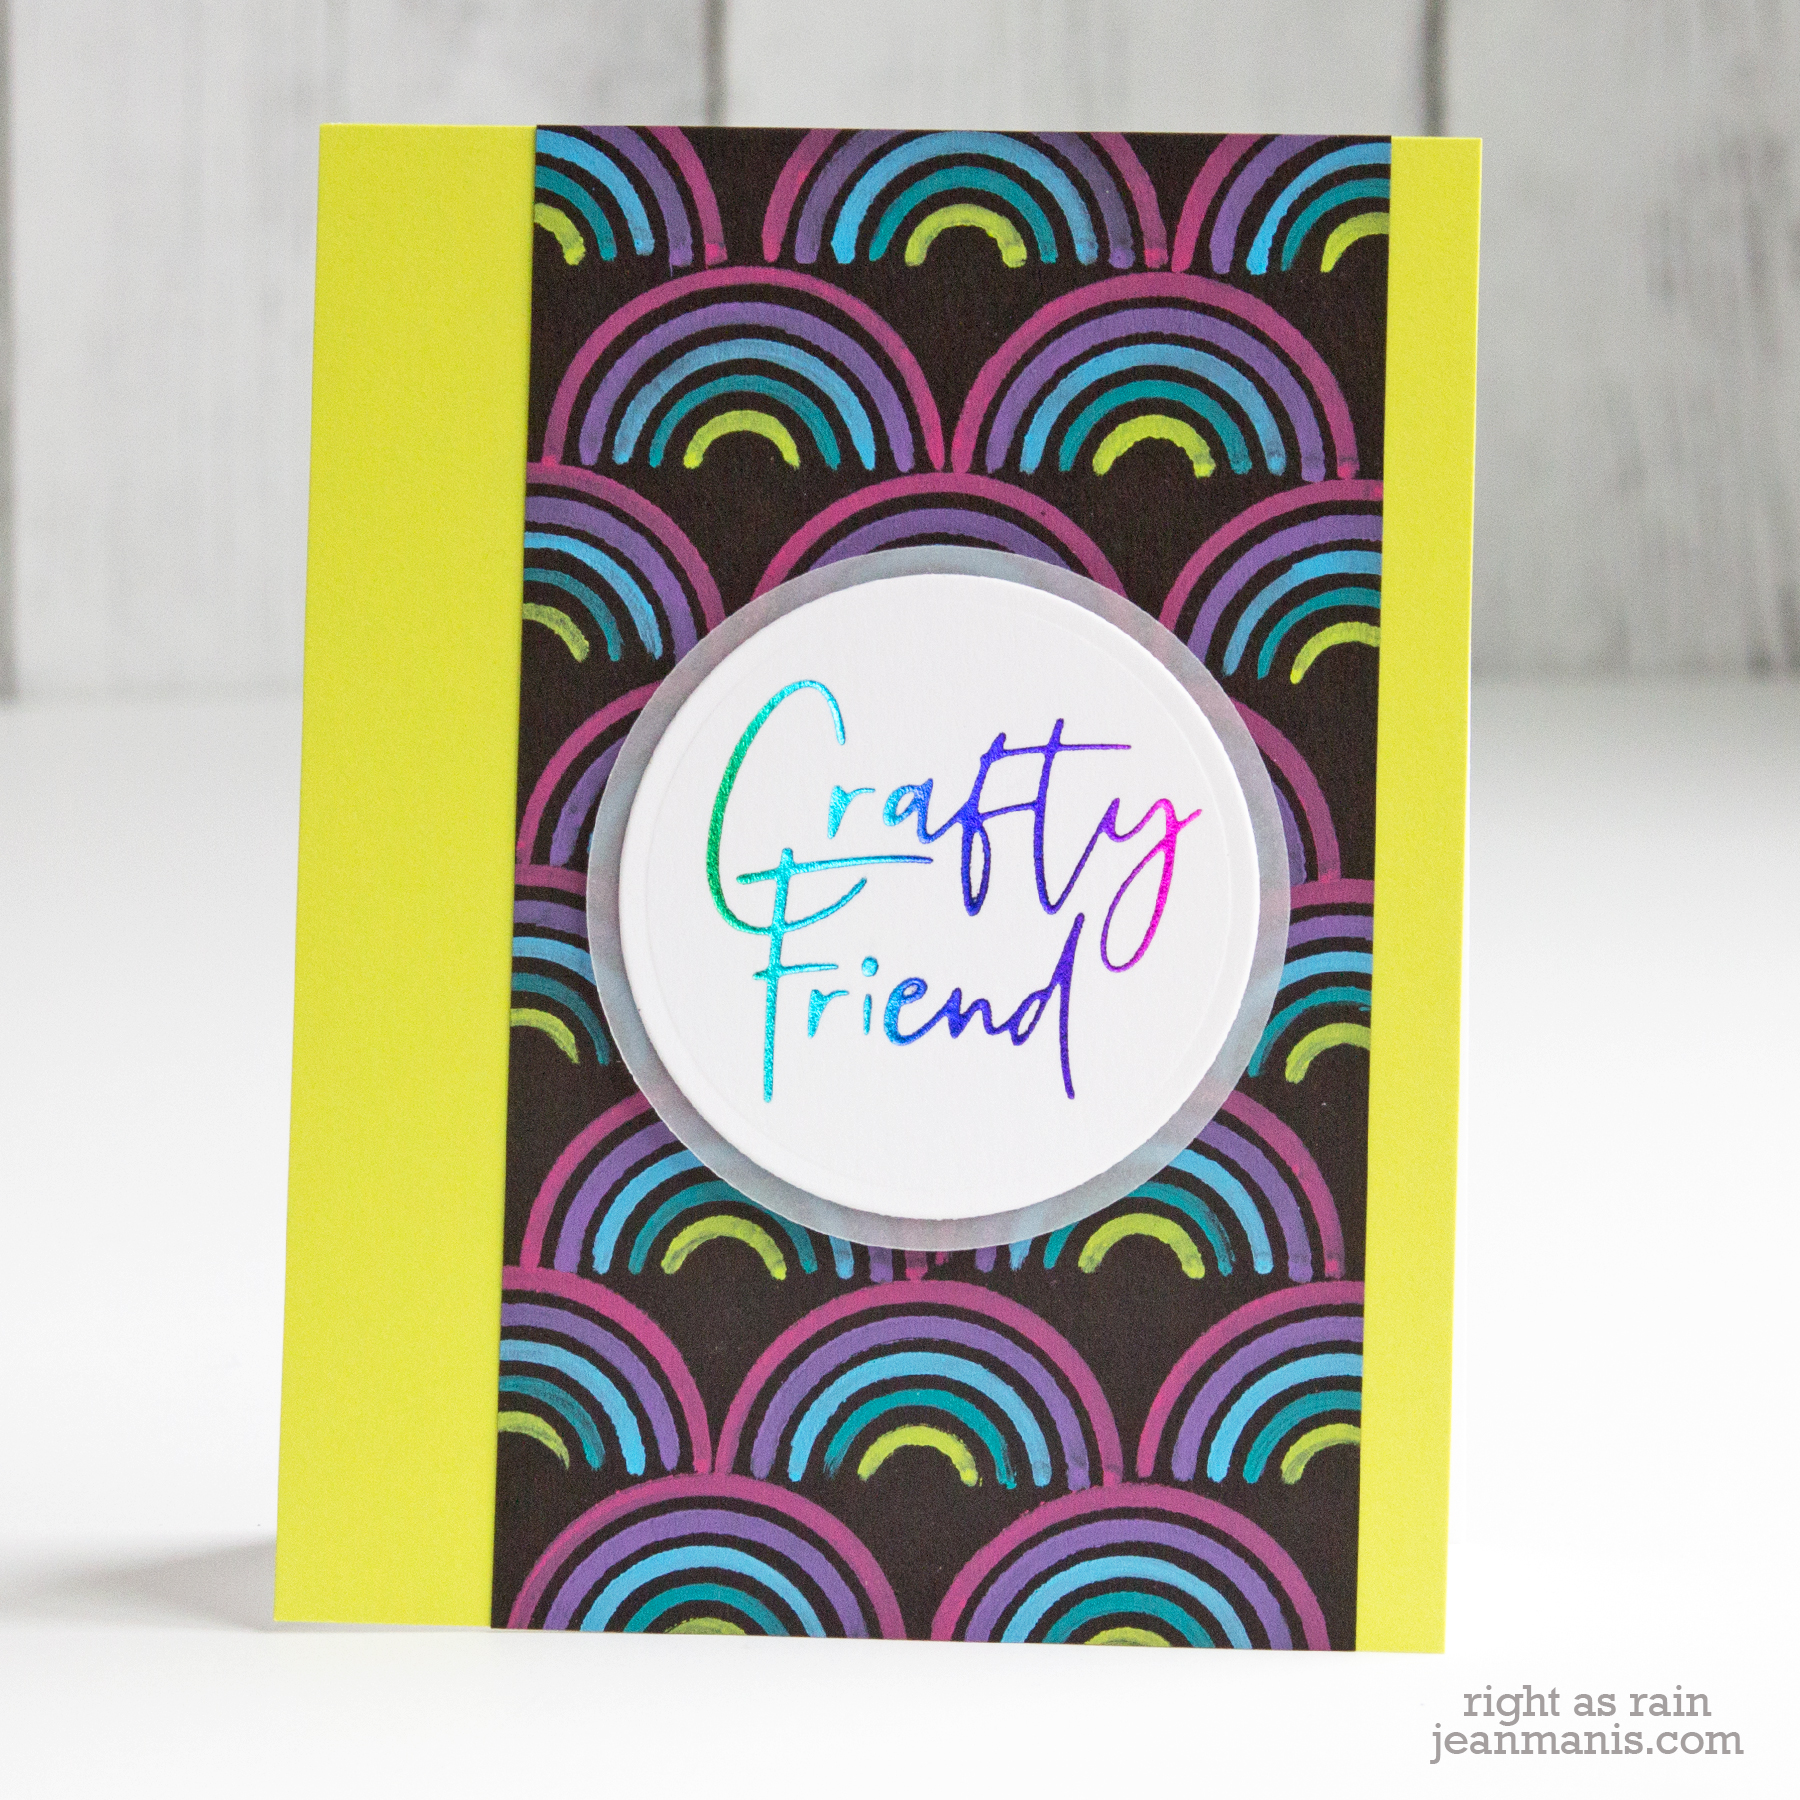
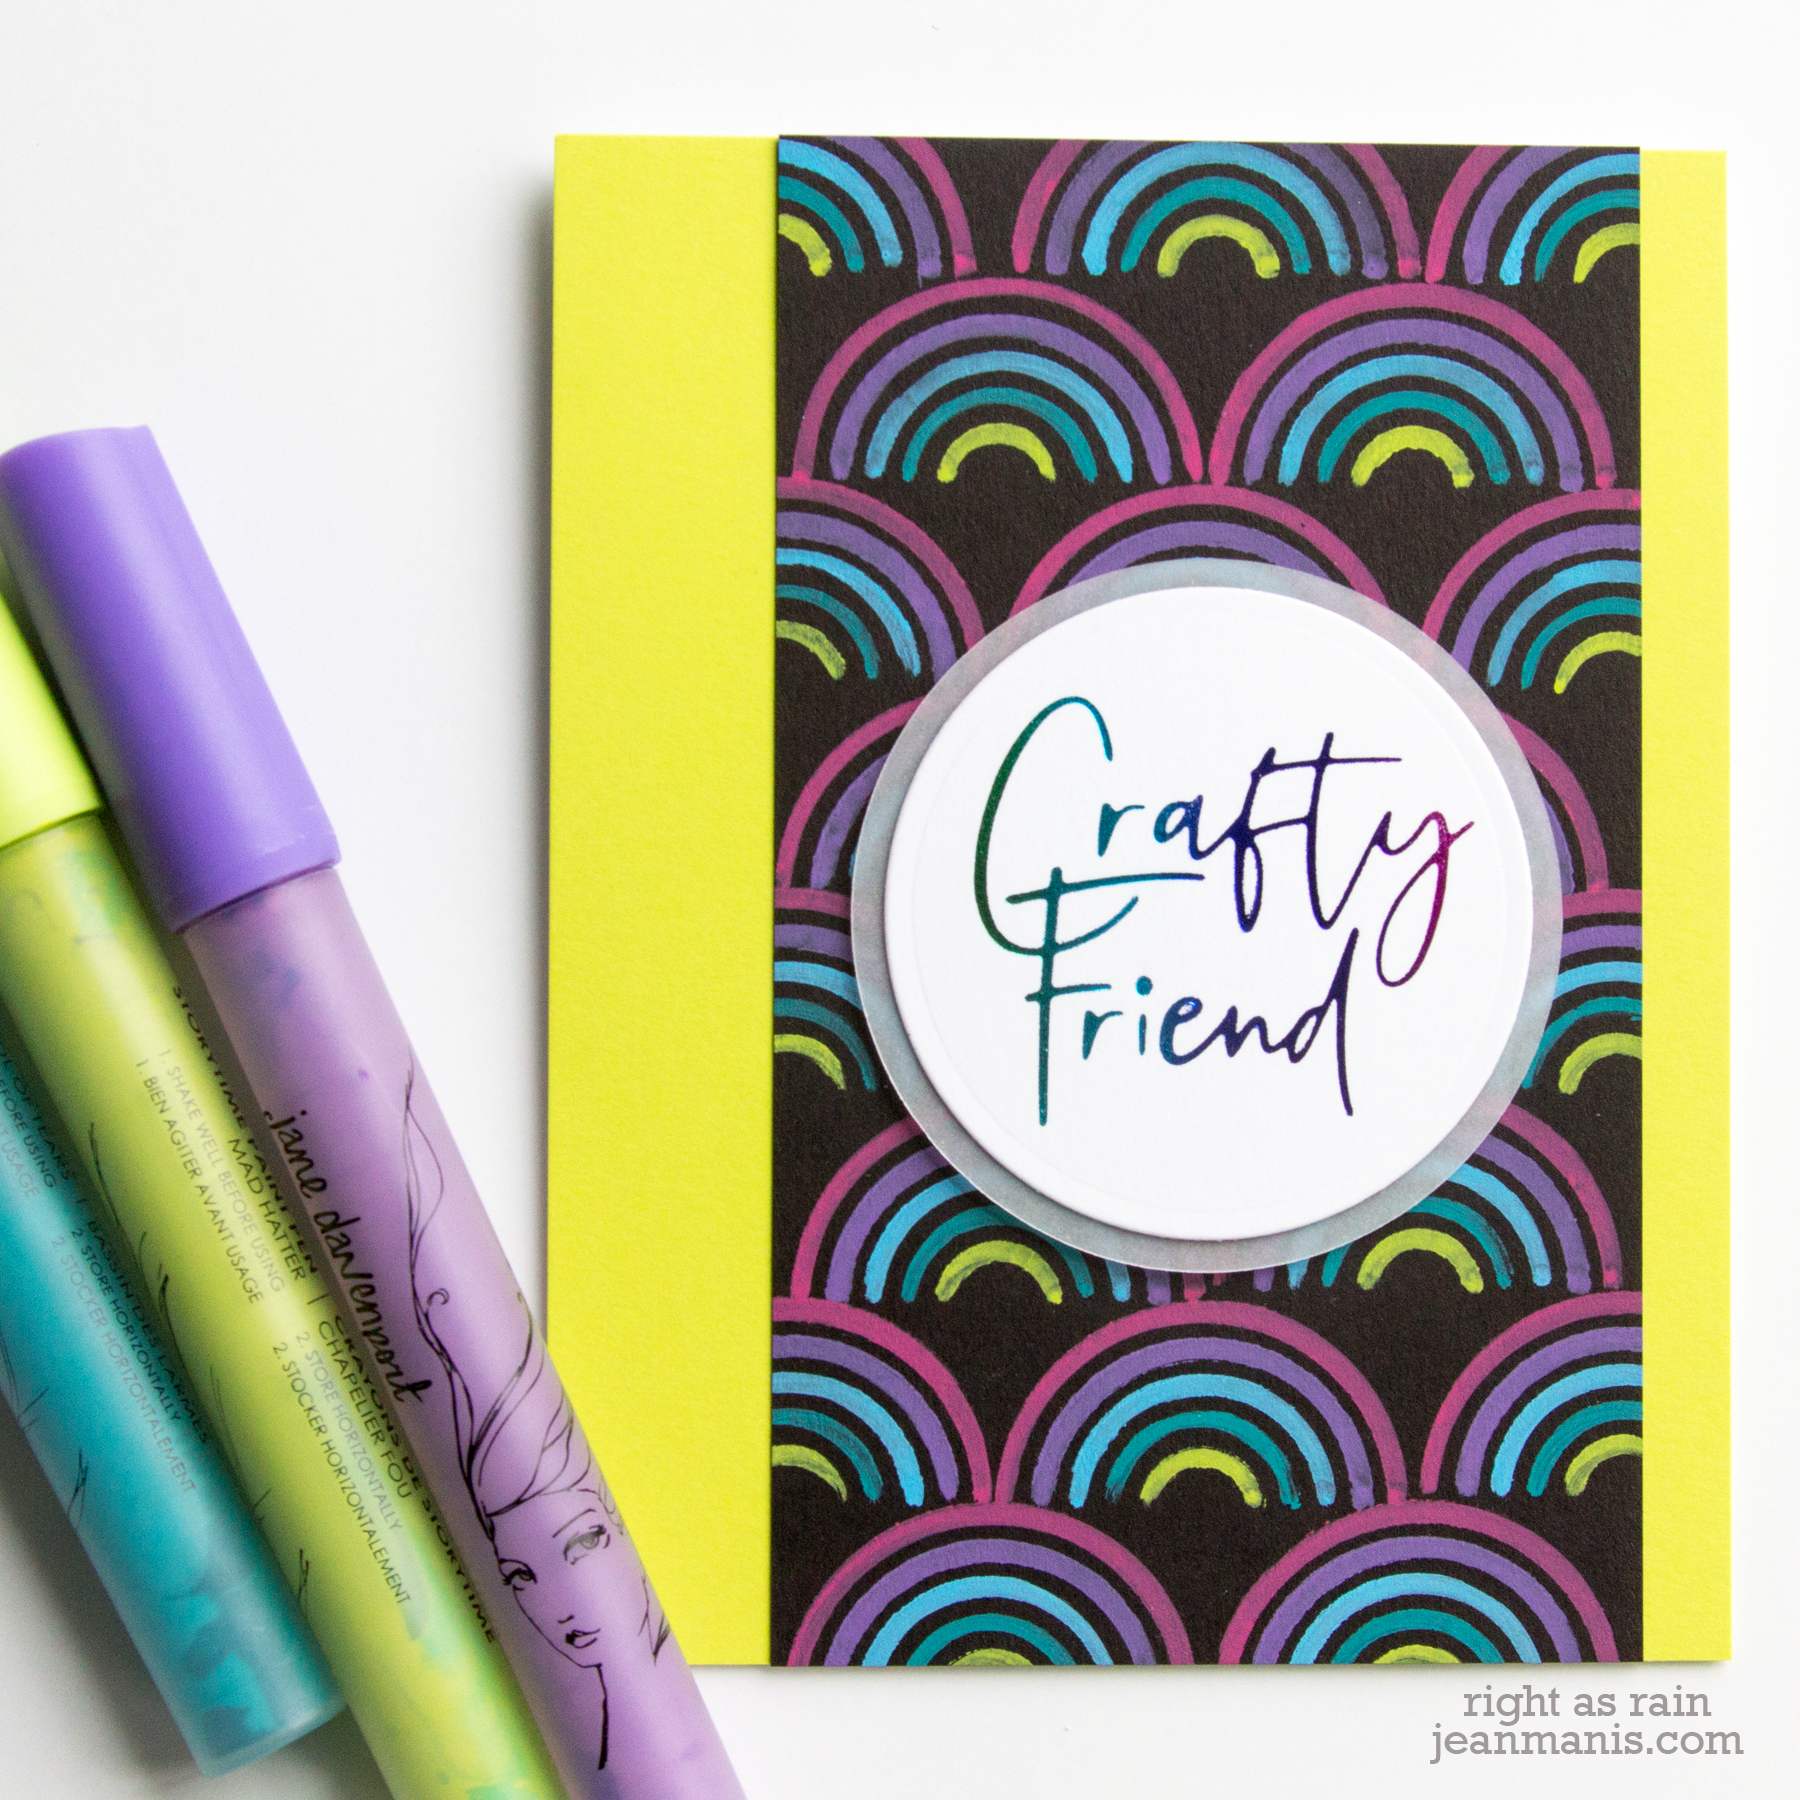
On my first project, I cut a stencil with one of the dies in the Art Studio Botanicals set through which I applied paint to draw rainbows.

Spellbinders - Wonderland StoryTime Paint Pens

  • Using the stencil, I drew rainbows on to black cardstock, staggering the rainbows between lines.

Spellbinders - Wonderland StoryTime Paint Pens

  • I trimmed the painted panel and added it to a lime-green card base.
  • I foiled the Crafty Sentiments sentiment with rainbow foil on white cardstock.
  • I cut the sentiment with a circle die and cut a vellum circle mat, adding the assembly to the card.

Spellbinders - Wonderland StoryTime Paint Pens

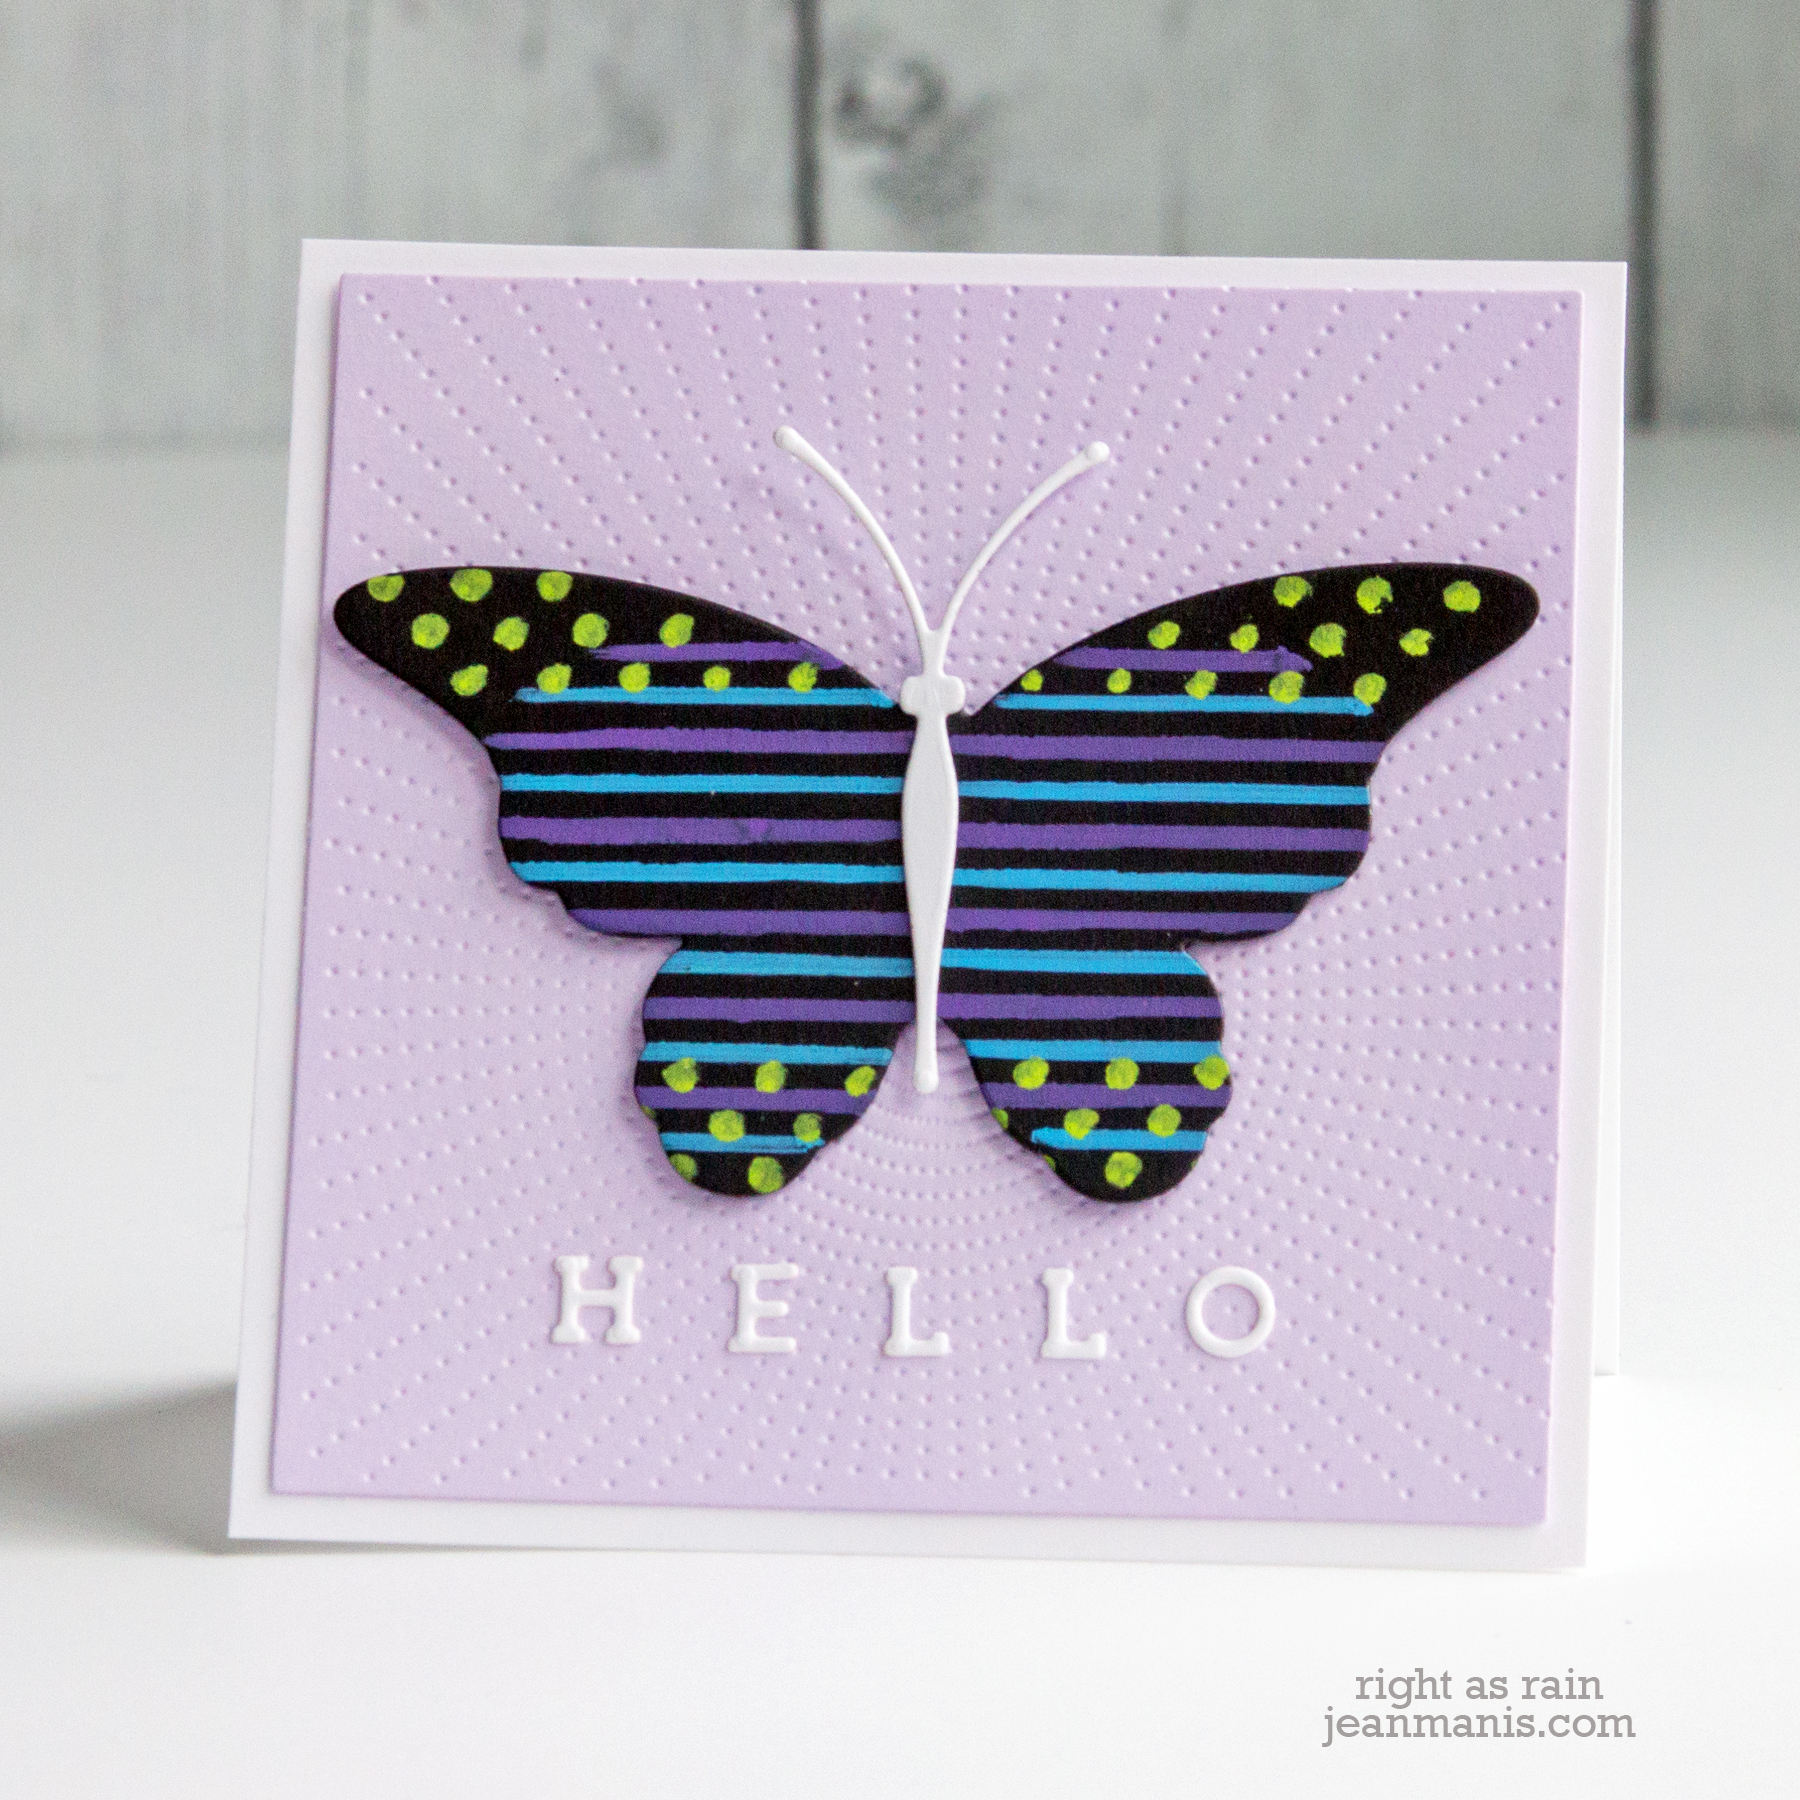
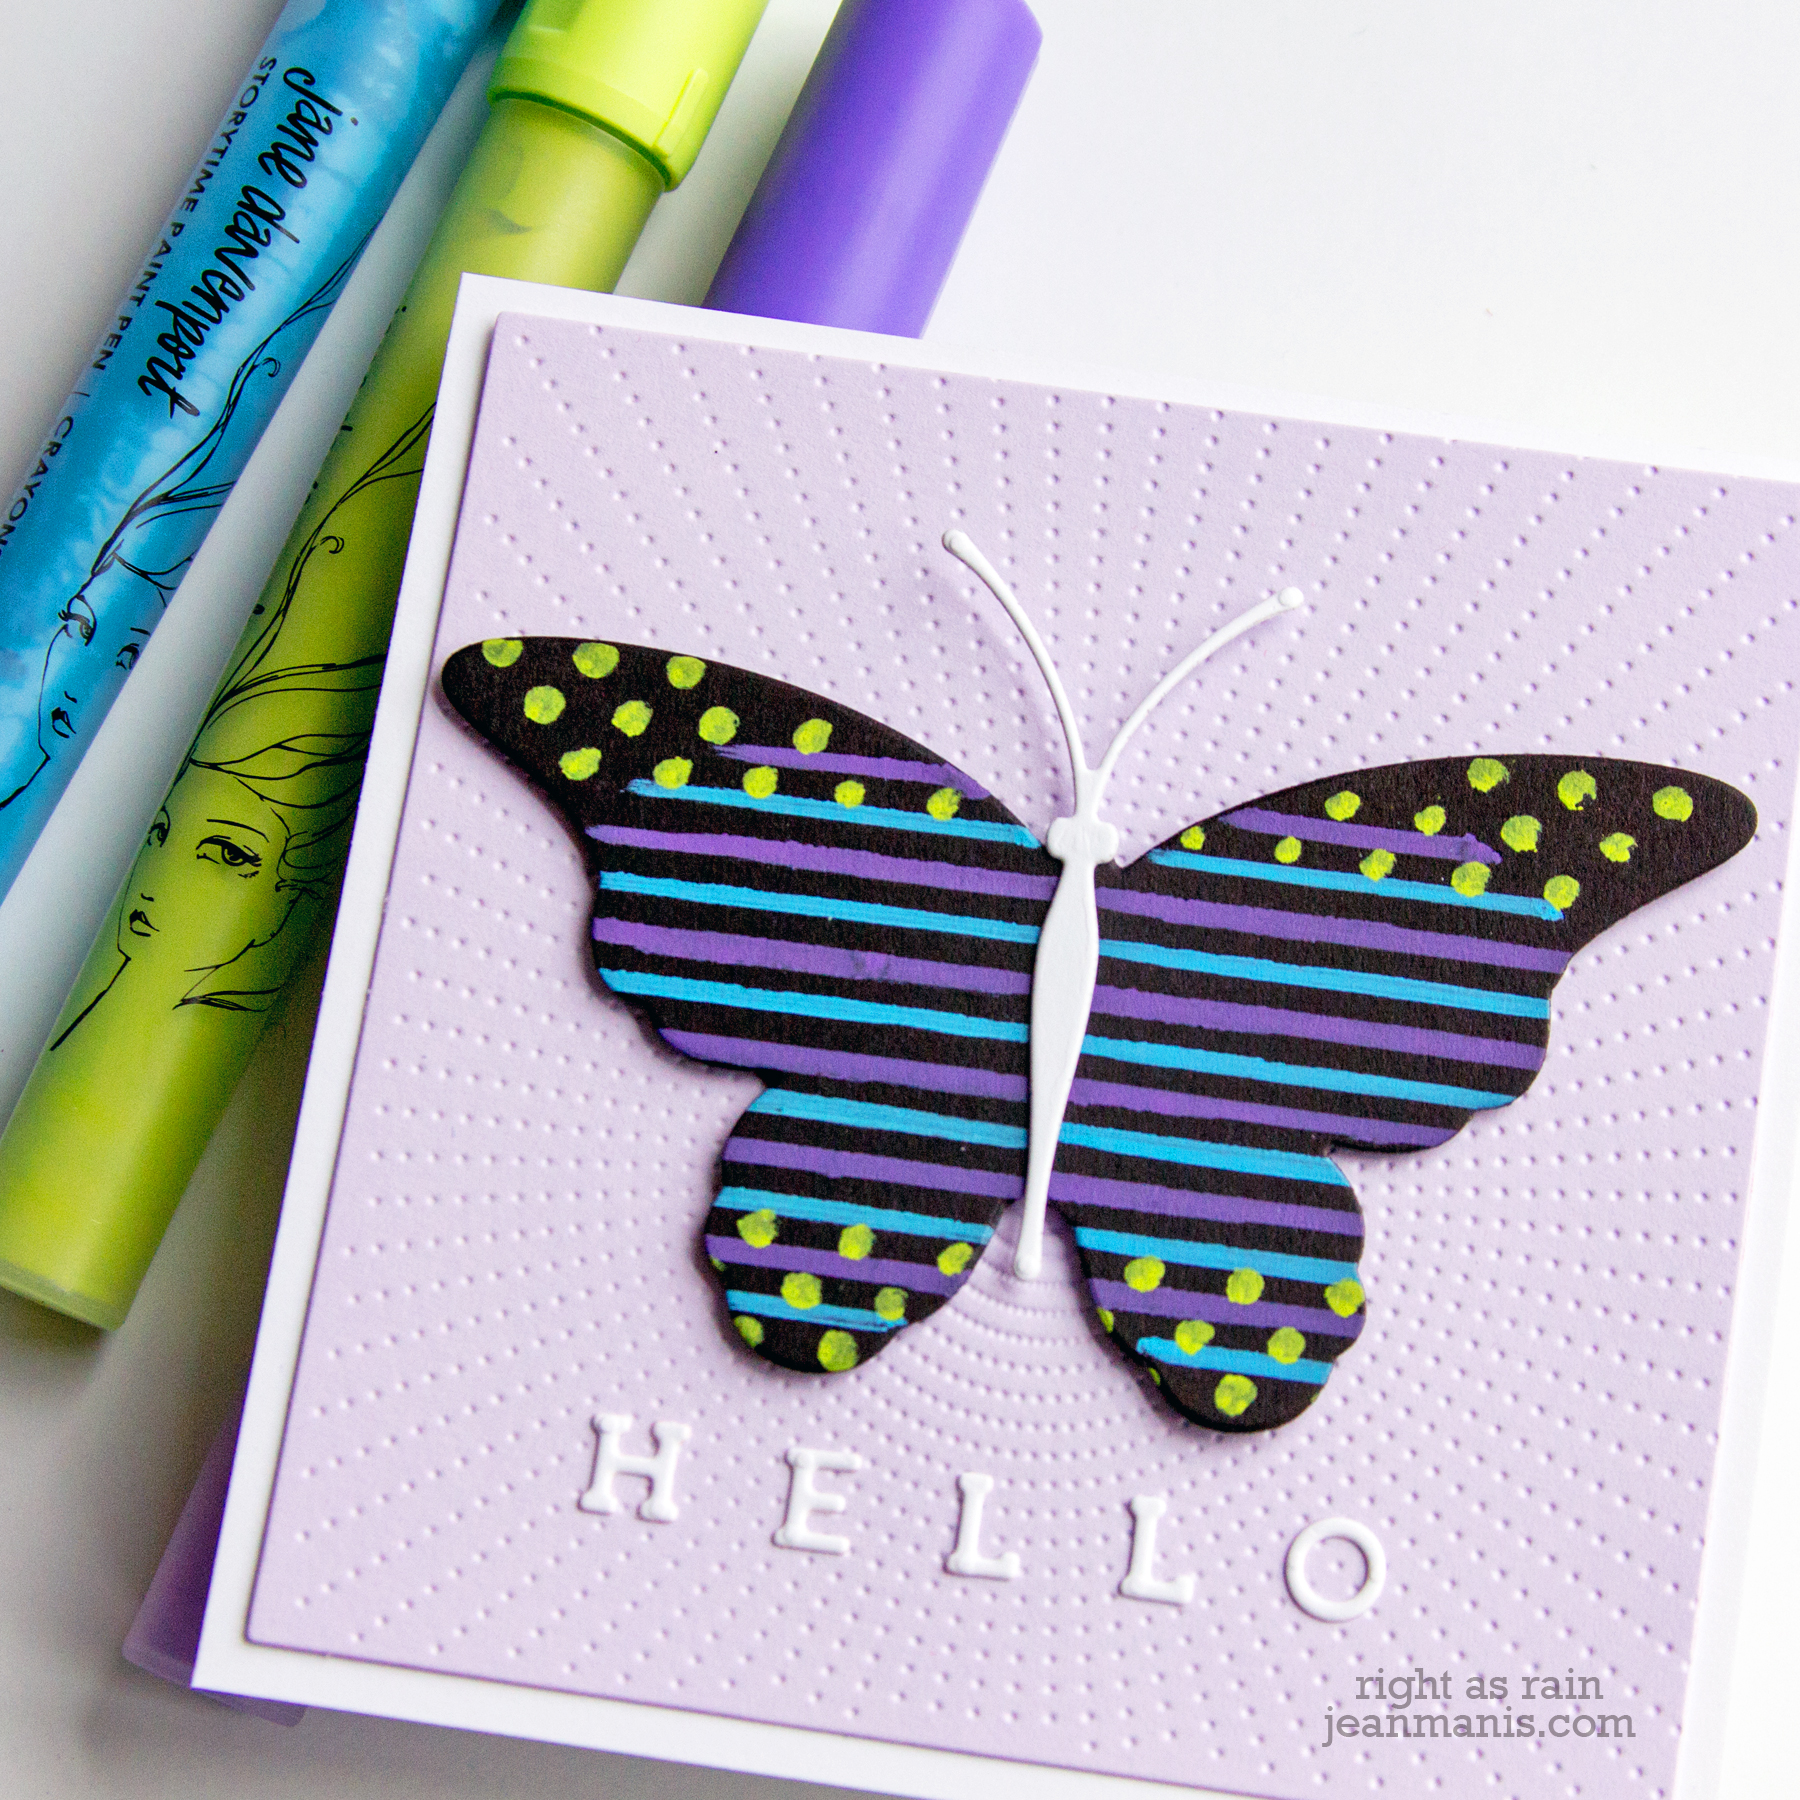
On my second card, I used a different die in the Art Studio Botanicals set with which I drew lines and dots on to black cardstock for butterfly wings.

Spellbinders - Wonderland StoryTime Paint Pens

Spellbinders - Wonderland StoryTime Paint Pens

Supplies: