Witch’s Fireside Scene + Tutorial

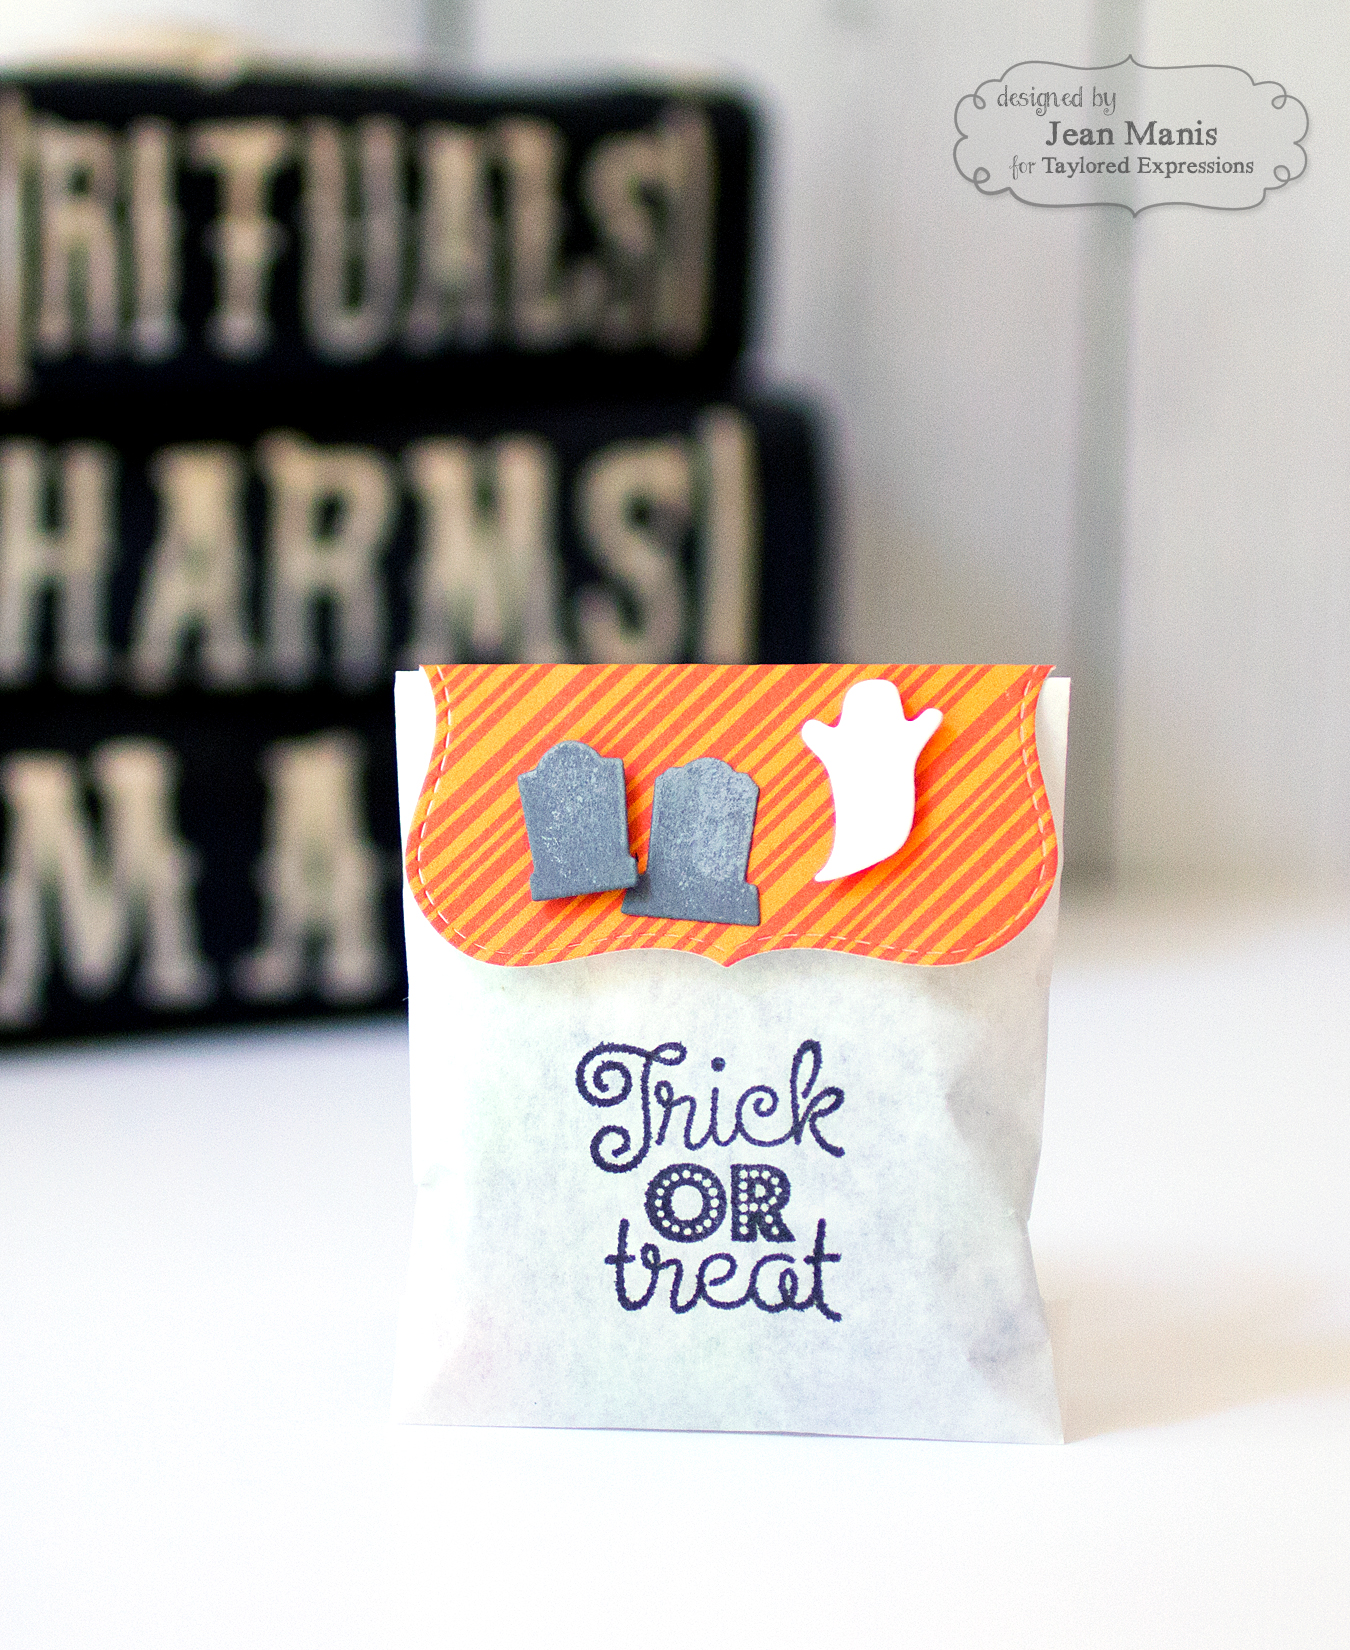
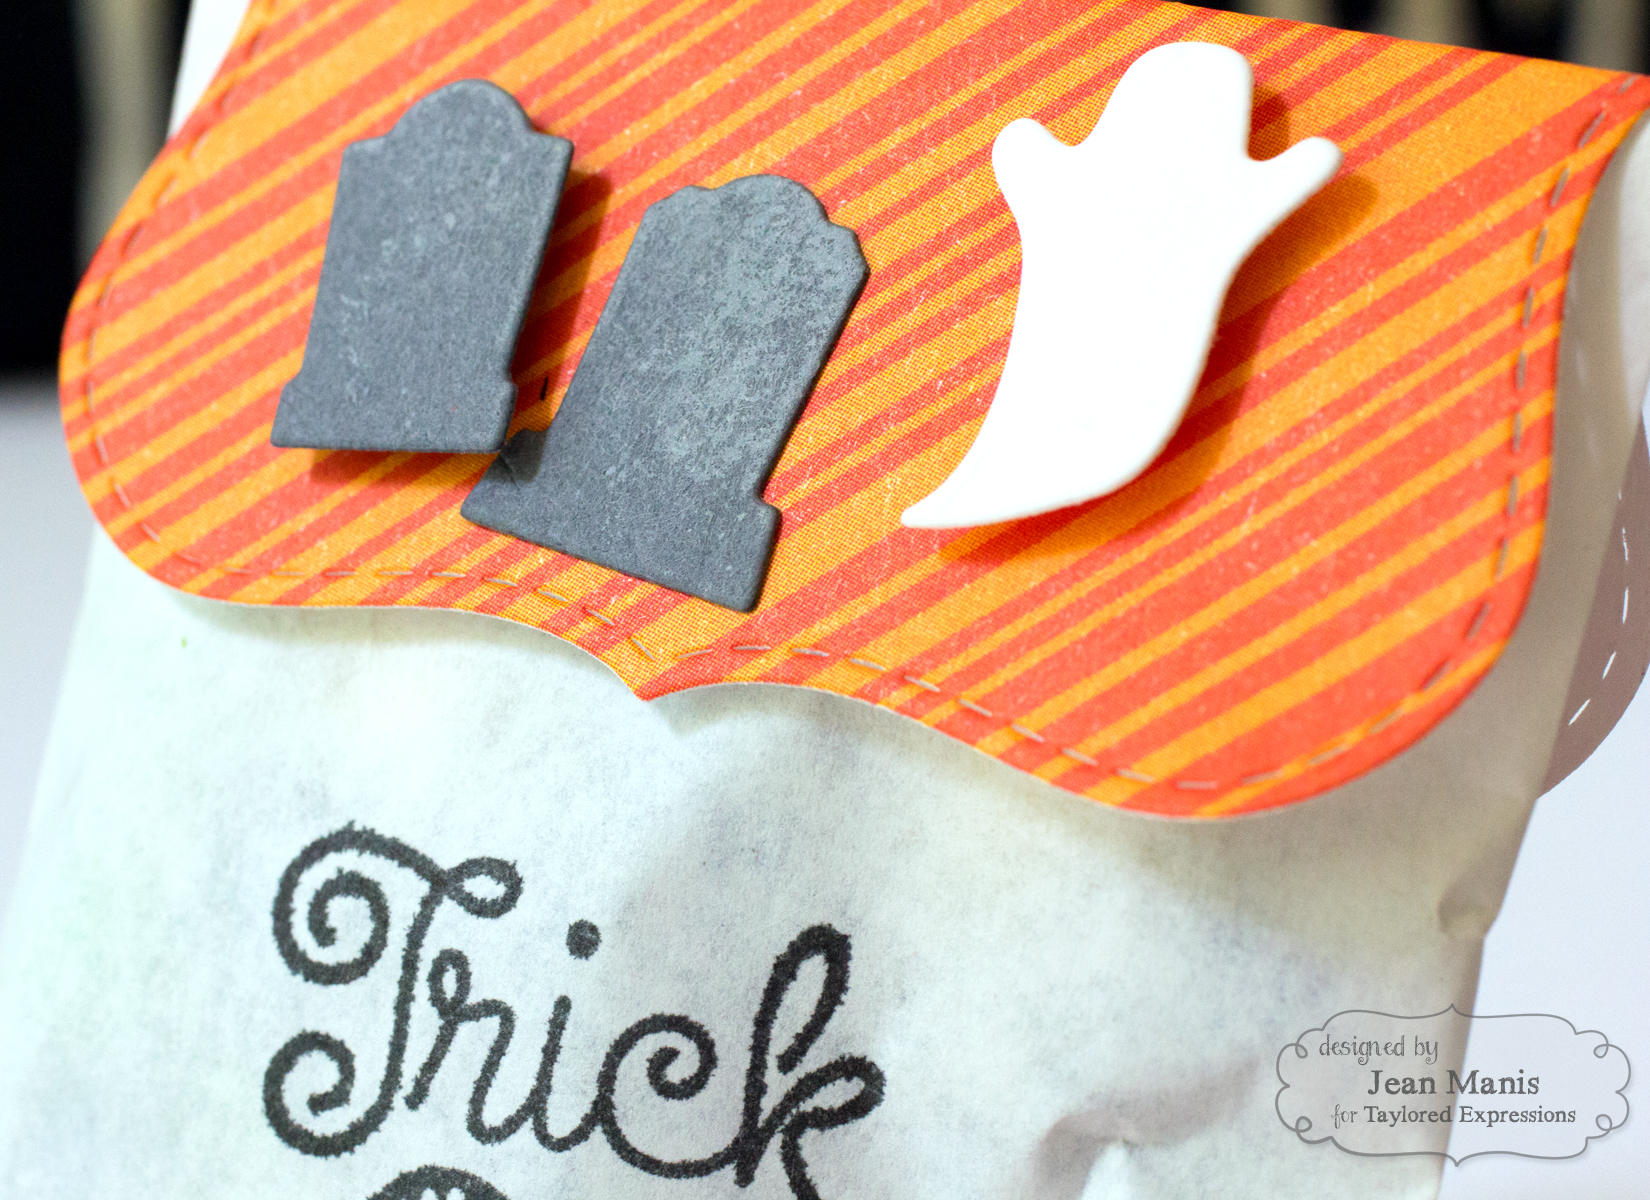
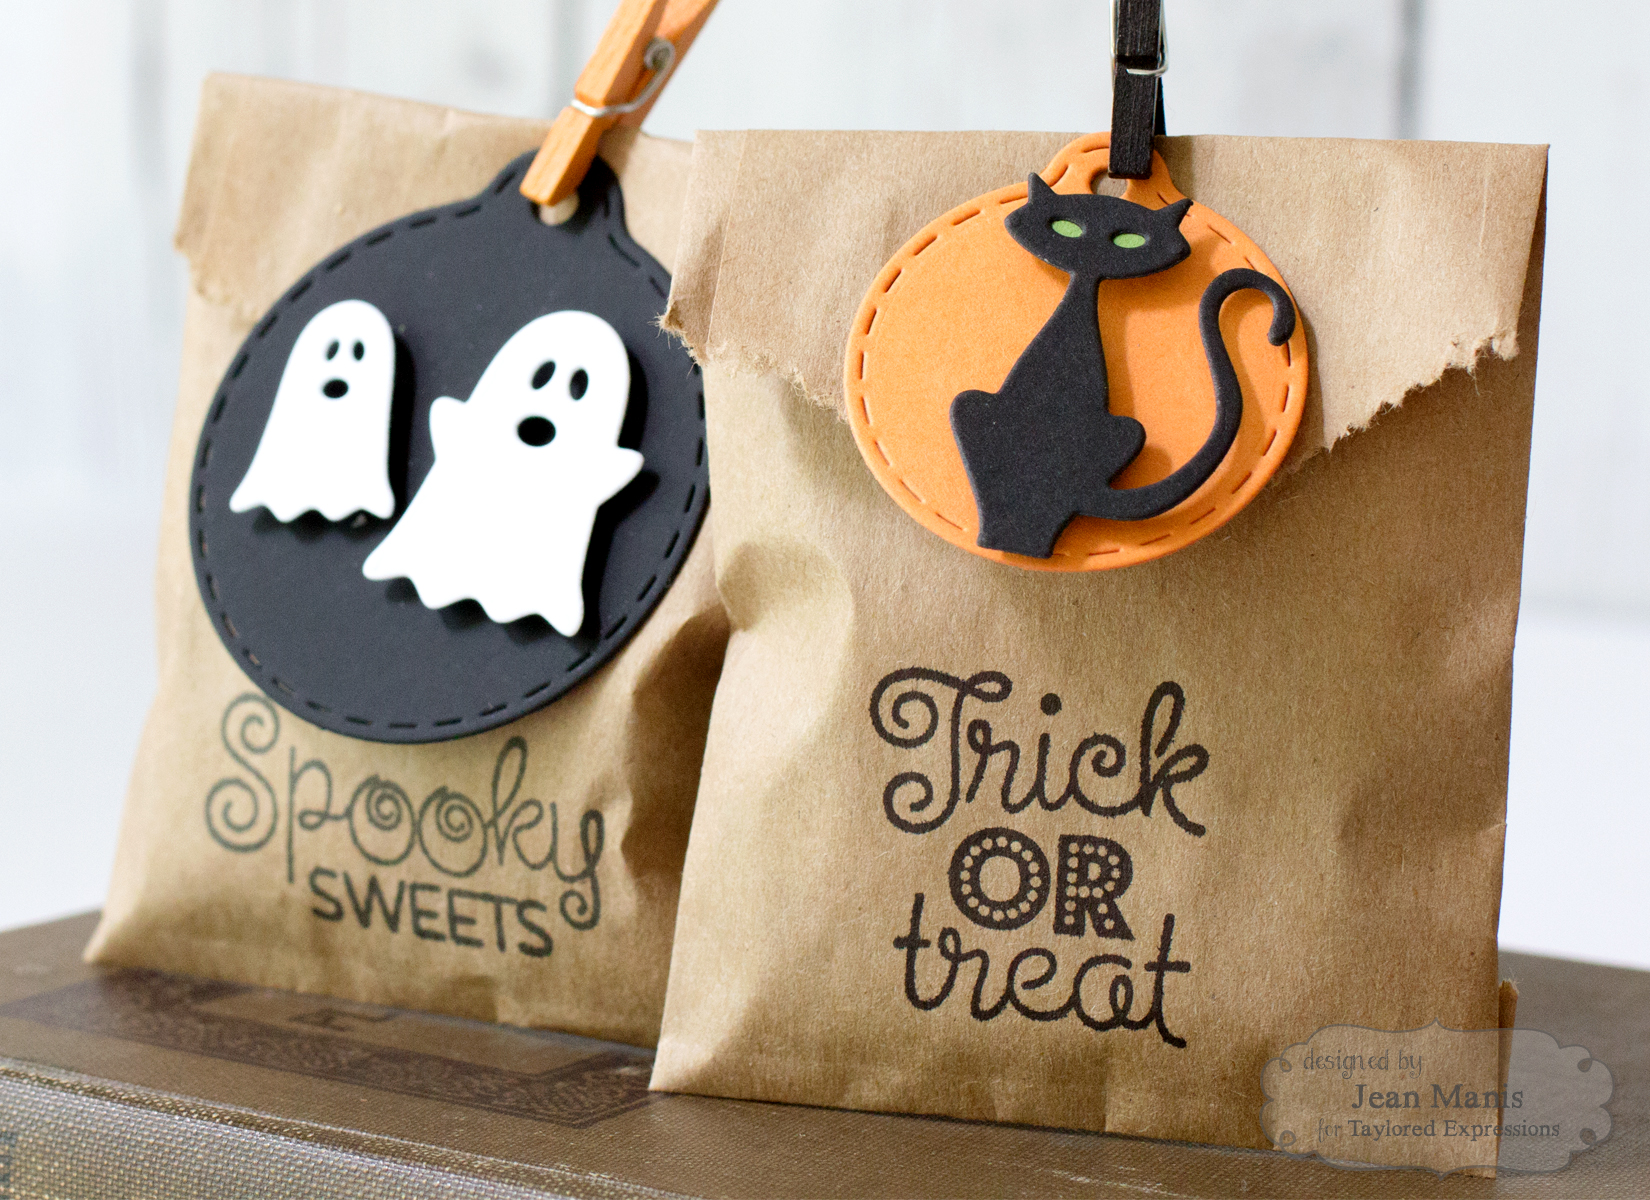
Welcome to the Taylored Expressions August 2016 Release! All of the products that we have been sharing this week are now available in the TE store!

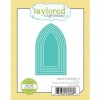
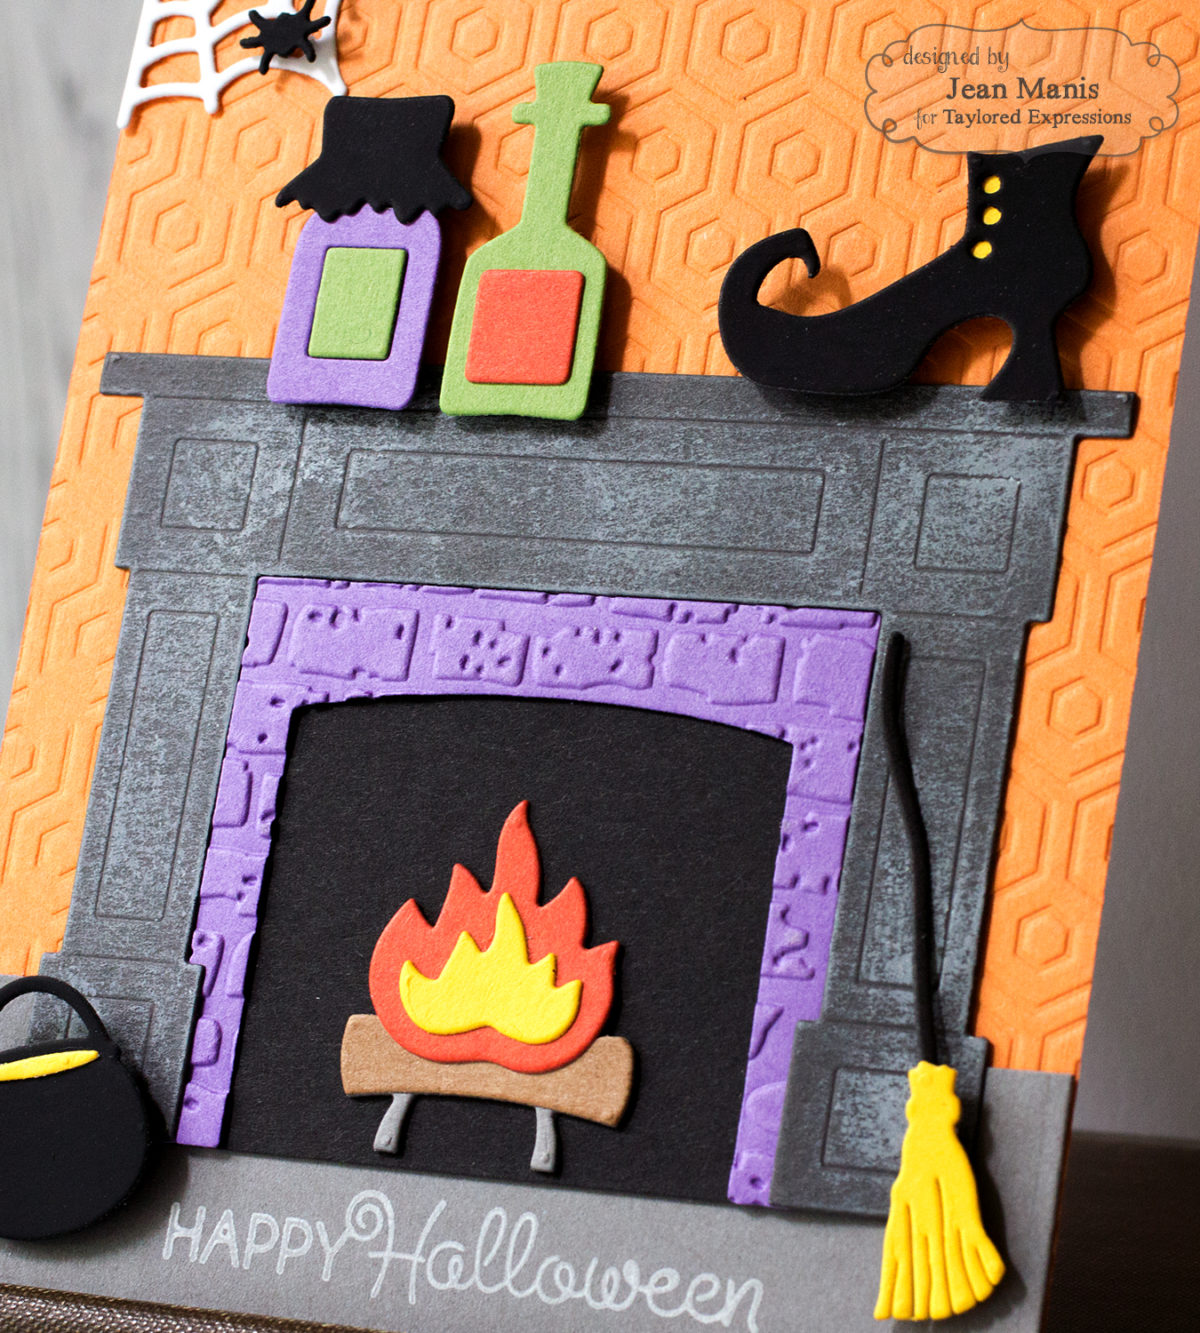
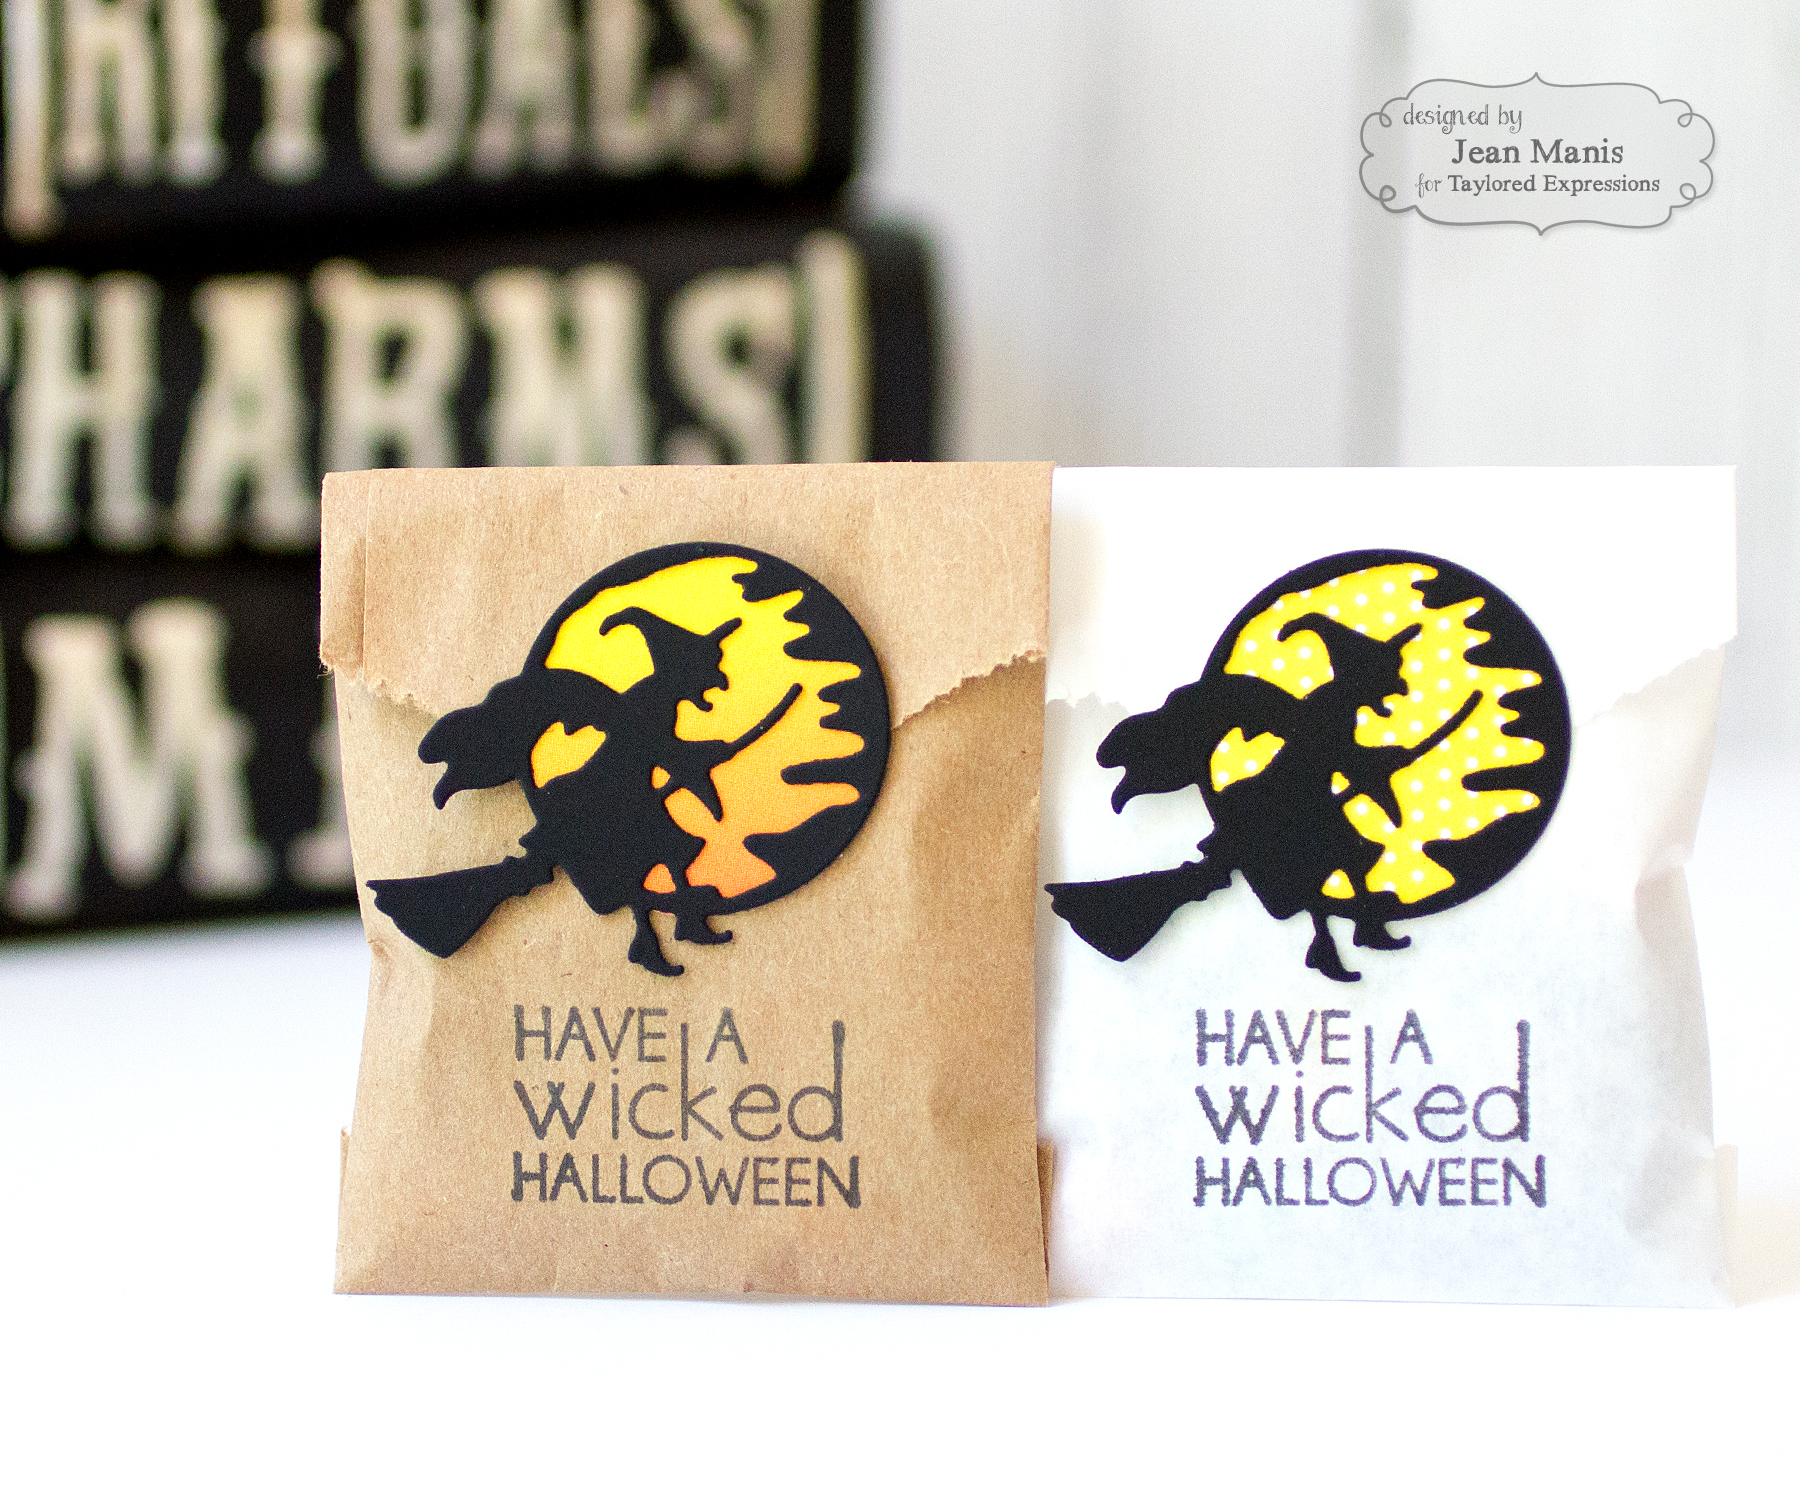
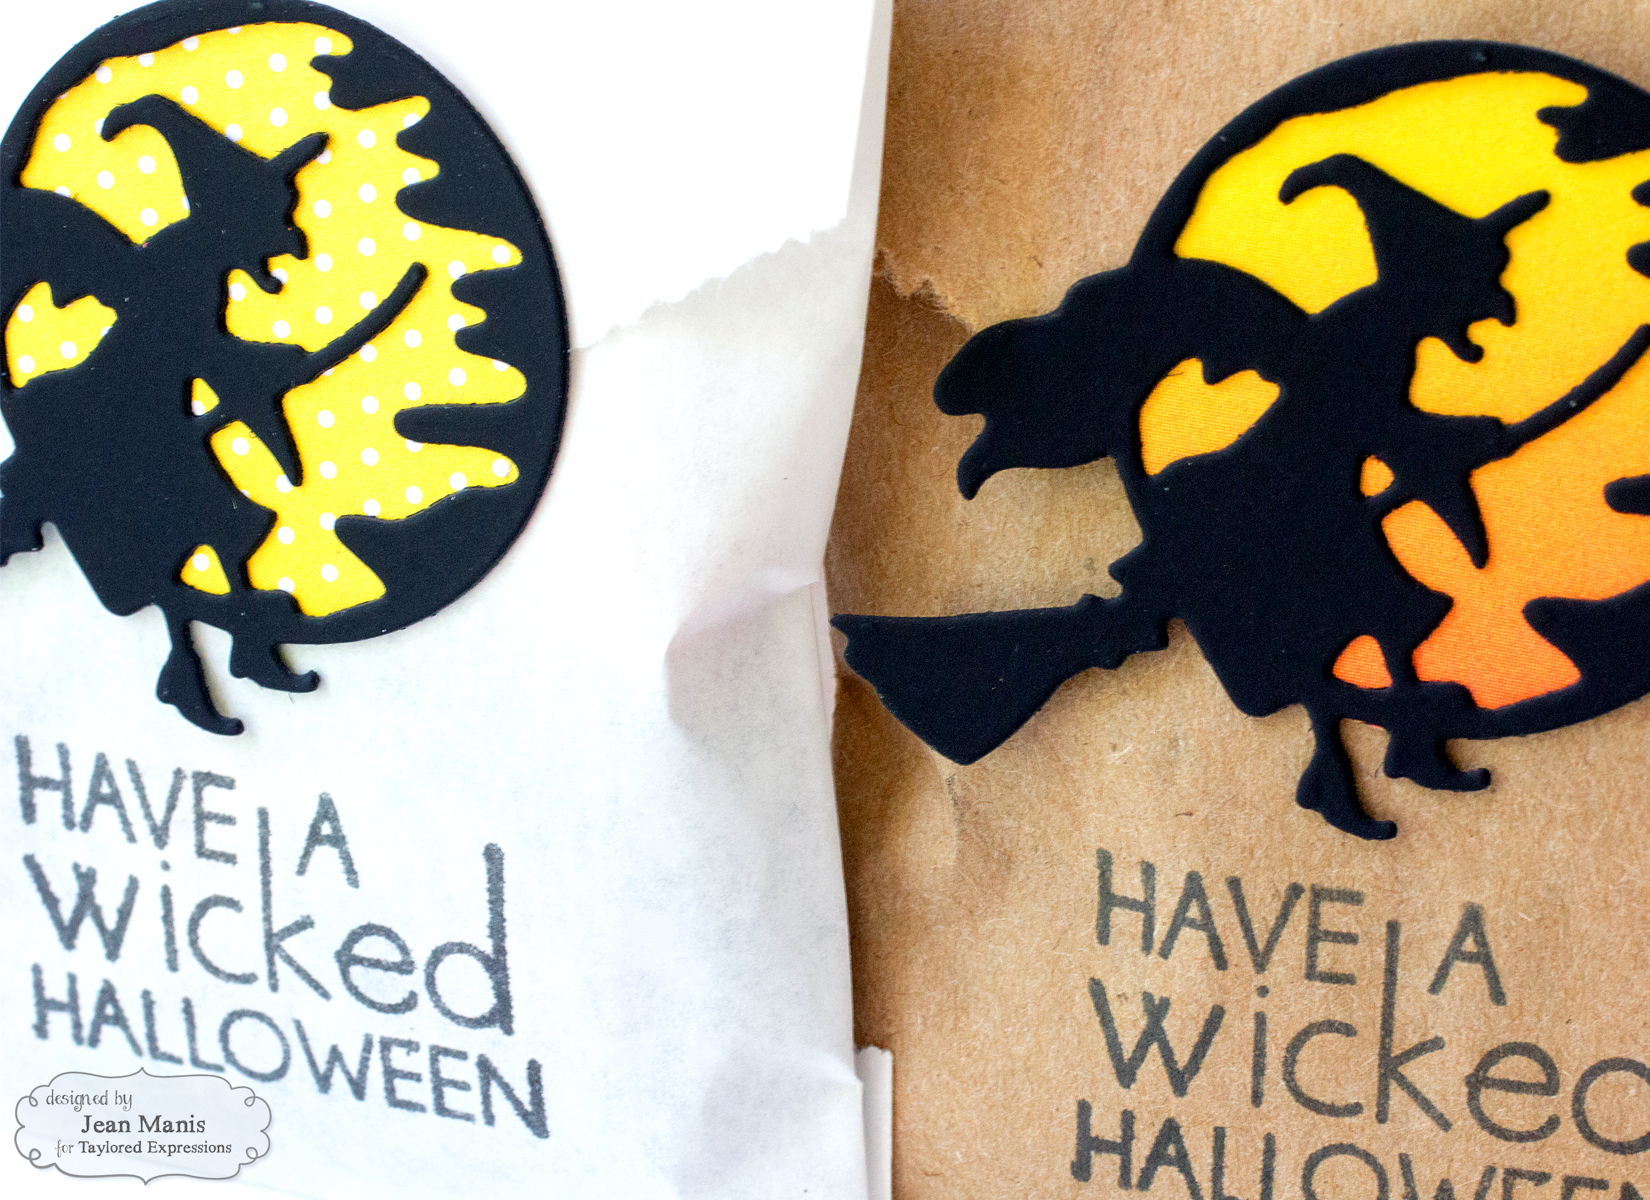
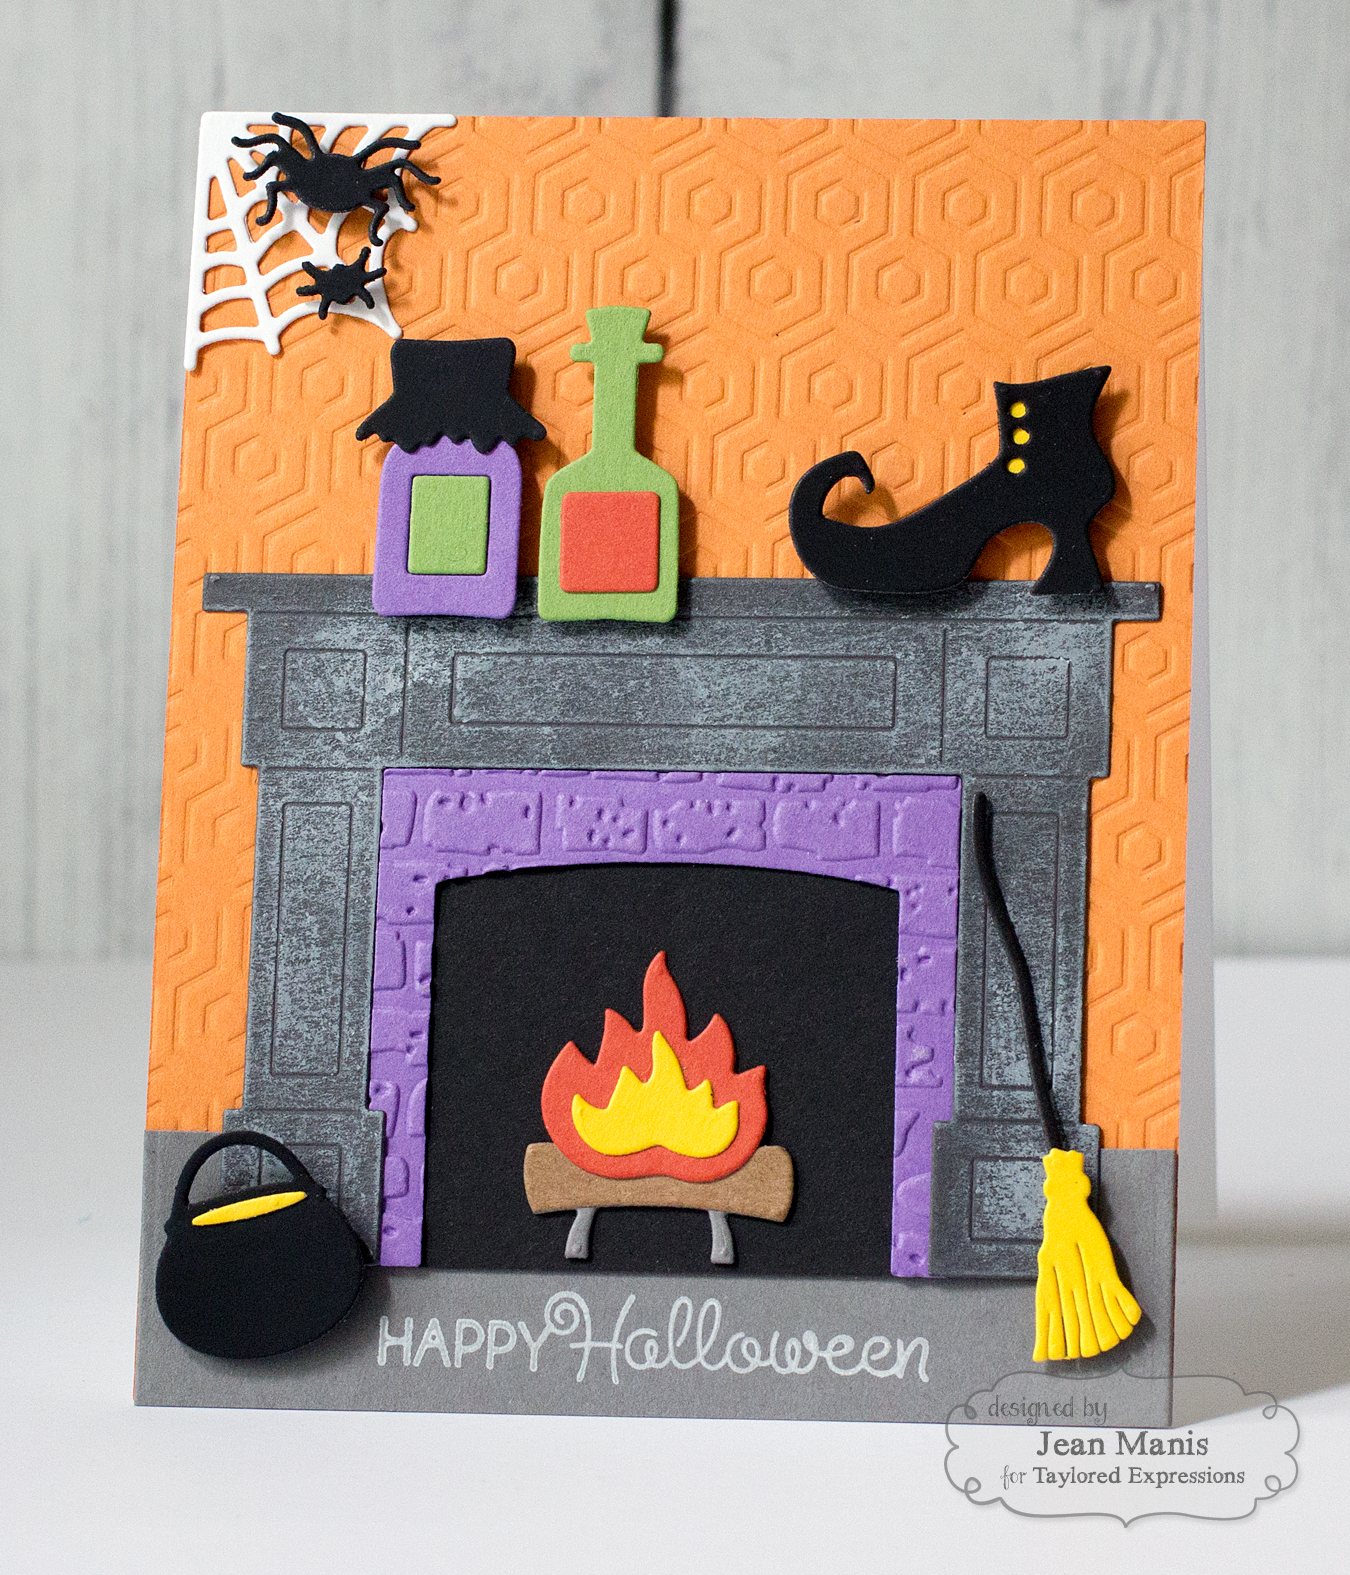
Before you head off to shop, I have one more project to show you! My card showcases the By the Fireside die set. I’m a big fan of Halloween, and I’ve always liked witches, starting with the TV show “Bewitched.” This fireplace belongs in a witch’s home. She’s got her boot off (and on the mantel) and she’s got the fire blazing.

TE August 2016 Release

Today, I’m sharing tips and tricks that I use when piecing together a die-cut scene, especially one with smaller die-cuts. For many years I had glue/tape phobia! But with the right tools and adhesives I’ve overcome my fears.

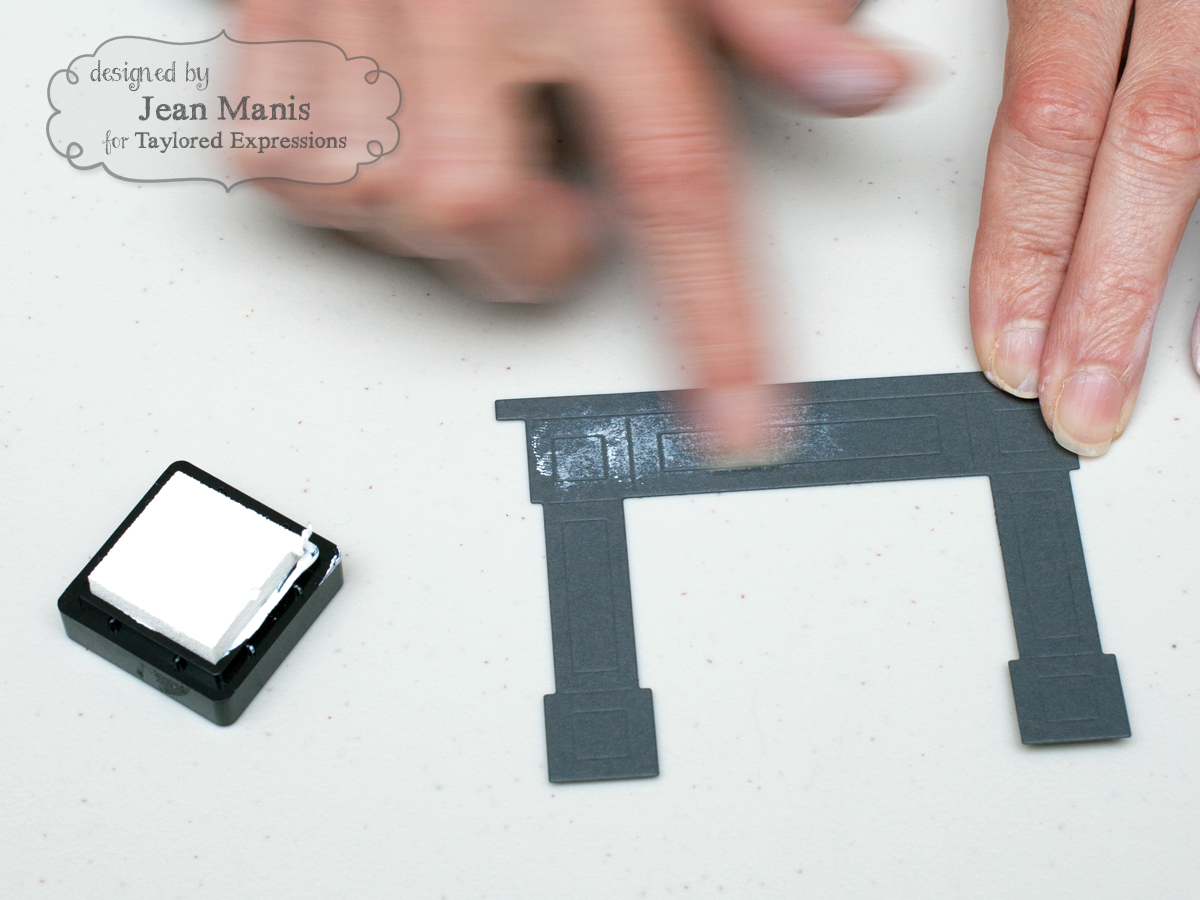
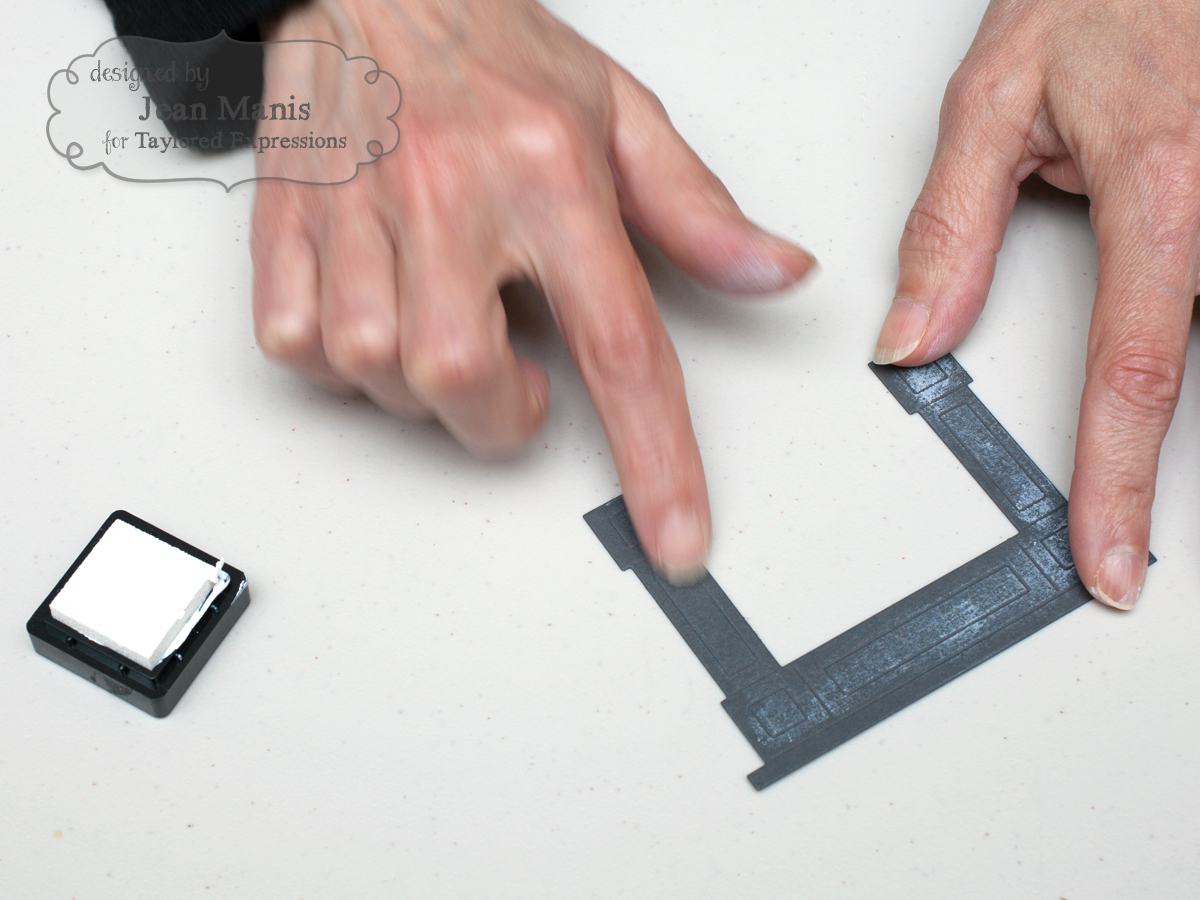
To begin, I cut the fireplace mantel from Poppy Seed cardstock. The die creates an indentation to simulate the mantel’s details.

TE By the Fireside Tutorial

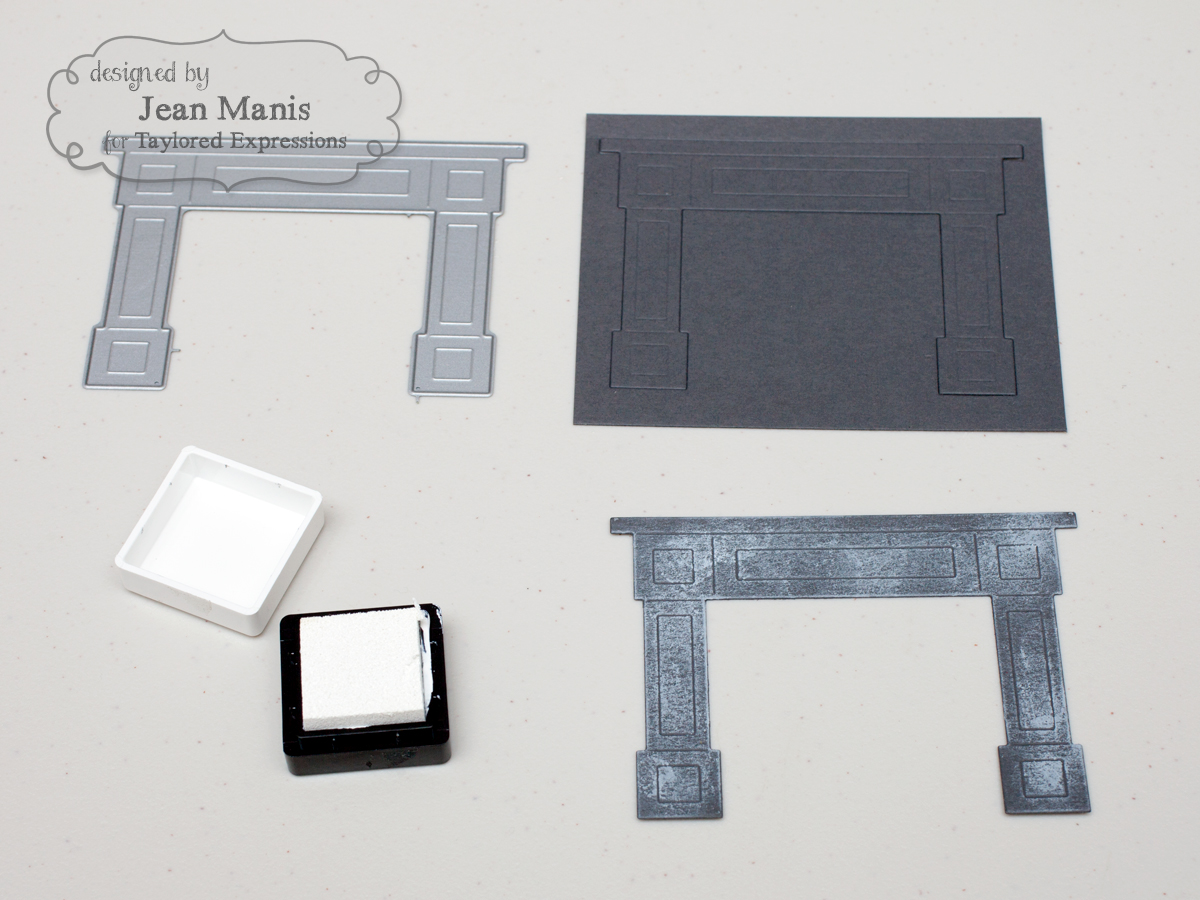
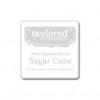
To highlight those details, I lightly applied the Sugar Cube ink to the mantel and worked my way around.

TE By the Fireside Tutorial TE By the Fireside Tutorial

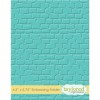
While that dried, I cut the brick part of the fireplace from Jelly Donut cardstock and dry-embossed it with the Brick embossing folder.

TE By the Fireside Tutorial

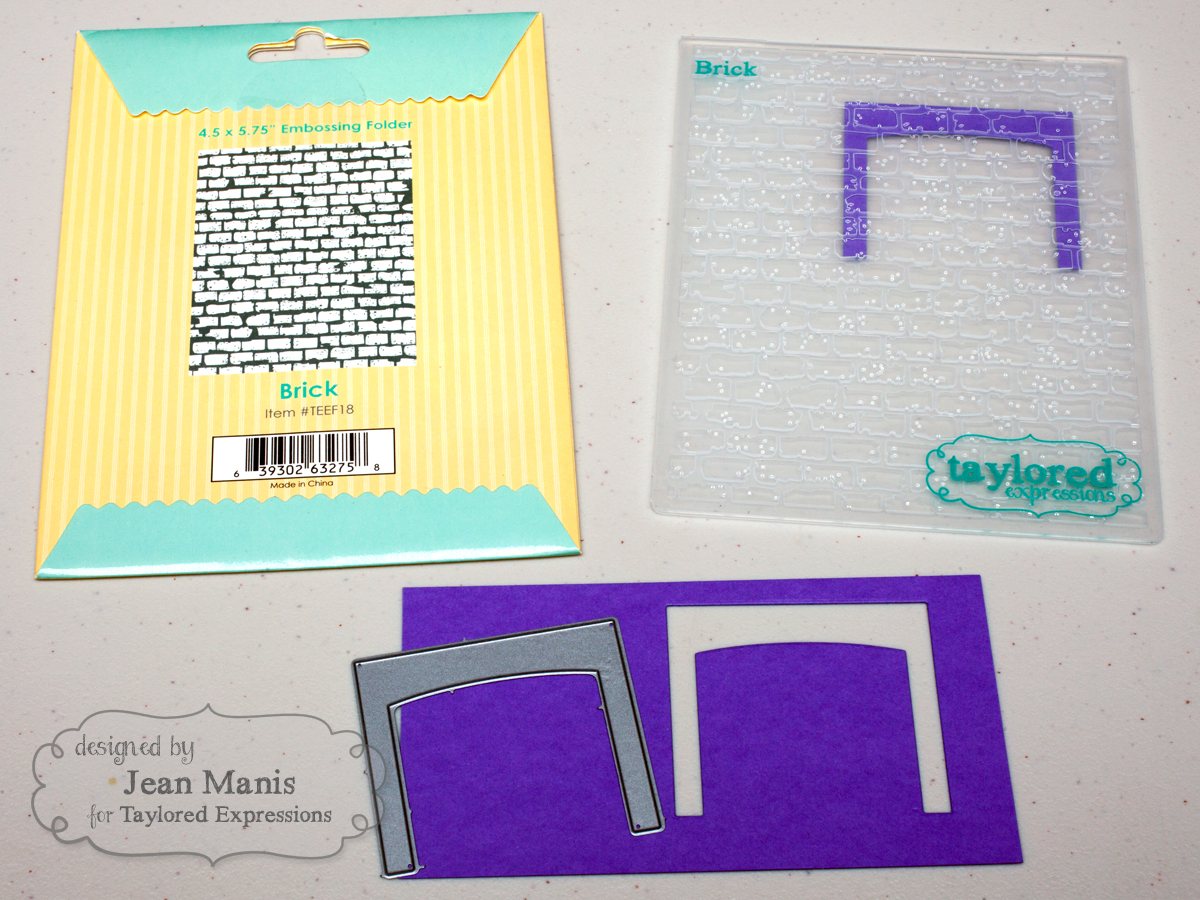
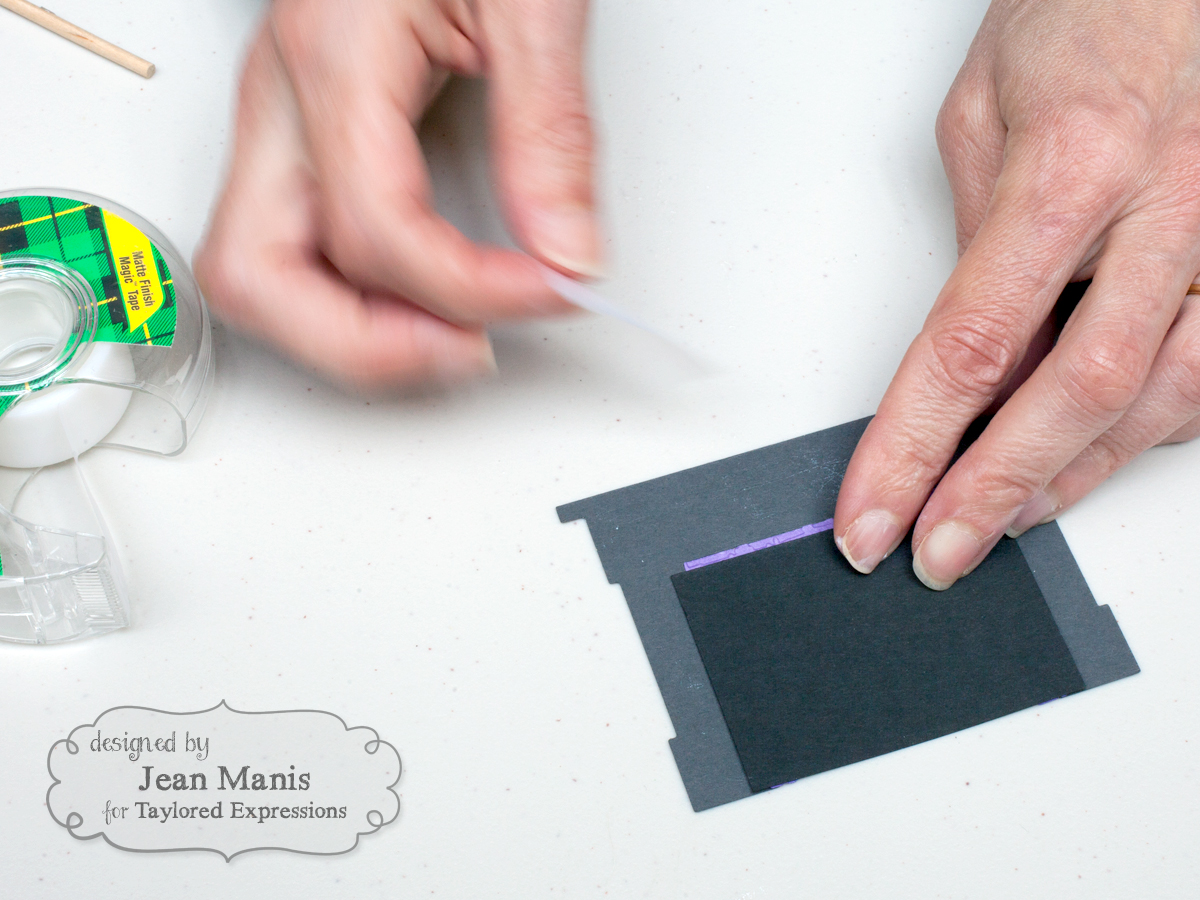
I cut a piece of TE Oreo cardstock, slightly larger than the brick part, to simulate the interior of the fireplace. I used double-sided tape to adhere the pieces together.

TE By the Fireside Tutorial

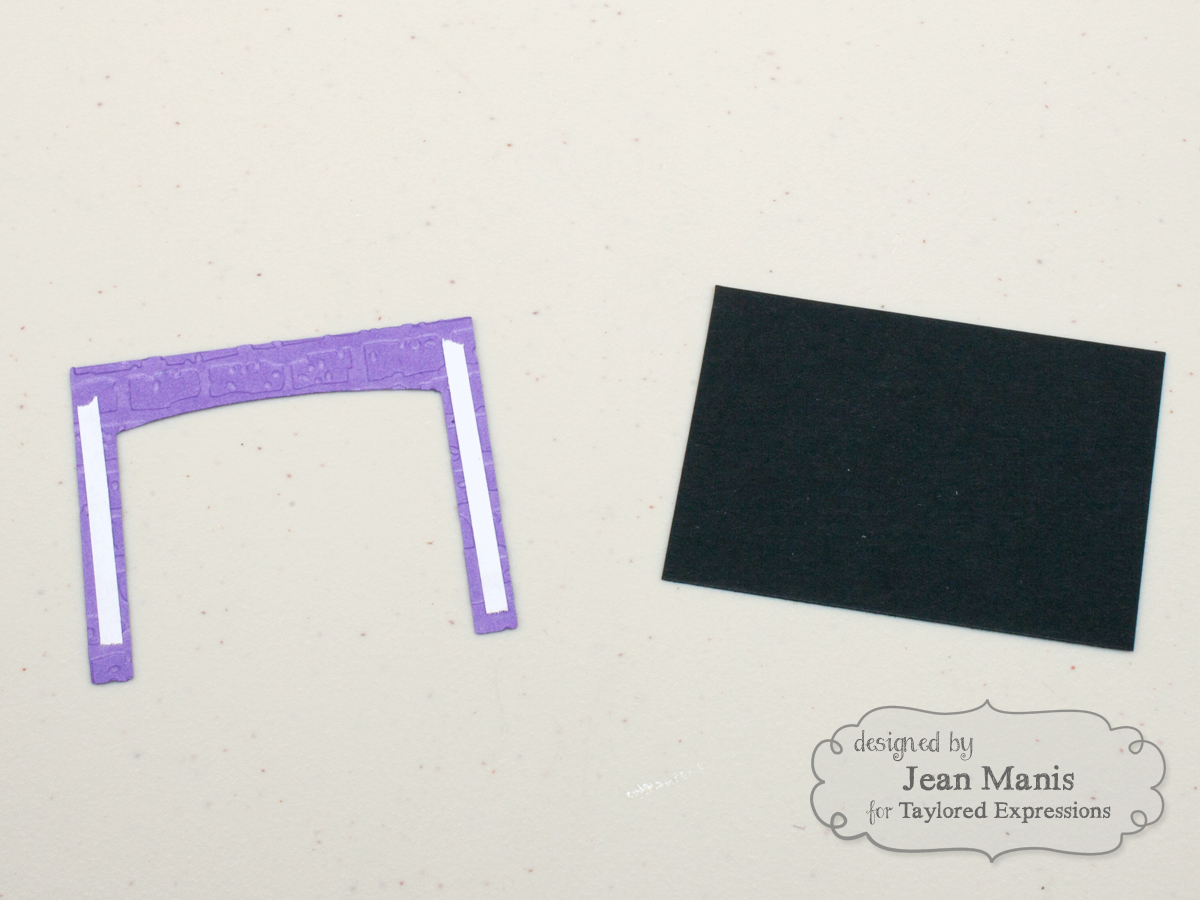
I taped those pieces to the back of the fireplace mantel.

TE By the Fireside Tutorial TE By the Fireside Tutorial

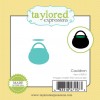
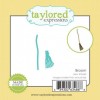
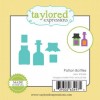
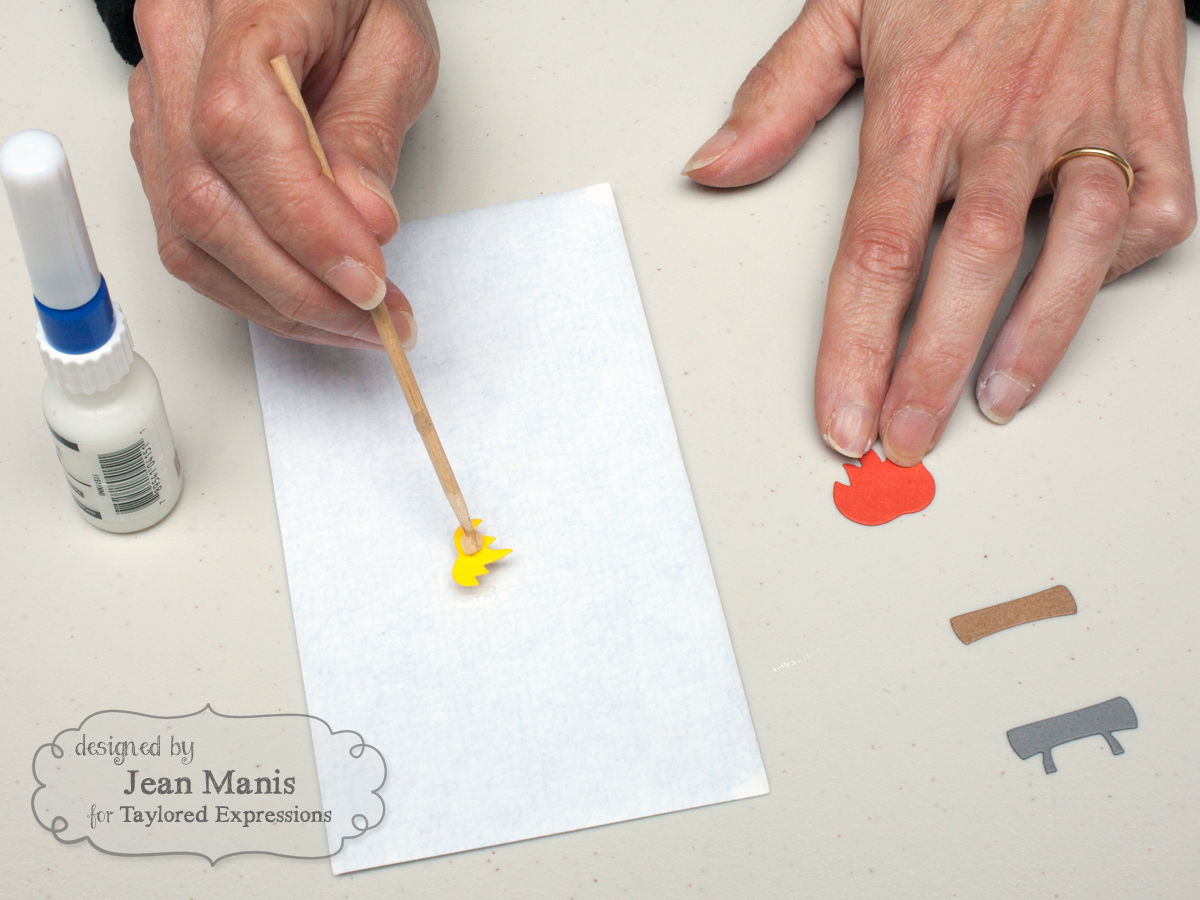
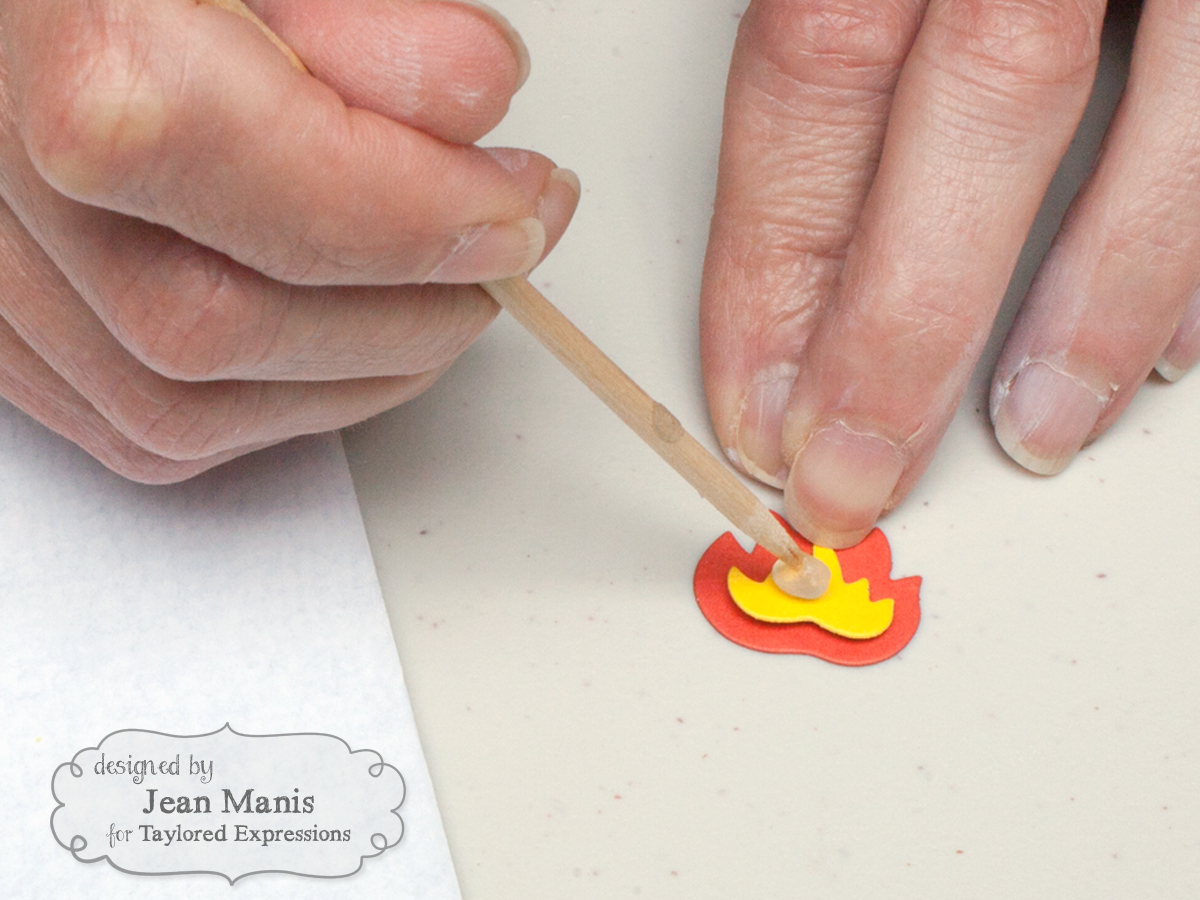
To adhere the smaller die-cut pieces, such as the fire flames, I put a dab of Ranger Multi-Matte Medium onto a piece of paper and dipped the die cut piece, which I held with the Embellie Gellie. This is my “go to” method for adhering the Little Bits die cuts. I assembled the Broom, the Cauldron and the Potion Bottles in this manner.

TE By the Fireside Tutorial TE By the Fireside Tutorial

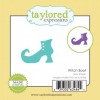
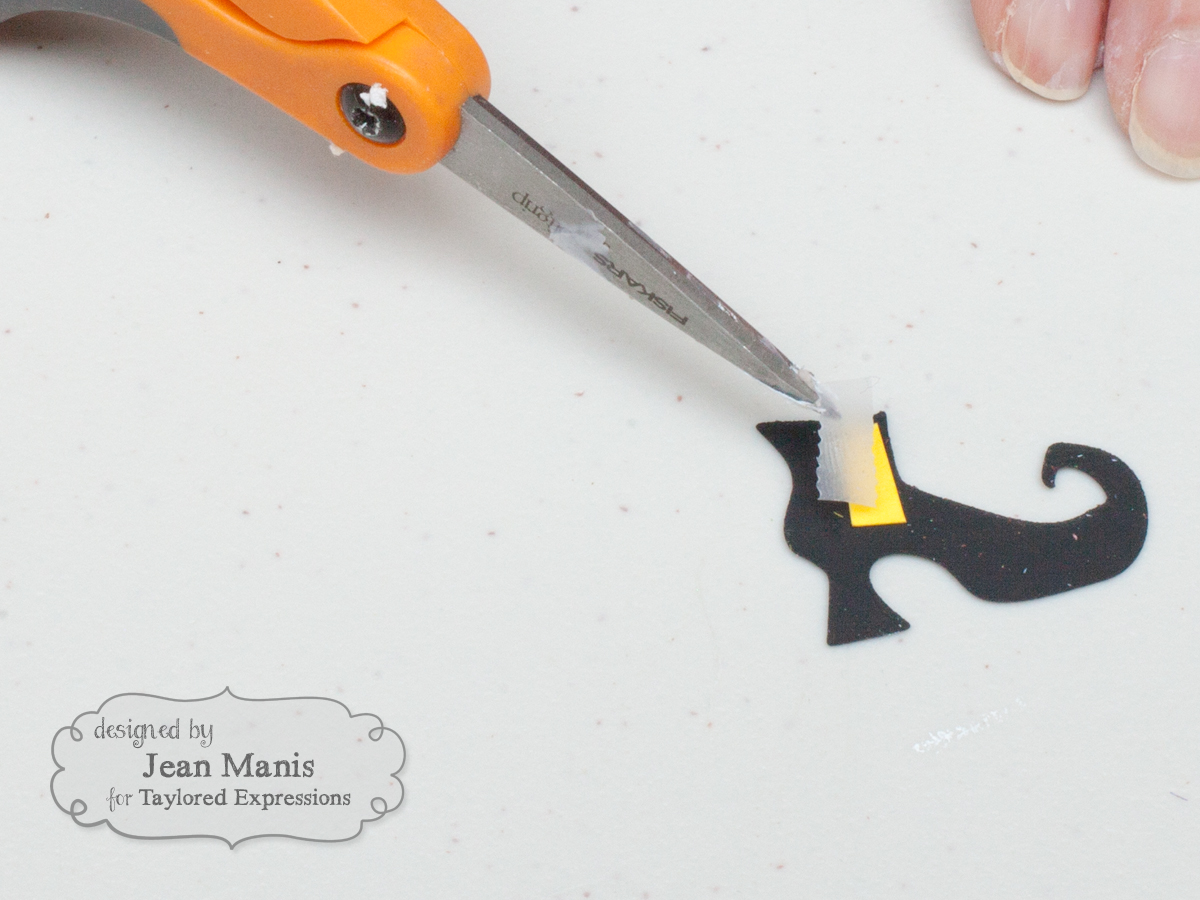
To create the buttons on the Witch’s Boot, I backed the die cut with a small piece of TE Lemon Meringue cardstock and attached it with a sliver of tape.

TE By the Fireside Tutorial TE By the Fireside Tutorial

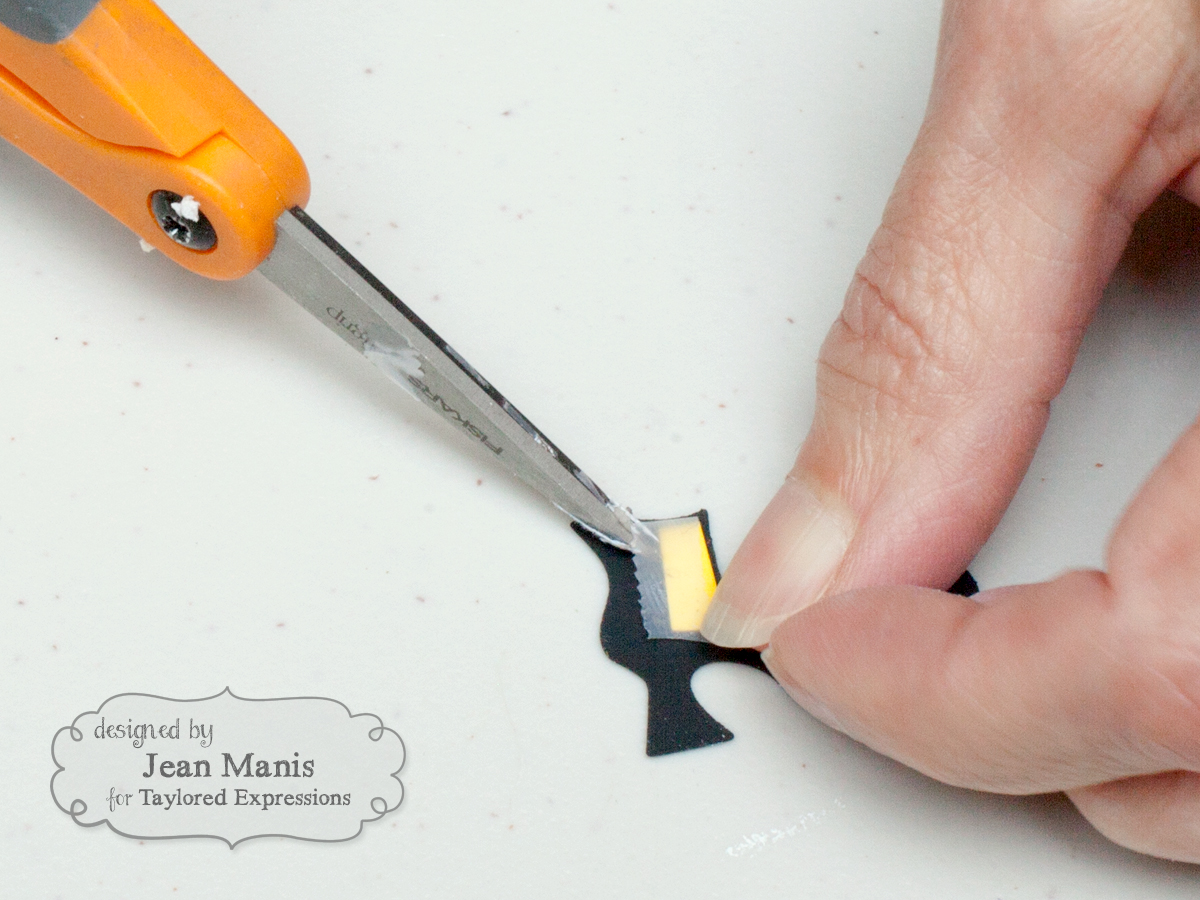
Finally, whenever I want to pop up a small die-cut in a scene, such as the spiders, I cut small pieces of foam adhesive. I have a pair of scissors which I only use to cut adhesives!

TE By the Fireside Tutorial

TE By the Fireside

Thanks so much for stopping by! If you’d like to see more projects and new product information, head over to the TE Blog for a complete blog roll of our participating designers!

Supplies:

Trick or Treat!

Hello! Welcome to Day 2 of the Taylored Expressions August Sneak Peeks. Today, I’m sharing Halloween treat packaging projects! Circle your calendar – the August products will be released Thursday, August 4 @ 7 AM PST!

For my first treat sack, I created a spooky scene with dies in the Haunted Accessories set.

TE August 2016 Release

I used a die in the Stitched Bracket Stacklets set to cut a piece of the TE 6×6 Paper Pack – Playful Patterns – Haunted paper for the topper, onto which I adhered the scene. The Mini Treat Sack – White (which is filled with M & M’s) was stamped with a sentiment in the Boo to You set using the MISTI – Precision Stamping Tool.

TE August 2016 Release

Supplies (items in bold will be released August 4):

For another treatment, I created seals for the treat bags, using the witch in the Haunted Accessories set.

TE August 2016 Release

I backed the witch with paper from Paper Pack – Playful Patterns – Haunted and TE 6×6 Paper Pack – Build a Scene Halloween (these two work well together). Again, the treat sacks were stamped with a sentiment in the Boo to You set using the MISTI – Precision Stamping Tool.

TE August 2016 Release

Supplies (items in bold will be released August 4):

Last but not least, I added tags with the Little Bits – Black Cat and Little Bits – Ghosts to the treat sacks.

Taylored Expressions August 2016 Release

I attached the die-cuts to tags cut with the Tag Stacklets 3 set and used a mini clothes pin to close the sacks. The treat sacks were stamped with a sentiment in the Boo to You set using the MISTI – Precision Stamping Tool.

Supplies (items in bold will be released August 4):

Taylored Expressions is celebrating Release Week with fabulous giveaways! Visit the TE Blog to answer Taylor’s Question of the Day for a chance to win a prize from the latest release!

TEReleaseWeekQuestion

Thanks for visiting! Head on over to the TE Blog to see more projects and product information, as well as a complete list of participating designers!

A Haunting We Will Go

Welcome to Day 1 of the Taylored Expressions August Sneak Peeks featuring Halloween projects! Circle your calendar – the August products will be released this Thursday, August 4 @ 7 AM PST!

My first card combines the Haunted Cutting Plate with the Haunted Accessories.

TE August 2016 Release

I used the TE Premium White Pigment Ink – Sugar Cube – Mini Pad (this new ink is amazing!) to stamp a sentiment from the Boo to You set directly onto the image cut with the Haunted Cutting Plate from Chalkstock. I embellished the scene with a witch, gravestones and ghost cut with the Haunted Accessories. The background paper is from the TE 6×6 Paper Pack – Playful Patterns – Haunted set.

TE August 2016 Release

Supplies (items in bold will be released August 4):

My second card showcases the Roly Poly – Witch die set. (She’s a pretty cute witch and could easily be used to create a Christmas elf!)

TE August 2016 Release

I grew up watching “Bewitched” and the show’s opening credits were my inspiration. I placed the witch on a broom cut with the Little Bits – Broom set. I used the Boo to You set for the sentiment (placed into a speech bubble cut with the Little Bits – Let’s Talk Bubble 1 die). The background paper is from the TE 6×6 Paper Pack – Playful Patterns – Haunted set.

TE August 2016 Release

Supplies (items in bold will be released August 4):

Taylored Expressions is celebrating Release Week with some fabulous giveaways! Visit the TE Blog to answer Taylor’s Question of the Day for a chance to win a prize from the latest release!

TEReleaseWeekQuestion

Thanks for visiting! Head on over to the TE Blog to see more projects and product information, as well as a complete list of participating designers!

Trick or Treat CAS Halloween Scene

Today I’m sharing my last Halloween project for the year! I just love black cats and they seem particularly Halloweenish. On November 1, the fall and Halloween cards step aside for all things Thanksgiving and Christmas!

TrickorTreat

This is even more CAS than my usual cards! The sentiment is from Stampin’ Up.

Happy Halloween!

Supplies:

Penny Black Simplicity Halloween Mice

On Tuesday, I had a card on the Penny Black Simplicity site featuring one of the darling images from the 30-318 Bewitched set, which I colored with watercolor pencils. I decided to play with the image some more to practice coloring with the Zig Clean Color Real Brush pens, which I’ve recently purchased.

Penny Black Simplicity Halloween Mice

I stamped the image of the mice on a broomstick from the 30-318 Bewitched set on Strathmore watercolor paper, which I cut with one of the dies in the 51-007 Tagged set after I’d colored it with the Zig Clean Color Real Brush pens. I added a heat-embossed sentiment from the 30-249 Spooky Spheres set, cut with a die from the 51-003 Chat Bubbles set. While hard to see, the card base has been dry-embossed with the 25-010 Zigs & Zags stencil.