Penny Black Simplicity Halloween Mice

On Tuesday, I had a card on the Penny Black Simplicity site featuring one of the darling images from the 30-318 Bewitched set, which I colored with watercolor pencils. I decided to play with the image some more to practice coloring with the Zig Clean Color Real Brush pens, which I’ve recently purchased.
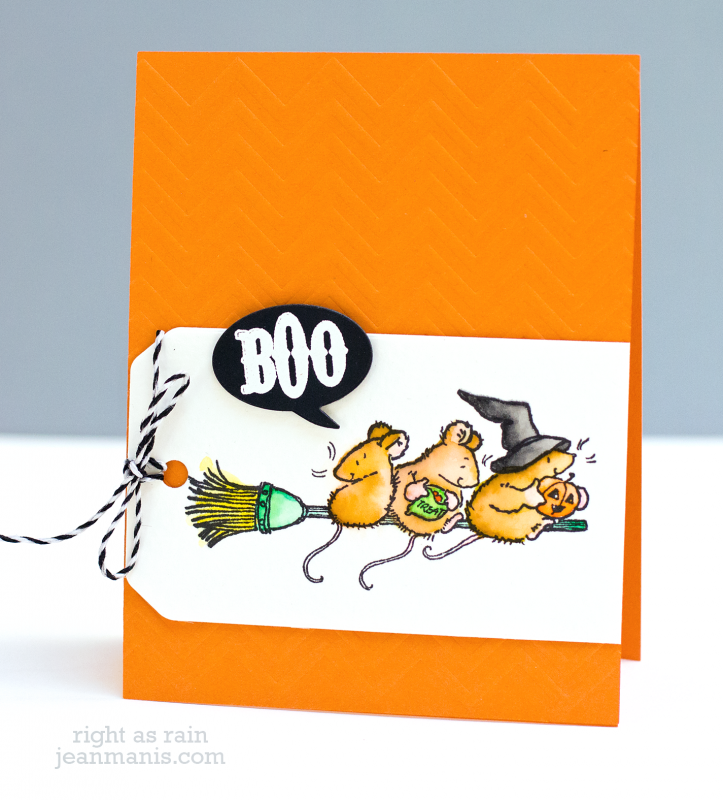
Penny Black Simplicity Halloween Mice

I stamped the image of the mice on a broomstick from the 30-318 Bewitched set on Strathmore watercolor paper, which I cut with one of the dies in the 51-007 Tagged set after I’d colored it with the Zig Clean Color Real Brush pens. I added a heat-embossed sentiment from the 30-249 Spooky Spheres set, cut with a die from the 51-003 Chat Bubbles set. While hard to see, the card base has been dry-embossed with the 25-010 Zigs & Zags stencil.

ColourQ #312 with a CAS Reverse Confetti card

I’m playing along with the ColourQ #312 challenge with a CAS Reverse Confetti card.

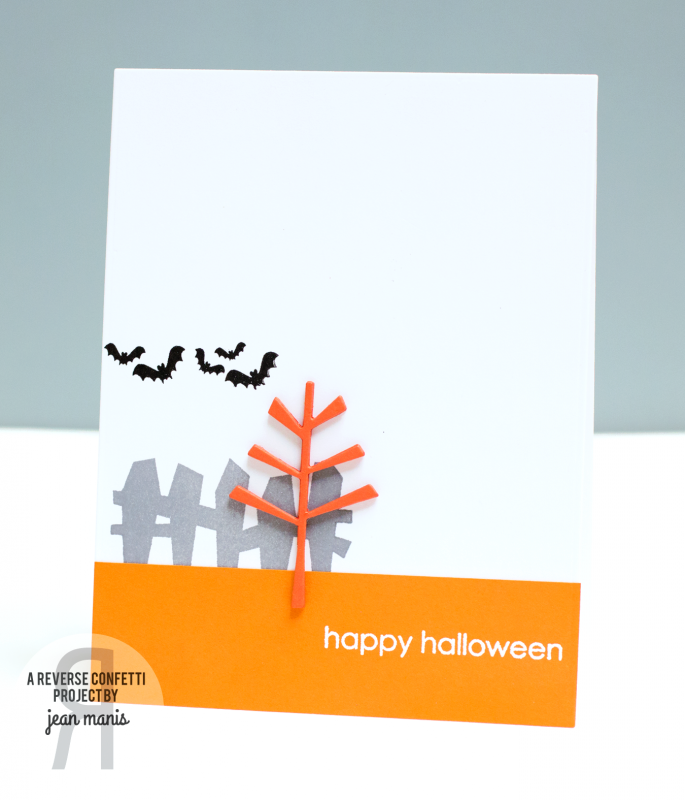
ColourQHalloweenScene

I stamped and heat-embossed the sentiment from the Spooky Sentiments set on orange cardstock. On a white cardstock panel I stamped the fence and bats from Spooky Cuties. For the darker orange, I die cut the tree branches from Branch Out several times and adhered them for extra depth.

Reverse Confetti Happy Fall-idays: Halloween

Welcome to the first day of the Reverse Confetti Happy Fall-idays – an event to provide ideas and inspiration for the holidays! Today we’re featuring Halloween projects! At the end of the post I’ve provided a list of everyone from the Reverse Confetti Design Team sharing ideas for Halloween.

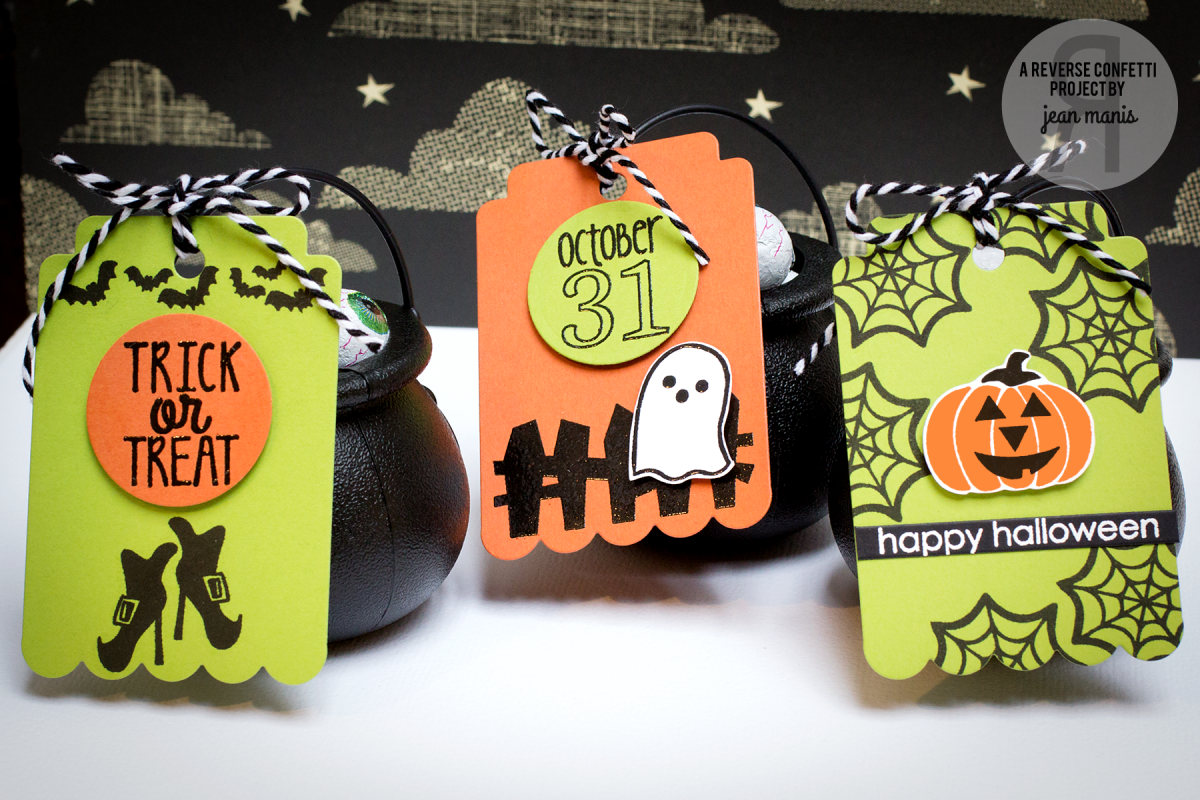
My first project features Halloween treat packaging. I’ve created three different tags in orange, green, black and white.

HalloweenPackaging

For the tag base, I used the Thanks Tag Confetti Cuts die. I stamped and heat-embossed images and sentiments from Spooky Cuties and Spooky Sentiments.

The tags are tied to tiny cauldrons filled with chocolate eyeballs!

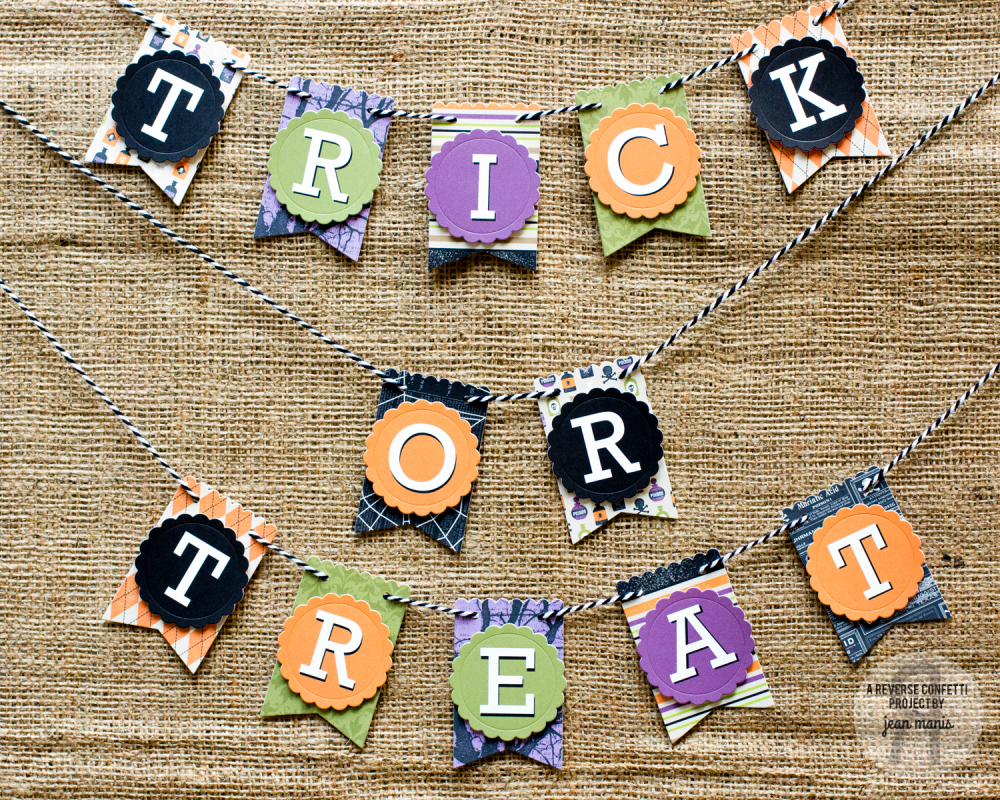
My second project is a Trick or Treat party banner created with one of the Layered Banner Duo Confetti Cuts die.

HalloweenPartyBanner

I created the letters on my computer and cut them out with one of the Circles ‘n Scallops Confetti Cuts. I attached the letters to banners cut from patterned paper with the Layered Banner Duo Confetti Cuts die.

I punched holes on either side of the top of the banners and strung them with chunky twine!

There’s lots of inspiration being shared today by the design team, check it out!

CAS Halloween with Penny Black

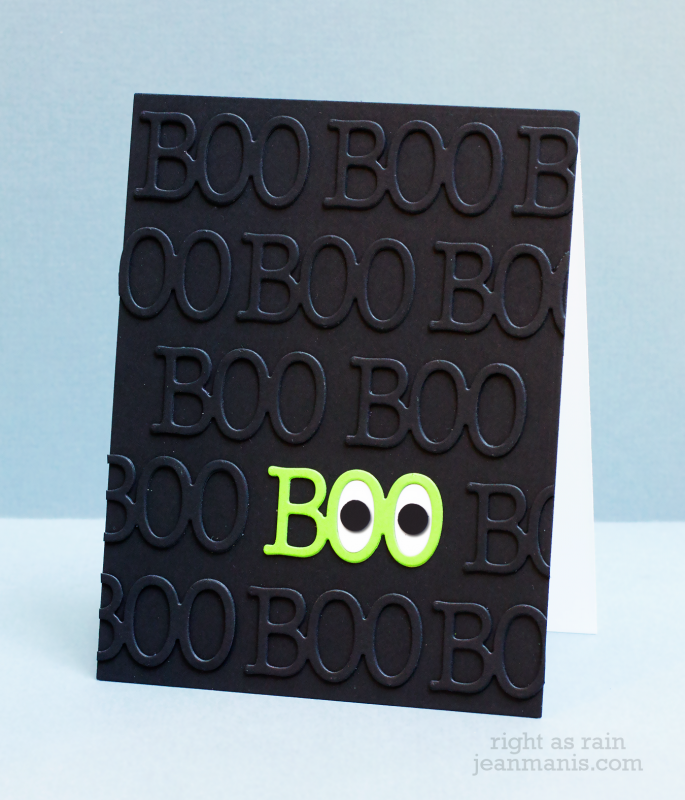
I’m sharing another CAS Halloween card. This one is created with the Penny Black 51-077 Eeek! die.

HalloweenBOO

I cut the BOO (Penny Black 51-077 Eeek!) multiple times from black cardstock and  a couple of times from green cardstock. Each BOO is double thick. I also cut the sentiment from white cardstock for the insides of the “o” letters and added black circles cut with a hole punch.

Reverse Confetti October SFYTT

Have you seen this month’s Sketch for You to Try at Reverse Confetti?
I created a Halloween card using the sketch as my starting point.

SFYTT Oct 2015

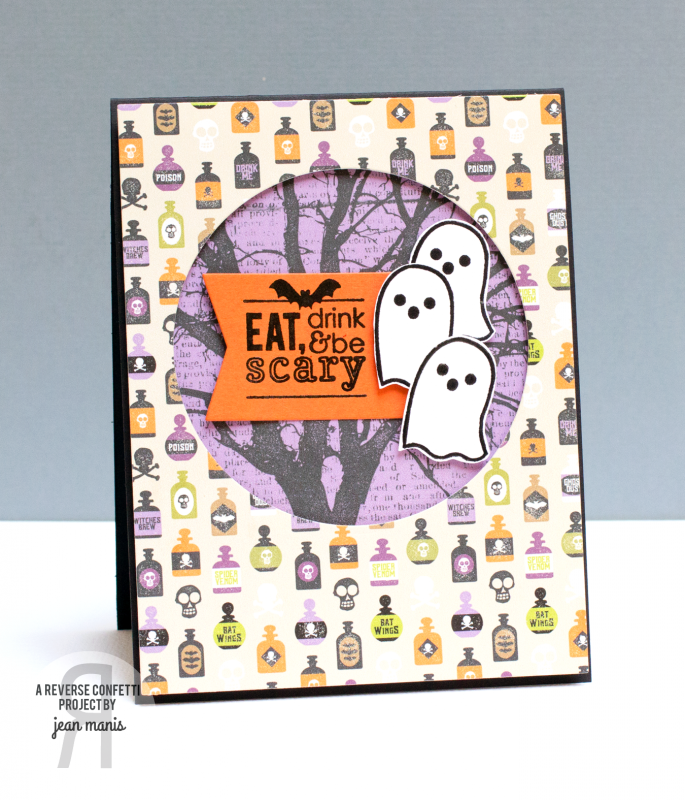
Here’s my take on the sketch, featuring Spooky Sentiments and Spooky Cuties.

HalloweenOct2015SFYTT

I stamped and heat-embossed the sentiment on orange cardstock and cut it with one of the dies in the Layered Banner Duo Confetti Cuts set. I stamped and heat-embossed the ghost from Spooky Cuties three times and fussy cut them. I cut a circle in a rectangular panel to frame the ghosts and sentiment.


I hope you’ll play along! Head on over to link up your card on the Reverse Confetti Blog for your chance to win a $20 Reverse Confetti gift certificate and the title of ‘Fetti Fave!