Penny Black Deck the Halls

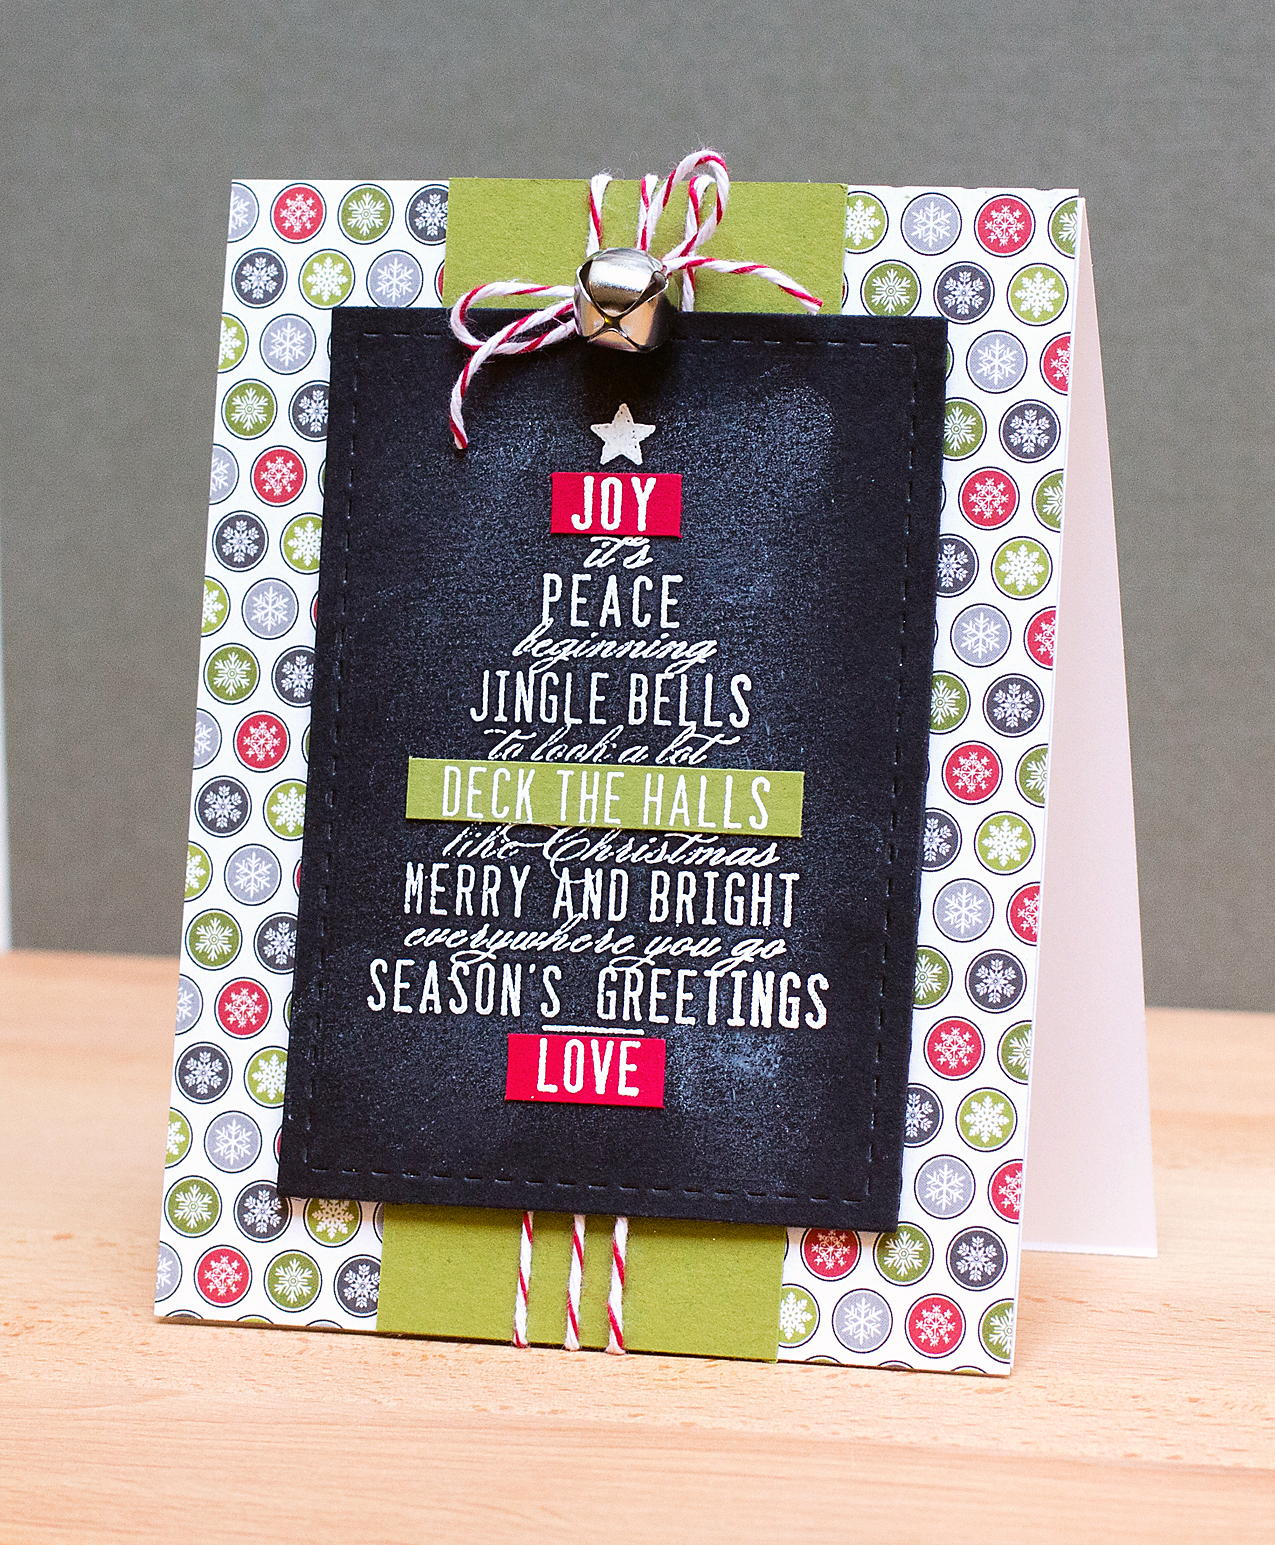
Can you believe it’s less than two weeks from Christmas?! Today, I’m sharing a holiday card created with the Christmas tree stamp from Penny Black’s Season’s Wishes set [30-201]. It’s a versatile clear stamp set with holiday sentiments.

Penny Black Deck the Halls

I stamped and heat embossed the sentiment tree three times  –  on black cardstock, olive cardstock and red cardstock. For the black cardstock panel, I applied white pigment ink with my finger to give the appearance of chalk (this was done after the heat embossing). I cut selected words from the olive and red cardstock and adhered the words to the black panel. I finished the card off on a patterned paper base with accents of baker’s twine and a bell.

Poppystamps Thank You

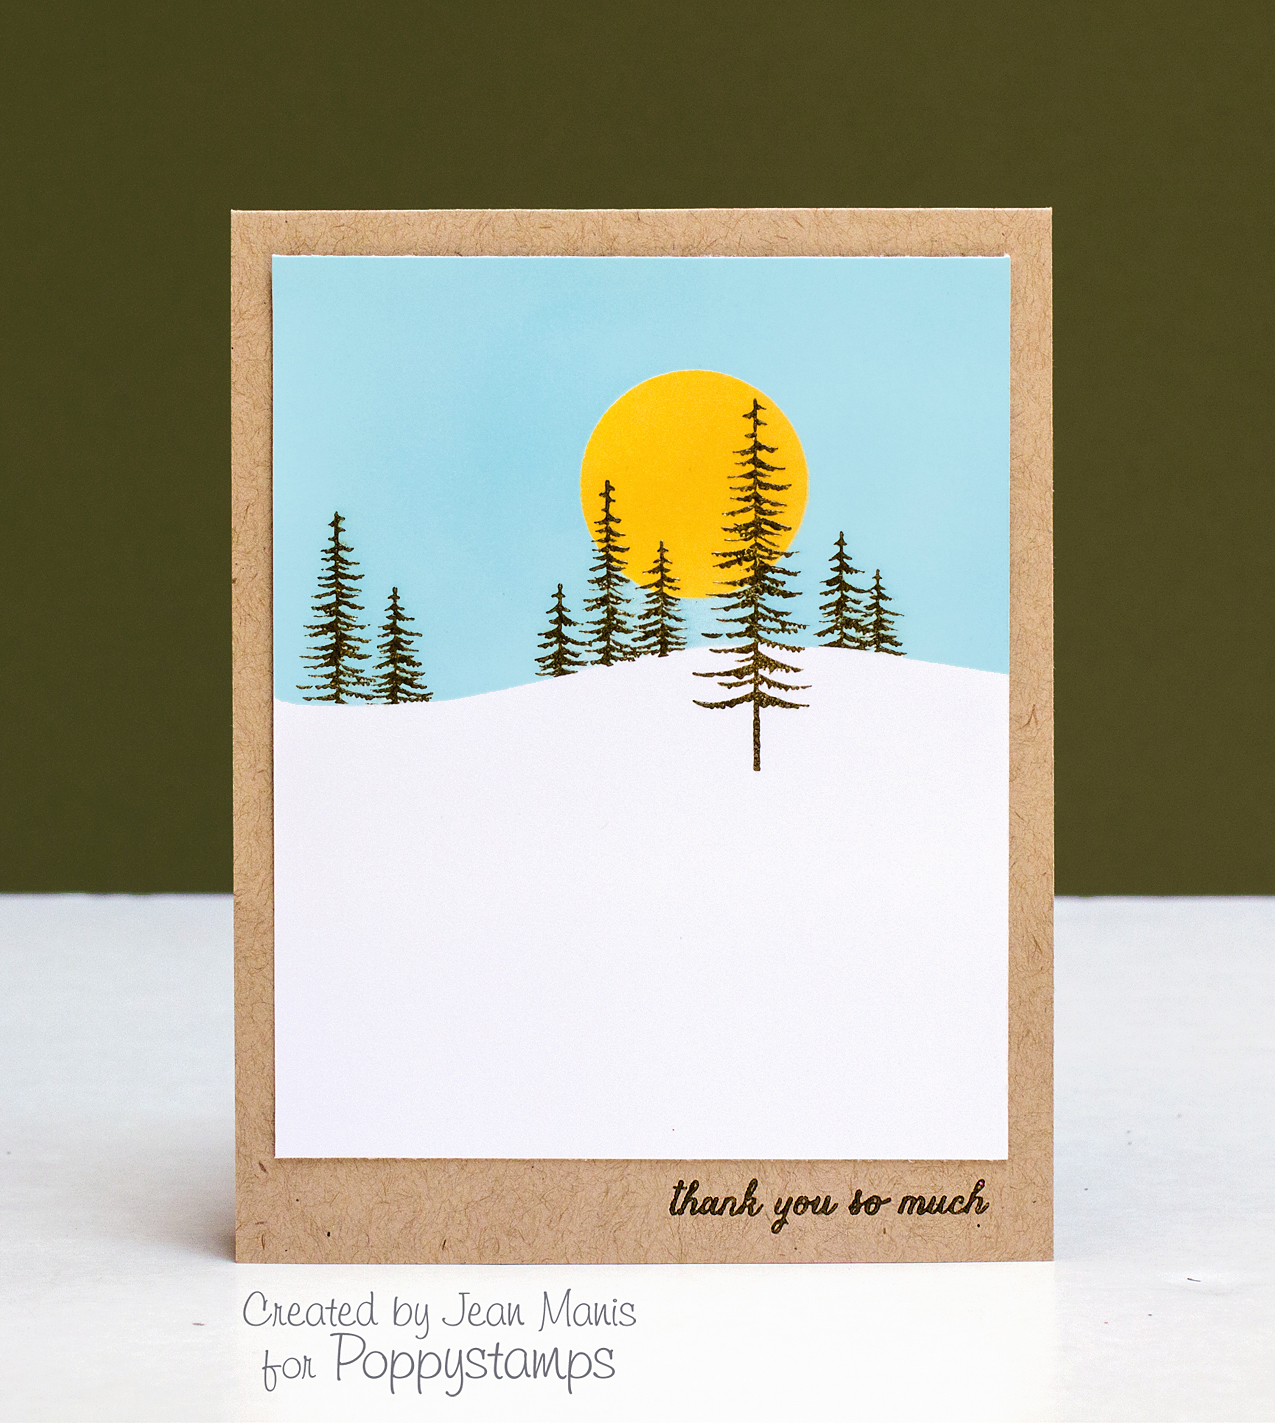
Today, I’m sharing a Thank You card with a winter scene created with two Poppystamps stamps. It’s nice to have thank you notes on hand to send just after the holidays.

Poppystamps Thank You

To begin, I stamped the trees with pigment ink onto white cardstock and clear embossed them. I then placed a mask, into which I’d cut a circle, over the trees and applied ink to represent a sun lying low on the horizon. Next, I covered the sun with the circle I’d cut out of the first mask and also added a mask below the trees, which was cut in a manner to suggest a snowy bank. I applied blue ink onto the sky area. Finally, I adhered my scene onto kraft cardstock heat-embossed with the “thank you” sentiment.

Supplies:

Day 9 Tag from 12 Tags of Christmas with a Feminine Twist

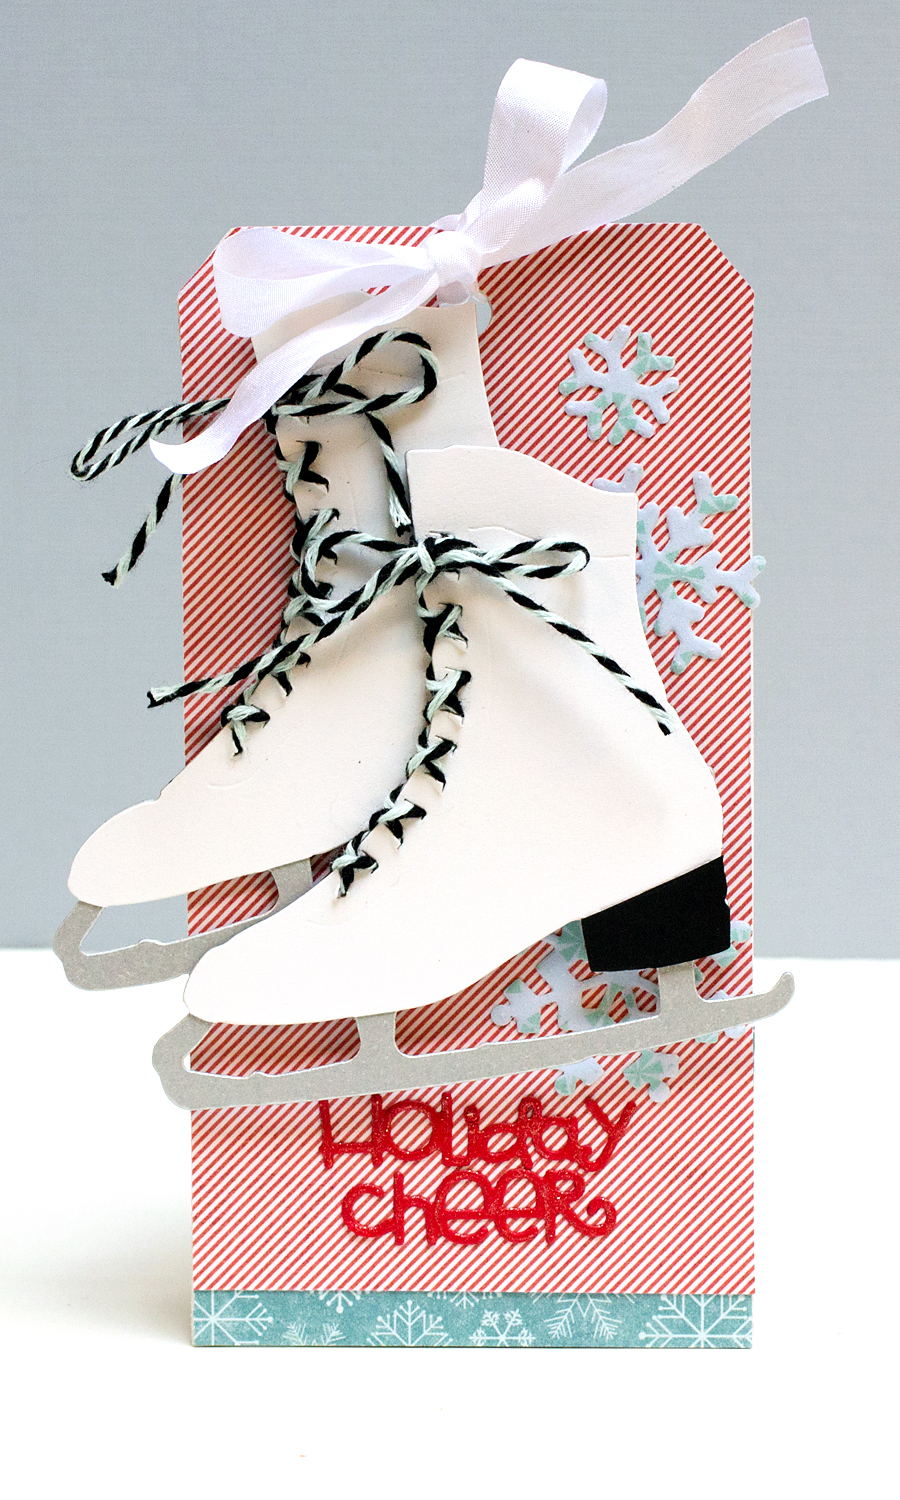
I’m sharing a tag inspired by the tag that Teri Anderson created as part of the 12 Tags of Christmas with a Feminine Twist series in the CLASSroom at Ellen Hutson’s.

Day 9 Tag - 2013 12 Tags of Christmas with a Feminine Twist

I cut the skates from three cardstocks – white, black and silver. I pieced the skates together with the silver cardstock as the base. This was decidedly less labor intensive than the way I crafted the skates for this tag. The tag background of two patterned papers is on a craft-a-board base. I covered a different patterned paper with frosted film for the die-cut snowflakes. The effect is subtle, but noticeable! I also applied Wink of Stella to the cut-out sentiment for some extra shimmer.

Supplies:

Pinspired Challenge #23

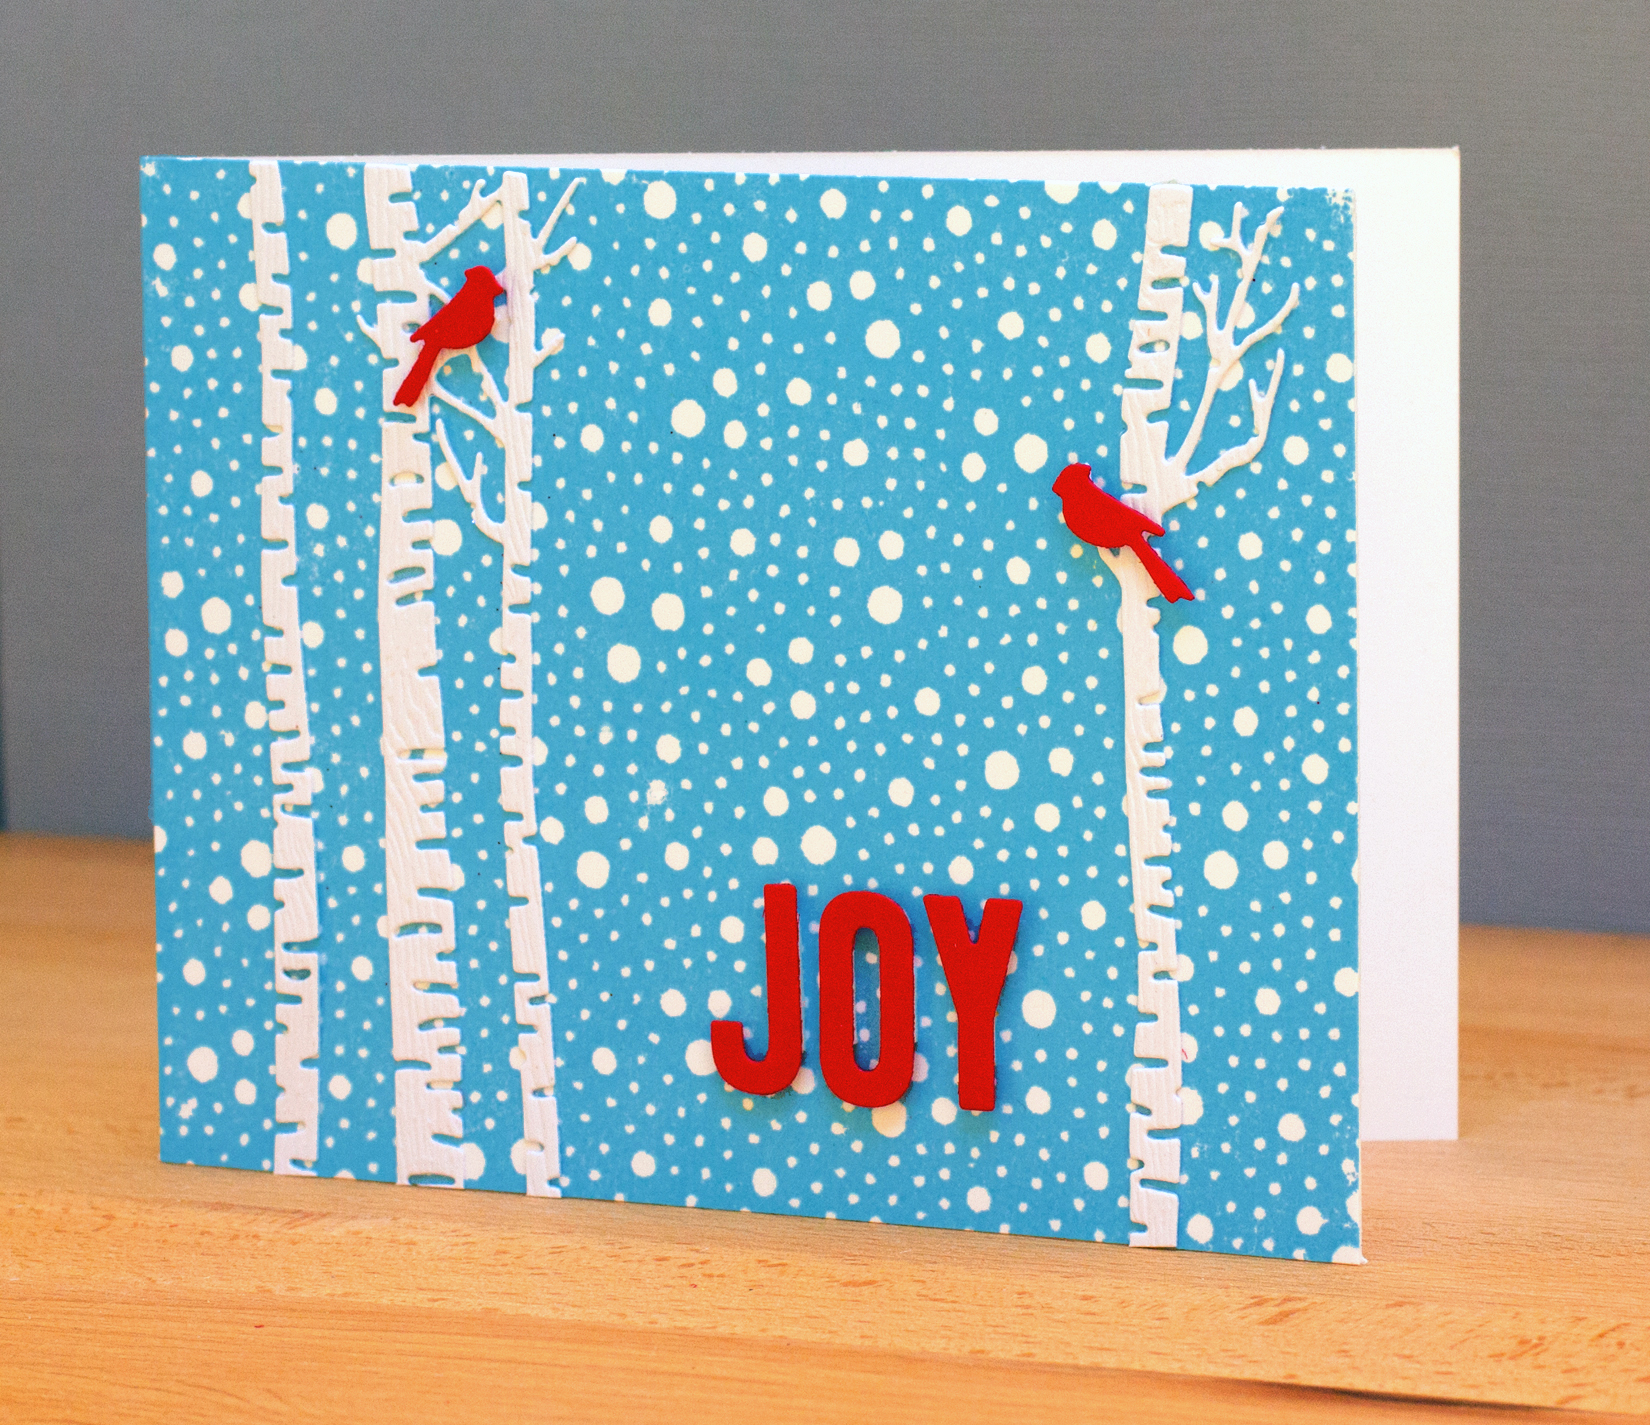
For my card, I was inspired by the color scheme of bright blue, red and white in the inspiration image, as well as the holiday theme.

Challenge23

I stamped Penny Black’s Crystal Pattern [40-162] background stamp with Bahama Blue ink for my background, onto which I added the die cuts. Yes, this card does look a lot like the tags I shared last week! (I actually had this card made several weeks ago for this challenge.) I’ve gotten a lot of mileage out of those birch die cuts.

Tim Holtz Skates Tag

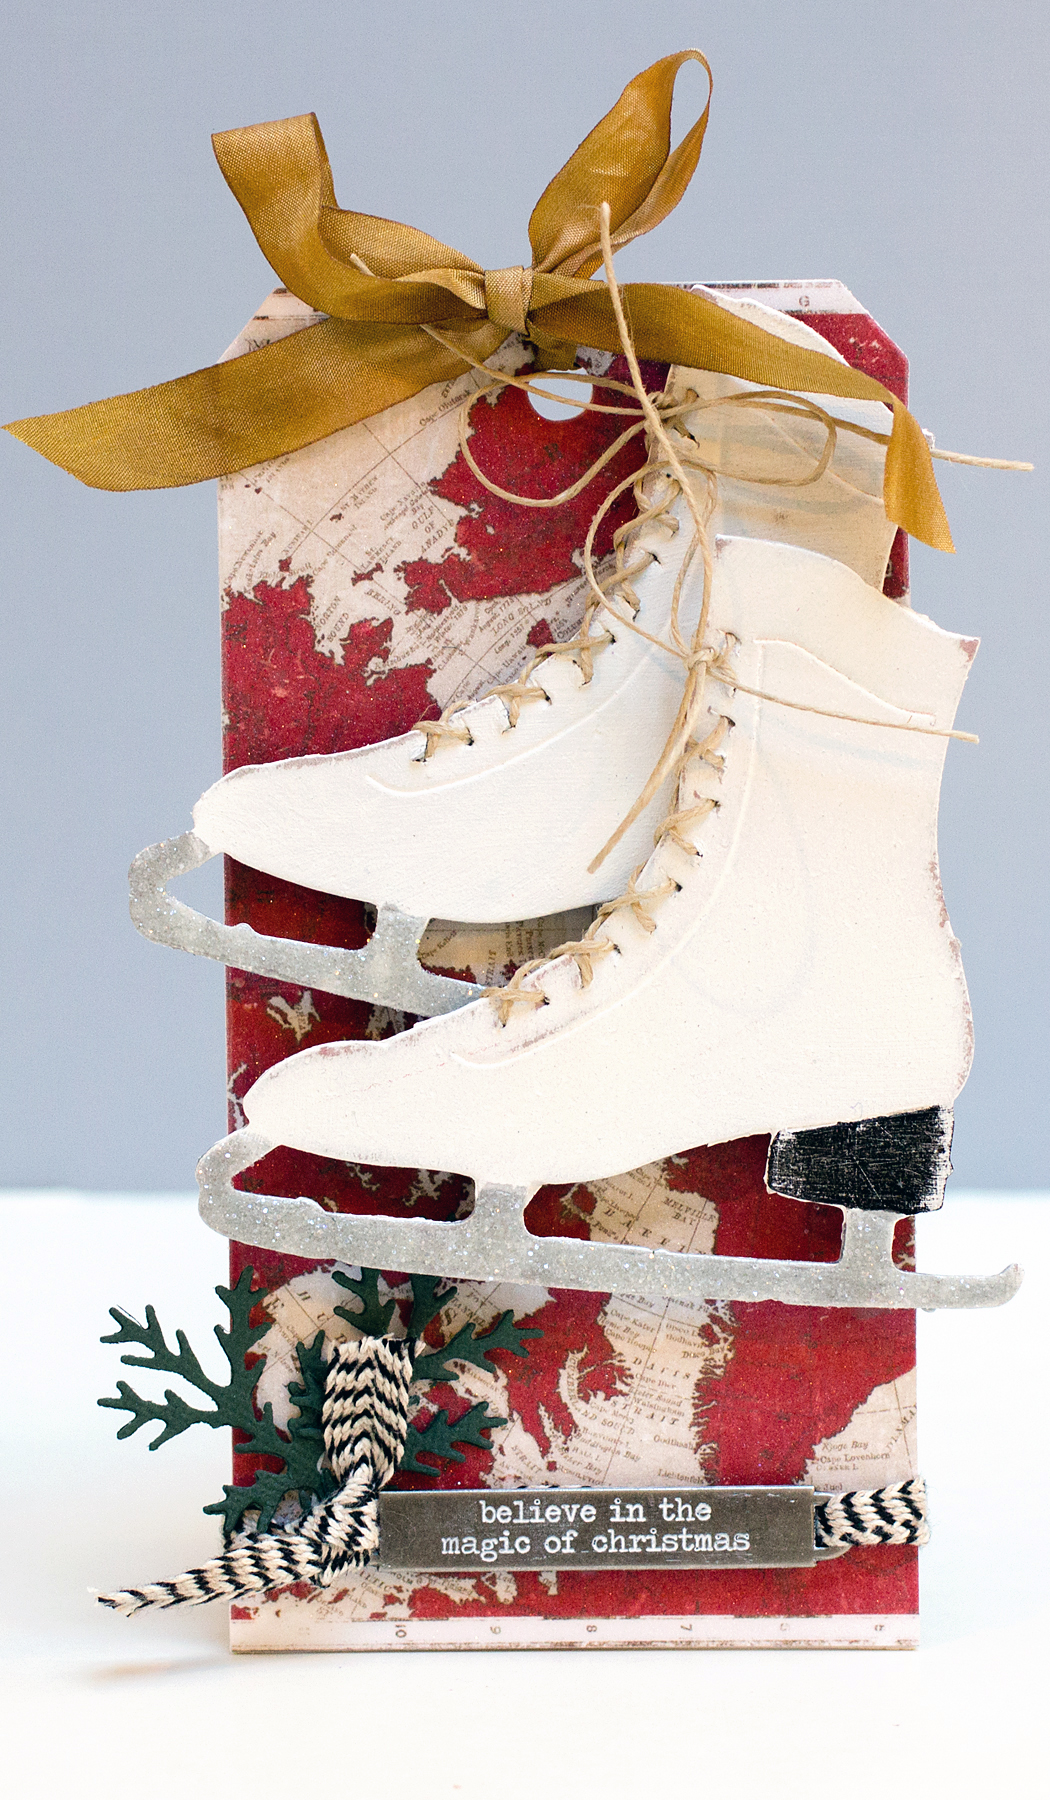
There’s just something about a pair of ice skates that says winter! Since I first saw the Tim Holtz skate die cuts from summer’s CHA, I’ve wanted to try them on a project.
Tim Holtz Skates Tag

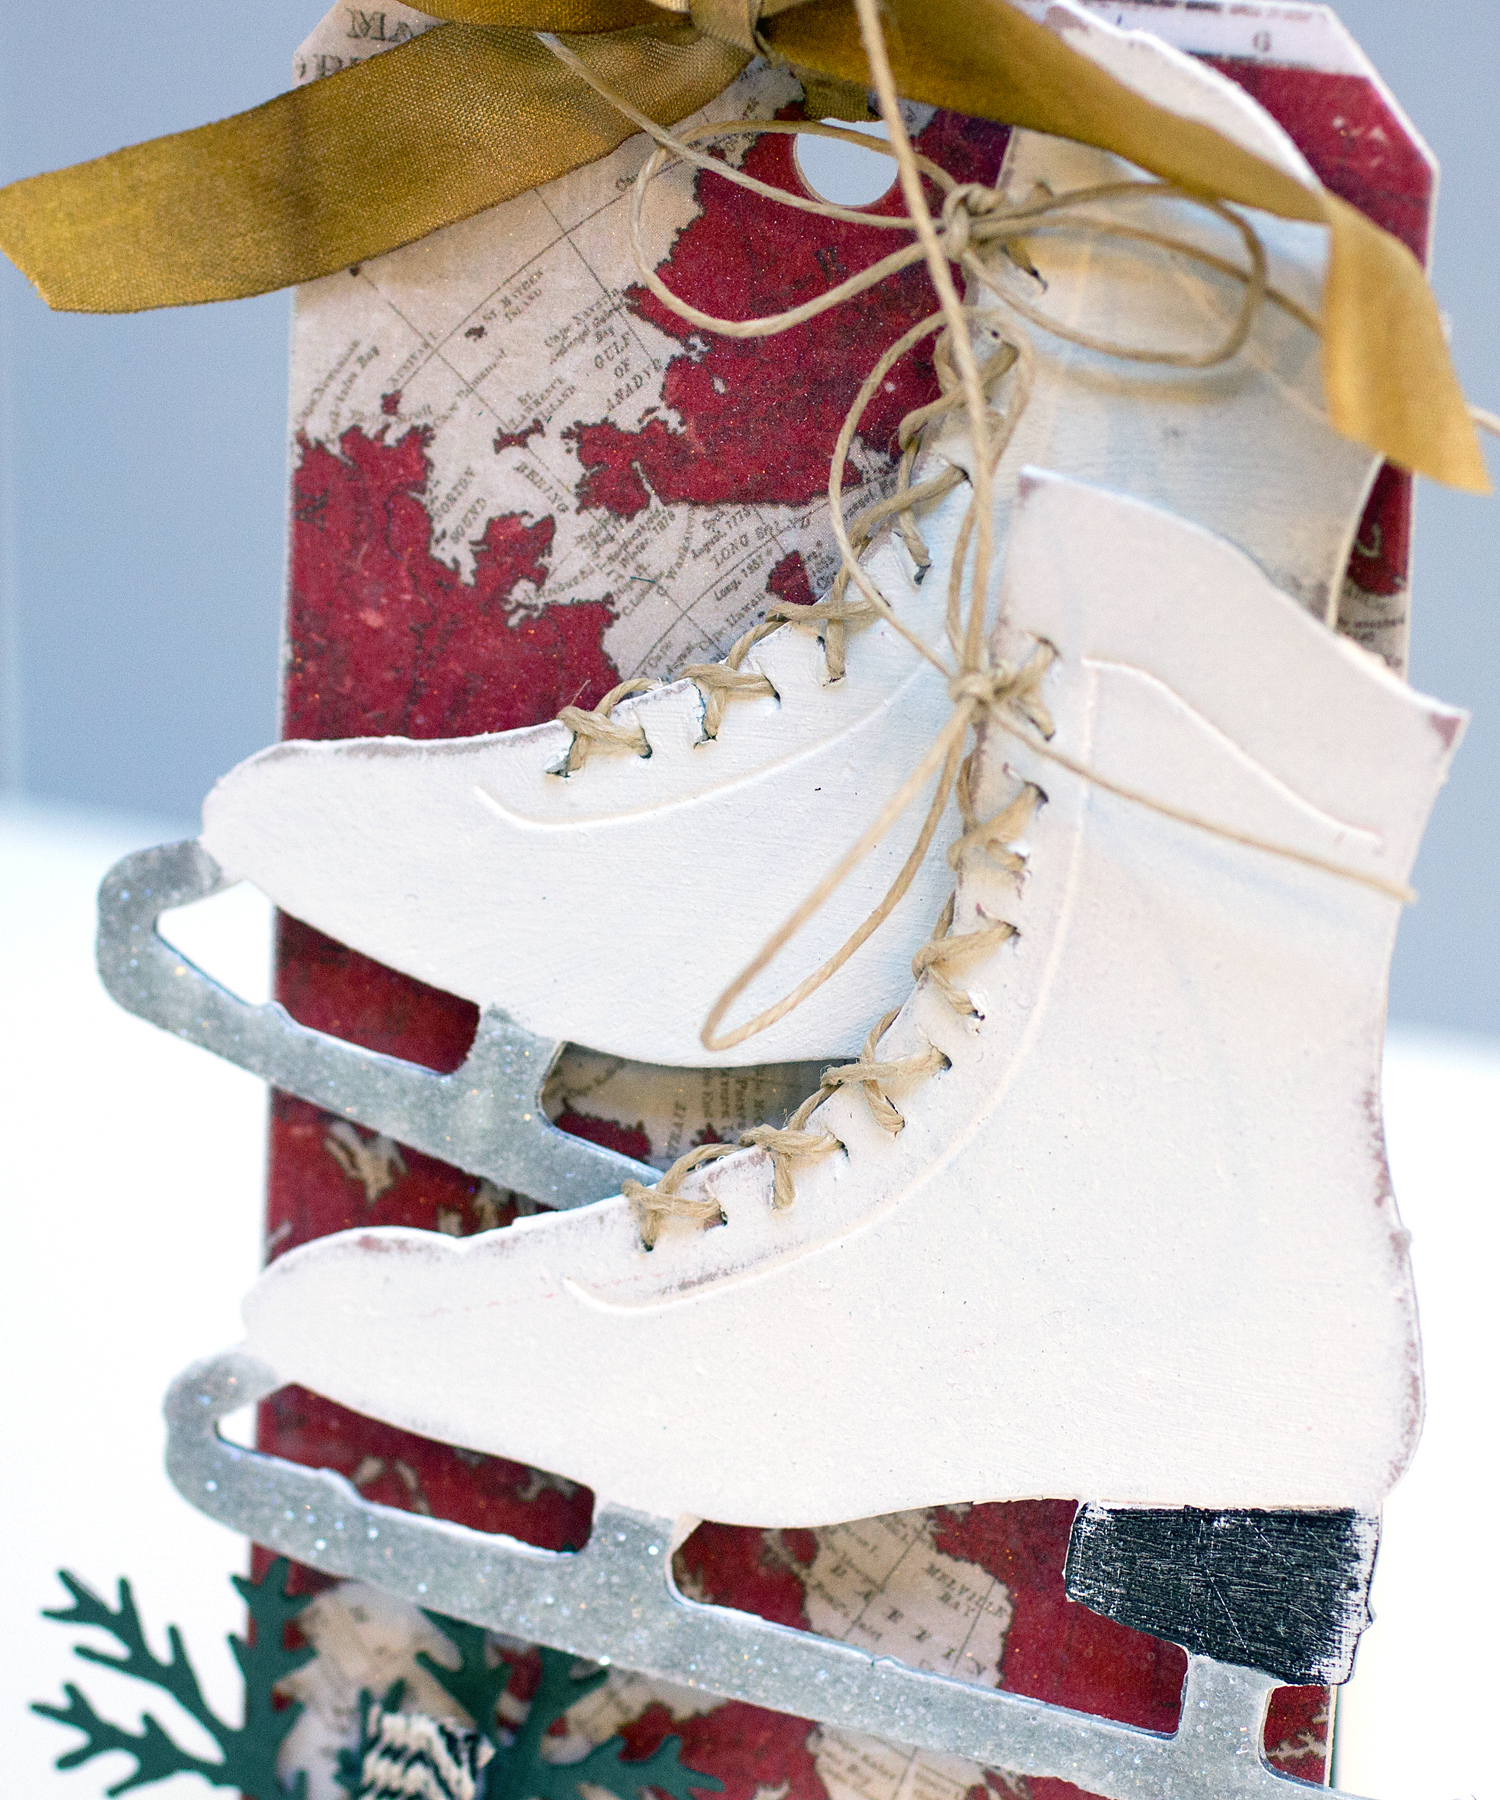
I cut the skates from grunge board and applied gesso to them. I tried the gesso method after trying to paint the grunge board raw. I just wasn’t able to adequately cover the raw grunge board with the paints. The grunge board acted like a sponge with paint. After the gesso application, I painted the skates with Distress Paints – Picket Fence on the skate bodies, Black Soot on the heels and Brushed Pewter on the blades – and got good coverage. After the paints dried, I lightly sanded the skates for a distressed look. For a bit of sparkle, I added Clear Rock Candy Distress Glitter with Glossy Accents as the glue.
Tim Holtz Skates Tag

For the background, I cut a tag from grunge board with the Tim Holtz tag die and covered it with a piece of patterned paper from the Merriment stash to which I’d applied the Frosted Film. The Frosted Film in easy to apply and gives a nice finish to the paper. Something to note, the tag size just exceeds 6″ in height. I was using a 6″ x 6″ pattern from the paper pad, so rather than cut the tag down in height, I used a strip of paper at the bottom that is rotated 90 degrees to the other paper. The Word Band covers up the paper seam.

I laced the skates with the Natural Hemp Cord. I considered baker’s twine, but the Hemp Cord texture seemed more appropriate. I used a needle to thread the cord through the holes in the skate die cuts.

I applied the Picket Fence paint to the Word Band, let it dry a bit, and then rubbed it off leaving paint on the recessed words.

This isn’t “whip up a tag in a few minutes” project. This tag took a couple of days of trying things out and letting the die cut skates dry between the various applications of gesso, paints, and Glossy Accents! That being said, I really like how the skates turned out. I think it would be fun to make some as Christmas ornaments.

Supplies: