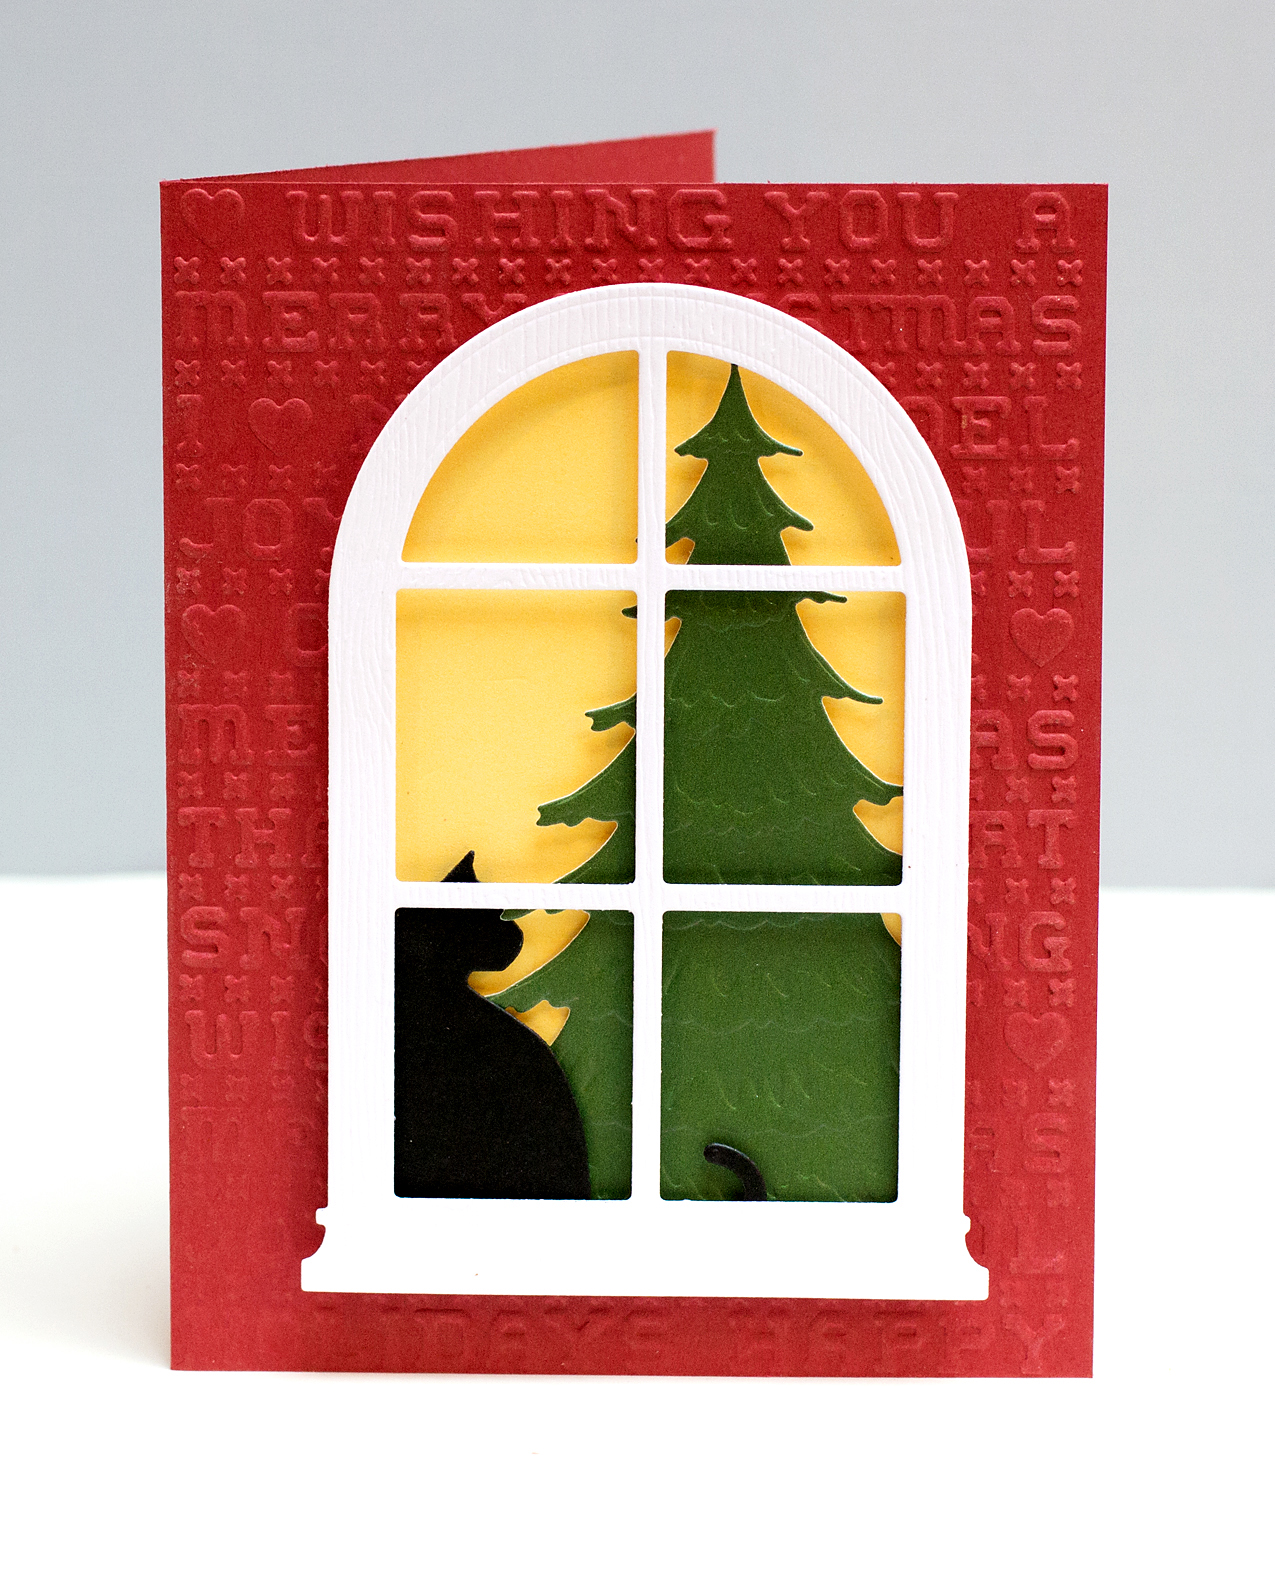
Merry Christmas! Today, I’m sharing a die-cut holiday card inspired by the homes of Edgartown, Martha’s Vineyard. Edgartown is filled with stately, white clapboard Federal-style mansions of the whaling captains.
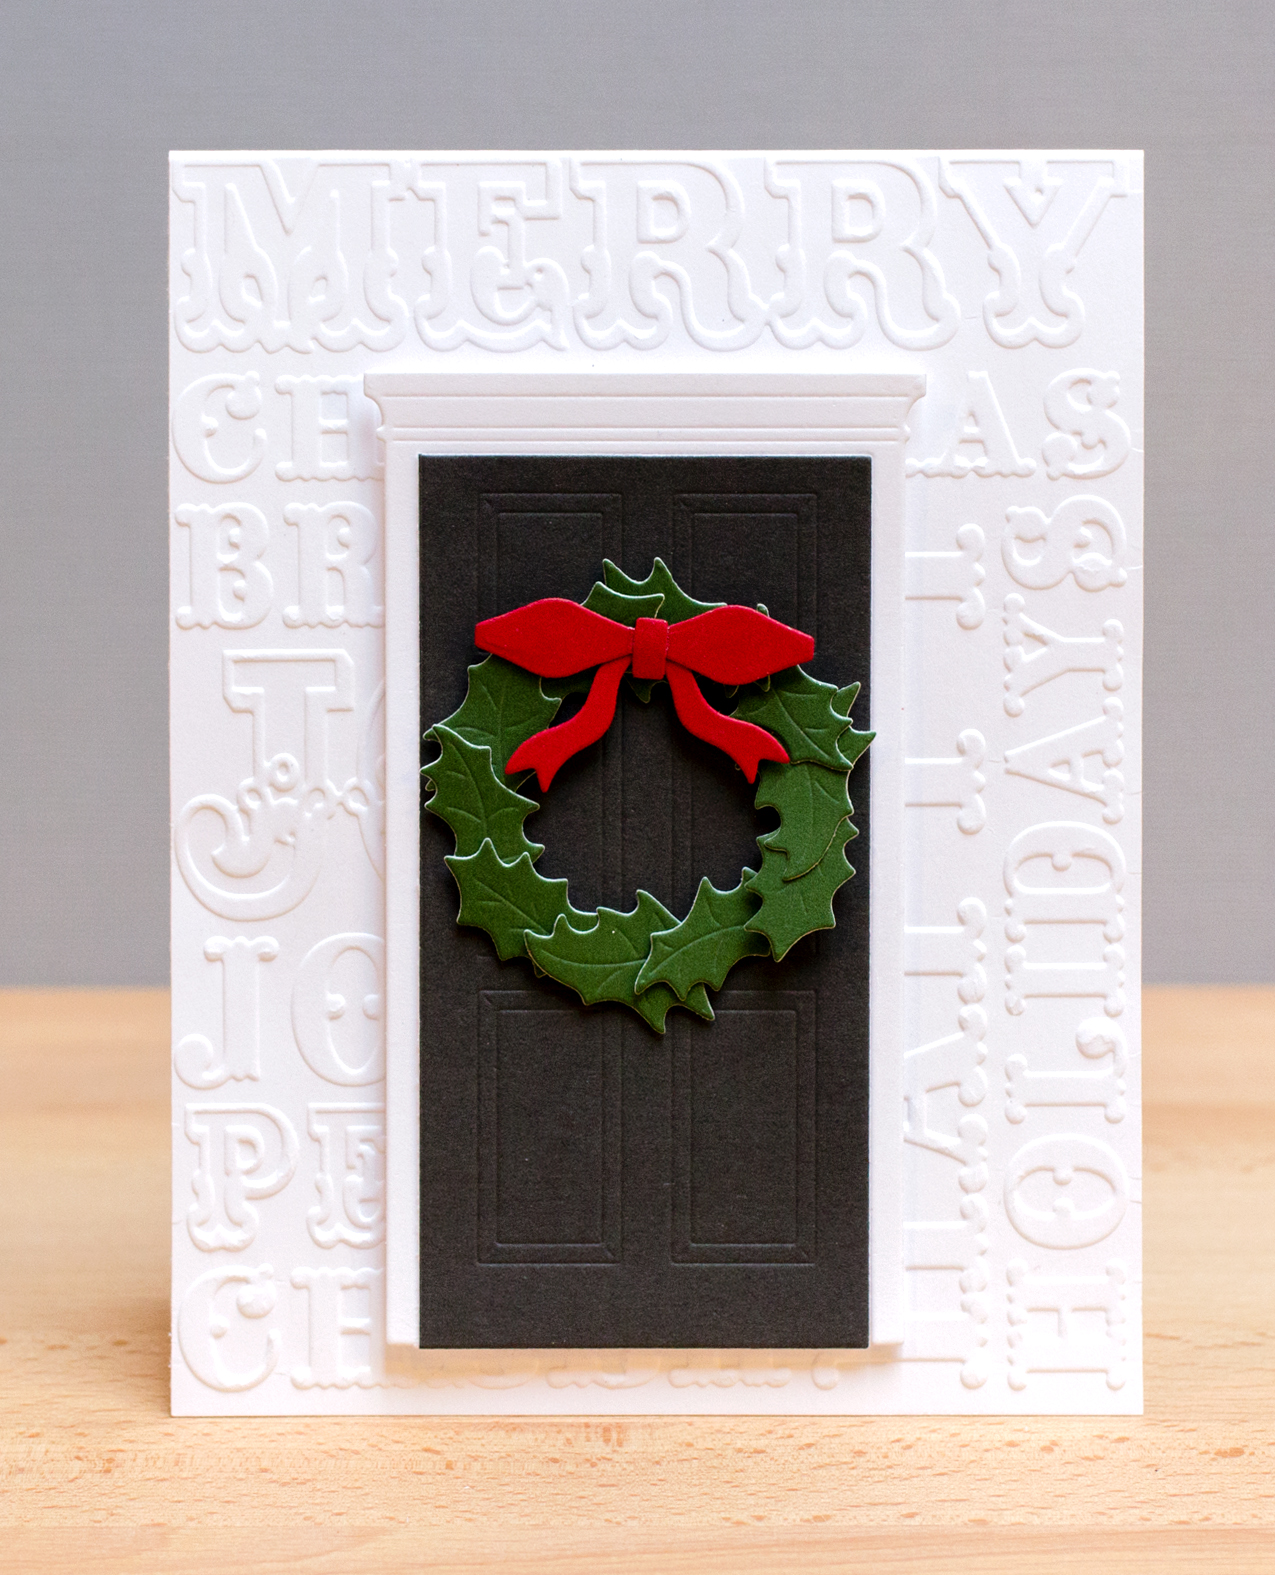
I began the wreath by cutting a circle outline with the two smallest circles in the Sizzix die cuts out of Craft-a-Board. This served as a base for the wreath onto which I added the holly leaves cut from Dill cardstock. I finished off the wreath with a red bow. To keep with the colors of the New England homes, I cut the door twice, once from white and again from black cardstock. I trimmed off the molding from the black door and adhered it to the white door. Since I was creating a card without a sentiment, I dry embossed the card base with the “Christmas Words” folder.
Supplies: