Poppystamps: Starry Night

Hello, today I’m sharing a card created with Poppystamps dies and a Memory Box stencil suitable for any occasion. My inspiration was a clear night in the Pacific Northwest. Year-round we have beautiful evergreen trees, and the Pine Tree Border fits perfectly with the Brevilla House die. We’re more apt to have a clear night during the summer.

HousesMay2014

To begin, I colored three watercolor panels with Distress Inks. I die cut the panel colored in earthtones with the Brevilla Houses die, and I die cut the green-colored panel with the Pine Tree Border. I intentionally left some of the windows in place in the houses for some variety. Finally, I applied embossing paste through the Starry Nights stencil onto the panel colored in dark blues.  Before applying the embossing paste, I covered up the largest stars in the stencil with washi tape. Even though the stars aren’t realistically in scale with the houses, the largest stars would have thrown off the balance considerably.

Supplies:

Just Cut Tulips

I’ve been watercoloring with Distress Inks a lot lately – stamped images, die cuts, whatever I can find that will take the ink.

IOTulips

You have to give a little visual leeway with this card in terms of whether the tulips are really in the watering can (that right-hand tulip leaf is sticking out!). I got to this design the long way round. At first, I planned to put the watering can, which is cut from Strathmore 140 lb cold-press watercolor paper and colored with Broken China and Vintage Photo, directly on top of the stamped and colored tulips. But when I watercolored the cast shadow, it was a mess. (I’ve subsequently practiced painting cast shadow bases!)

The dry-embossed card base, with the circle cutout, is my design fix for the poorly painted cast shadow. By the way, the Bazzill 100 lb. cardstock is becoming my go-to supply – even dry-embossed and holding the watercolor panels, it’s standing strong.

Supplies:

CAS3: Day Nine

I took the day off yesterday from the Clean & Simple Cardmaking 3 class. Well, technically, I tried a few things that didn’t work out the way I’d planned. One of those “fails” is incorporated into today’s card, which is based on the one shared in class by Debby Hughes.

CAS3: Day Nine
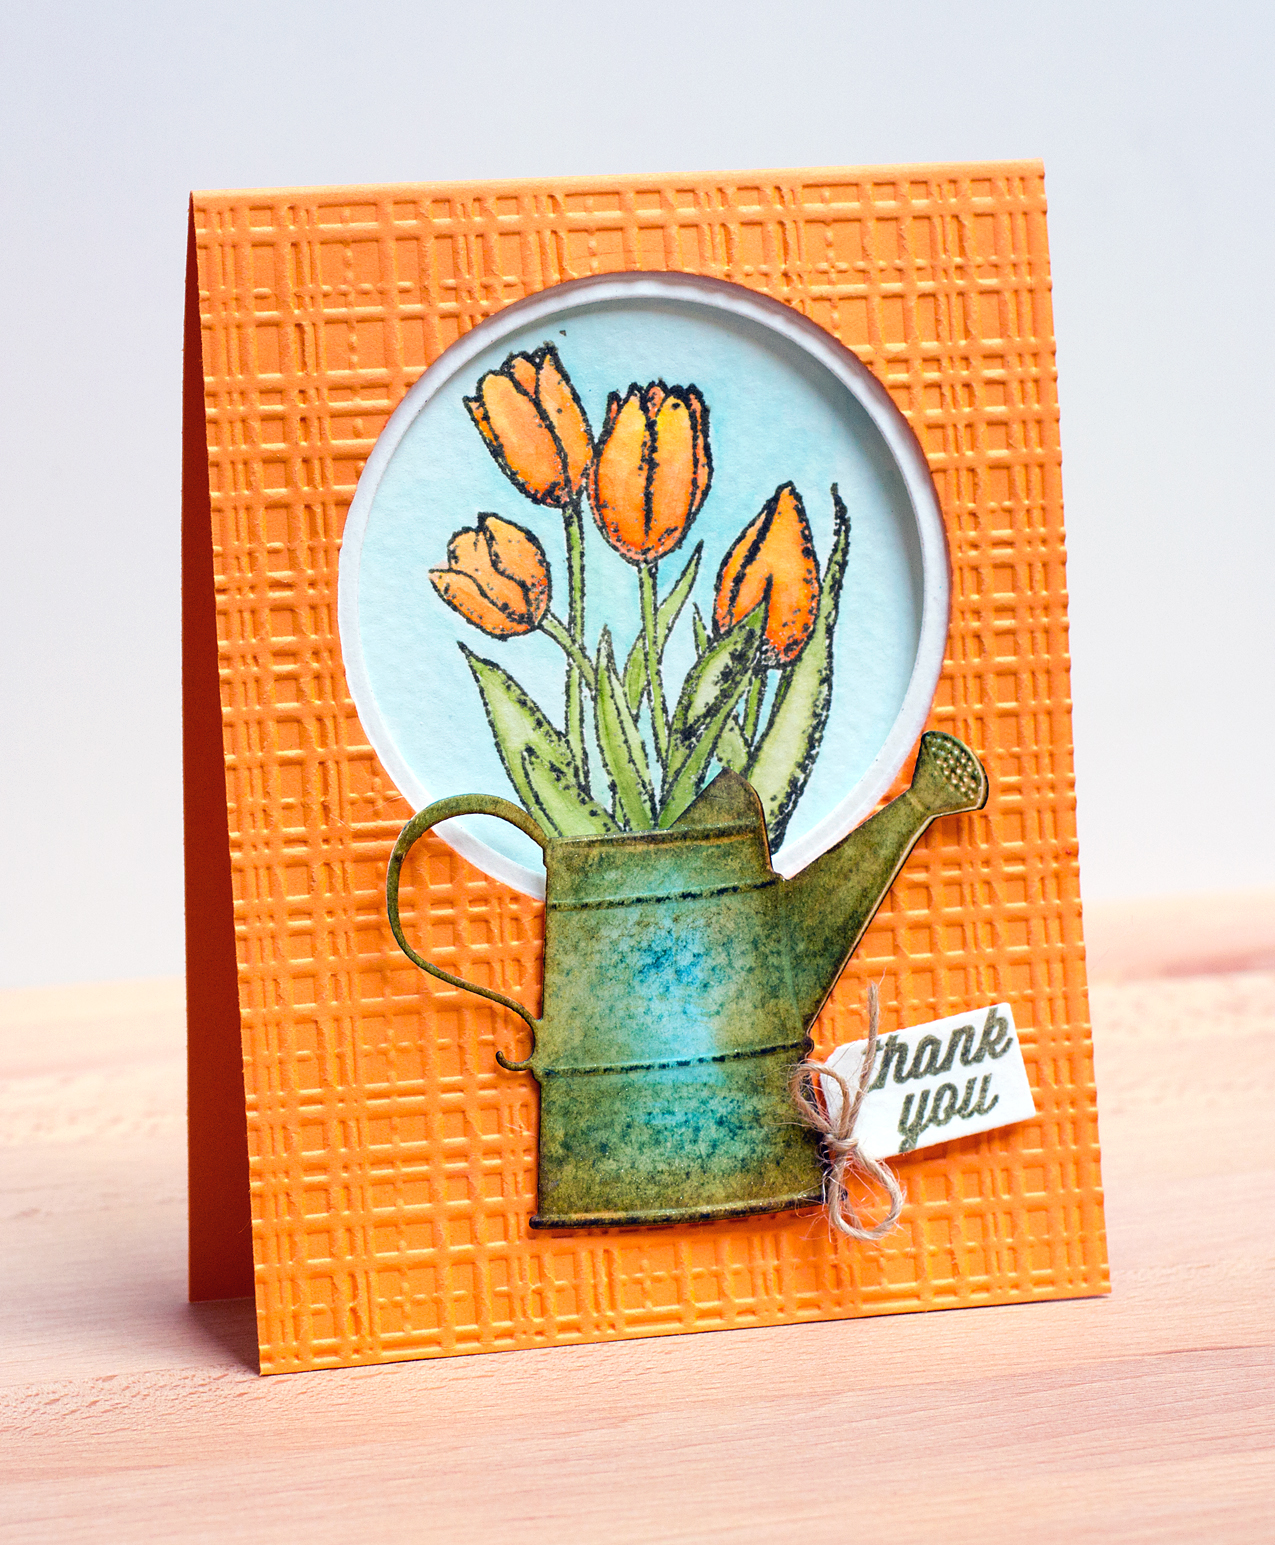
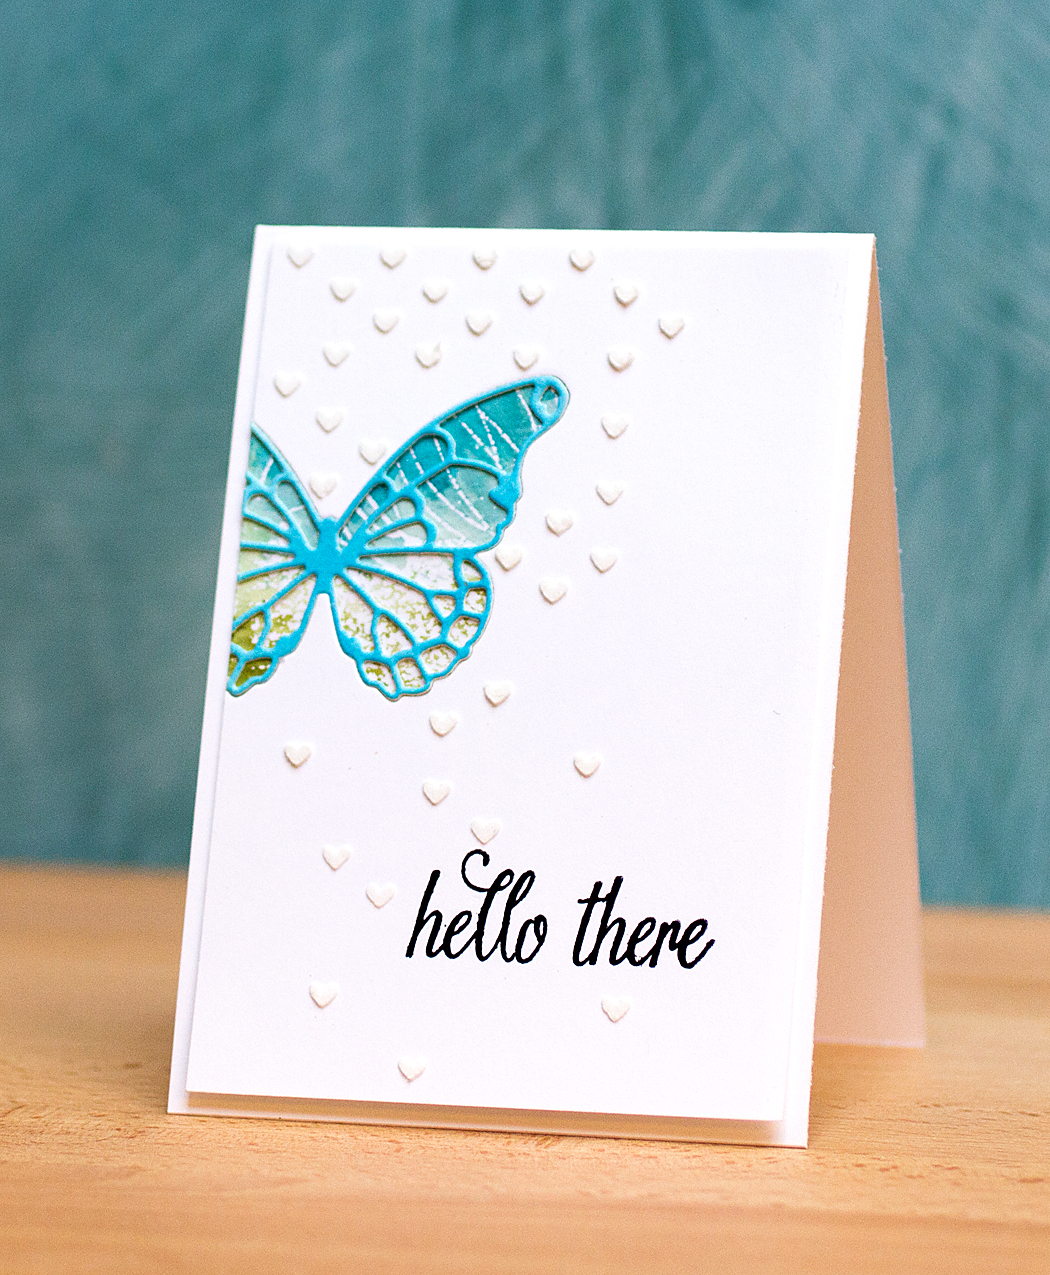
I made a few changes with the way I created my card. Rather than stamp and color a butterfly, as Debby did, I die cut a butterfly (Memory Box Vivienne Butterfly) that I inlaid into the panel. I backed the front panel with a heat-embossed and watercolored panel using the Penny Black Sweetness stamp (that was a project from yesterday which didn’t go according to plan). The butterfly was also cut from watercolor paper onto which I had scribbled some Distress ink. The front panel was stamped with a sentiment from the Hero Arts “Enjoy Today” set. I adding embossing paste with a Simon Says Stamp stencil.

I made the white panel three times. The first time I added some spray drops, as Debby did, and I didn’t like the effect at all. The second time, I got embossing paste in places I didn’t want! Third time’s a charm I guess!

CAS3: Day Three

In today’s Clean & Simple Cardmaking 3 lesson, we learned about creating optical illusions. Originally, I started out to CASE Julie Ebersole’s scenic stamping example, which involved simple watercoloring. But after half an hour, my anxiety level was off the charts – I like to watercolor, but I’m not good at it, and I stress when watercoloring under pressure.

So, back to square one – I decided to do another inlaid die cut card using optical illusion! Yes, I’m hooked on this technique. In this case, I played with the size of the sun as compared to the cityscape to create illusion.

DayThree

Supplies:

Pinky Promise

Today, I’m sharing an encouragement card that combines two recently-released Mama Elephant stamp sets – “Honey Bunny” and “True Friend.”

Mama Elephant Pinky Promise

I paper-pieced the bunny pair (blue and pink for boy and girl), and they sat on my work table overnight. I kept wondering how to anchor them to the card base without them getting lost. After resting on the problem, I decided to use the Poppystamps window showing a gray, rainy day as a metaphor for a “tough time” that the bunnies would be handling together. The “True Friend” set is fabulous, and I can see using those sentiments, both paired and alone, on a lot of future projects. For the raindrops, I used the stencil I recently created cutting the Crafter’s Workshop Blank Stencil material with the Memory Box “A Little Rain” die (I also used the stencil on this card).

Supplies: Studio Calico patterned paper