OCC Insider: Day 3

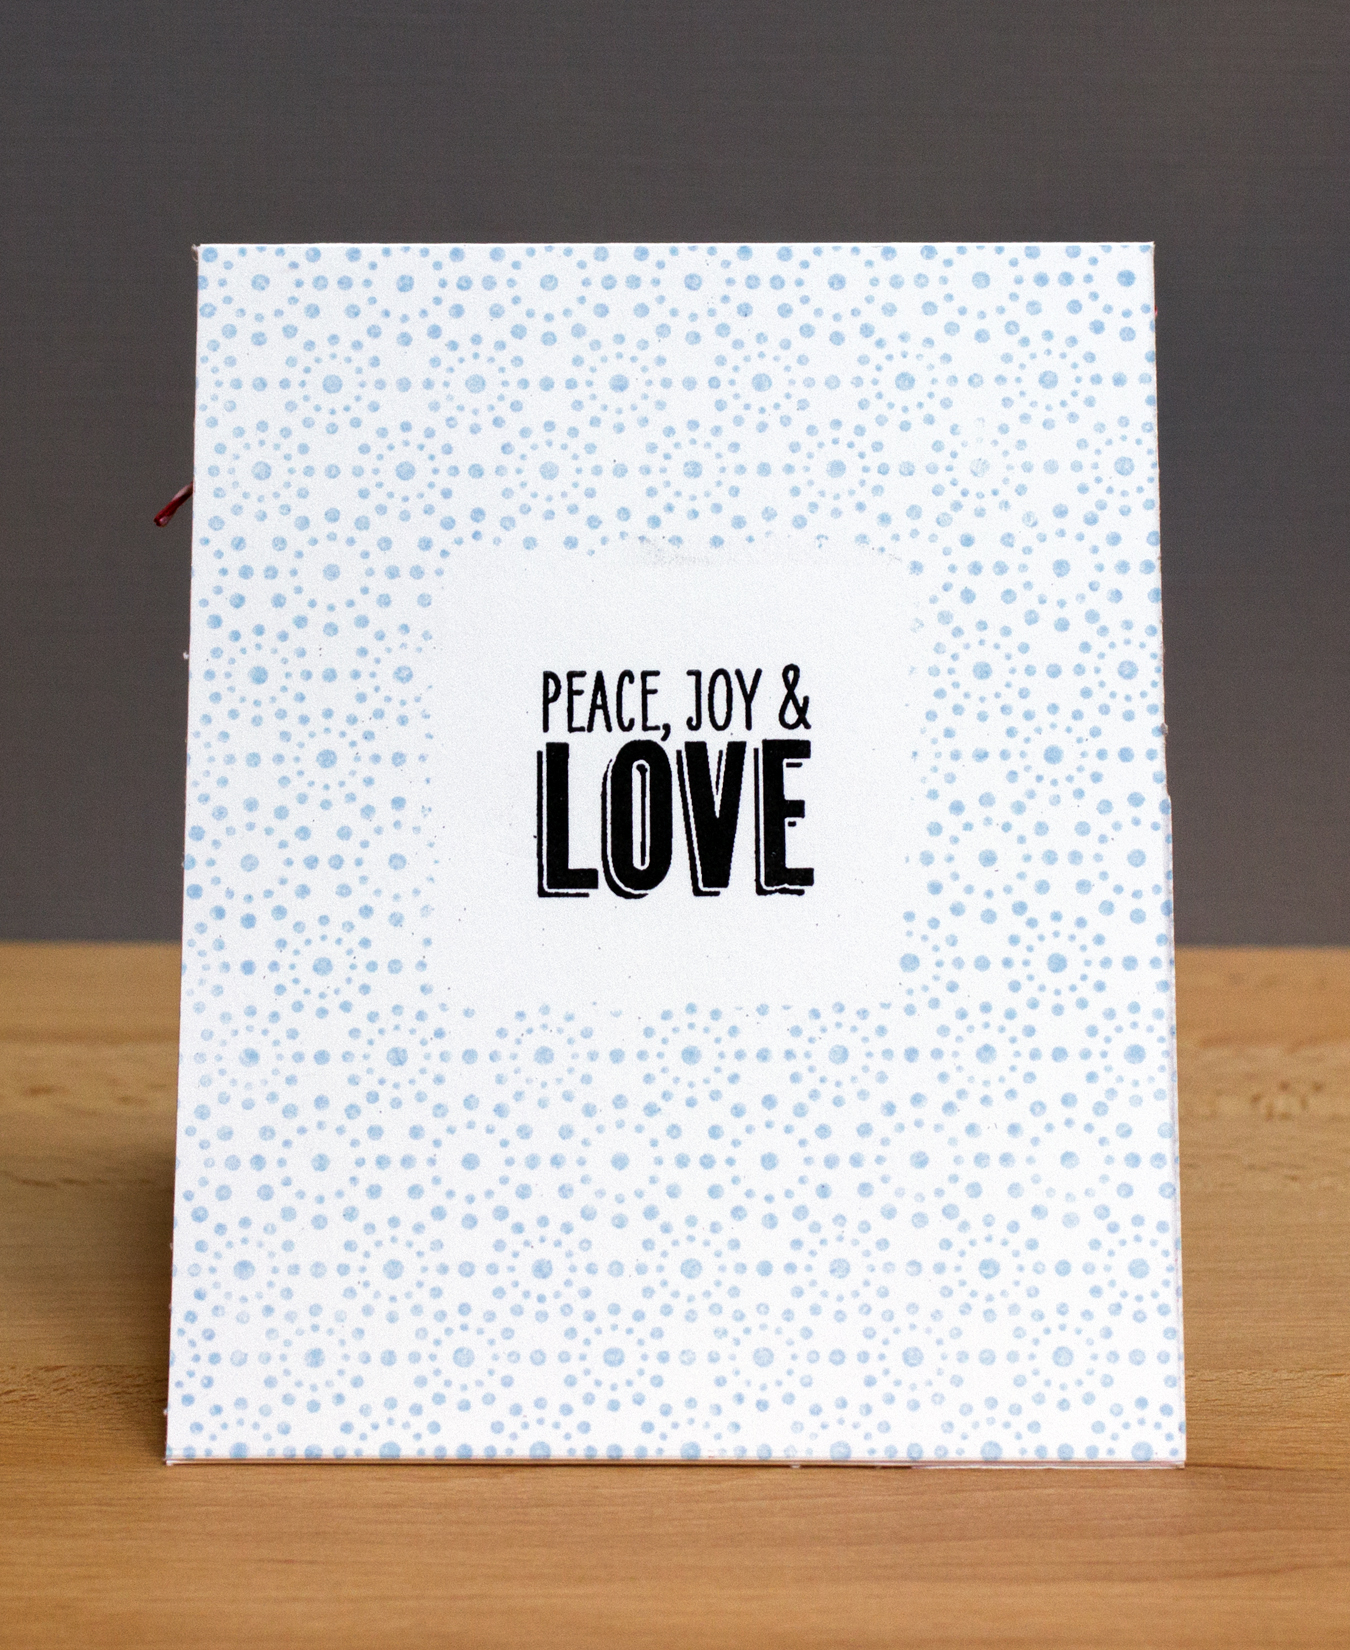
The emphasis in today’s  Online Card Classes Insider course was “surprise insides.” I veered a bit off course to create a card that combined ideas from a couple of the cards shown.

I found a photo of my sons from last January (need to take some photos of the two of them together closer to the holidays!) to use in a die cut “window.”

OCC Insider: Day 3

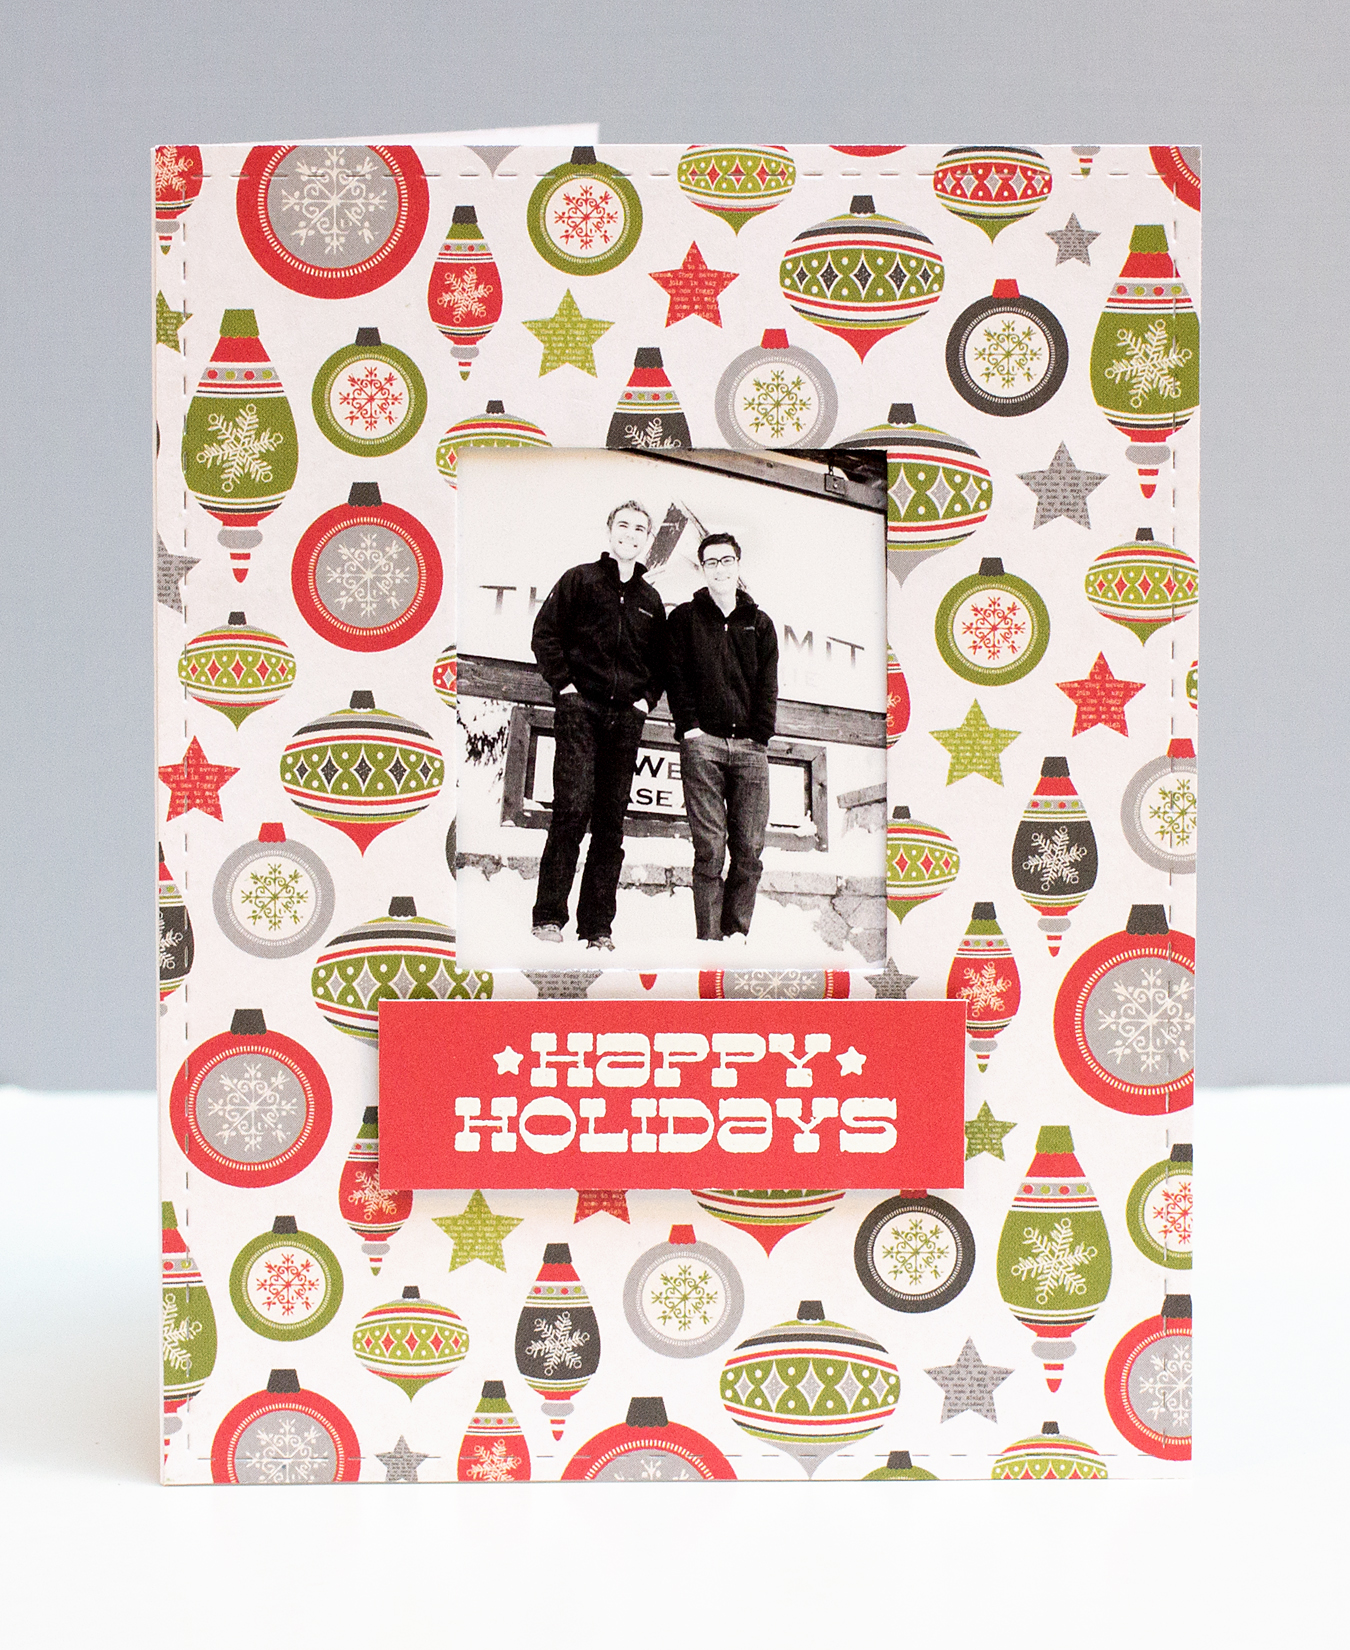
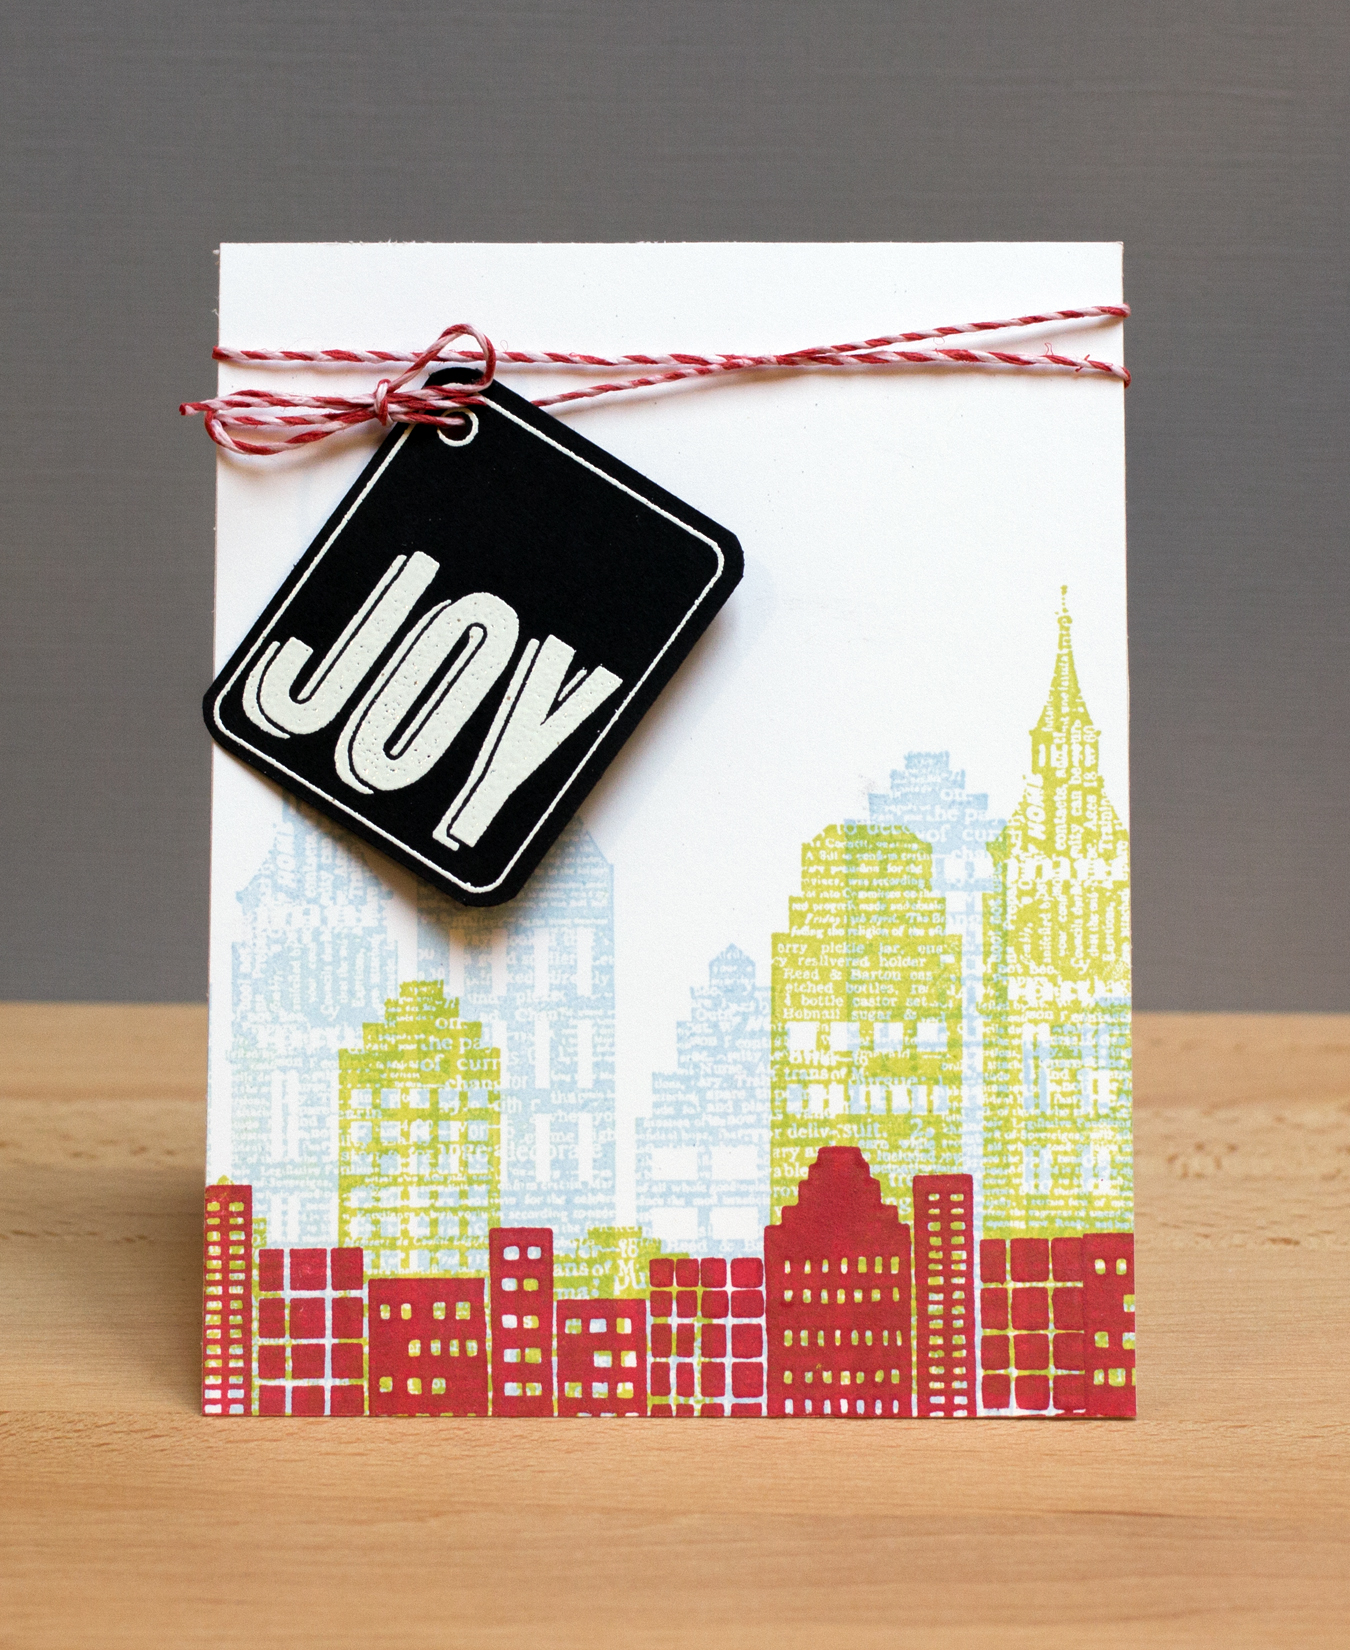
I combined a sentiment from Hero Arts “Spread Joy” with patterned papers from Echo Park’s ‘Tis the Season.

I can see adding a panel below the photo with a personalized greeting. This has been a fabulous class; I’m sad to see it end!

OCC Insider: Day 1

Today is the first day of the new Online Card Classes Insider course. There were fabulous card ideas shared in today’s class. Talk about good value for your money – the Online Card Classes can’t be beat!

I used the card shared by Amber Kemp-Gerstel as my starting point and adapted it with an idea of Julie Ebersole‘s from the Clean and Simple 2 class!

OCC Insider: Day 1

The card front was inspired by a card of Julie’s that uses two skylines – Hero Arts Newspaper Skyline Background stamp and Savvy Stamps Cityscape stamp. I finished it off with a sentiment from Hero Arts Large Word Tags.

OCC Insider: Day 1

The card inside was first stamped with a sentiment from Hero Arts Naughty or Nice and then with the Hero Arts Snow Dots background stamp. I simply put a sticky note over the sentiment before stamping with the background.

Now I’m off to clean off the kitchen table – it’s a mess!

SCC2: Shaker Card

As I mentioned earlier in the week, I’m still working through the material from the Online Card Classes Summer Card Camp 2. This shaker card, shared by Kelly Marie Alvarez of Lawn Fawn during the second week of class, is one of the projects that I passed up during class.

SCC2: Shaker Card

The trickiest, and most time consuming, aspect of this card was cutting the foam rings and adhering them to one another and their front and back pieces. It was tricky mainly because you want to make sure the pieces are well adhered and in line with one another. Kelly Marie had Copic-colored the balloons and created custom shaker elements. I simplified this project by choosing patterned papers from the Studio Calico Atlantic pad and using their matching sequins for the shaker elements. 🙂

Star Card: Two Versions

I’m still working through material from the Online Card Classes Summer Card Camp 2. The class provided a lot of fantastic inspiration that will keep me busy for weeks. I’m sharing two versions of the same design using one of the sketches from the third week.

Star Card: Two Versions

On my first card, I followed the instructions from Kristina Werner’s class video for adding the twine. The baker’s twine is looped around the back, but the top and bottom sections were done separately. I consider this card to be the “hers” version (using some of the principles and ideas learned in the Online Card Classes His & Hers class).

Because this is a relatively easy card to make, I couldn’t resist making a “his” version. I tied the twine the way that Shari Carroll had done on the card she shared in the class. The twine is three separate pieces that are just taped onto the card back. So much easier than looping around! I added the dashed line, like Kristina had done on her card, as the natural twine on the kraft cardstock called for something extra on the card.

Star Card: Two Versions

Supplies: Stampin’ Up cardstock (red)

SCC2: Week Three, Day Five

There were some fabulous cards shared in the final class of  the Online Card Classes Summer Card Camp 2. I CASEd Amy Kolling’s lovely card.

SCC2: Week Three, Day Five

I stamped one of the stamps from the Penny Black Floral Applique set four times and embossed with white embossing powder. I colored the leaves with Shabby Shutters and Peeled Paint Distress Inks and the floral image with Spun Sugar Distress Ink. The sentiment is stamped with Versafine from the Hero Arts Truly Appreciated set. Amy had another mat (behind the kraft mat) and used a die by Lil’ Inkers that gave a nice border to the mat stack. I added a few pearls and some May Arts twine to finish the card off, all the while I was thinking “I really need that Lil’ Inkers product”! The pink card base is Memory Box cardstock.

The past three weeks have been a whirlwind of cardmaking – I’m really going to miss this class! The instructors, guest artists and classmates have provided wonderful inspiration and made it a lot of fun. It’s been nice meeting new people and reconnecting with those of you I already know from previous classes.

Have a fabulous weekend!