OCC Stenciled: Day Four

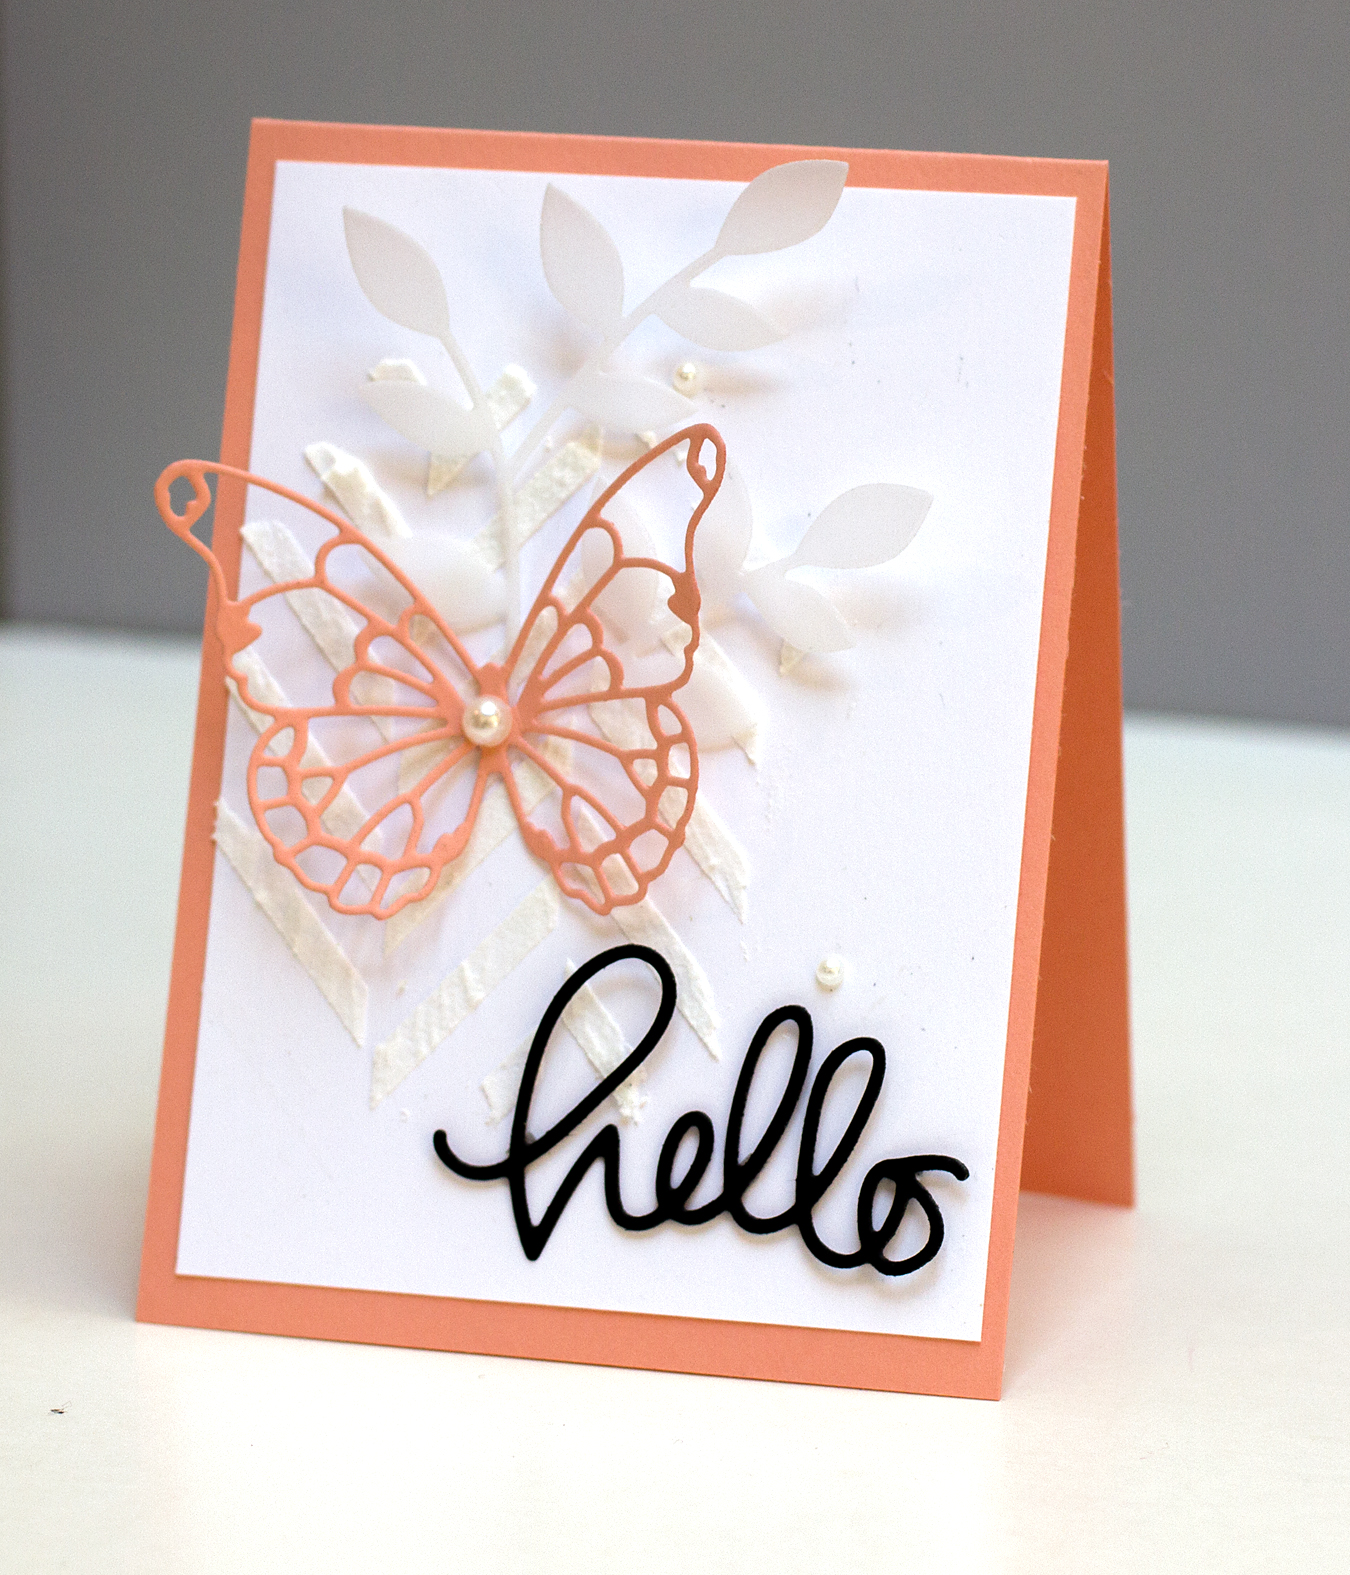
Today I CASEd Julie Ebersole’s card in the Online Card Classes Stenciled Class. I’ve been waiting for that card since I first saw the class sneaks!

OCC Stenciled: Day Four

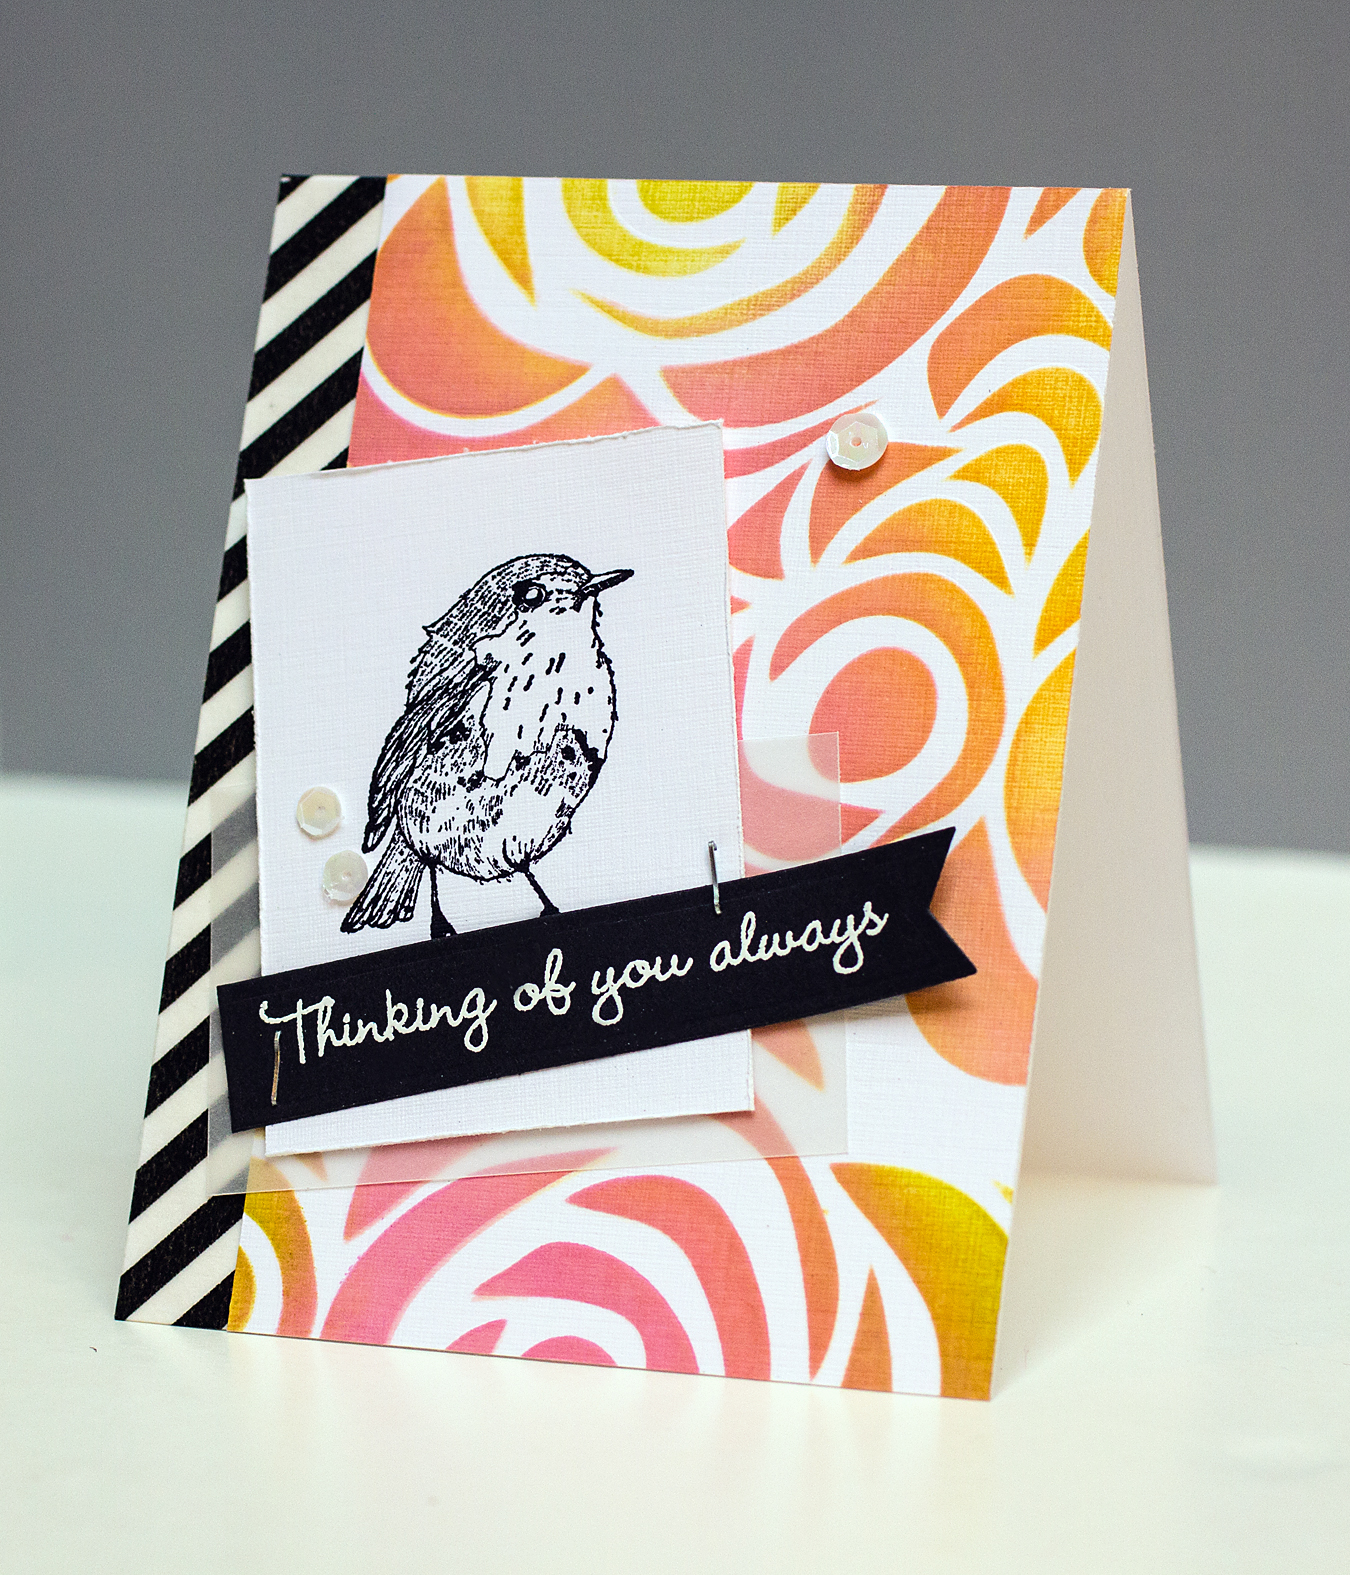
I just love the stencil pattern, the colors, the card design and the bird! I dry-embossed the white linen cardstock with the stencil, and then, with the template in place, the distress inks were applied. The effect of the dry embossing is subtle.

I made very few changes to Julie’s design, although I did use a different, but similar sentiment. I don’t own Worn Lipstick Distress Ink (how did that happen?) but combined Spun Sugar and Picked Raspberry for the pink. I did make a boo boo – I used MT washi tape, which must not be as wide as the Lifestyle Crafts sticky tape she used. At any rate, I had to cut the embossed/inked panel even more, so I ended up shortening the card as well. It’s about 3 3/4″ wide by 5″ tall. Next time, I’ll measure the tape before I cut!

Supplies:
Hero Arts Bird Stamp
Crafters Workshop Echoes 6×6 Template
Hero Arts All Occasion Messages
Distress Inks

OCC Stenciled: Day Three

Today’s lesson in the Online Card Classes Stenciled Class focused on using embossing pastes with stencils. I followed one of the cards shown by Debby Hughes.

OCC Stenciled: Day Three

I made several modifications and simplifications on my card. For one, I didn’t use any mist on the card panel like Debby did. I can see how doing so would lend a little more softness and color. Instead I used a colored  card base rather than white. I used vellum, die cut with the Poppystamps Lorelai Leaf, as a substitute for one of the elements Debby used. The “hello” die cut is from Simon Says Stamp. The butterfly is cut with the Memory Box Vivienne Butterfly die cut. Like Debby, I used white embossing paste with the Hero Arts Tweed Pattern stencil.

This class is going by quickly! Right now my goal is to make a card each day and in the next several weeks I’ll revisit the techniques and designs.

OCC Stenciled: Day Two

Today’s Online Card Classes Stenciled class lesson was about using the stencil as a template.  I created a card based on the one shown by Kristina Werner.

OCC Stenciled: Day Two

I colored in some of the stars on the Tim Holtz stencil with Inktense pencils. I didn’t color as many as Kristina had on her card, I added sequins for some more bling. The Inktense pencils do leave some shaving residue as you color, so it’s important that you shake/blow those off as you go along. While I like this technique, and it’s a quick and easy way to craft a card, I think I’ll use this same design on a card onto which I ink the stars.

Supplies:

OCC Stenciled: Day One Take Two

I couldn’t resist taking another go at the lesson from today’s Online Card Classes Stenciled class. This time I created a card based on the one shown by Julie Ebersole.

OCC Stenciled: Day One Take Two

Julie misted the same stencil for her card. I don’t mist (or more accurately, I’ve tried to mist and it was a mess!). So I inked my card with distress inks instead. And I used a much bolder sentiment – I really like the black with the sunshine ink colors.

I think if I were to redo my earlier card, I’d use darker colors for the inking, so that the white heat-embossed sentiment would be more visible. I’m also beginning to realize that you have to consider how much of the stencil image will show through. For example, this stencil gives a generous amount of background whereas the stencil I used for my earlier card did not. Lots to learn!

Supplies:

OCC Stenciled: Day One

The Online Card Classes Stenciled Class began today. It’s the perfect way to head into the weekend!

For my card, I followed the one shown by Debby Hughes. Her cards are always perfection! Debby used a different stencil and sentiment (neither of which I own).

OCC Stenciled: Day One
Yes, white on white with a vellum overlay is difficult to photograph! My sentiment doesn’t take up the tag space as much as the one Debby used (she used one from a SSS set and it’s just beautiful). Because the sentiment I used talks about “brighter days” I chose yellow and orange inks for the tweed pattern stencil. The biggest issue was adhering the vellum to the card front. I placed clear foam adhesive behind the heat-embossed sentiment in a couple of spots. Obviously, if the sentiment was larger, I would have had more spots to hide the adhesive!

Have a fabulous weekend!

Supplies: