Freshly Made Sketches #401

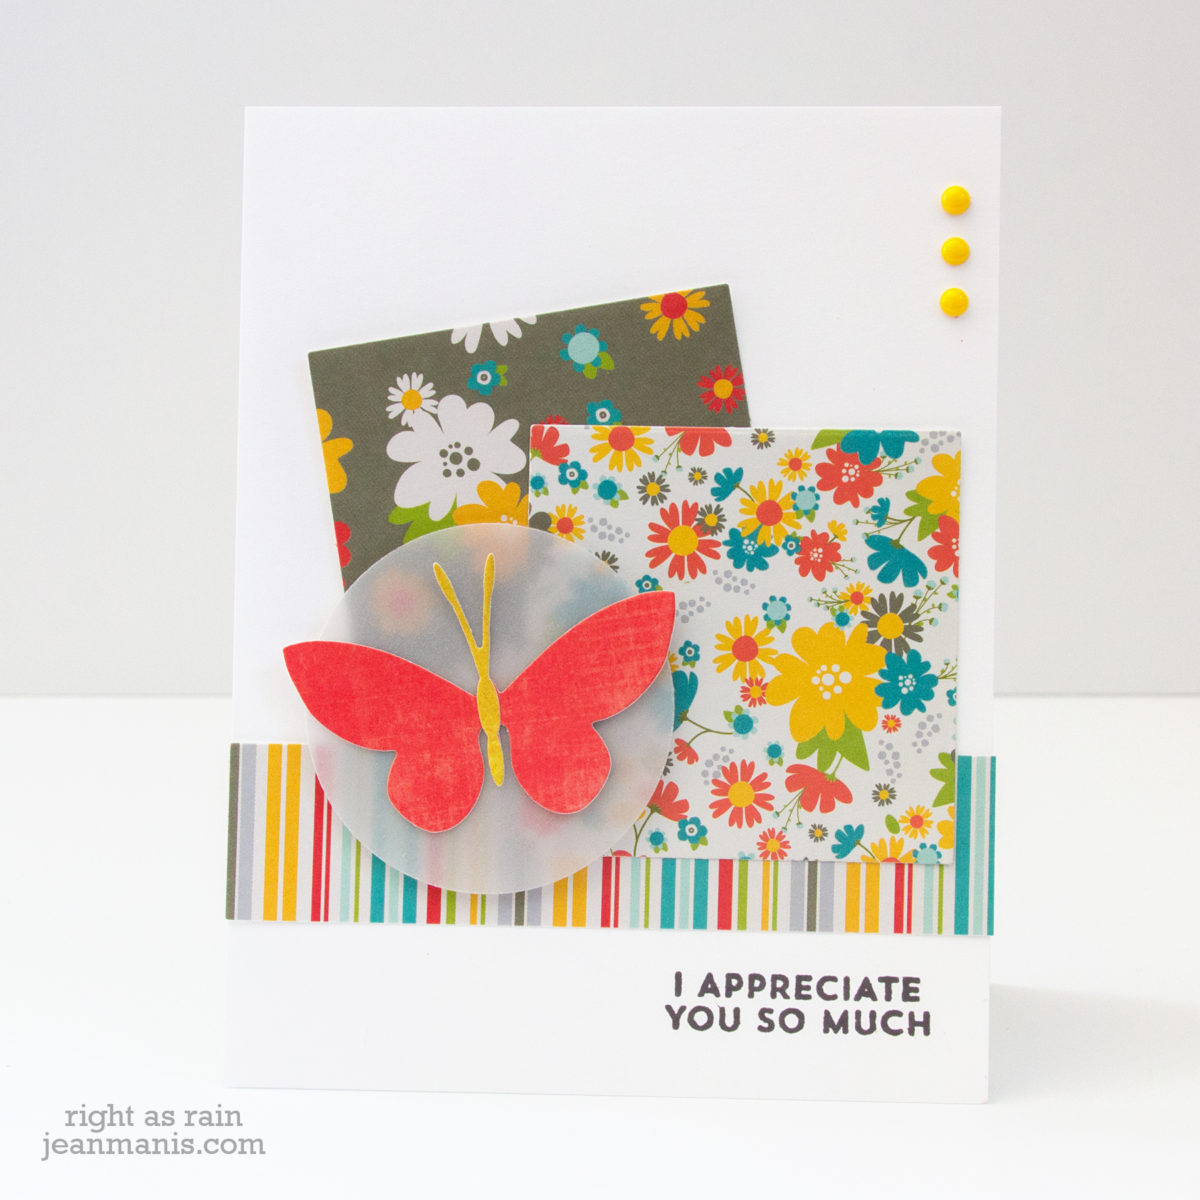
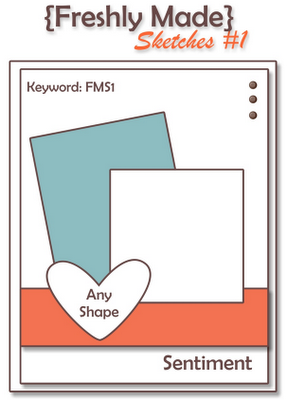
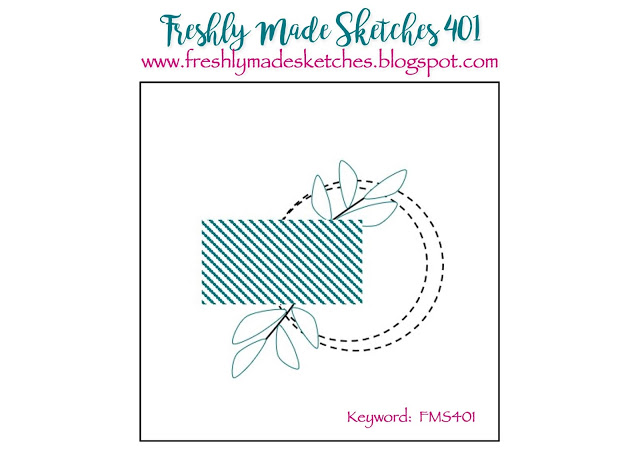
Hello! I am playing along with the Freshly Made Sketches challenge this week. I really like sketch challenges as it forces me to think of new ways to use my supplies.

Freshly Made Sketches #401

Freshly Made Sketches #401

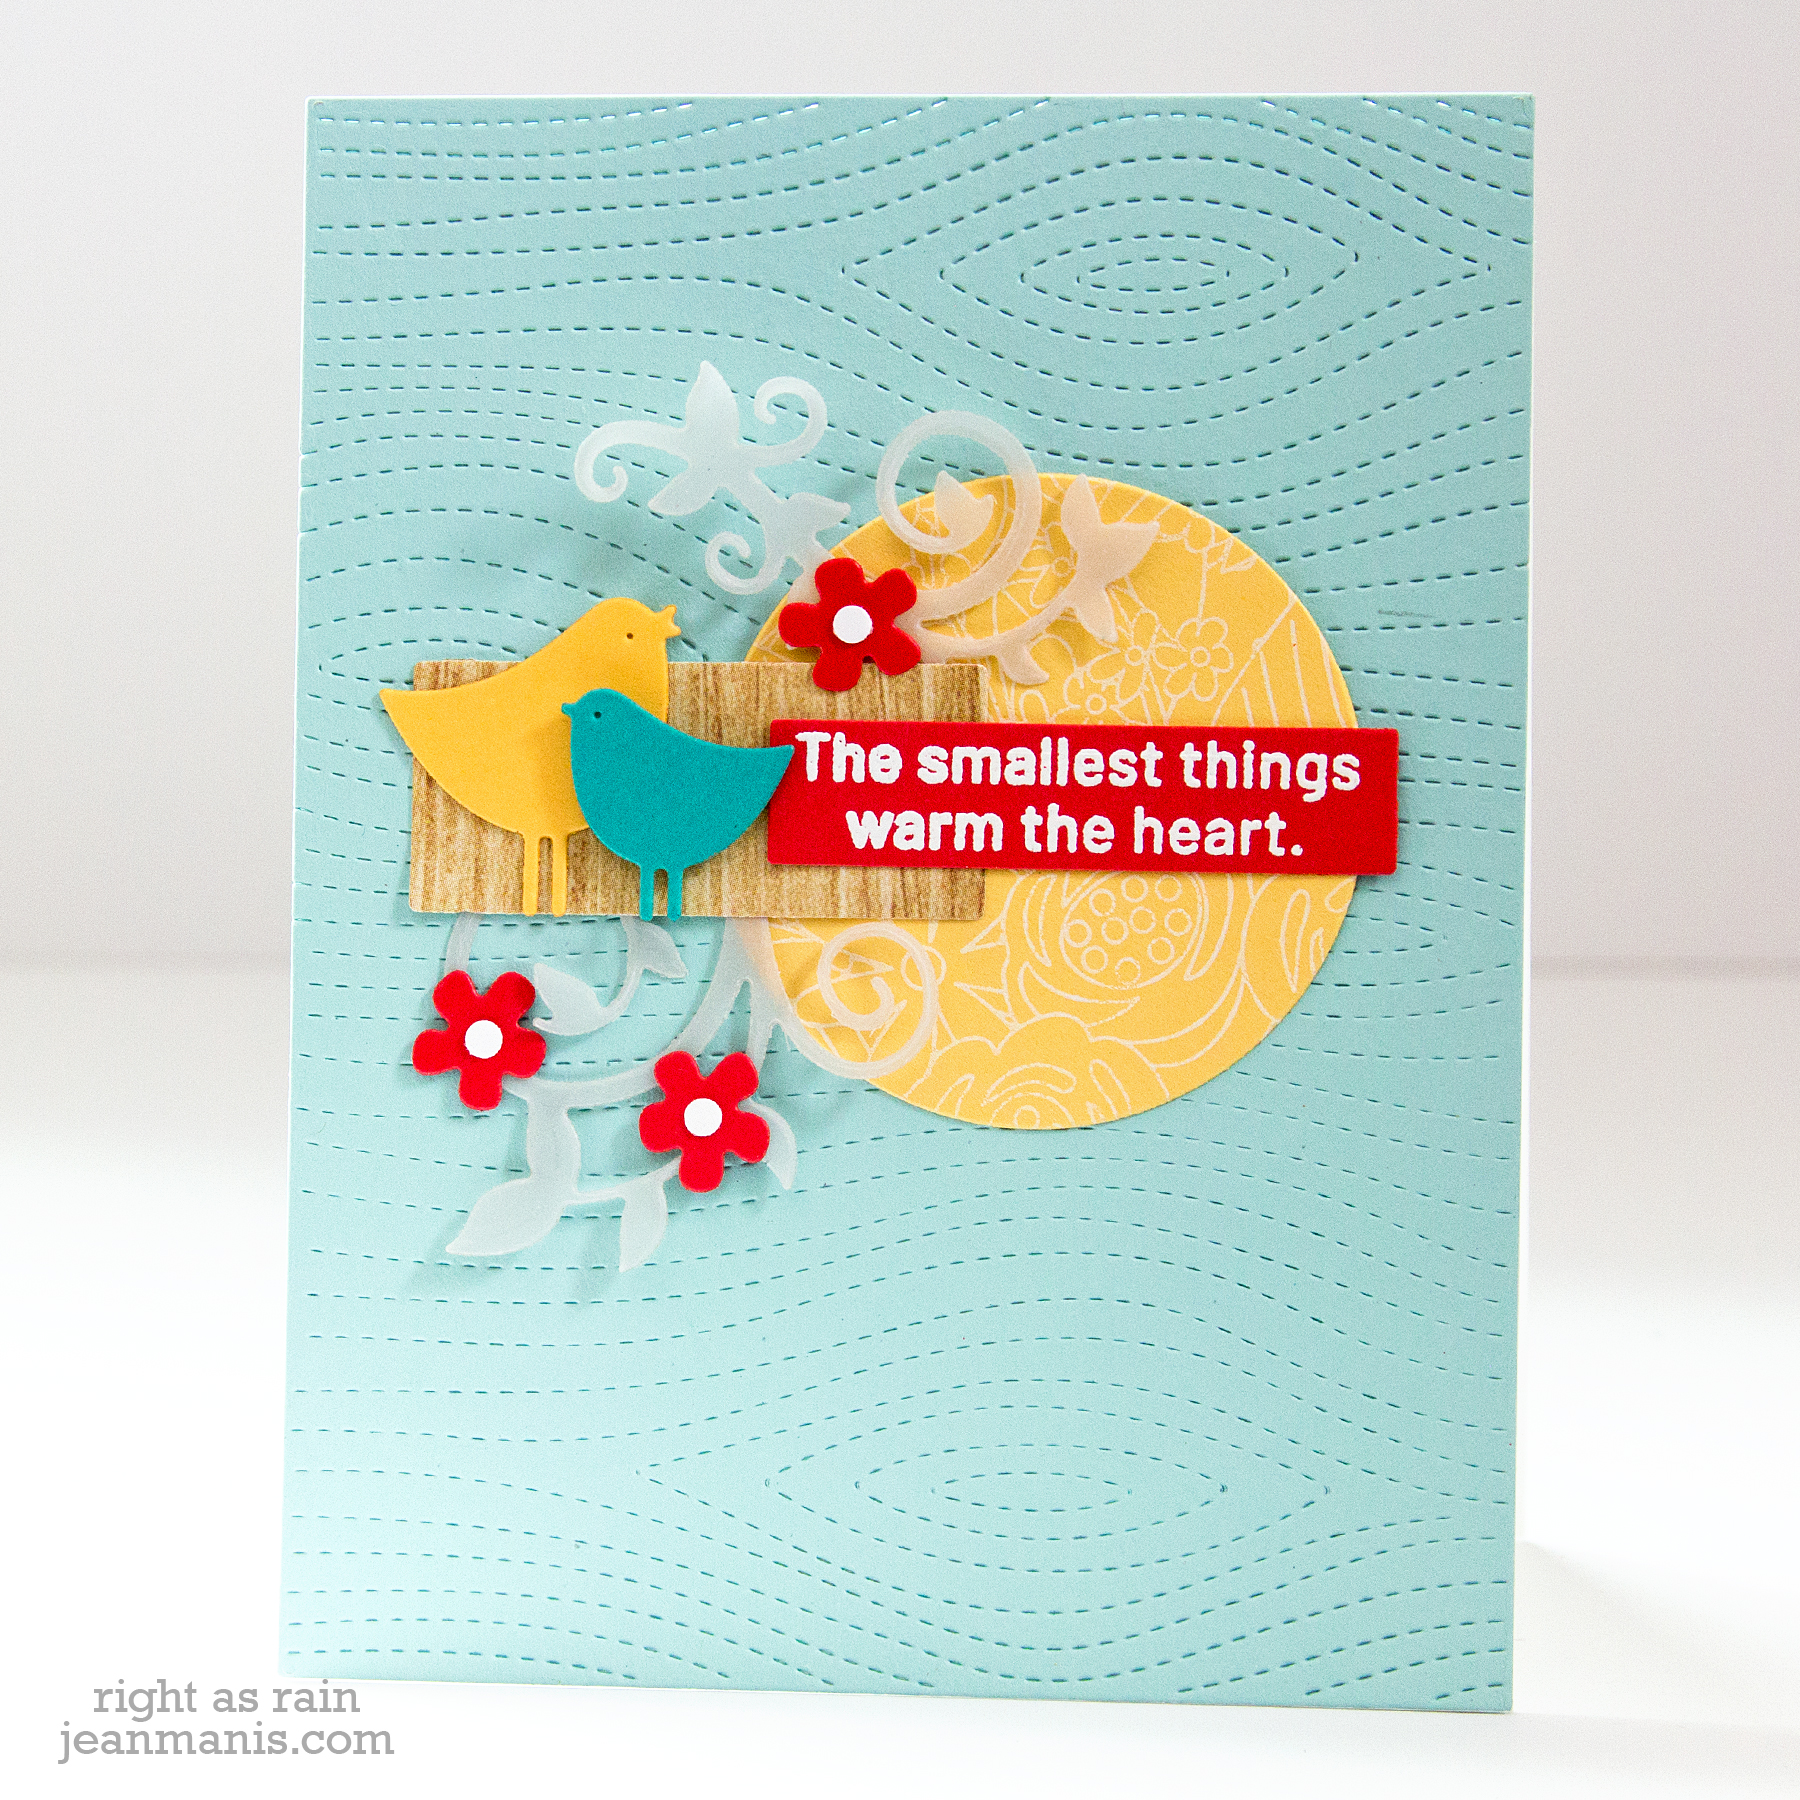
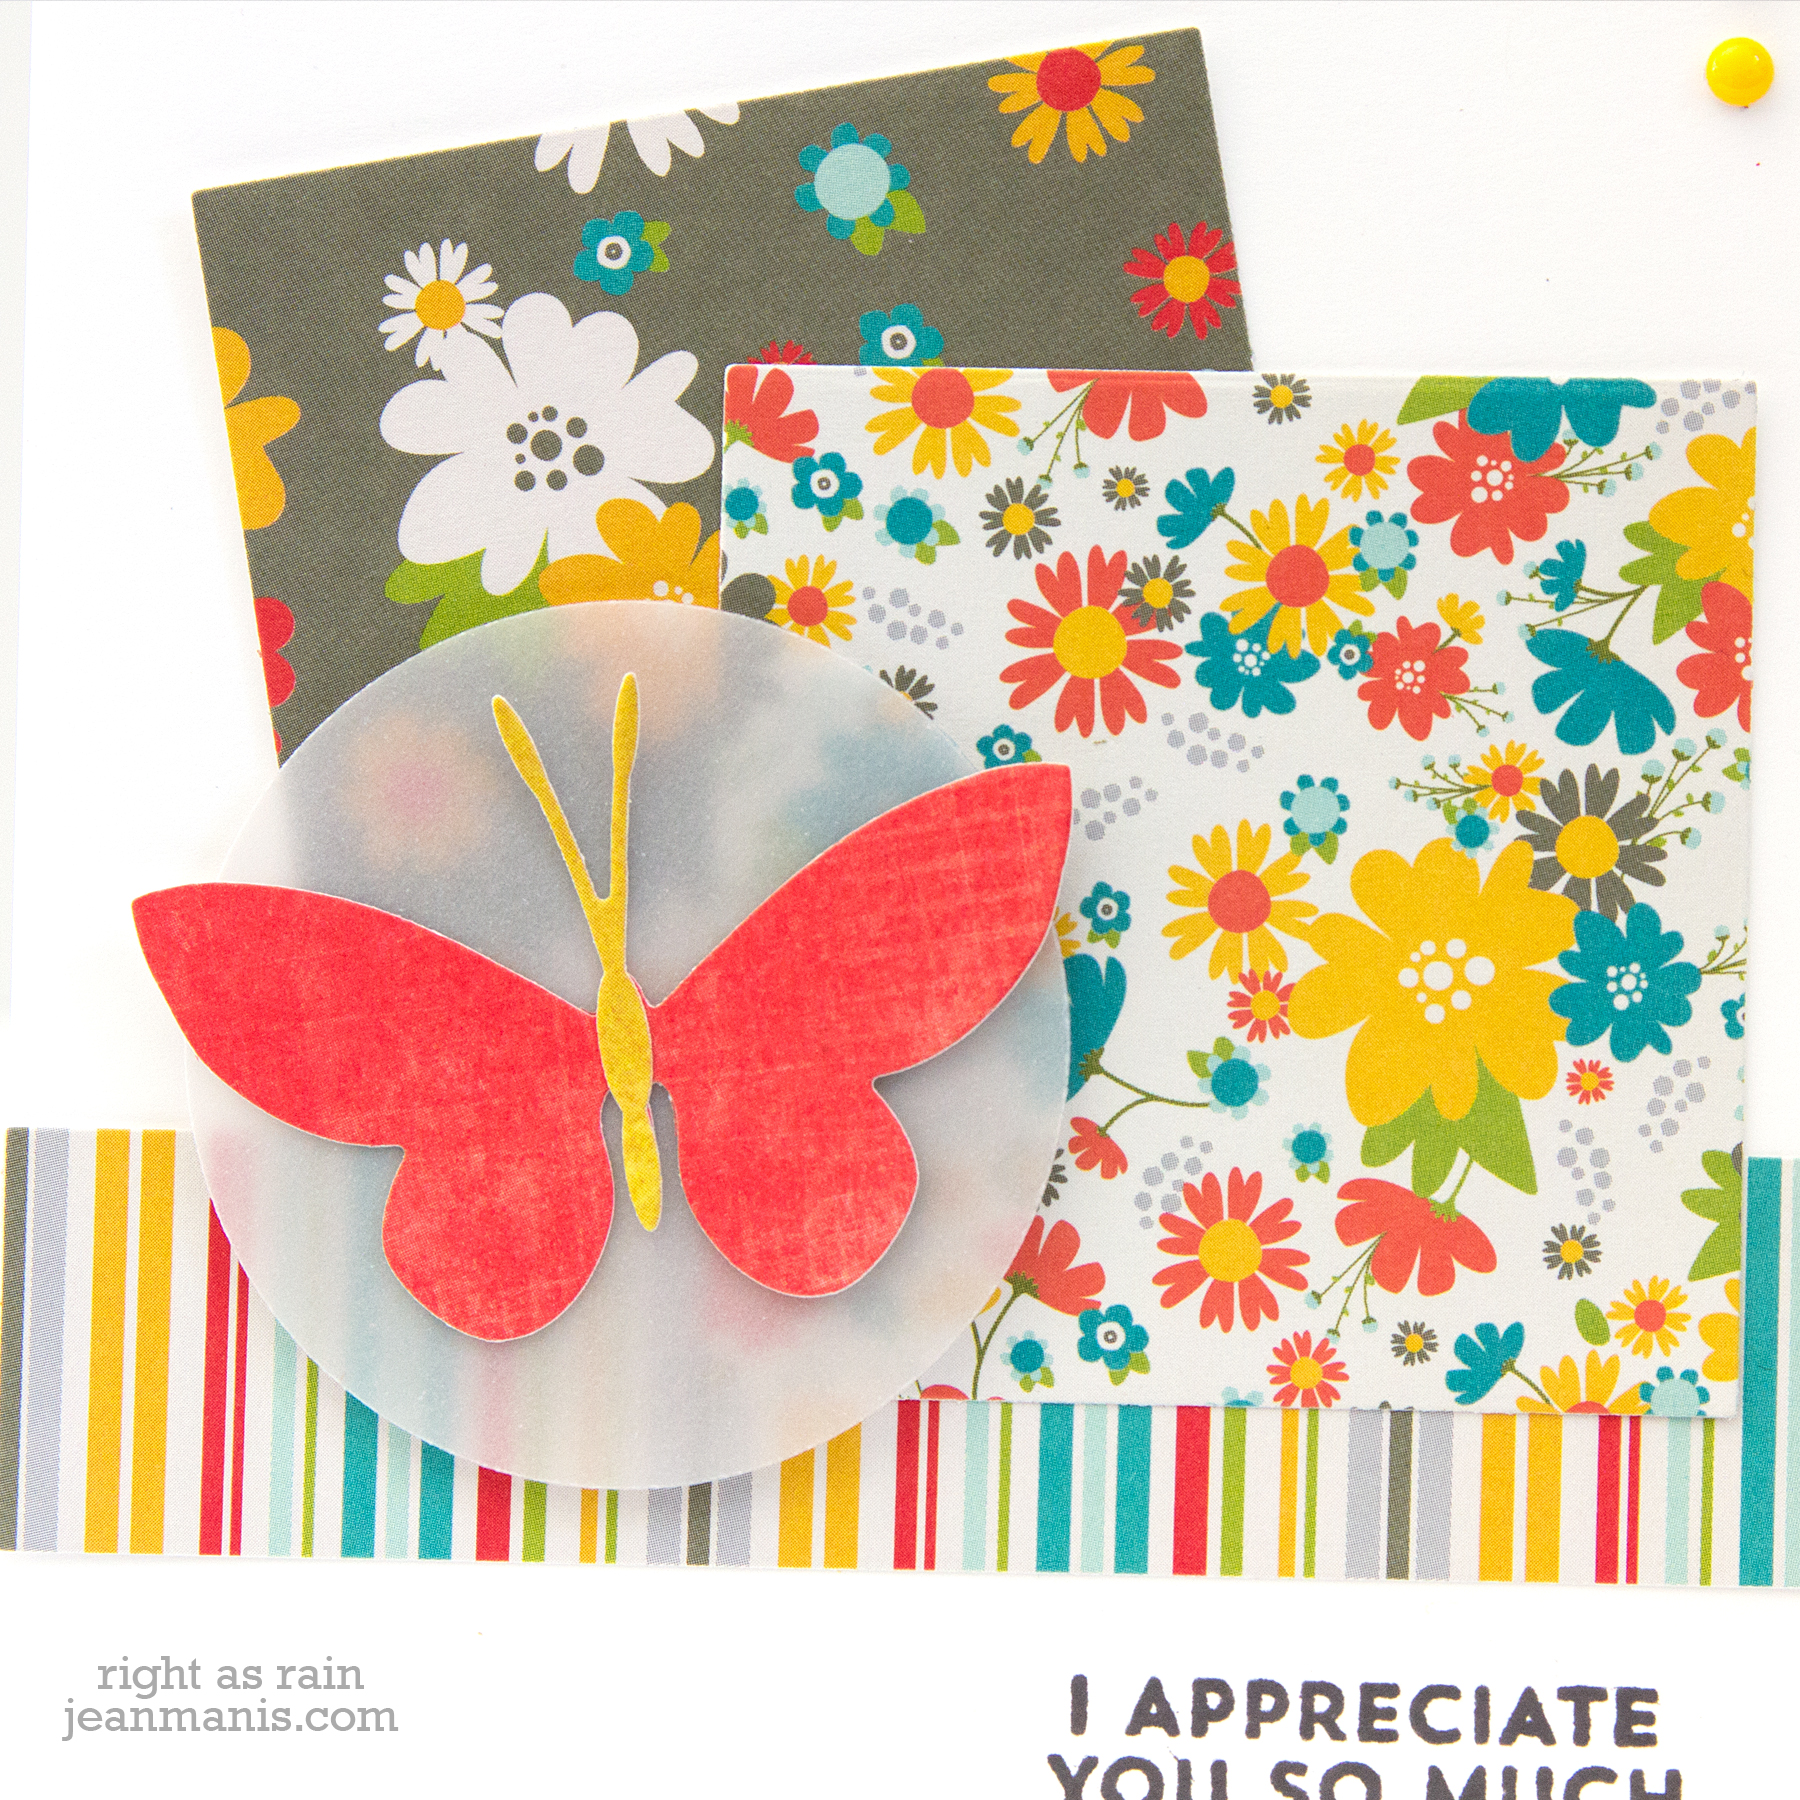
  • To begin, I stamped the Flower Explosion stamp in white pigment ink on So Saffron cardstock.
  • While the ink dried, I cut the two birds, flowers, and foliage with the A Little Birdie set. I used a hole punch to cut centers for the flowers.
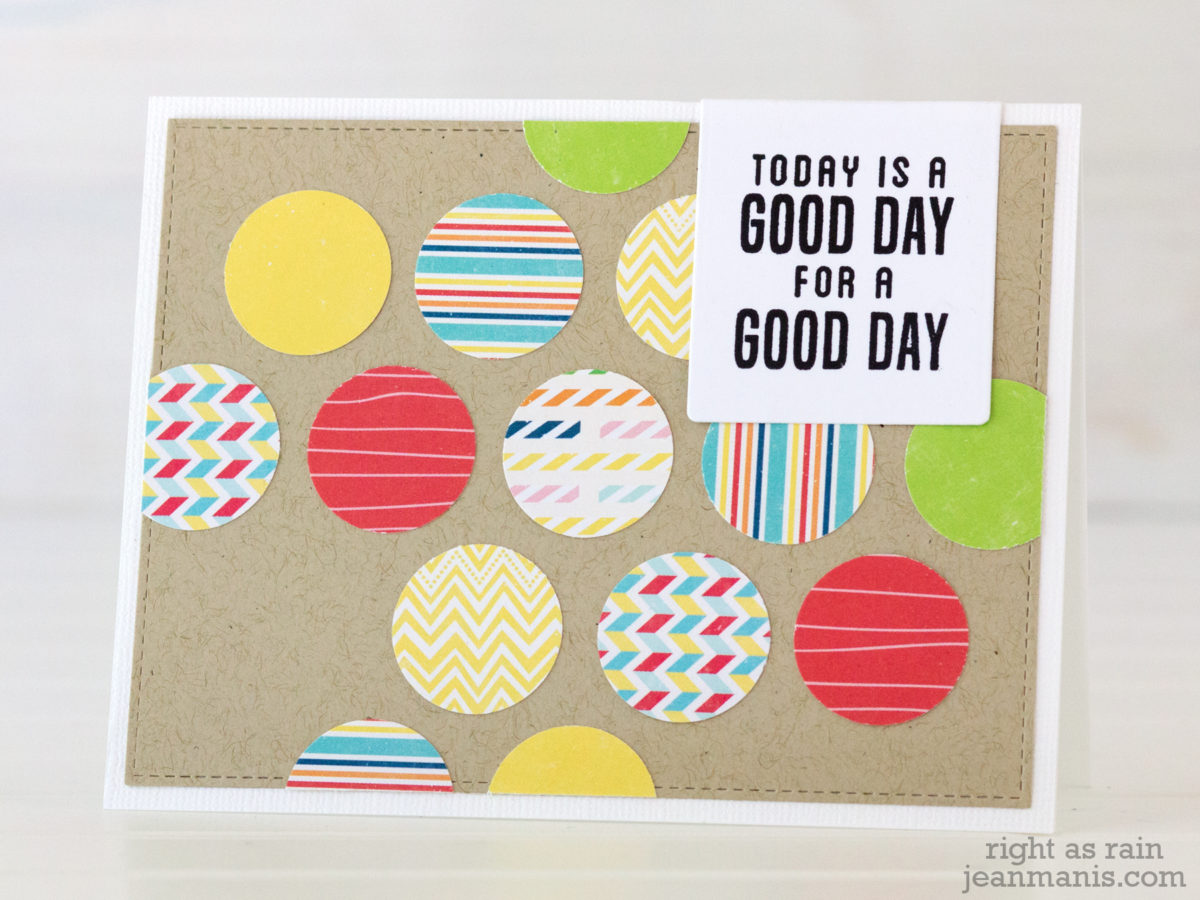
  • I heat-embossed the Pinkfresh Studio sentiment on Poppy Parade cardstock.
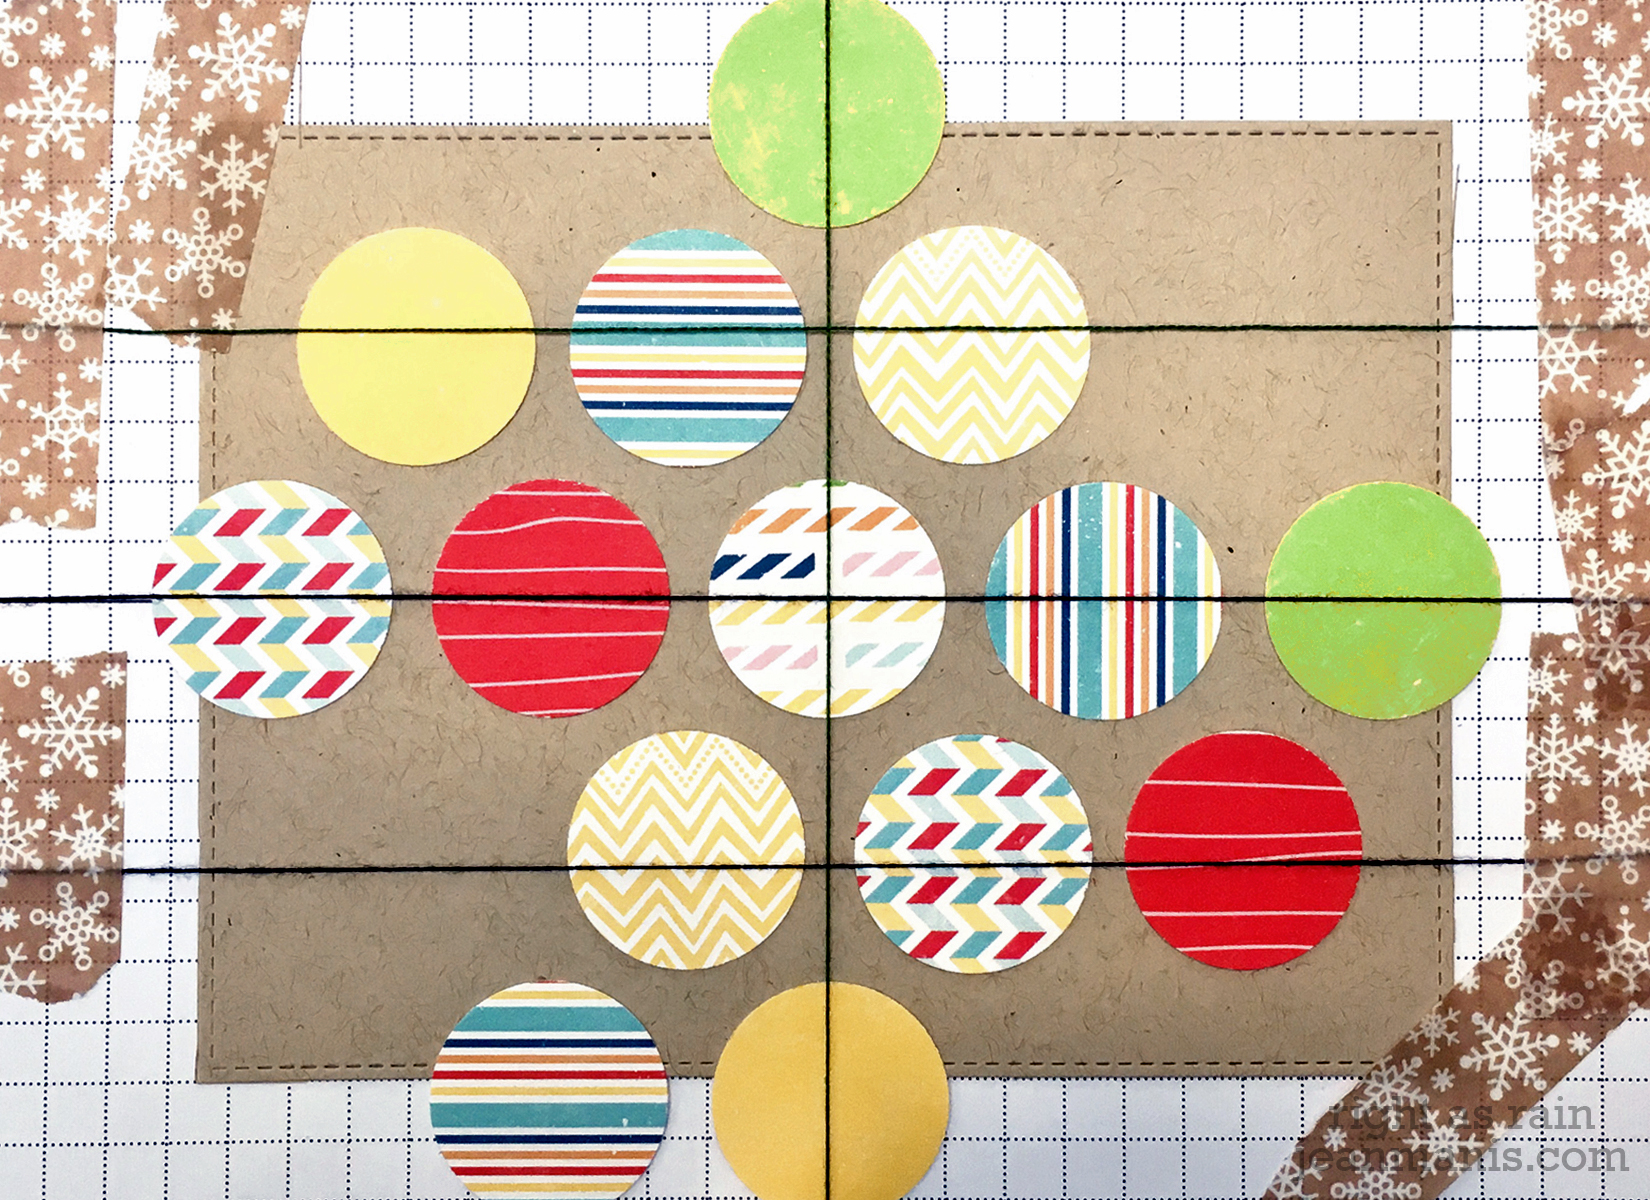
  • I cut the stamped So Saffron piece with a circle die.
  • I used woodgrain cardstock in my stash to place behind the birds.
  • The background was cut with the Stitched Woodgrain Backdrop die.

Freshly Made Sketches #401

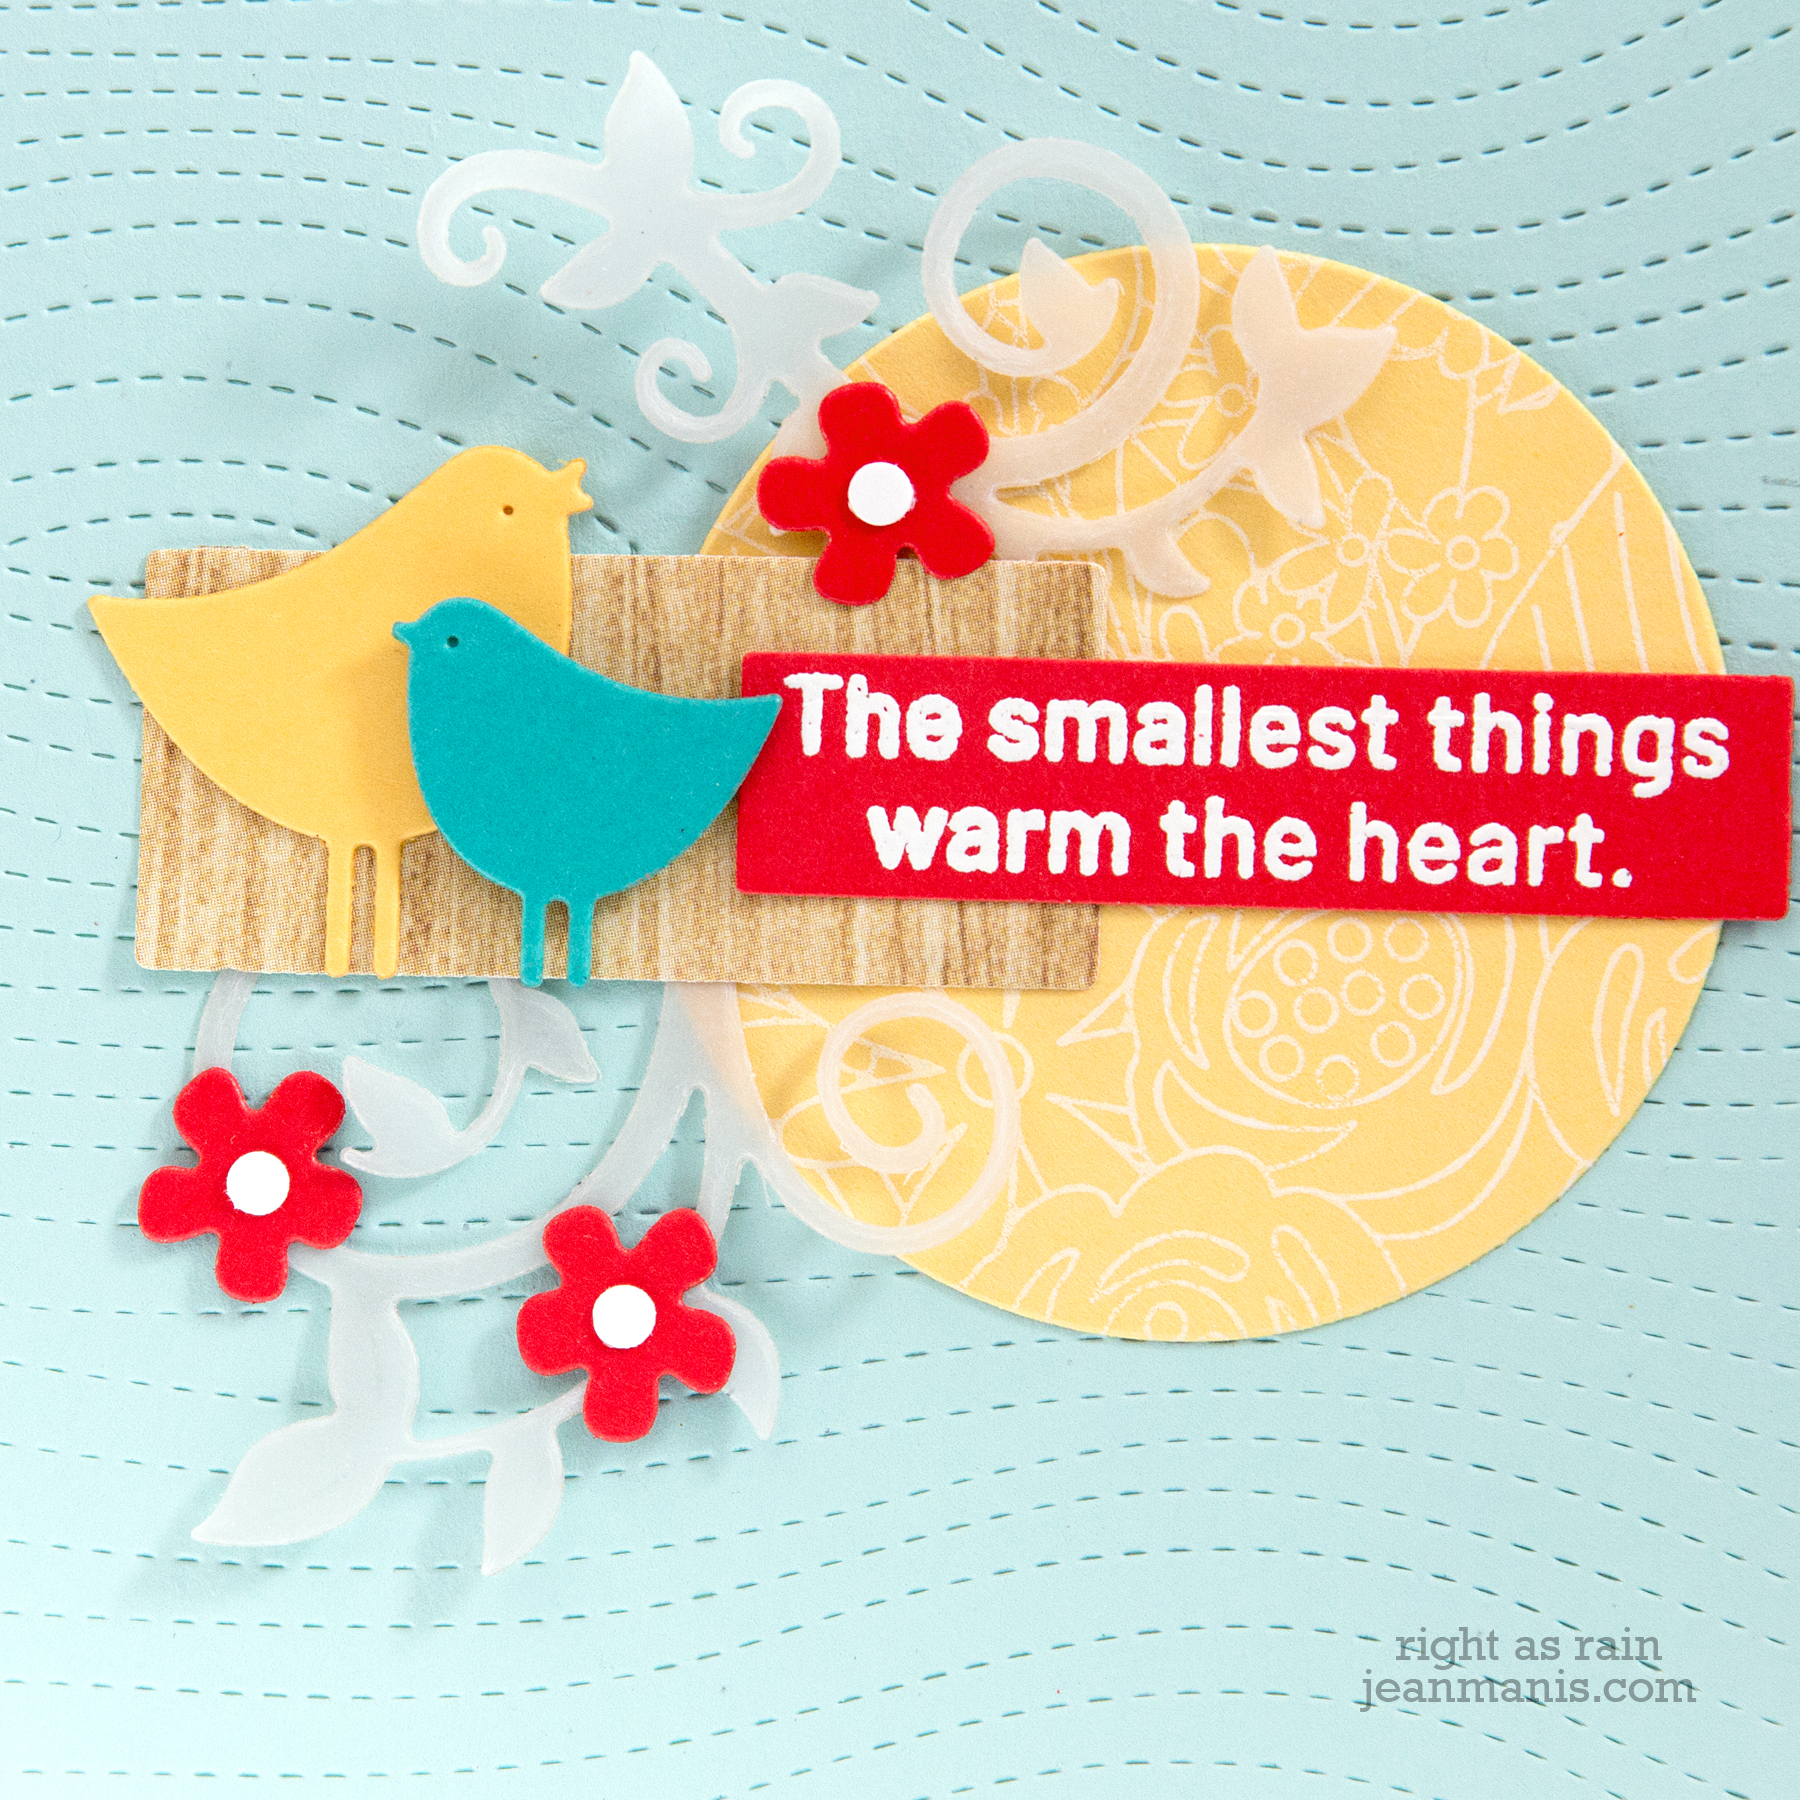
A couple of take-aways: I need to remember that foliage can be cut from vellum, white, metallic cardstock, … it doesn’t have to be green; a stitched circle, something that just cuts the outline, but not the center, would make a great addition to my stash.
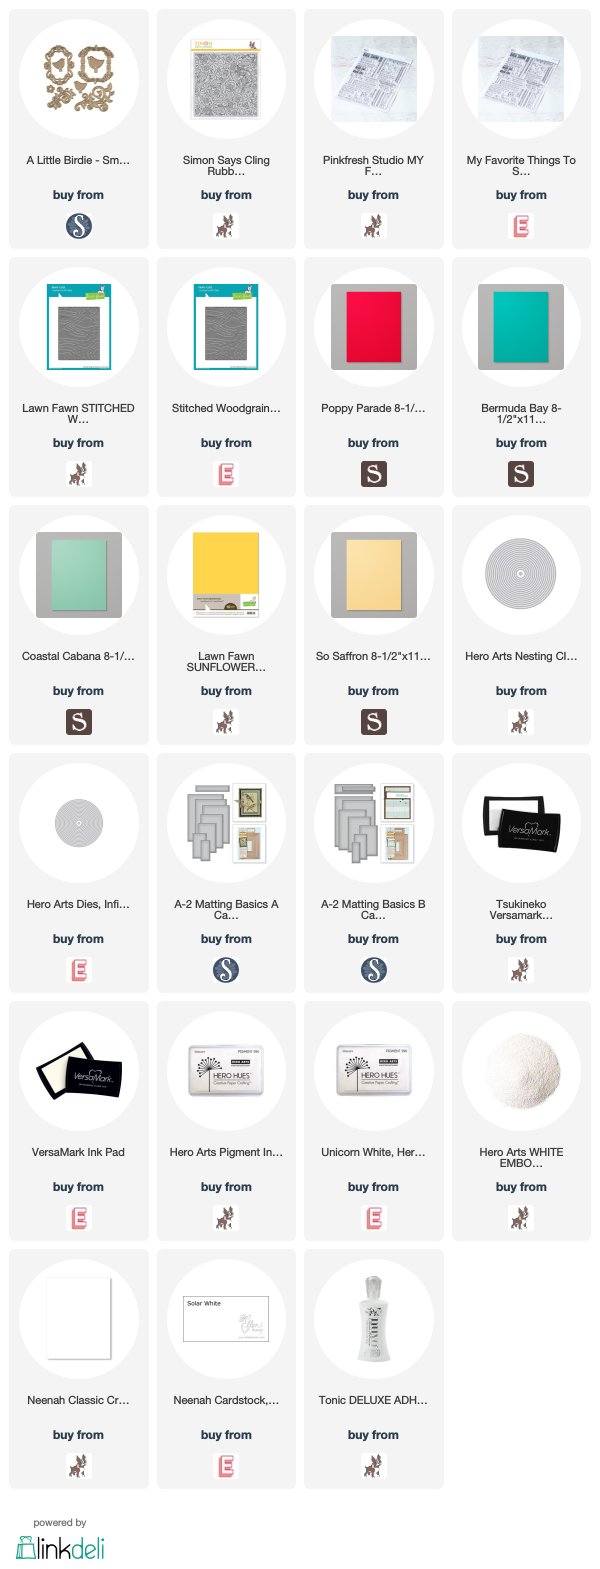
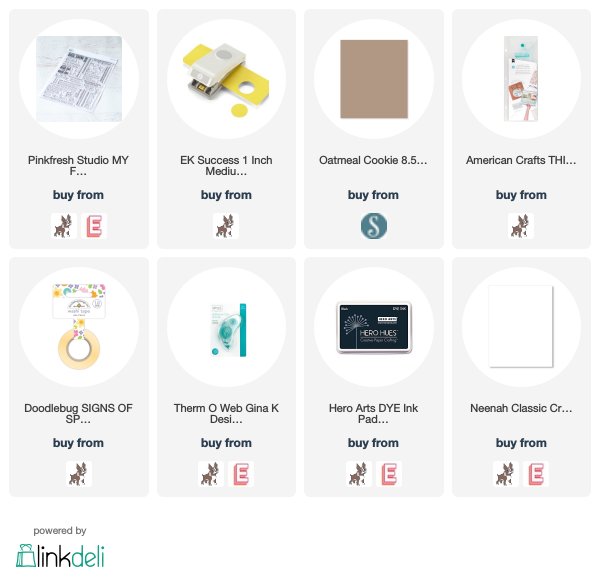
Supplies:

Freshly Made Sketches #400

Hello! I am playing along with the Freshly Made Sketches 400th Challenge.

Freshly Made Sketches #400

I began by finding the patterned paper that I wanted to use. I still have A LOT of patterned paper. I chose Pebbles Seen & Noted. This is an older pad with great coordinating patterns and colors. I used basic shape dies to cut the three patterned paper pieces.

For the focal image, I went through my butterfly die sets and chose the Memory Box Moonlight Butterfly. I cut the body and antennae from solid papers in the Pebbles pad.

The butterfly was lost against the patterned papers, so I cut a vellum circle to quiet the pattern behind the butterfly. I adhered the butterfly to the circle with glue and the assembly to the patterned paper pieces with foam adhesive.

The sentiment – Pinkfresh Studio Word Series: Thanks – was stamped with Espresso Truffle ink. I don’t have a lot of occasion to use that ink color but I felt that stamping in black would be too harsh with the other colors.

I added three enamel dots in gold (another product of which I have a lot of inventory) in the upper-right corner.

Freshly Made Sketches #400

Supplies:

Easy Circle Punch Card Round Two

Hello! As I mentioned in this post, my family is in the process of downsizing and I’m papercrafting in our eating area (which was where I worked when I first started out). Since the supplies for the circle punch card were within easy reach, I created another card with the same supplies.

Easy Circle Punch Card Round Two

  • I used a ruler to draw a 1/2″ line on the patterned paper. I punched half circles by placing the top of the circle punch on the line. (See photo below.)
  • I paired the half circles in a visually pleasing manner and adhered the pairs on to 1″ squares of white cardstock.
  • I adhered the 1″ squares on to a 4″ square panel. I used patterned paper from the same Echo Park pad for the card base (measuring 4 1/4″ square).
  • I stamped the Pinkfresh Studio sentiment with SU Pacific Point ink and cut it with a circle die. I cut a slightly larger circle from patterned paper for a mat.

Easy Circle Punch Card Round Two

Thanks for stopping by!

Supplies:

Easy Circle Punch Card

Hello! Today I am sharing an easy CAS card made with a minimum number of tools and supplies. I’m in the process of packing up my papercrafting supplies and tools, as my husband and I are downsizing. I’m organizing and decluttering as part of the boxing up process. In doing so, I have come across a number of things that I have forgotten about, and I have also been revisiting favorites. The notebooks I have created from the Online Card Classes lessons are on the list of favorites.

My card today is inspired by one Kristina Werner shared in the Summer Card Camp in 2011 (my first ever card class, which I took as I was just starting out as a cardmaker).

Easy Circle Punch Card

This card requires few supplies and tools to create. I used a 1″ circle punch, patterned paper from my stash (papers used are from an Echo Park pad), and a sentiment from the Pinkfresh Studio “My Favorite Things to Say” set.

To align the circles, I used grid paper (Stampin’ Up pad), embroidery floss, a ruler, and washi tape (my favorite brand is Doodlebug).

Easy Circle Punch Card

I added the circles to the kraft paper with dot adhesive. I used a now-retired MFT tag set to die-cut the sentiment panel. I often use my tag and banner dies to cut rectangle shapes.