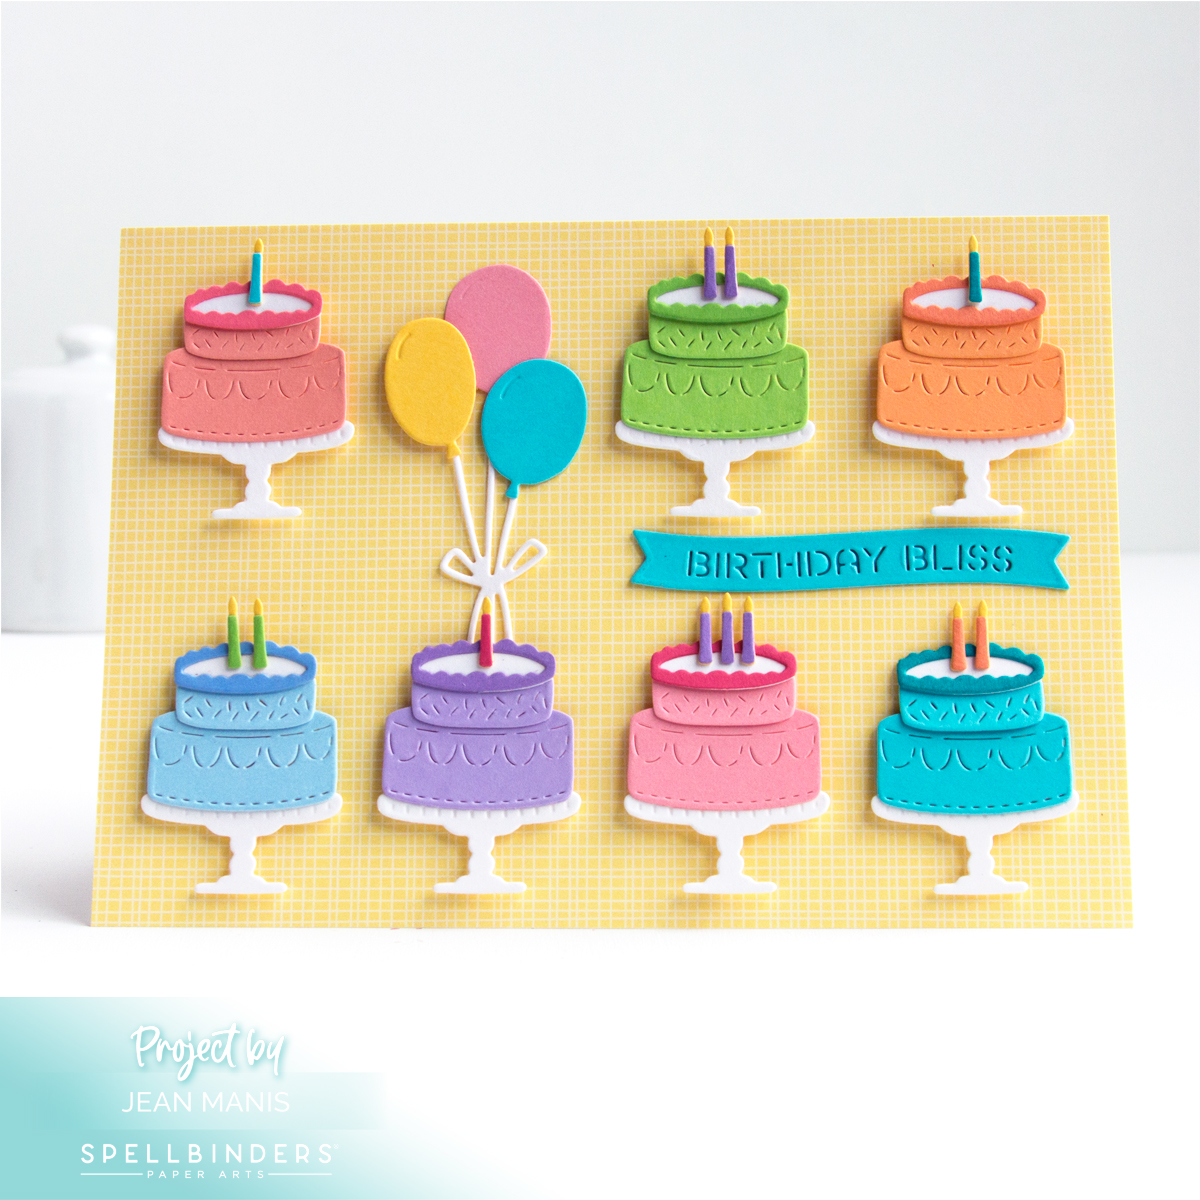
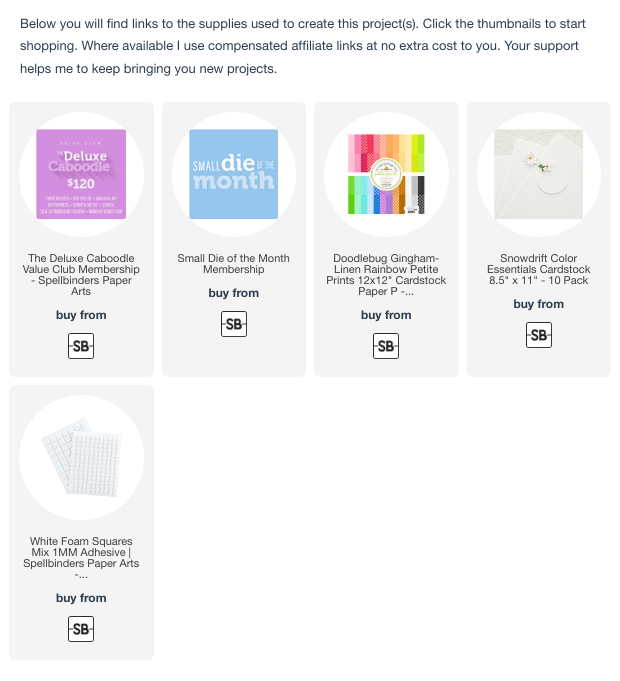
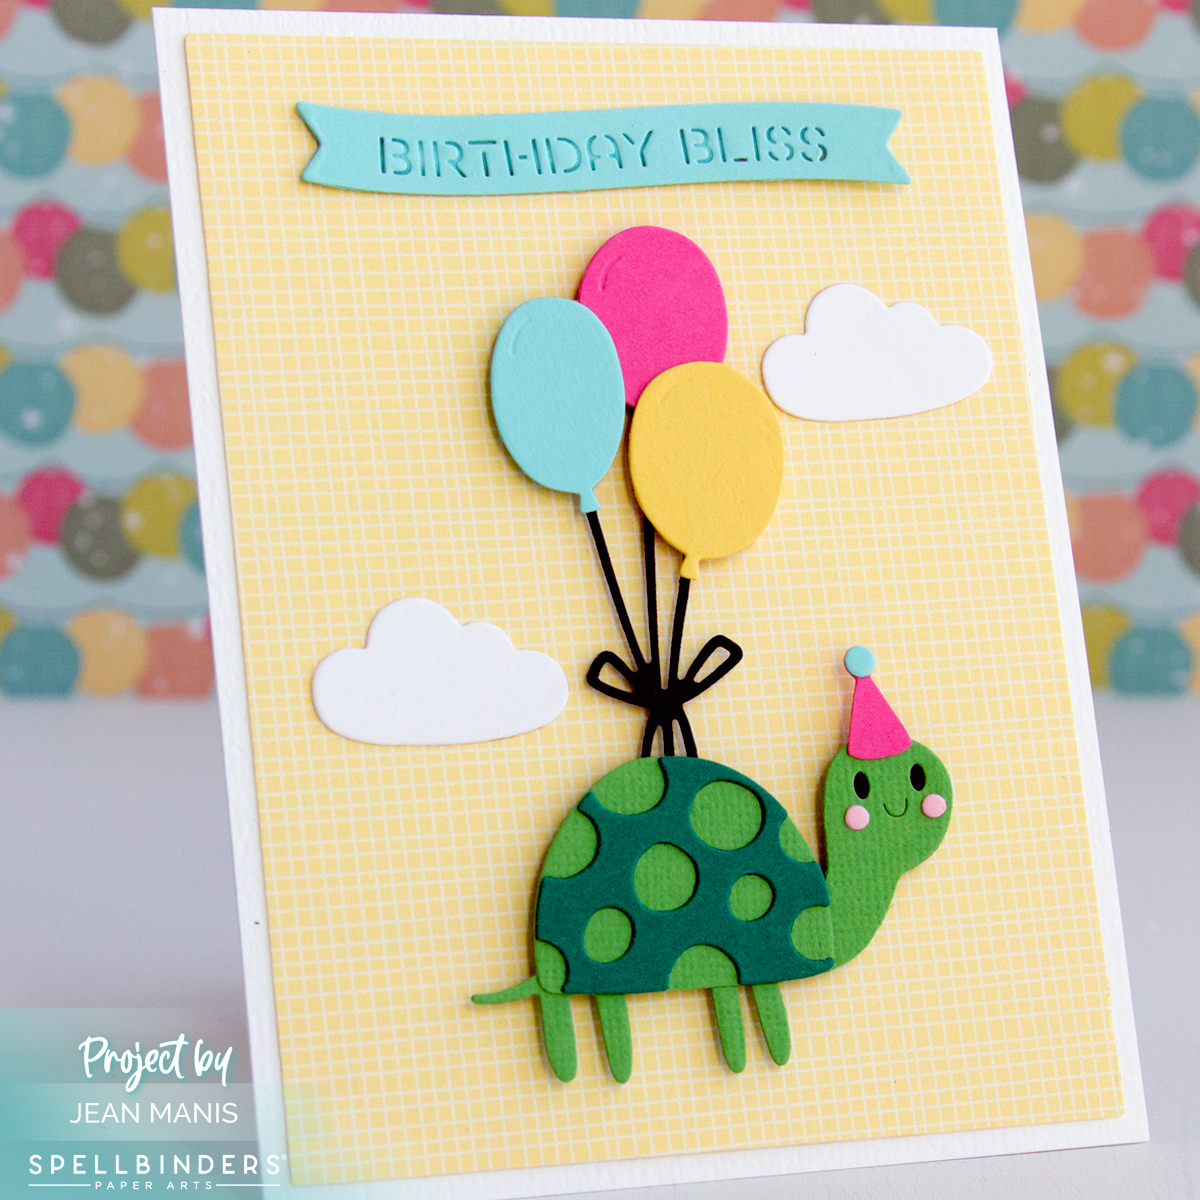
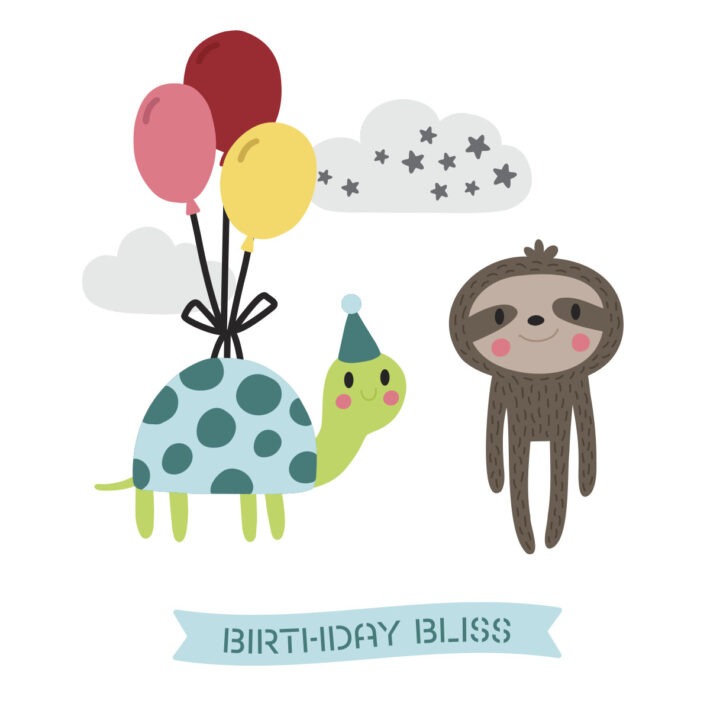
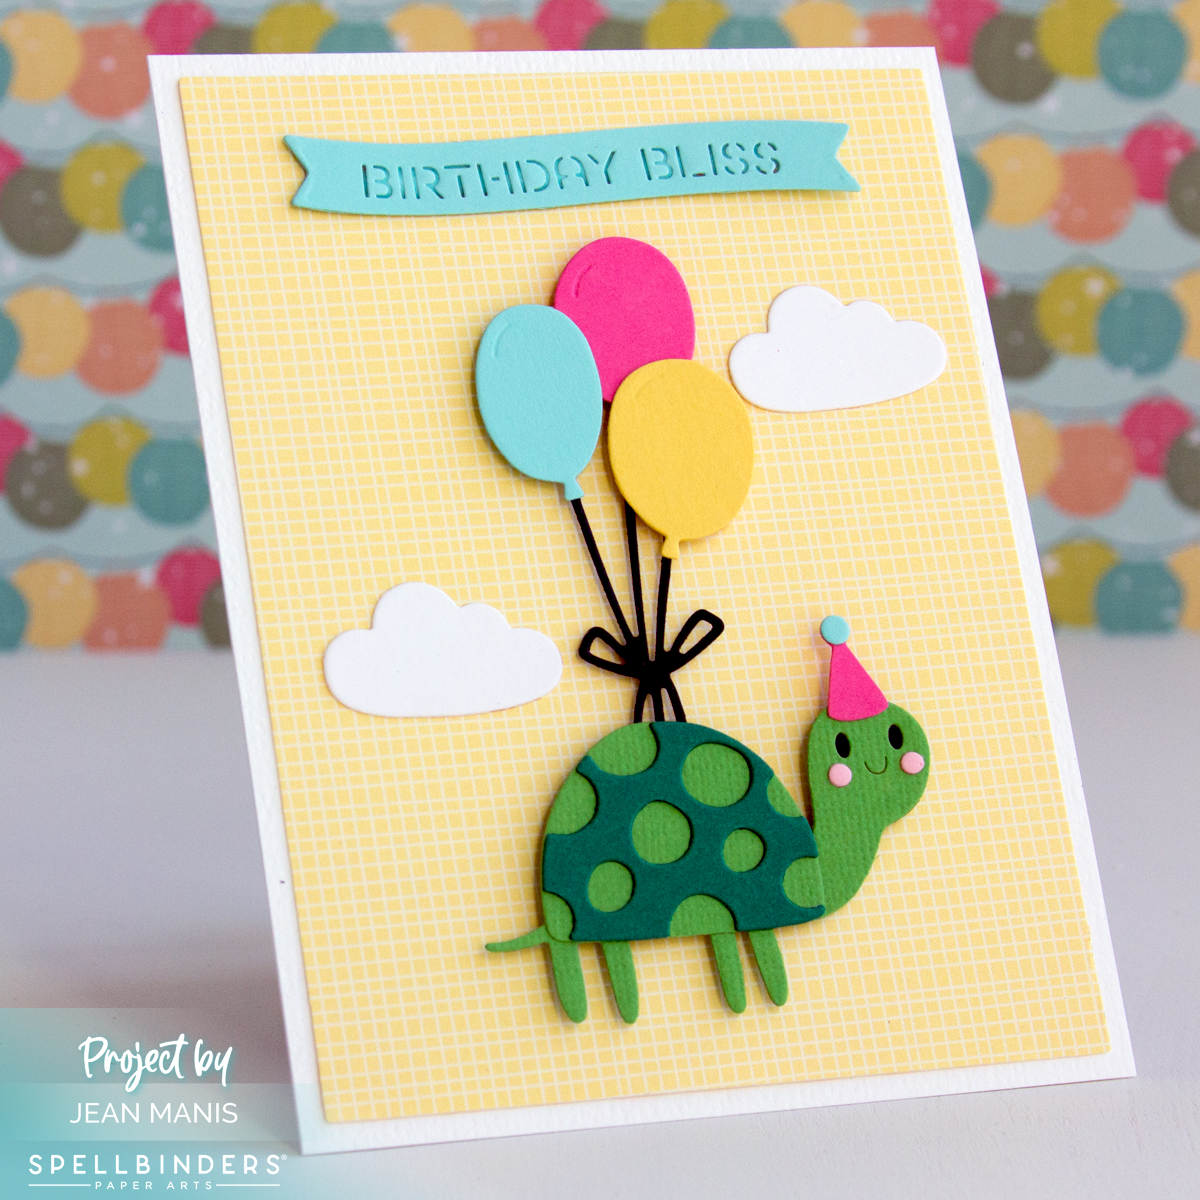
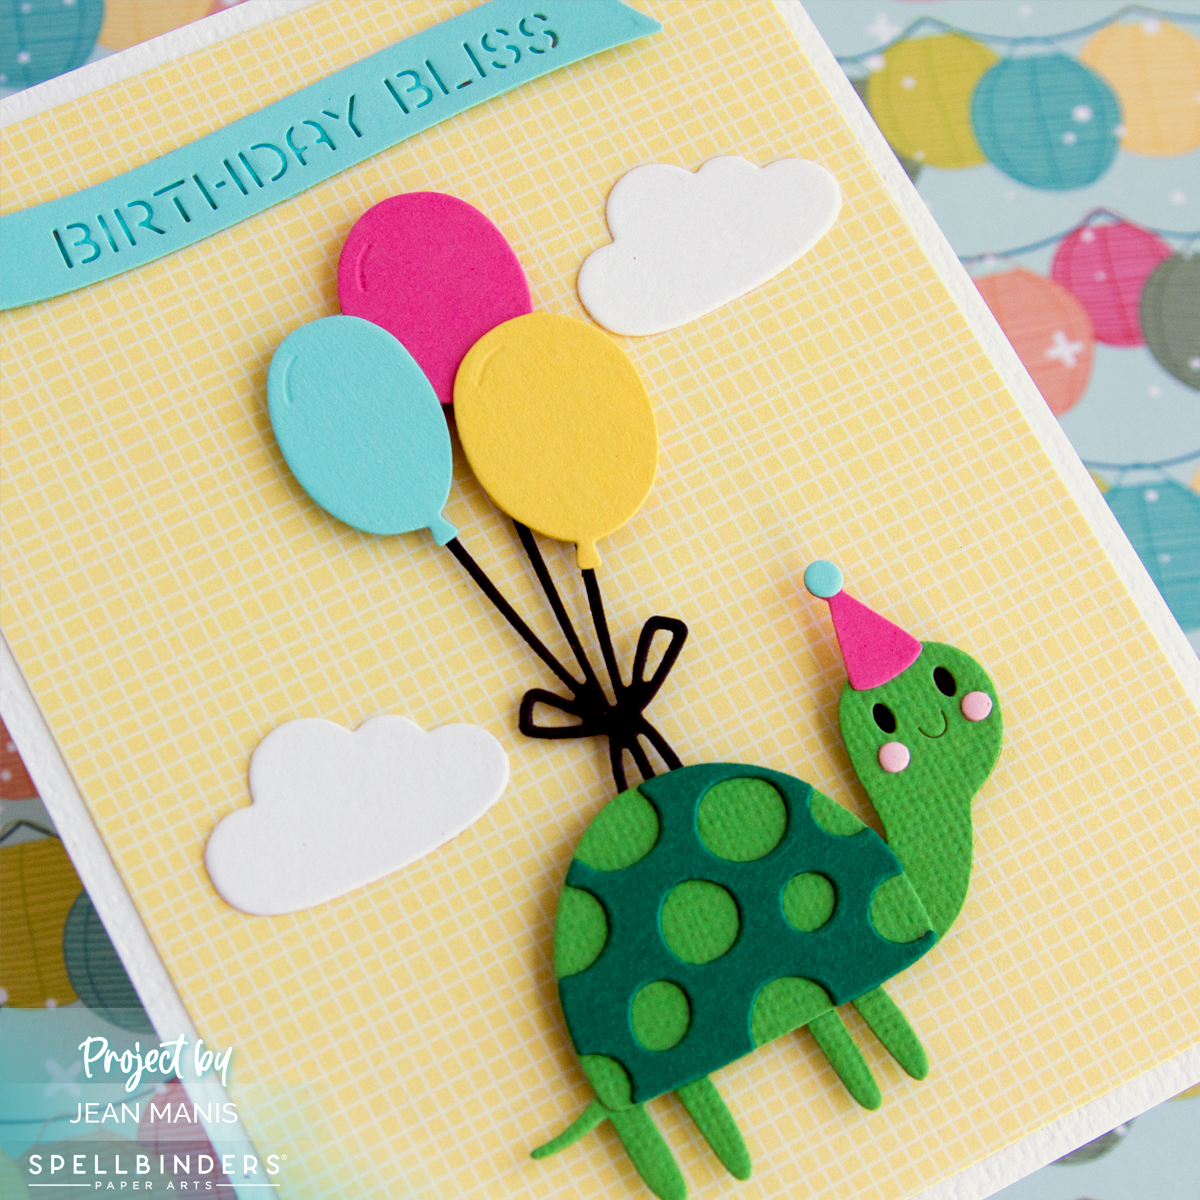
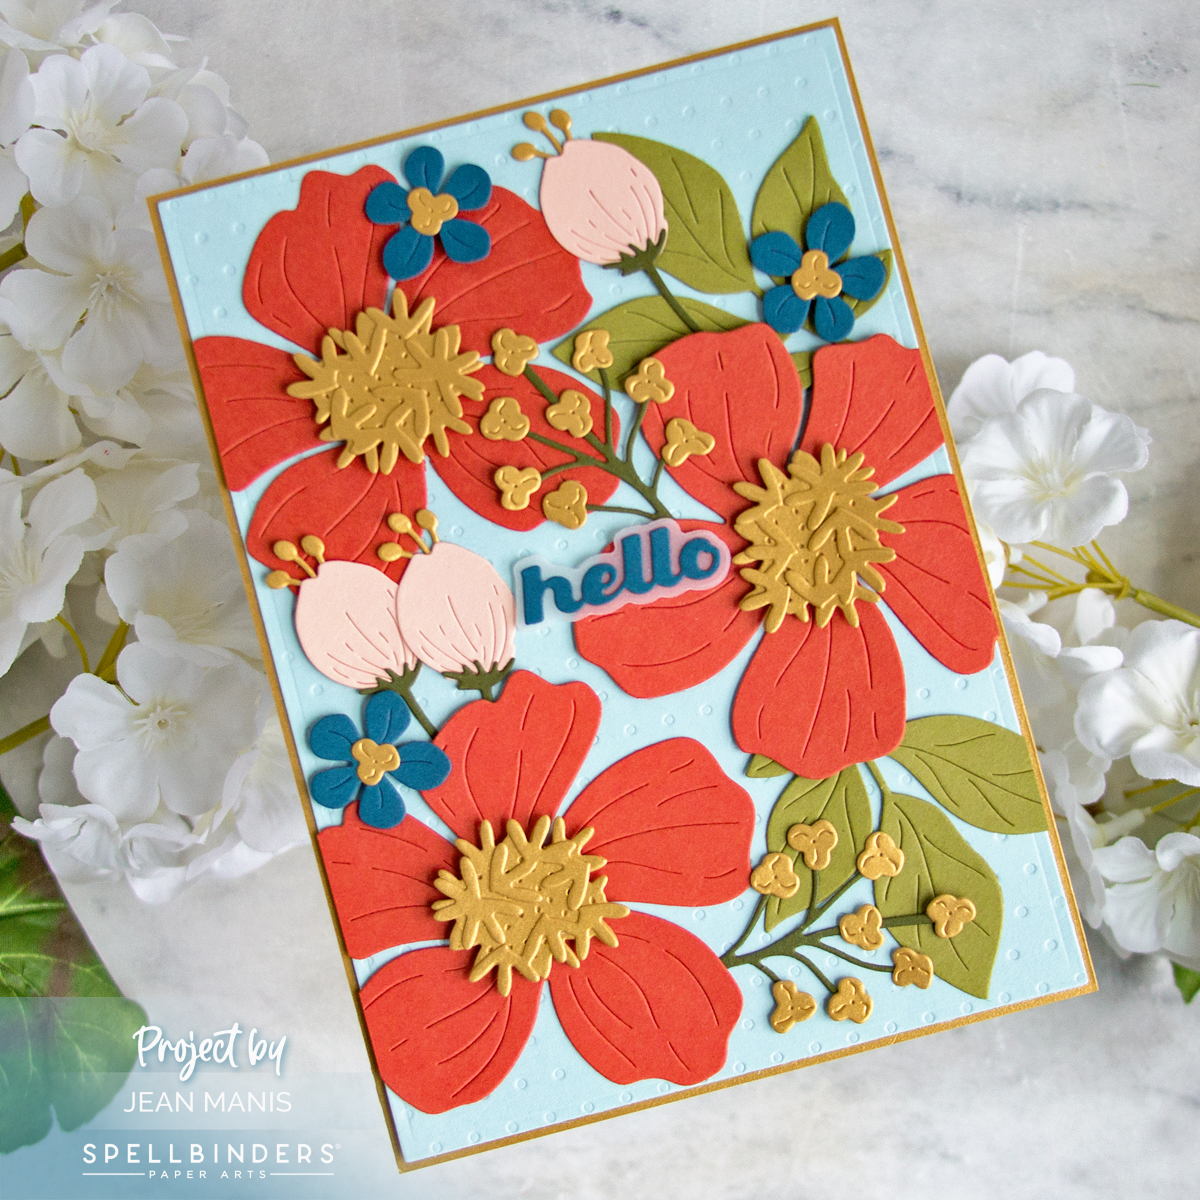
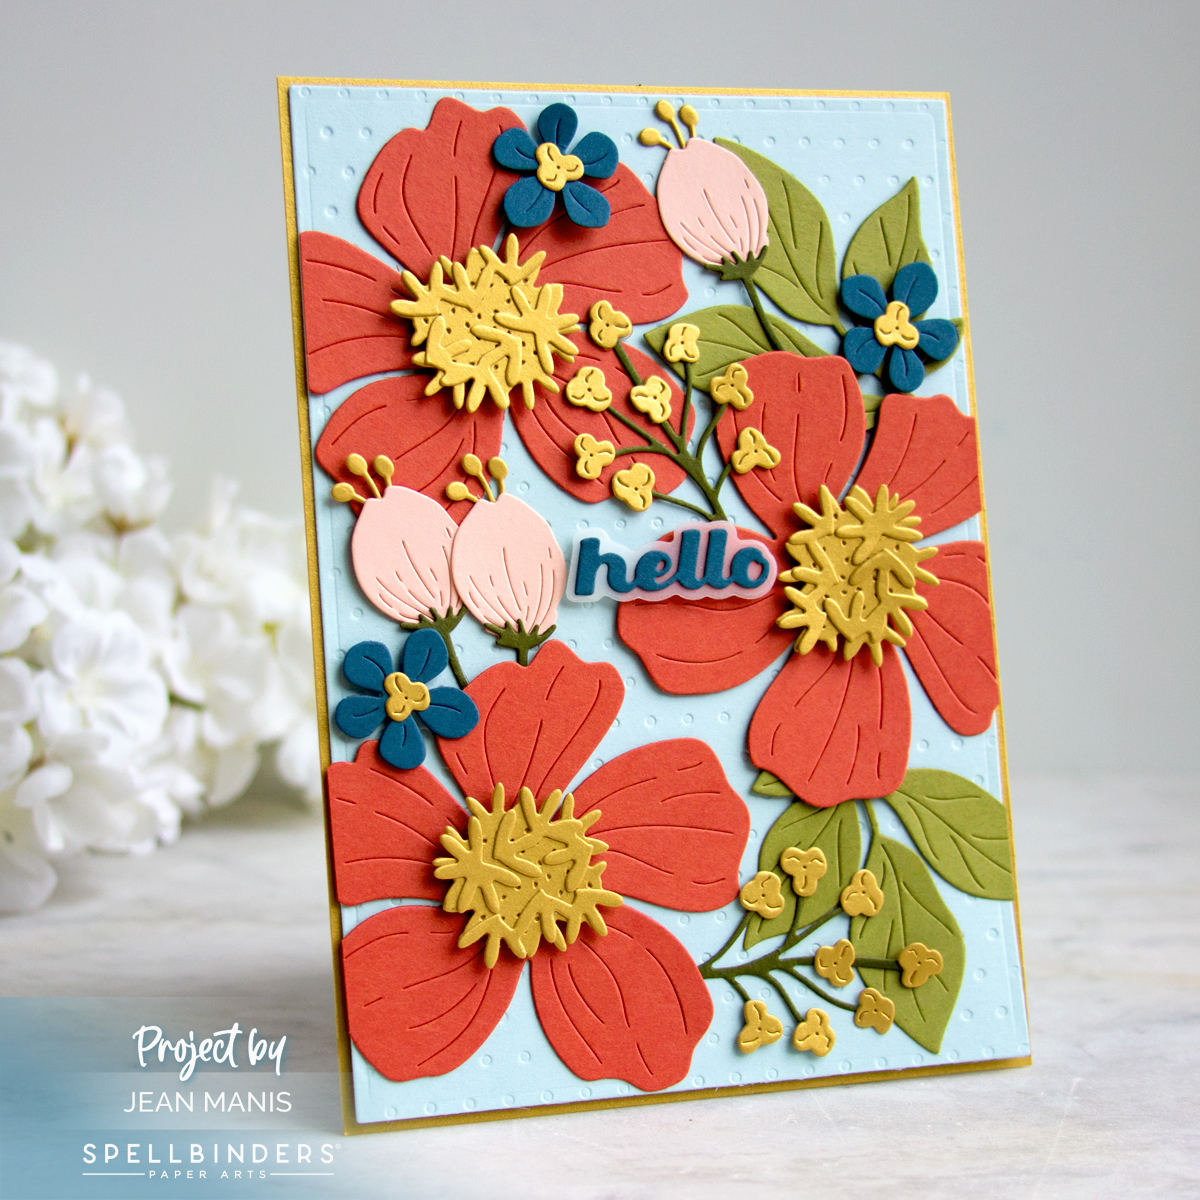
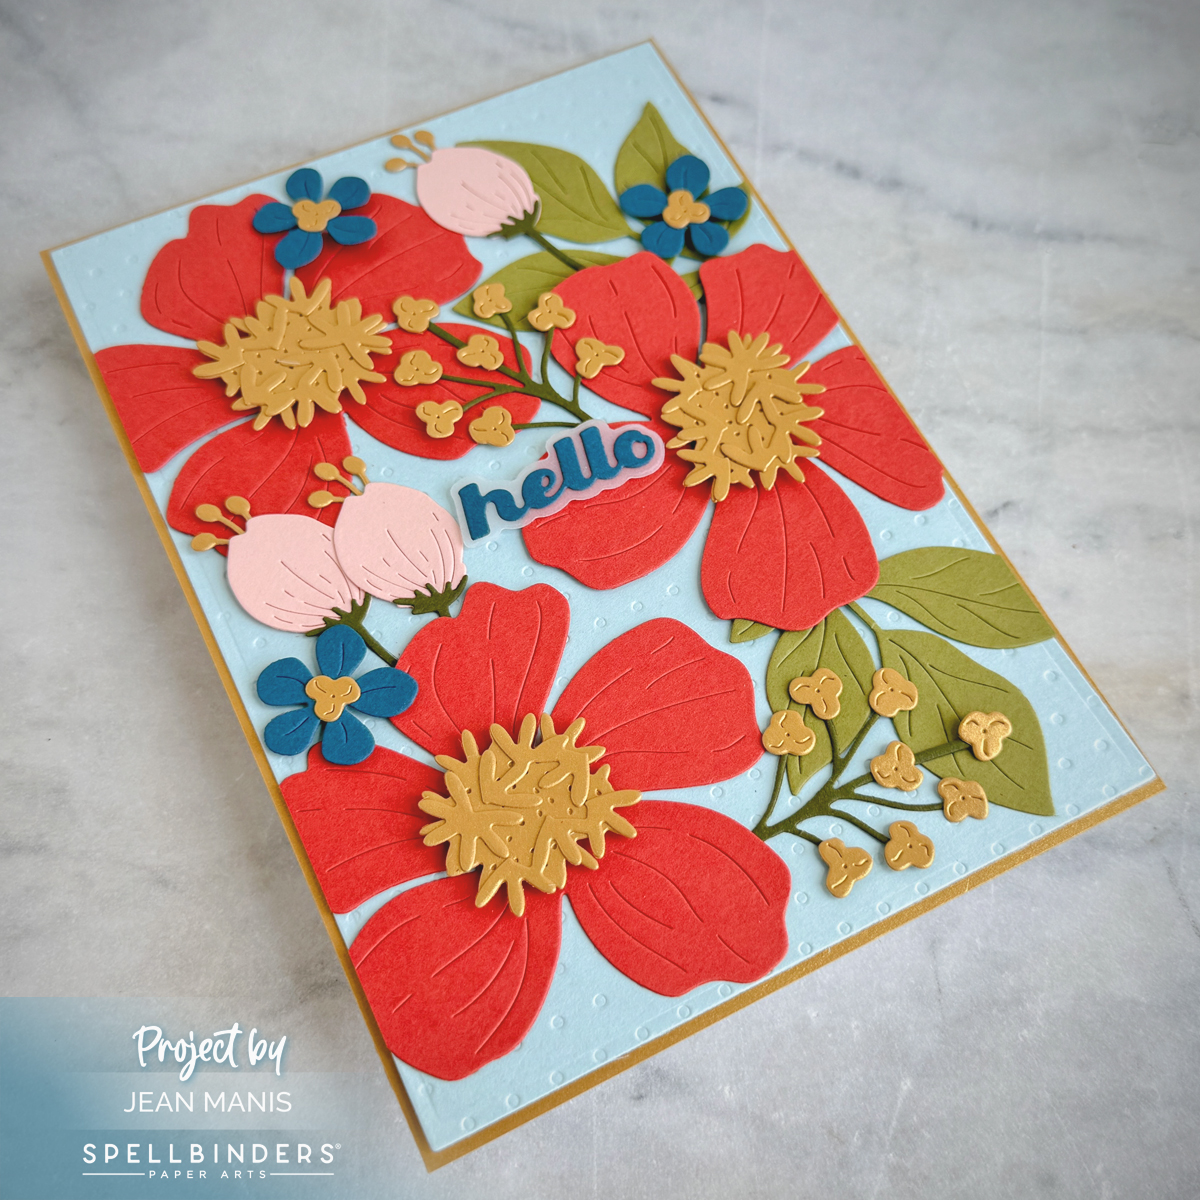
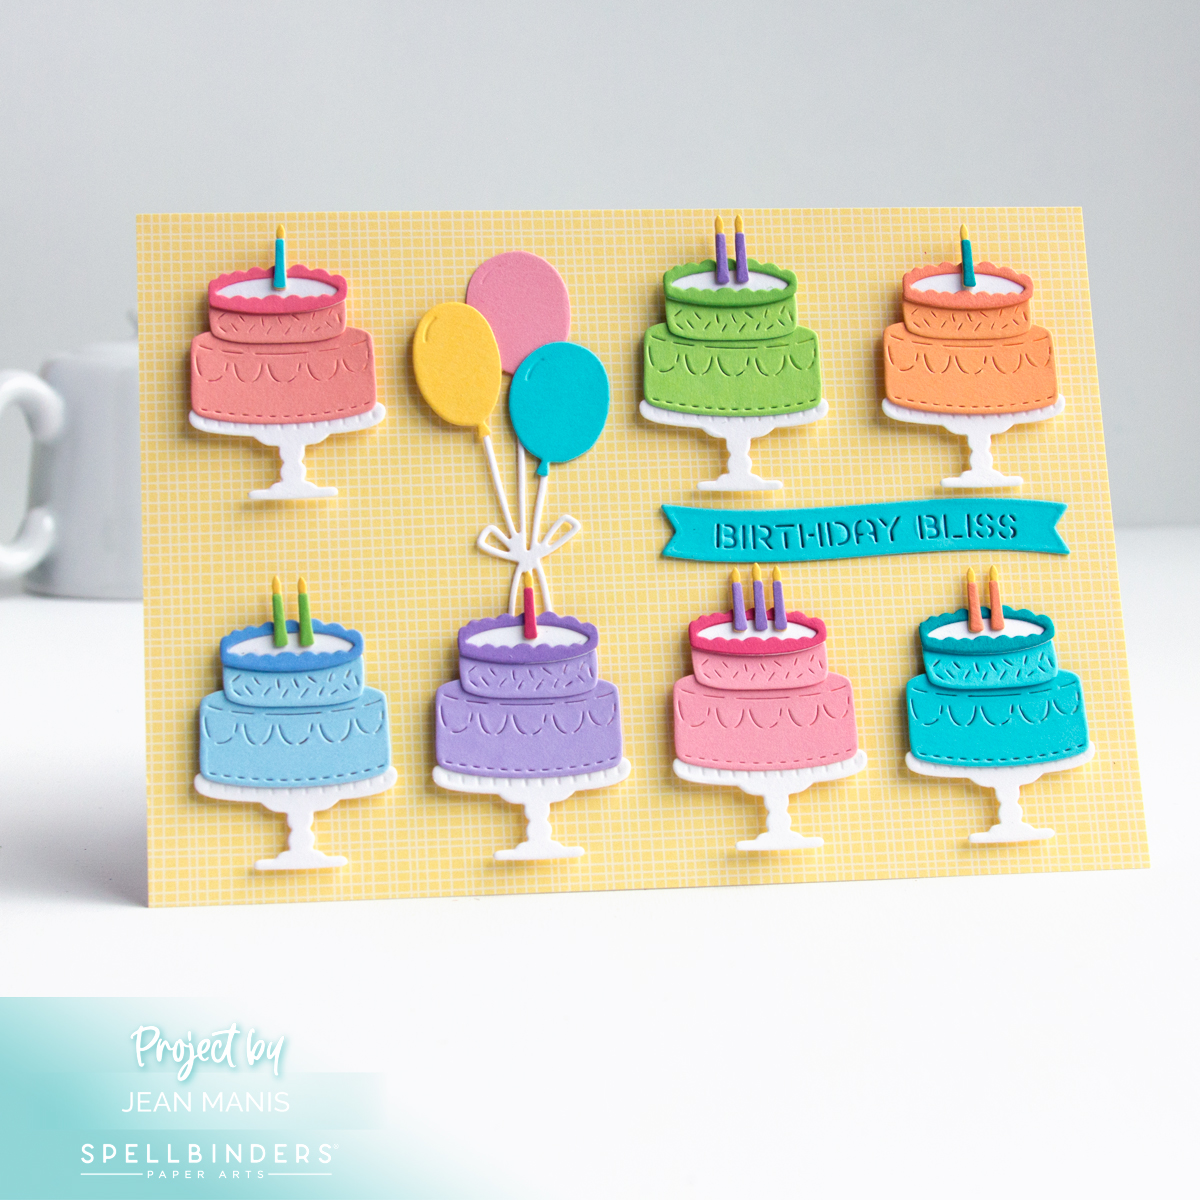
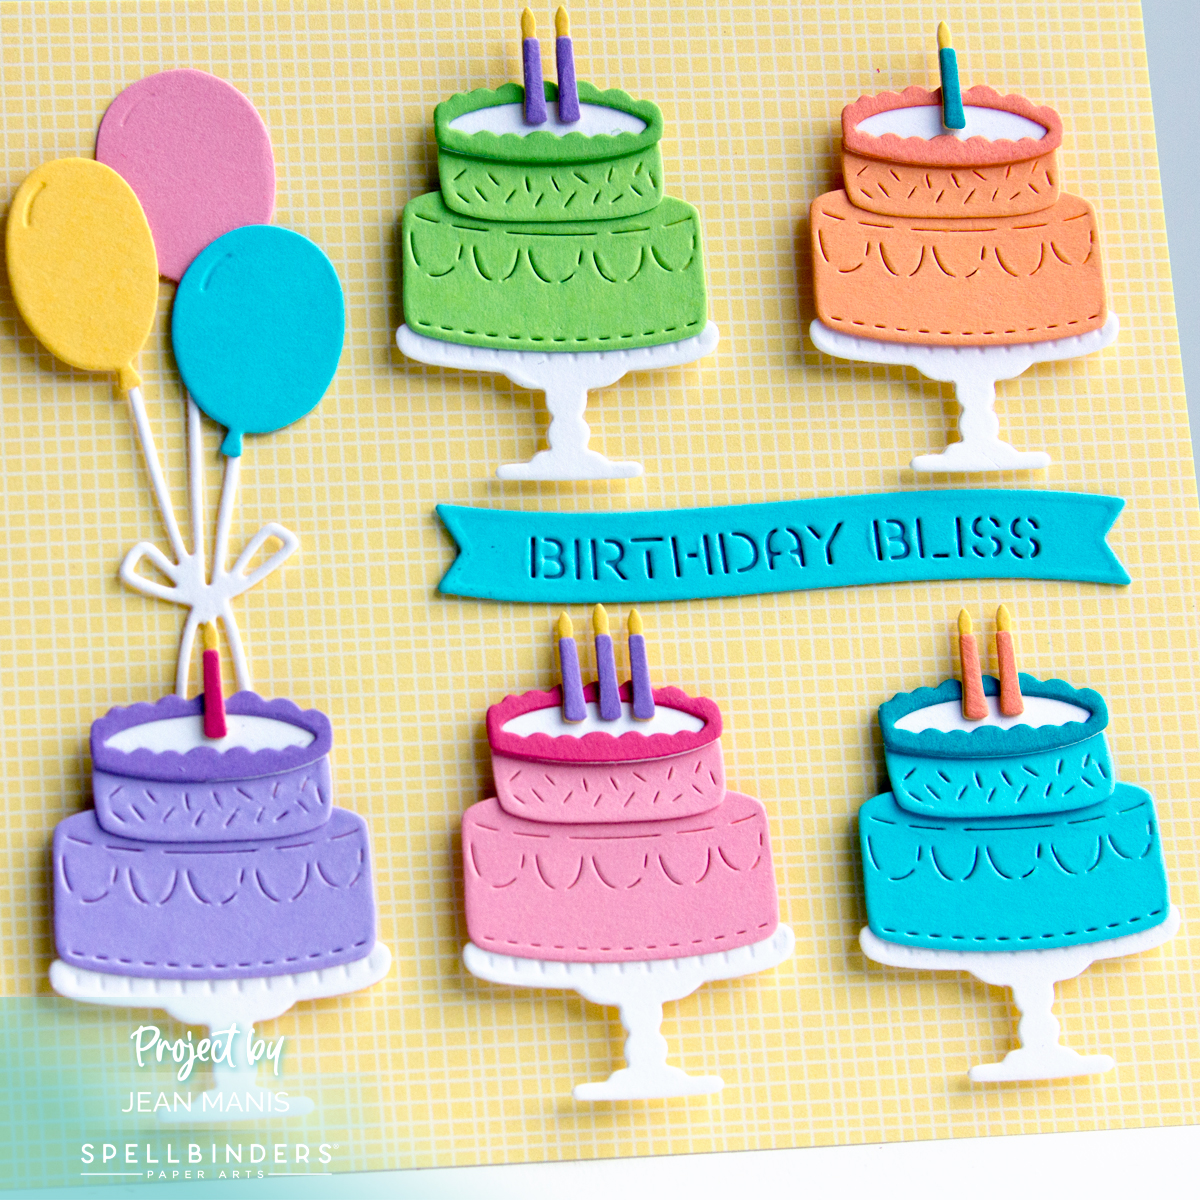
Hello! For this colorful birthday card, I played with the fun and festive Party Time Cake set, the bonus item this month for the Deluxe Caboodle Value Club Membership at Spellbinders. Using the cake die multiple times, I created a lineup of cakes in various colors, with a die-cut banner and cheerful balloons, created with dies in the Small Die of the Month set, to add to the celebratory feel. The design highlights repetition as a technique, making each cake both a focal point and part of a fun, cohesive look.
You can view a video describing the bonus item HERE. Learn more about repetition in card design in THIS POST.
-
- Cover a 5″ x 7″ card base with patterned paper.
- With the Party Time Cake set, cut cakes, cake stands, and candles from a variety of colored cardstock. Assemble.
- With the Small Die of the Month set, cut balloons, balloon strings, and sentiment banner from a variety of colored cardstock. Assemble.
- Add assembled items to card base with dot and foam adhesive.
Spellbinders has a Pre-Holiday Clearance Sale available until November 13, 2024 at 11:59 MST.

