Spellbinders Holiday 2019 Release – Blog Hop + Giveaway

Hello crafty friends! I am delighted to be participating in a blog hop celebrating the Spellbinders Holiday 2019 Release! You should have reached me from the blog of Wanda Guess. I’ve included a full list of participants at the end of my post.

Spellbinders Holiday 2019 Blog Hop

To celebrate this release, Spellbinders is giving away a $50 gift certificate to one lucky blog reader – selected from the comments across all of the blogs in the hop. Giveaway closes on Sunday, August 25th 11:59 pm EDT. The winner will be announced in the blog hop post the following Monday. The winner is responsible for shipping cost, duties, and taxes.

I’m sharing projects created with three die sets in the new collection. Let’s take a look.

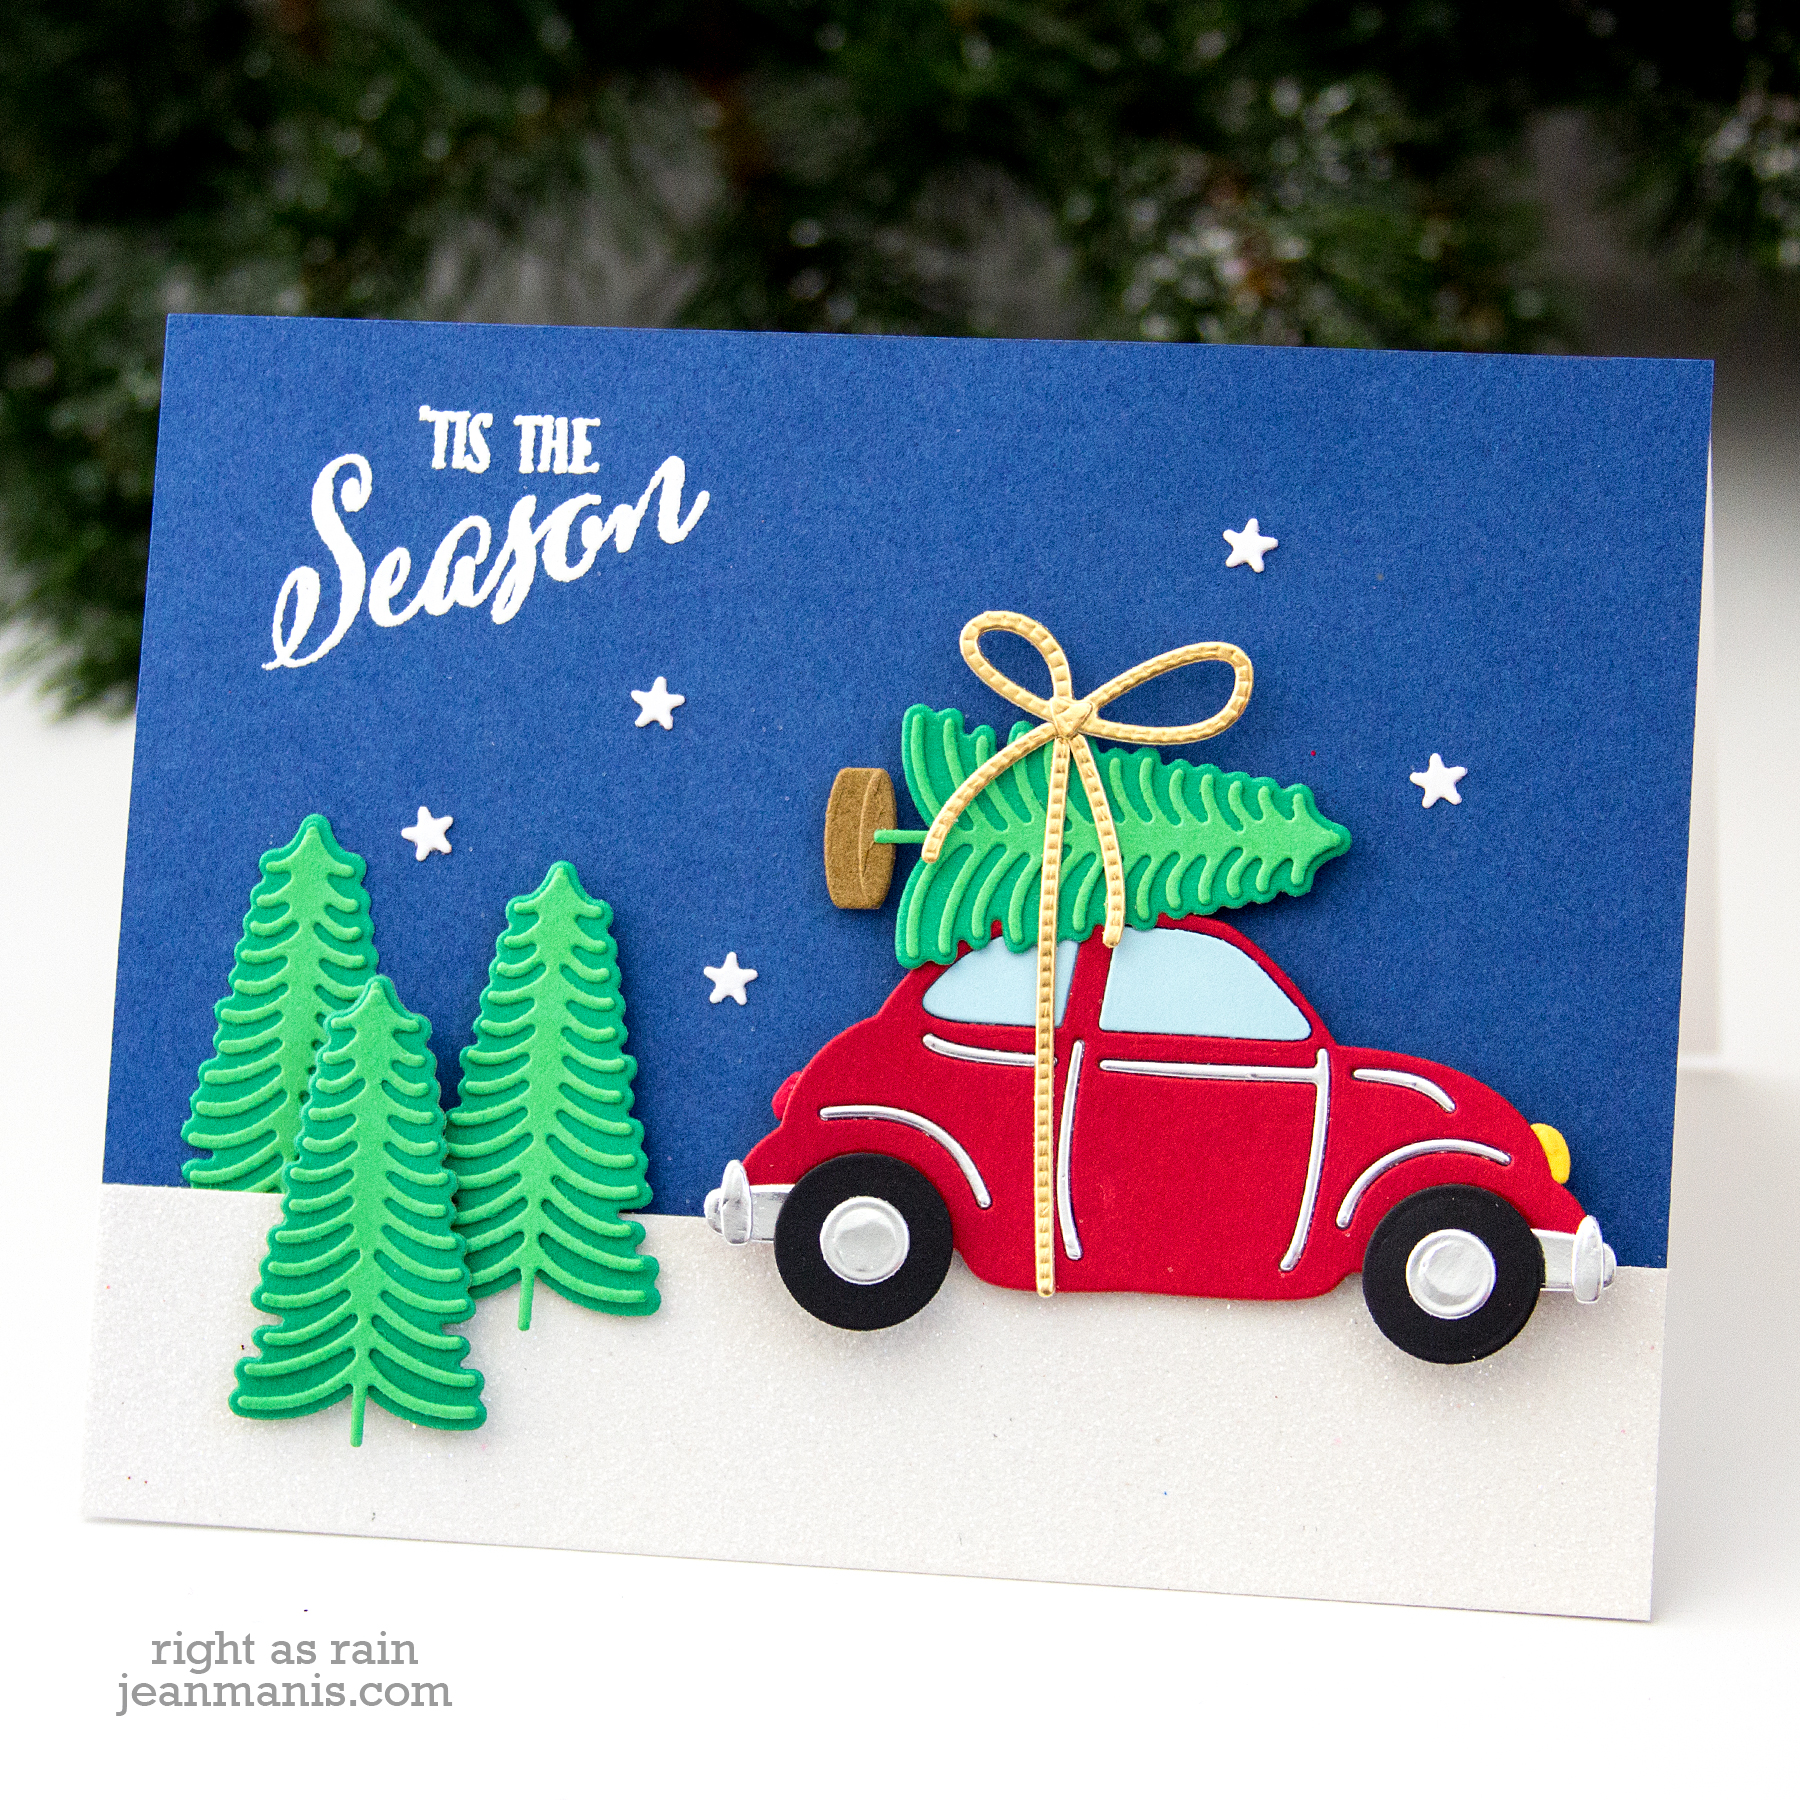
My first project showcases the Christmas Bandit die set. I’ve set the bandit into a snow-covered scene.

Spellbinders Holiday 2019 Release - Christmas Bandit

  • I used the Winter Hills die set to create a snowy backdrop. (I trimmed off the edges of the panels; the die set was designed to create a layered tri-fold card.)
  • For the background, I dry-embossed the background with the FaLaLa folder.
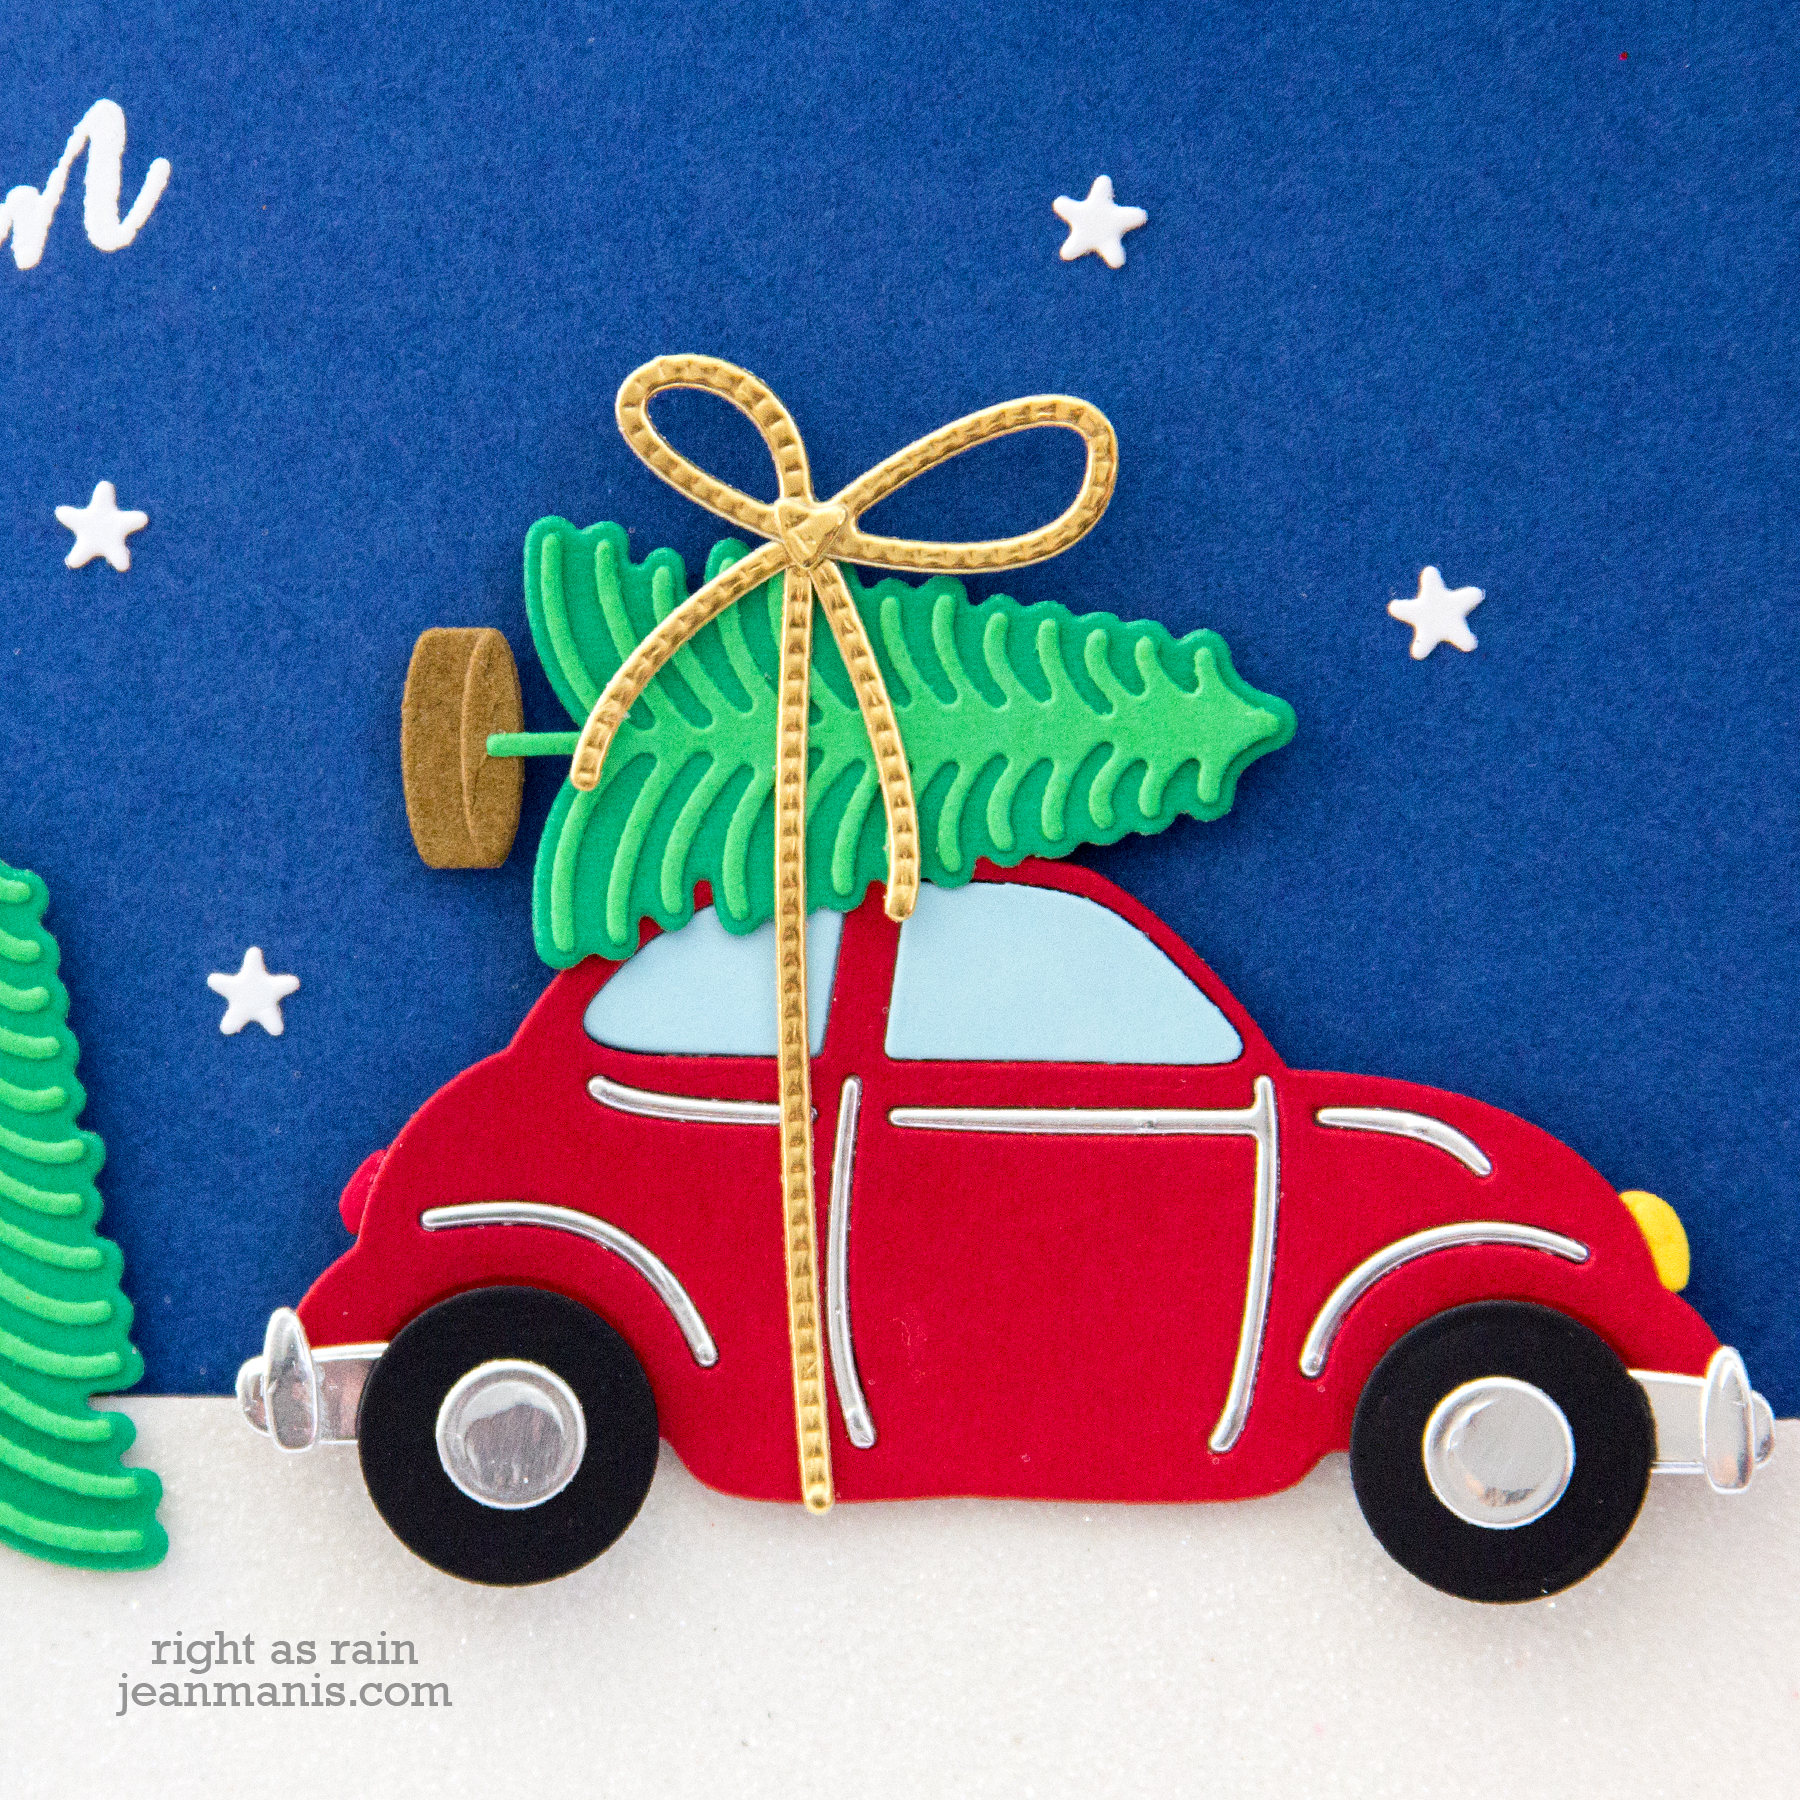
  • I cut and assembled the bandit and added him to the scene with foam adhesive. The heat-embossed sentiment reinforces the theme and adds additional color.

Spellbinders Holiday 2019 Release - Christmas Bandit

One of the great things about this collection is there’s something for everyone. Case in point, the Laurel & Bows Cut and Emboss folder.

Spellbinders Holiday 2019 Release - Laurel & Bows Cut and Emboss

  • I cut and embossed Brush Gold cardstock with the Laurel & Bows Cut and Emboss folder.
  • I heat-embossed the sentiment with gold embossing powder on Cranberry Bliss cardstock. I attached the panel to the back of the dry-embossed panel with foam adhesive.
  • I adhered the assembly to a card base. The card measures 5″ x 7″.

Spellbinders Holiday 2019 Release - Laurel & Bows Cut and Emboss

Quick, easy, and elegant – perfect for mass production!

My final projects use the Shapeabilities Joy die set. There are so many options available with this set! And again, the set is completely adaptable to one’s own style. My projects reflect my CAS style.

Spellbinders Holiday 2019 Release - Shapeabilities Joy

I created card backgrounds from teal solid cardstock, patterned red paper, and green solid cardstock. For all three cards, I cut the poinsettia blooms with the included die and added them to the JOY back panel with foam adhesive. The back panel for the letters does not cut the center of the “O” but the die set includes a die with which to do so.

For the holidays, I like to add metallic accents. For the teal and red background cards, I cut the letters from Brush Gold cardstock. I cut the flower centers on all of the cards from the gold cardstock.

Spellbinders Holiday 2019 Release - Shapeabilities Joy

Spellbinders Holiday 2019 Release - Shapeabilities Joy

Spellbinders Holiday 2019 Release - Shapeabilities Joy

There really is no limit to the possibilities with this set! I could have cut the greenery pieces, dry-embossed the card base, used glitter or shiny cardstock for the letters, …. You get the idea!

Now it’s time to head to the blog of Keeway Tsao. The entire blog hop list is included at the end of the post. Thanks for stopping by!

Supplies:

Blog Hop List:

Spellbinders
Jennifer Mcguire
Debby Hughes
Yana Smakula
Nichol Spohr
Wanda Guess
Jean Manis
Keeway Tsao
Svitlana Shayevich
Mindy Eggen
Marie Heiderscheit
Zsoka Marko
Laurie Willison
Karin Åkesdotter
Nina-Marie Trapani
Mindy Baxter
Amy Rysavy
Betty Wright
Daniel West
Amanda Korotkova
Mayline Jung
Varada Sharma

Spellbinders Small Die of the Month Kit – Pack It Up

Hello and happy August! I can’t believe how fast this summer (this year!) is flying by. Today, I am sharing two projects created with the August Small Die of the Month kit from Spellbinders – “Pack It Up” ($12.50 with US shipping included in the cost!). This is an adorable die set that lends itself to a number of card themes including school and travel. And these cards could not have come together any faster! Let’s take a look!

Spellbinders Small Die of the Month Kit – Pack It Up

The set contains all of the dies required to create the backpack, along with fun accessories, and two sentiments. On both cards, I used papers from the Echo Park “Back to School” 6″ x 6″ patterned paper pack along with silver foil cardstock.

Spellbinders Small Die of the Month Kit – Pack It Up

On my first card, I created two backpacks – one open, with the sentiment inside the top flap, and the other closed.

Spellbinders Small Die of the Month Kit – Pack It Up

  • I cut out the elements and assembled the backpacks with glue. My favorite part – the silver buckles and zipper pull!
  • I added the assembled backpacks to a 6″ x 6″ card base.

Spellbinders Small Die of the Month Kit – Pack It Up Spellbinders Small Die of the Month Kit – Pack It Up Spellbinders Small Die of the Month Kit – Pack It Up

On my second card, measuring 5 1/2″ x 5 1/2″, I featured one of the backpacks along with the cute accessories.

Spellbinders Small Die of the Month Kit – Pack It Up

  • On this card, I die-cut the “You Rule!” sentiment with a circle.
  • To “quiet” the background paper, I put double-sided adhesive on vellum and added it on top of the patterned paper base.

Spellbinders Small Die of the Month Kit – Pack It Up Spellbinders Small Die of the Month Kit – Pack It Up

Thanks so much for visiting today!

Supplies:

Spellbinders/Fun Stampers Journey – Shark Week

Hello! Suns out, fins up! Today I am sharing two summer-themed cards created with the Shark Attack stamp set. I thought these would be fun for the 31st edition Shark Week, which kicks off July 28. I previously shared a card using this stamp set in this post.

Spellbinders/Fun Stampers Journey - Shark Week

On my first card, I stamped the shark image on an ink-blended background.

Spellbinders/Fun Stampers Journey - Shark Week

  • I blended Tumbled Glass, Salty Ocean, and Blueprint Sketch Distress Oxide inks on white cardstock.
  • I stamped the shark image on to the panel with Archival ink.
  • I heat-embossed the sentiment on to black cardstock, which I cut with a circle die.
  • I popped the sentiment on to the center of the card base with foam adhesive.

For the second card, I stamped the shark image on to a white card base with shades of blue ink.

Spellbinders/Fun Stampers Journey - Shark Week

  • I started at the top of the panel stamping with Tumbled Glass Distress ink. Without moving the stamp, I overstamped the image with Tumbled Glass Distress Oxide ink. (Prior to stamping the background, I ran a test. I stamped the image with dye ink, dye ink and then oxide, oxide only, and oxide with dye ink over. Of those four, I like the combination of first stamping with the dye ink and then stamping with the oxide image the best.)
  • I continued down the panel using the same system with Broken China, Salty Ocean, and Blueprint Sketch.
  • I heat-embossed the sentiment on to black cardstock, which I cut with a circle die. The circle is slightly smaller than the circle on the first card.
  • I popped the sentiment on to the center of the card base with foam adhesive.

Supplies:

Spellbinders – Paul Antonio

Hello! Today, I am sharing projects created with supplies designed by Paul Antonio for Spellbinders.

My first two cards showcase the Thank You stamp.

Spellbinders - Paul Antonio

This is a fun hand-lettered sentiment that lends itself to a variety of approaches. I chose dark cardstock on which to heat-emboss the sentiment; I chose background papers with the same colors.

For both CAS cards:

  • I heat-embossed the Thank You sentiment, which I cut with the largest die in the Classic Squares set.
  • I matted the sentiment with a 3 3/4″ square in white.
  • I added the sentiment to a card base covered with patterned paper, which was created digitally (Designer Digitals papers). The cards measure 4 1/2″ square.

Spellbinders - Paul Antonio Spellbinders - Paul Antonio

On my next two cards, I used the Booklet Binding die set to create sentiment labels.

Spellbinders - Paul Antonio

For both cards, I cut a background with the Lucky Clouds die.

Spellbinders - Paul Antonio

On the first card, I heat-embossed a sentiment on Candy Apple cardstock and cut it with the smallest die in the Booklet Binding set. I added a bird cut with a die in the Robin and Rosy Mug set.

Spellbinders - Paul Antonio

On the other card, I heat-embossed the Everyday Script sentiment on Whip Cream cardstock and cut it with one of the label dies in the Booklet Binding set. I used a larger die in the set to cut a label from Brush Gold cardstock as a mat. You can really see the edge detail in the gold label!

Supplies:

Spellbinders Vintage Treasures Collection Blog Hop

Spellbinders Vintage Treasures Collection Blog HopHello! I am delighted to be participating in a blog hop showcasing the Vintage Treasures Collection by Becca Feeken for Spellbinders. You should have reached me from the blog of Hussena Calcuttawala. I have included a list of all of the participants at the end of my post.

To celebrate this release, Spellbinders is giving away a $50 gift certificate to 3 lucky blog readers – selected from the comments across all of the blogs in the hop. Giveaway closes on Sunday, July 14th 11:59 pm EDT. The winners will be announced in the blog hop post the following Monday. Winners are responsible for shipping cost, duties, and taxes.

According to the dictionary: vintage (adj): of old, recognized, and enduring interest, importance, or quality; treasure (noun): something of great worth or value; a collection of precious things. With these definitions in mind, I incorporated pearl and metallic accents, as well as traditional color schemes, on my projects. At the same time, I stayed true to my CAS style in the designs. Let’s take a look!

Spellbinders Vintage Treasures Collection Blog Hop

My first two projects use the Brillante Rondelle set. I have used the same design, varying the colors, to show how easy it is to change the project simply based on the color scheme. For both cards, which measure 5 1/2″ square:

  • I heat-embossed the sentiment and cut the panel with the detail and outline dies in the Brillante Rondelle set.
  • I cut cardstock with the outline die for the panel underneath the sentiment section.
  • I cut the outside circle with the detail and outline dies. I cut the piece underneath with the outline die only.
  • I cut the flowers with dies included in the Floral Tiara Topper set. On one I added pearls to the flower centers. On the other I punched circles with a hole punch from gold cardstock.

Spellbinders Vintage Treasures Collection Blog Hop

Spellbinders Vintage Treasures Collection Blog Hop

My next set of cards feature the Marquise Diamond Pendant set.

Spellbinders Vintage Treasures Collection Blog Hop

For both cards:

  • I heat-embossed the sentiment and cut with with both the detail and outline die in the diamond shape.
  • I cut the solid panel with just the outline.
  • I adhered the pieces together and embellished with a detail die included in the set.

Spellbinders Vintage Treasures Collection Blog Hop

Spellbinders Vintage Treasures Collection Blog Hop

My final card combines dies from the Bella Luce Oval and the Floral Tiara Topper sets.

Spellbinders Vintage Treasures Collection Blog Hop

  • I cut the tiara shape with the detail and outline dies twice.
  • I heat-embossed the sentiment and cut it with one of the oval dies in the Bella Luce Oval set. I cut the oval frame with the detail die and the outline.
  • I assembled the pieces on a gold base.
  • I added pearls to the tiara shape and flowers to the oval.

Thanks so much for stopping by! The hop continues over at the blog of Mallika Kejriwal.

Supplies:

Blog Hop List:
Spellbinders
Hussena Calcuttawala
Jean Manis
Mallika Kejriwal
Jennifer Snyder
Laurel Beard
Anita Kejriwal
Melody Rupple
Marie Heiderscheit
Brenda Noelke
Mindy Eggen
Varada Sharma