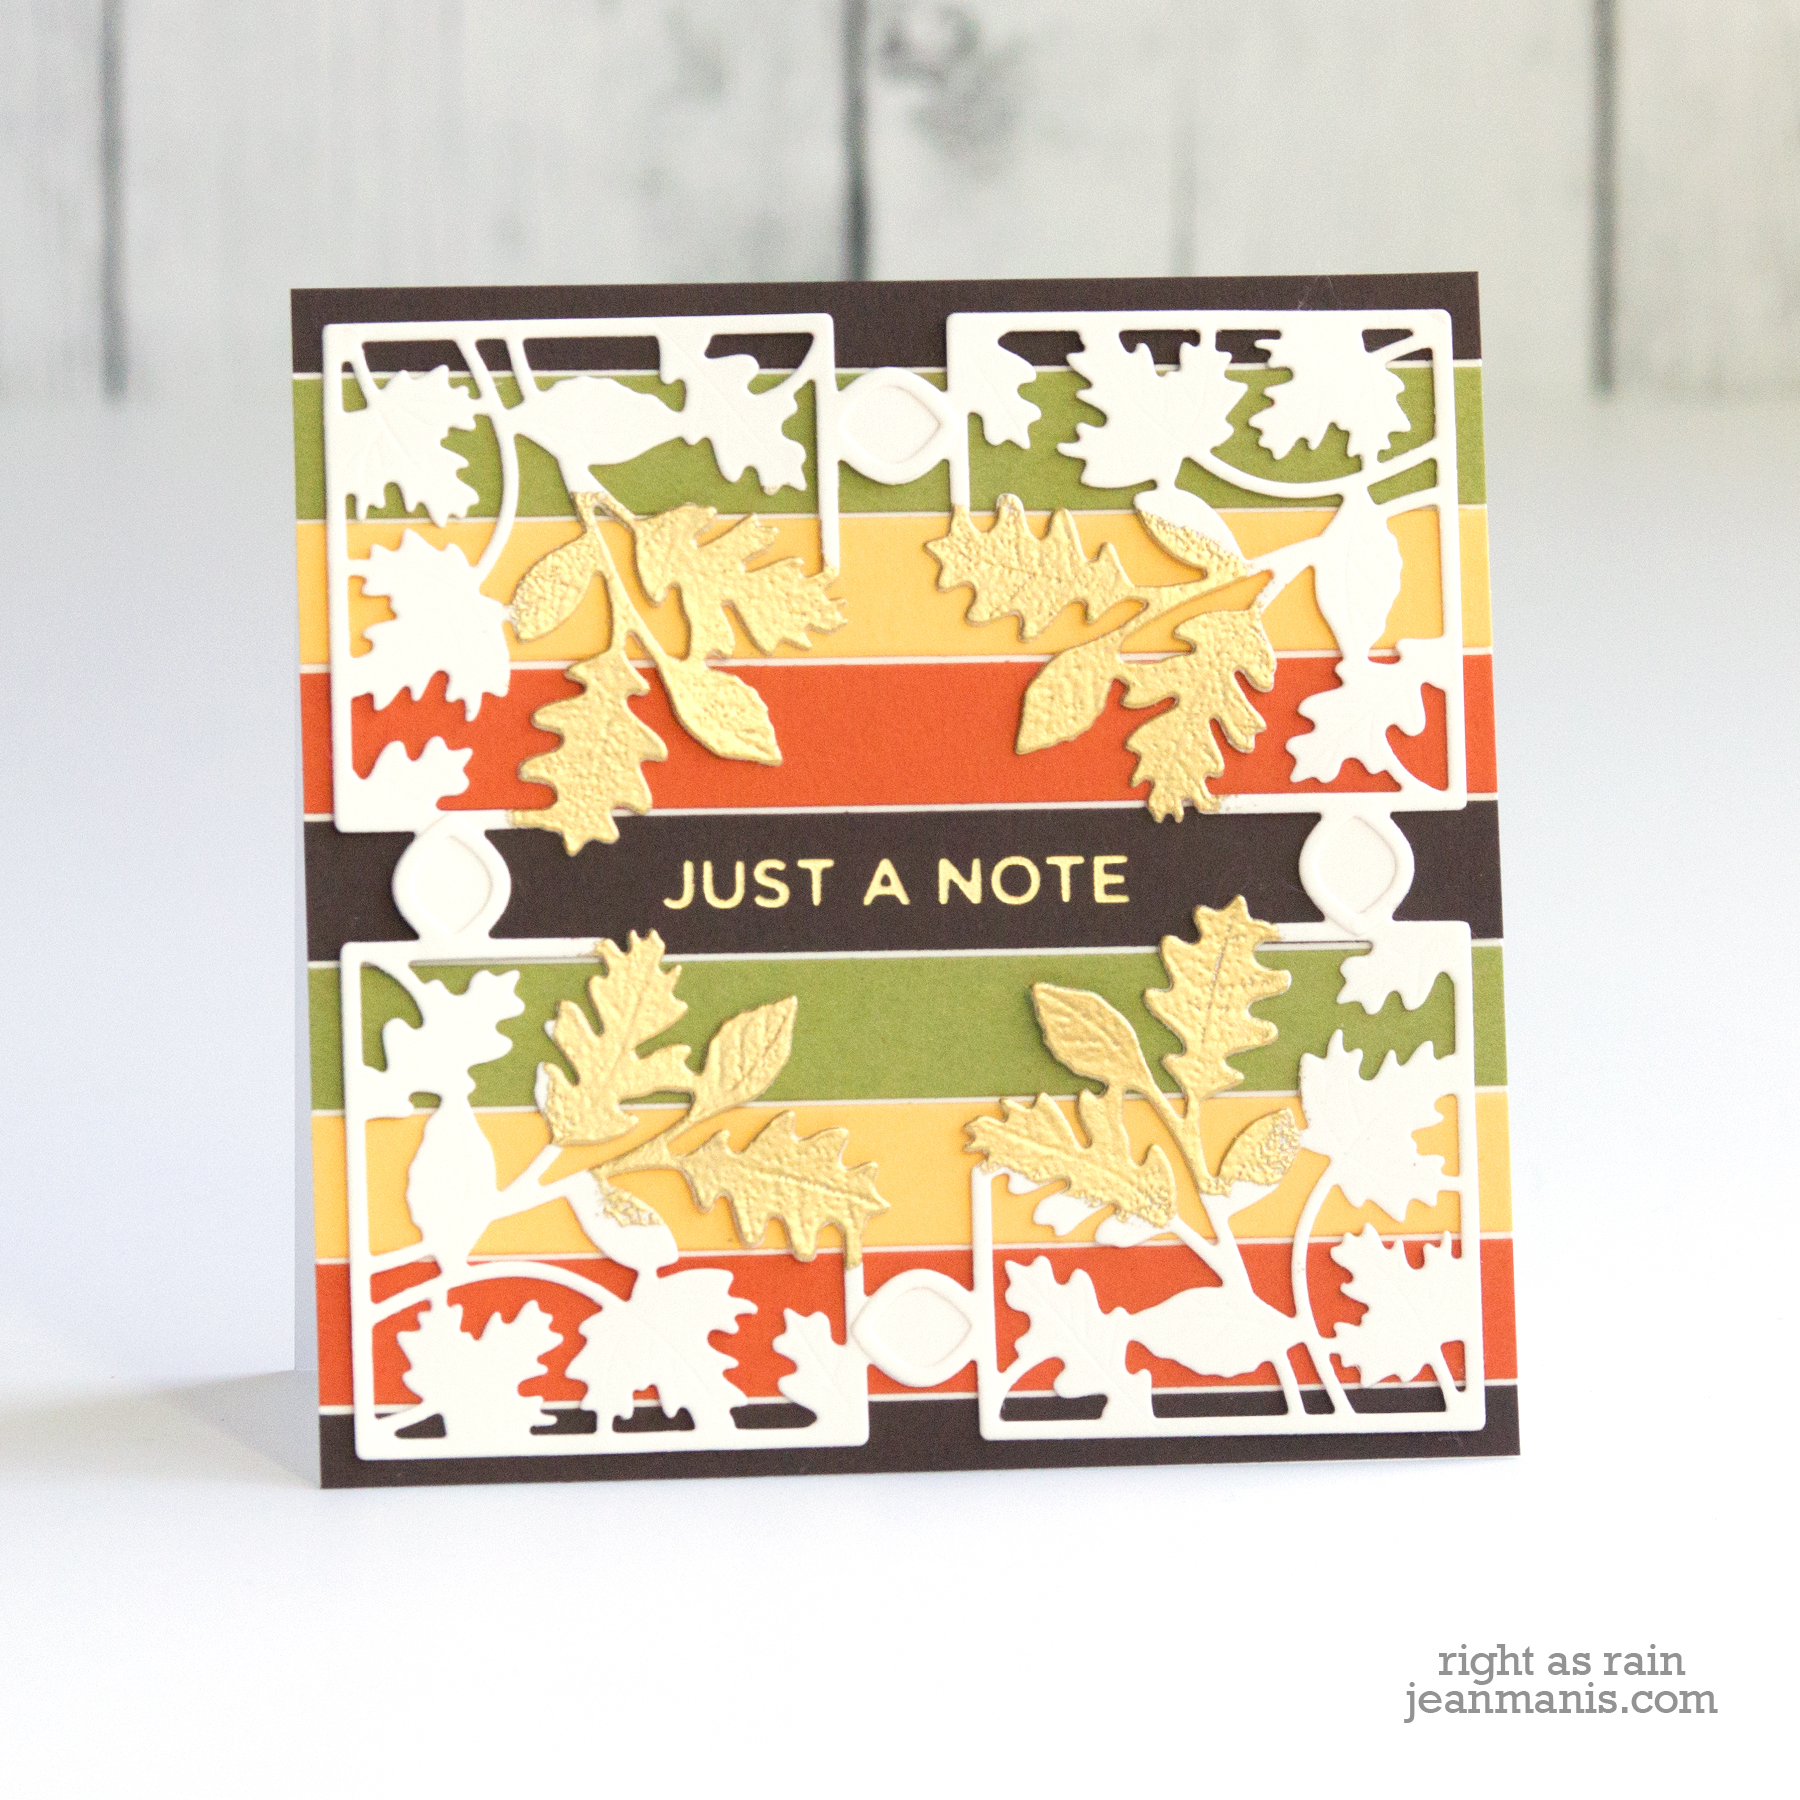
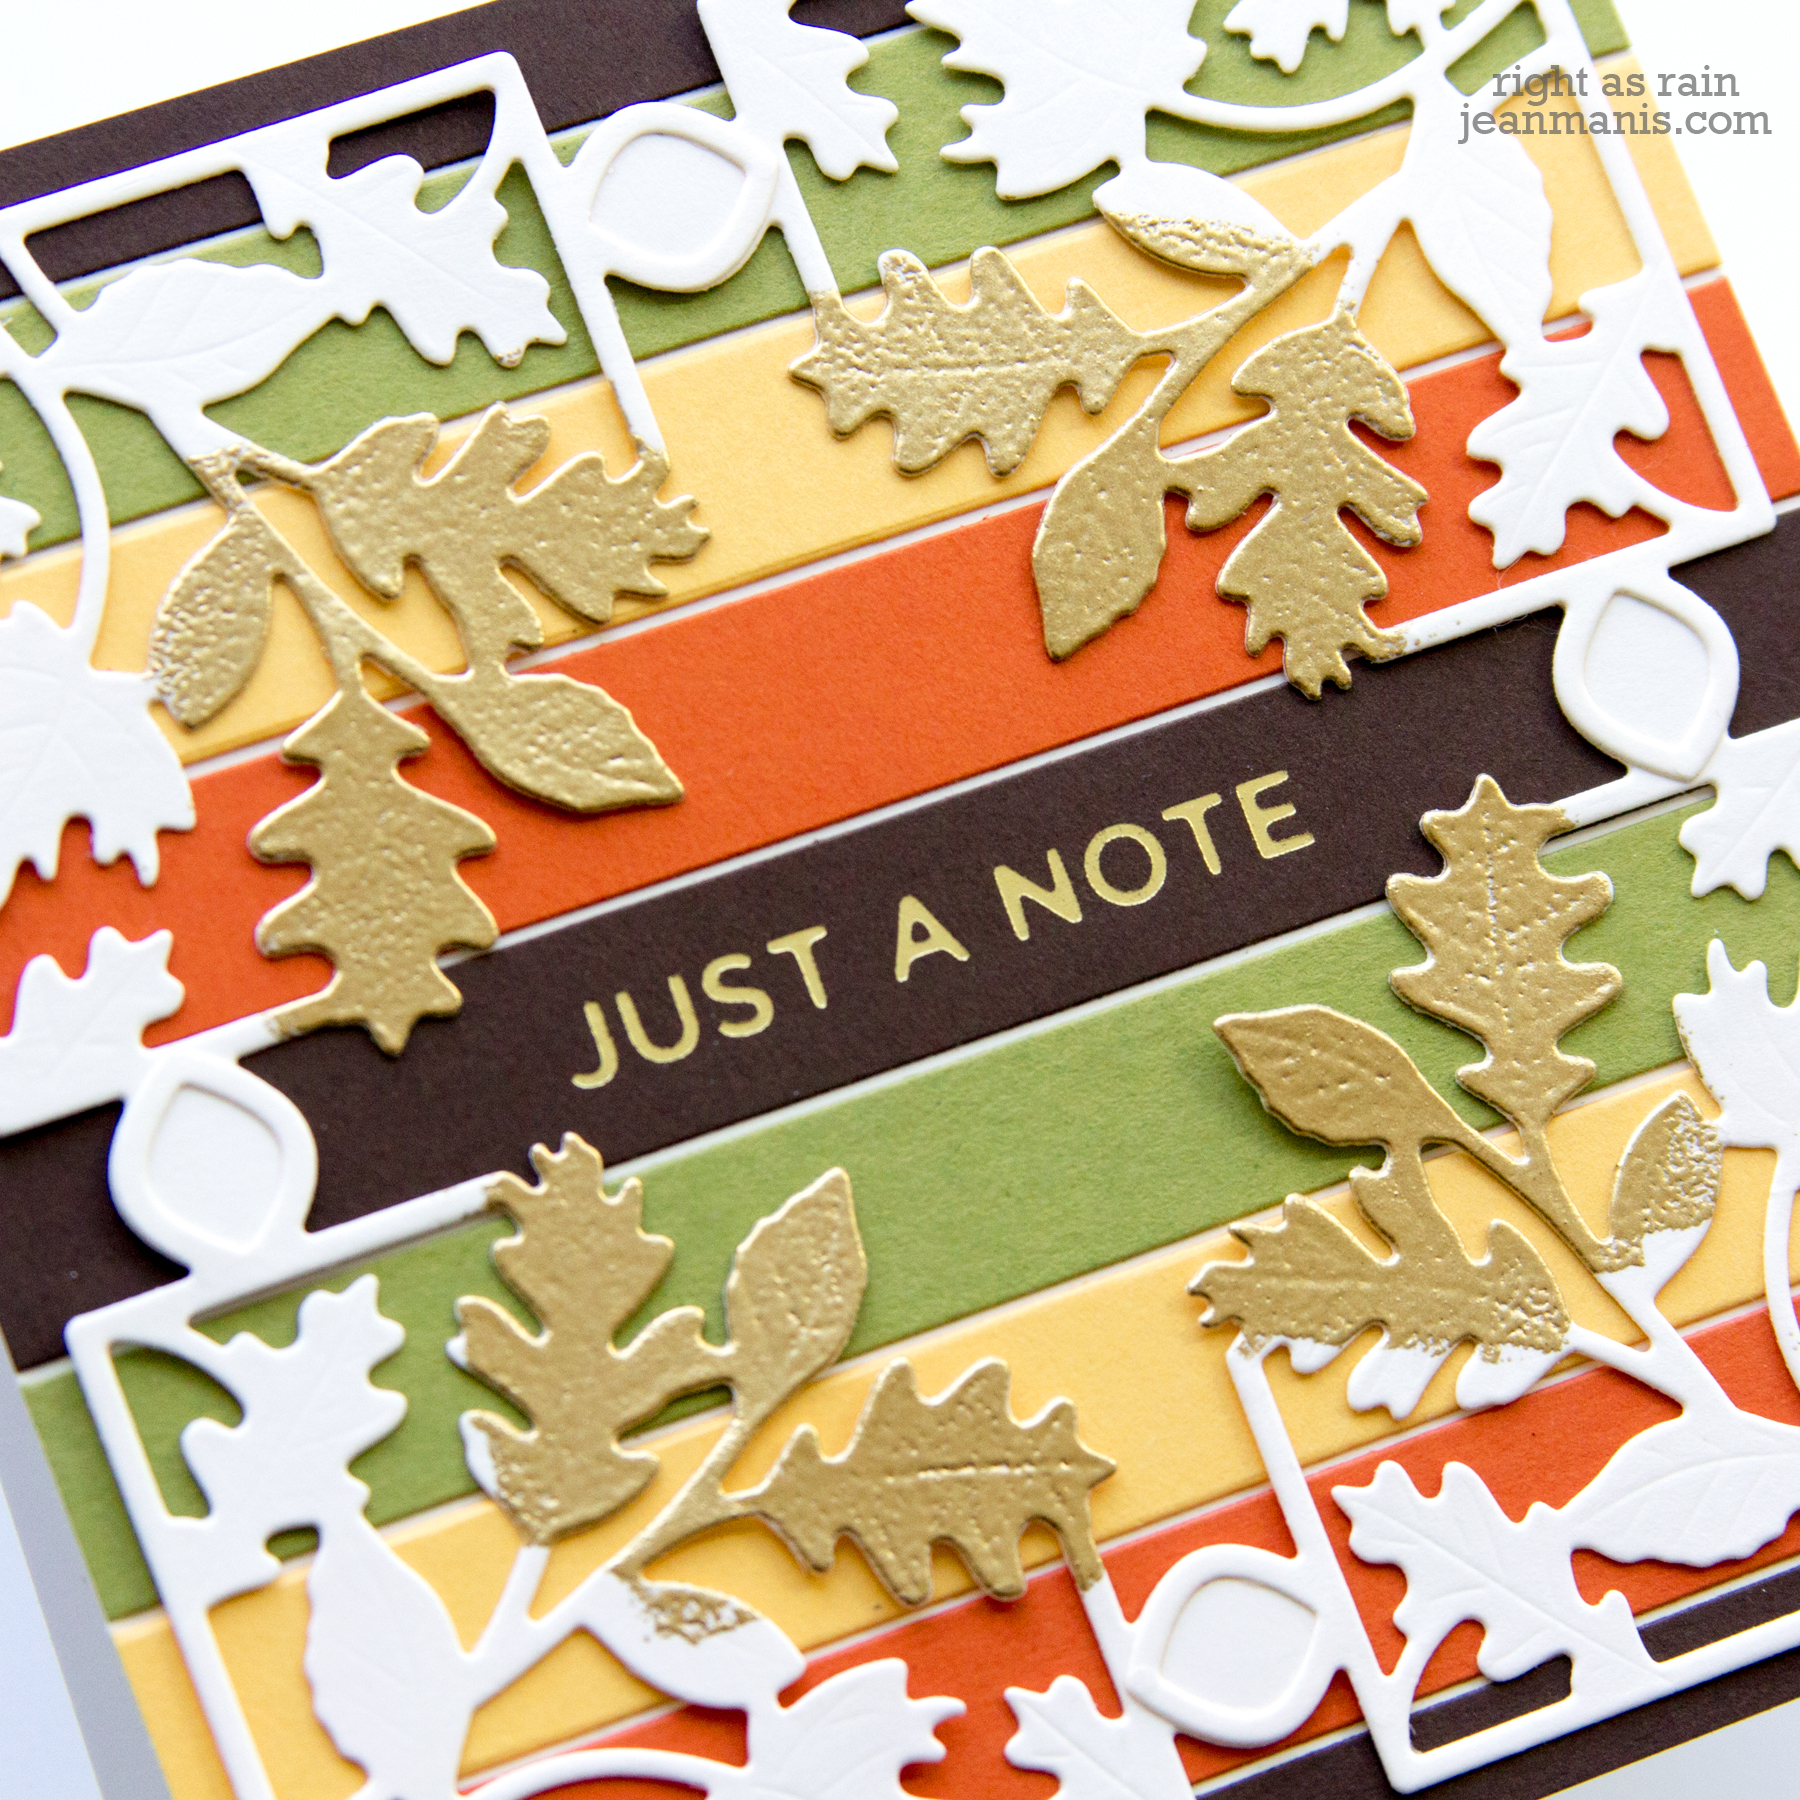
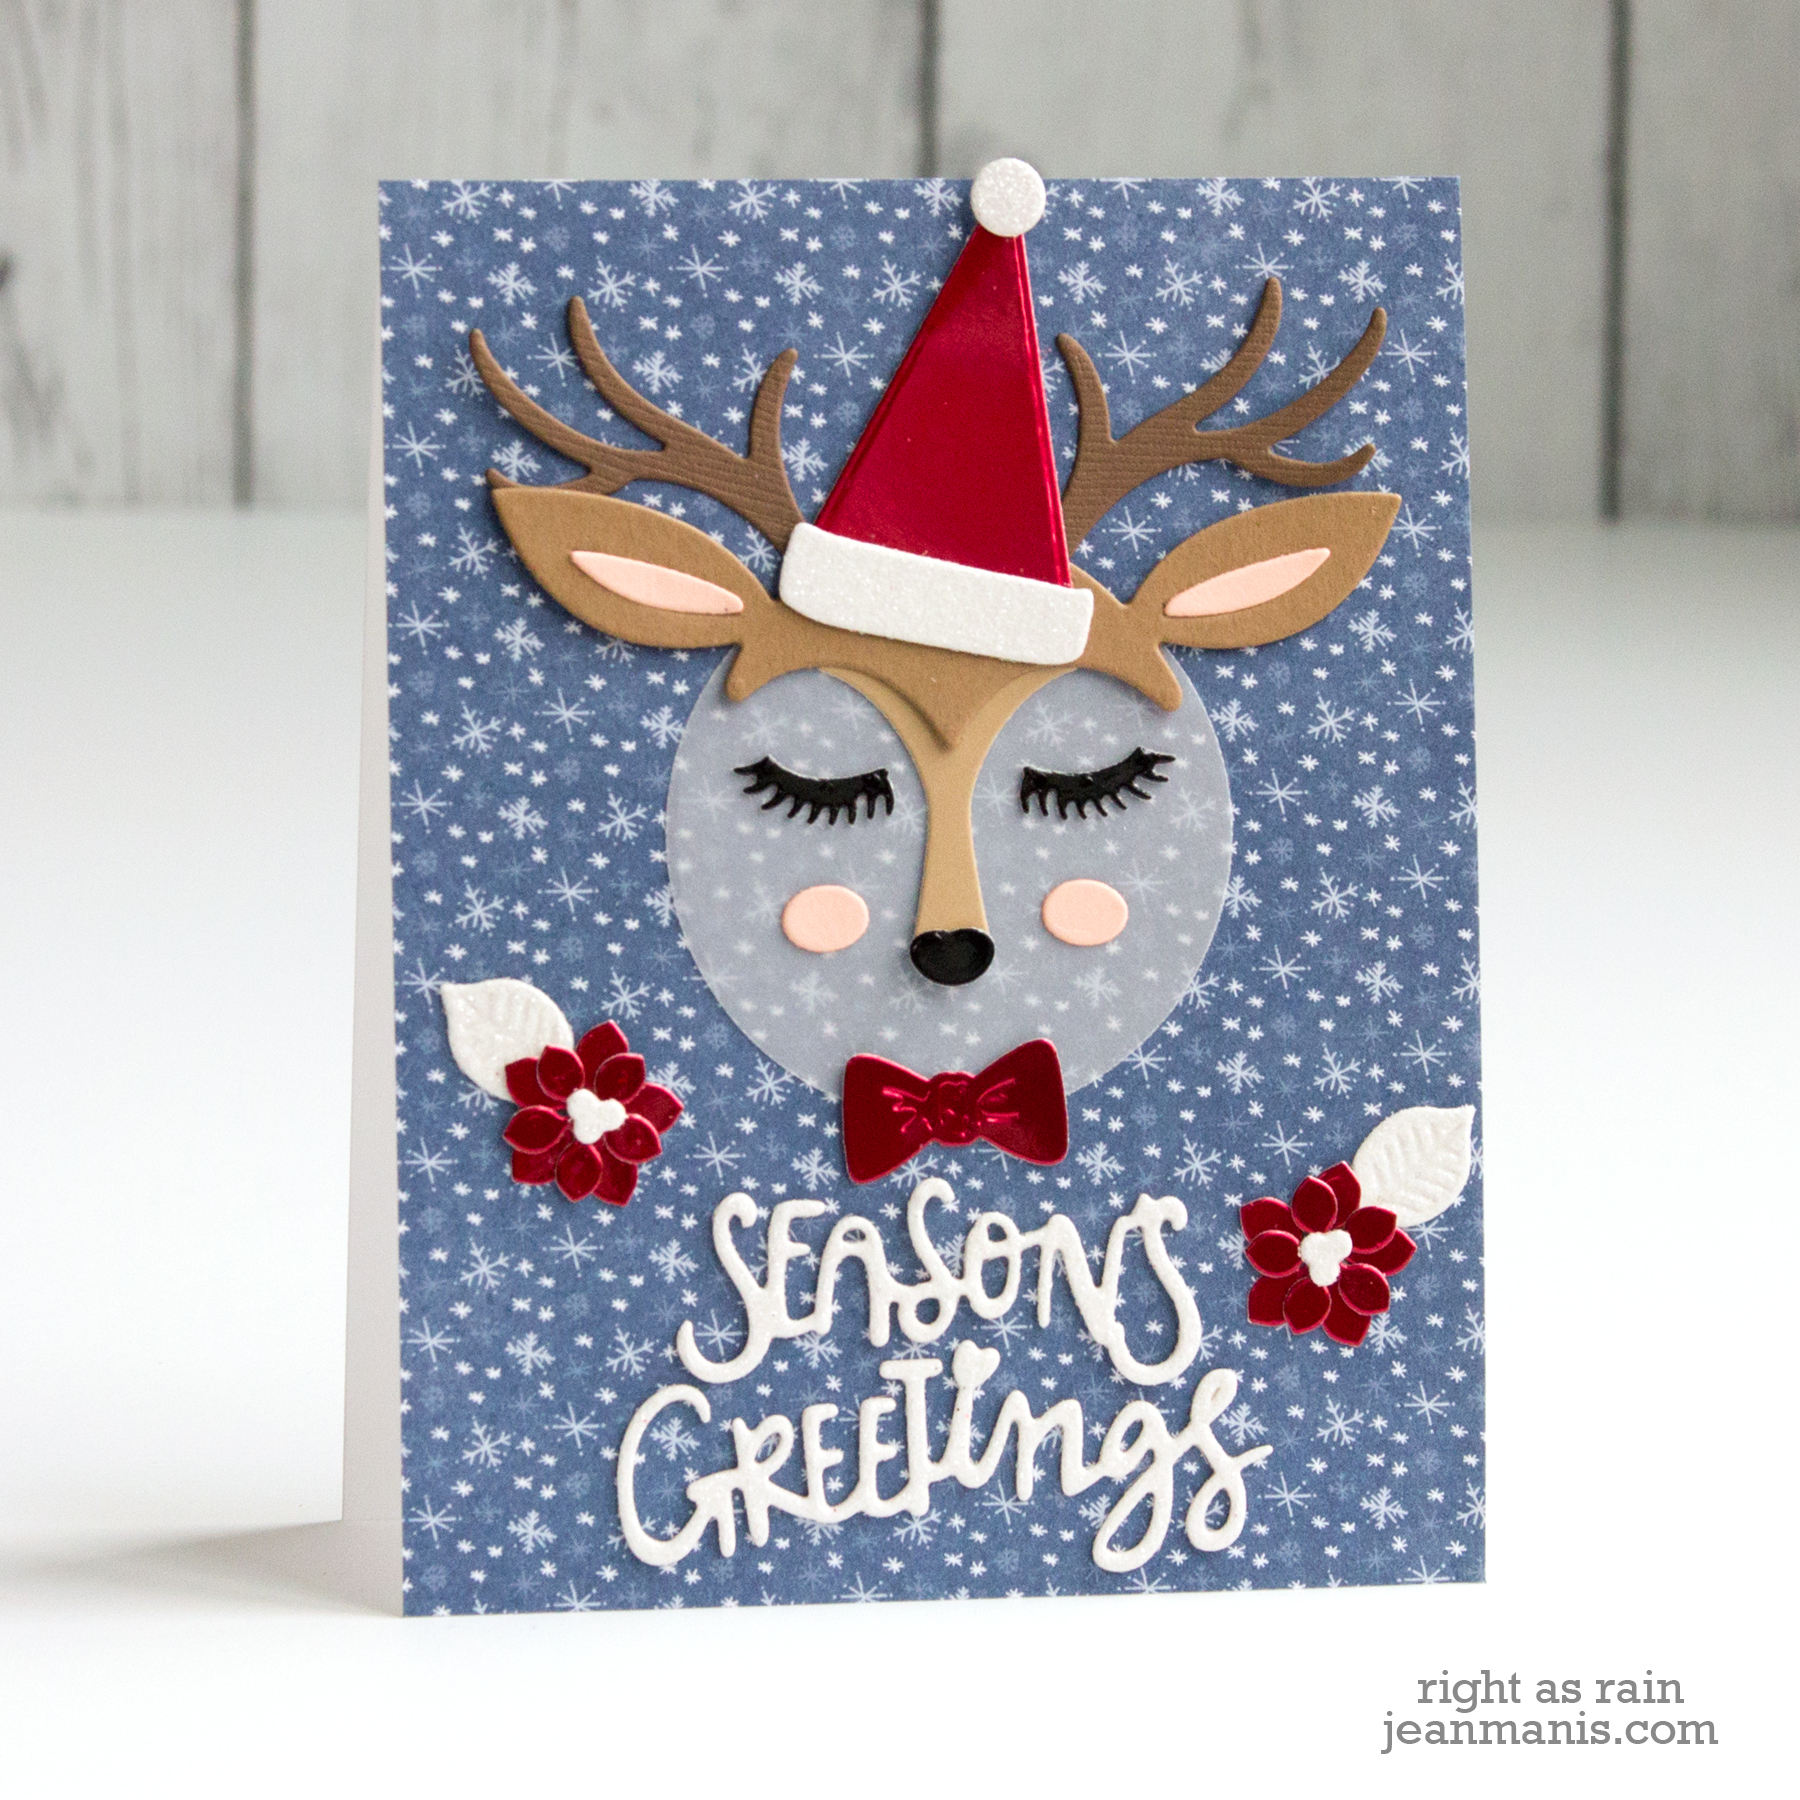
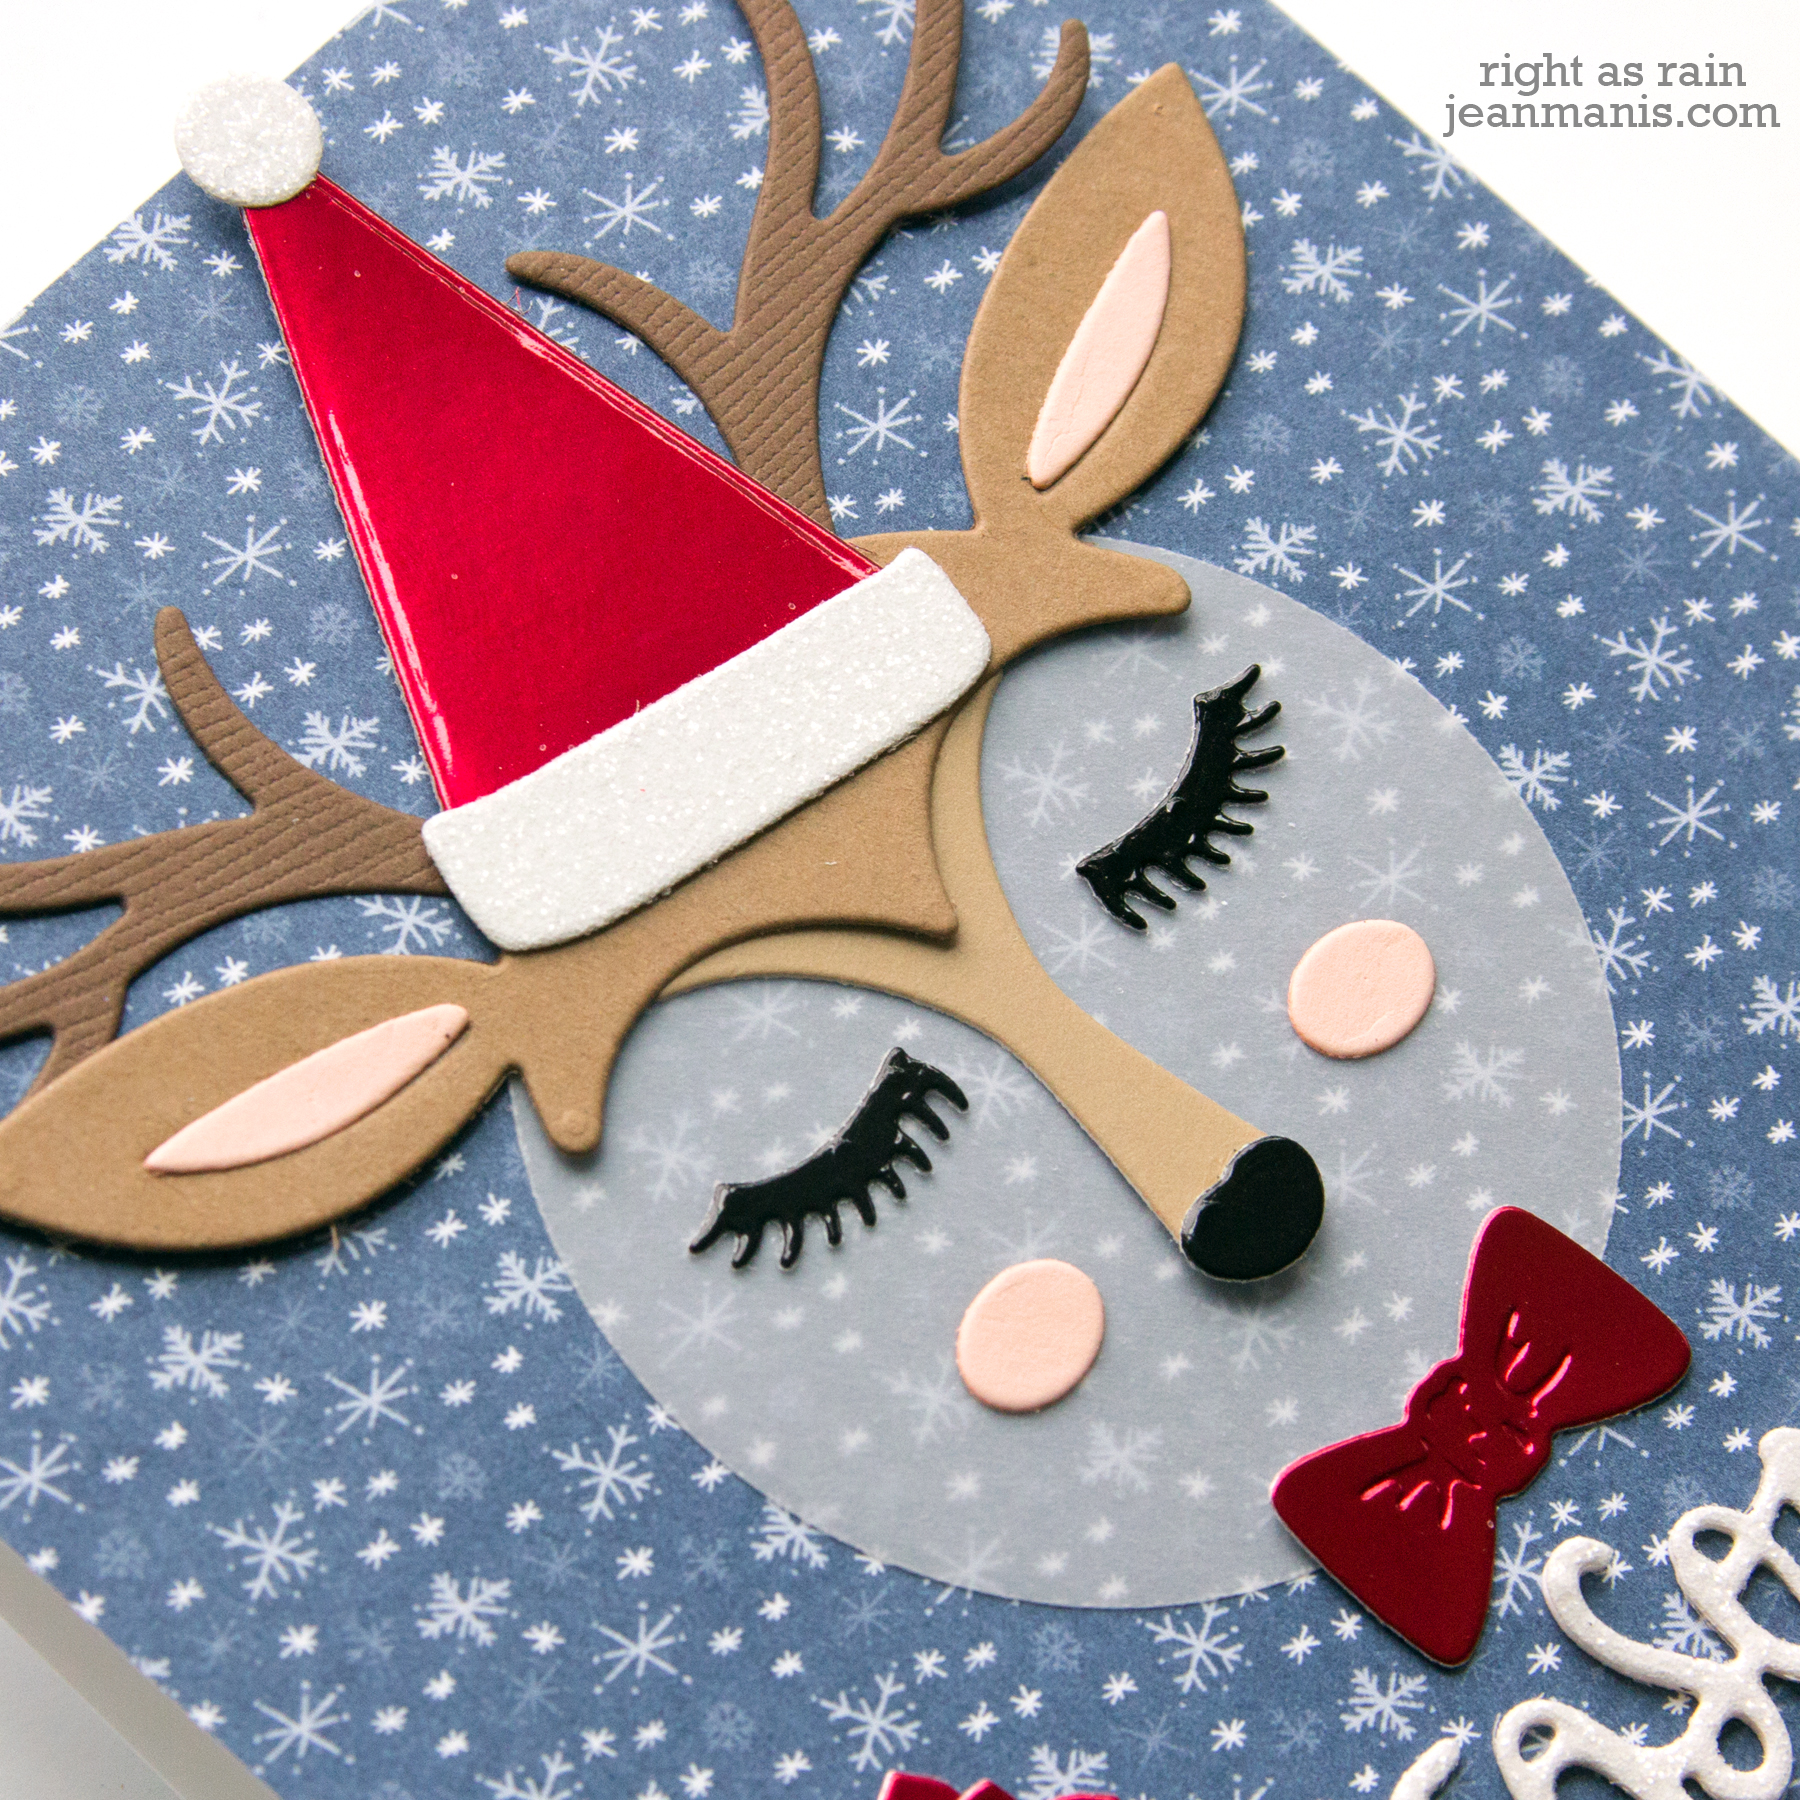
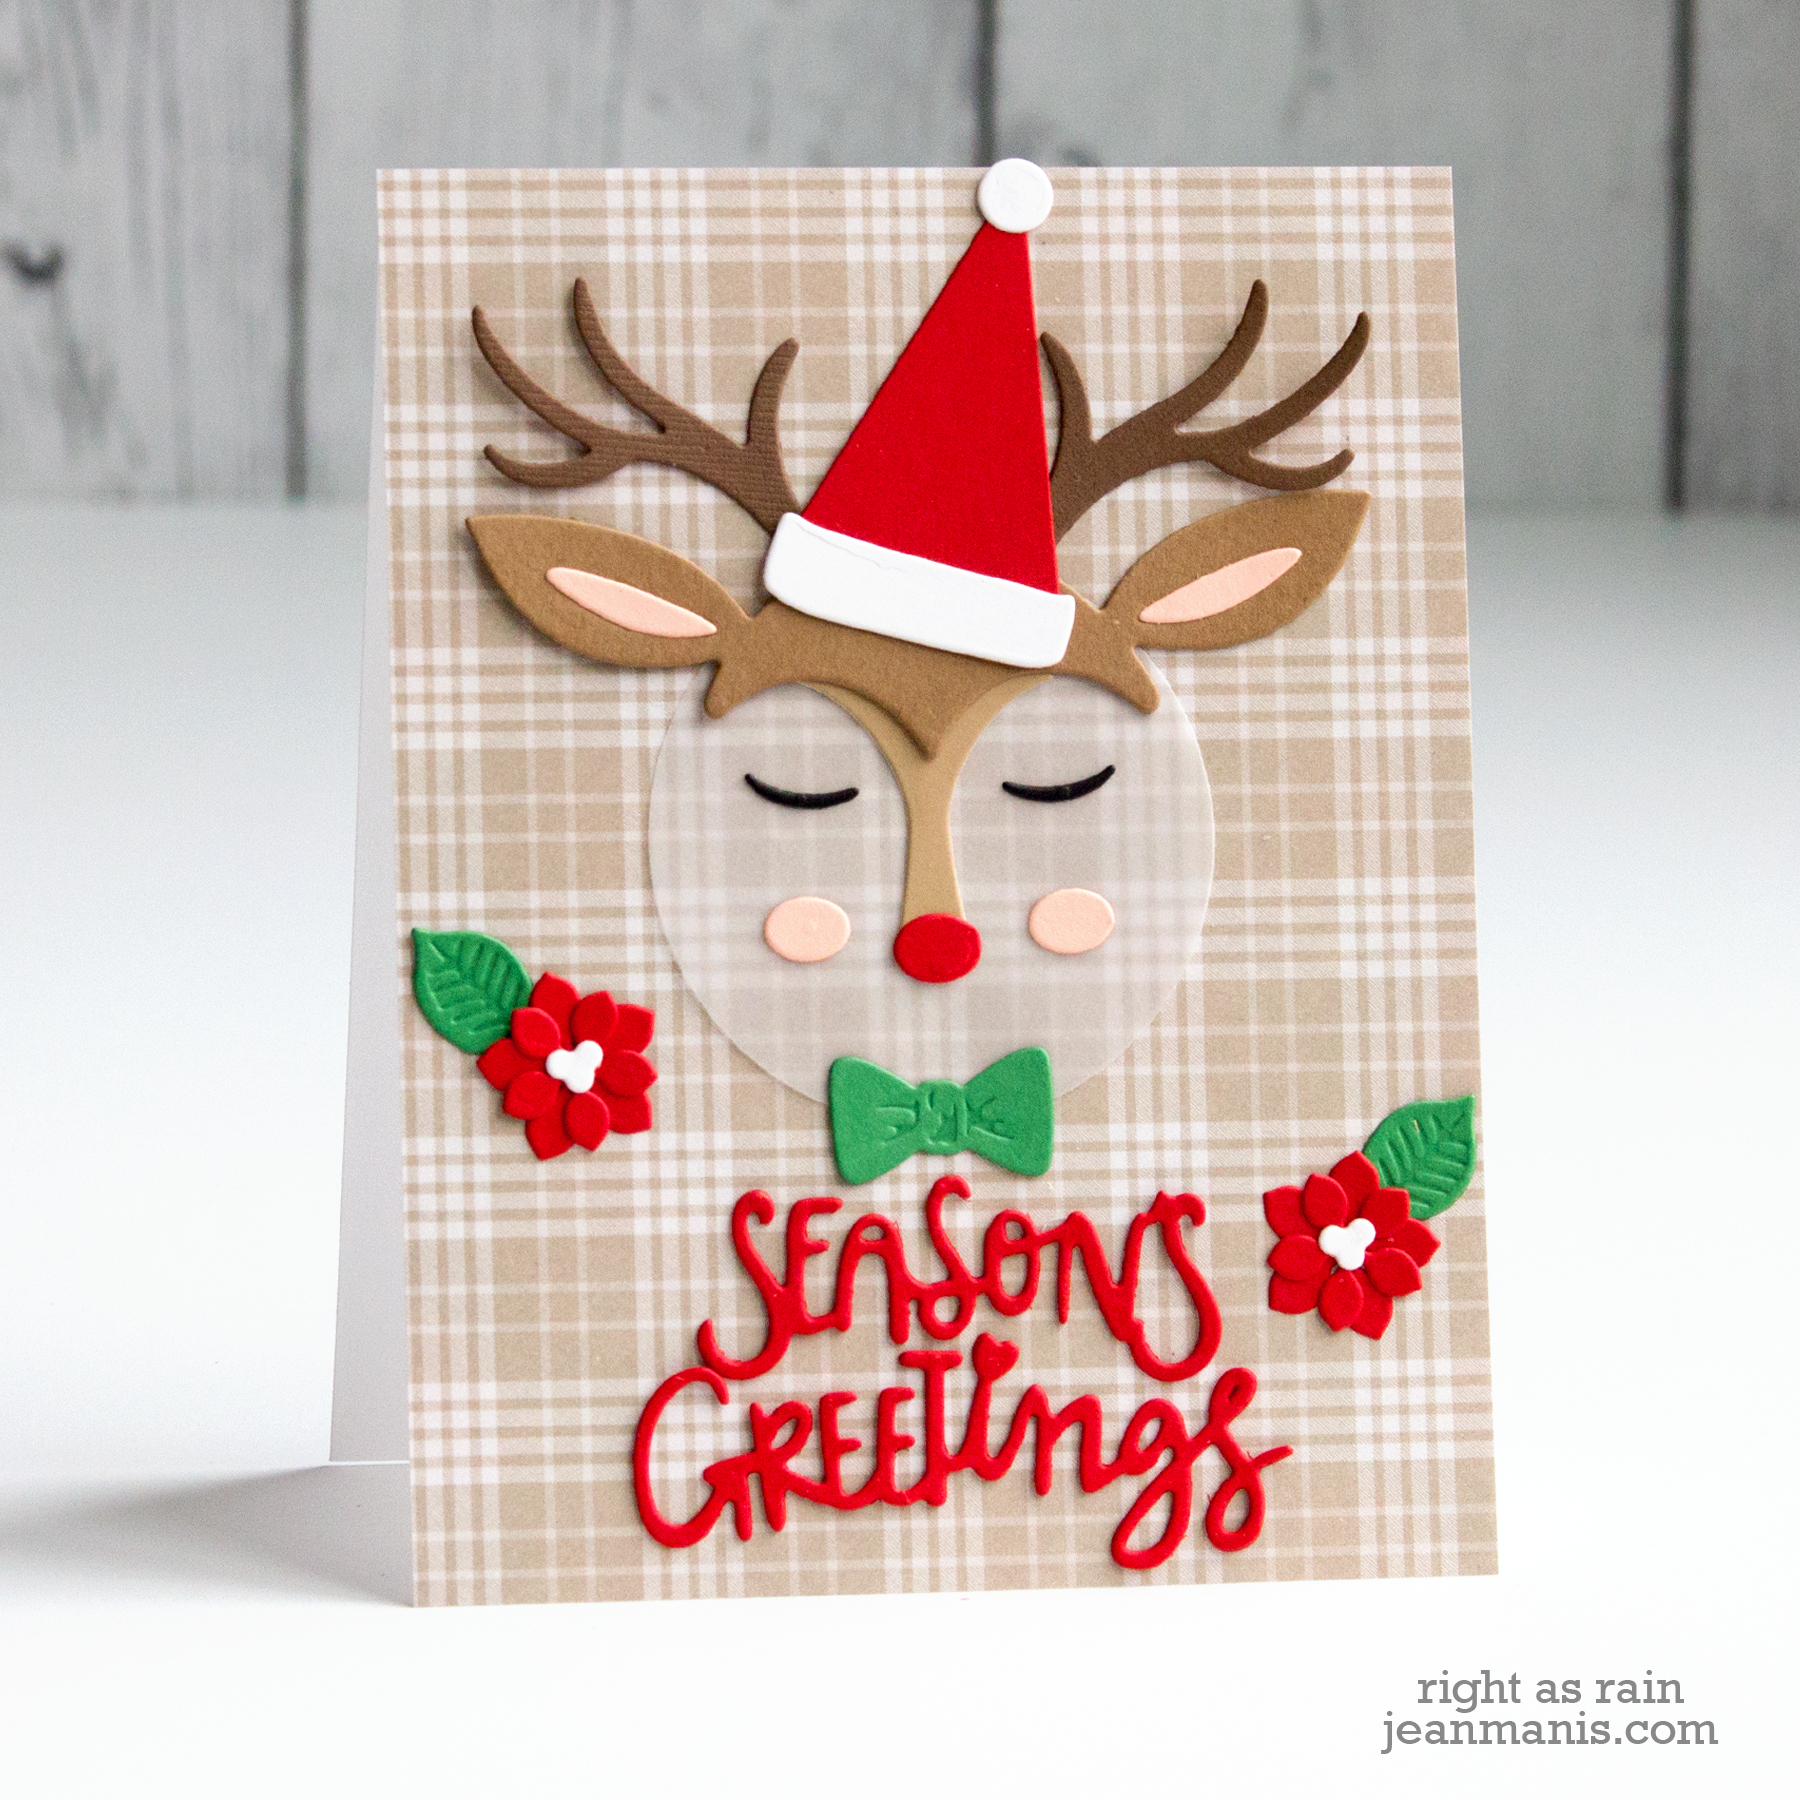
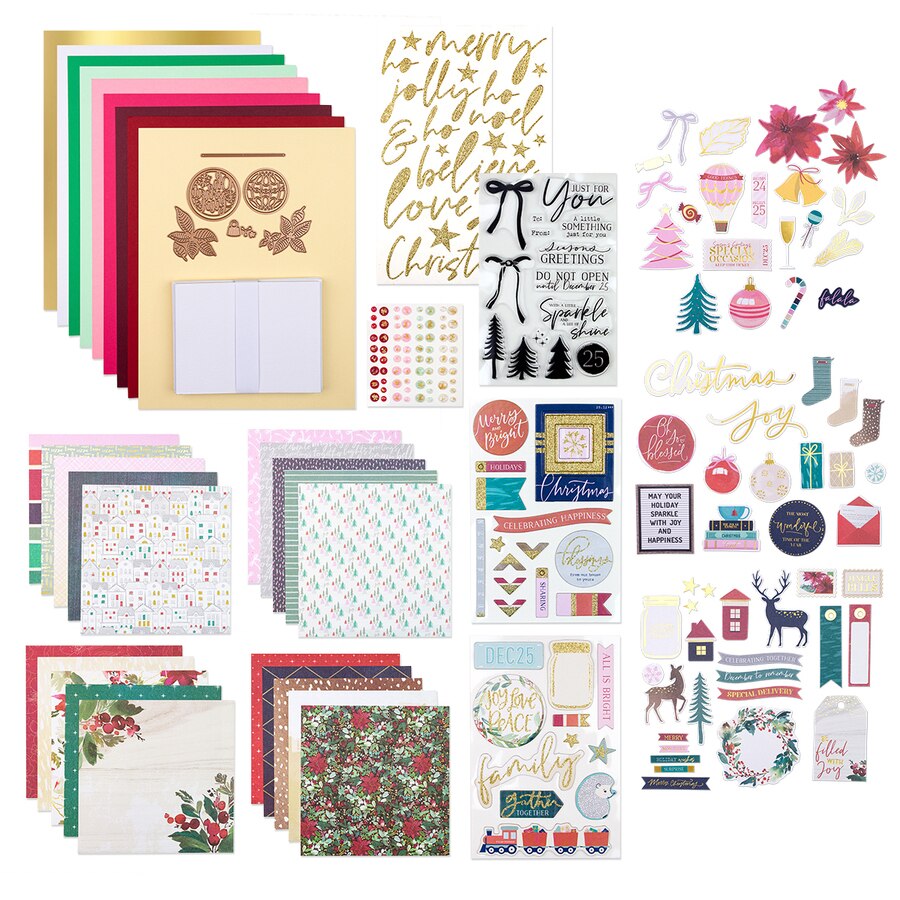
Hello! Today I am sharing five cards created with the Christmas Wishes Cardmaking Kit from Spellbinders. The Christmas Wishes Cardmaking Kit, a holiday-themed cardmaking kit which was released in November 2019, contains ten cards and envelopes, nine pieces of cardstock, eight dies, a patterned paper pad, a stamp set, die-cut shapes, adhesive gemstones, chipboard elements, and adhesive. The kit is overflowing with product!
My first card combines patterned paper with die-cut shapes and adhesive glitter elements. This took just minutes to assemble.
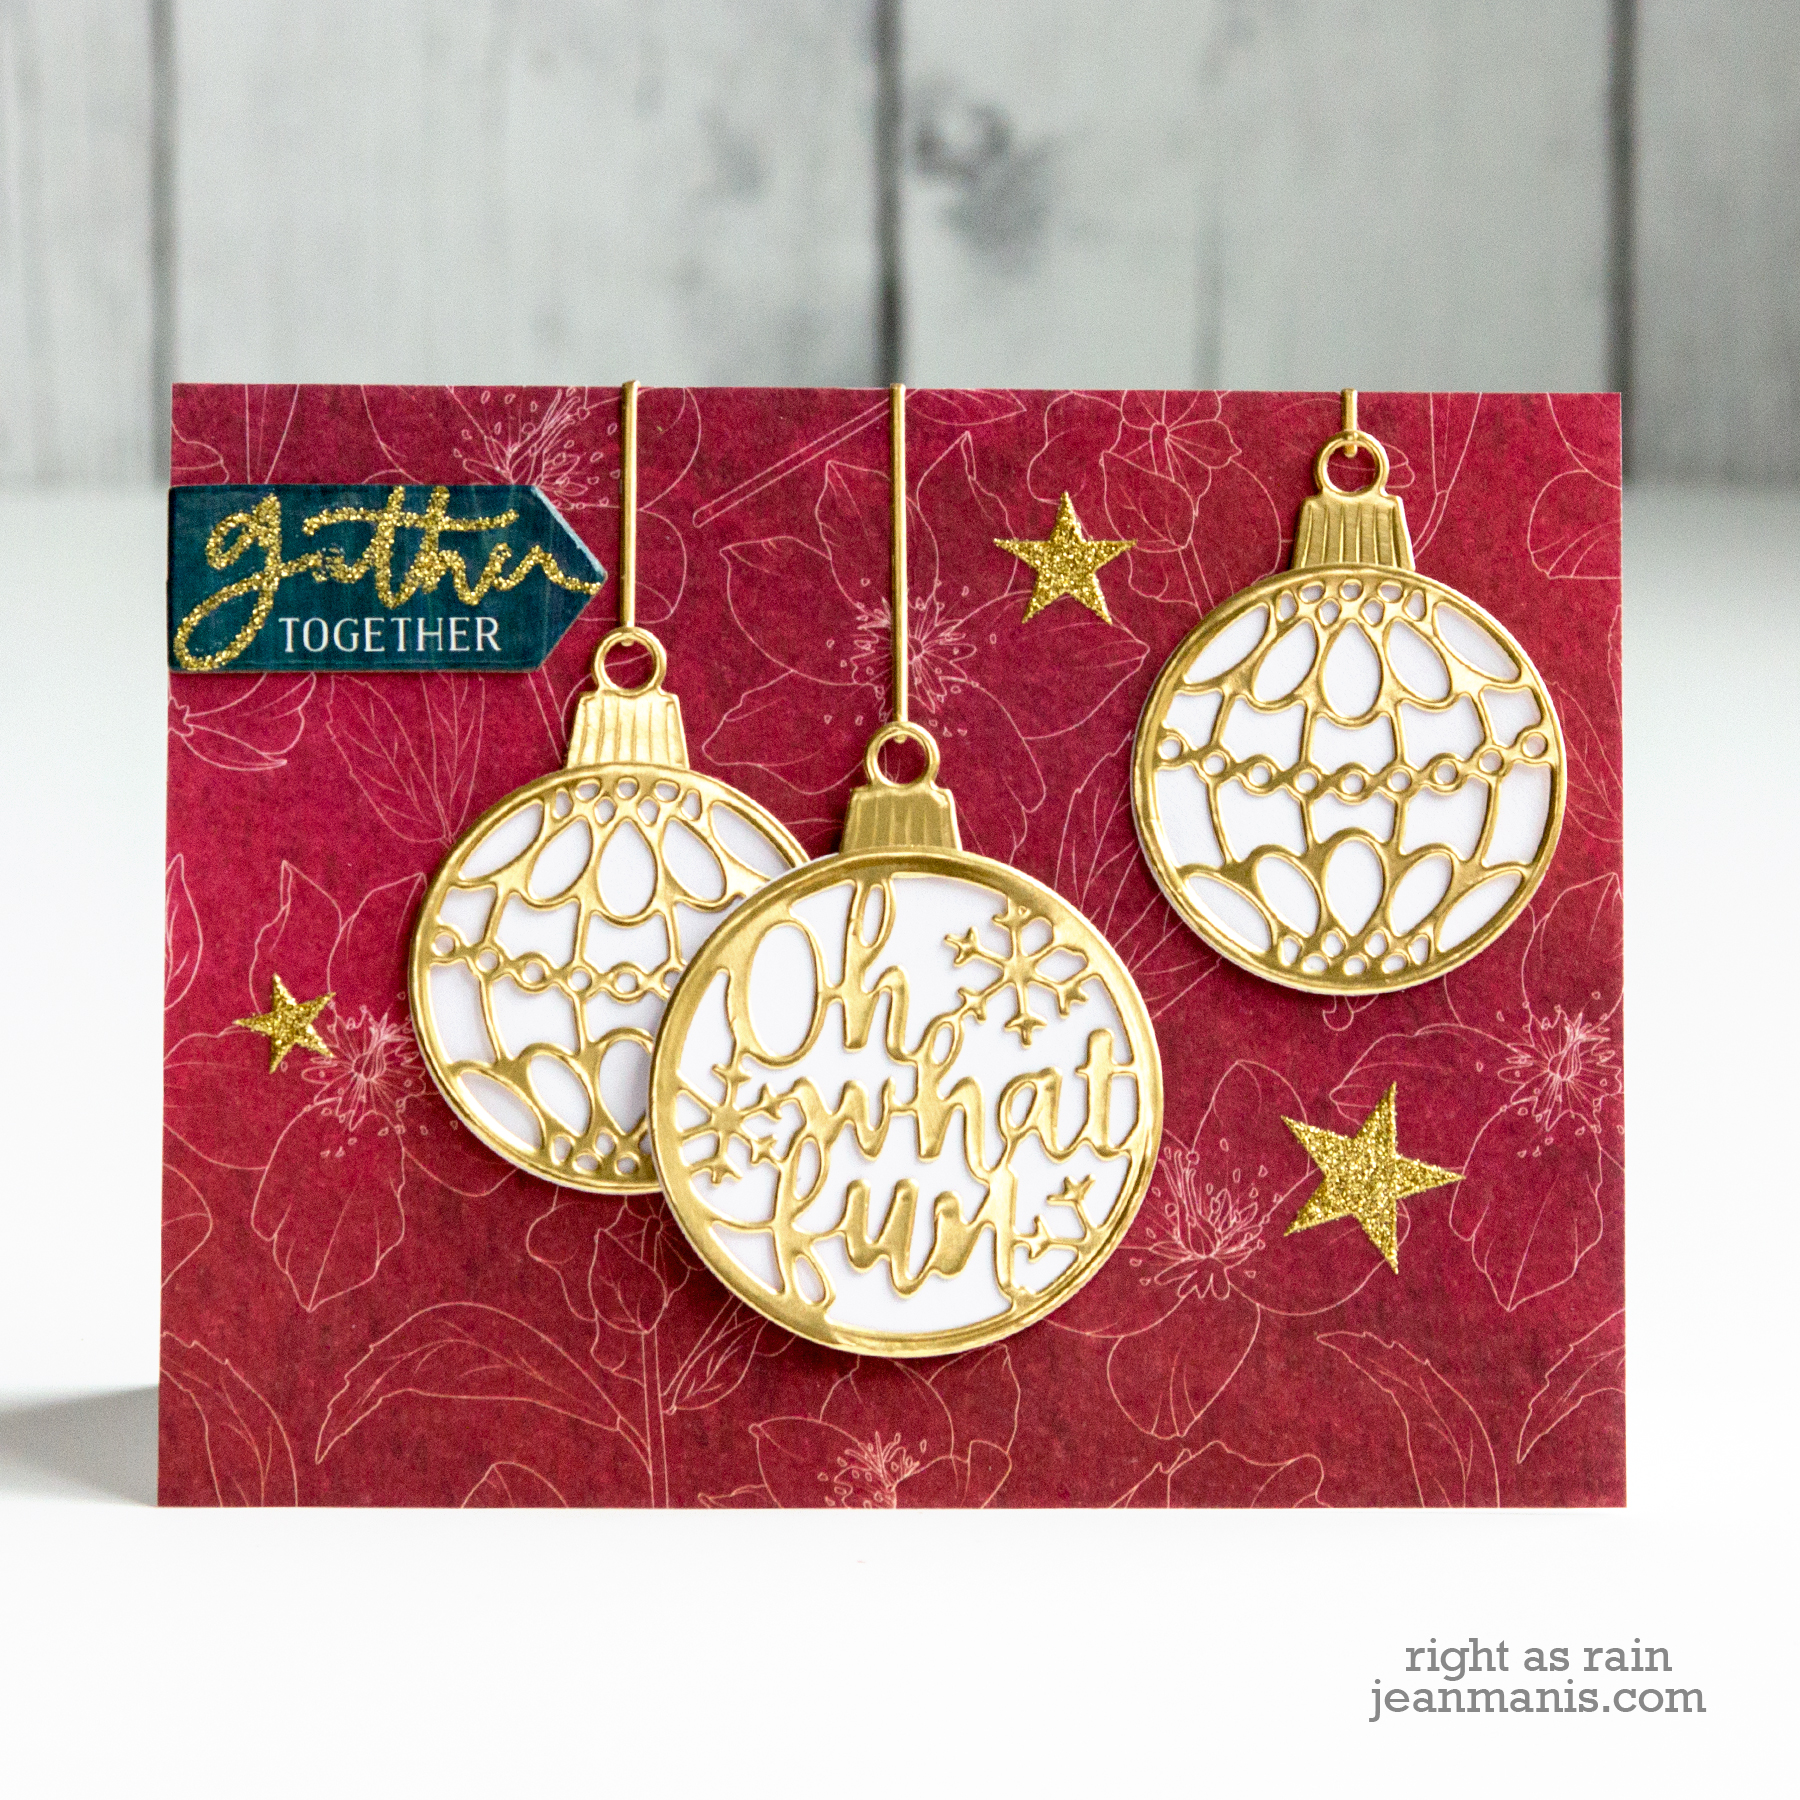
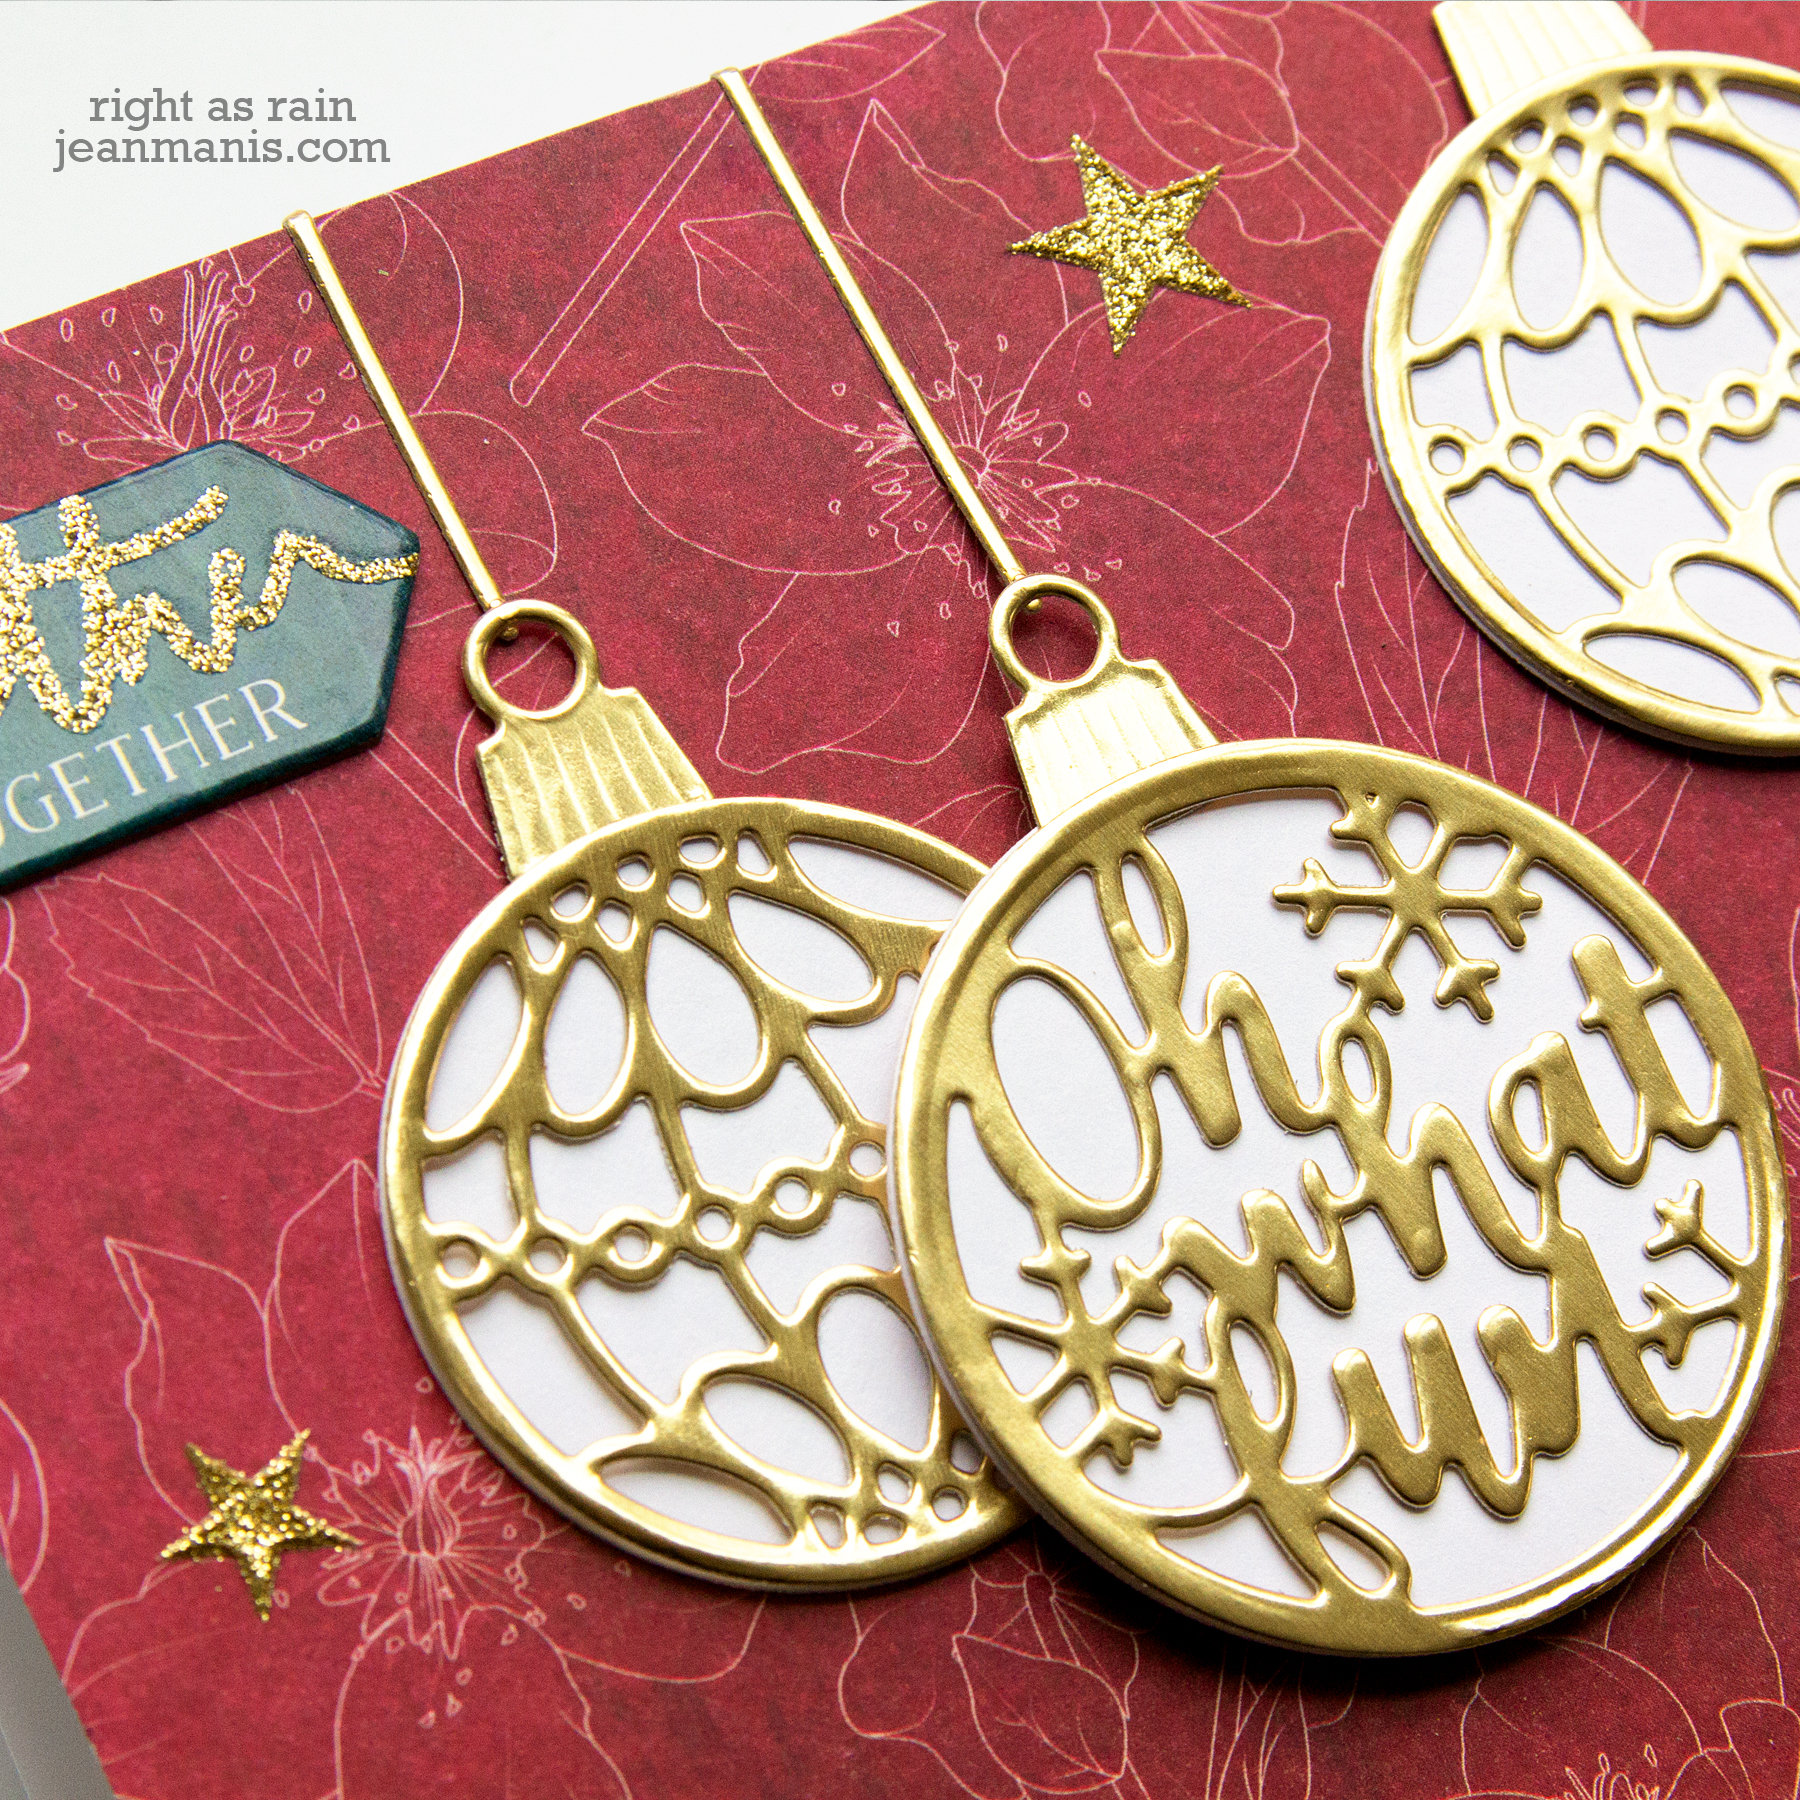
My second card incorporates ornaments cut with dies in the kit from metallic gold cardstock which is also included. A chipboard element was used for the sentiment.
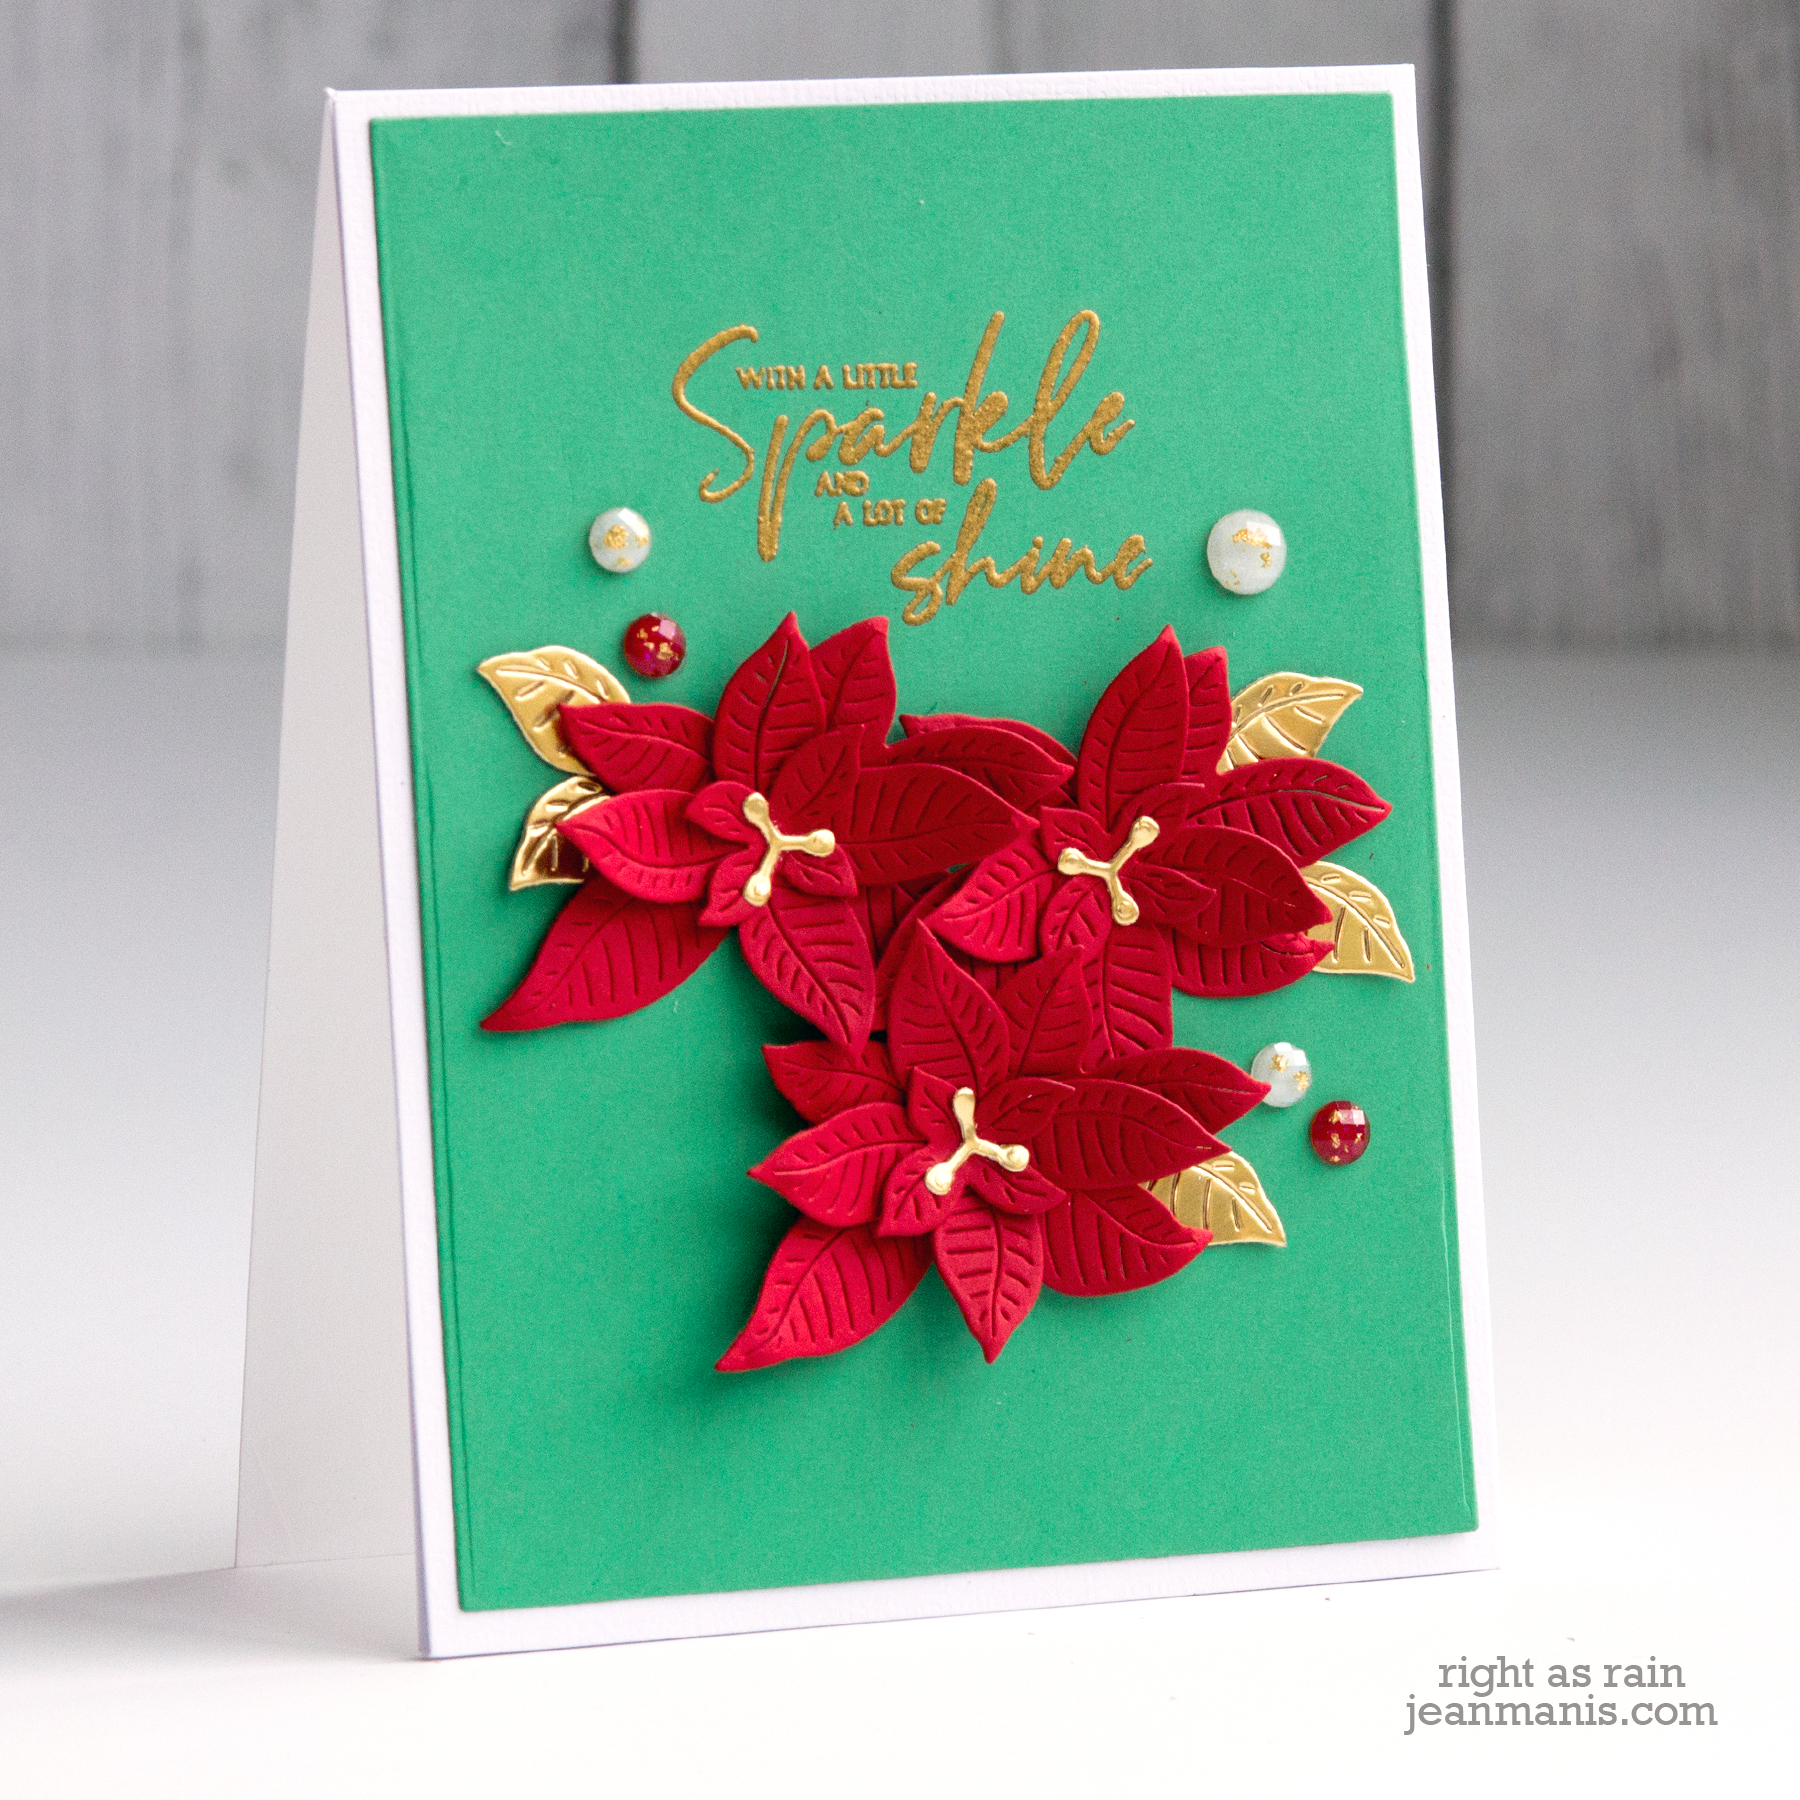
I used the kit’s poinsettia die on my third card with a heat-embossed sentiment from the included stamp set. Adhesive gemstones were added as embellishment.

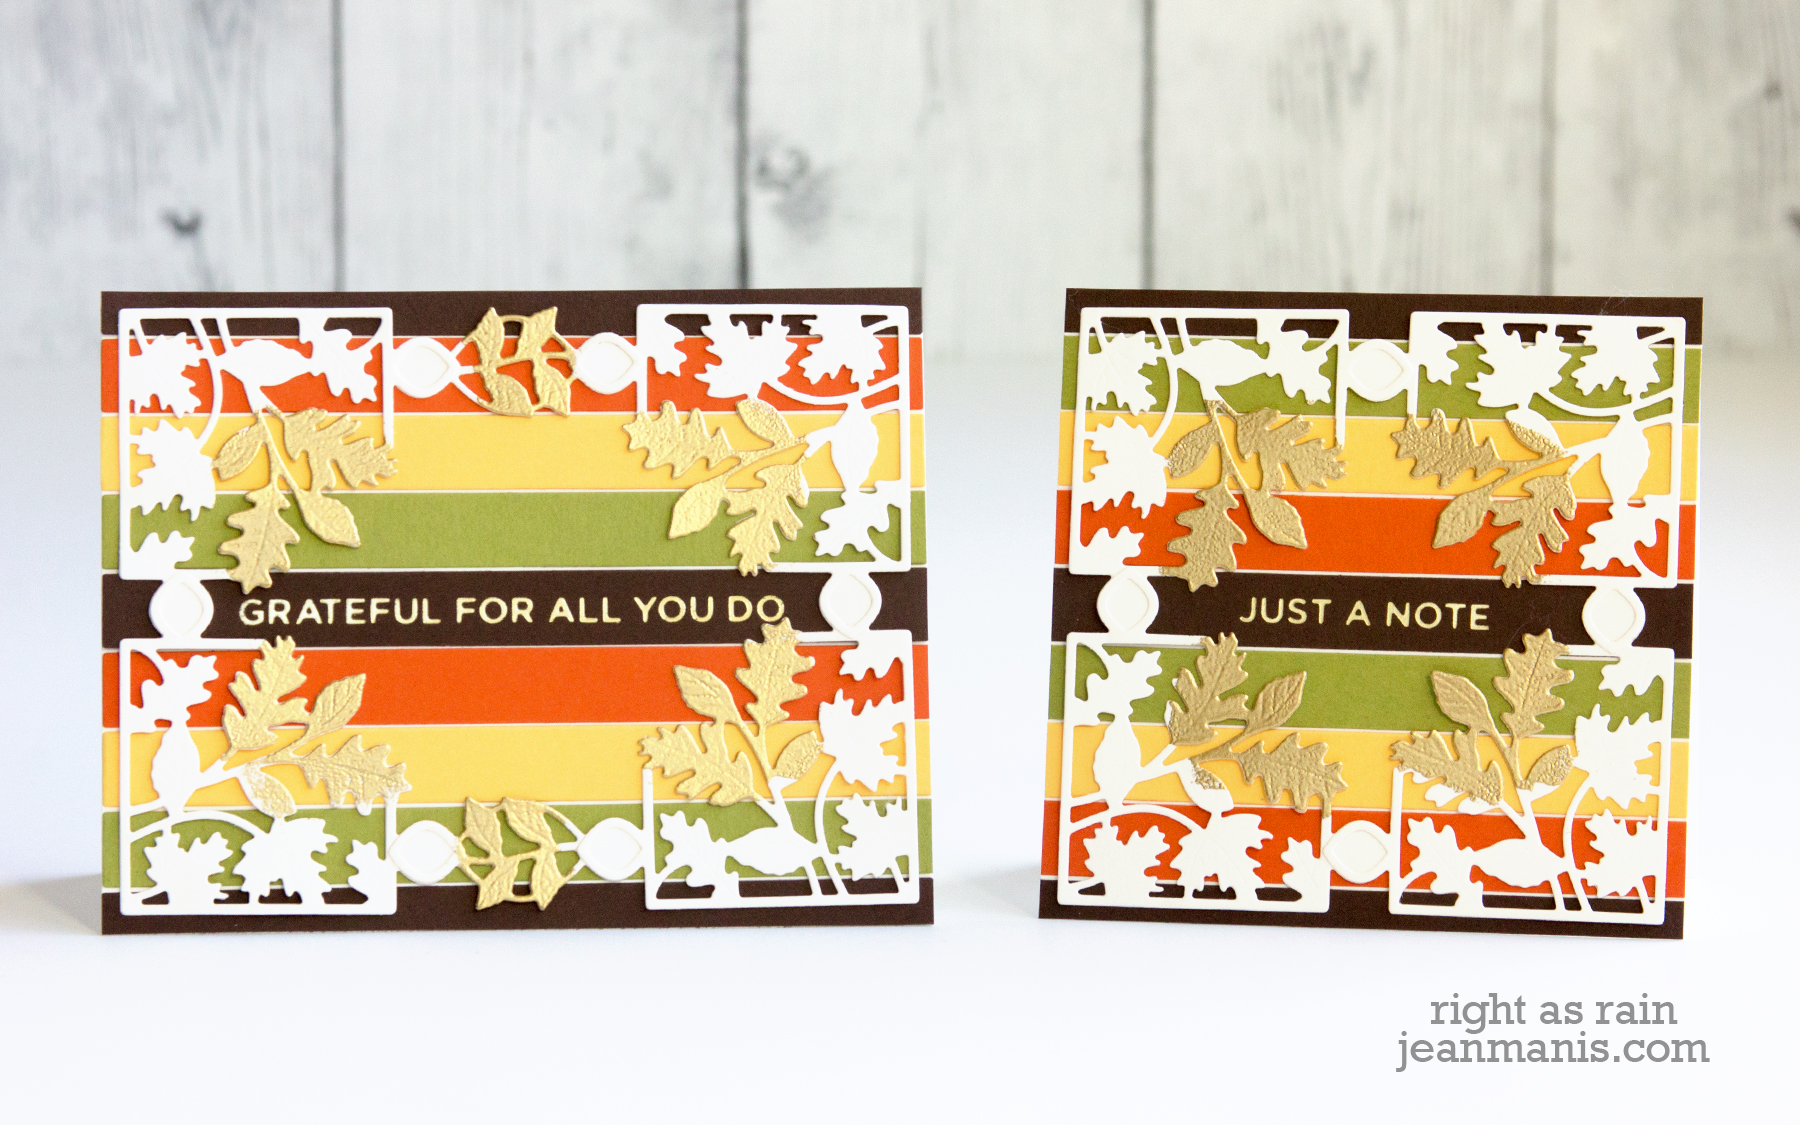
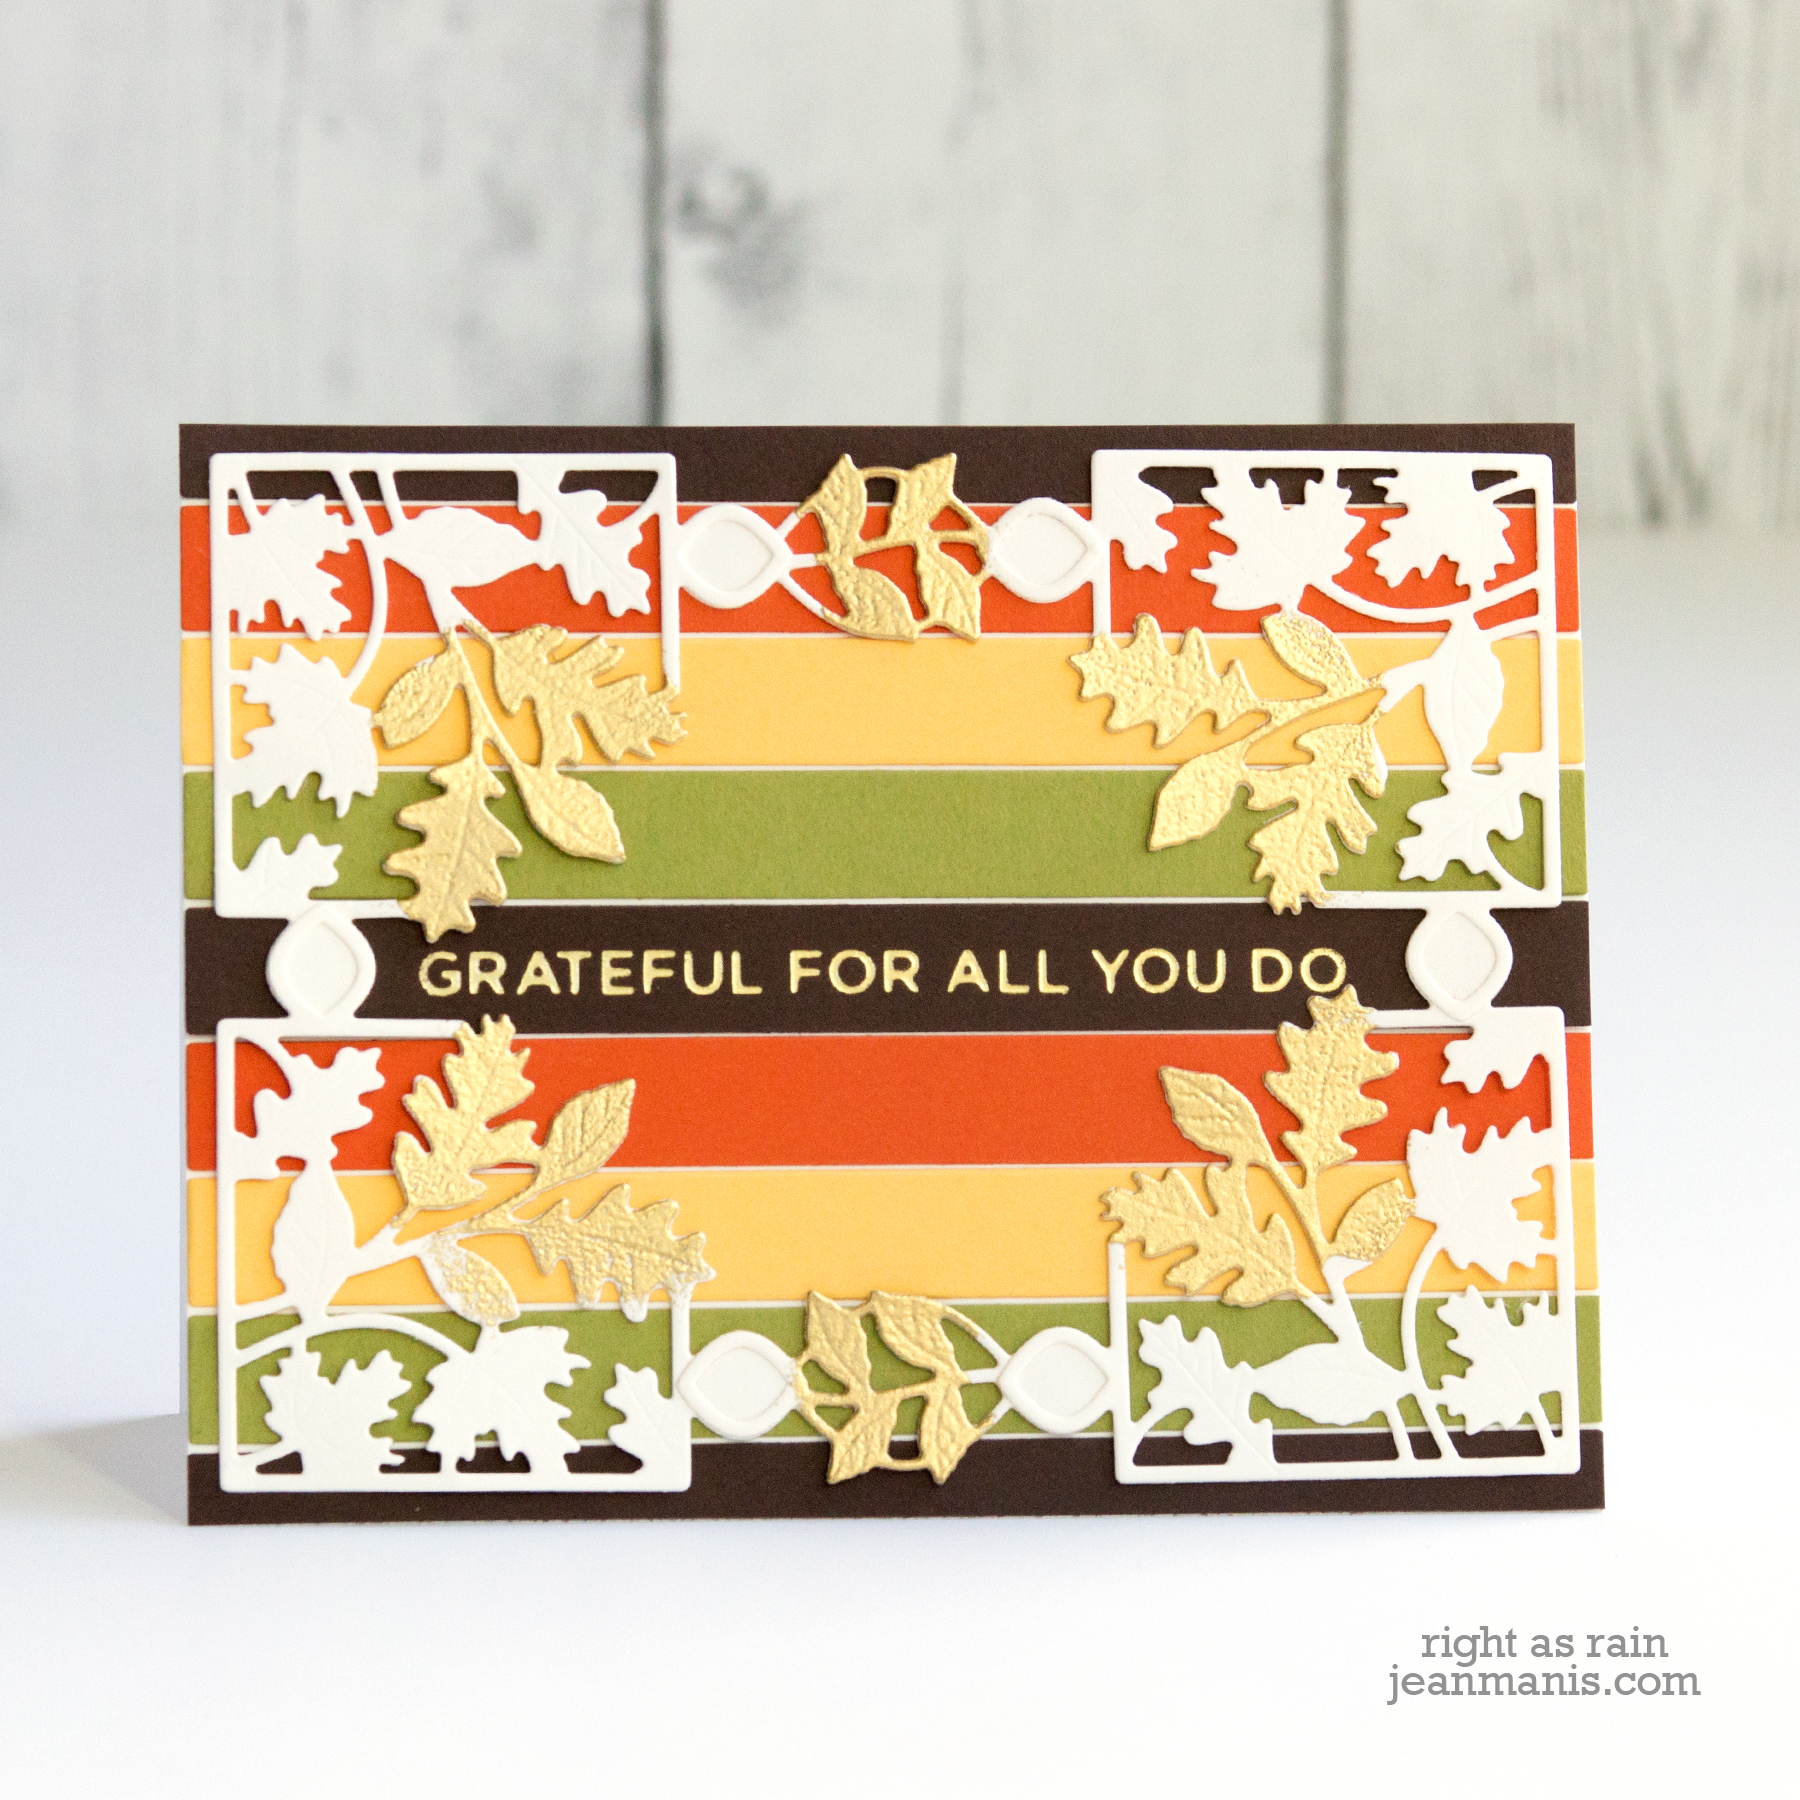
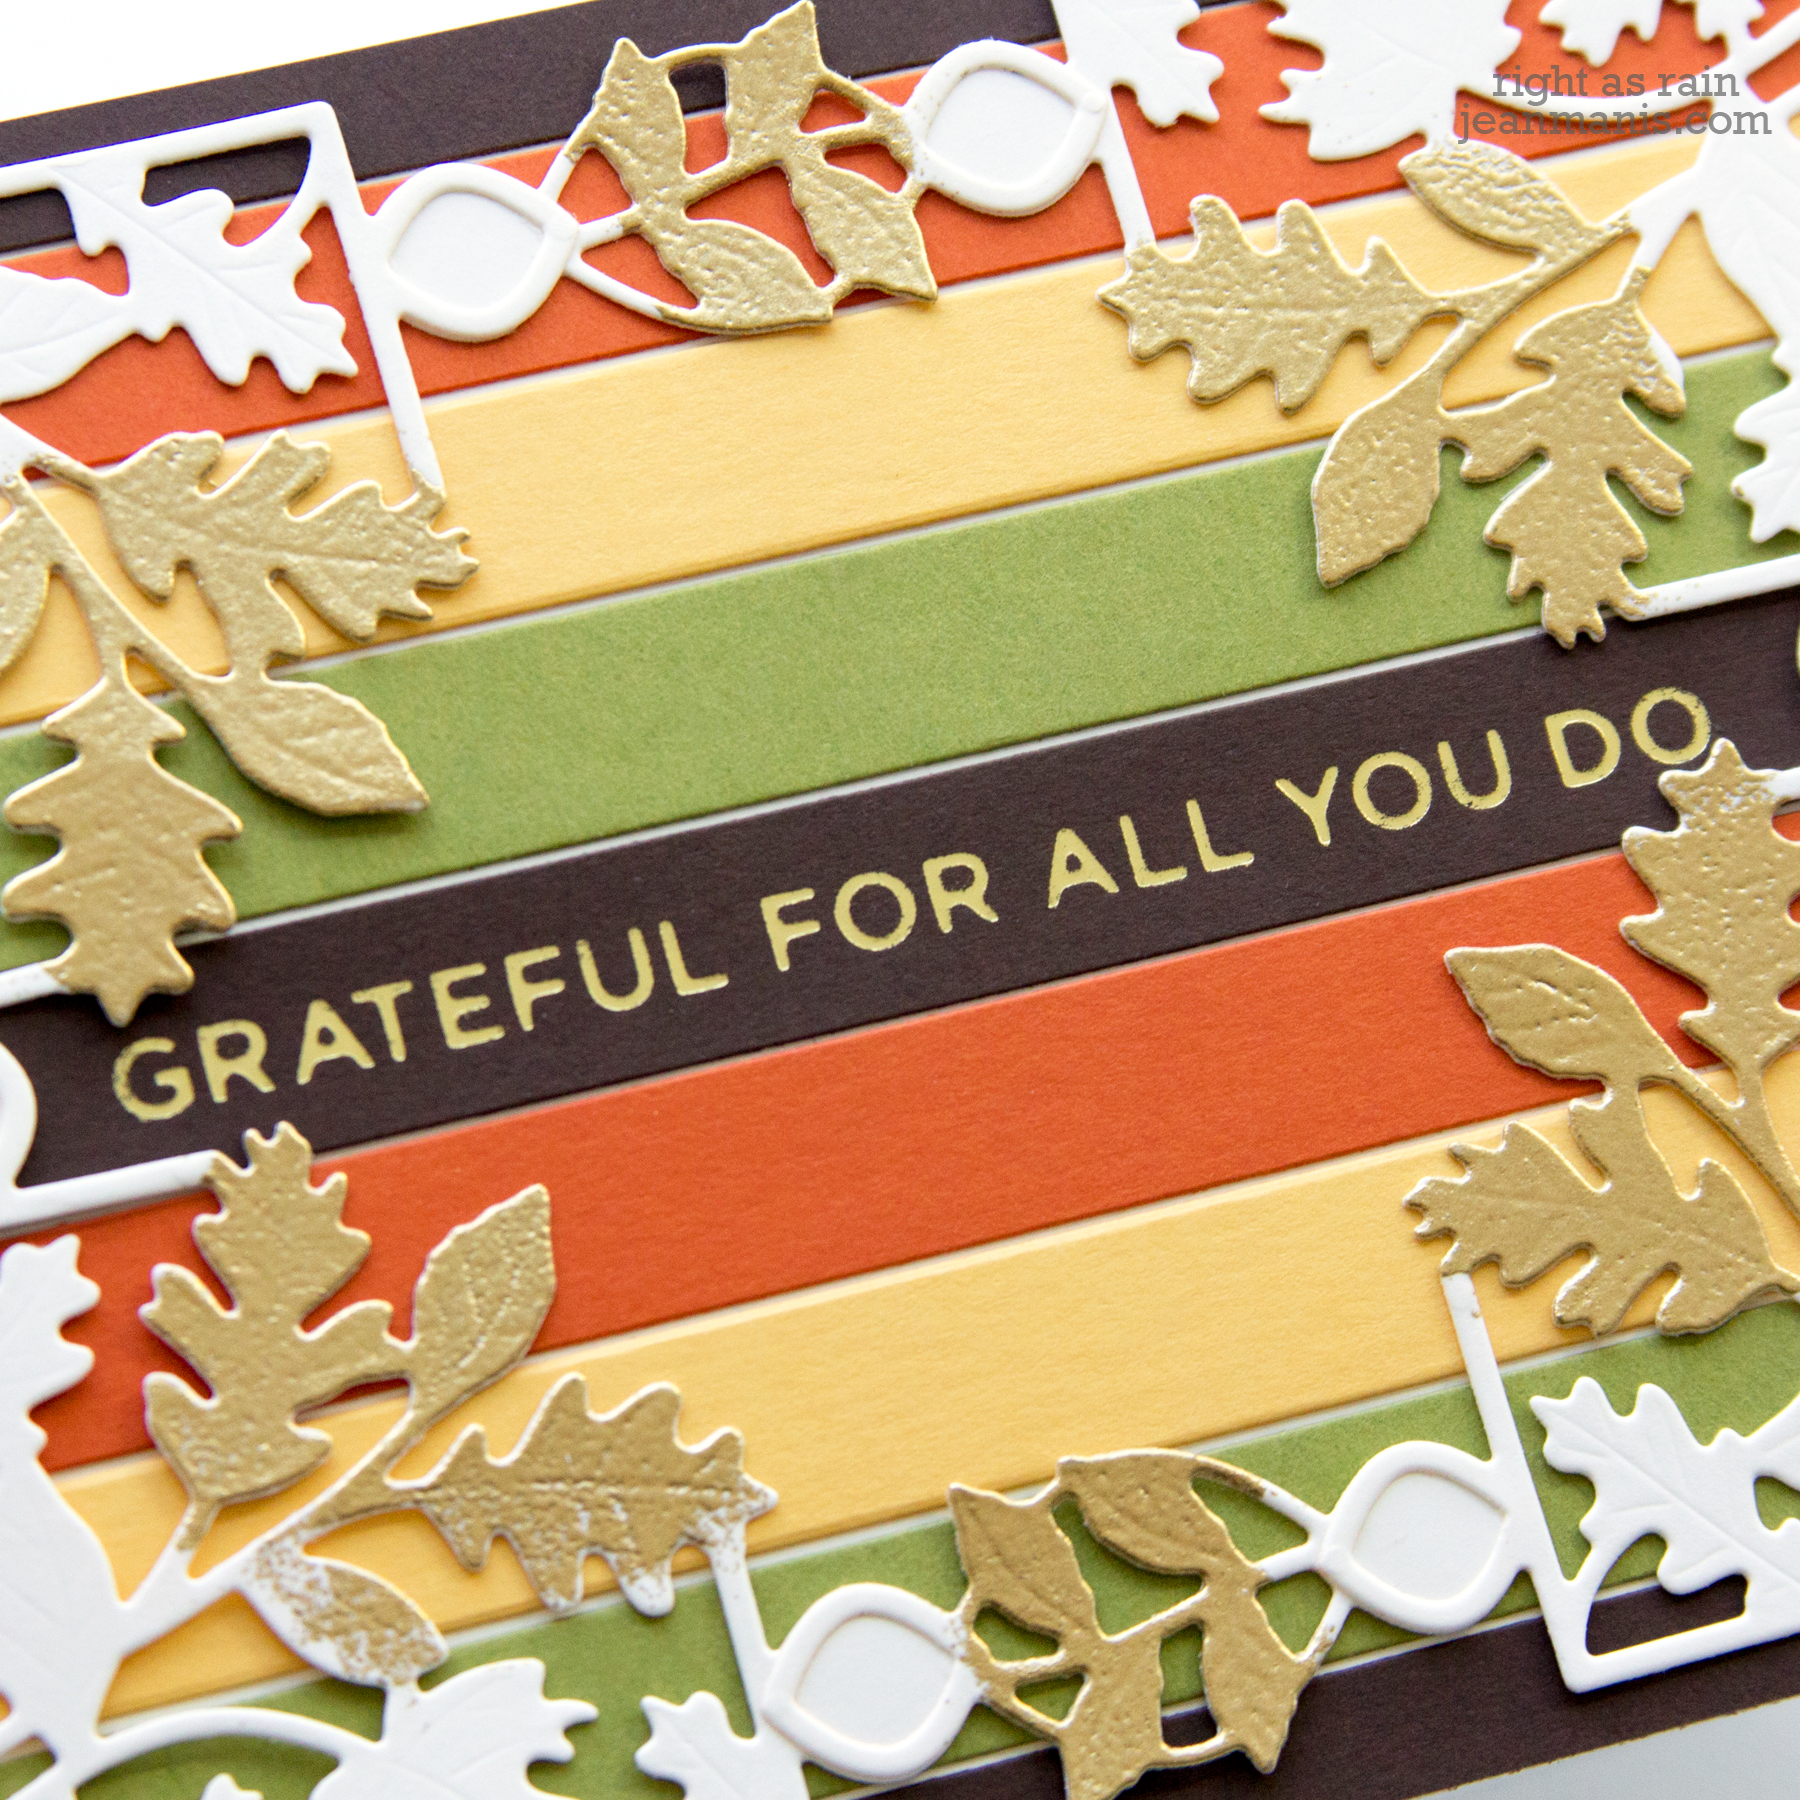
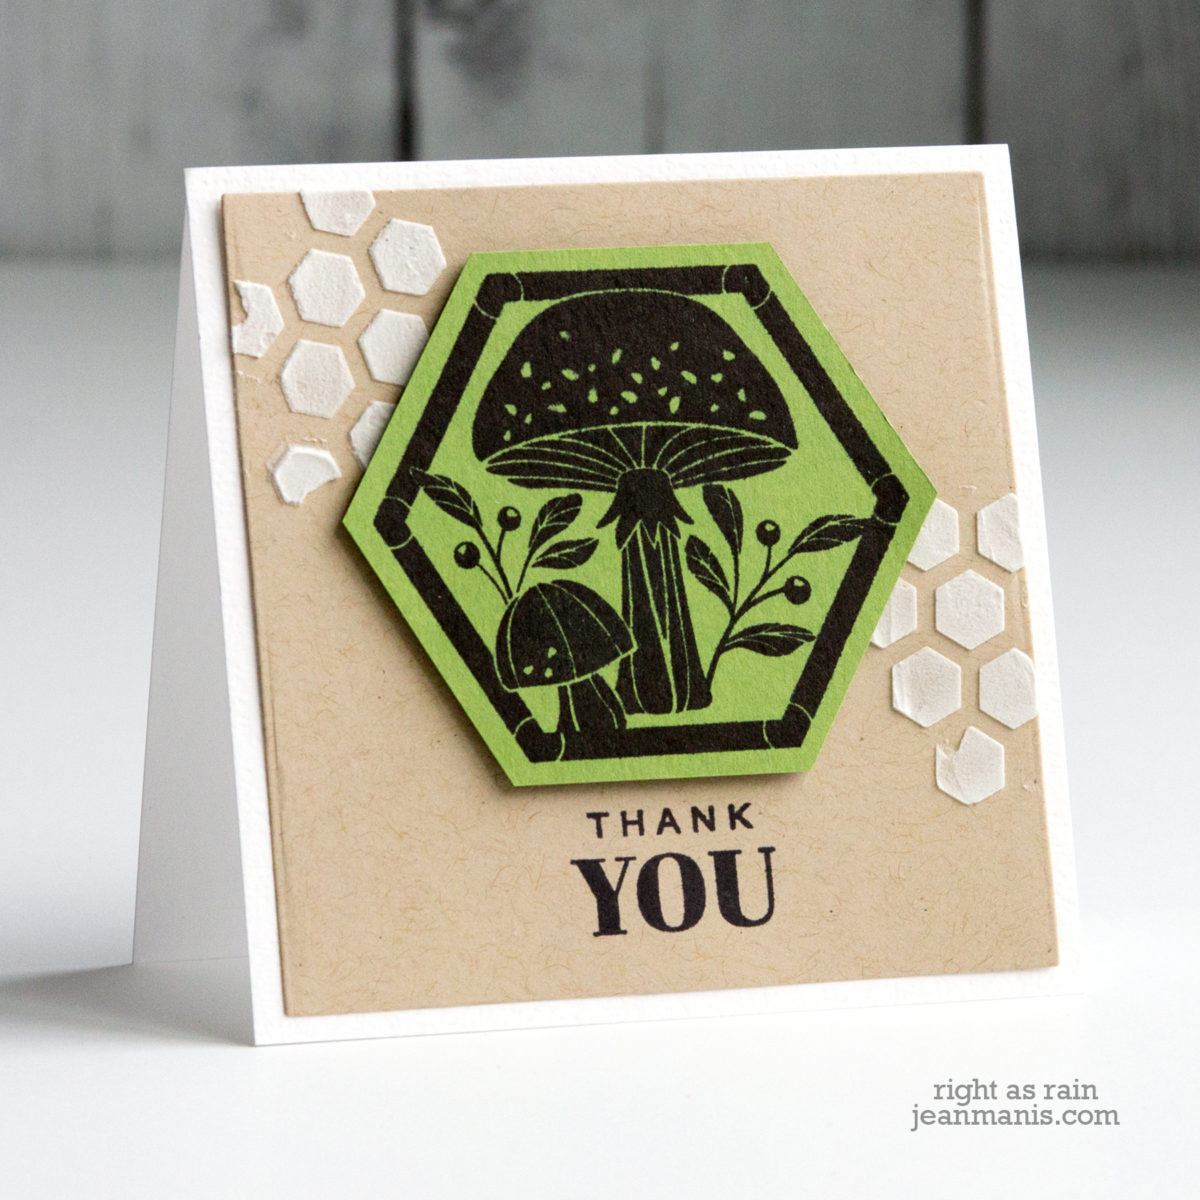
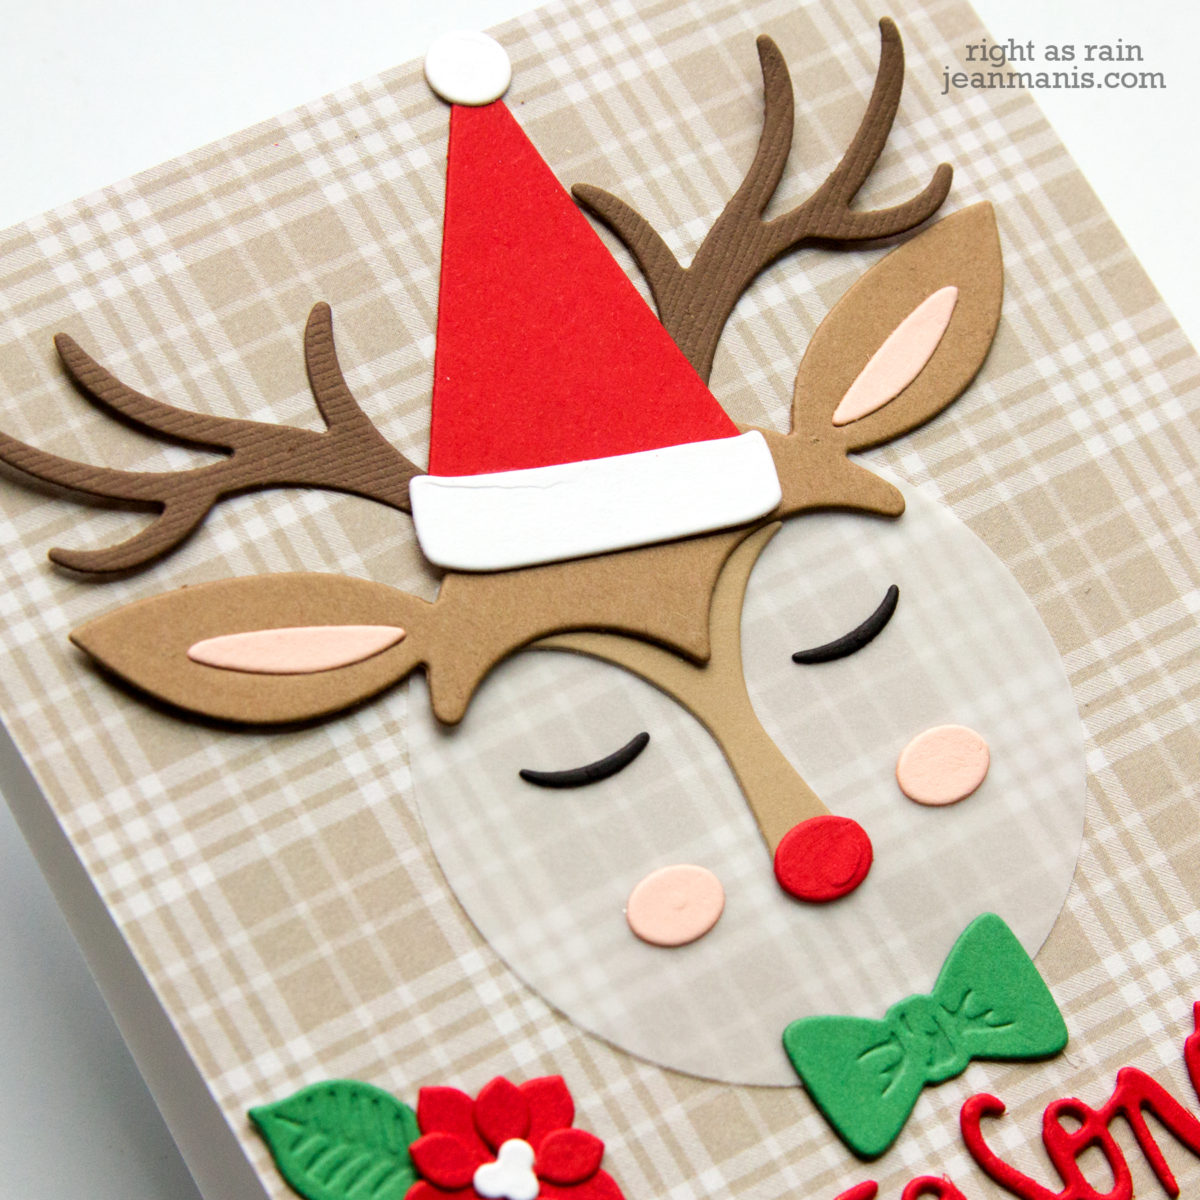
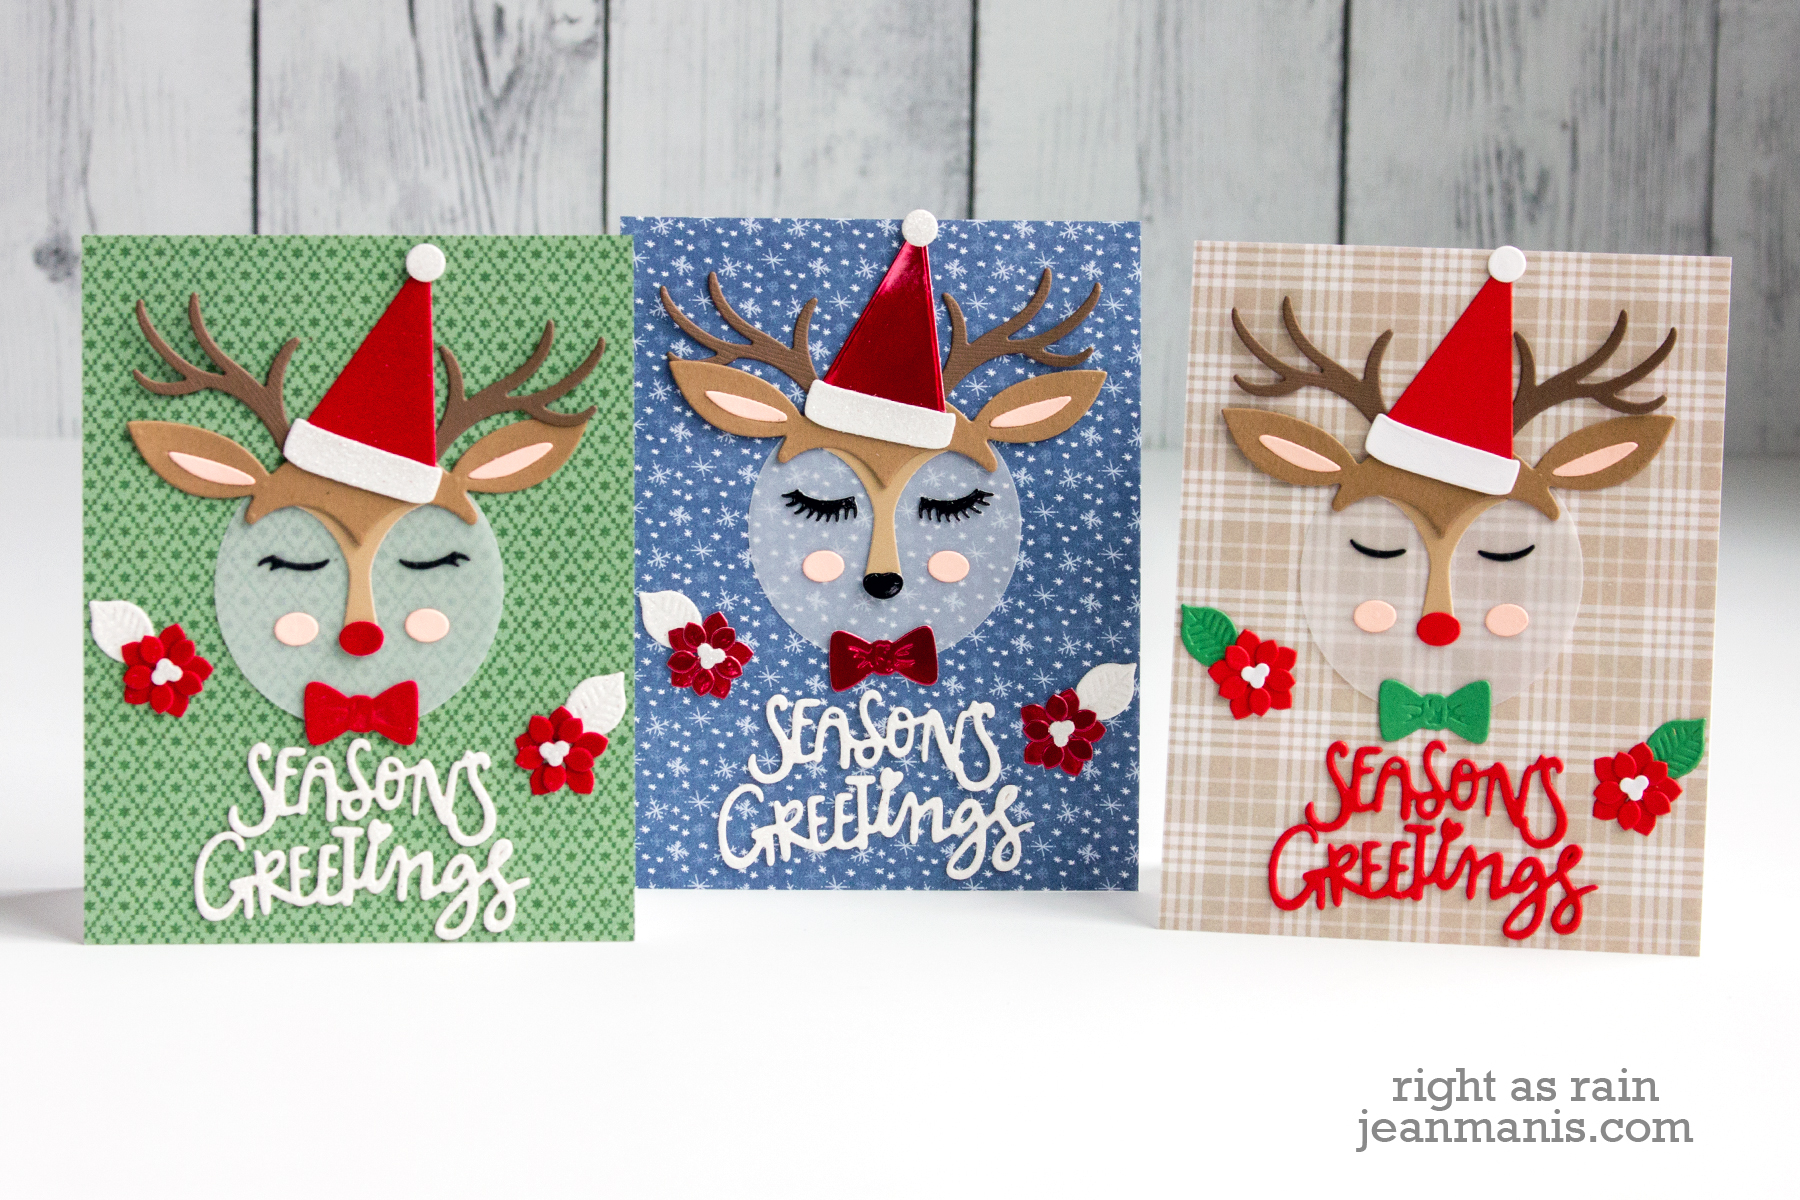
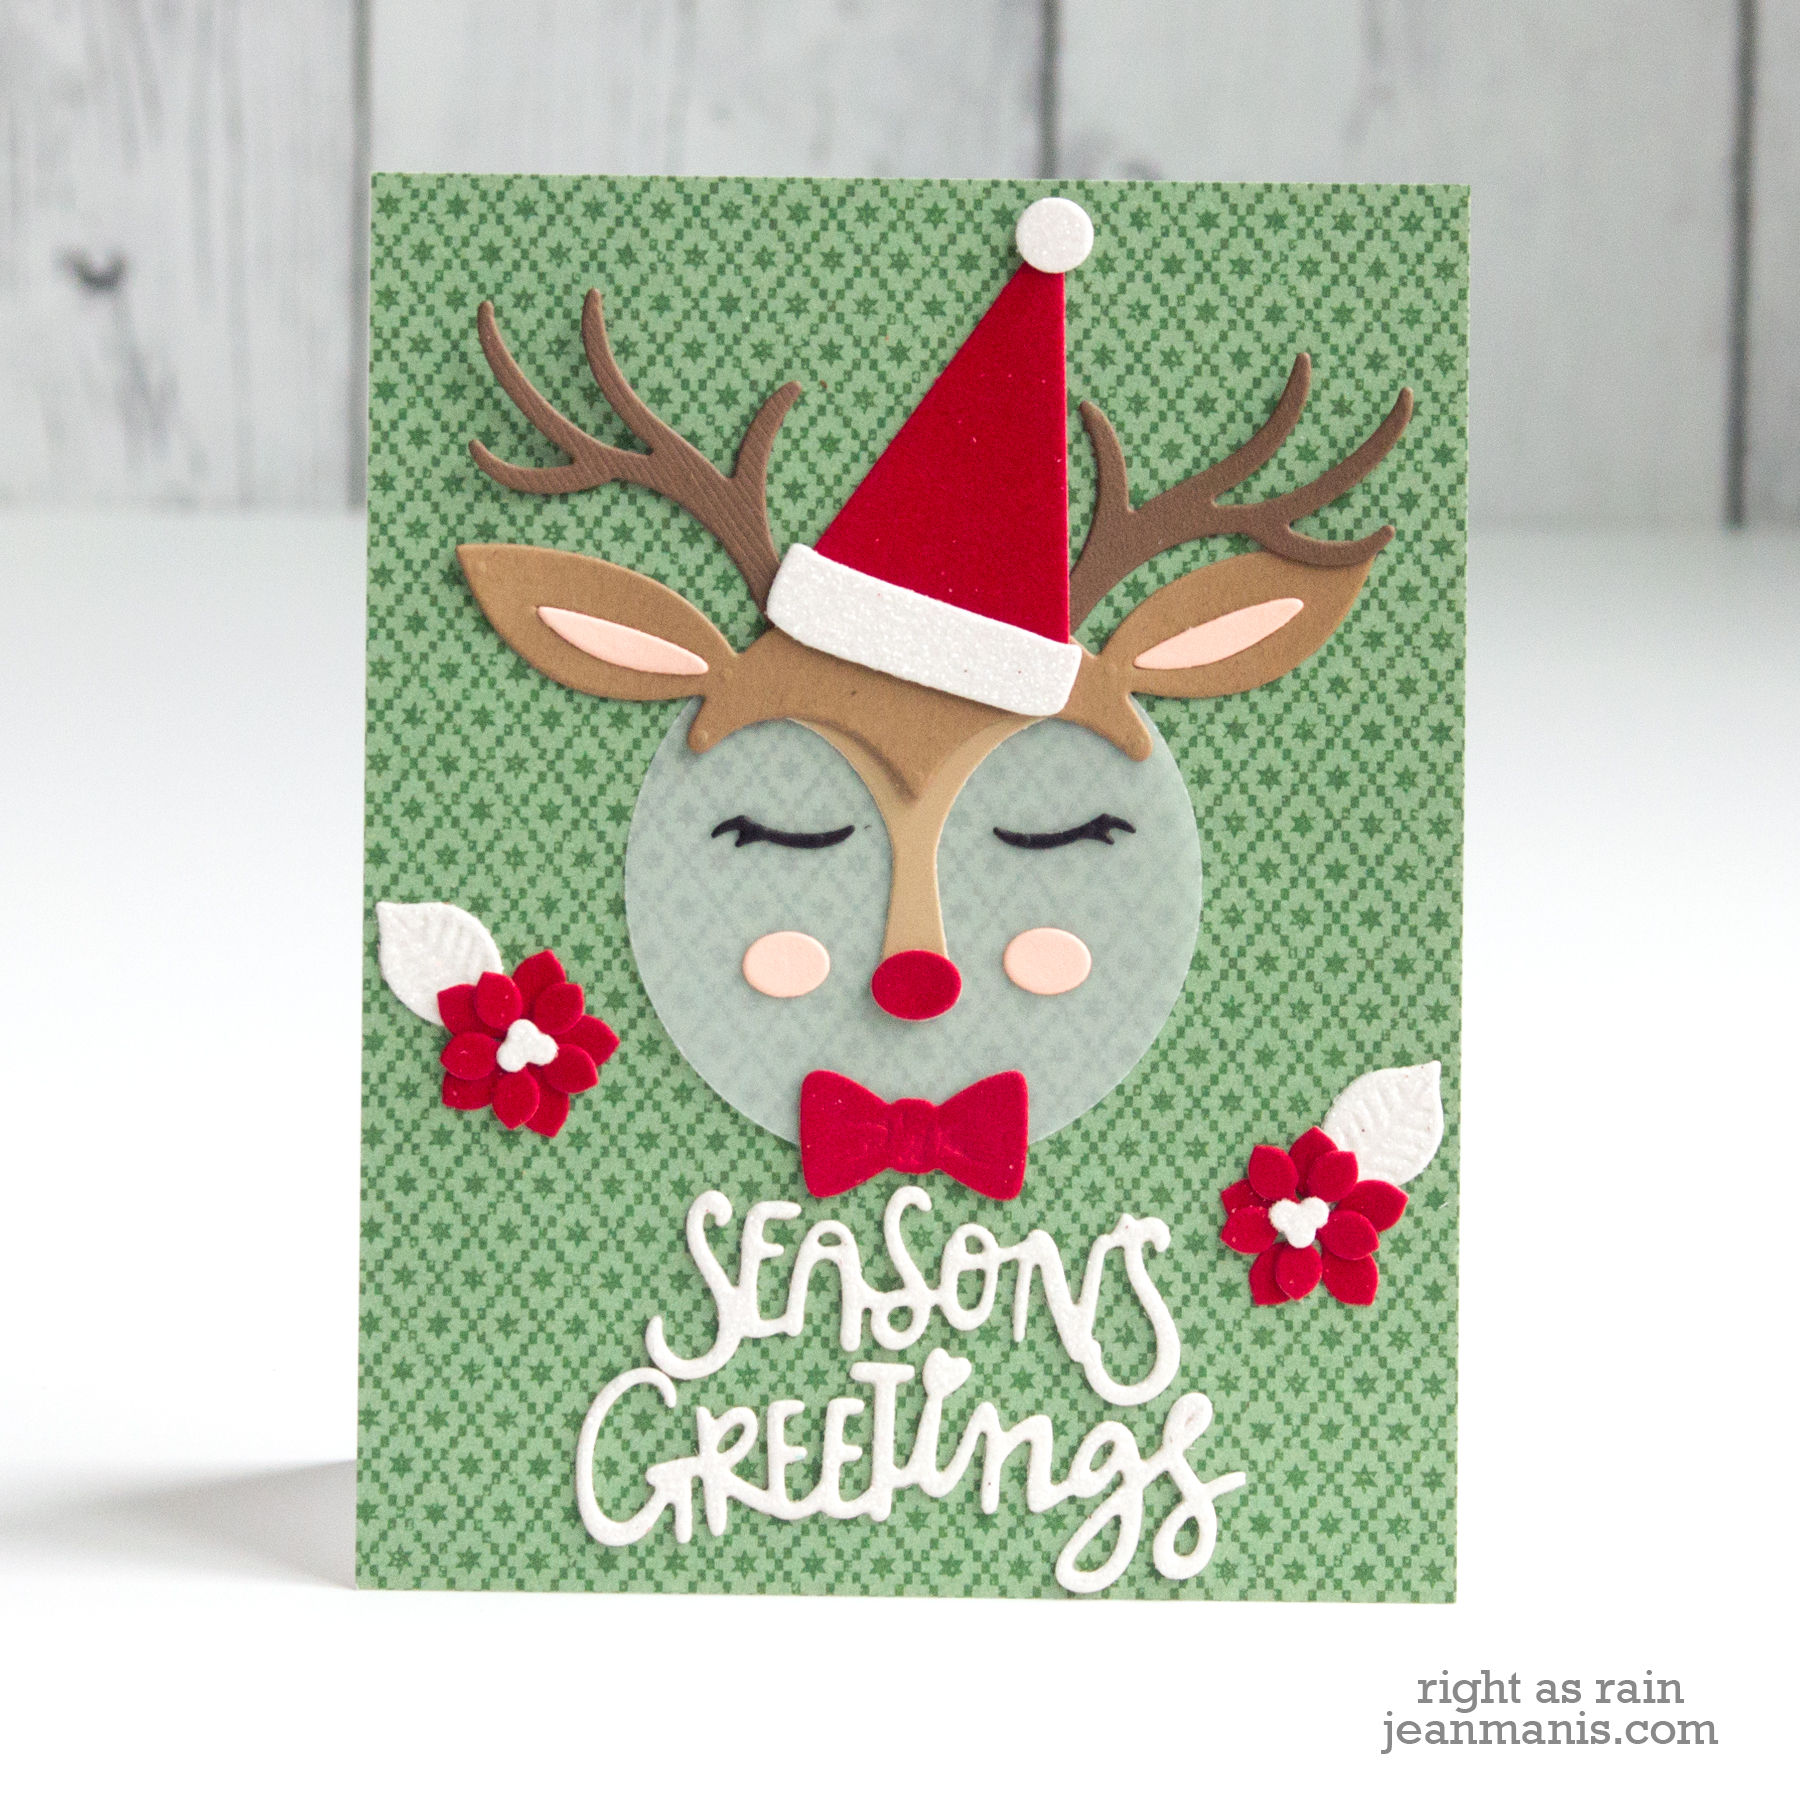
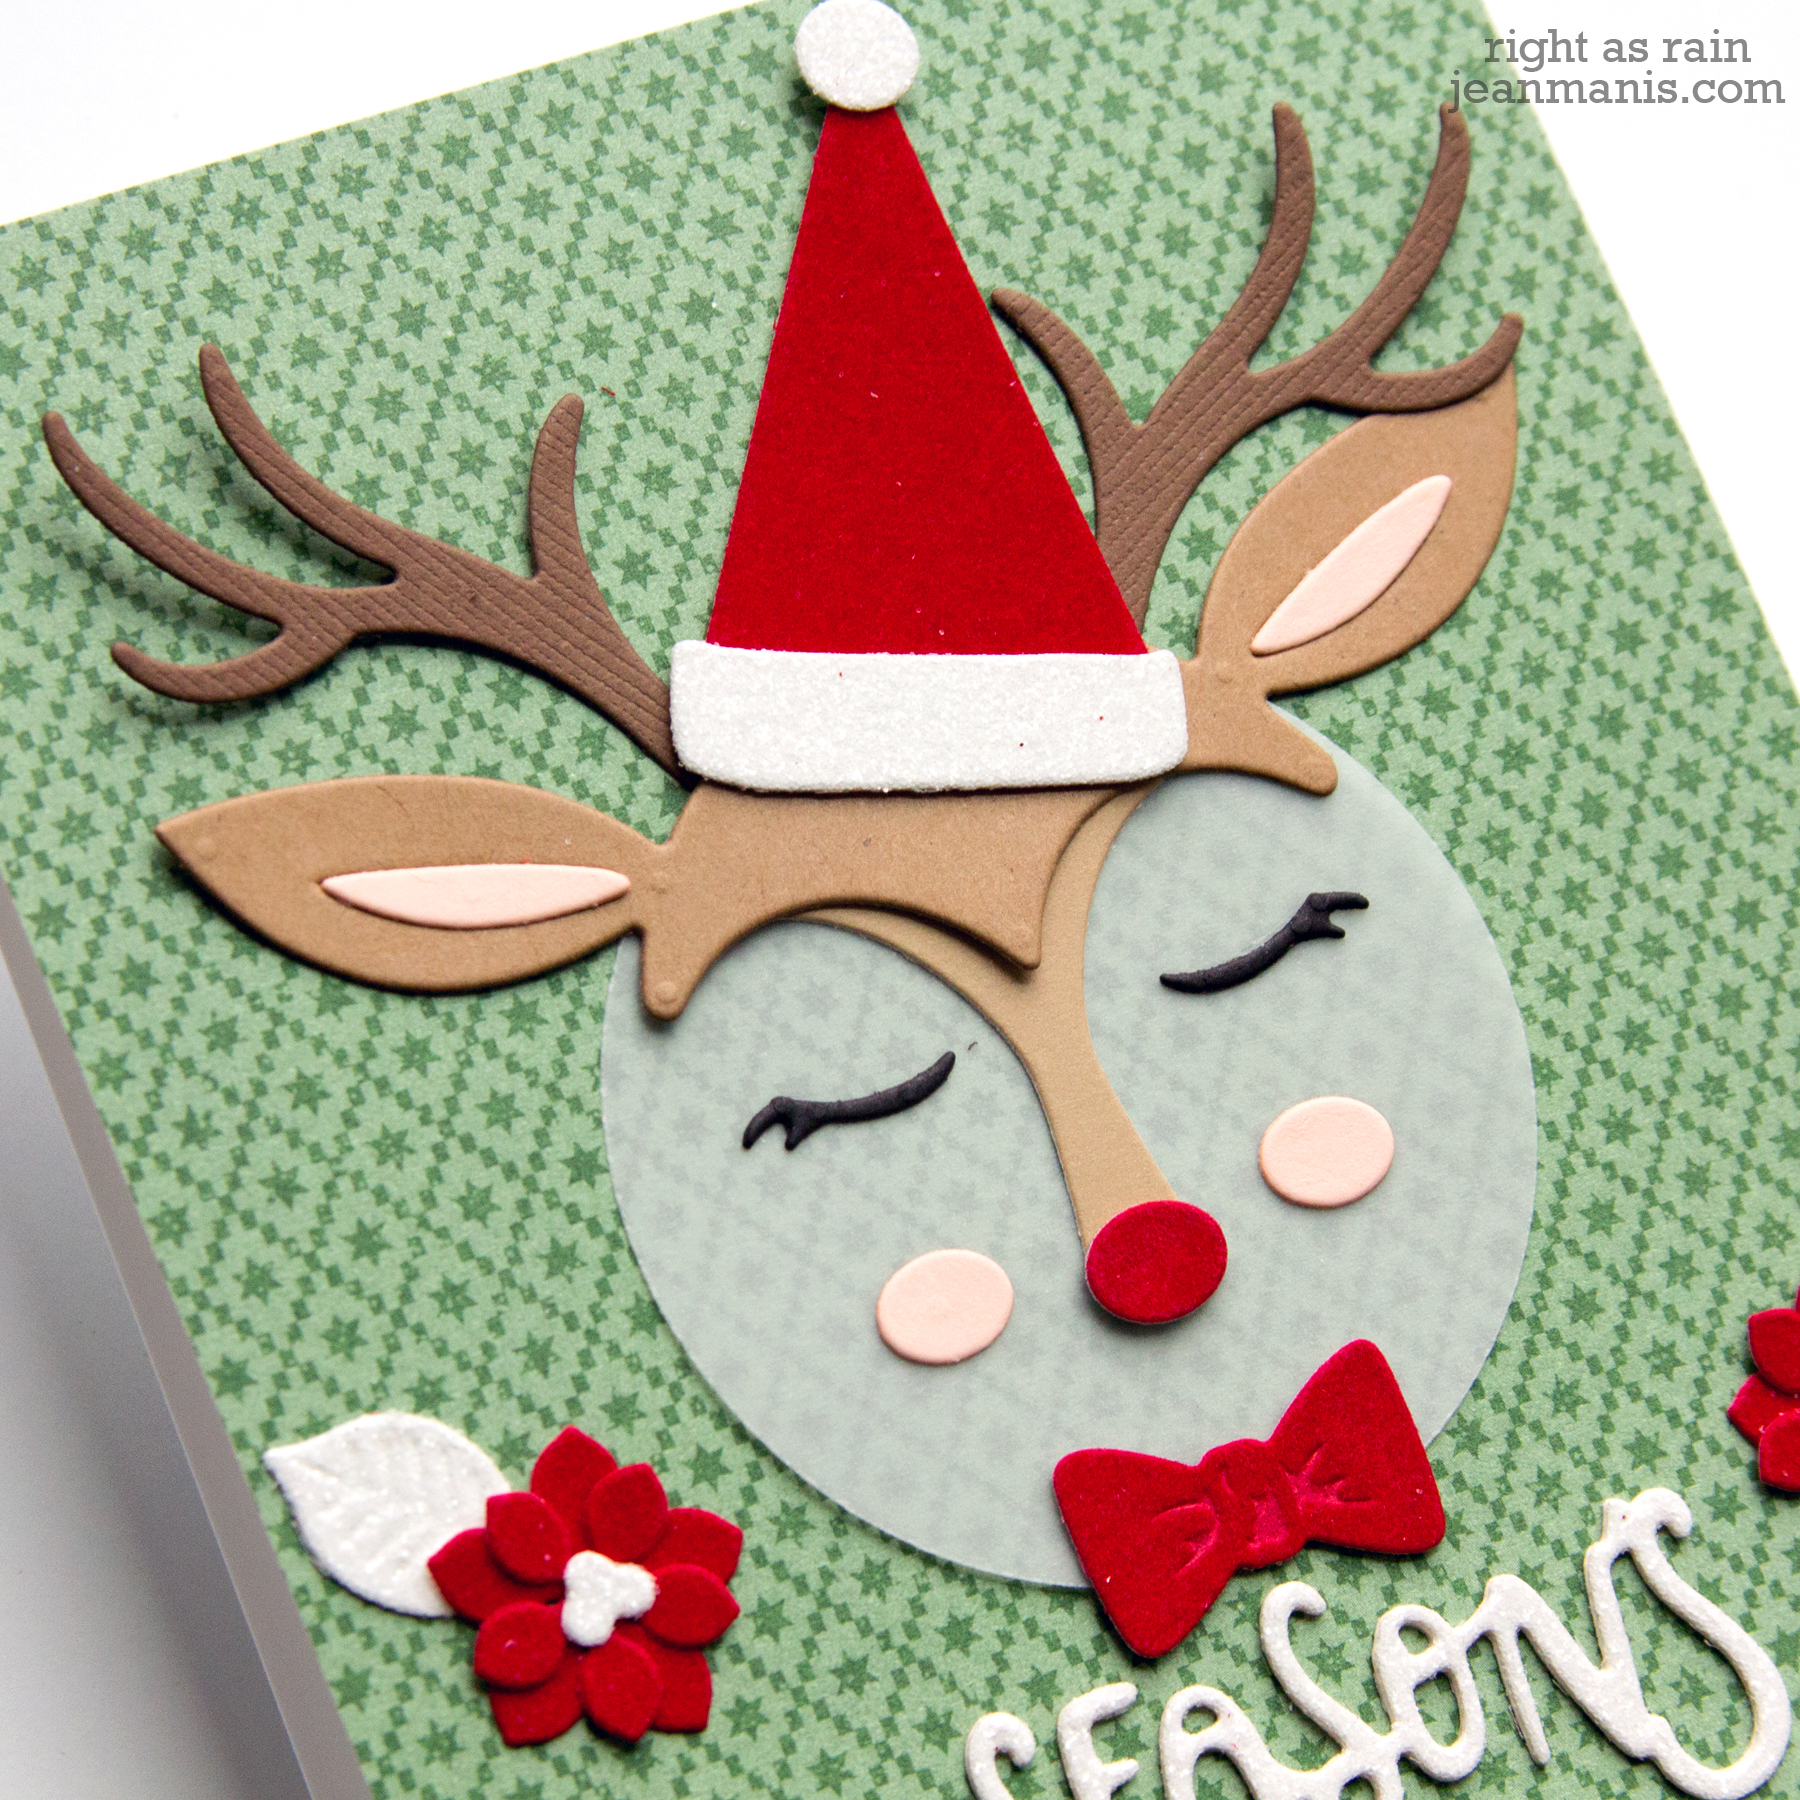
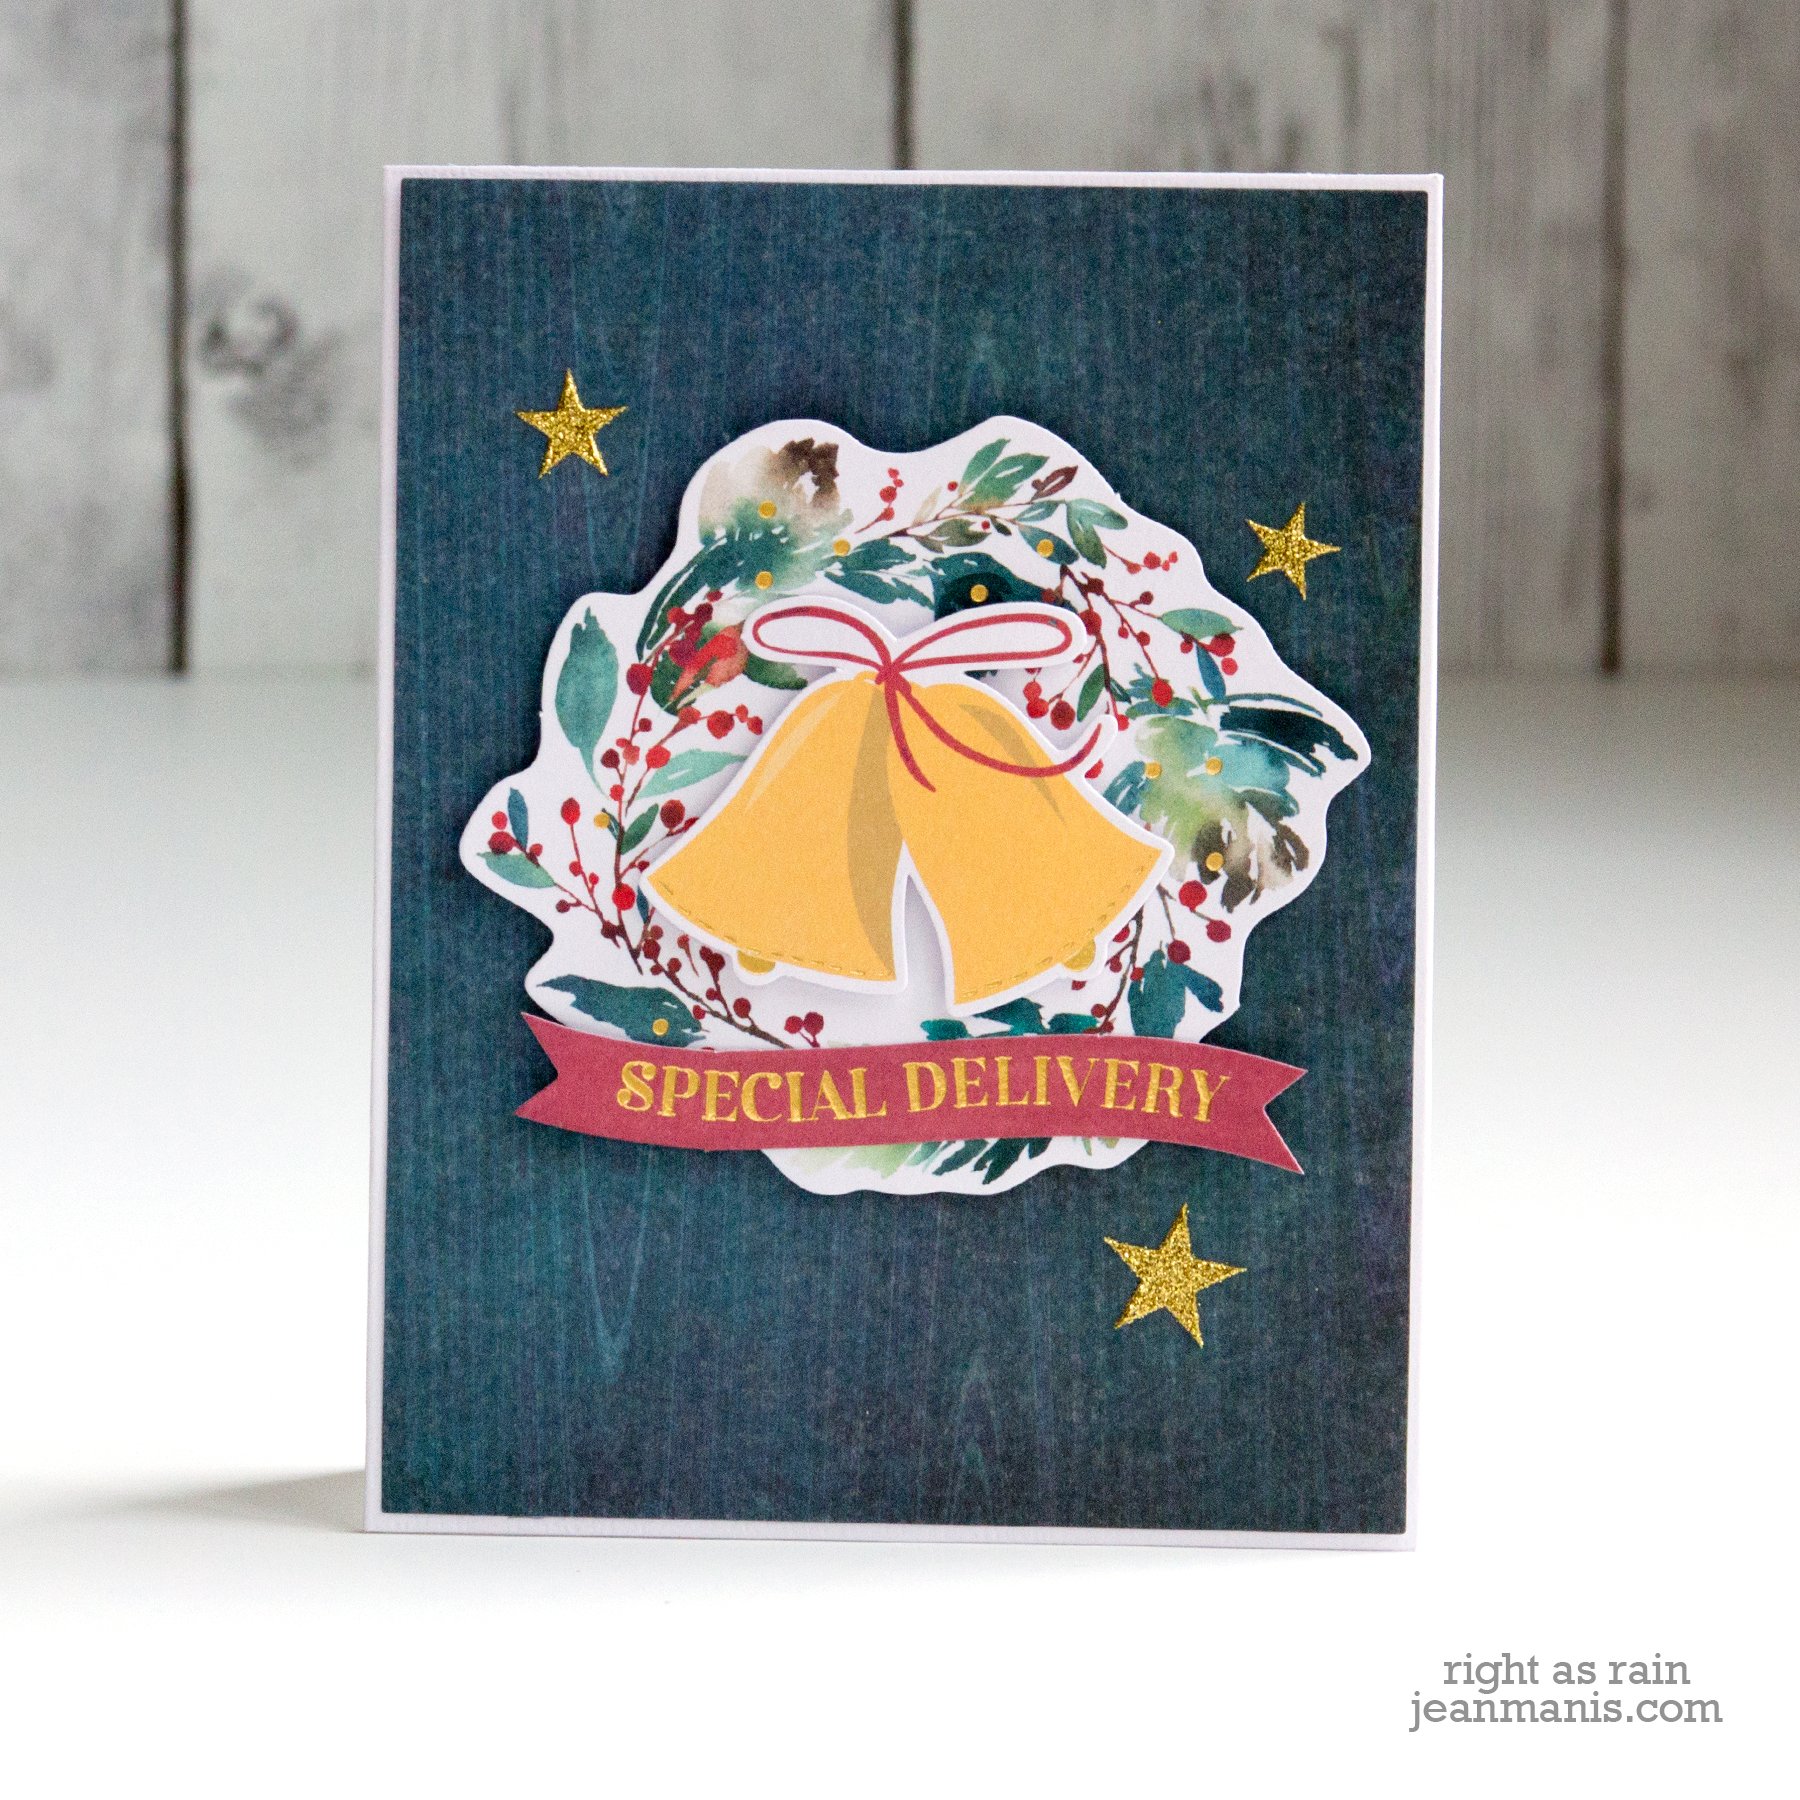
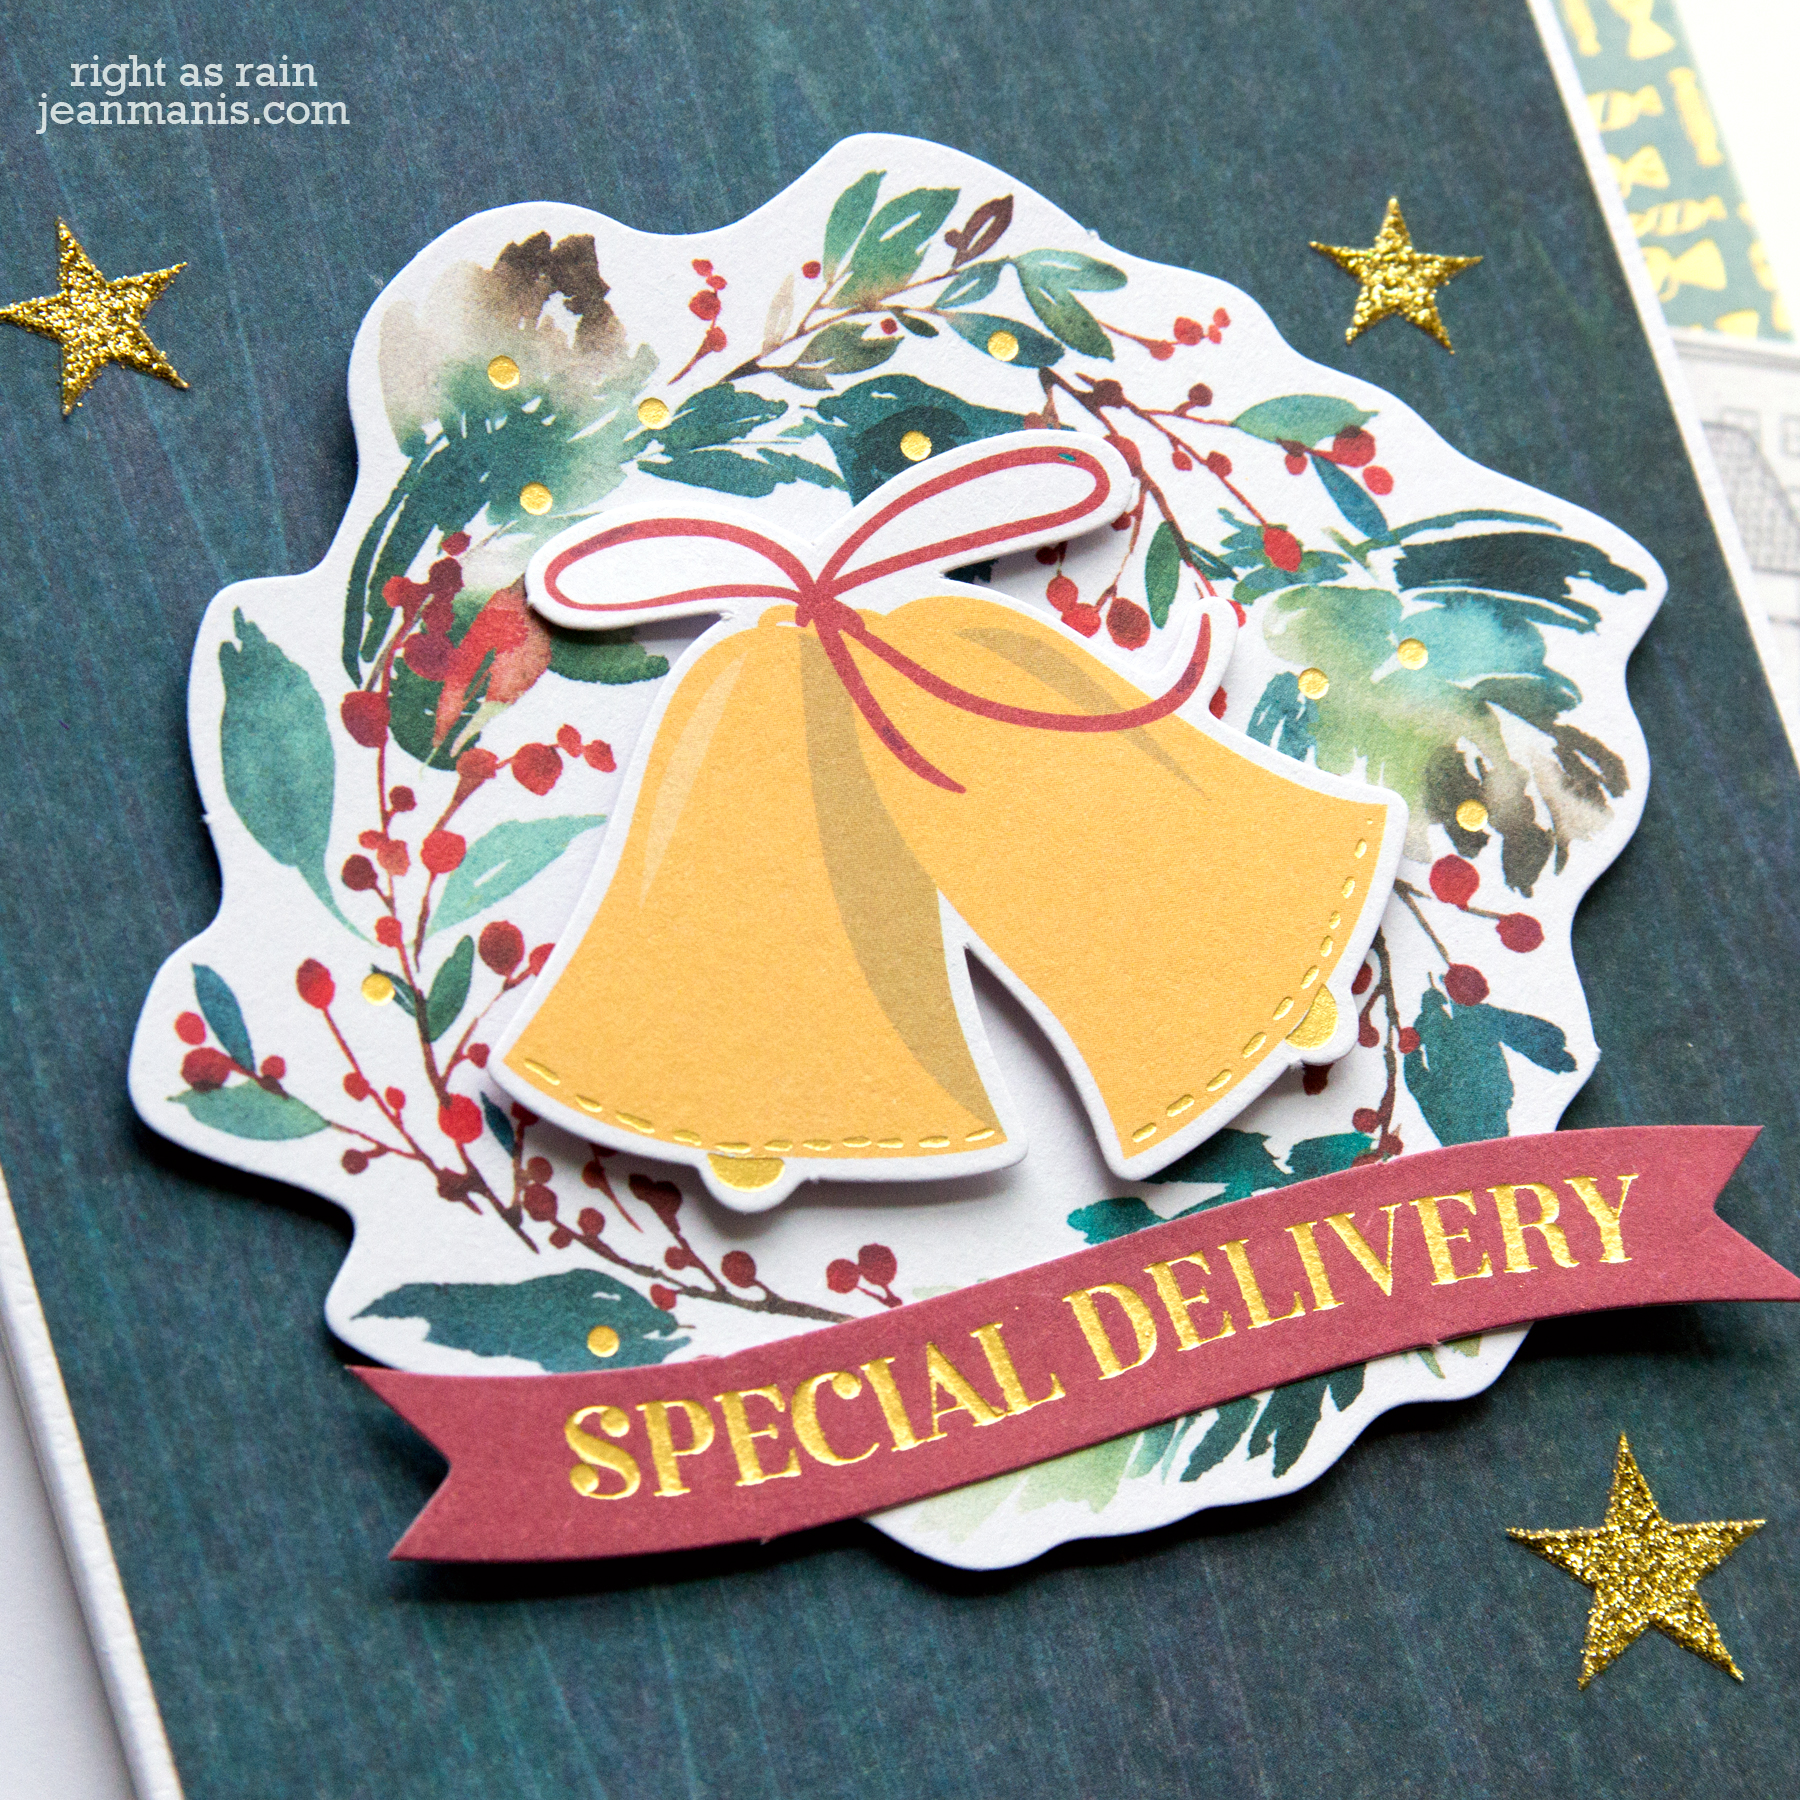
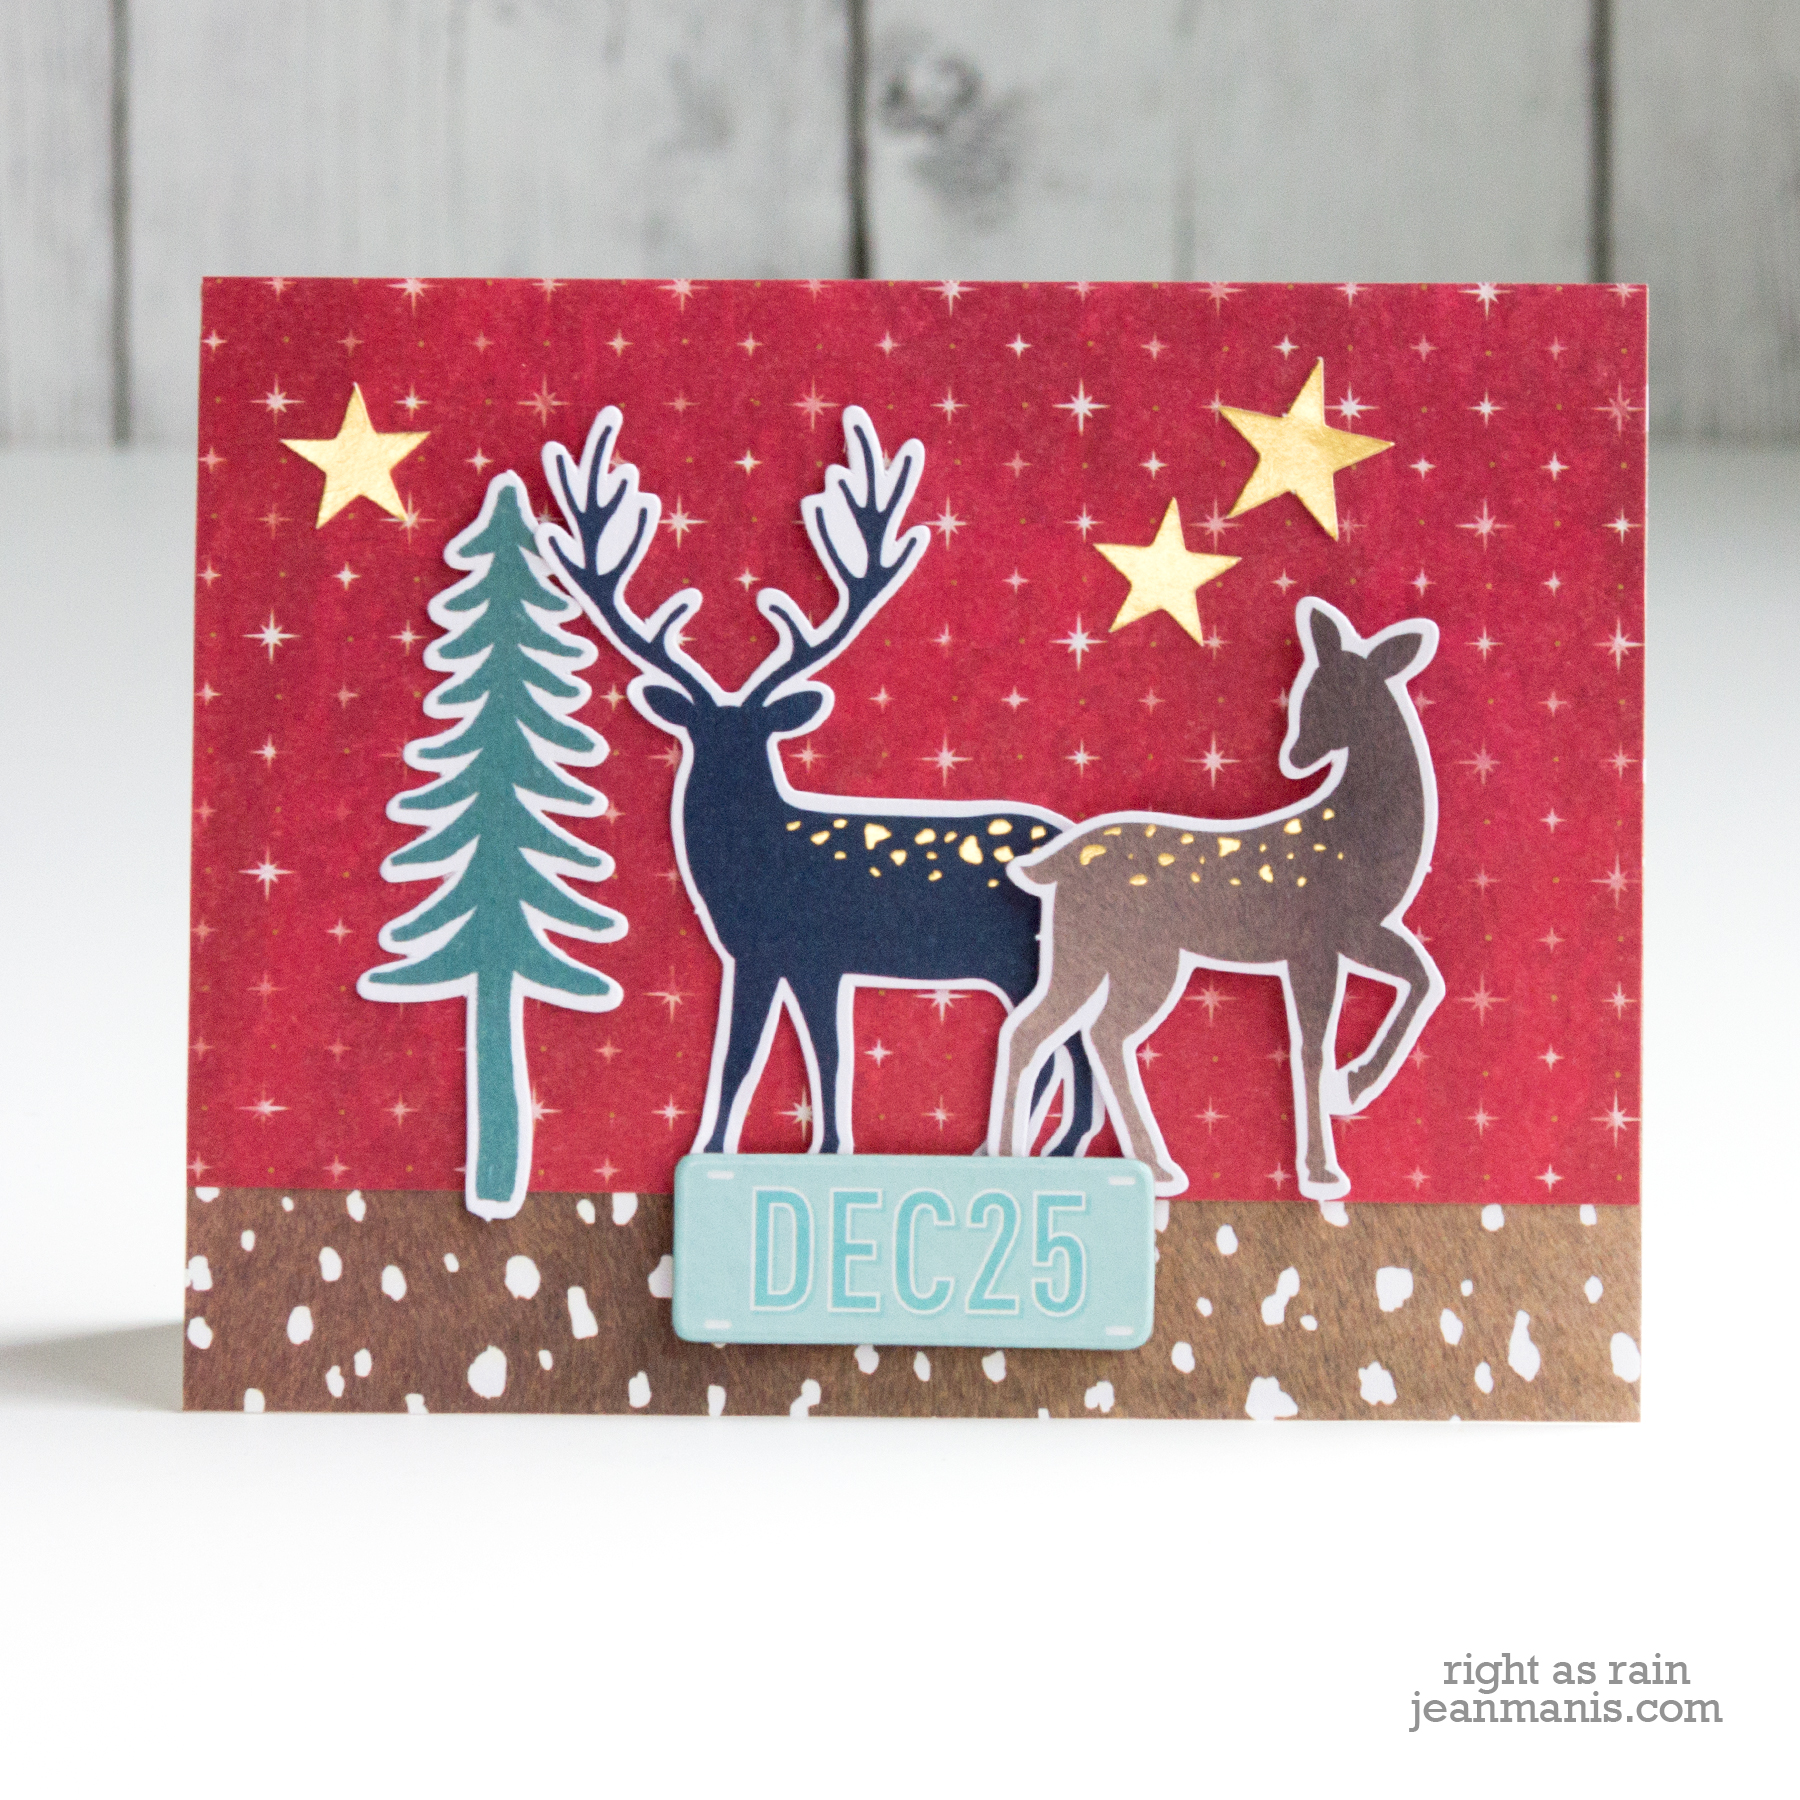
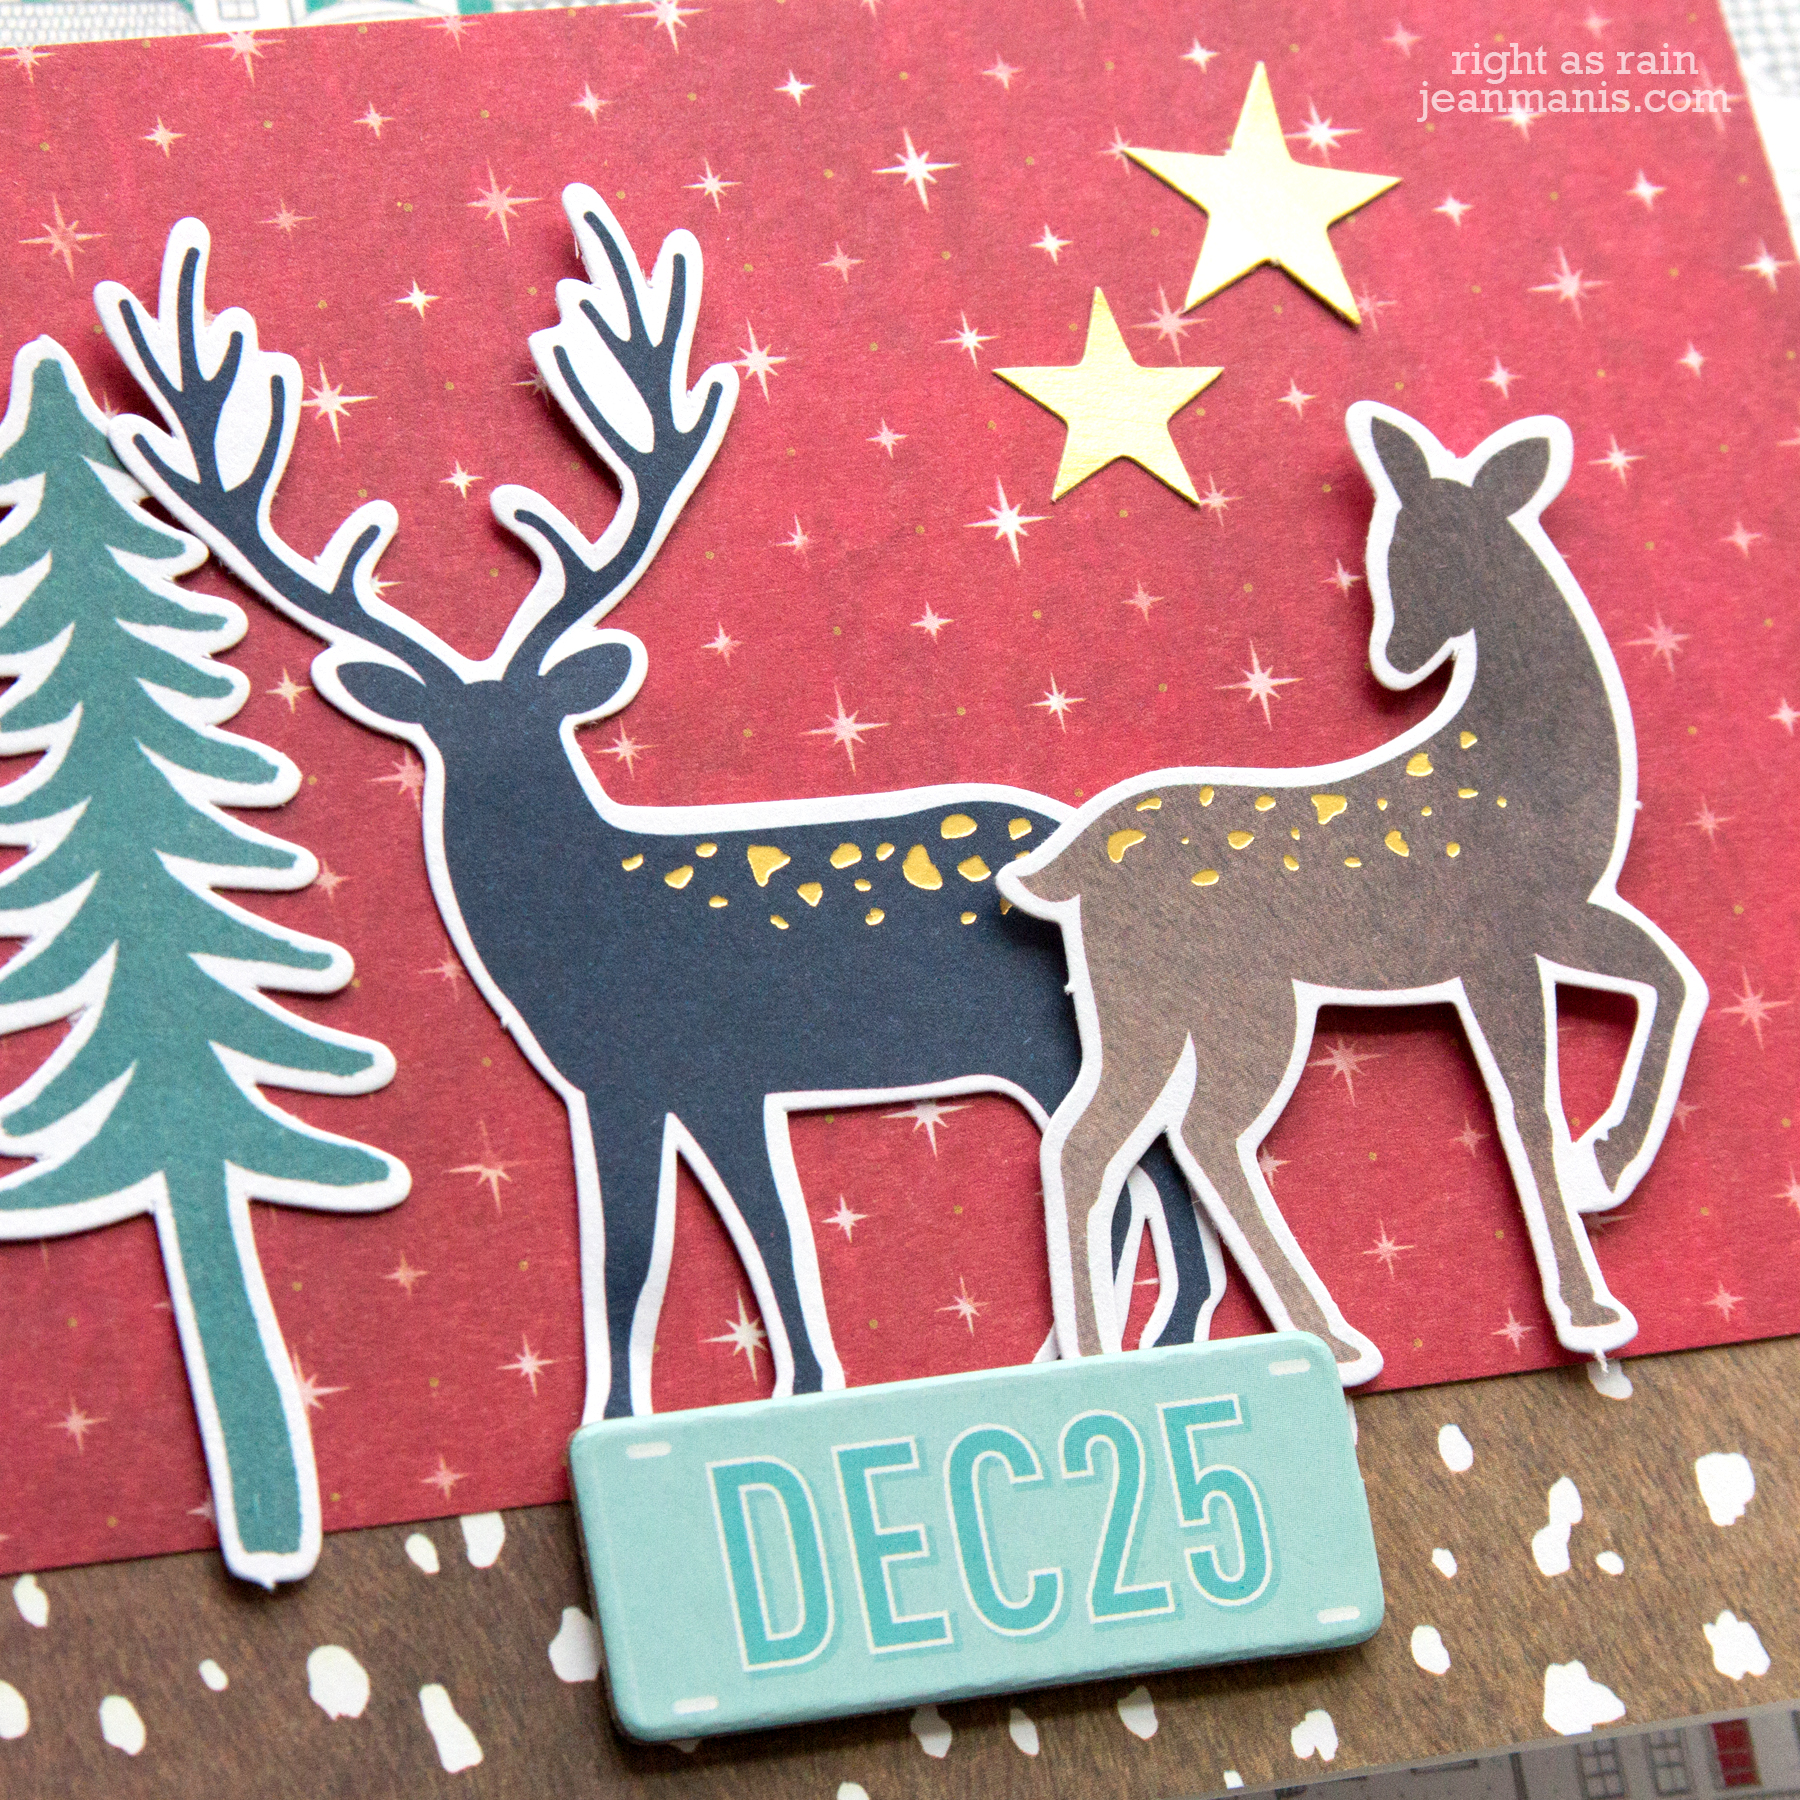
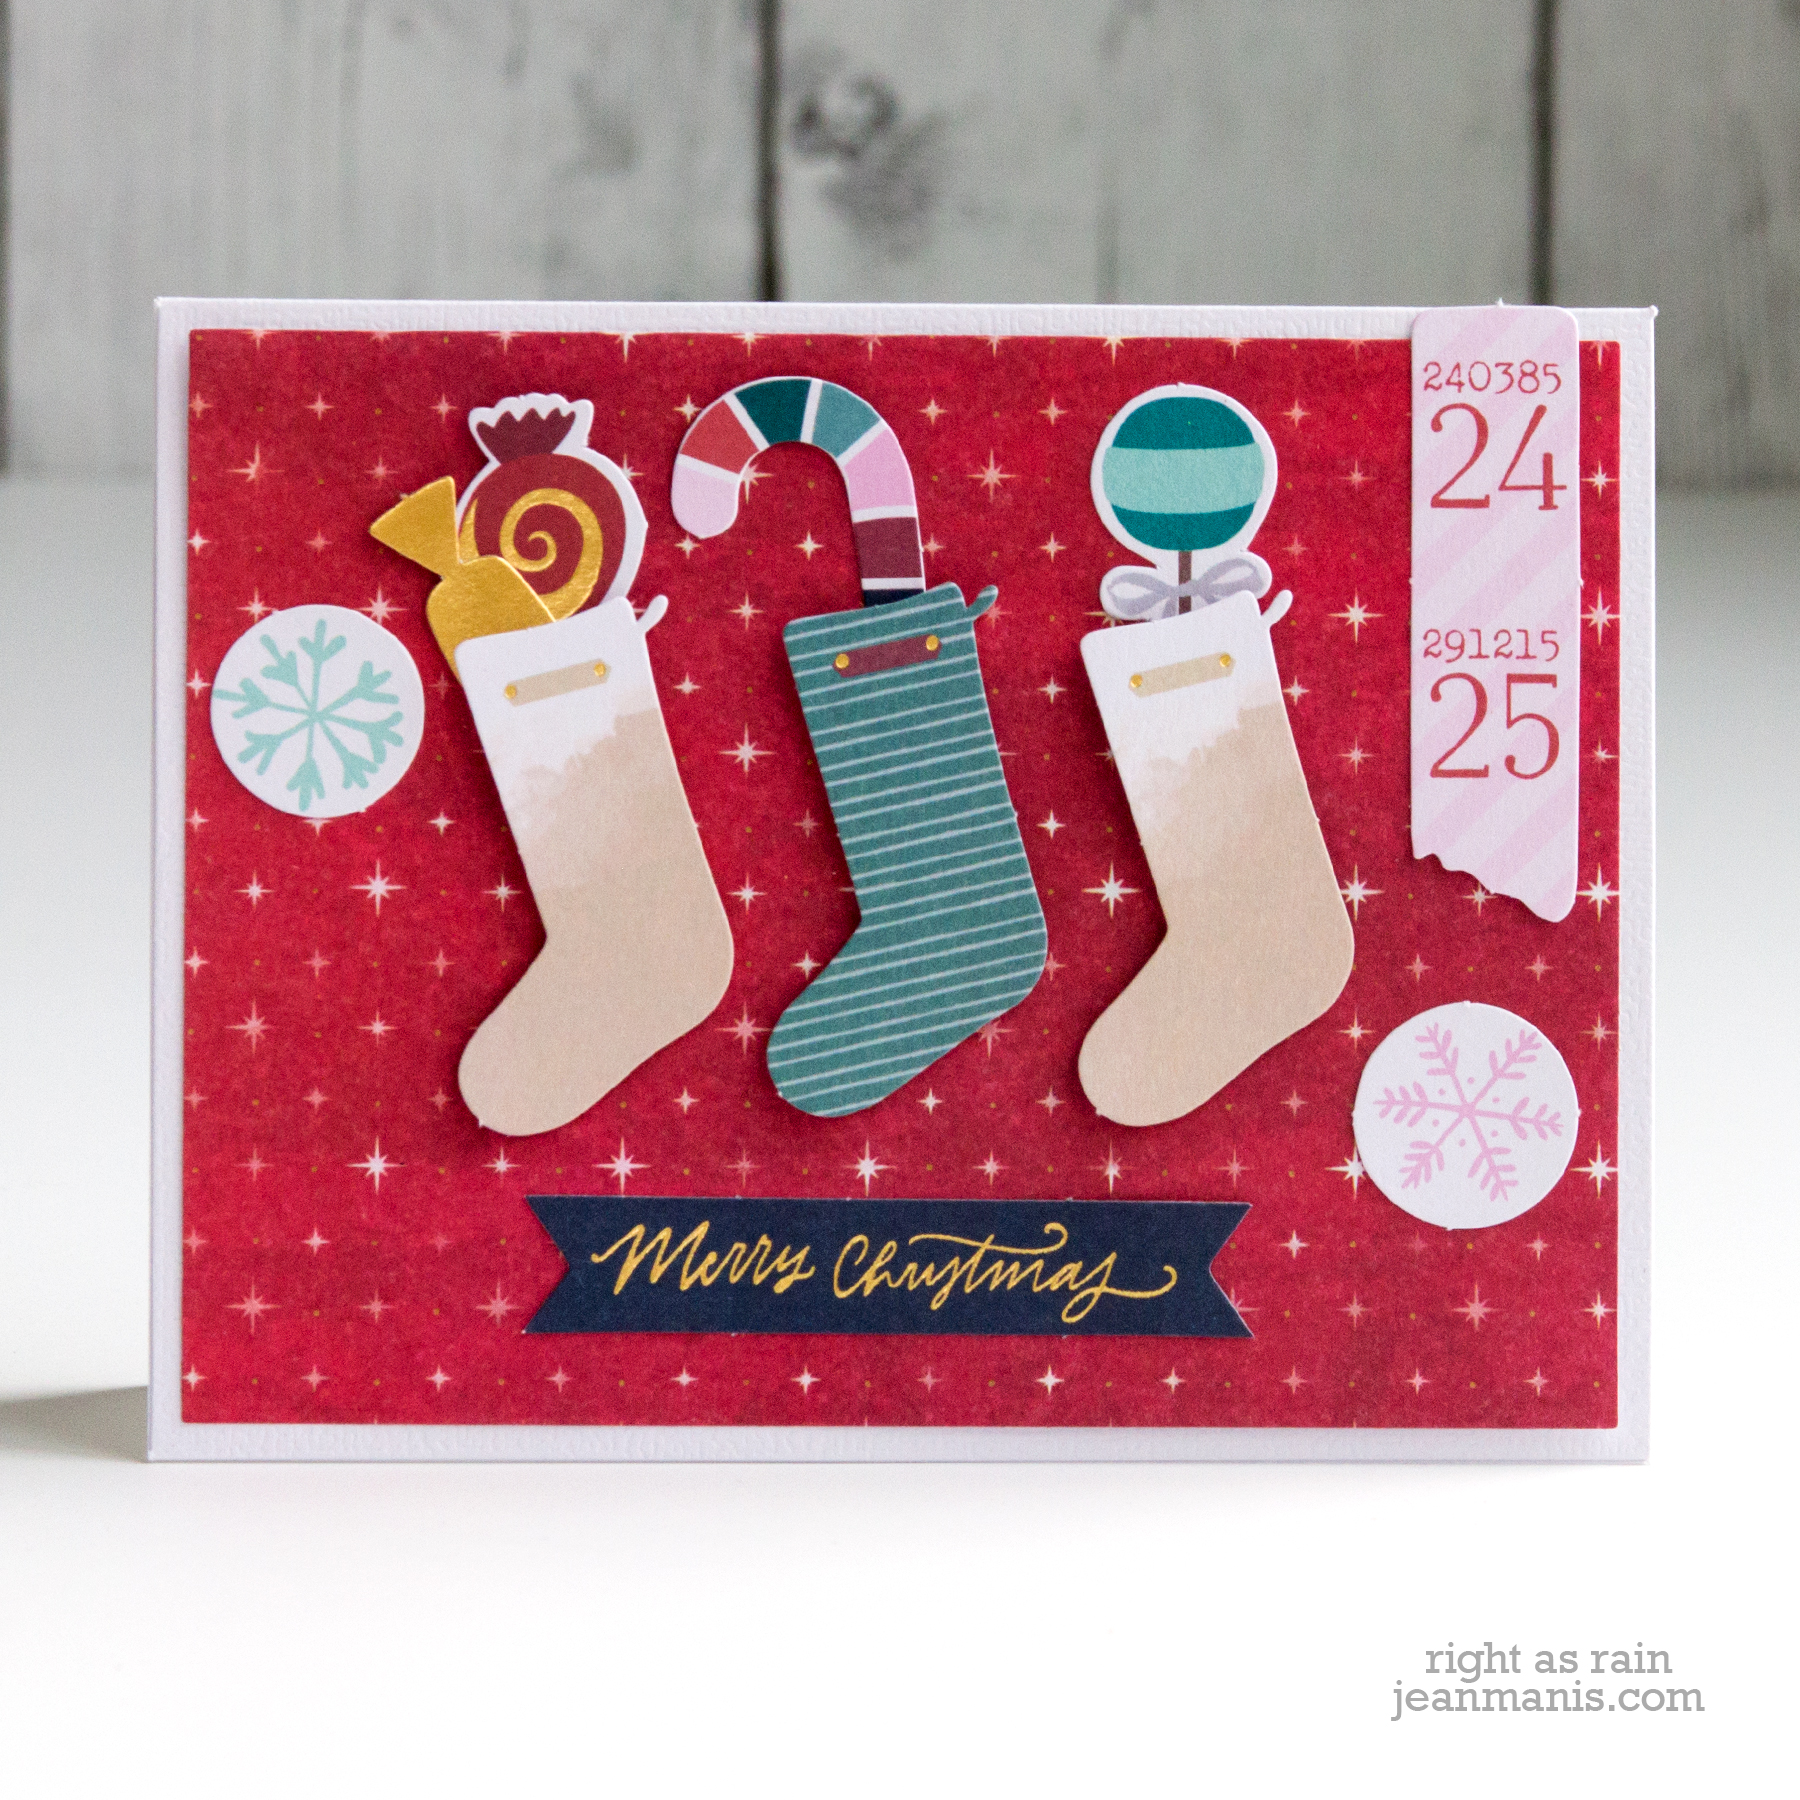
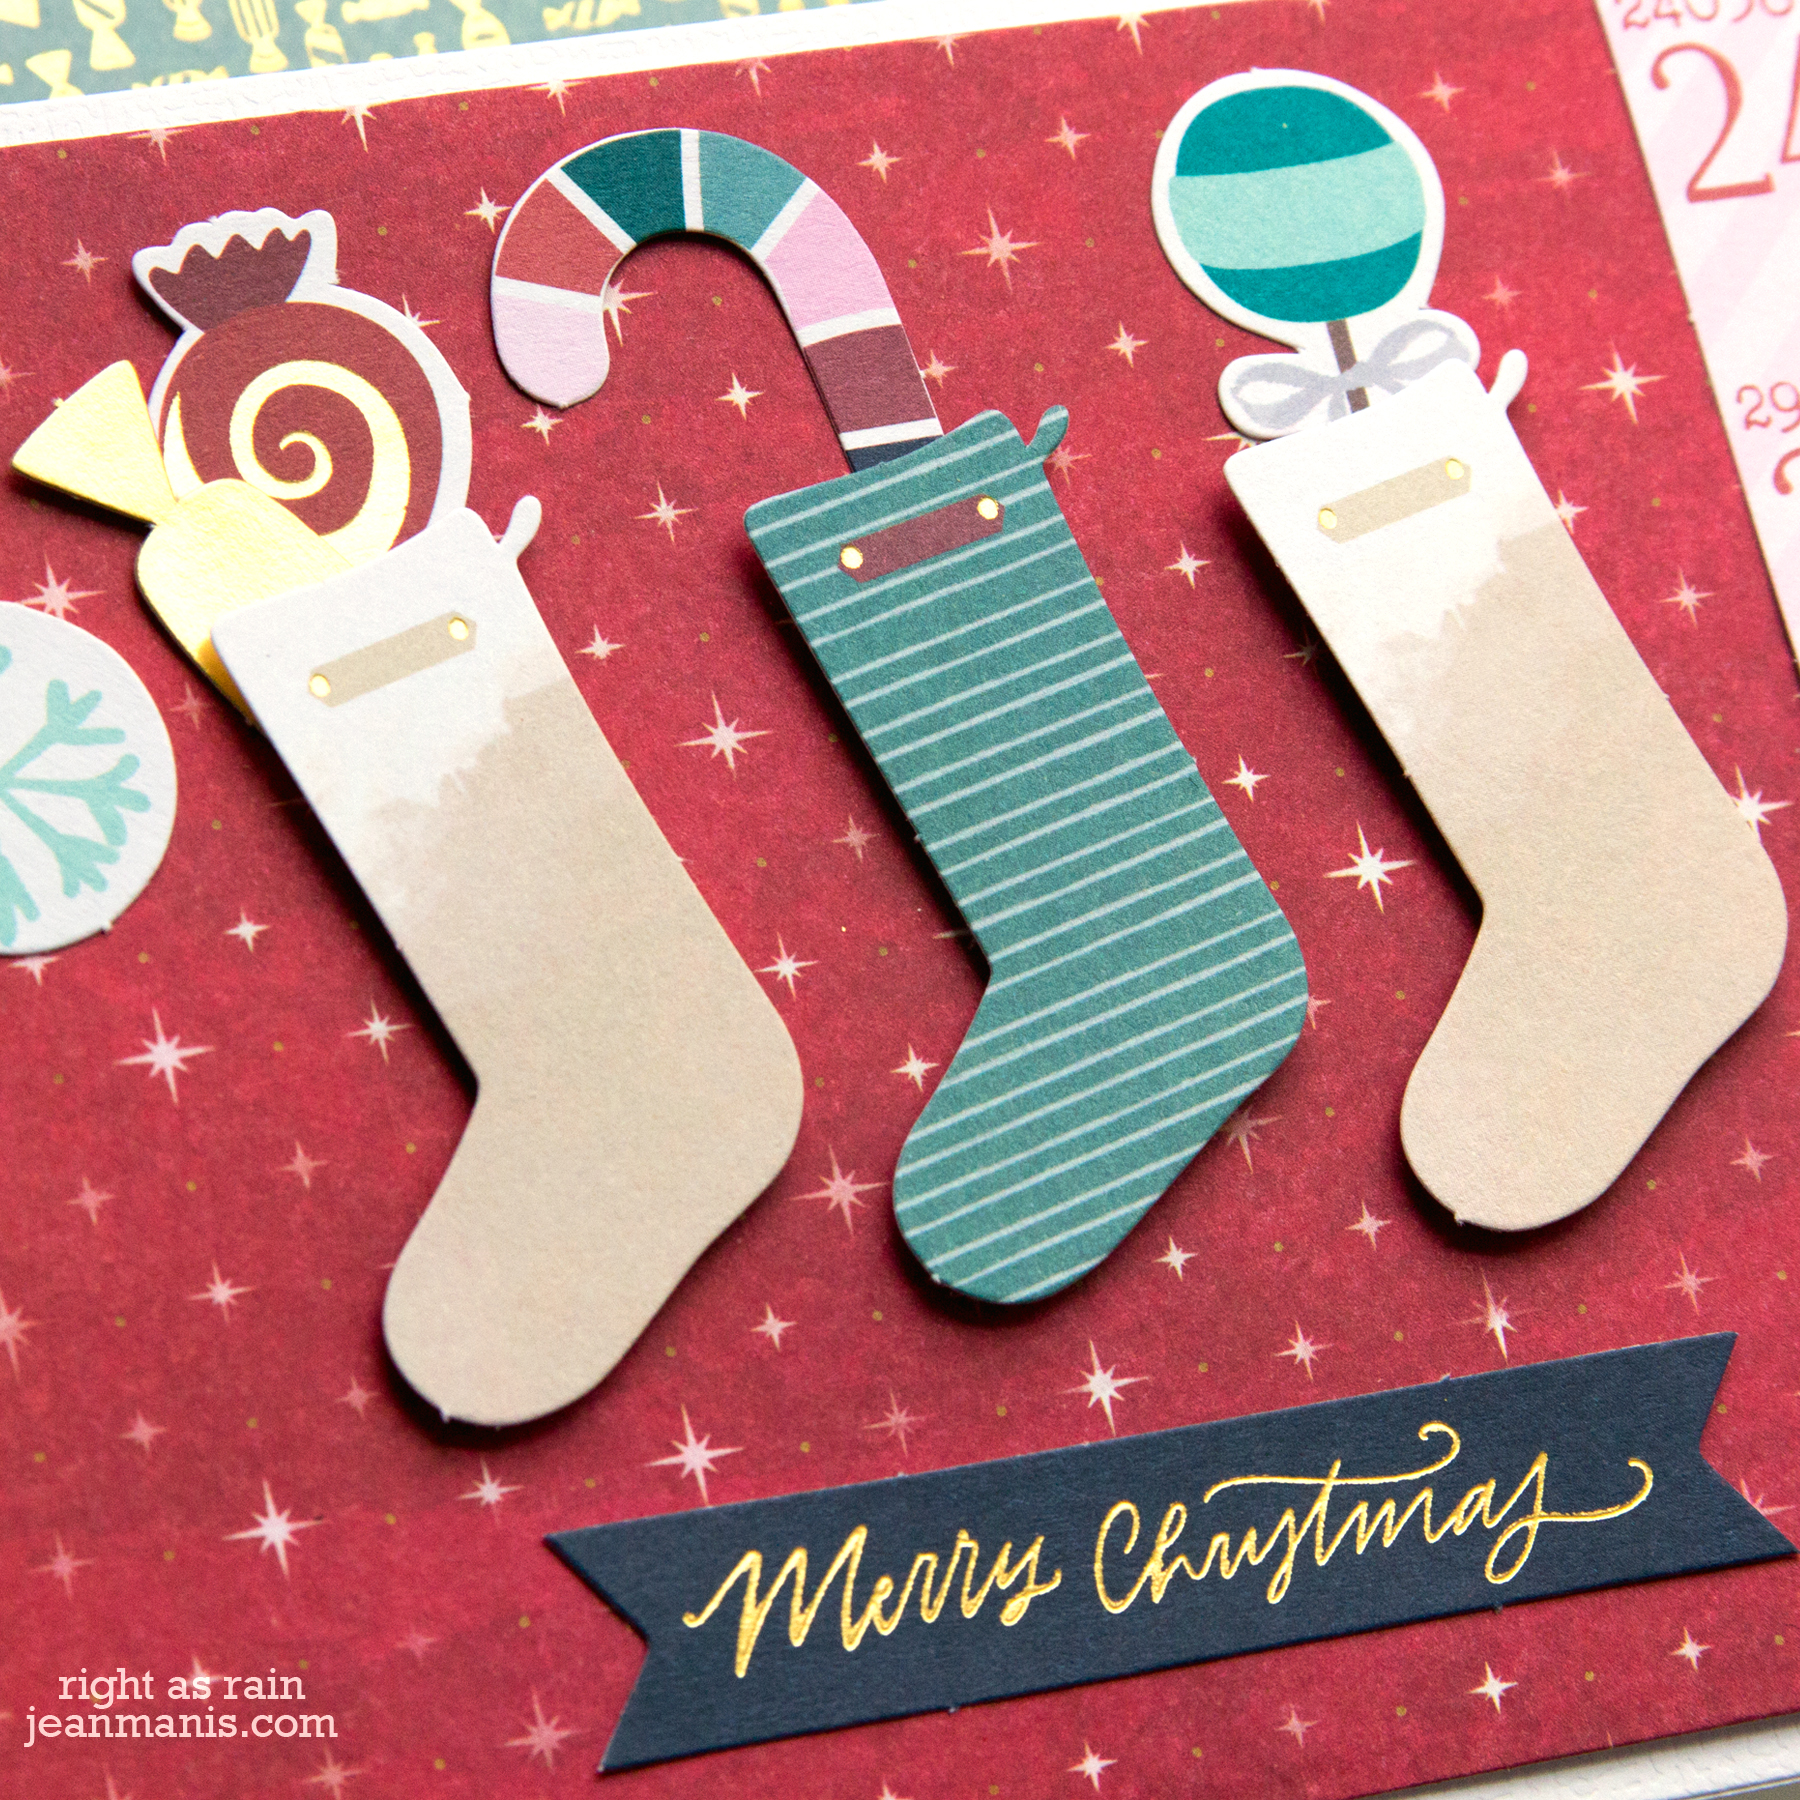
My additional cards use the kit’s die-cut and chipboard pieces with patterned paper.
There is more inspiration for the Christmas Wishes Cardmaking Kit within the product information. Thanks for visiting!
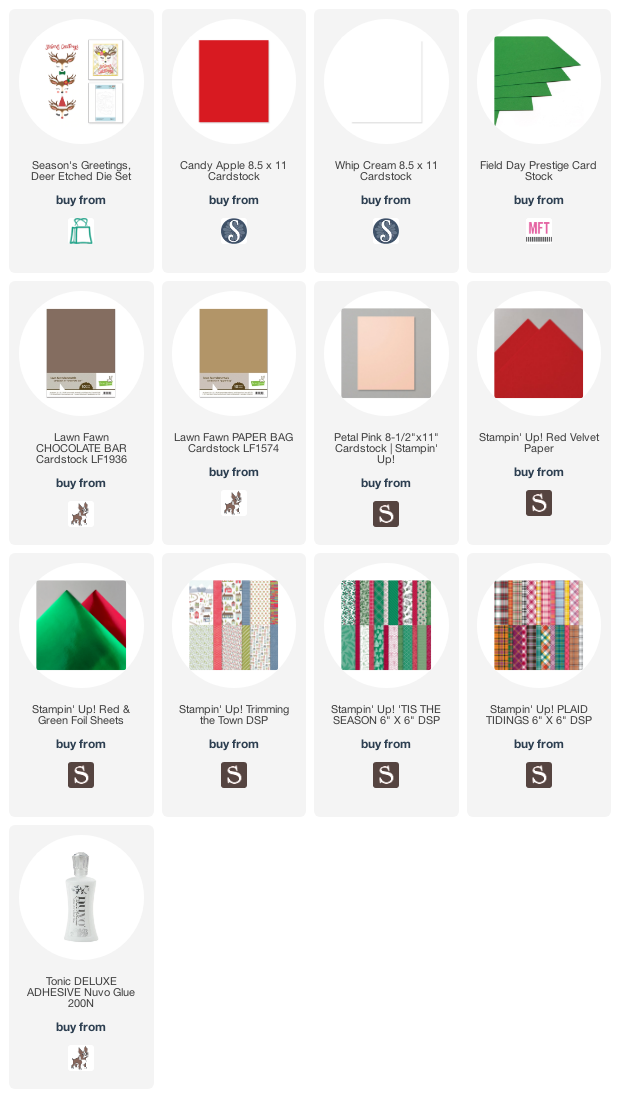
Supply List: