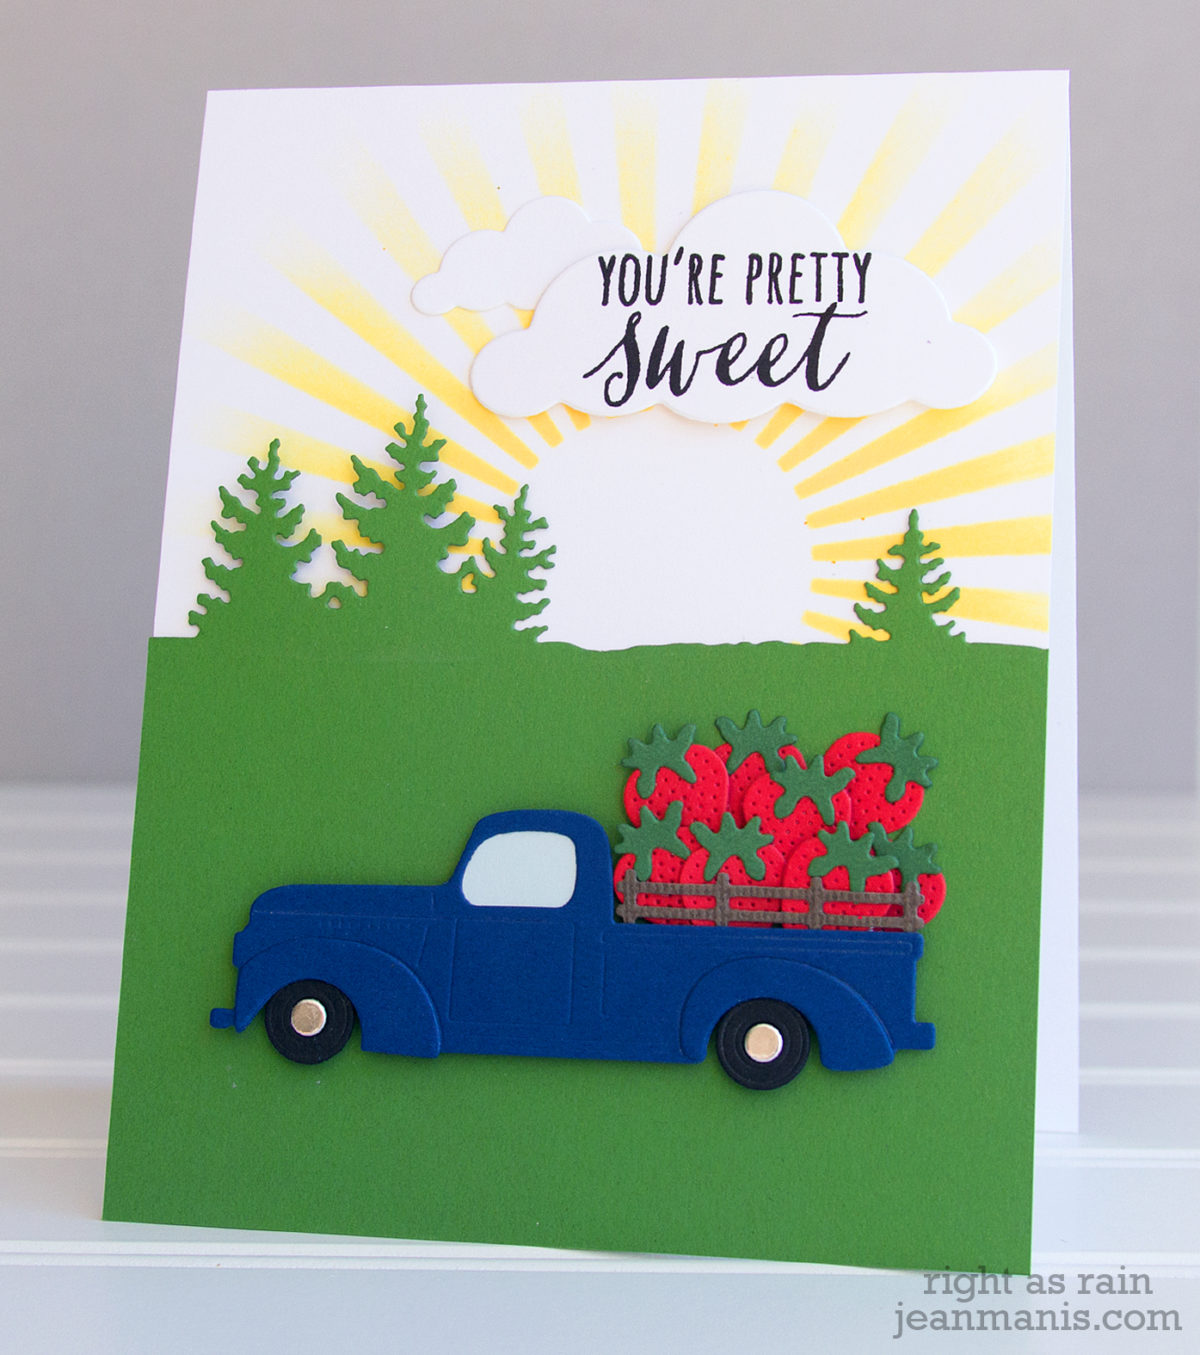
Hello! I’m back online with a “just because” card. I’m still getting things rearranged in my new workspace. It’s strawberry season and the ones we’re getting in the PNW are fantastic. I crafted this Pacific Northwest scene with Impression Obsession dies, a My Favorite Things stencil, Memory Box dies, and a Hero Arts sentiment.
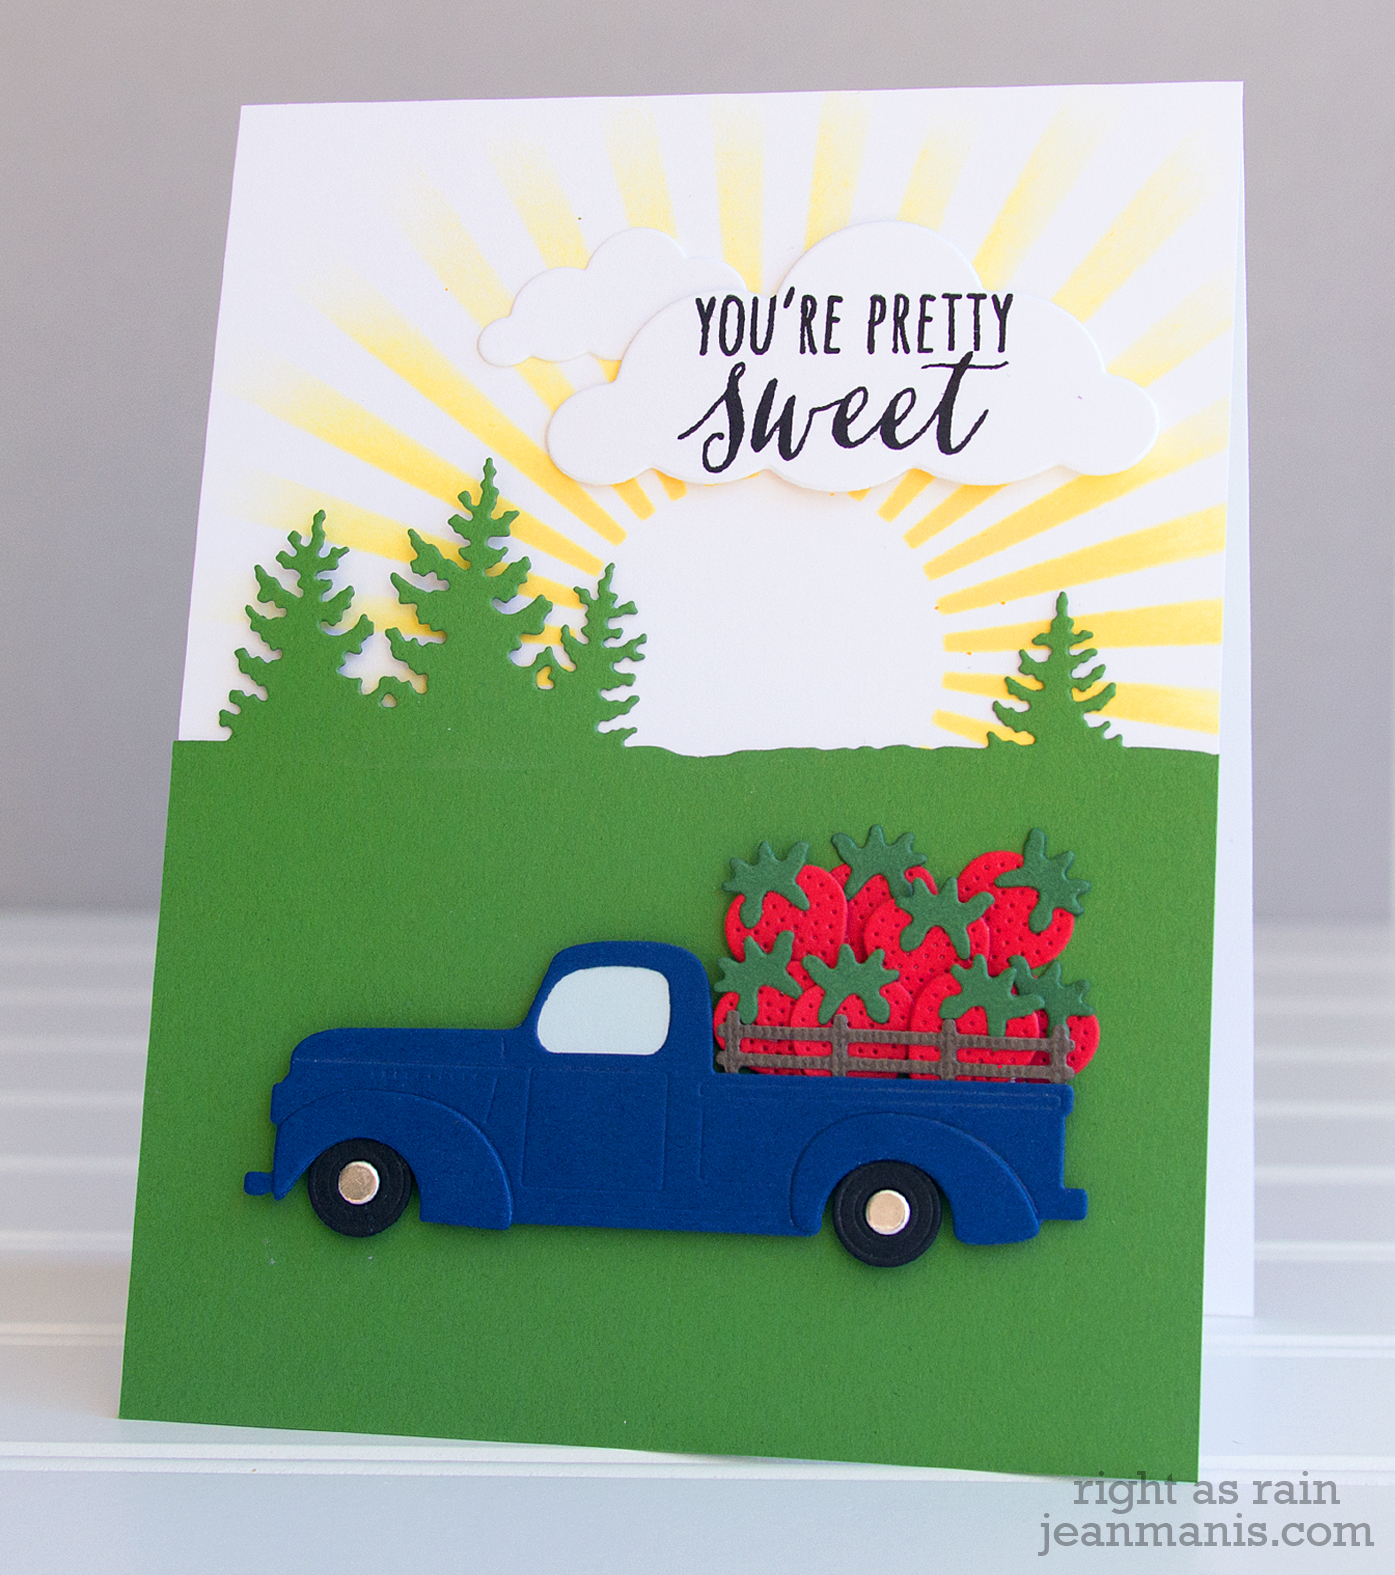
As I created this card, I was using a Valentine’s Day card that my brother and I sent my grandmother sometime in the 1960s as a straight edge and a Cross pencil of my father’s to draw lines for trimming. That’s a good indication of how much crazy is in my life – that I could lay my hands on those tools faster than a ruler and pencil from this century!
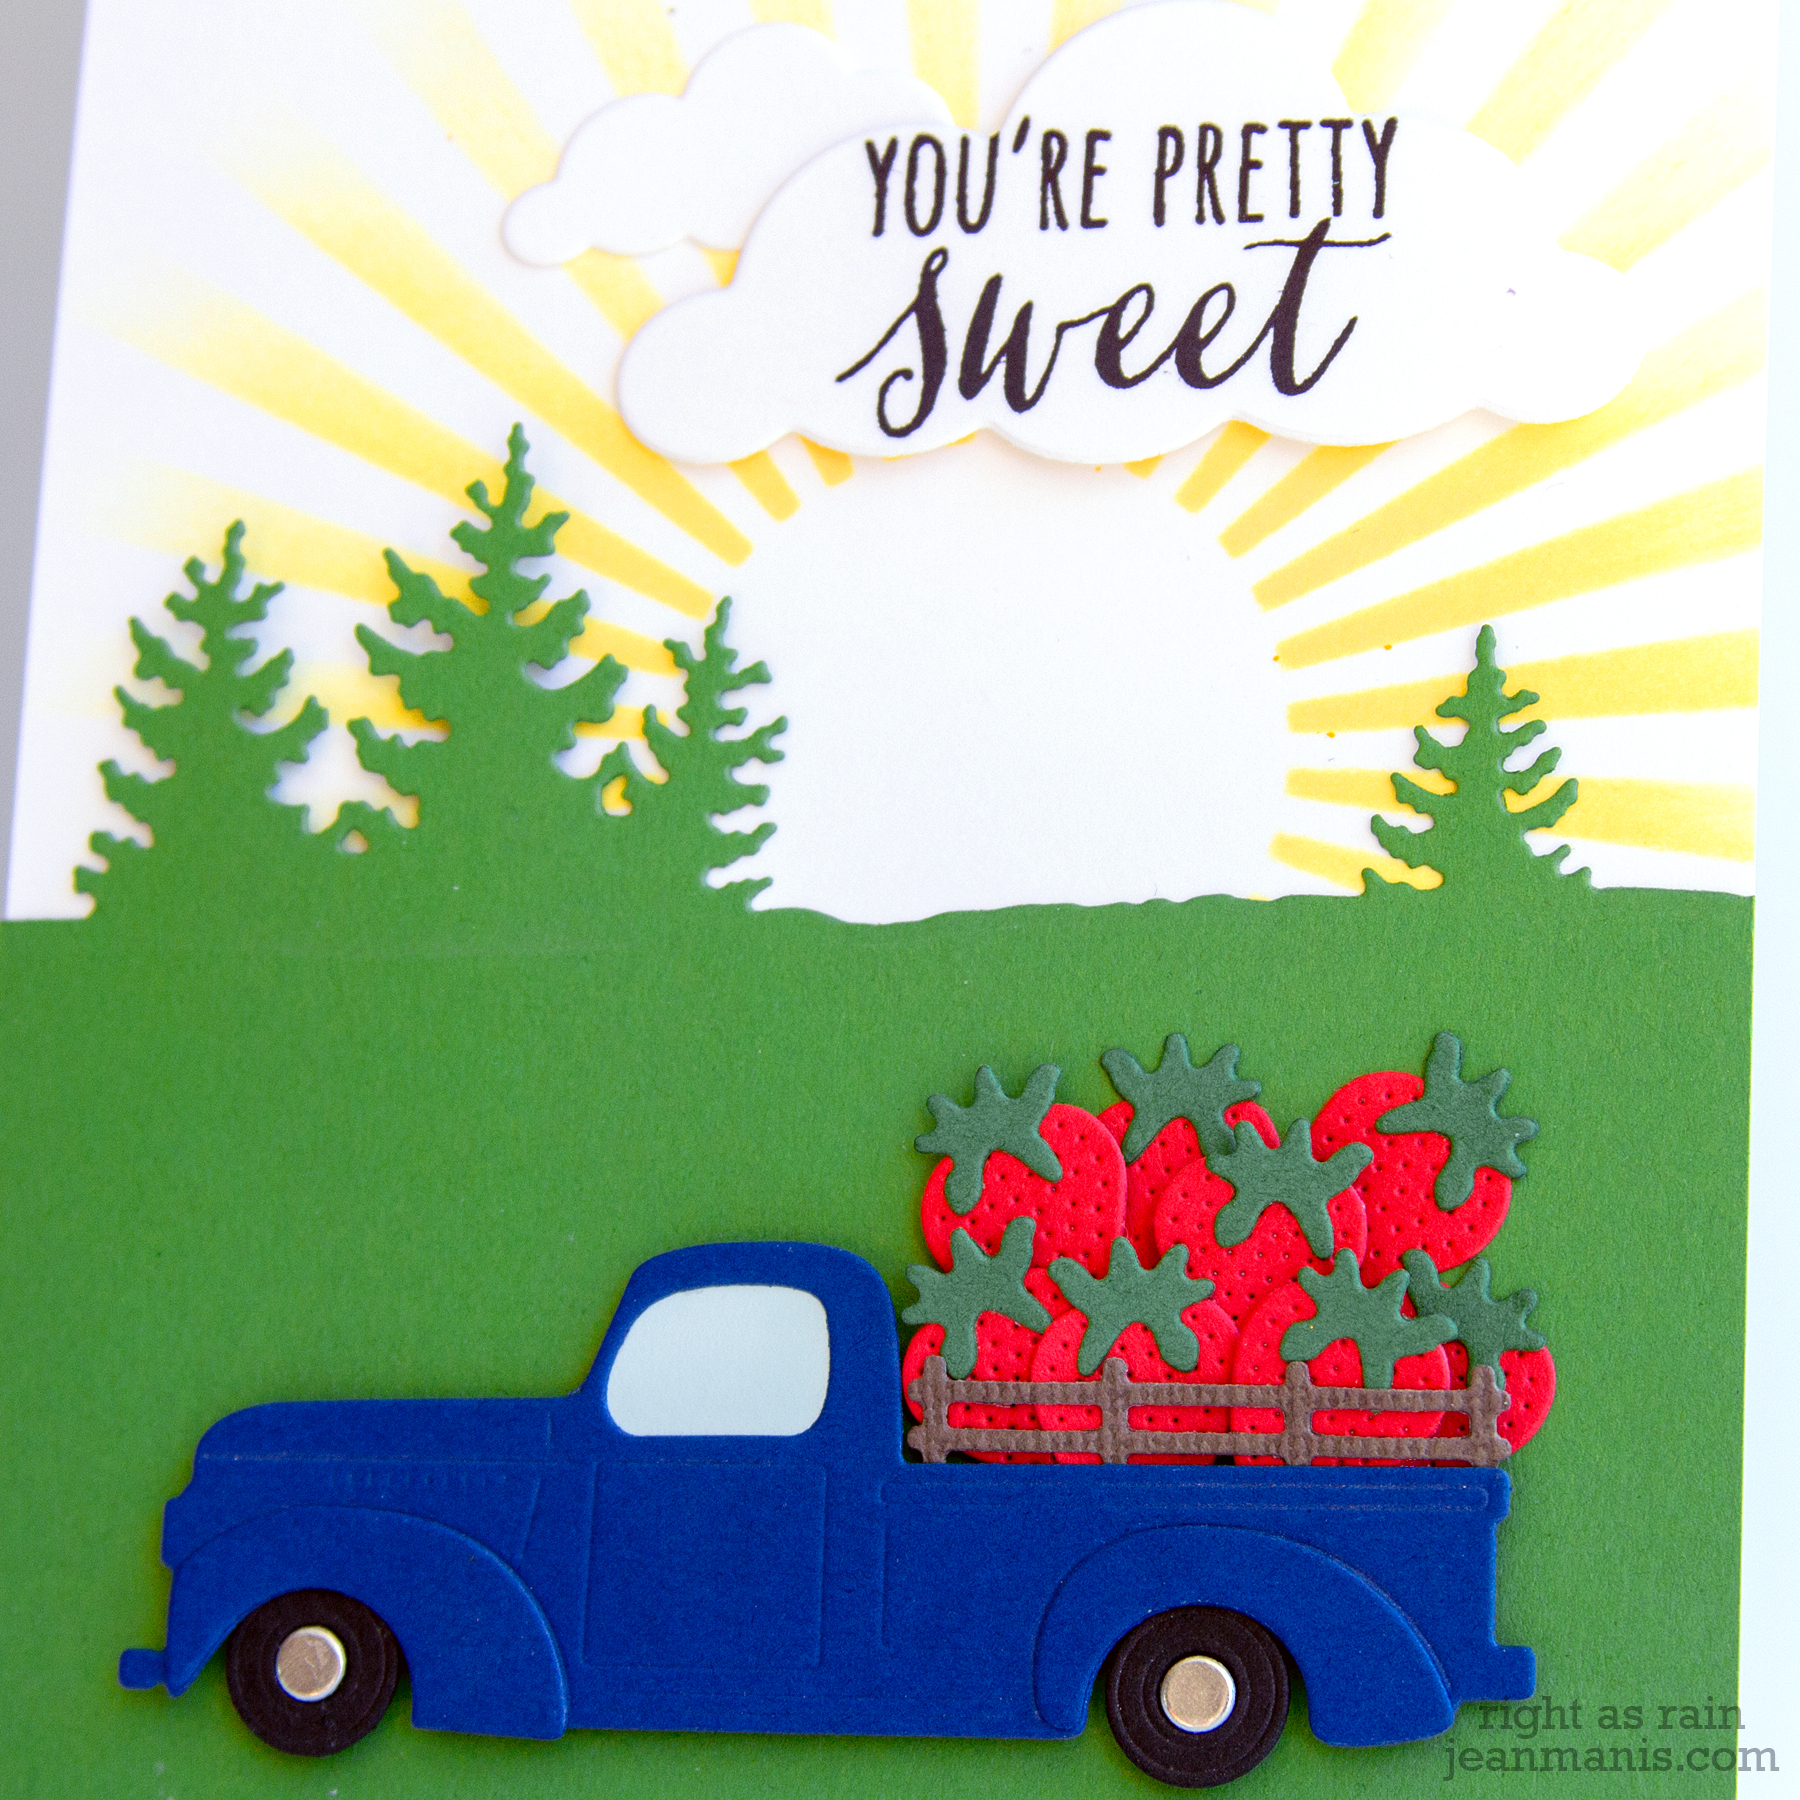
The sentiment is from the Hero Arts Stamp Your Own Fruit set (now retired). The clouds are from two different sets – Memory Box Puffy Clouds and Marshmallow Clouds.
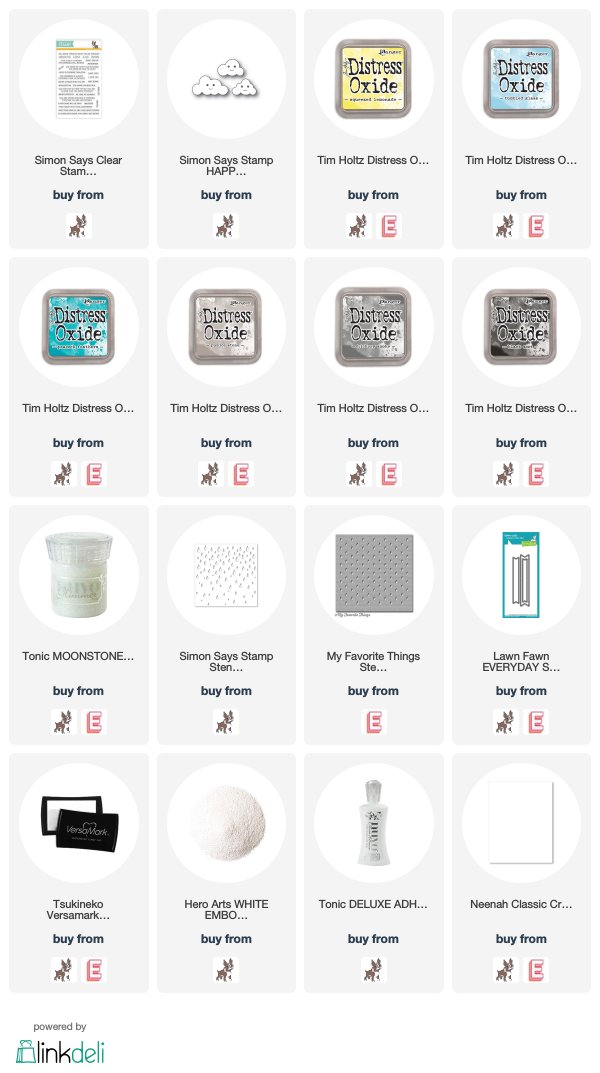
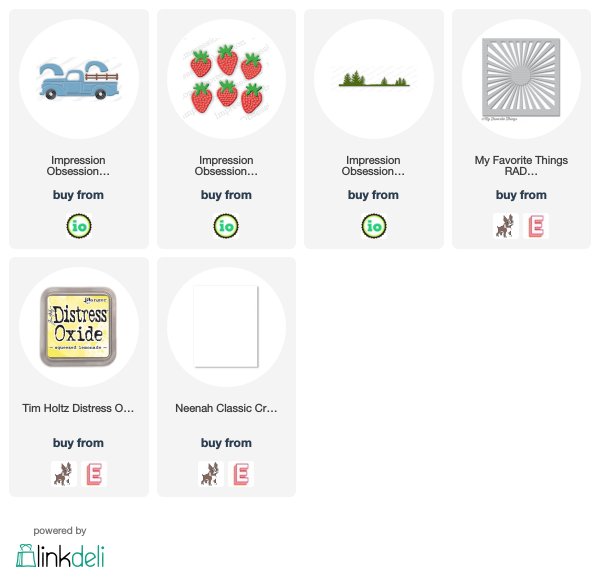
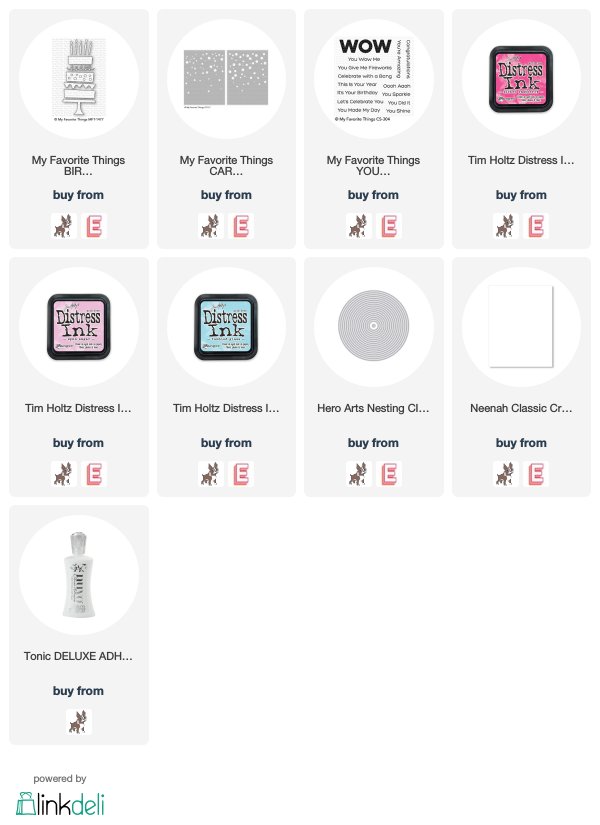
Supplies:

 Thanks for visiting!