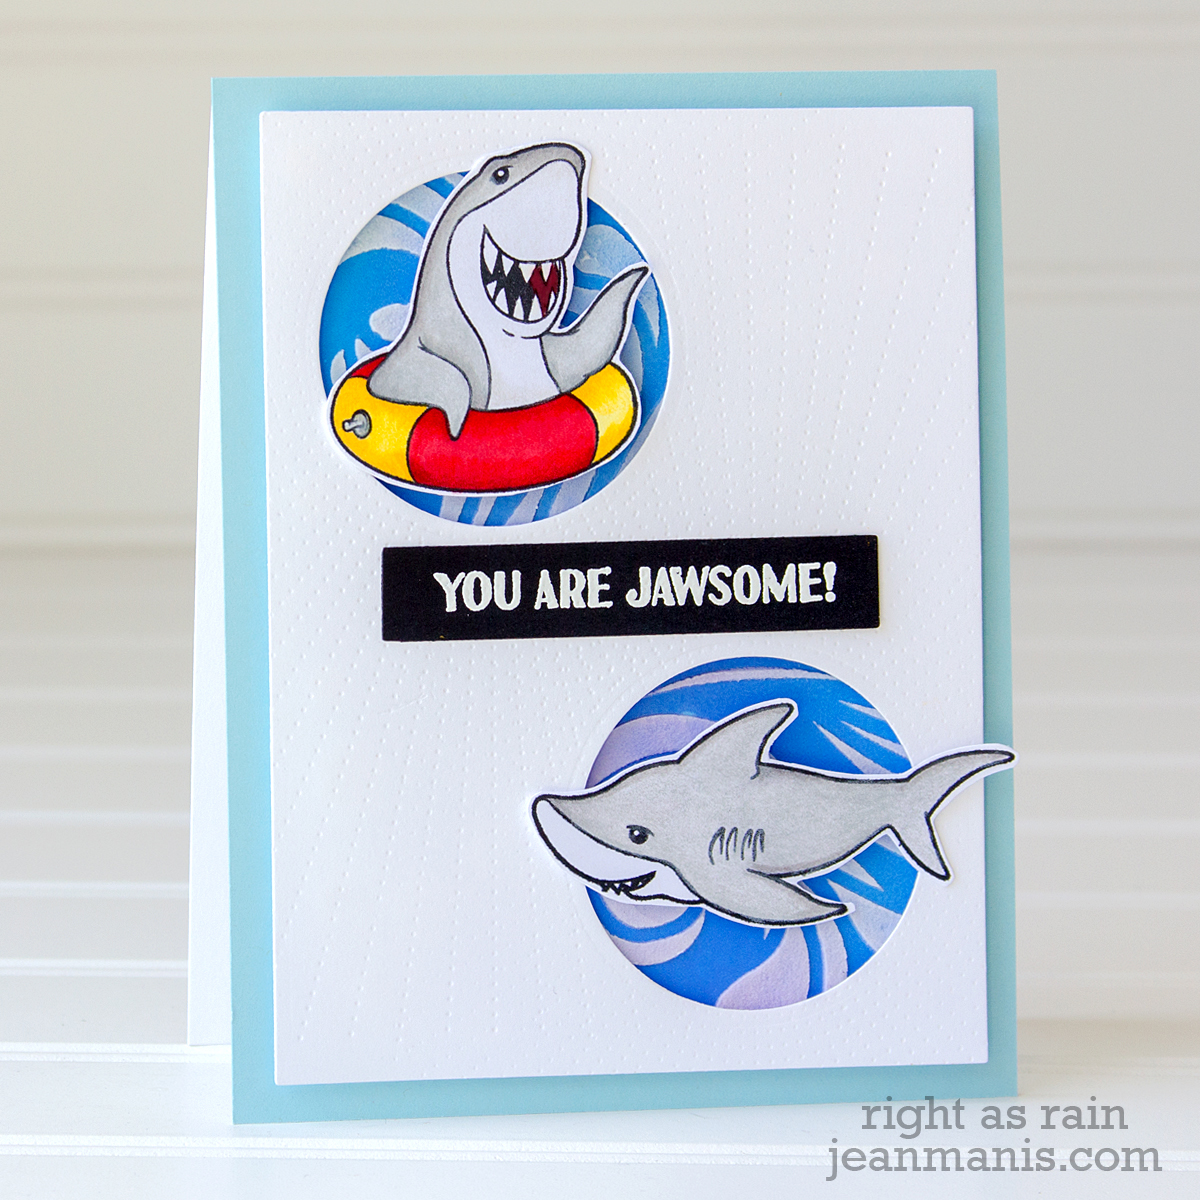
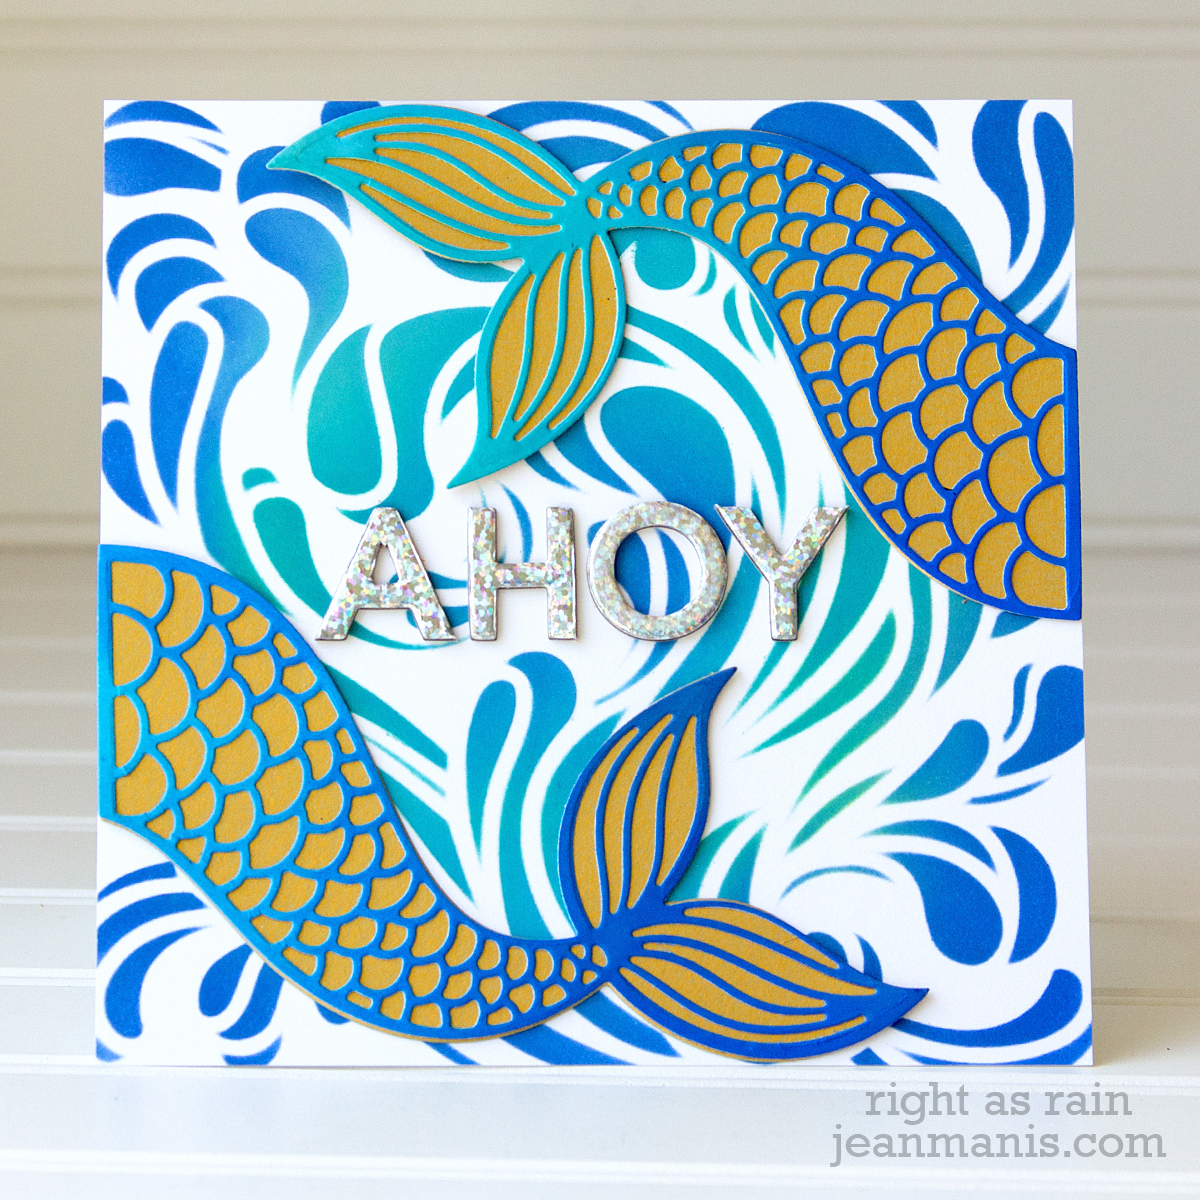
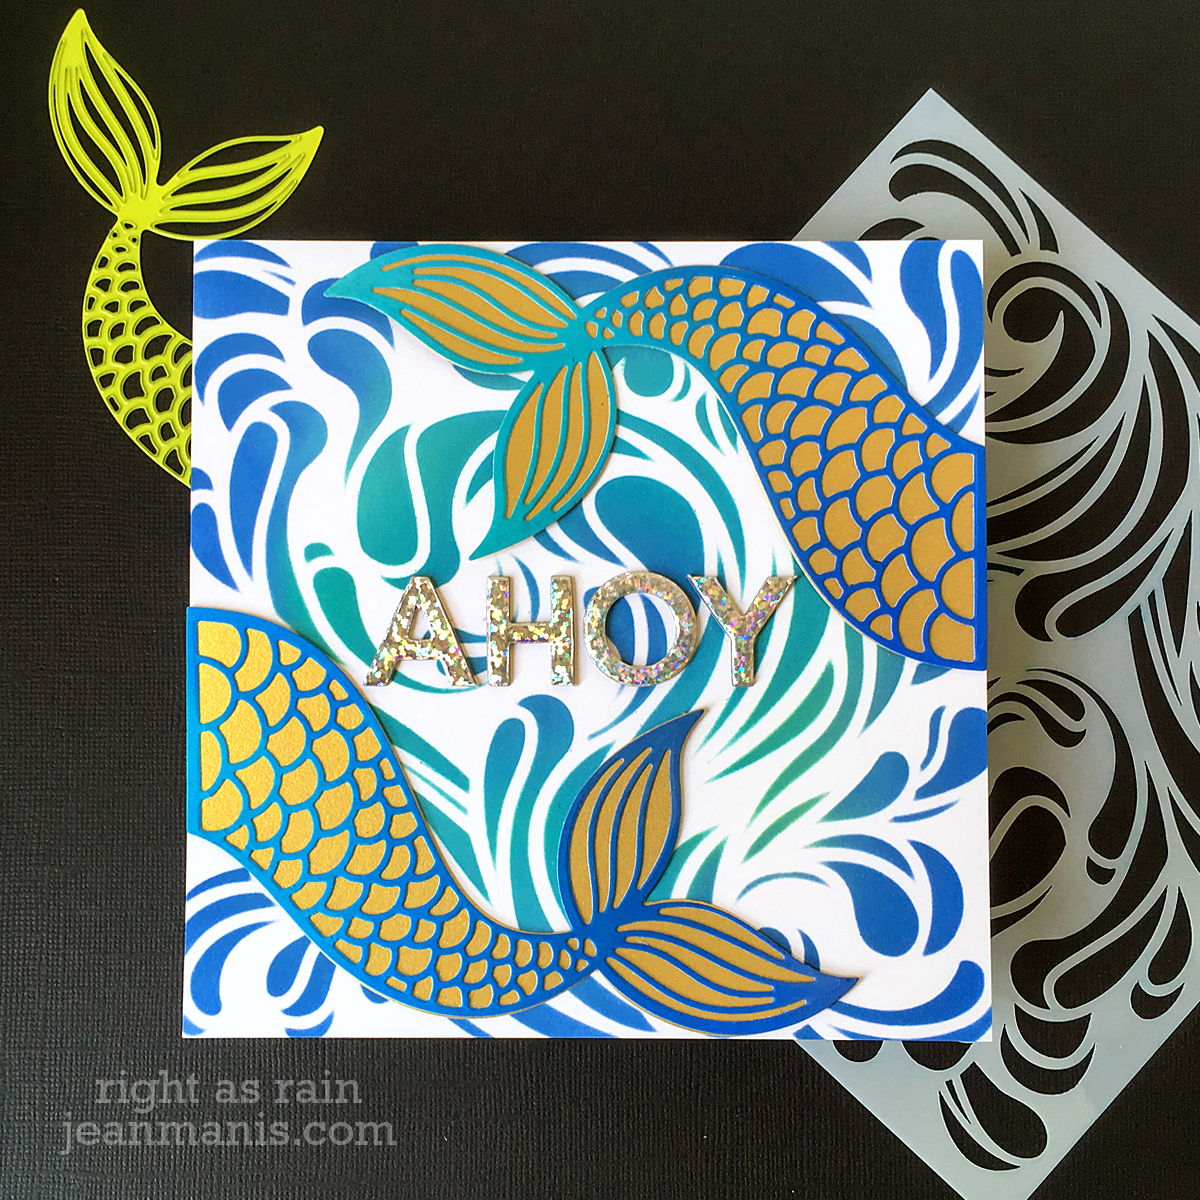
Hello! Today, I am sharing a summer-themed, friendship card showcasing the Simon Says Stamp Hibiscus Frame die. I’ve previously shared cards created with this die set here and here. This card using the inlaid technique – one of my favorites for die sets such as this.
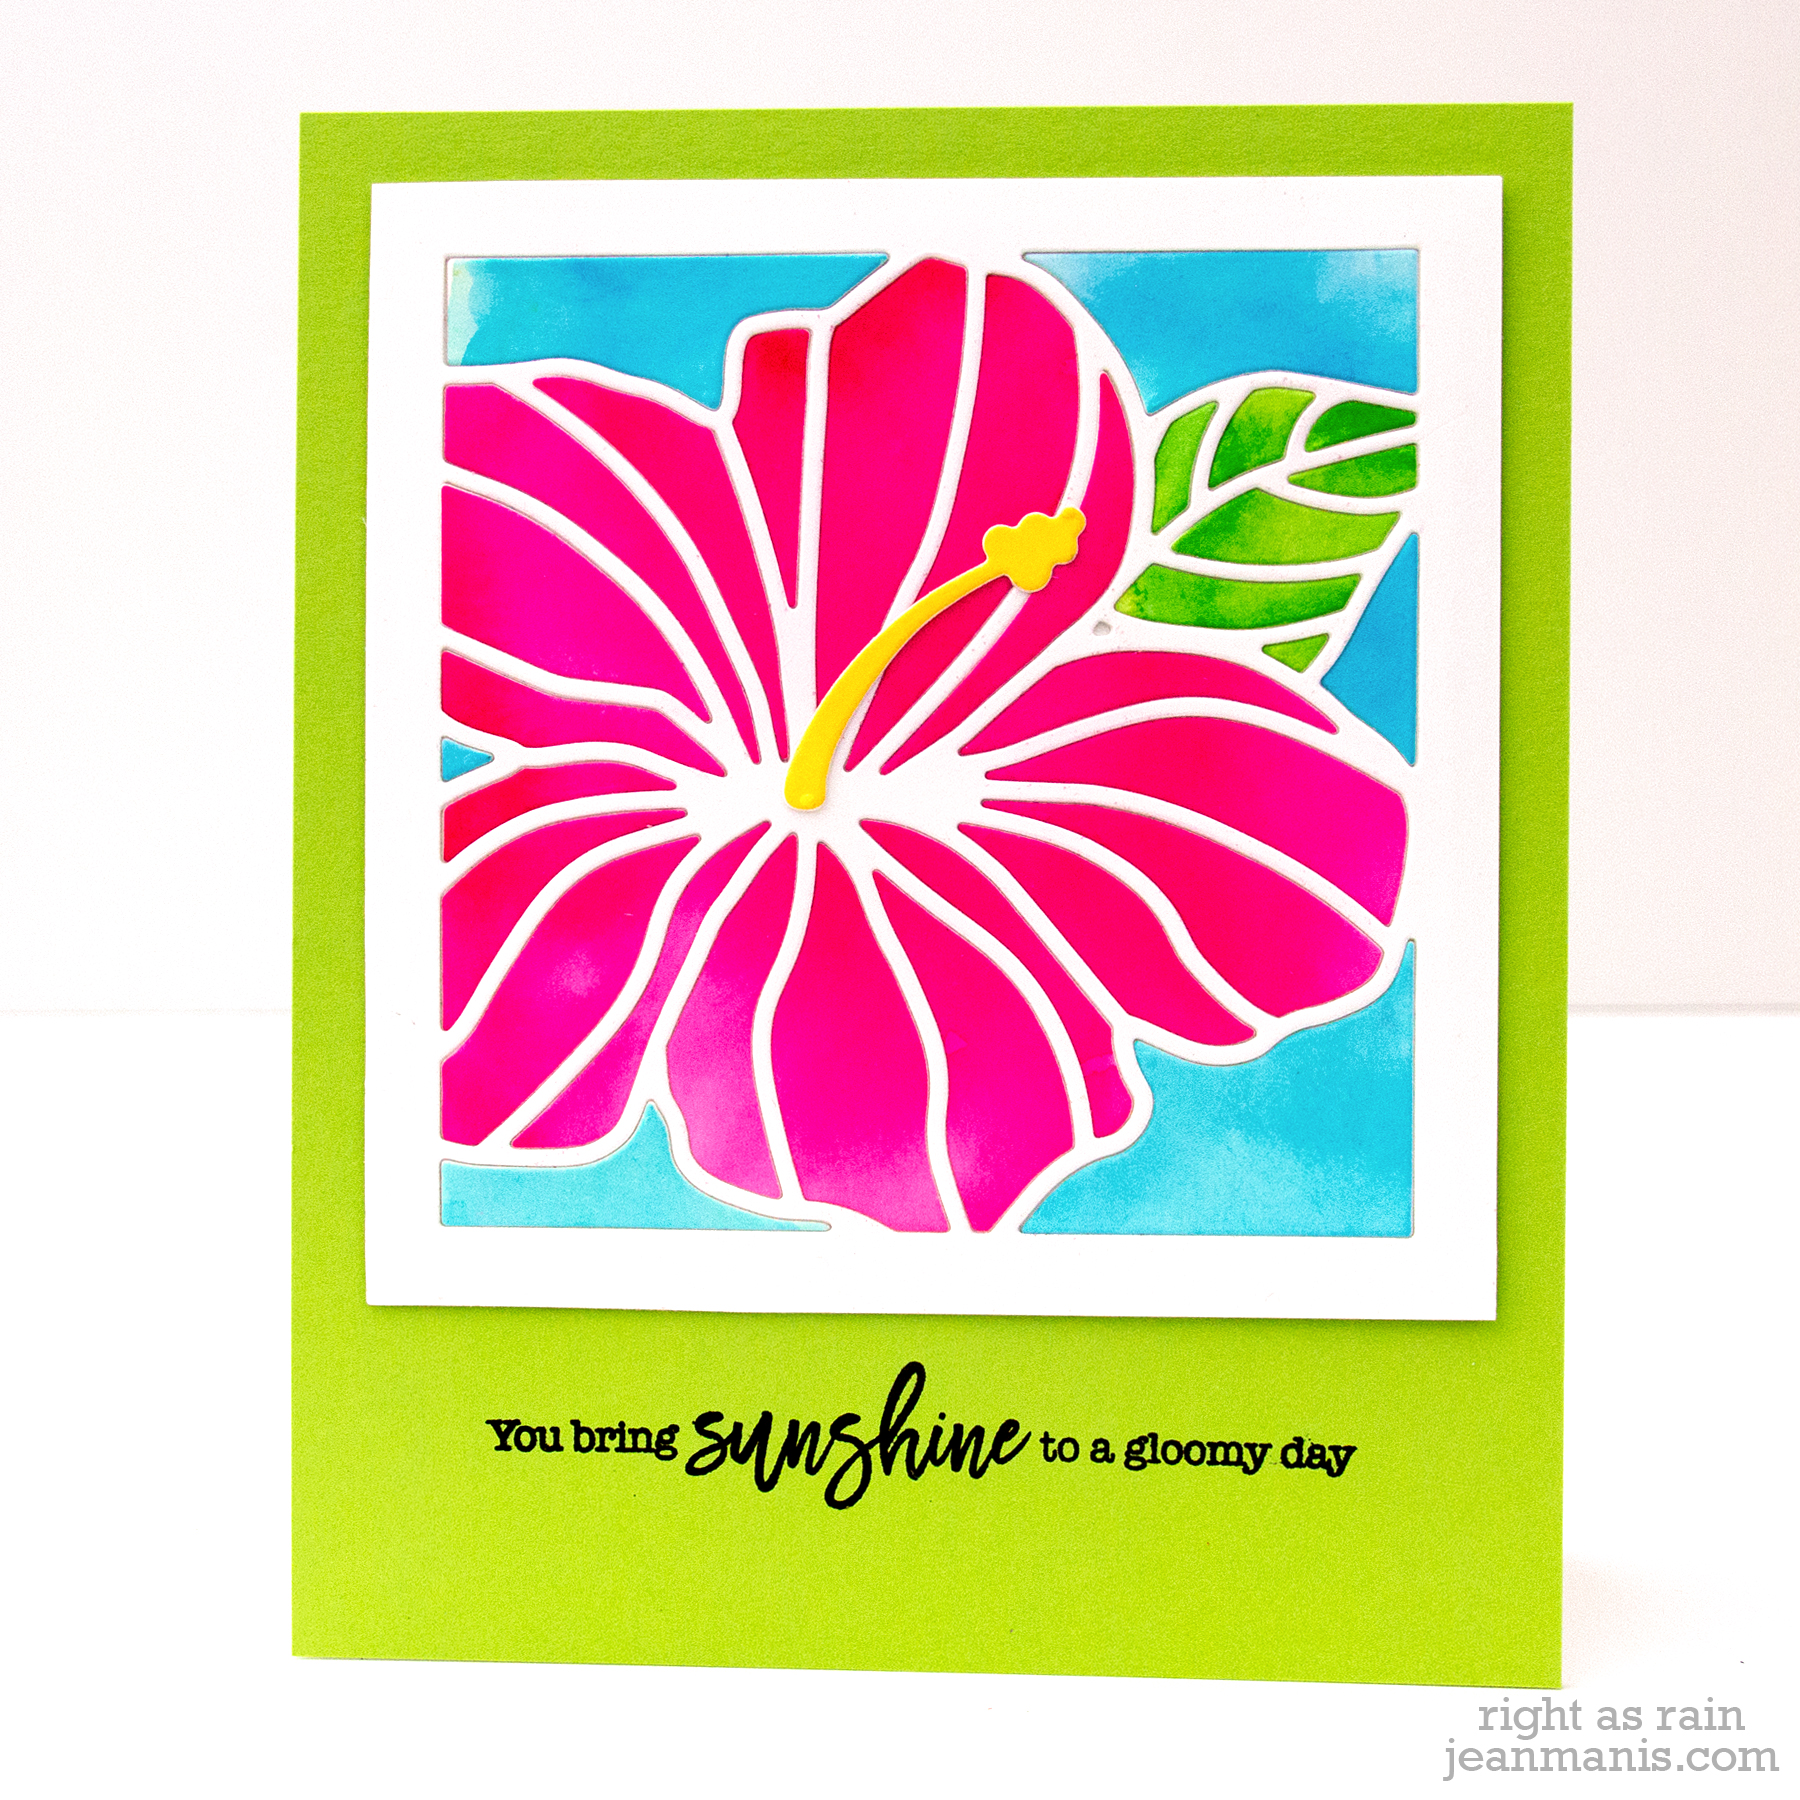
- I colored Canson XL watercolor paper with Peerless Watercolors in Turquoise Blue, Golden Yellow, Light Green, and Jackqueminot Red. I set the pieces aside to dry.
- I cut the Hibiscus Frame from 80 lb. white cardstock and then cut it with the 4″ die in the Square Basics set. I did this a second time and adhered the two together to create a frame for my pieces. I adhered a square to the back to secure the pieces.
- I cut the watercolored paper with the hibiscus die and inlaid the pieces into the frame.
- I stamped the Gina K Key Lime cardstock with the Choose Joy sentiment and trimmed the panel to 4 1/2″ x 5 1/2″. I didn’t want to crowd the hibiscus so I gave it a 1/4″ border on the top and sides.
- I attached the hibiscus frame to the stamped cardstock. I attached the assembly to a pre-scored card base.

Hope your day is full of sunshine!
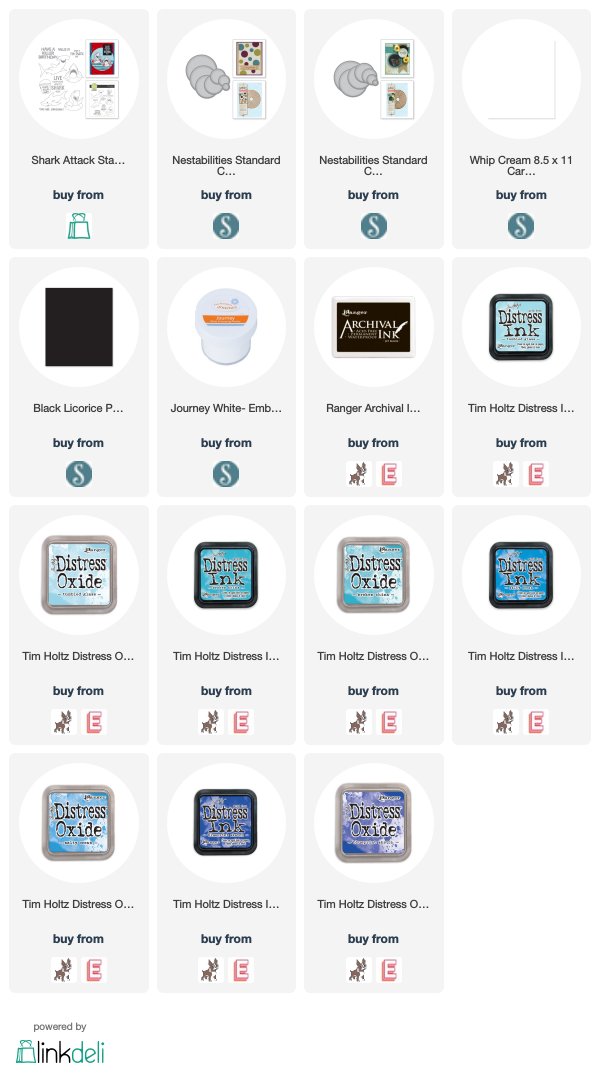
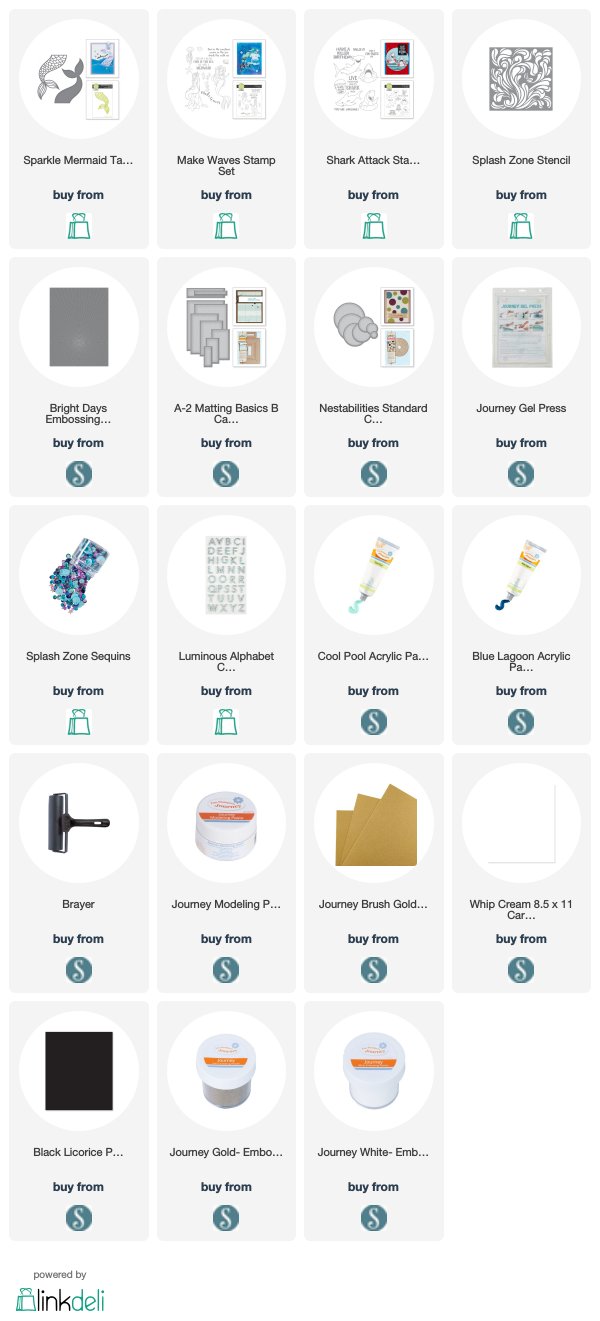
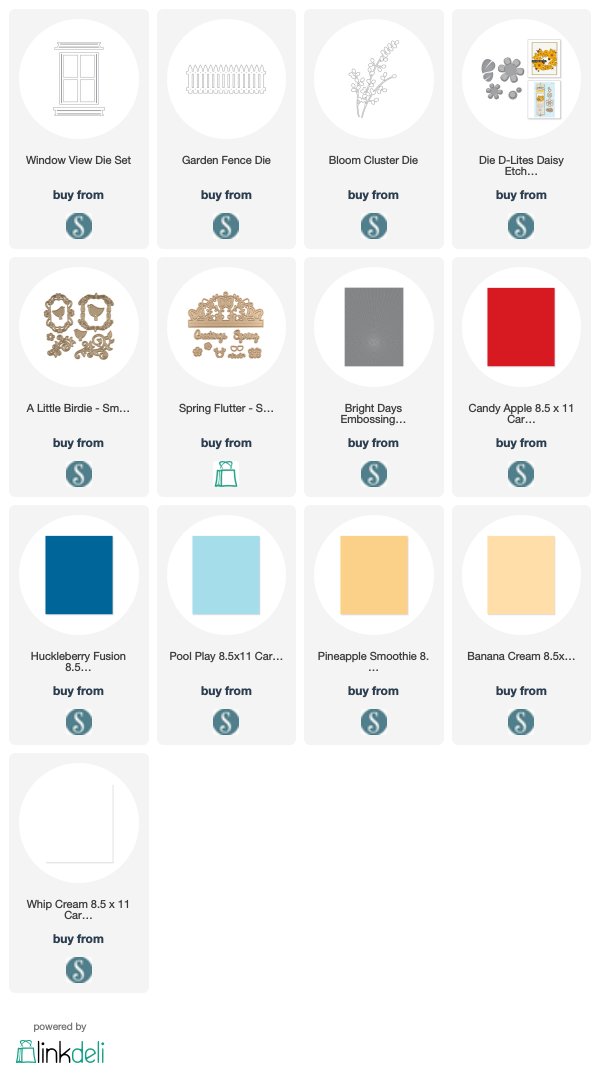
Supplies: