Taylored Expressions Paper Piecing Technique

Paper piecing is one of my favorite techniques, especially because I love patterned paper! It’s also a great way to easily fill in space on stamped images. Today, I’m sharing some paper piecing tips with Taylored Expressions stamps, dies and patterned paper.
JEANPaperPiecingNOV2015

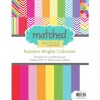
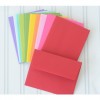
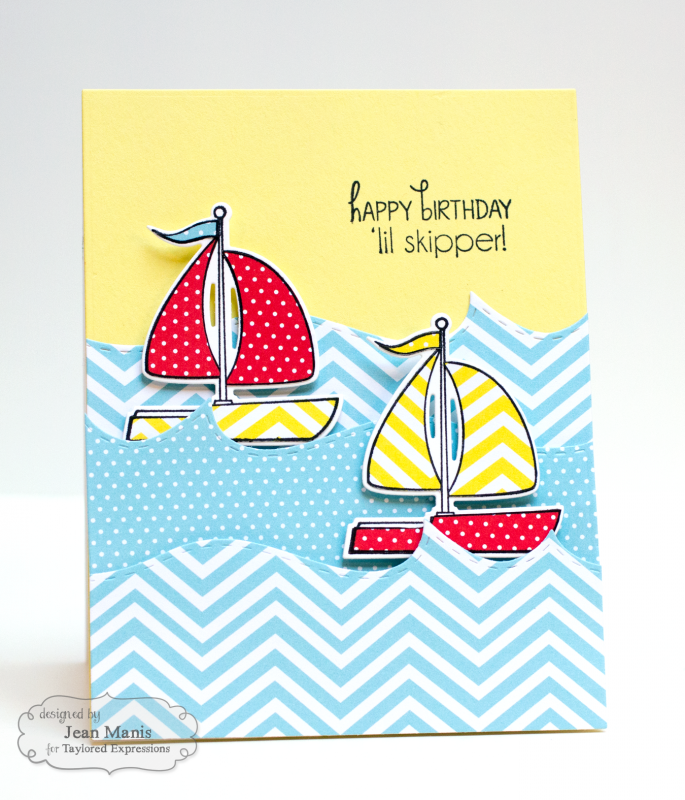
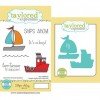
My card uses the sailboat stamp (just the right size for this technique) from the Taylored Expressions Ships Ahoy set and coordinated patterned papers from the Matched Kit-Rainbow Brights. The Matched Kit took the guess work out of what patterns and colors would go together!

I stamped the red polka-dot and yellow chevron paper with the sailboat stamp and fussy cut the pieces with sharp detail scissors. (I don’t use these scissors for any other cutting in order to keep them sharp!) I stamped the small flag at the top of the pole on yellow polka-dot and blue polka-dot paper and cut those out as well.

I stamped the sailboat twice on Sugar Cube cardstock (included in the Matched Kit) and cut those with the coordinating die. I then adhered the patterned paper pieces with liquid adhesive in a fine-tip applicator to the sailboats stamped on Sugar Cube cardstock making certain that I got enough adhesive on the small ends.
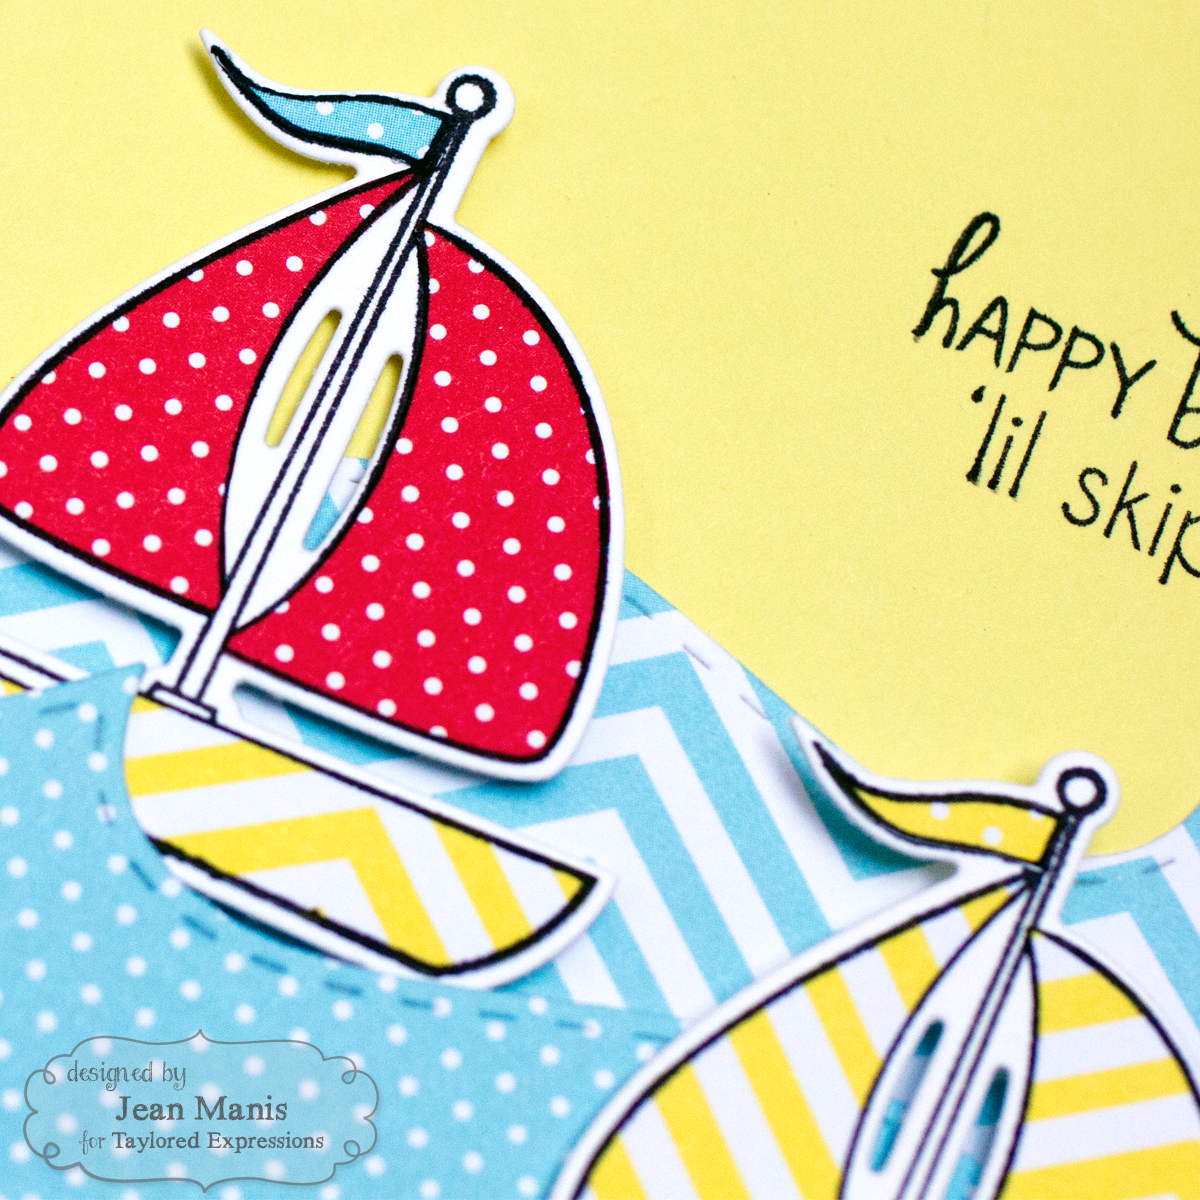
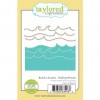
I cut the waves with the Build a Scene-Rolling Waves die set from blue polka-dot and chevron patterned paper. I attached the waves and boats to a Potato Chip cardstock card base stamped with one of the sentiments from the Ships Ahoy set using dimensional adhesive for the front waves and the sailboats.

To recap, my tips for paper piecing include: use sharp detail scissors for fussy cutting, choose stamp images with open spaces that aren’t so small, (otherwise you won’t be able to easily cut the pieces), and use liquid adhesive with a fine-tip applicator to attach the paper pieces.

Taylored Expressions Supplies:

Mojo Monday 422 – Taylored Expressions

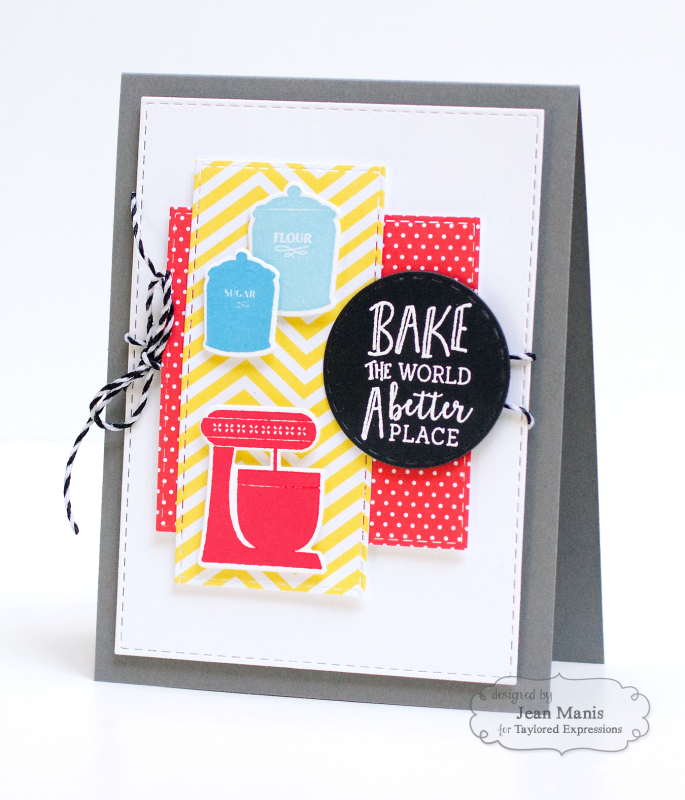
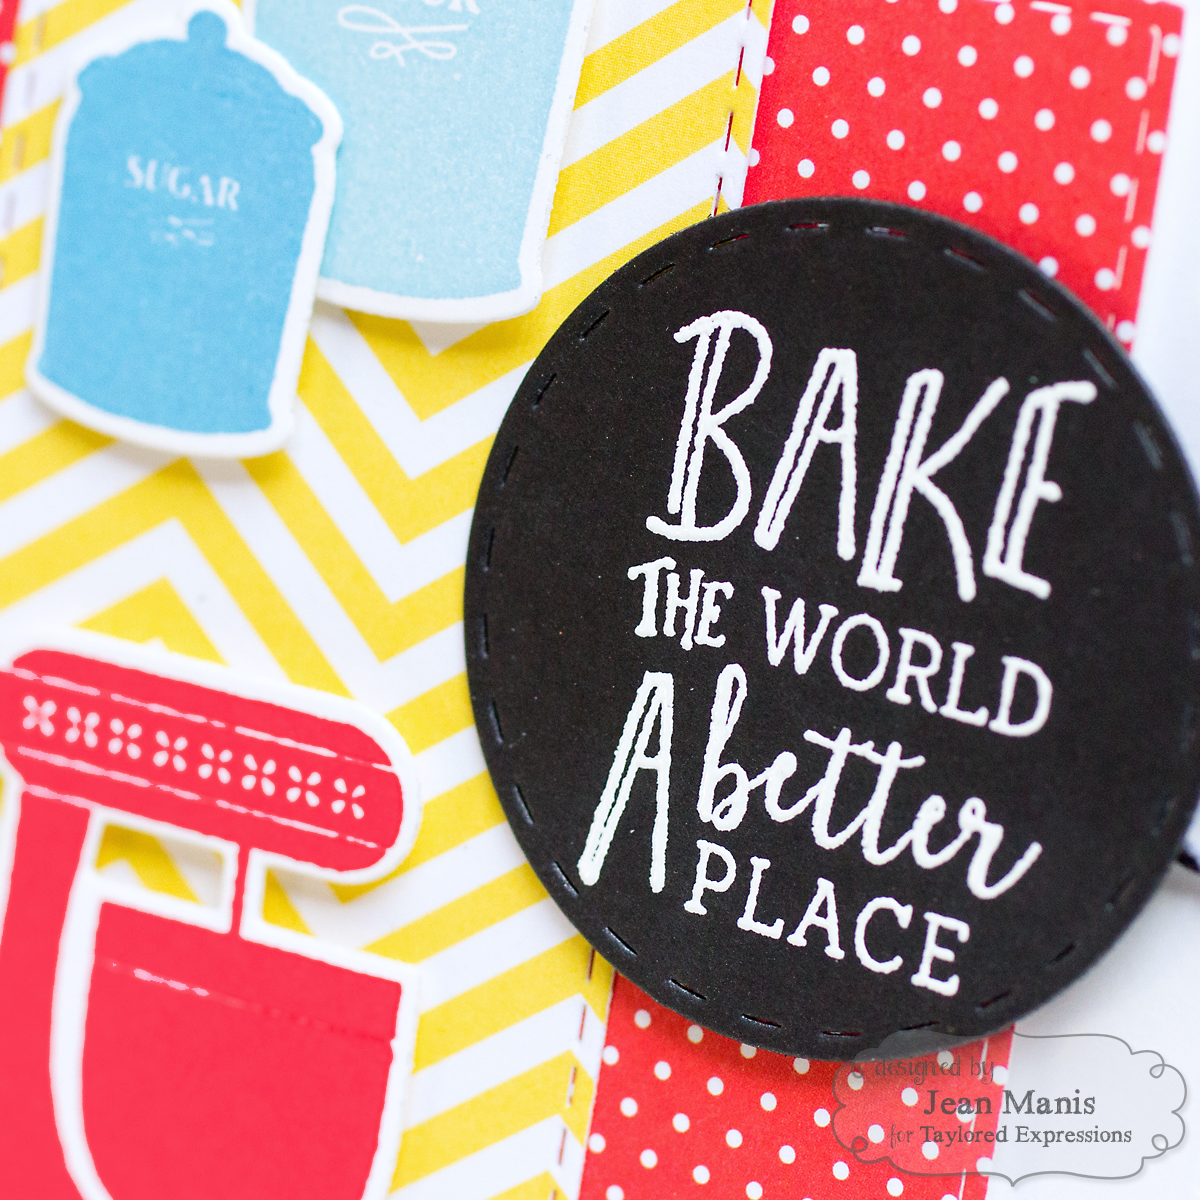
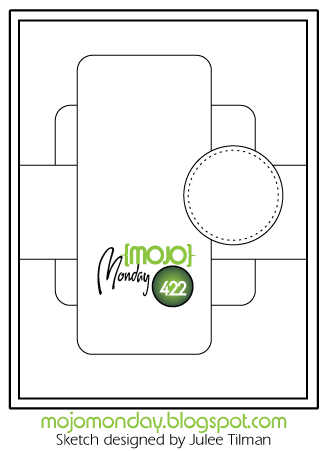
I’m playing along with the Mojo Monday Challenge #422 with just-released stamps and dies from Taylored Expressions.

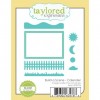
I used the Stitched Banner, Stitched Rectangle, Stitched Square and Stitched Circle Stacklets to cut out the geometric shapes on the card. To create the skinnier rectangle, I cut the patterned paper once with the Stitched Banner die and then used it again to cut off the banner part. The heat-embossed sentiment and kitchen items are from the Life is a Kitchen stamp set.


Taylored Expressions Supplies:

Taylored Expressions November Release Day!

Hello! Welcome to the Taylored Expressions November 2015 Release! All products that we have been peeking this week are now available in the TE store, HERE! Before you head off to shop, I have one last project to show you.

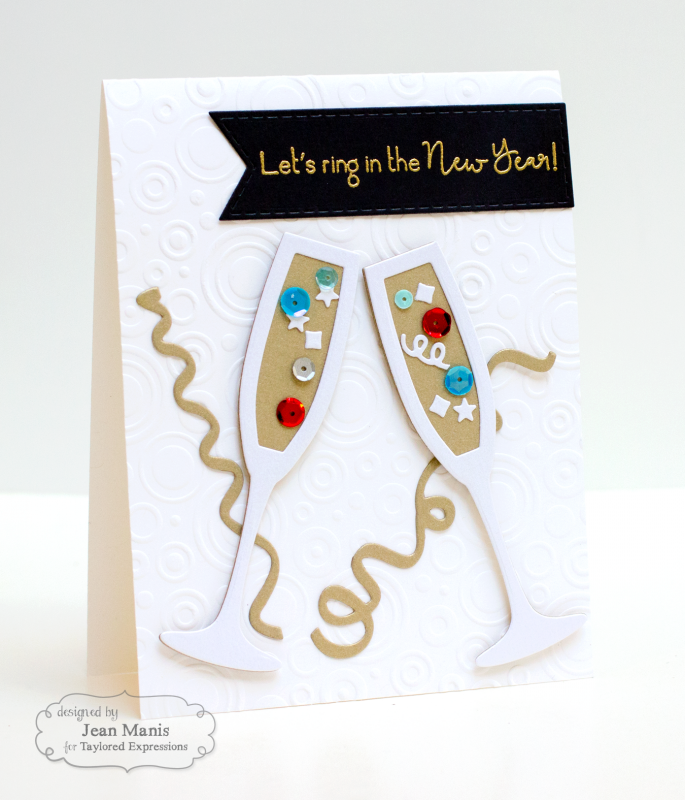
JeanManisNOV15RaiseYourGlass

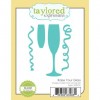
I created a celebratory card with the Raise Your Glass die set. (While my card is for New Year’s Eve, the Raise Your Glass set works for any number of occasions – engagement, wedding, graduation, …!) I cut the glass out of a white metallic cardstock (I used the two dies together to create a frame), as well as out of gold metallic cardstock. The sentiment from Eventful – Holidays was heat-embossed on Oreo cardstock and cut with one of the just-released Stitched Banner Stacklets dies. I added some celebratory streamers to the card base, which I dry-embossed with the On the Spot embossing folder.

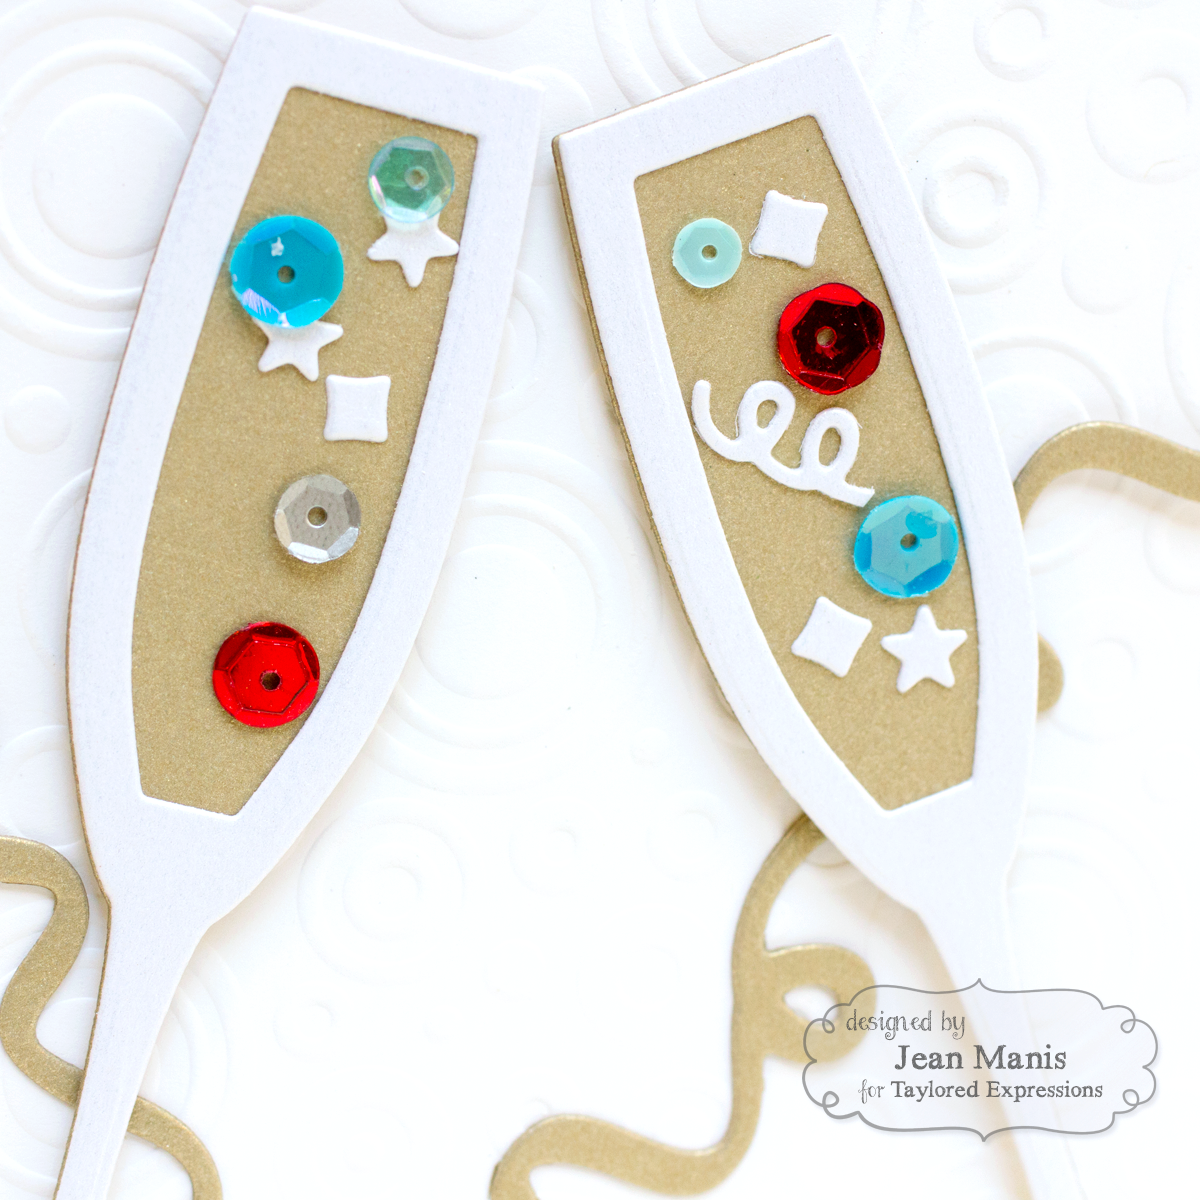
JeanManisNOV2015RaiseYourGlasscloseup


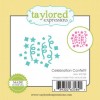
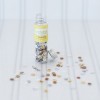
I filled the glasses with a combination of sequins and Little Bits – Celebration Confetti. Although I didn’t create a shaker card, doing so would be easy!

Thanks so much for stopping by! If you’d like to see more projects and new product information, head over to the TE Blog for a complete blog roll of our participating designers!

Taylored Expressions Supplies:
Taylored Expressions November Sneak Peeks Day 3

Welcome to Day 3 of Taylored Expressions November Sneak Peeks! The November products will be released tomorrow – Thursday, November 5 @ 7 AM PST!

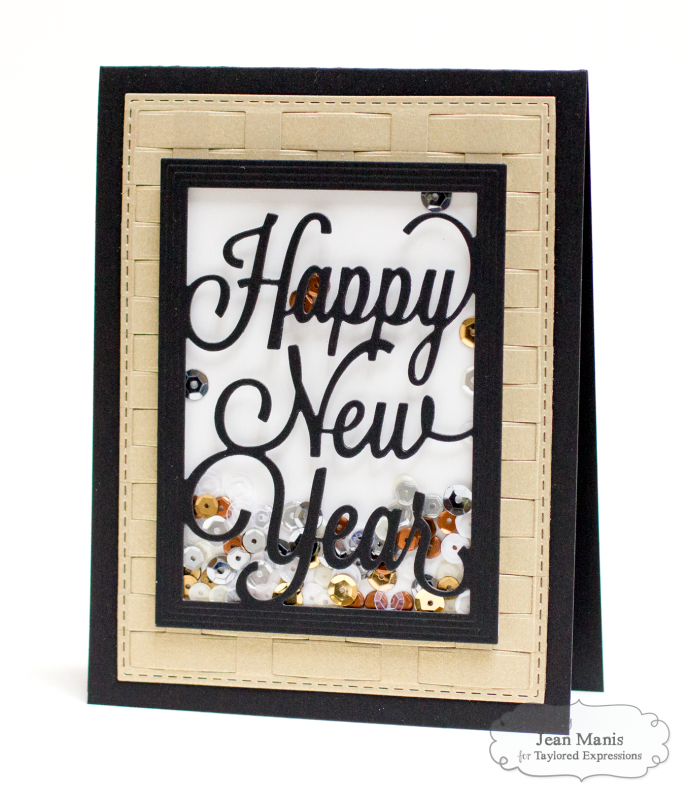
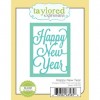
Unbelievably, New Year’s Day is less than two months away! My first project is a Happy New Year shaker card featuring the Happy New Year die.
HappyNewYearShaker

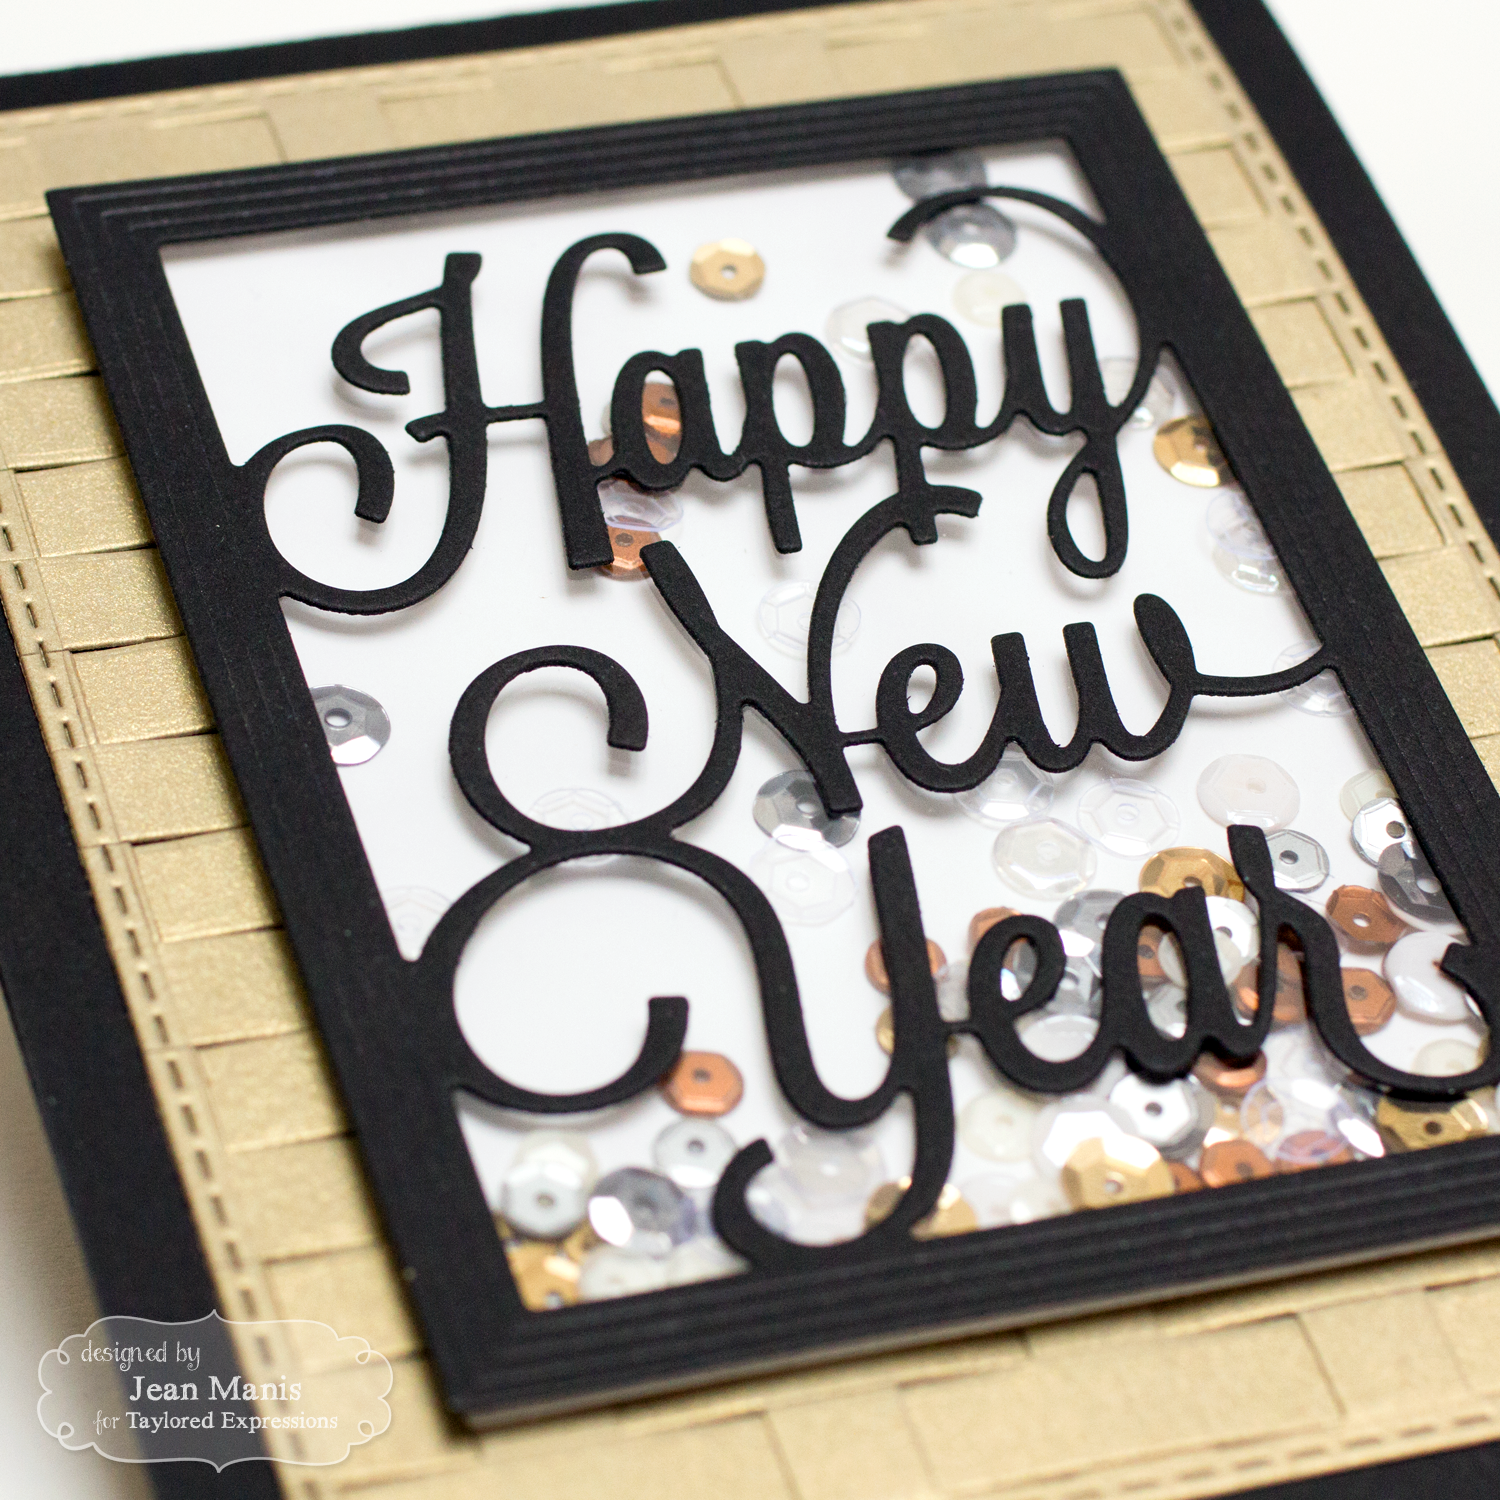
To create the card, I cut the Happy New Year out of Oreo cardstock and adhered a plastic sheet rectangle to the frame back. I cut a panel of Sugar Cube cardstock to back the frame. After sprinkling in some of the TE Wedding sequins, (actually a lot of sequins!), I attached the back with foam adhesive to the frame. To finish off the card, I created a woven panel from gold metallic cardstock with the Basketweave Cutting Plate, which I “stitched” with one of the dies in the Stitched Rectangle Stacklets set. While I wove the panel with the same color of cardstock, there are lots of possibilities with the weaving (two-color, three-color,…)!

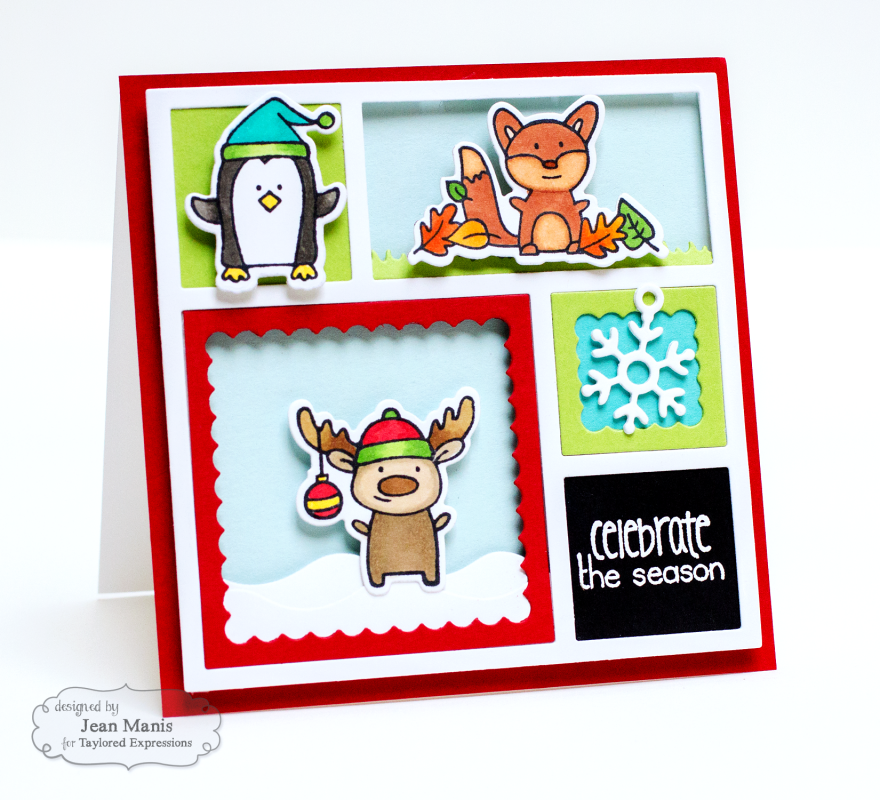
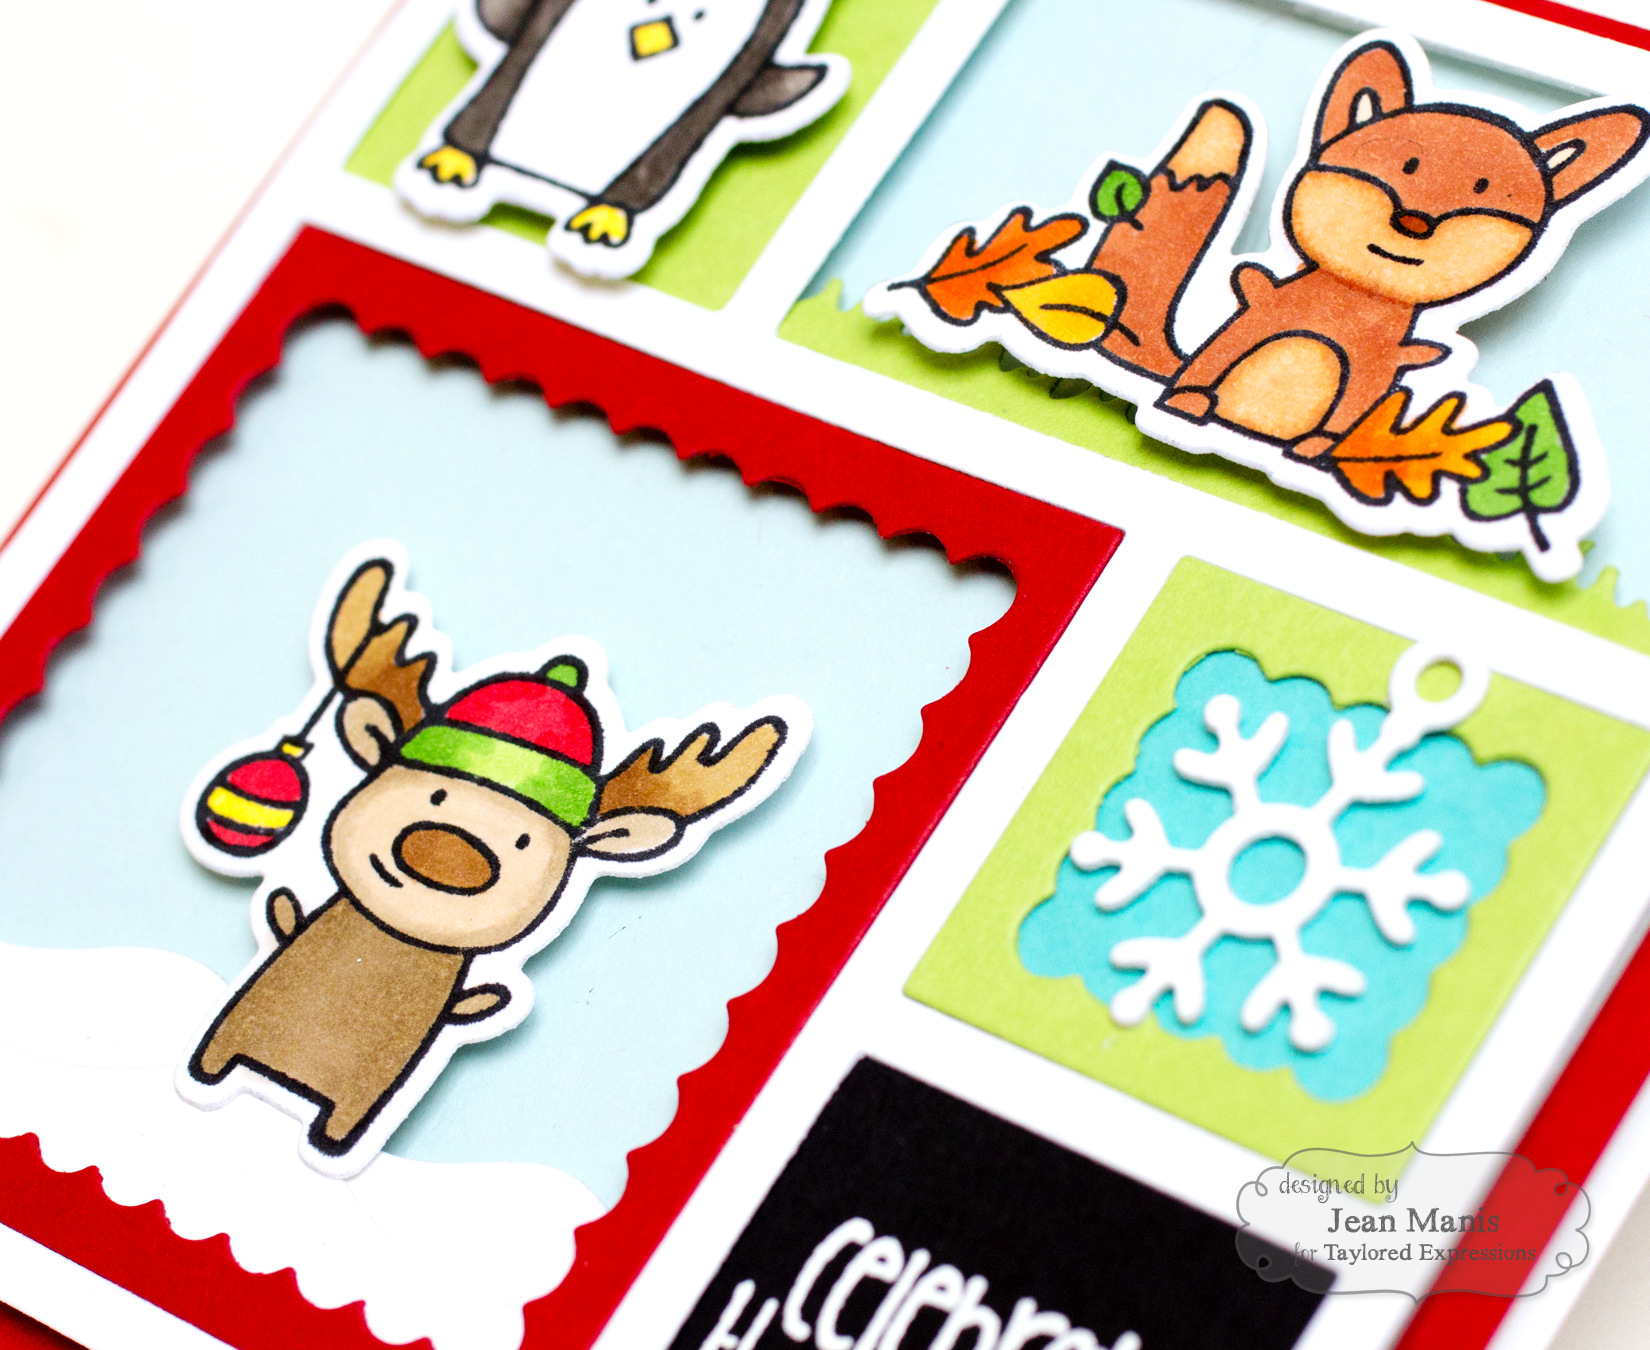
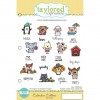
My second project features a few of the adorable critters (twelve in all!) in the Calendar Critters set.

CalendarCritters

I Copic-colored the critters for the months of November, December and January, combining them in a card created with the Mini Colorblock Cutting Plate. I embellished with some of the pieces in the Build a Scene – Calendar set and one of the Holiday Charms. The sentiment is from the coordinating Critter Correspondence stamp set. I wanted a card the card to capture the “holiday season” – Thanksgiving, Christmas and New Year’s!

CalendarCrittersCloseUp


Taylored Expressions is celebrating Release Week with some fabulous giveaways! Visit the TE Blog each Sneak Peek Day this week for details on how you can enter to win.

partyhat

Thanks so much for stopping by! Be sure to head over to the TE Blog for a complete blog roll of our participating designers! There’s lots of inspiration for the new release products!

Products in BOLD will be available in the TE store tomorrow – Thursday, 11/5/15 @ 7 AM PST!

Taylored Expressions Supplies:

Taylored Expressions November Sneak Peeks Day 2

Welcome to Day 2 of Taylored Expressions November Sneak Peeks! The November products will be released on Thursday, November 5 @ 7 AM PST.

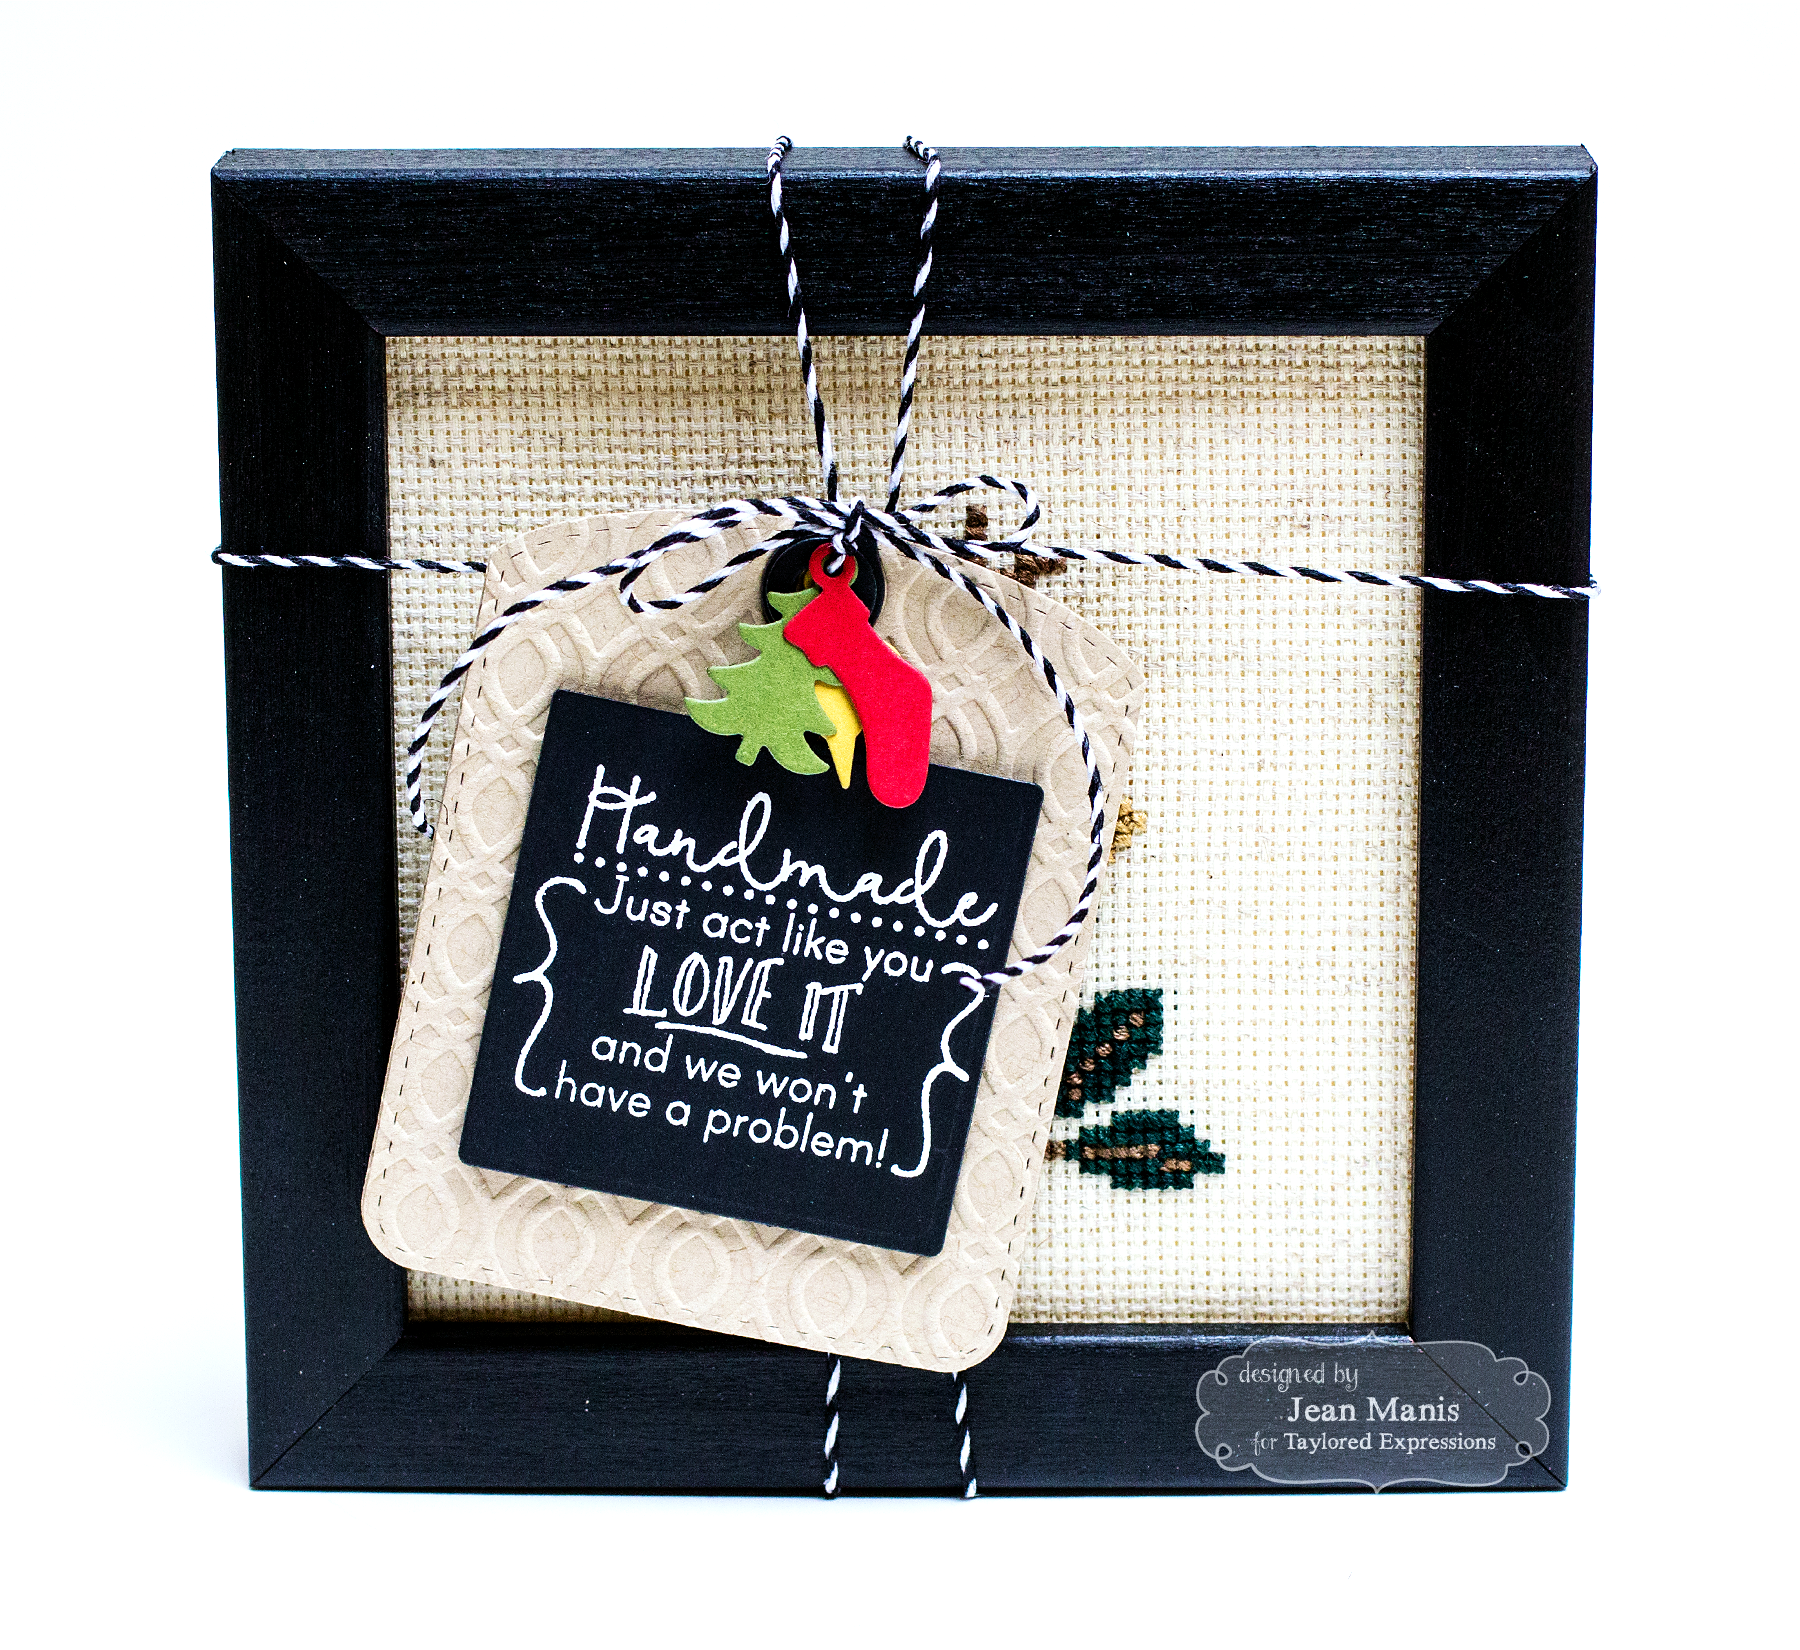
My first project features a gift tag with a sentiment from the new P.S. You’re Welcome stamp set. Our family has a long-standing tradition of gifting handmade items during the holidays.

JeanManisNOV2015HandmadeGiftTag

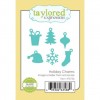
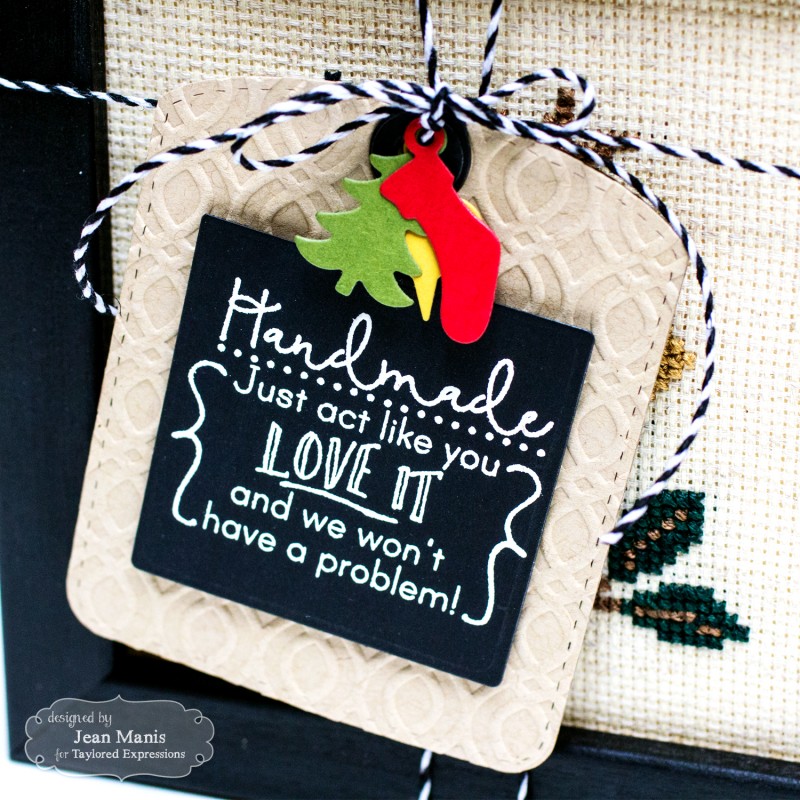
I created the tag with the Build a Tag 4 set to match my framed cross-stitch gift. The tag base was dry-embossed with the Braided Embossing Folder, to which I attached the heat-embossed sentiment. I finished the tag with die cut Holiday Charms, cut from Sweet Basil, Cherry Pop and Dijon cardstock.

JeanManisNOV2015HandmadeGiftTag1

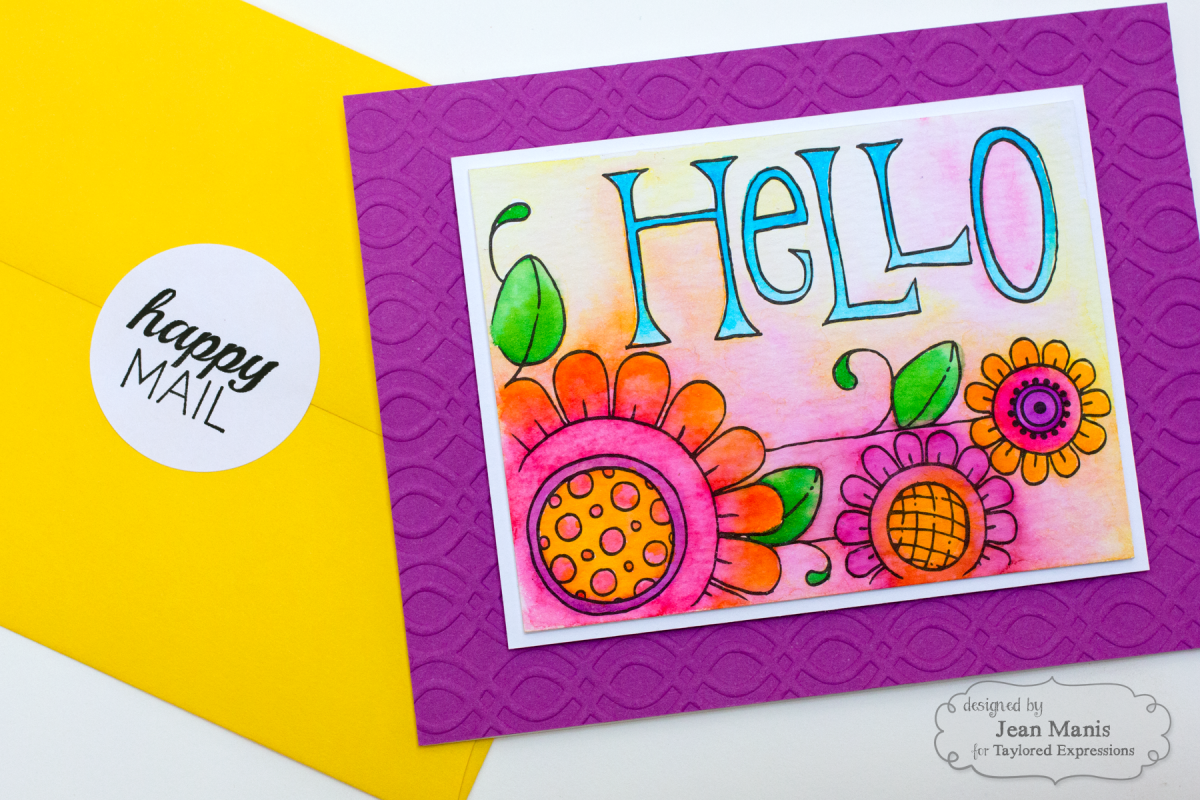
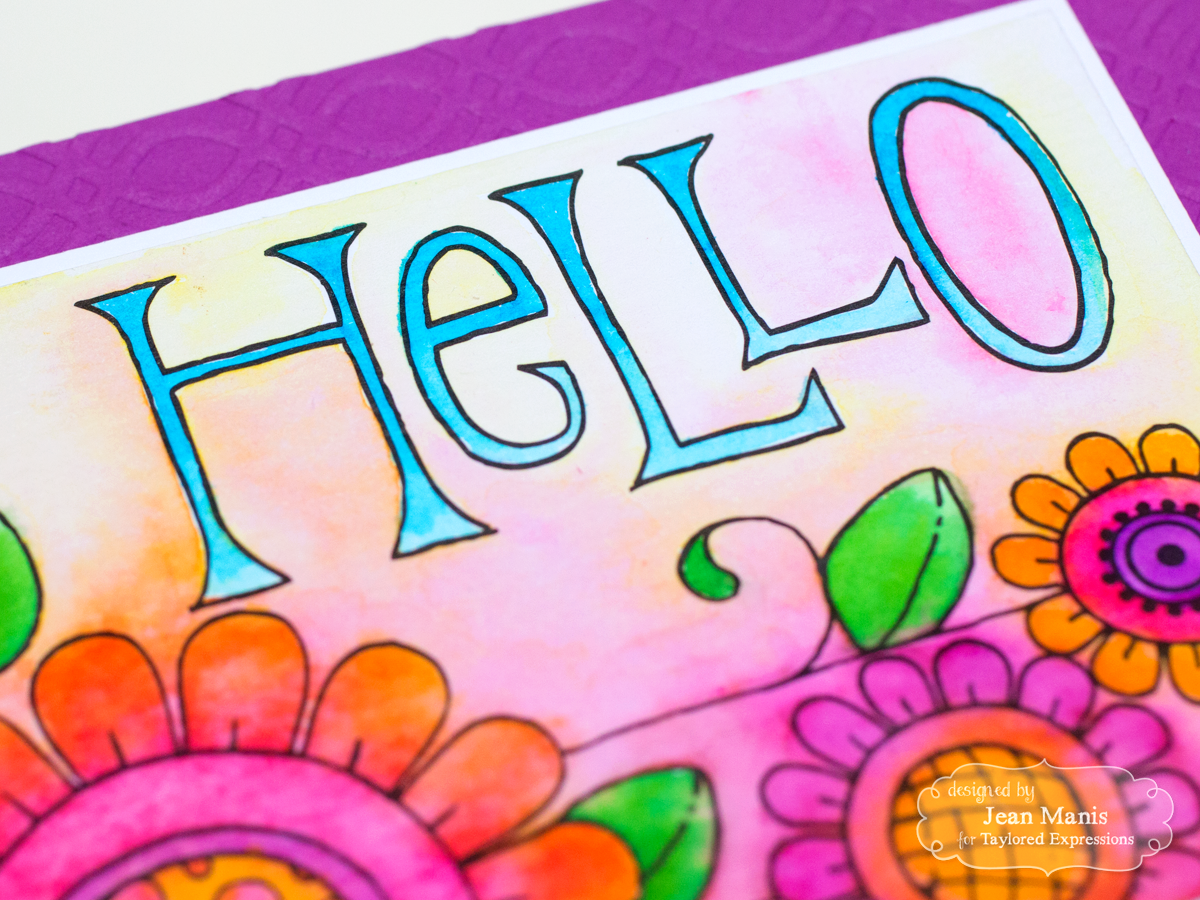
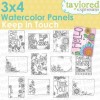
My second project features one of the Keep In Touch Watercolor Panels. I colored the pre-printed panel with Zig Clean Color Real Brush markers.

WatercolorPanelwithEnvelopeandSeal

Once dry, I adhered the watercolored panel to a slightly larger panel cut from watercolor paper, and then to a Plum Punch panel, which I dry-embossed with the Braided Embossing Folder. I’ll send this card in a bright yellow envelope sealed with a sentiment from Sealed With Love stamped on the Envelope Seals that are part of the November release. The Sealed With Love set includes stamps suitable for the holidays and many other occasions. I plan to stamp the “Be Merry” and “Happy Holidays” sentiments  in white ink on kraft seals for my holiday cards.

WatercolorPanelcloseup


Taylored Expressions is celebrating Release Week with some fabulous giveaways! Visit the TE Blog each Sneak Peek Day this week for details on how you can enter to win.

partyhat

Thanks so much for stopping by! Be sure to head over to the TE Blog for a complete blog roll of our participating designers! There’s lots of inspiration for the new release products!

Products in BOLD will be available in the TE store on Thursday, 11/5/15 @ 7 AM PST!

Taylored Expressions Supplies: