Today, I’m sharing two cards created with dies from the brand-new Simon Says Stamp “This is the Life” release – Frozen Treats and Ice Cream Cone Parade. Do you see a summer treat theme here? 🙂
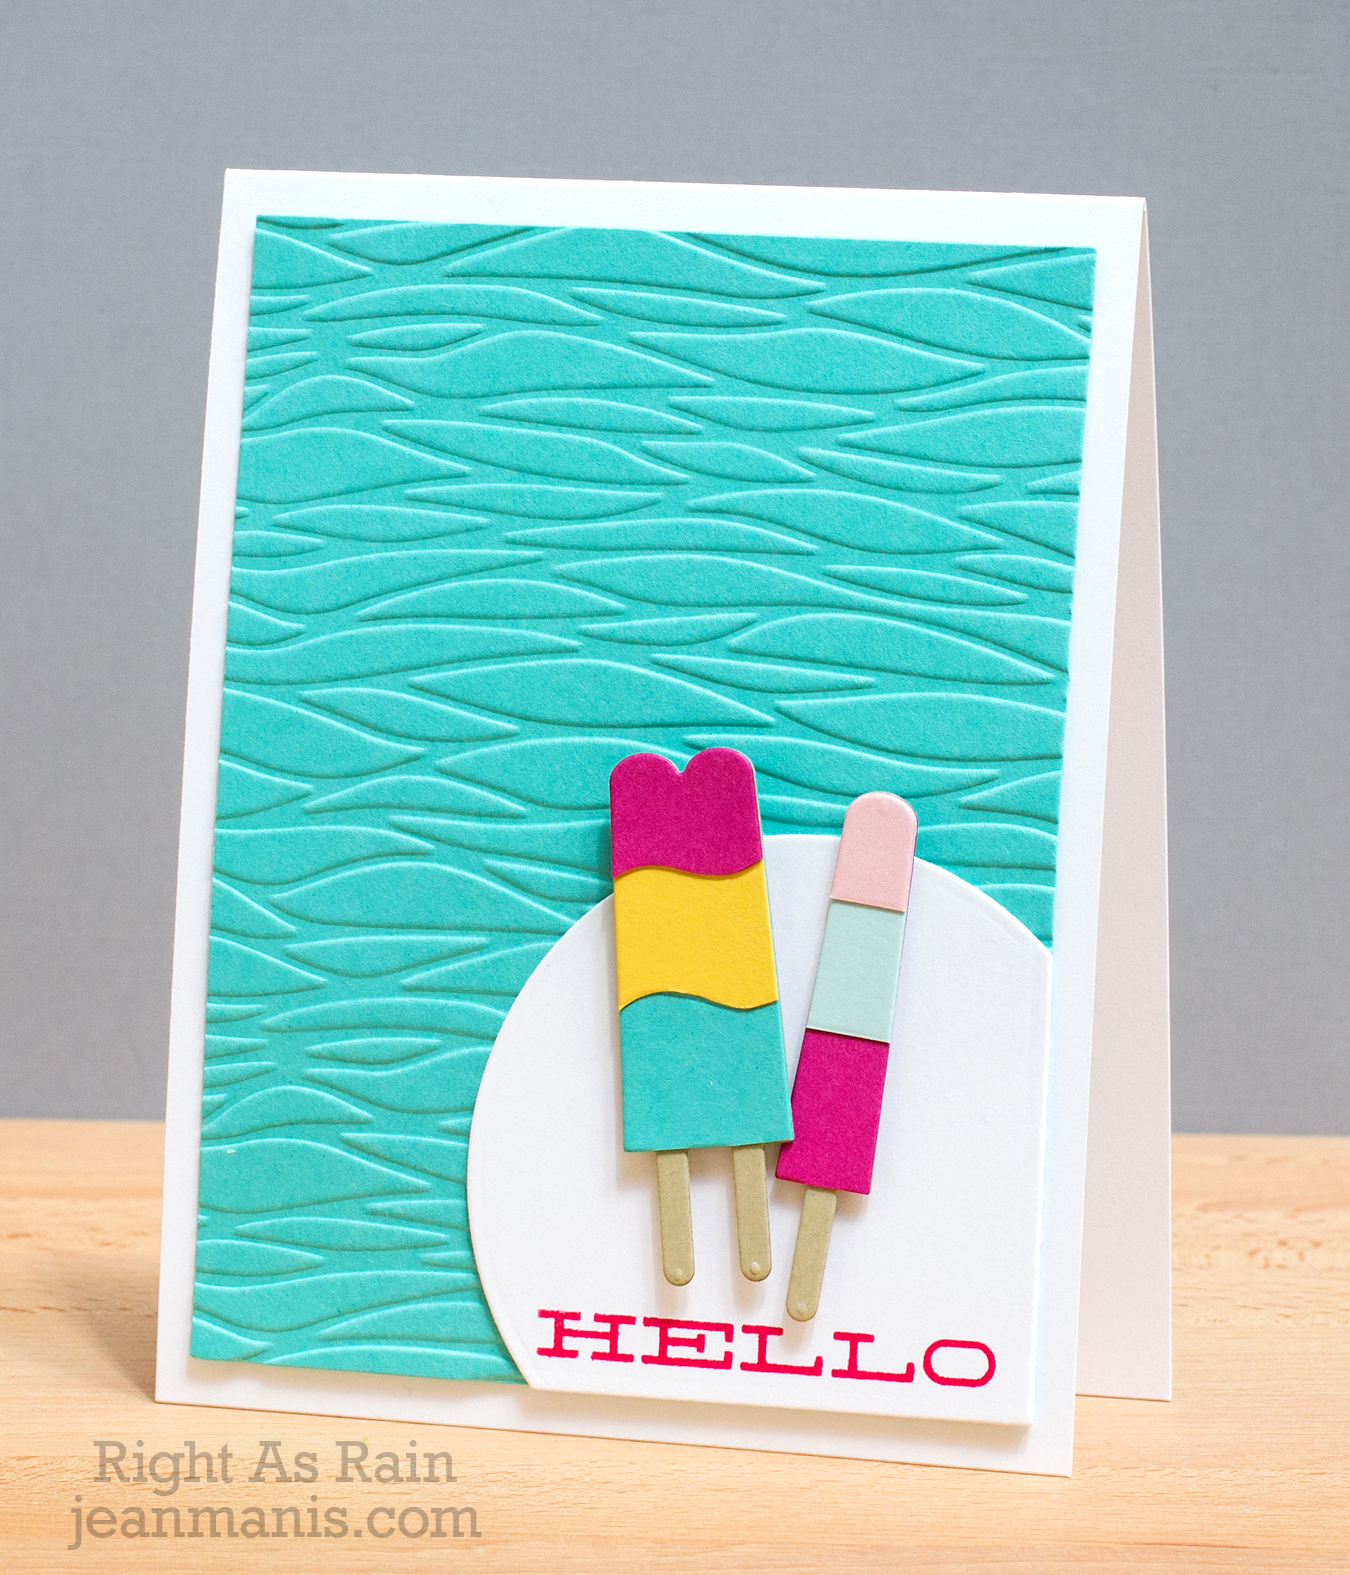
For my first card, I used the Frozen Treats die to cut a variety of cardstock colors. I then fussy cut the Popsicles along embossed lines and layered the pieces onto kraft cardstock bases. The turquoise card panel was embossed with the Tim Holtz Wave embossing folder. The sentiment is from the Simon Says Stripe Greetings stamp set.
On the second card, I used the inlay technique with the Ice Cream Cone Parade die.
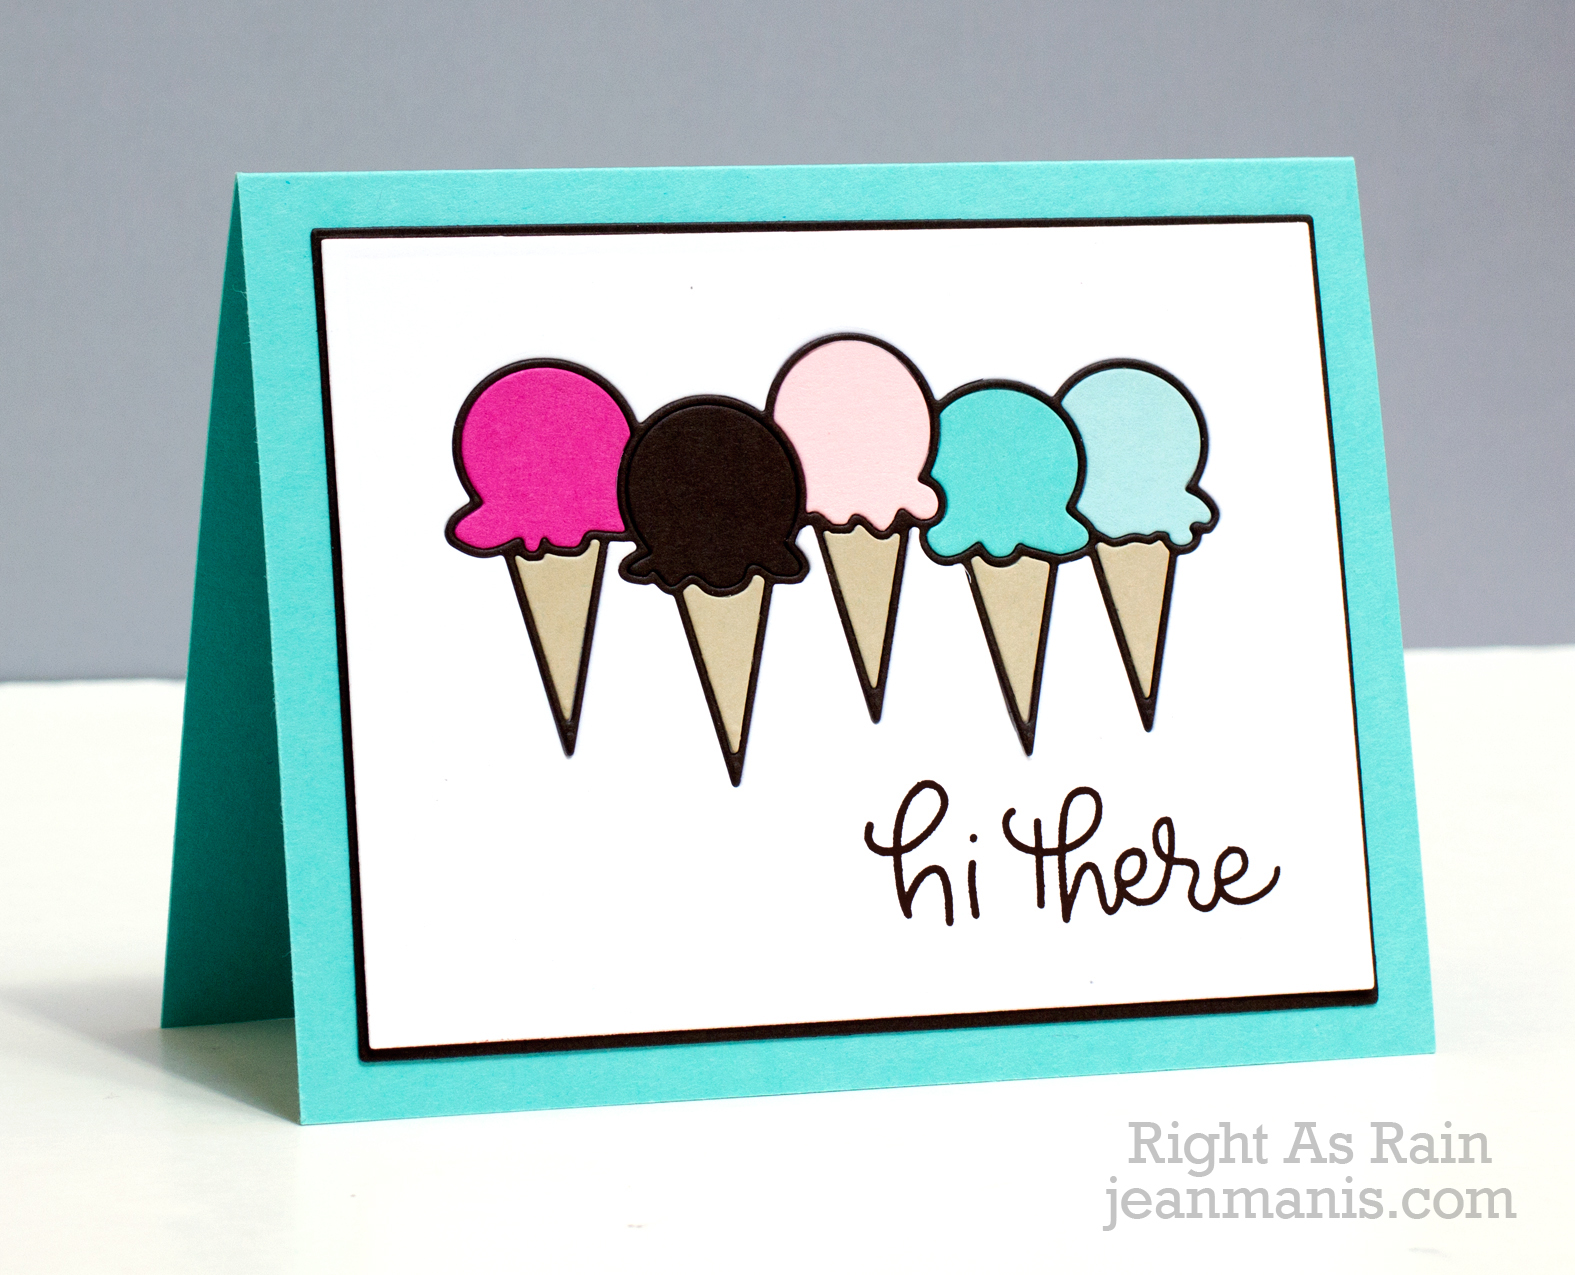
I cut a variety of cardstock colors from the Simon Says Spring Rainbow Pack with the Ice Cream Cone Parade die. I also cut the white card panel, onto which I stamped my sentiment from the Simon Says Stripe Greetings stamp set, with the die. I then began adhering the pieces into the panel. To finish off the card, I added a thin chocolate brown mat.