Debby Hughes CASE

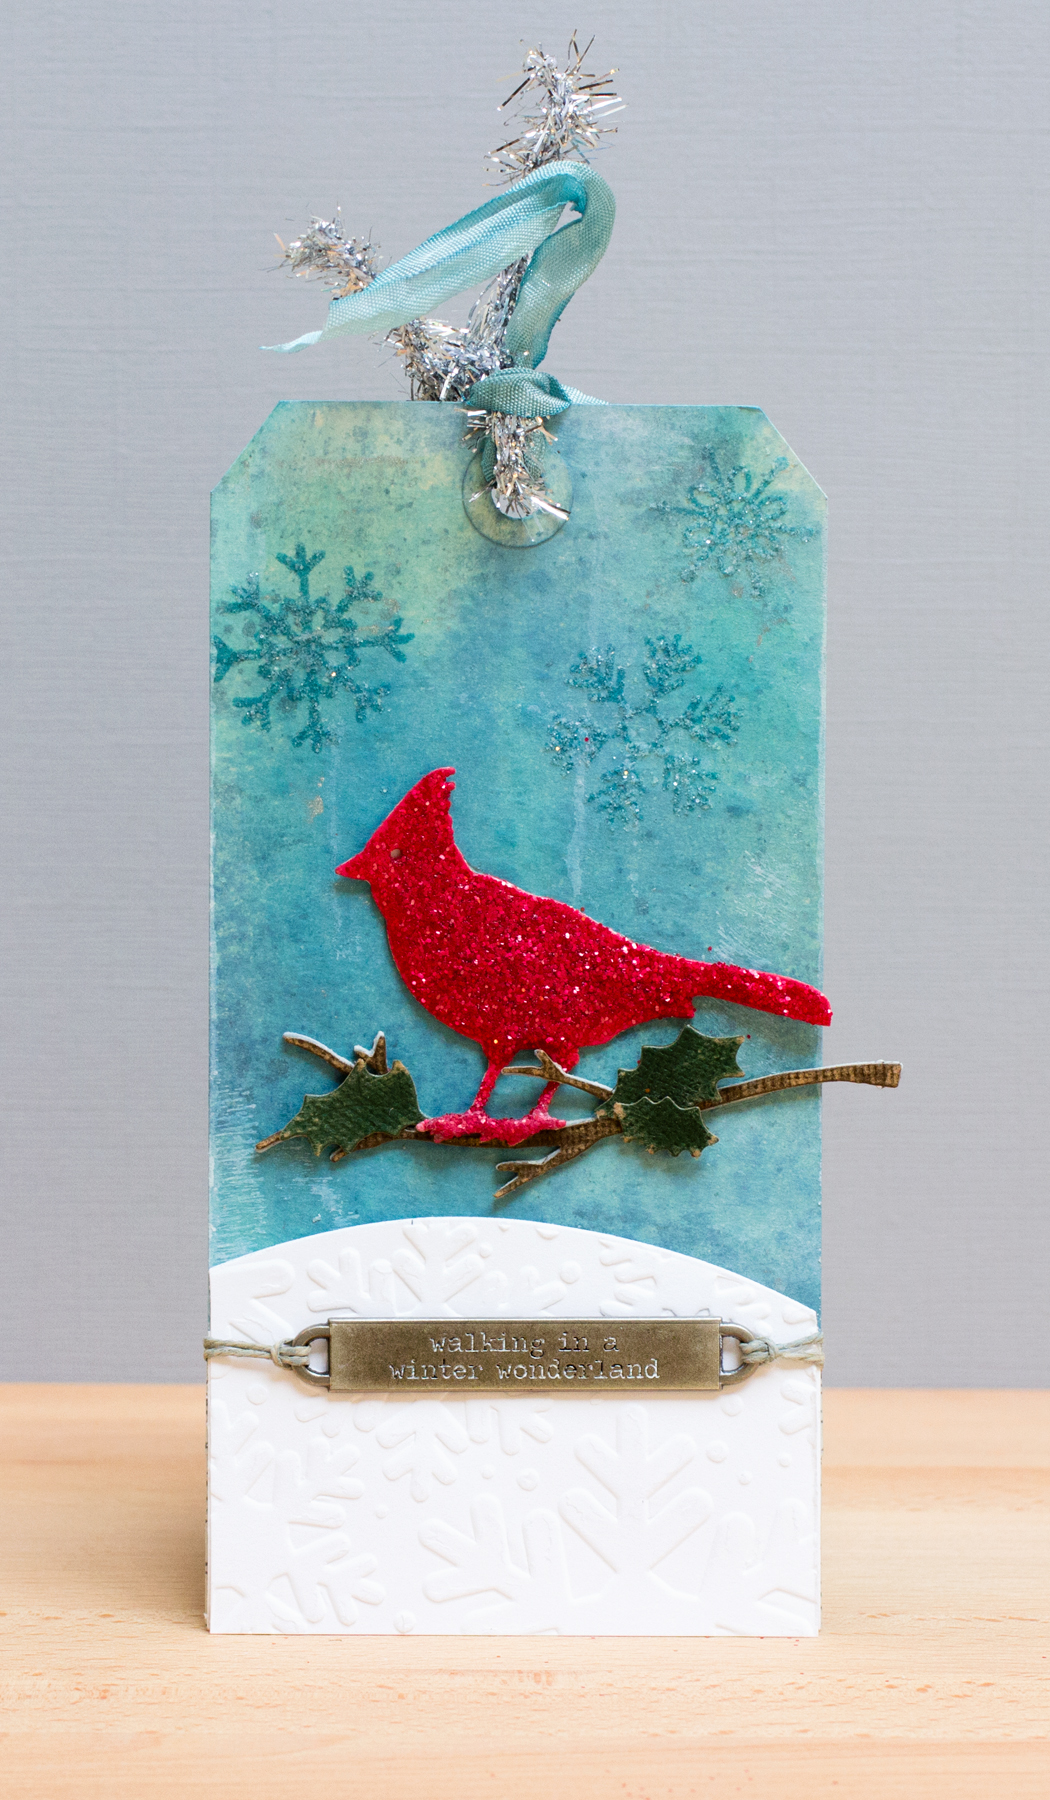
With each lesson of the Online Card Classes Tim Holtz Creative Chemistry 102 class, we received a download of inspiration cards and projects based on the techniques. Today, I’m sharing a card I created based on one that Debby Hughes contributed to the class.

Debby Hughes CASE

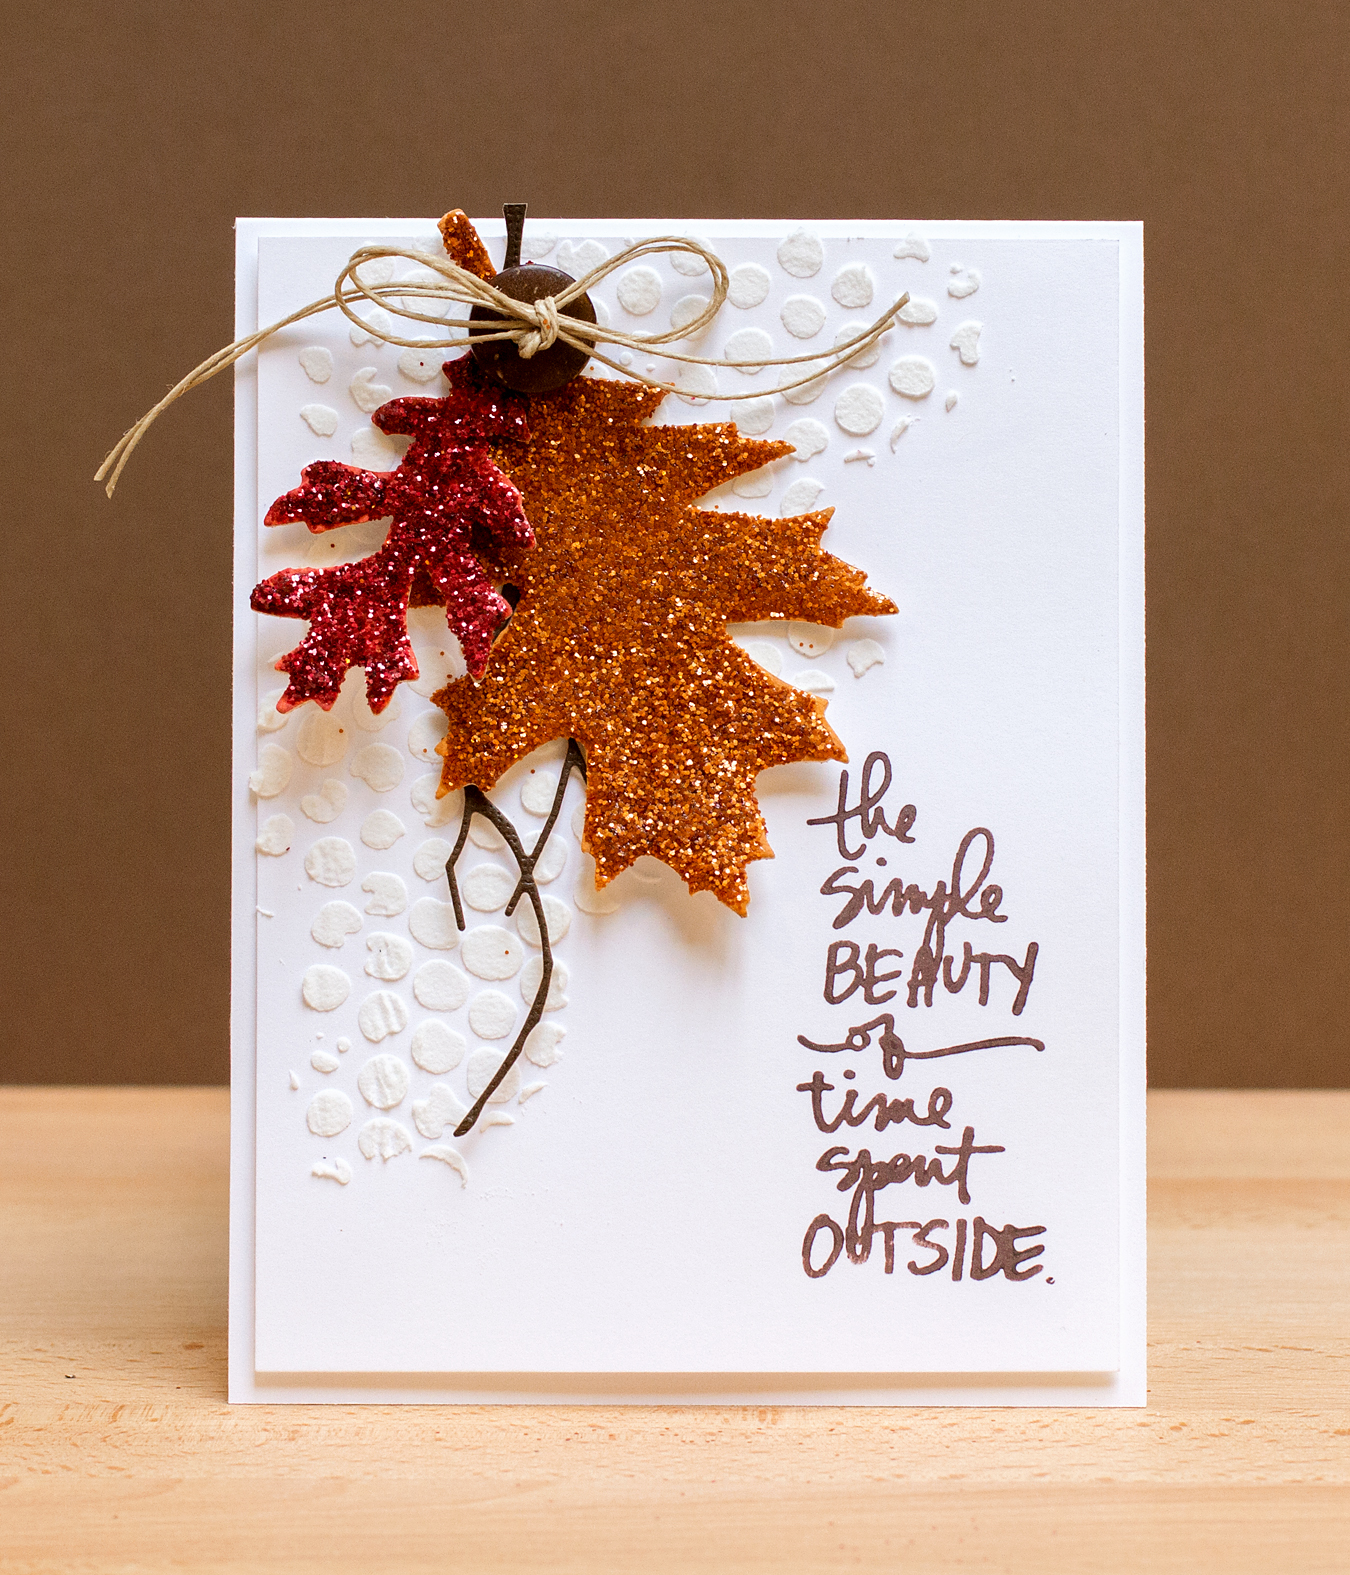
I replaced some of the elements on Debby’s card with supplies I owned. I die cut the leaves from Craft-a-Board and painted them, before adding the Distress Glitter, in a matching color, to a Glossy Accents coating. On the card background, I applied embossing paste through a stencil. I watched several videos on the application of the paste, and honestly, it couldn’t be easier! I used a plastic disposable knife to spread the paste through the stencil.

Supplies: Technique Tuesday Go Outside stamp set (sentiment); Tim Holtz Mini Tattered Leaves Die Set (smaller leaf)

Tim Holtz Style Holiday Tag

I’m still working through the techniques from the Online Card Classes Tim Holtz Creative Chemistry 102 class – there was a lot of material covered in just one week! I’m relatively new to the “World of Tim Holtz” so there’s quite a learning curve for me.

To continue practicing the techniques, I made a holiday-themed tag working with a Distress Stain tag base. I spent several hours testing color combinations and watching videos. I found the video in this post of Tim’s to be the most useful for creating the type of distress stain background I most liked. In short, the Mini Mister is my friend!

Tim Holtz Style Holiday Tag

As I don’t own many Tim Holtz Sizzix dies, I worked with some recently-released Savvy dies. The cardinal, cut from Craft-a-Board, was painted with Festive Berries Distress Paint before an application of Glossy Accents and Festive Berries Distress Glitter. I cut the branch and holly from Kraft Core cardstock and lightly sanded them. I stamped the snowflakes (from a discontinued October Afternoon set) with Broken China ink, and embossed with them with Sticky Powder before applying Clear Rock Candy Distress Glitter.

Supplies:

Tim Holtz Chemistry 102 Smudge Stamping

One of the techniques shared in the Online Card Classes Tim Holtz Creative Chemistry 102 class was smudge stamping with distress inks. The idea being that you stamped once, then stamped a second time and smudged the stamped image. I attempted this technique, but I wasn’t able to smudge the ink.

Tim Holtz Chemistry 102 Smudge Stamping

I don’t know if my distress ink pads aren’t juicy enough, or whether I wasn’t smudging the right way. At any rate, trying the technique gave me an opportunity to use  the Tim Holtz Seasons Silhouettes stamp set, which I bought when I first started stamping two years ago.

The trickiest part was using the sentiment stamp, which is a subway art stamp with several sentiments. I put sticky notes on the stamp after I carefully inked the “Believe” sentiment and also put sticky notes on the tag to block out the area in which I wanted to stamp. I finished off with some Vintage Photo around the edges. I think I like the first generation stamped tag the best. I’ll add ribbon, die-cut evergreen pieces, and maybe a bell to finish it off.

Tim Holtz Chemistry 102 Holiday Card

One of my favorite techniques from the Online Card Classes Tim Holtz Creative Chemistry 102 class was the “chalkboard effect” achieved by rubbing chalk across heat-set Antiquities embossing powder. I created a few more images with the technique and used one on a card.

Tim Holtz Chemistry 102 Holiday Card

I based my card on those I’ve seen both from Tammy Tutterow and in the Stampers Anonymous CHA-Summer 2013 Collection Catalog using the caroler stamp image. I dry-embossed the Core’-dinations Cardstock with the Sheet Music embossing folder, and finished it off with additional Tim Holtz products – the Custom Fasteners and Trimmings.

OCC Tim Holtz Chemistry 102: Day Five

Today’s Online Card Classes Tim Holtz Creative Chemistry 102 class was all about embossing effects. I had my share of “fails,” but in the spirit of working with what you’ve got and moving forward, here are my tags for today.

The image in this first tag was heat-embossed with Distress embossing powder. I unsuccessfully tried to apply Distress embossing powder to die-cut craftboard (I just couldn’t get enough to stick) but embossed this mini blueprint stamp to show the Distress powder’s grunge-y look. To finish off the tag, I added cardstock, which had been dry-embossed with one of the Tim Holtz stencils and then sanded, and one of the Tim Holtz metal word bands (these are brilliant and I will be buying the ones for Christmas, too.

OCC Tim Holtz Chemistry 102: Day Five

The second tag shows a chalkboard effect using heat-embossed Antiquities Frosted Crystal powder to which I applied chalk. This effect worked best on solid stamped images (again, I tried it on many stamped images that didn’t work). I just popped this tag up against some Echo Park paper to take the photo.

OCC Tim Holtz Chemistry 102: Day Five

This last tag from today’s lesson shows the application of Distress Glitter using Sticky Embossing Powder. I stamped the snowflakes with Distress Inks before applying the sticky powder. You can’t really see how well the snowflakes look in this photo. I die cut the Santa and sleigh with glitter paper. Of the three techniques I tried, I think this one was my favorite. It’s an easy way to add a little bling to your project.

OCC Tim Holtz Chemistry 102: Day Five