The wait is over! REVERSE CONFETTI has just released THREE stamp sets, SIX Confetti Cuts, ‘Tis the Season Quick Card Panels and other crafting goodies! The hop began on the Reverse Confetti blog, and you should have made it here from Lisa’s blog. It would be worth your while to start at the beginning of the hop, so you don’t miss a thing. We have tons of inspiration for you to see using all the new Reverse Confetti stamp sets and dies!
My first project is a CAS holiday card featuring the deer image from the Jolly Holliday set and a ‘Tis the Season Quick Card Panel.
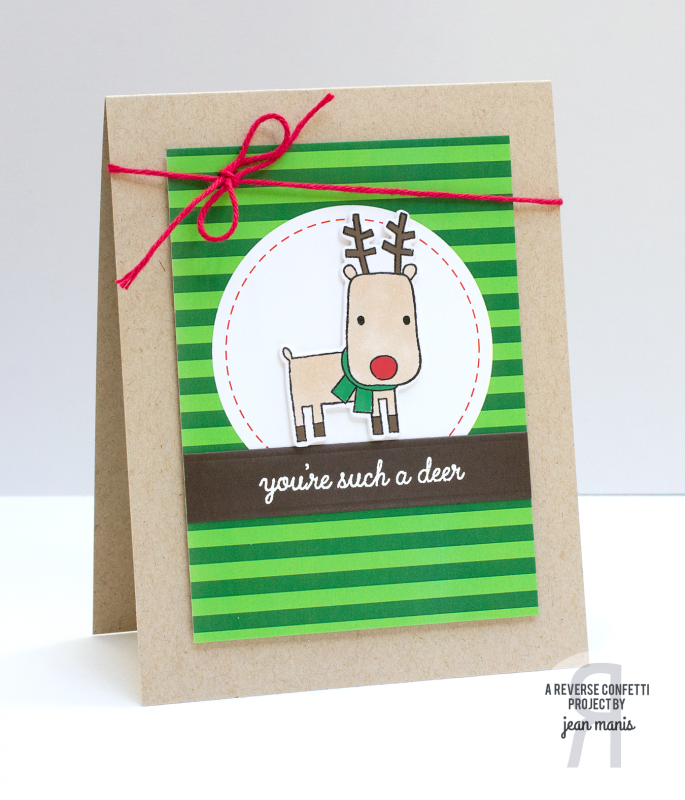
I stamped the deer image, colored it with Copic markers and cut it with its corresponding Confetti Cuts die. I heat-embossed the sentiment and adhered the deer and sentiment to a ‘Tis the Season Quick Card Panel. I added twine to complete the card.
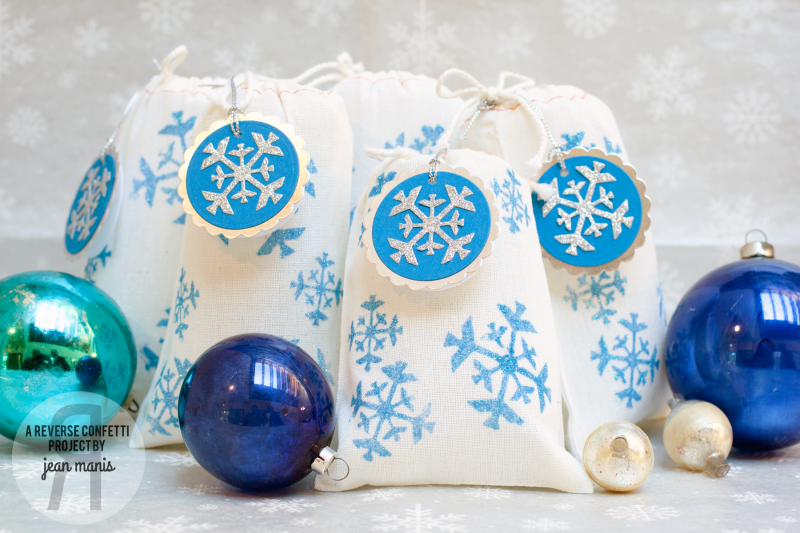
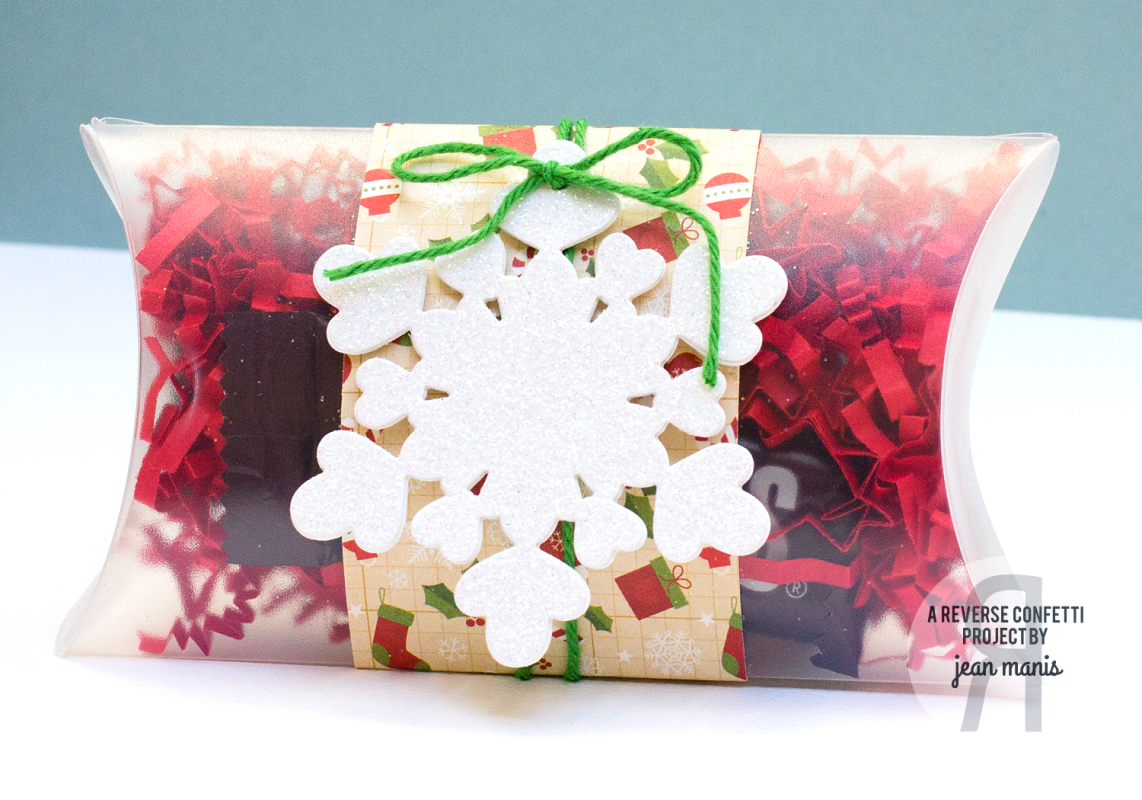
I also created two gift boxes using the Frosted Pillow Boxes with tags made with the Layered Snowflake Confetti Cuts set.
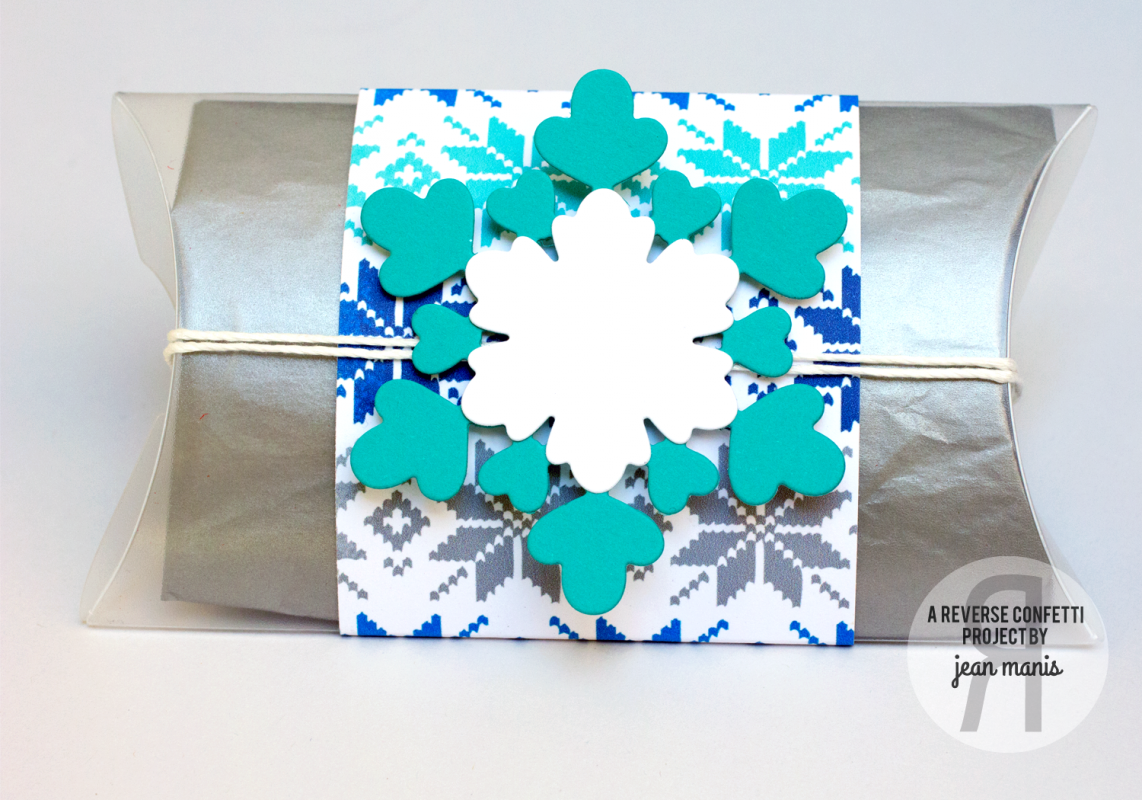
Not only do the Frosted Pillow Boxes simplify gift packaging, you can easily customize the packaging! For my first box, I wrapped the gift in silver tissue paper, created a belly band for the pillow box from patterned paper and crafted the snowflake to match the patterned paper.
For the second package, I stuffed the pillow box with shredded paper and candy, chose a traditional holiday patterned paper for the belly band, and tied on a snowflake cut from glitter paper.
I hope you’ve enjoyed hopping with us today. Be sure and hop with us on the 8th of EVERY MONTH for more REVERSE CONFETTI inspiration! Now it’s time to hop on over to the blog of Amy Rohl. If you get lost along the way, you can find the hop order and list of all the participating designers on the Reverse Confetti blog.