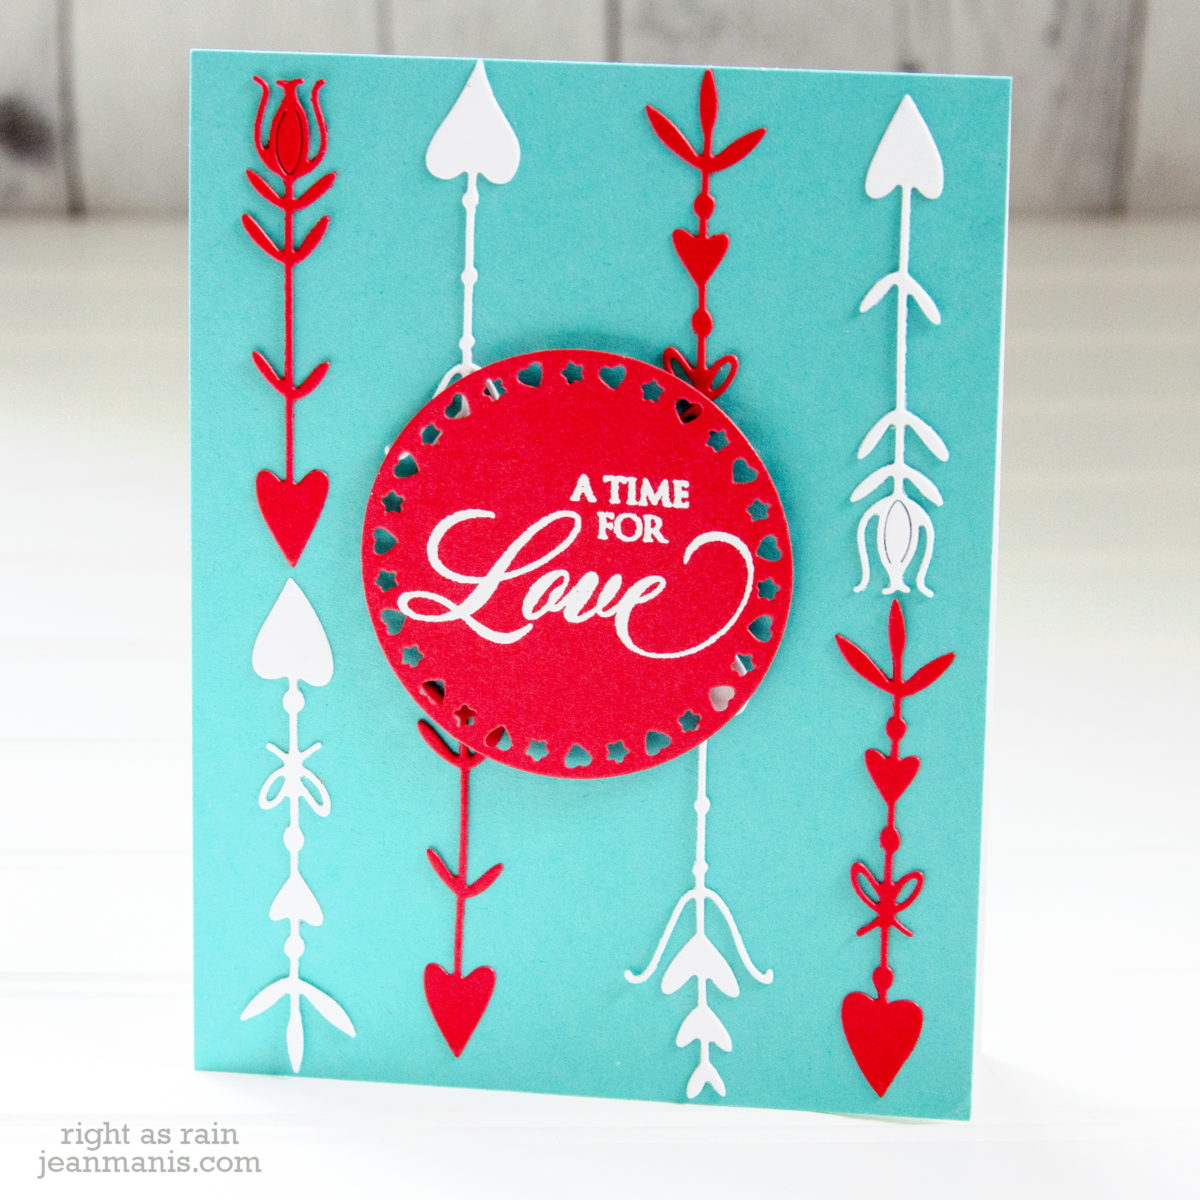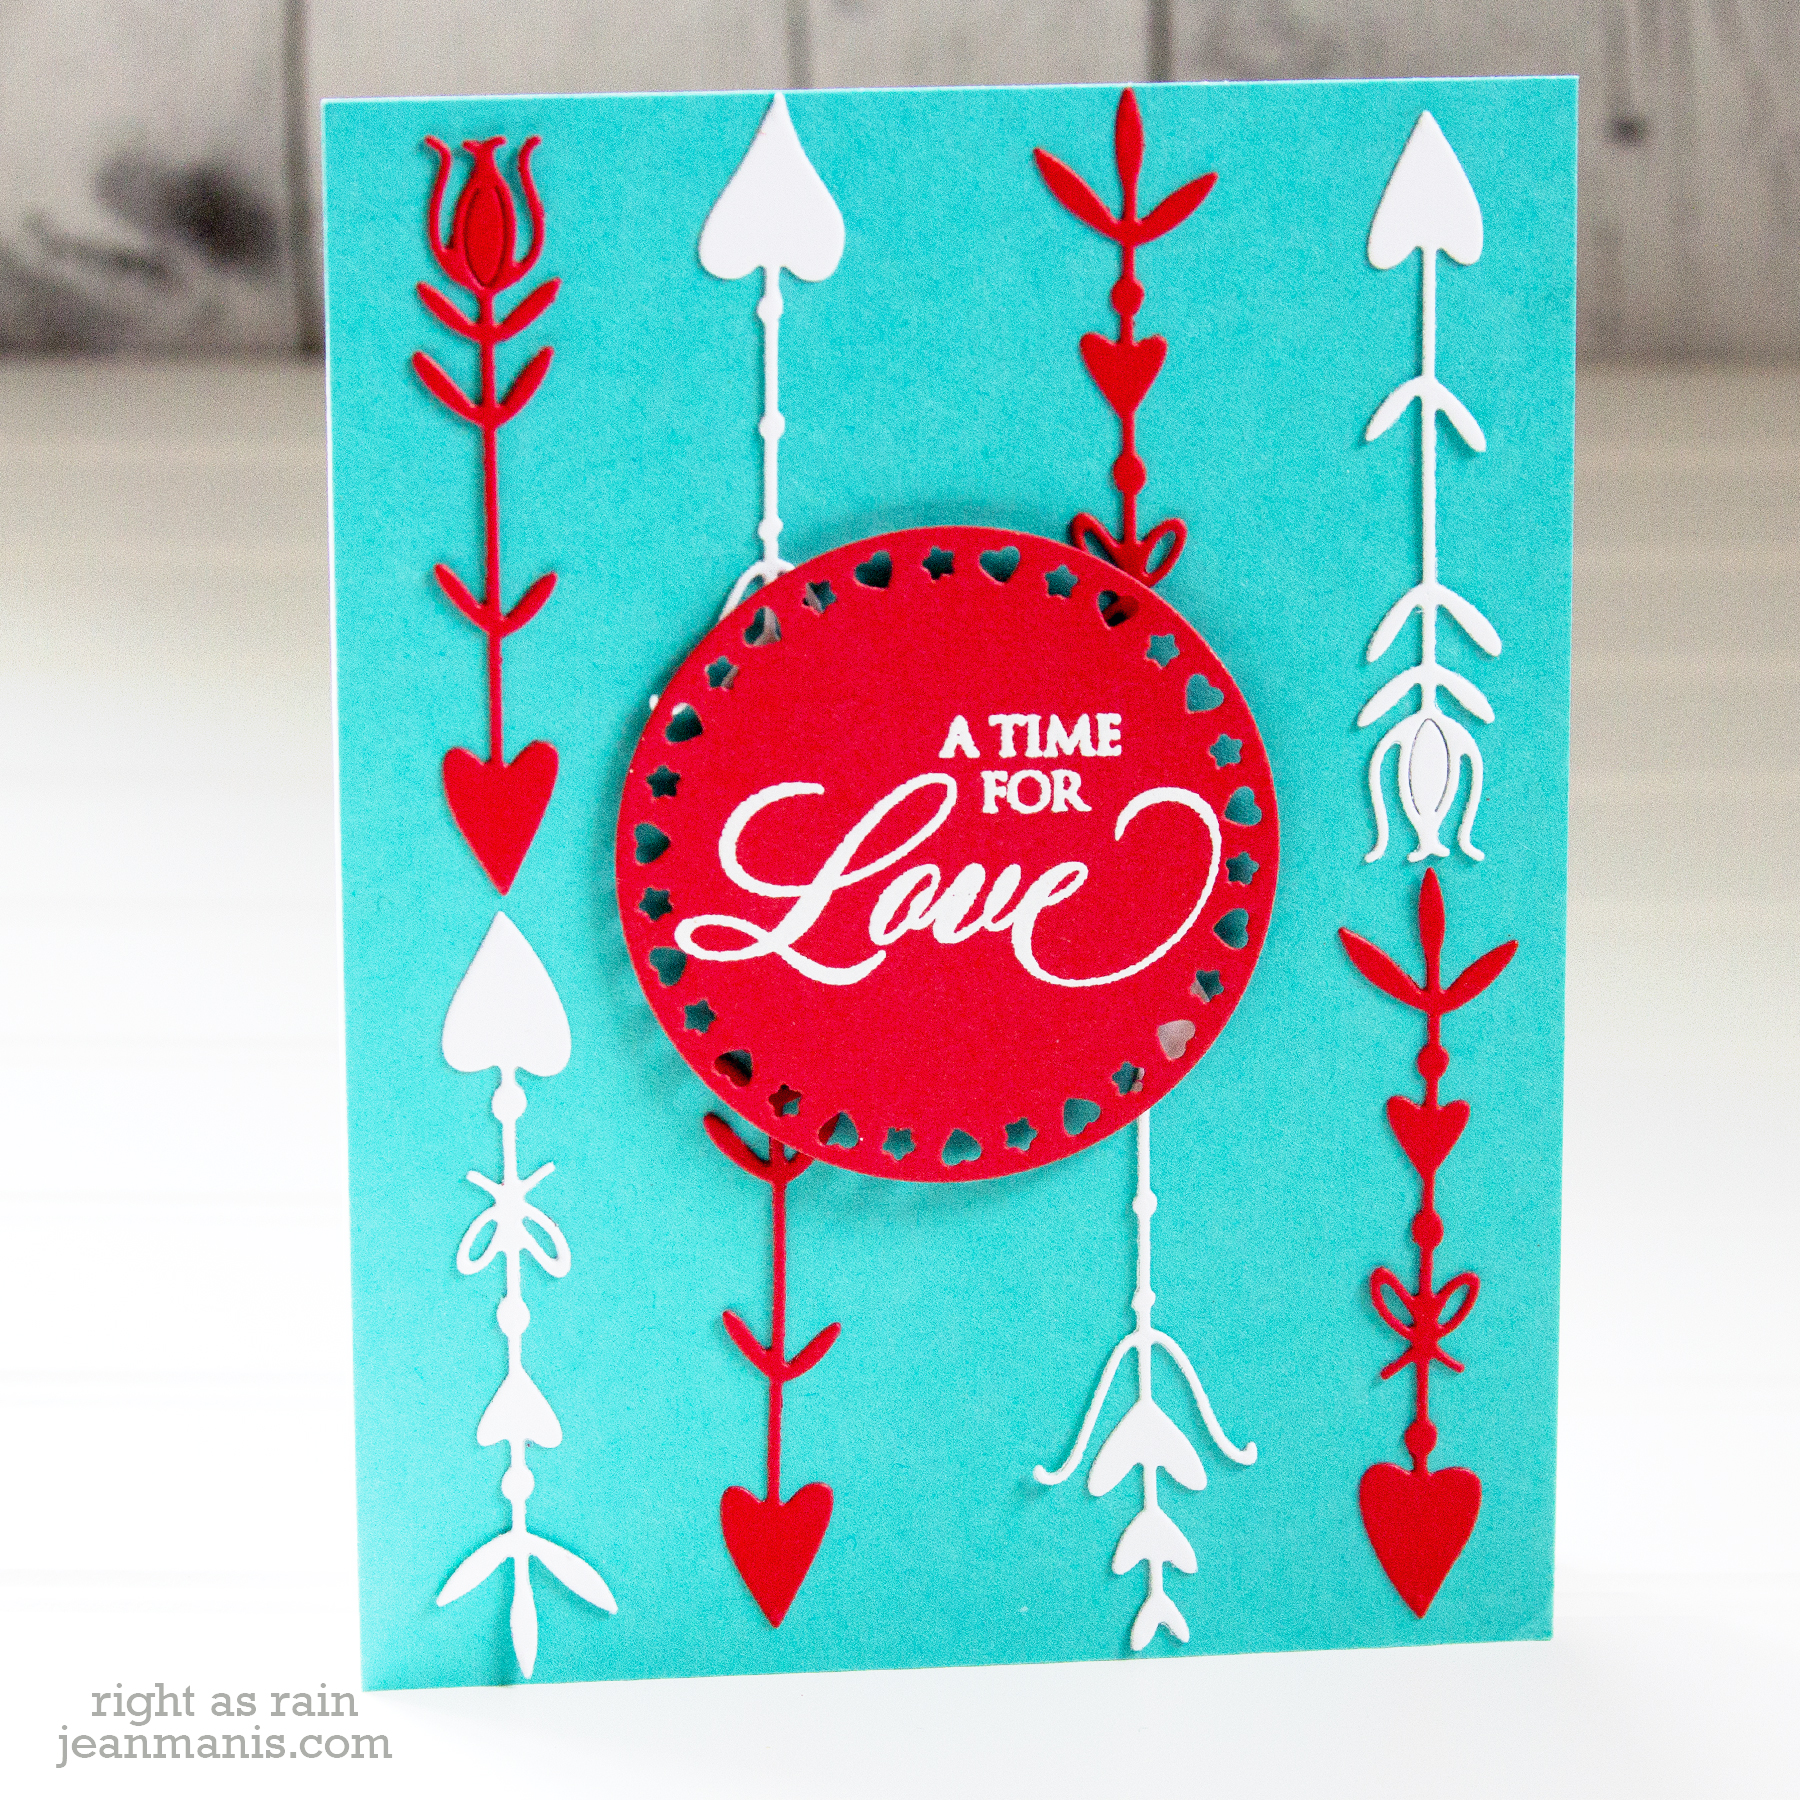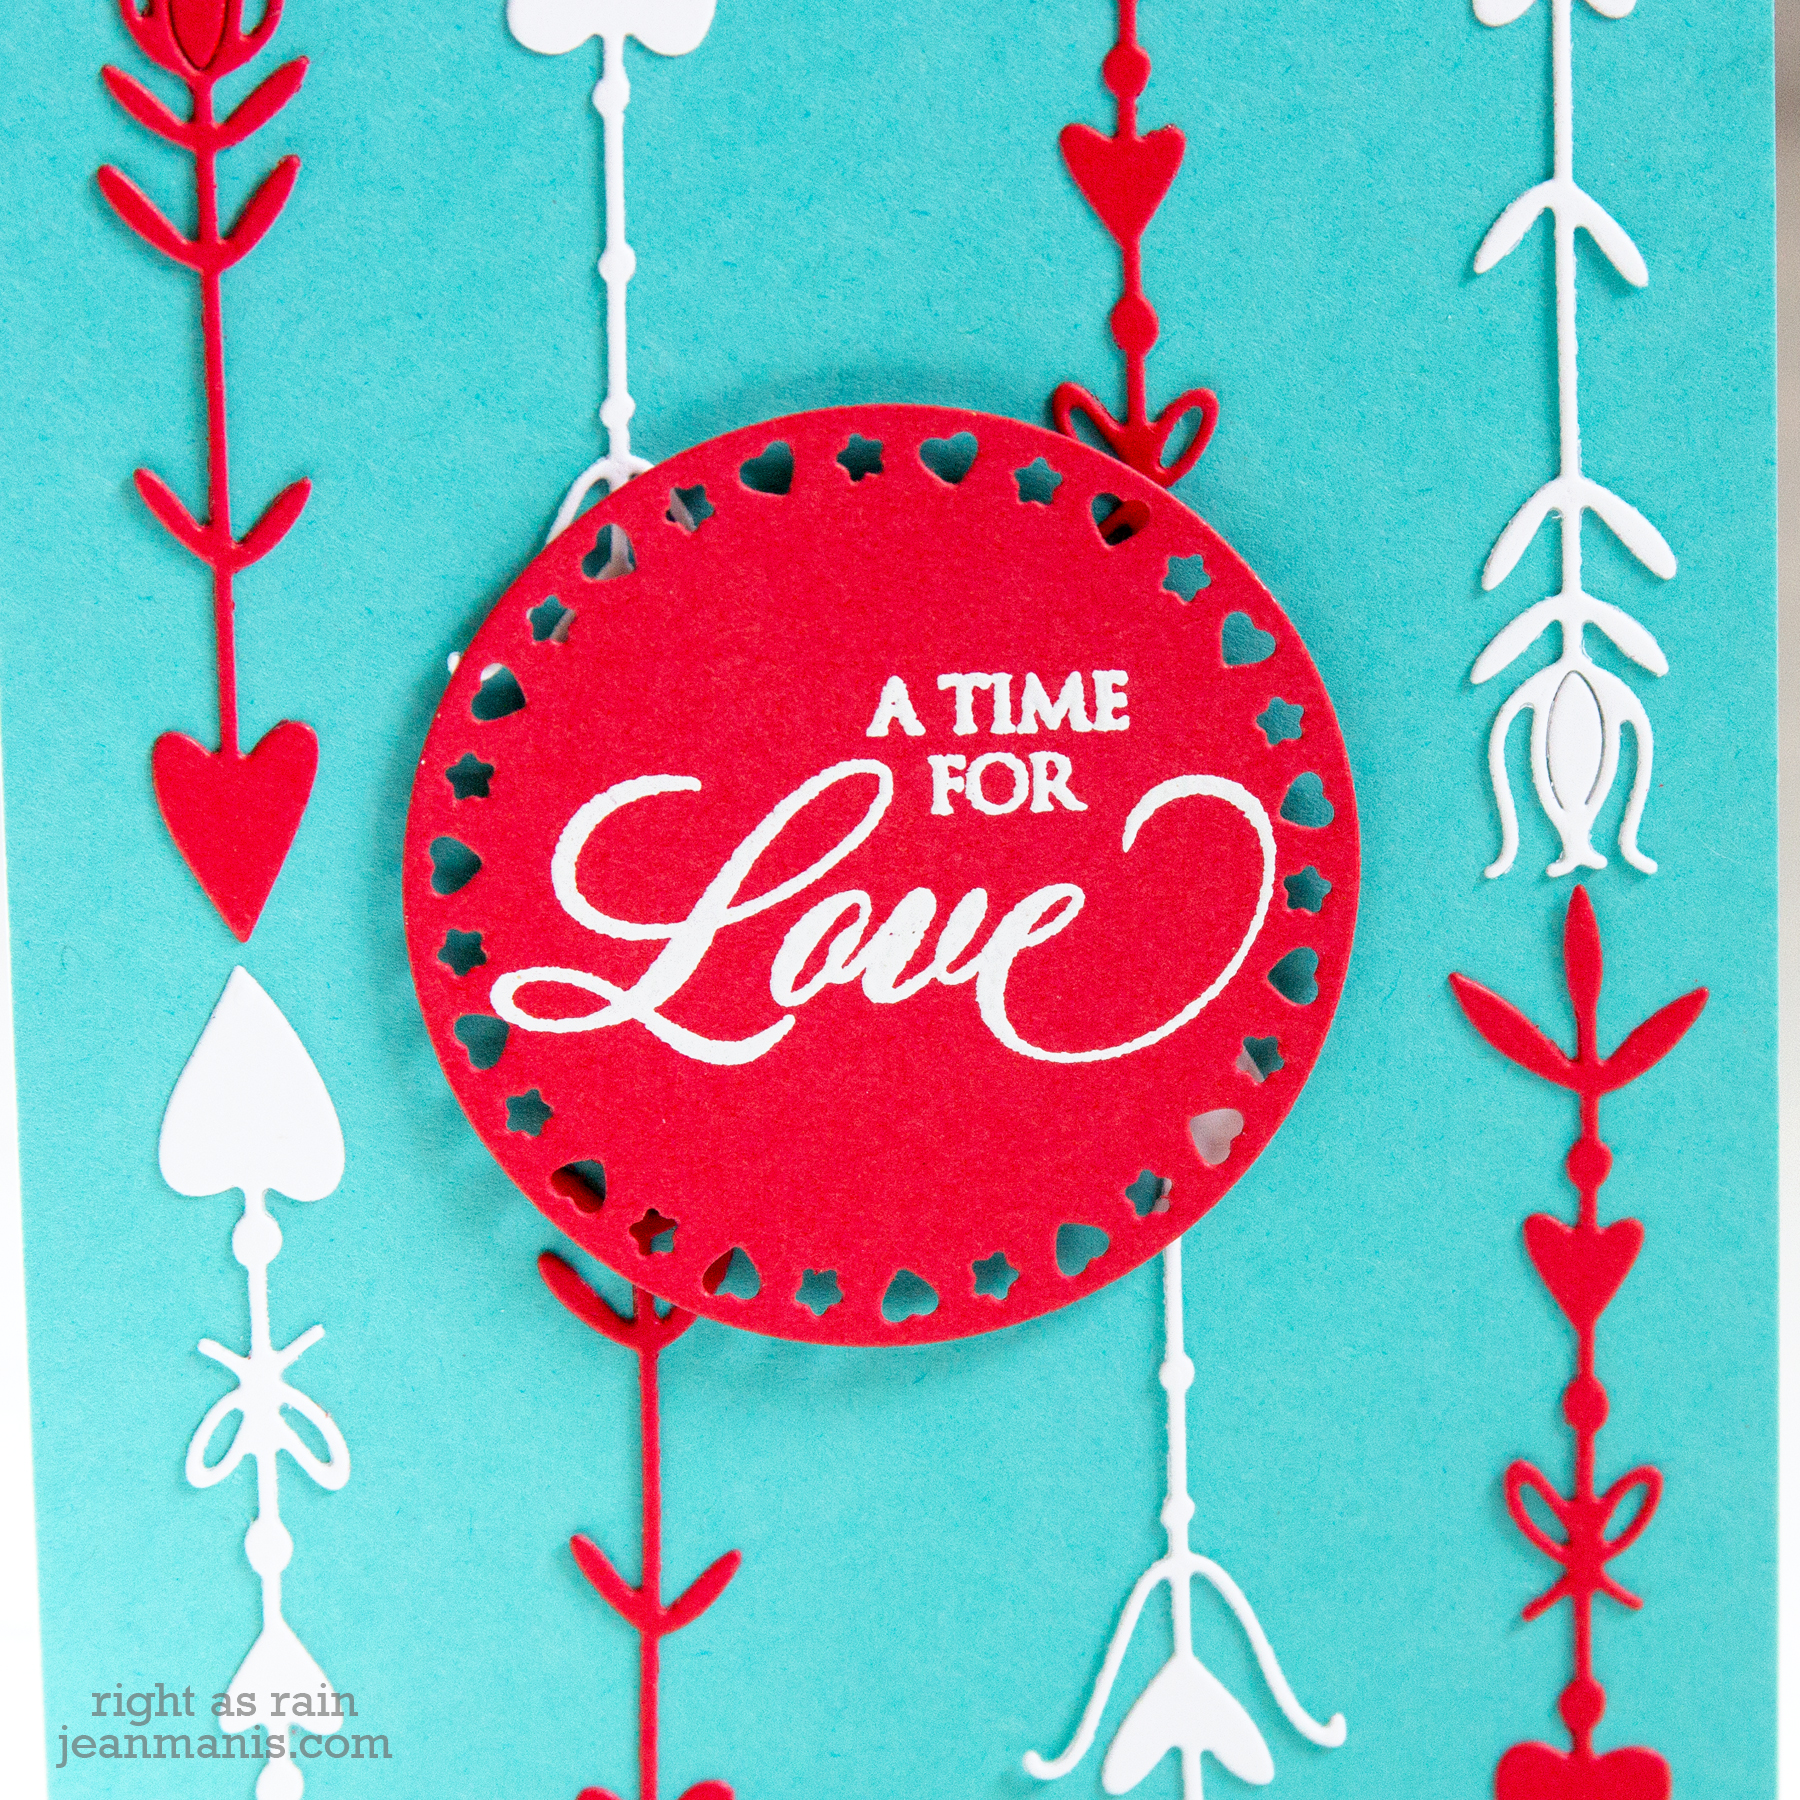
Hello! Today I am sharing a CAS Valentine card featuring Penny Black supplies from the “Share the Love” collection.

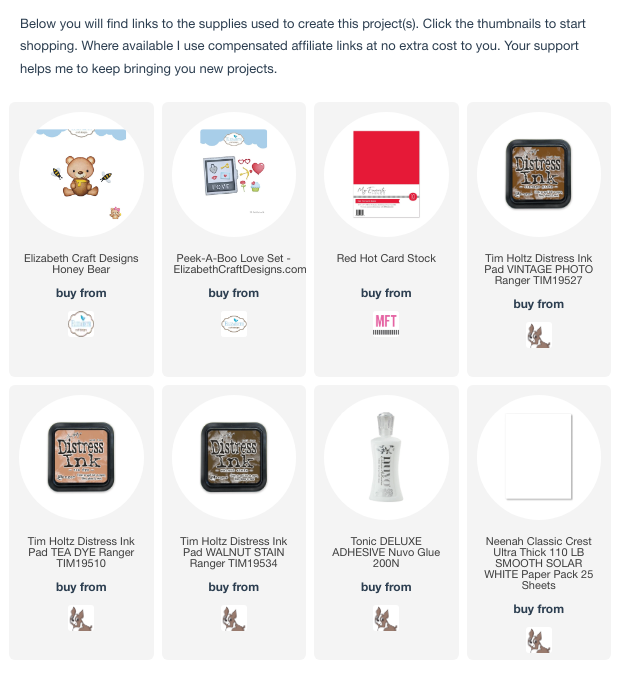
- I stamped the #30-662 Little Charmer bear image in Versafine ink on Cold Press watercolor paper and watercolored him.
- Once dry, I cut the bear with its companion die (I’m thrilled that Penny Black is creating these companion dies for many of their images).
- I sponged Squeezed Lemonade ink on to a 3 3/4″ x 5″ panel.
- I stamped the #30-667 Love Language sentiment in black ink on the panel.
- I added the panel to a white linen cardstock base and added the bear to the assembly with foam adhesive.

Supplies:


 Supplies: