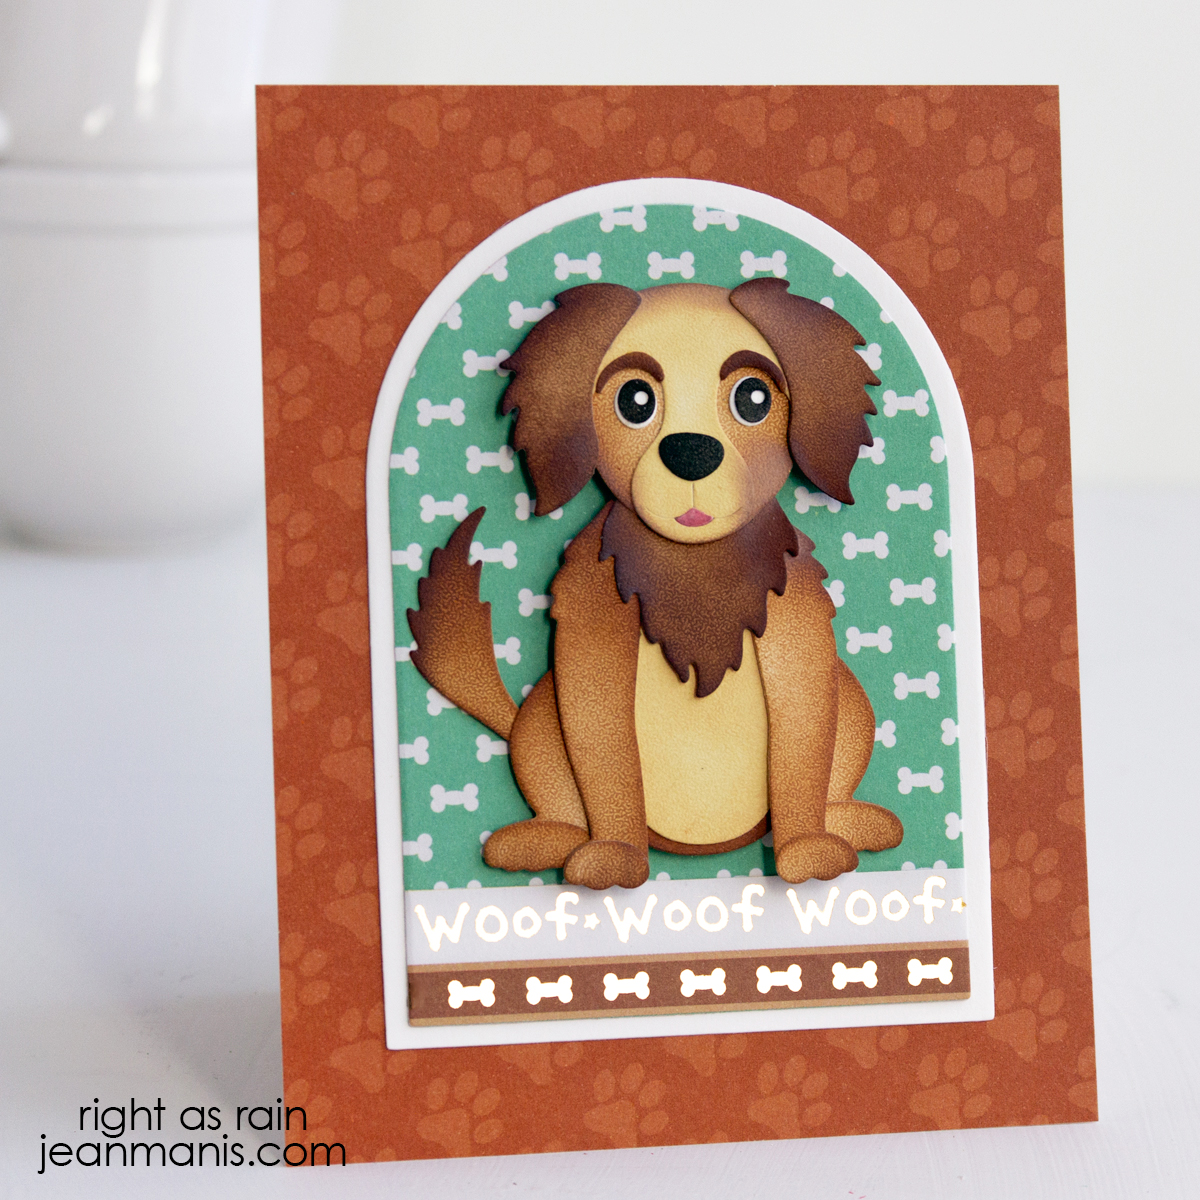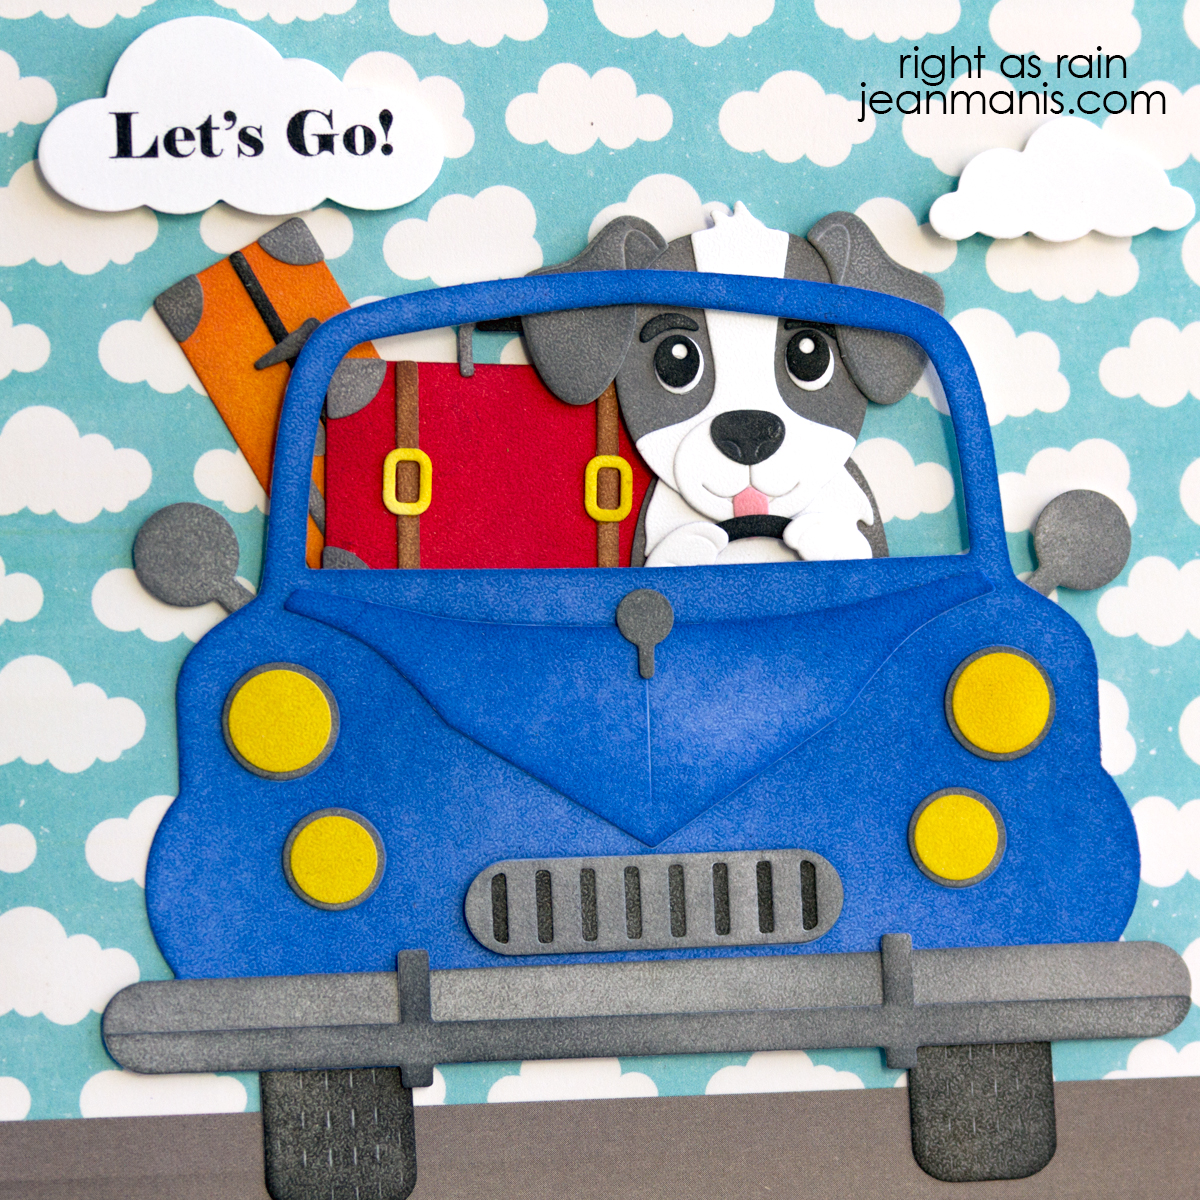
Hello! If you love crafting that’s both playful and immersive, the Elizabeth Craft Designs Dogs and Car die sets from Joset’s Dog Days Collection are a delight. The assembly is a puzzle-like experience, perfect for getting lost in the process and enjoying the details.
-
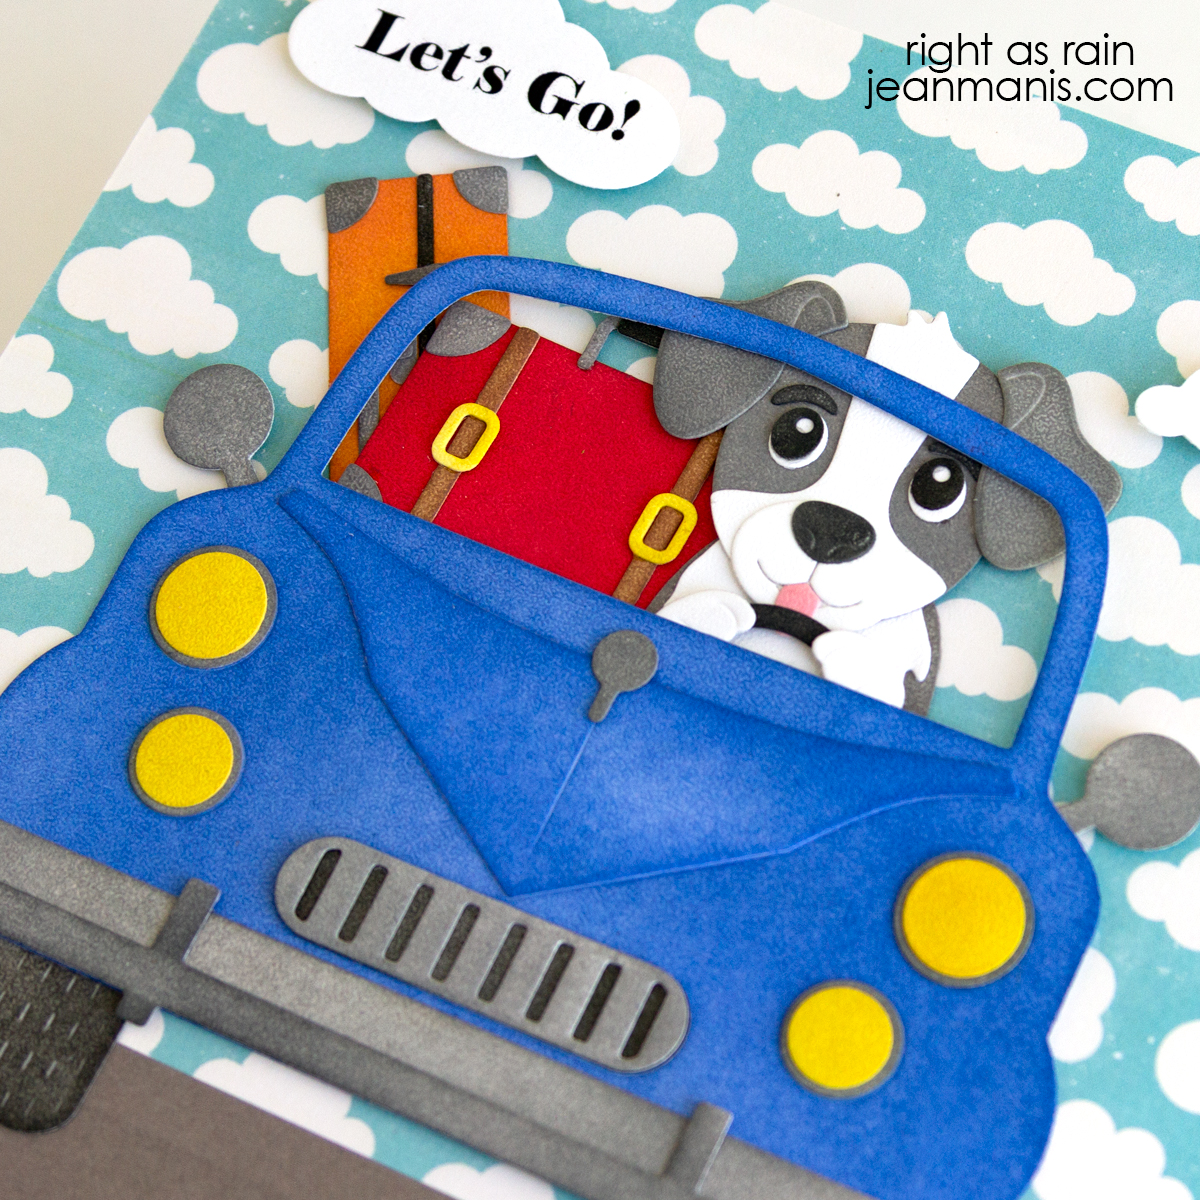
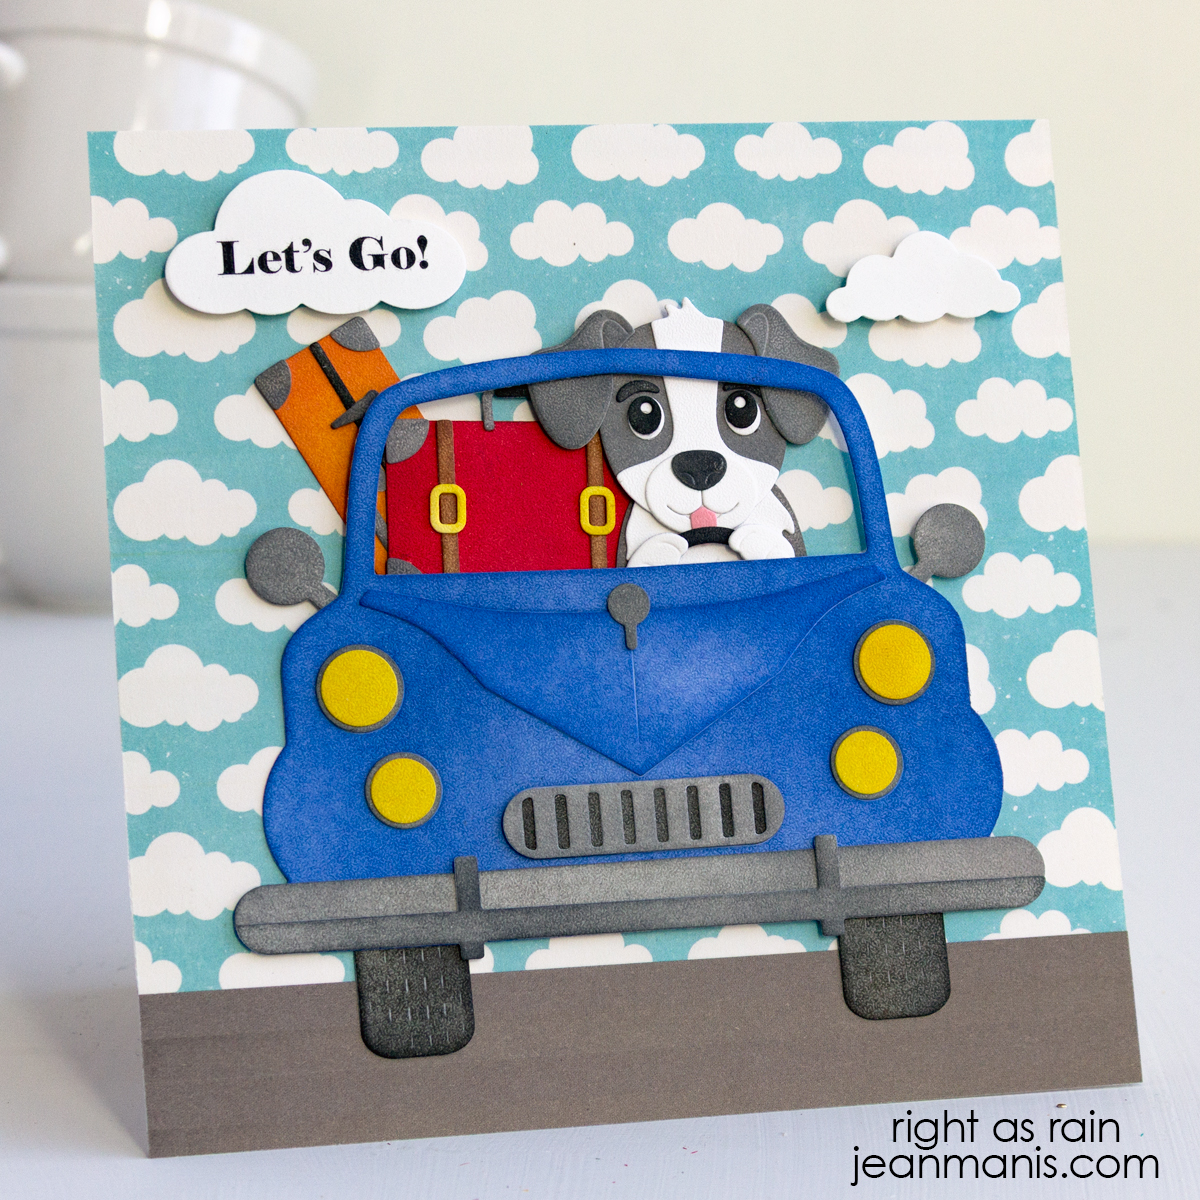
- Cover a 6-inch square card base with patterned paper and a strip of cardstock, to represent the road.
- Create a sentiment on your computer and cut with a cloud die. I used a die from Poppystamps.
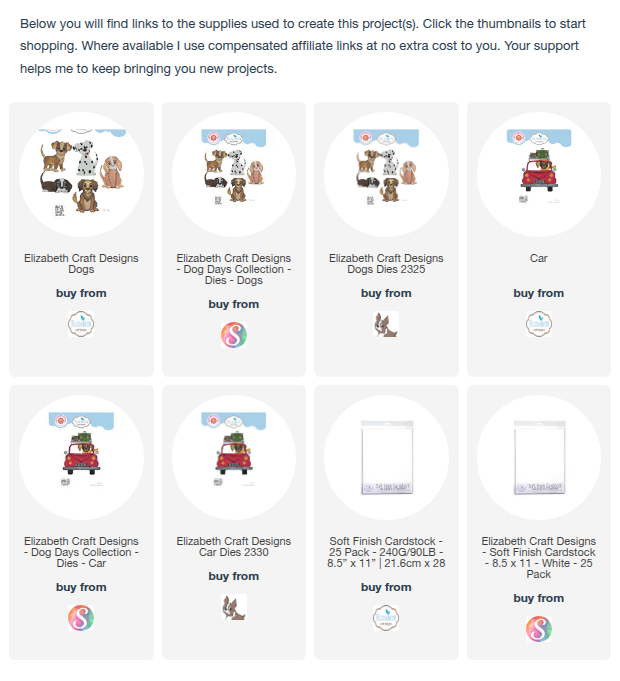
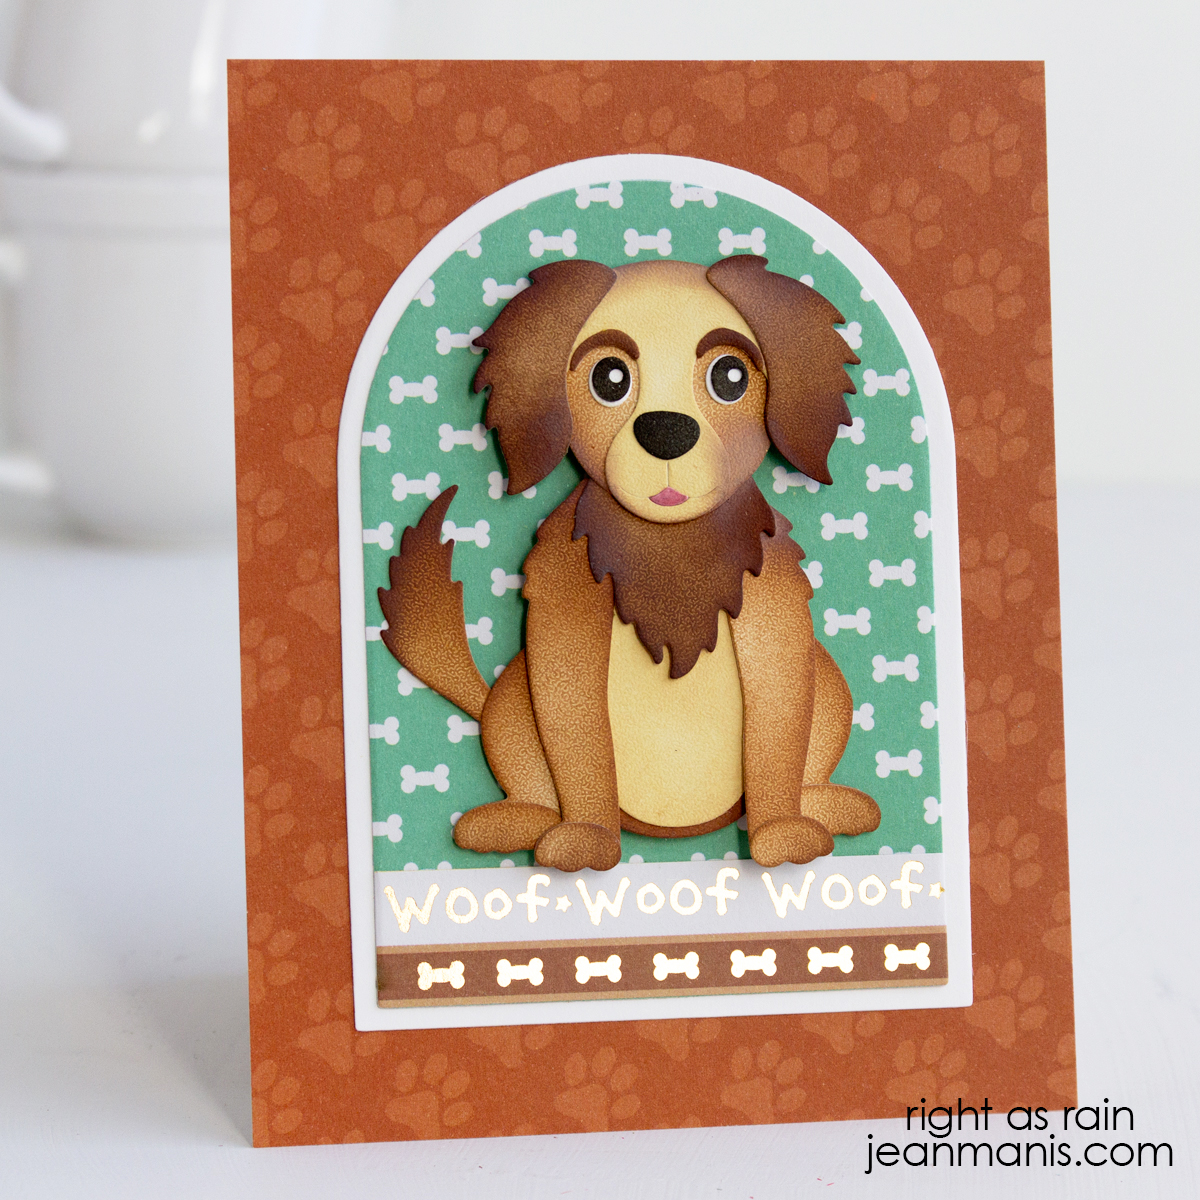
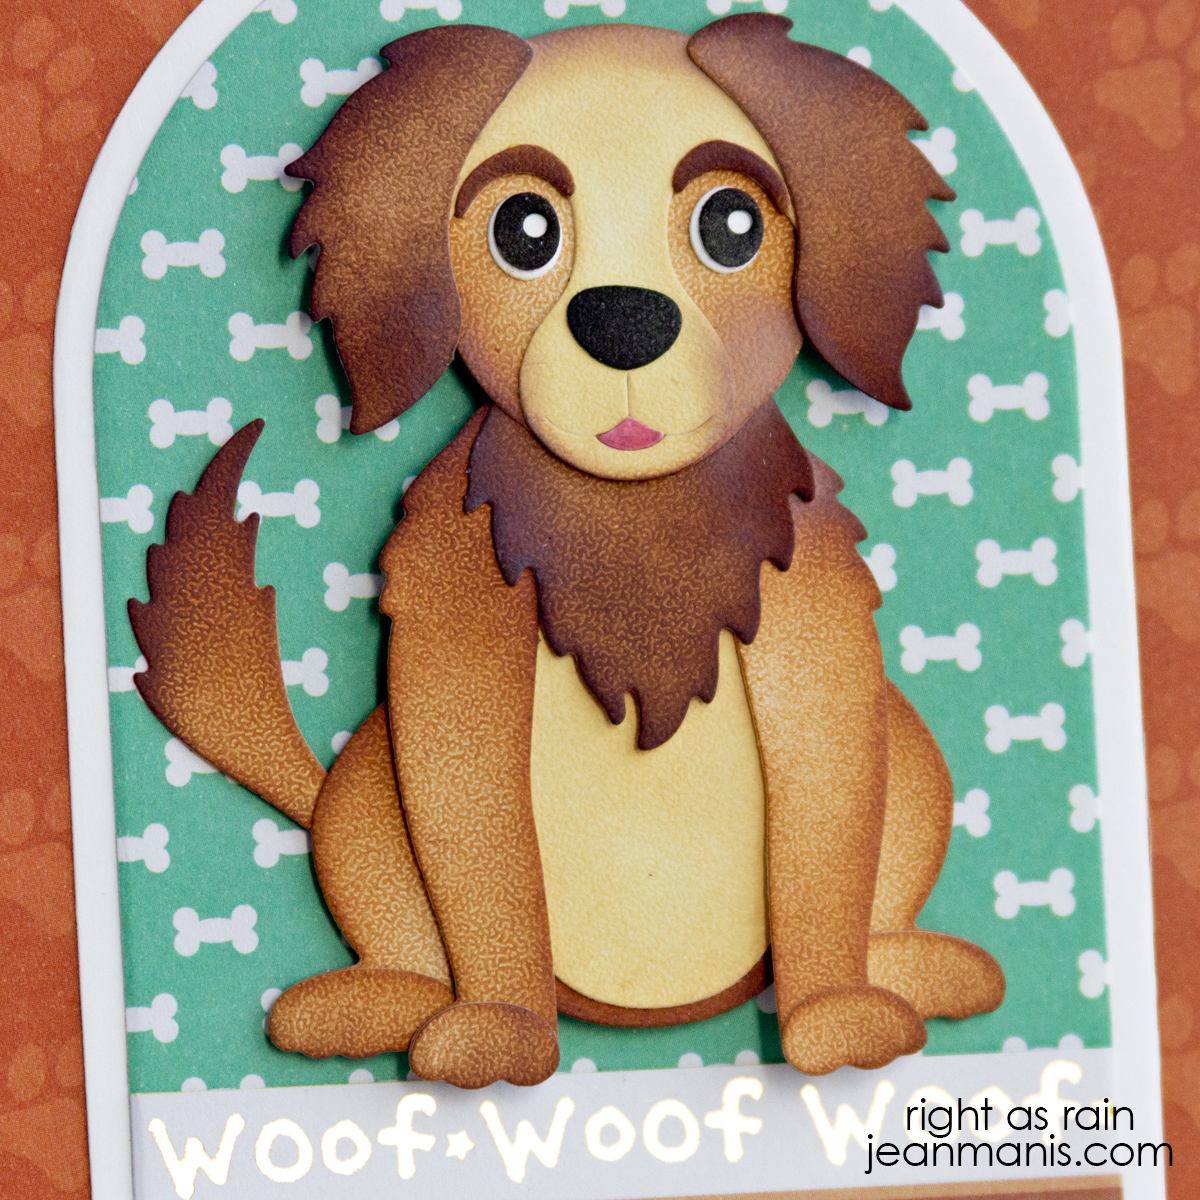
- Cut the dog with dies in the Dogs set and the Car set from Soft Finish cardstock. Color with Distress Oxide inks and assemble. I previously shared a card made with the Dogs set HERE.
- Add assembled items to prepared card base. Add the cloud sentiment and an additional cloud with foam squares.