Halloween Hello

Today, I’m sharing a quick, fall-themed card created with die cuts and a panel of patterned paper.

Halloween Hello

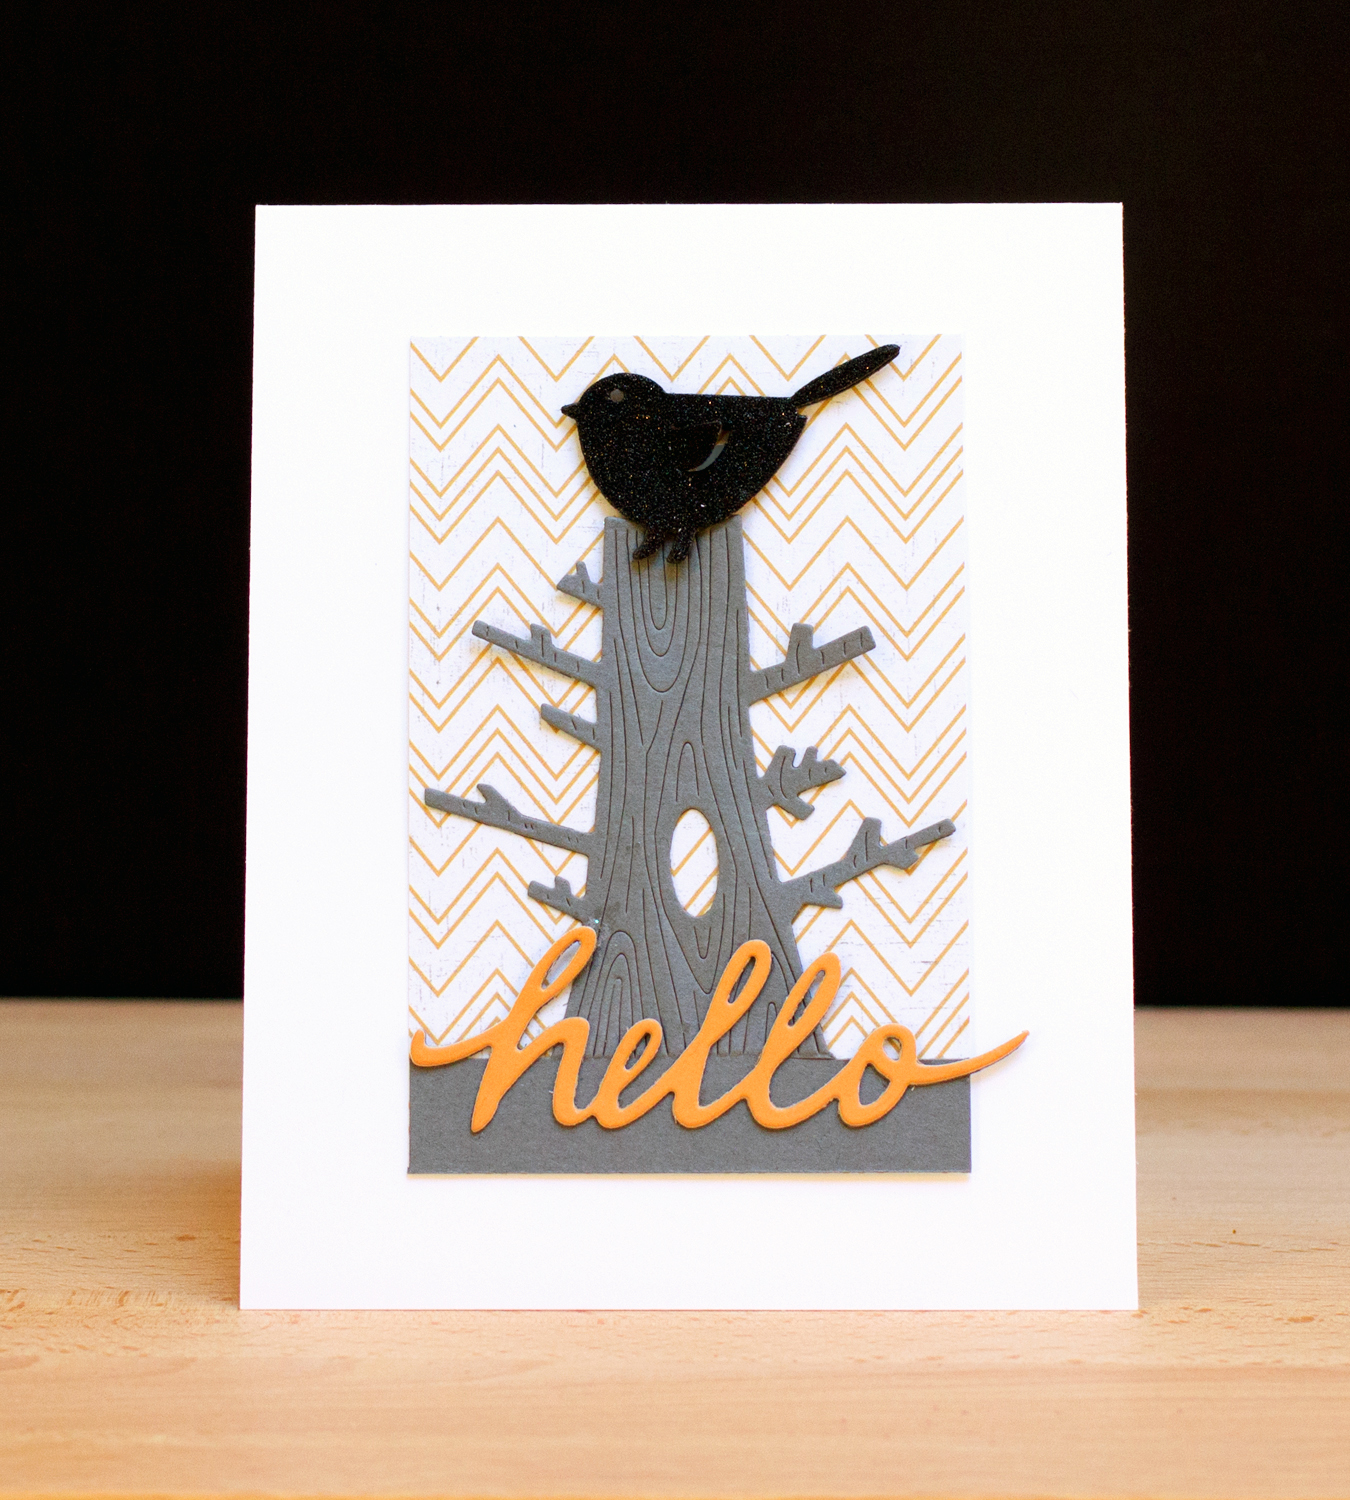
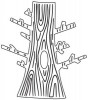
I wanted to make a card that felt like Halloween, without being too specific to the holiday. I die cut the tree, stopping just short of the base, so that I could have a section to go behind the “hello” die cut. I first tried the bird, which is really too cute to feel spooky, in black cardstock, but changed it out for the glitter paper for a little something extra!

Happy Halloween! This month has flown by.

Supplies:

Penny Black: Rudolph’s Portrait

Often when I make cards, I create a story behind the card, as was the case with this one using the Penny Black Whooo’s Wishing [30-190] stamp set (now discontinued). As the card began to come together, I pictured this as Rudolph’s portrait on the wall at the North Pole.

Penny Black: Rudolph's Portrait

I heat embossed the “Rudolph” stamp with white embossing powder. The sentiment, from the  Whoo’s Wishing set, was heat embossed with red powder. I really like the versatility of the Decadence background stamp [40-254] which I stamped in a dark grey. While it brings a formal component to the card, it’s not so formal that it doesn’t play well with the more casual elements on the card, such as the craft store pom pom and the baker’s twine.

Debby Hughes CASE

With each lesson of the Online Card Classes Tim Holtz Creative Chemistry 102 class, we received a download of inspiration cards and projects based on the techniques. Today, I’m sharing a card I created based on one that Debby Hughes contributed to the class.

Debby Hughes CASE

I replaced some of the elements on Debby’s card with supplies I owned. I die cut the leaves from Craft-a-Board and painted them, before adding the Distress Glitter, in a matching color, to a Glossy Accents coating. On the card background, I applied embossing paste through a stencil. I watched several videos on the application of the paste, and honestly, it couldn’t be easier! I used a plastic disposable knife to spread the paste through the stencil.

Supplies: Technique Tuesday Go Outside stamp set (sentiment); Tim Holtz Mini Tattered Leaves Die Set (smaller leaf)

Tim Holtz Style Holiday Tag

I’m still working through the techniques from the Online Card Classes Tim Holtz Creative Chemistry 102 class – there was a lot of material covered in just one week! I’m relatively new to the “World of Tim Holtz” so there’s quite a learning curve for me.

To continue practicing the techniques, I made a holiday-themed tag working with a Distress Stain tag base. I spent several hours testing color combinations and watching videos. I found the video in this post of Tim’s to be the most useful for creating the type of distress stain background I most liked. In short, the Mini Mister is my friend!

Tim Holtz Style Holiday Tag

As I don’t own many Tim Holtz Sizzix dies, I worked with some recently-released Savvy dies. The cardinal, cut from Craft-a-Board, was painted with Festive Berries Distress Paint before an application of Glossy Accents and Festive Berries Distress Glitter. I cut the branch and holly from Kraft Core cardstock and lightly sanded them. I stamped the snowflakes (from a discontinued October Afternoon set) with Broken China ink, and embossed with them with Sticky Powder before applying Clear Rock Candy Distress Glitter.

Supplies:

Poppystamps: Winter Scene

I’m sharing a card over on the Poppystamps blog today using supplies from the new release of 74 dies and 20 cling stamps.

In this post,  I shared a scene created with the new Grand Chalet window die. Today, I’m sharing another scene using the same die.

Poppystamps: Winter Scene
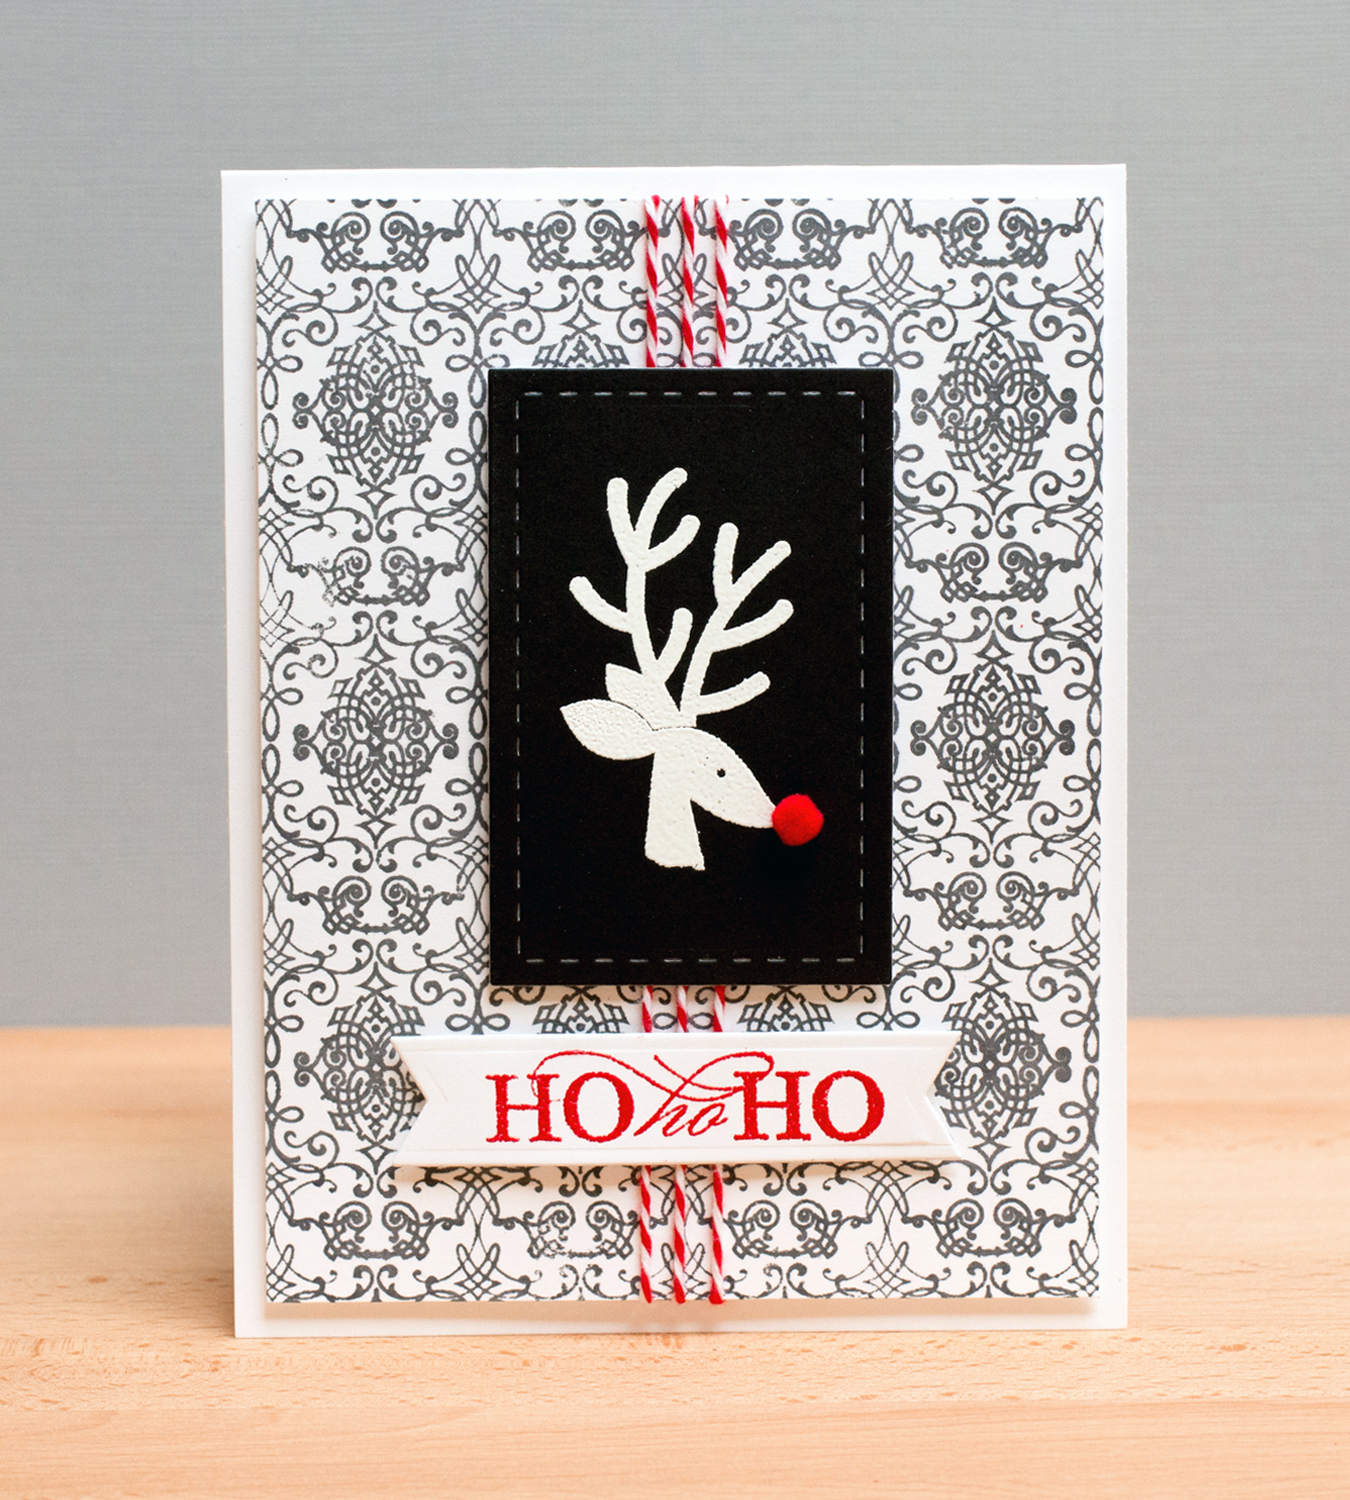
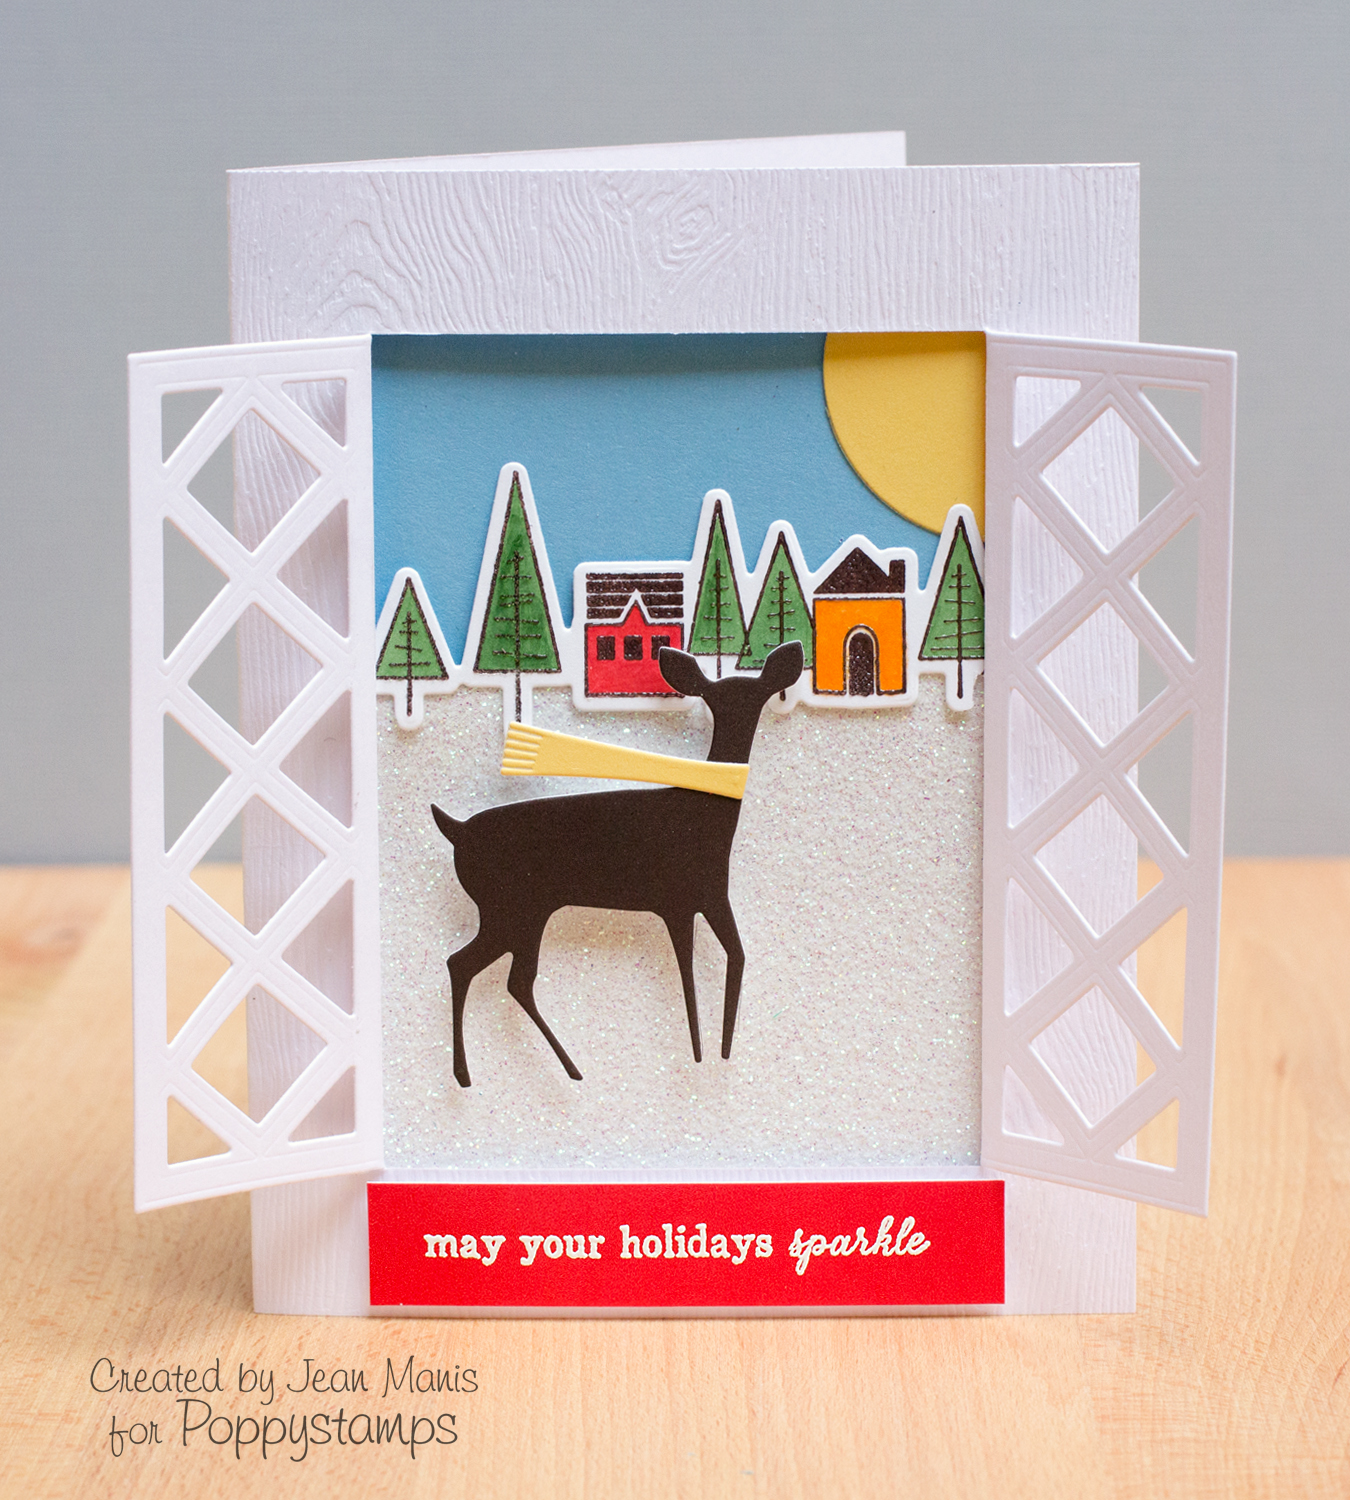
For my card, I envisioned a sunny winter day, one in which the snow is glistening and the deer are happily playing (one has decided to make its appearance at the window!). I cut the window by placing the die on the inside of the front card panel. After cutting, I folded the shutters to the card front. The Holiday Village was stamped and heat embossed before I colored it with Copic markers. I used its companion die so that I could put it on the horizon line between the sky and snow.

Supplies: