

Hello! The moment I saw sneak peeks of the Pretty Pink Posh Leaves and Berries stencil, I was intrigued. Today, I am sharing an easy CAS Christmas card showcasing the stencil.

- I cut the white cardstock to A2 size. I placed a loop of washi tape on the back to adhere the panel to my Ranger mat.
- I placed the stencil over the cardstock and masked off the leaves with washi tape.
- I applied the red Gina K glitter gel through the stencil and let the panel dry overnight.
- I placed the stencil back over the panel (using the berries for alignment), masked off the berries, and applied Lucky Clover ink with a sponge dauber through the stencil.
- I white heat-embossed the Avery Elle sentiment (from the Noel stamp set, now retired) on black cardstock. Then, I cut the sentiment with a circle die and added a slightly larger white cardstock circle as a mat. I dry-embossed the white circle with the Stampin’ Up Subtle embossing folder.
- The assembled circles were added to the stenciled card base with foam adhesive.
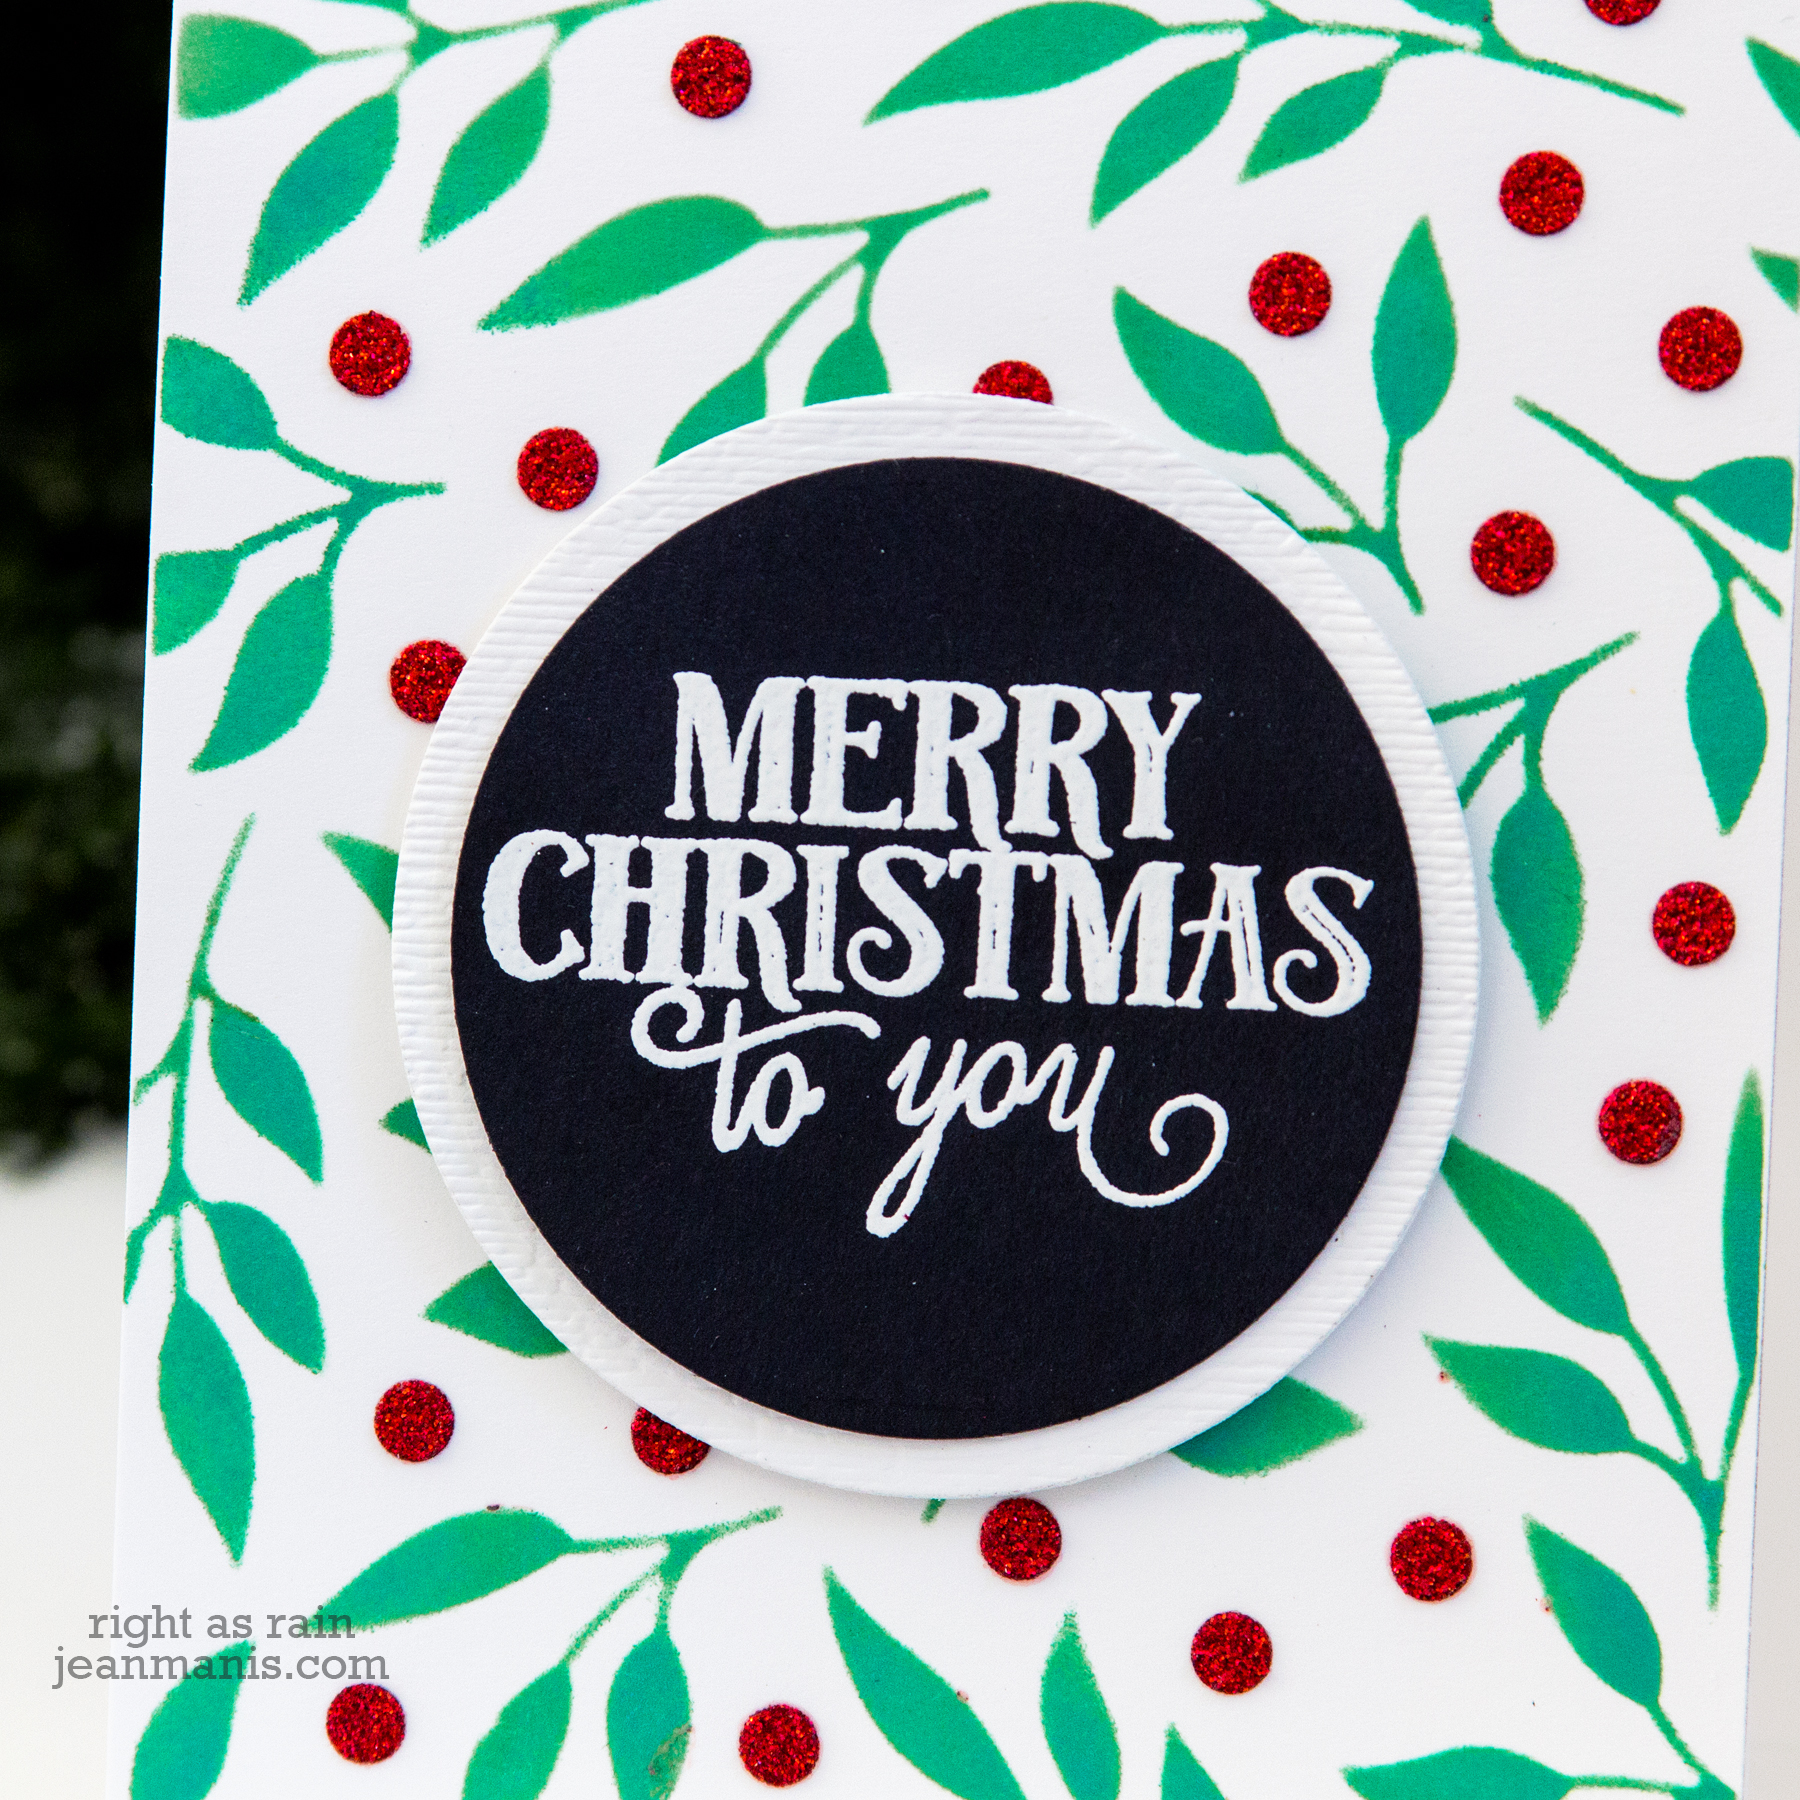
I’ve purchased the Gina K glitter gel in green as well, and at a future point I may use that product for the leaves.
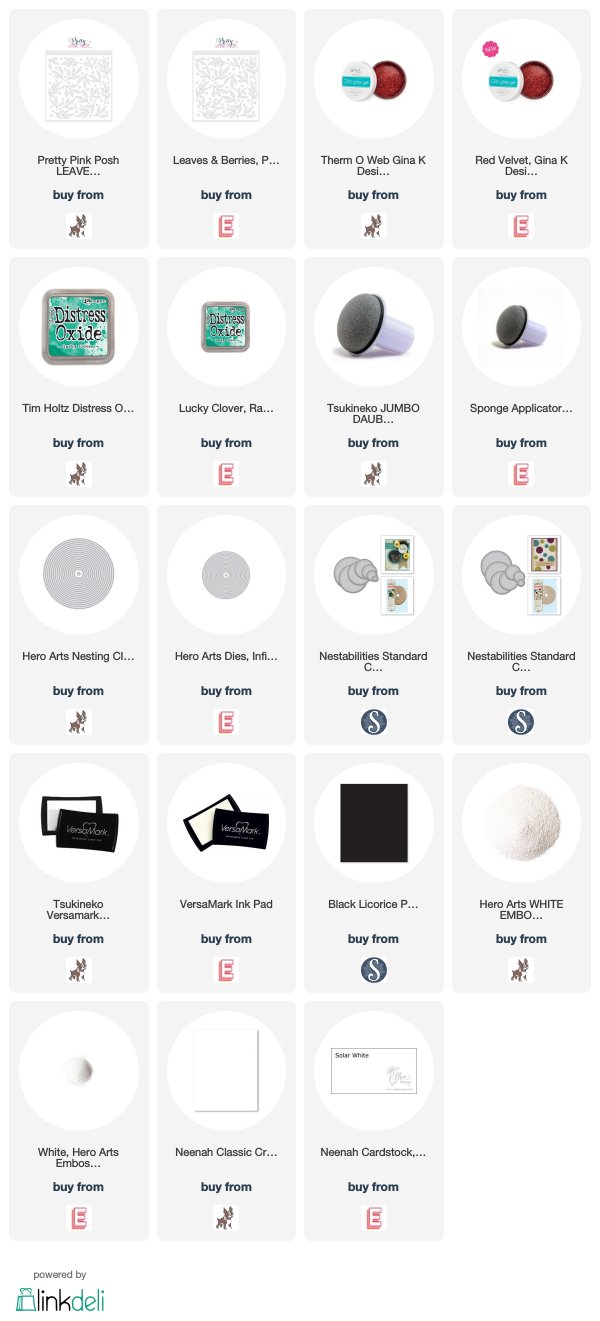
Supplies:
Crisp and lovely.
The red berries look amazing. Great card!
Just love this one, Jean! Sparkly berries with those rich green leaves look perfect with the black sentiment circle atop!!