Crafting Warmth | Impression Obsession Plaid Thermos

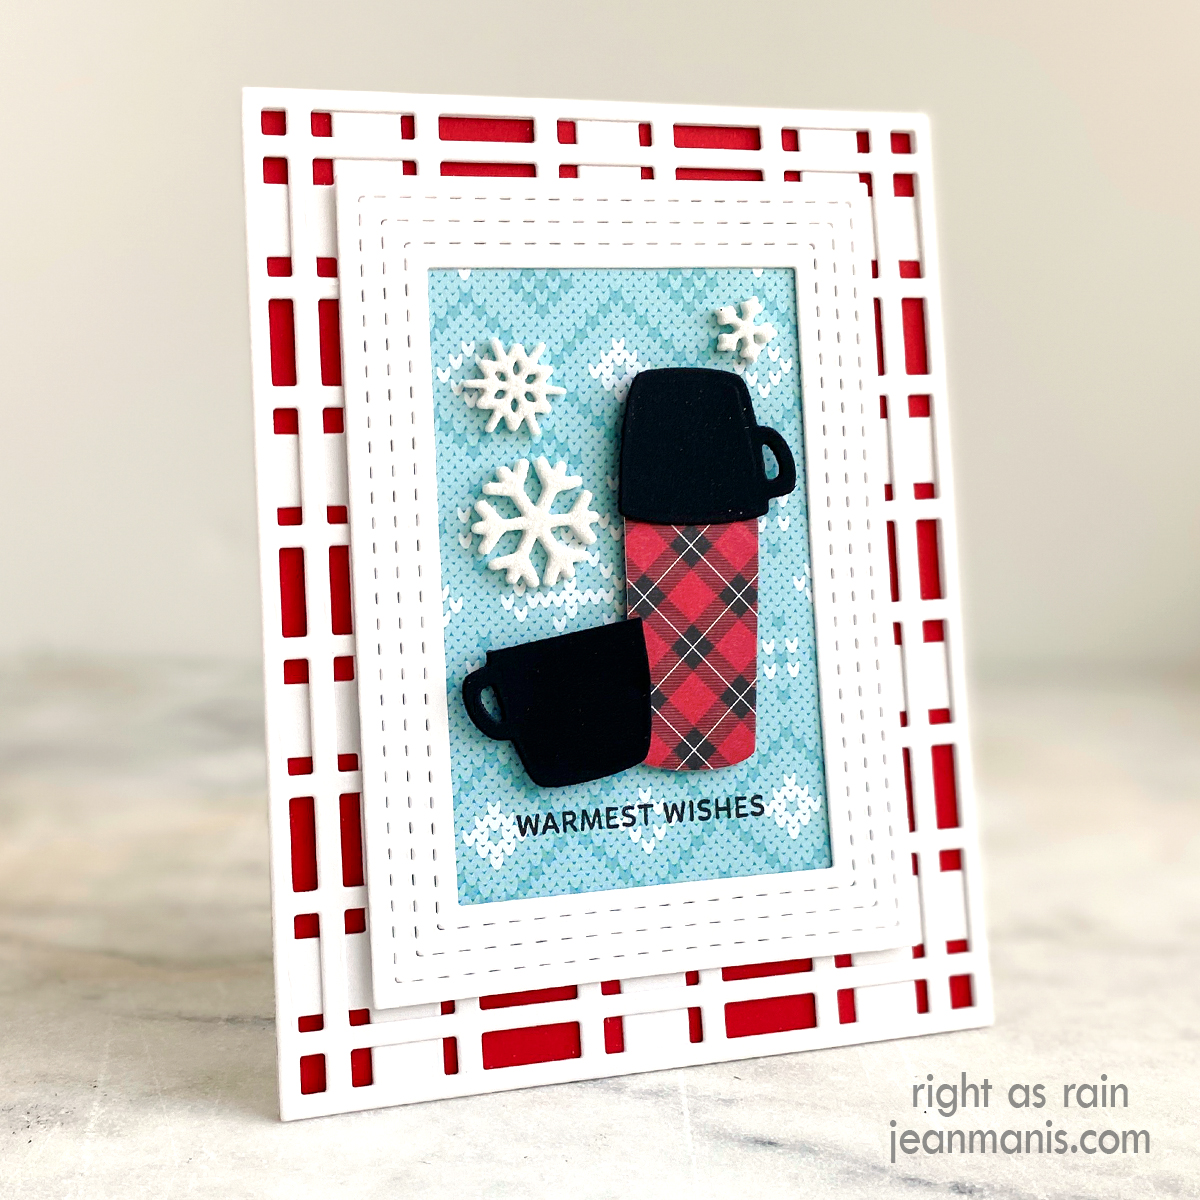
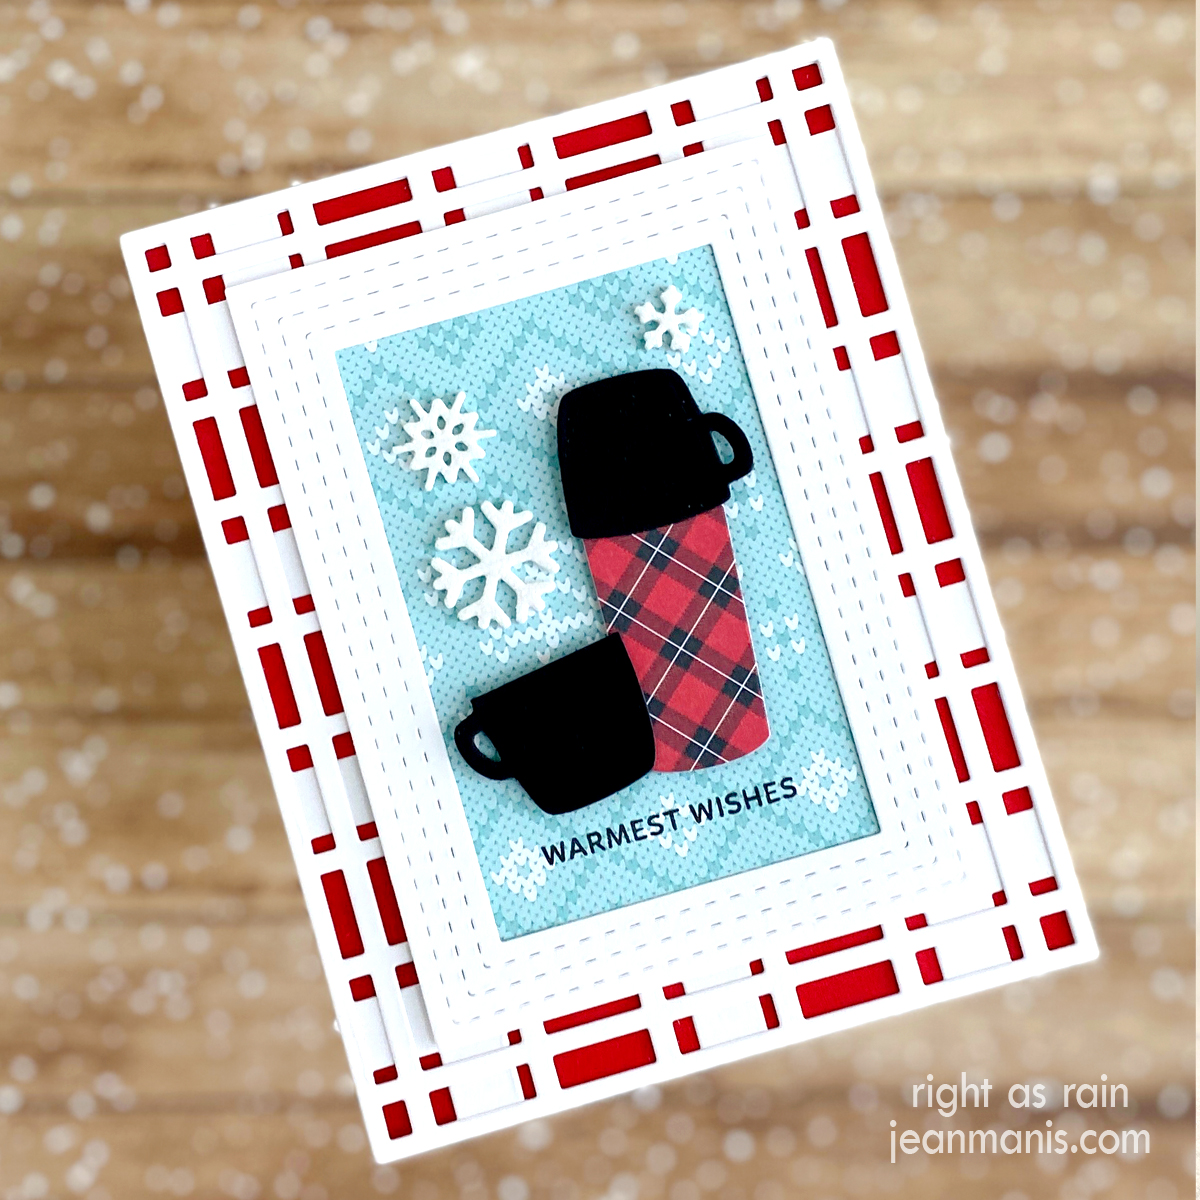
Hello! As I mentioned HERE, I am looking to extend the use of my winter-themed supplies beyond the holidays. Today, I am sharing a card that features a charming plaid vintage thermos and cup, cut with the Impression Obsession Thermos die set. Send your “Warmest Wishes” with this versatile winter-themed card that transcends holiday cheer, celebrating the timeless beauty of coziness and connection.
Crafting Warmth | Impression Obsession Plaid Thermos

We owned a plaid thermos that looked very similar to the one I crafted. You can read about the Thermos company HERE. I talk about my enthusiasm for creating cards with a hot beverage theme HERE.

  • To create the background, I cut white cardstock with the Reverse Confetti Plaid Lines – Small and Plaid Lines – Big cover plate dies. I rediscovered these two dies after writing a post on cover plate dies, which you can read HERE. I added the two die-cut pieces to a card base covered with Fun Stampers Journey Cranberry Bliss cardstock.
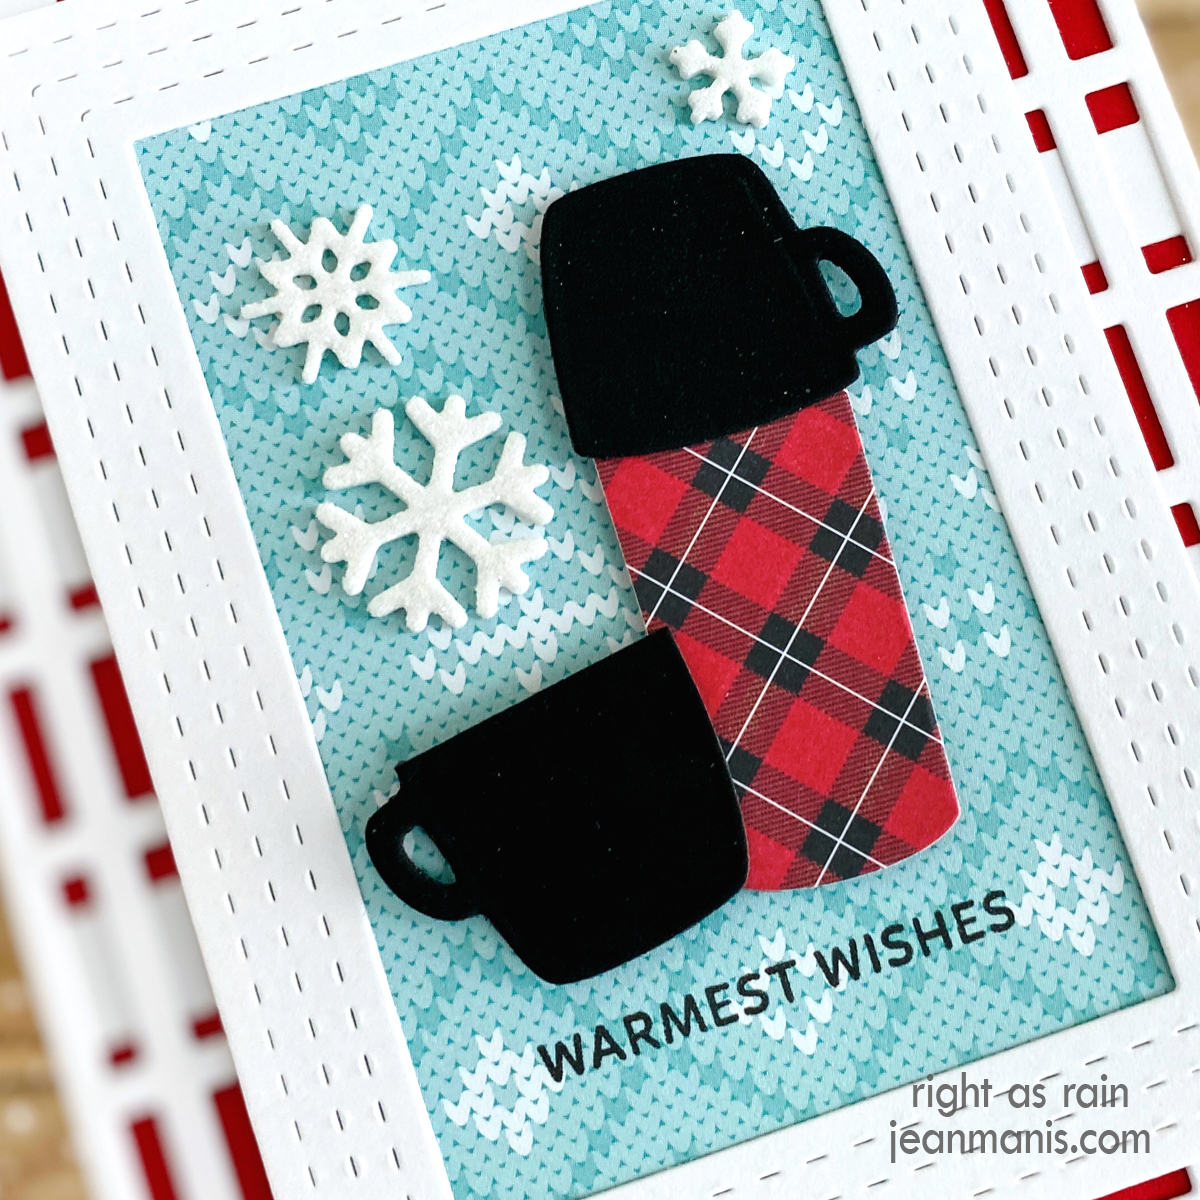
  • I cut the Thermos from plaid patterned paper and black chalkboard cardstock. I trimmed the Thermos body off a bit and adhered a black mug to its top. For the other mug, I trimmed off the round top.
  • I stamped the Pretty Pink Posh Sentiment Strips Christmas sentiment on to patterned paper (I do not know whose). I trimmed the panel and added a frame cut with the Revere Confetti Stitched Notes & Frames die set. I added the assembly to the card base.
  • I added the Thermos and mug to the card with foam adhesive and embellished with snowflakes cut from white glitter foam with the Lawn Fawn Mini Snowflakes die set.
Crafting Warmth | Impression Obsession Plaid Thermos

Crafting Warmth | Impression Obsession Plaid Thermos

Memory Box Christmas Plaid patterned paper, Fun Stampers Journey Cranberry Bliss cardstock, SU chalkboard cardstock, Reverse Confetti Plaid Lines – Small and Plaid Lines – Big cover plate dies, Revere Confetti Stitched Notes & Frames die set (frame)

Pretty Pink Posh | The Stockings Were Hung

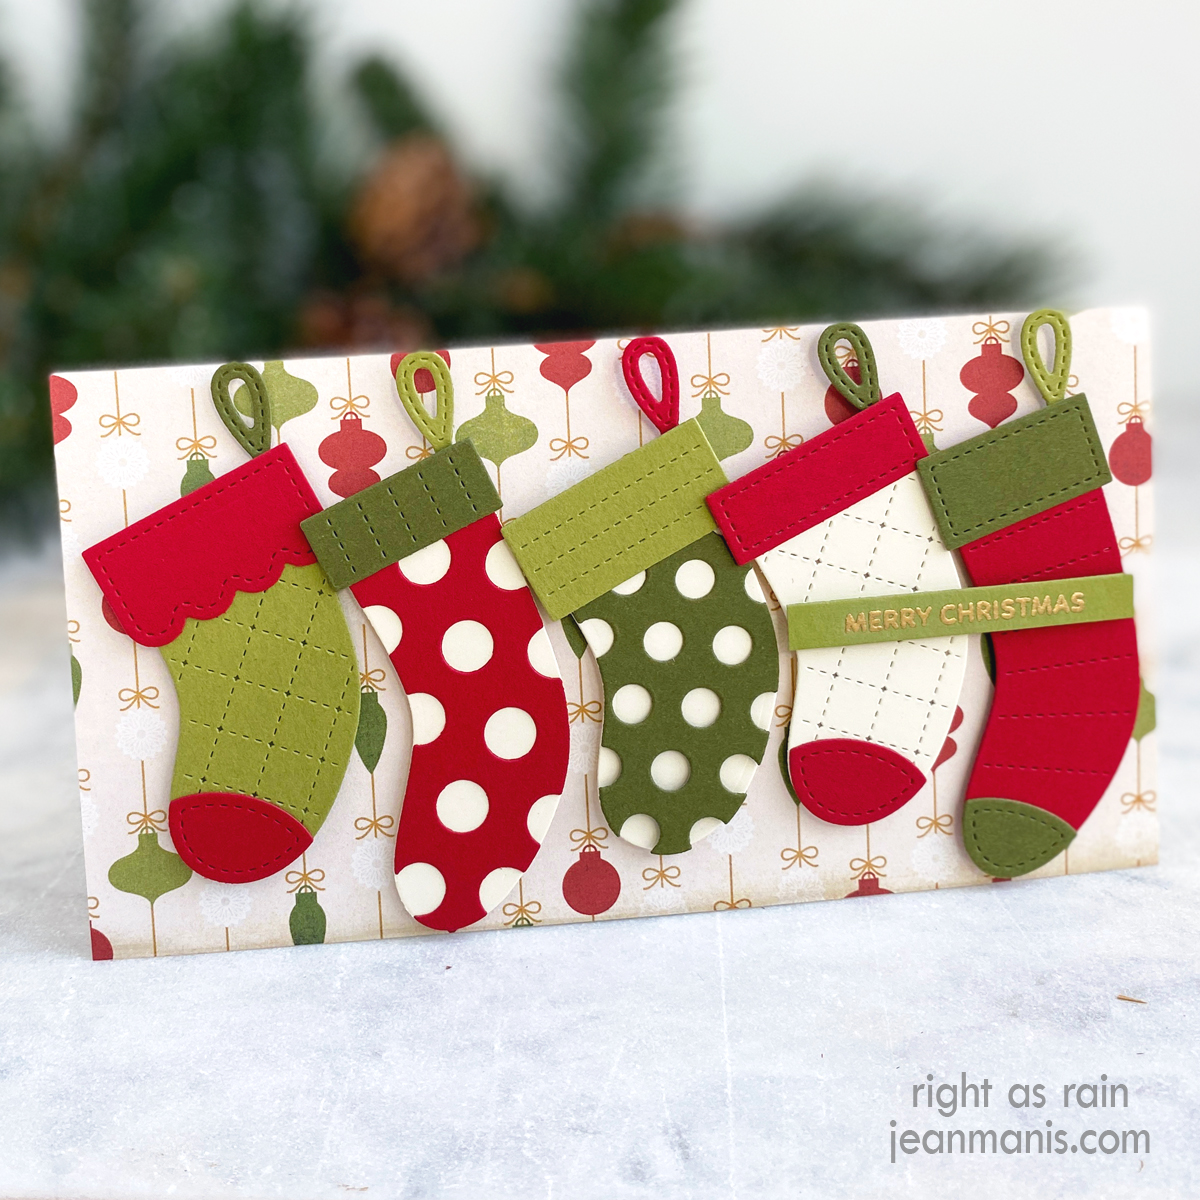
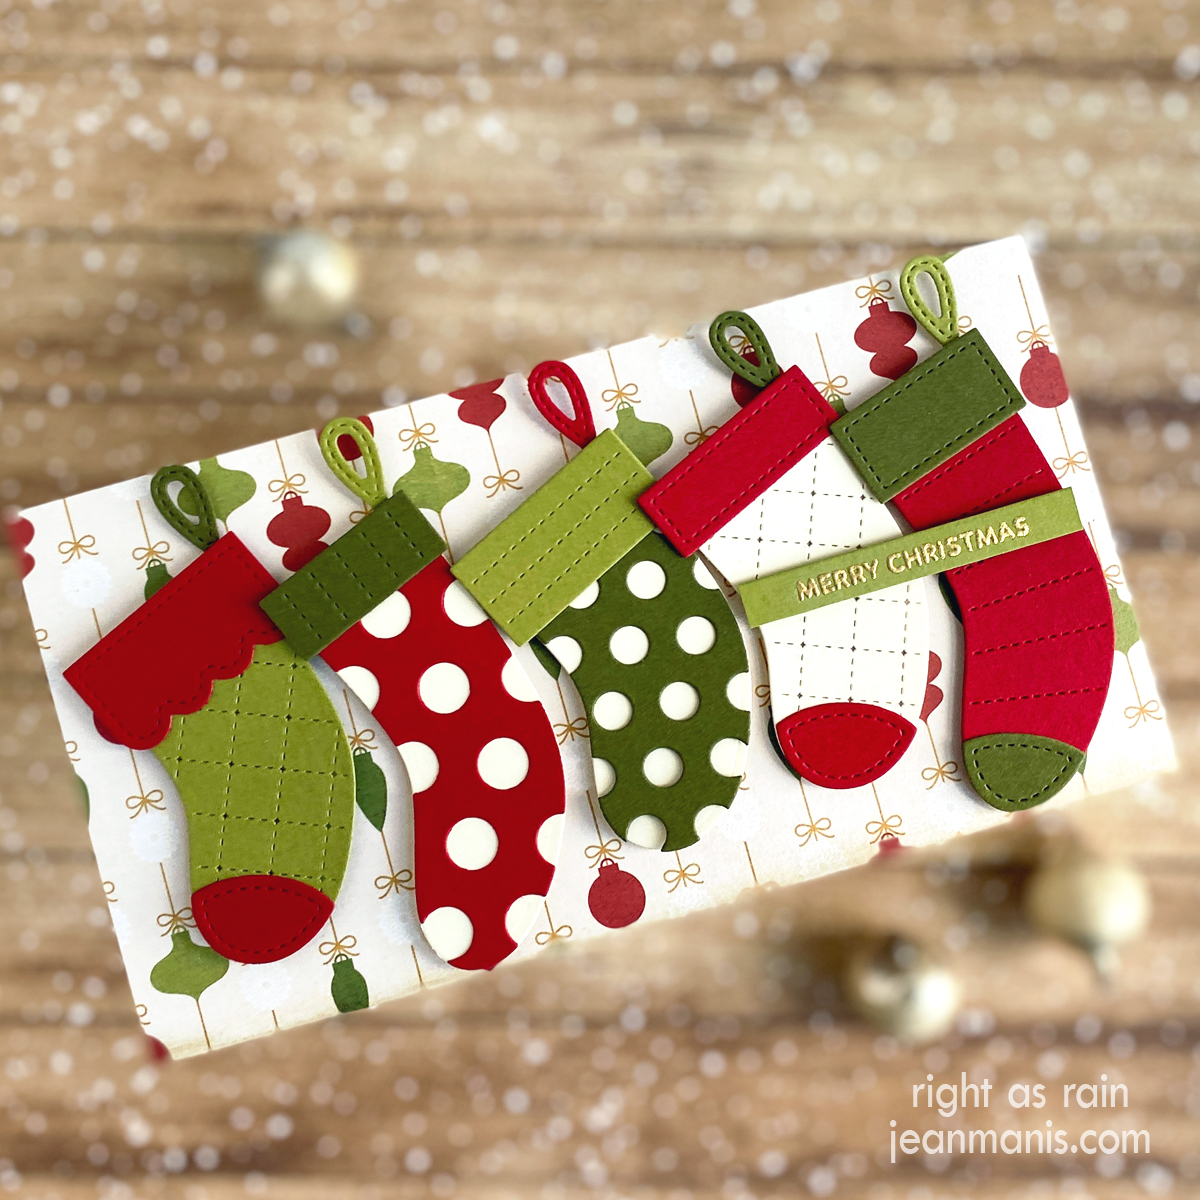
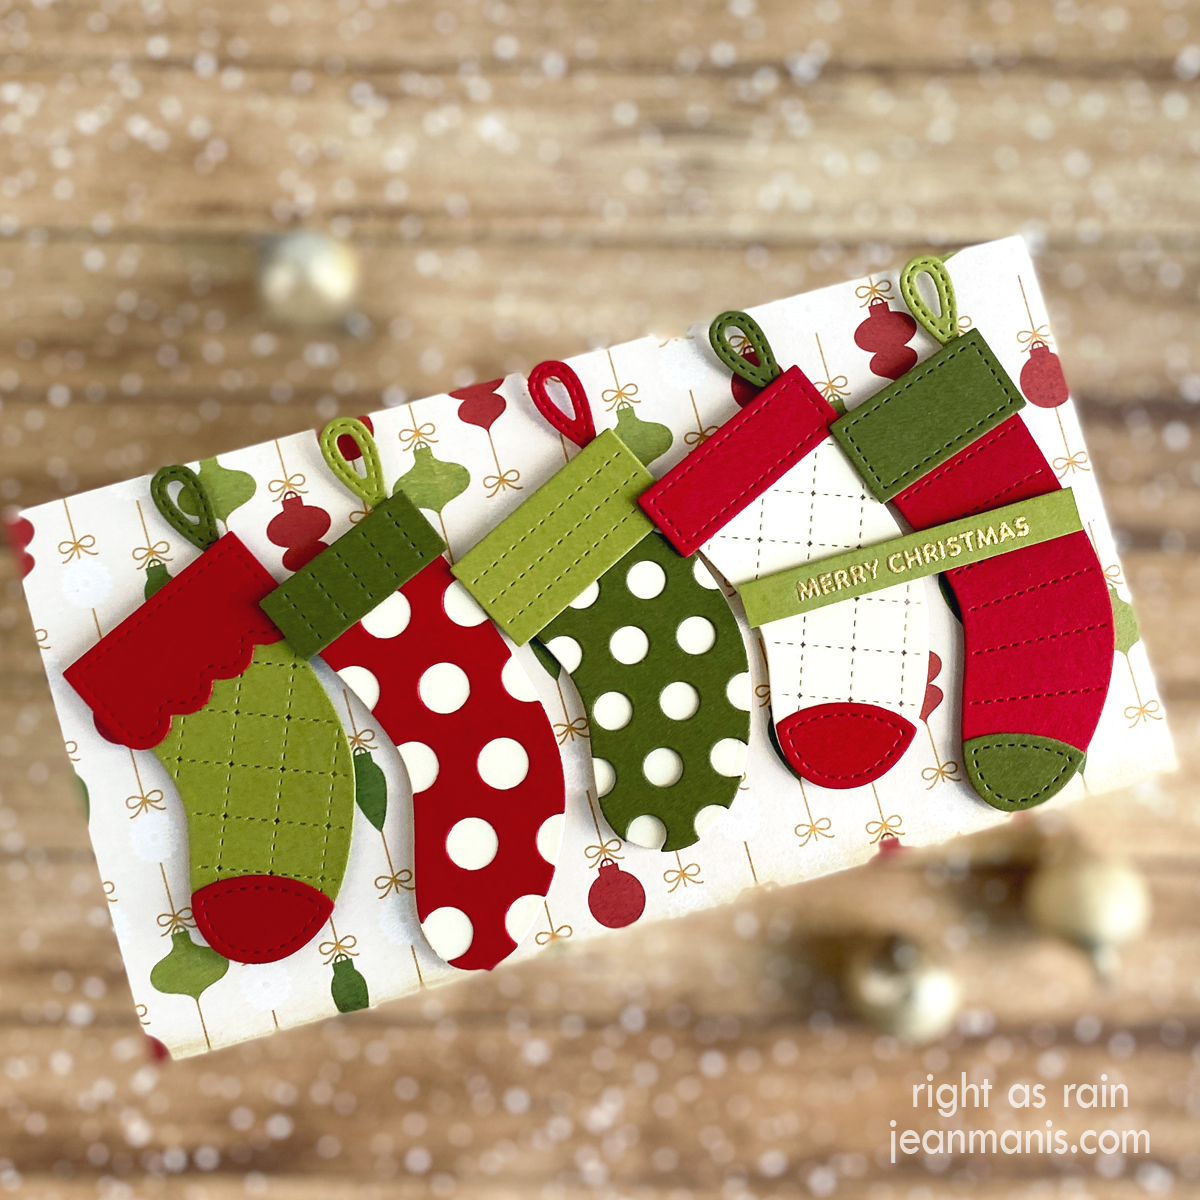
Hello! Today I am sharing a slimline-sized holiday card created with the charming Pretty Pink Posh Build A Stocking die and Christmas Sentiment Strips stamp sets. By the way, Pretty Pink Posh is now available at Scrapbook.com!

Pretty Pink Posh | The Stockings Were Hung

I wanted to showcase the variety of stockings you can create with the 17- piece set, so I created a background from patterned paper measuring 7″ wide by 3 3/4″ tall. I added the background to a card base.

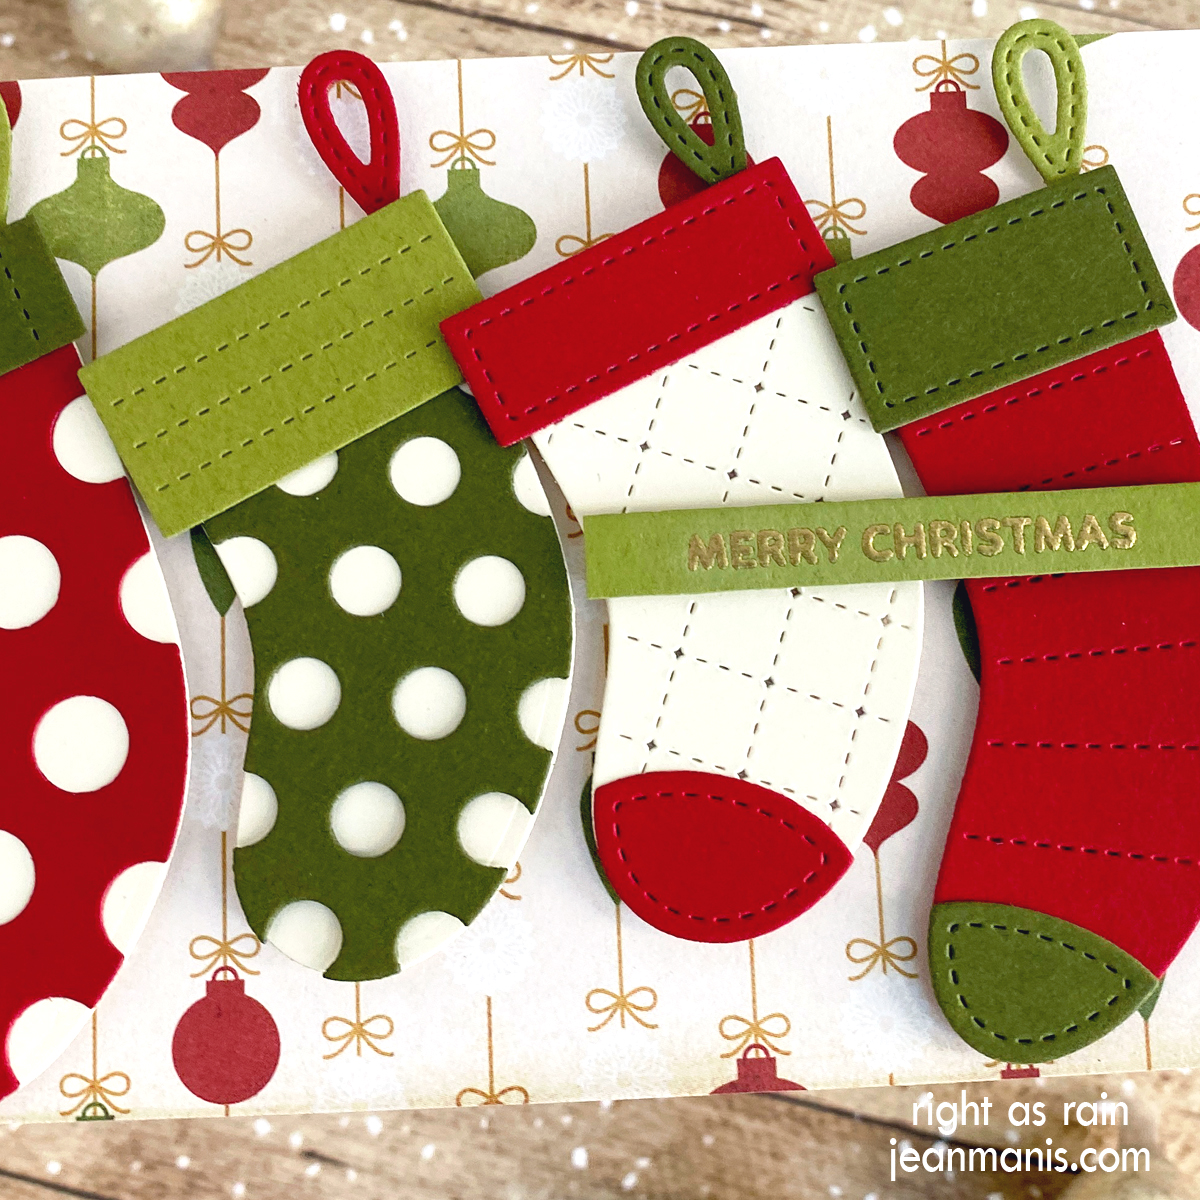
With the set, I cut a variety of stockings and assembled them. It was fun to try out the various overlays and stocking tops. I used solid cardstock to coordinate with the patterned paper in the colors: Taylored Expressions Red Pepper, SU Very Vanilla, SU Old Olive, and SU Mossy Meadow.

I heat-embossed the Christmas Sentiment Strips sentiment in gold on Old Olive cardstock and cut it with a banner die.

I added the five assembled stockings to the card base with foam adhesive and the sentiment strip with foam adhesive over the two stocking on the right-hand side.

Pretty Pink Posh | The Stockings Were Hung

Pretty Pink Posh | The Stockings Were Hung


Pretty Pink Posh – Whimsical Christmas Stencil

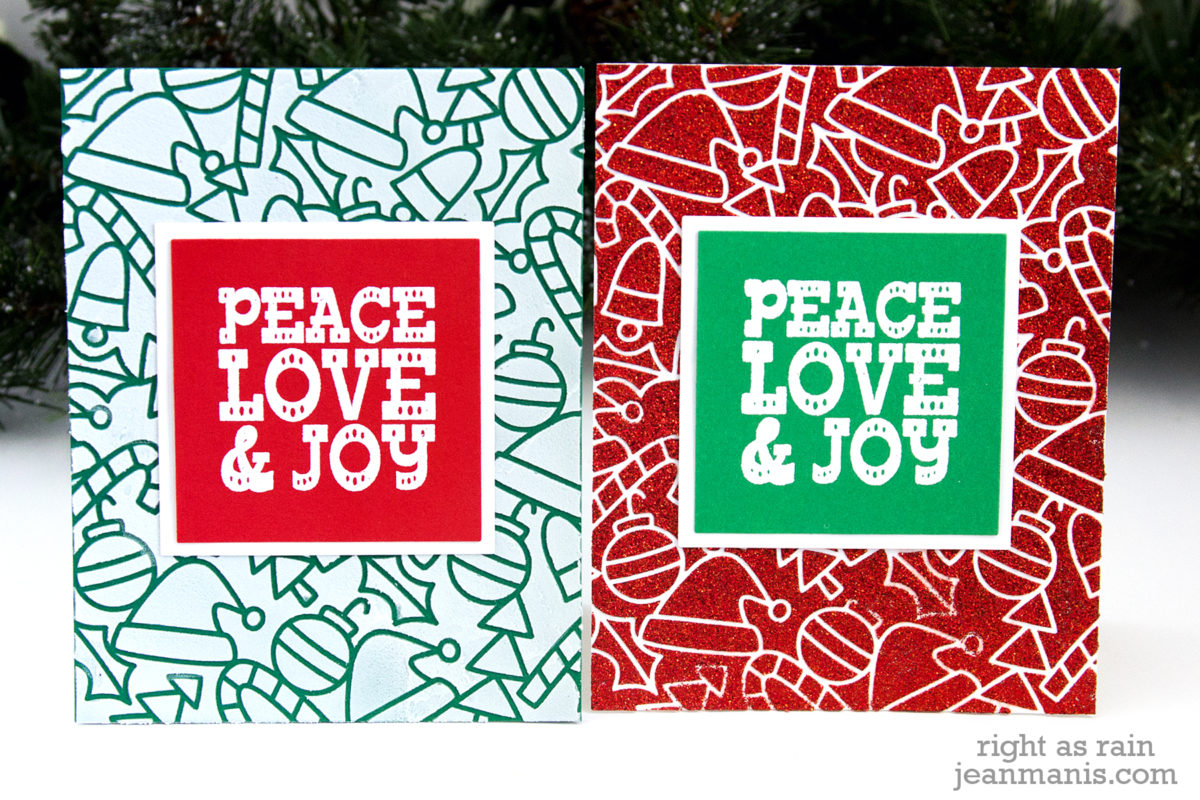
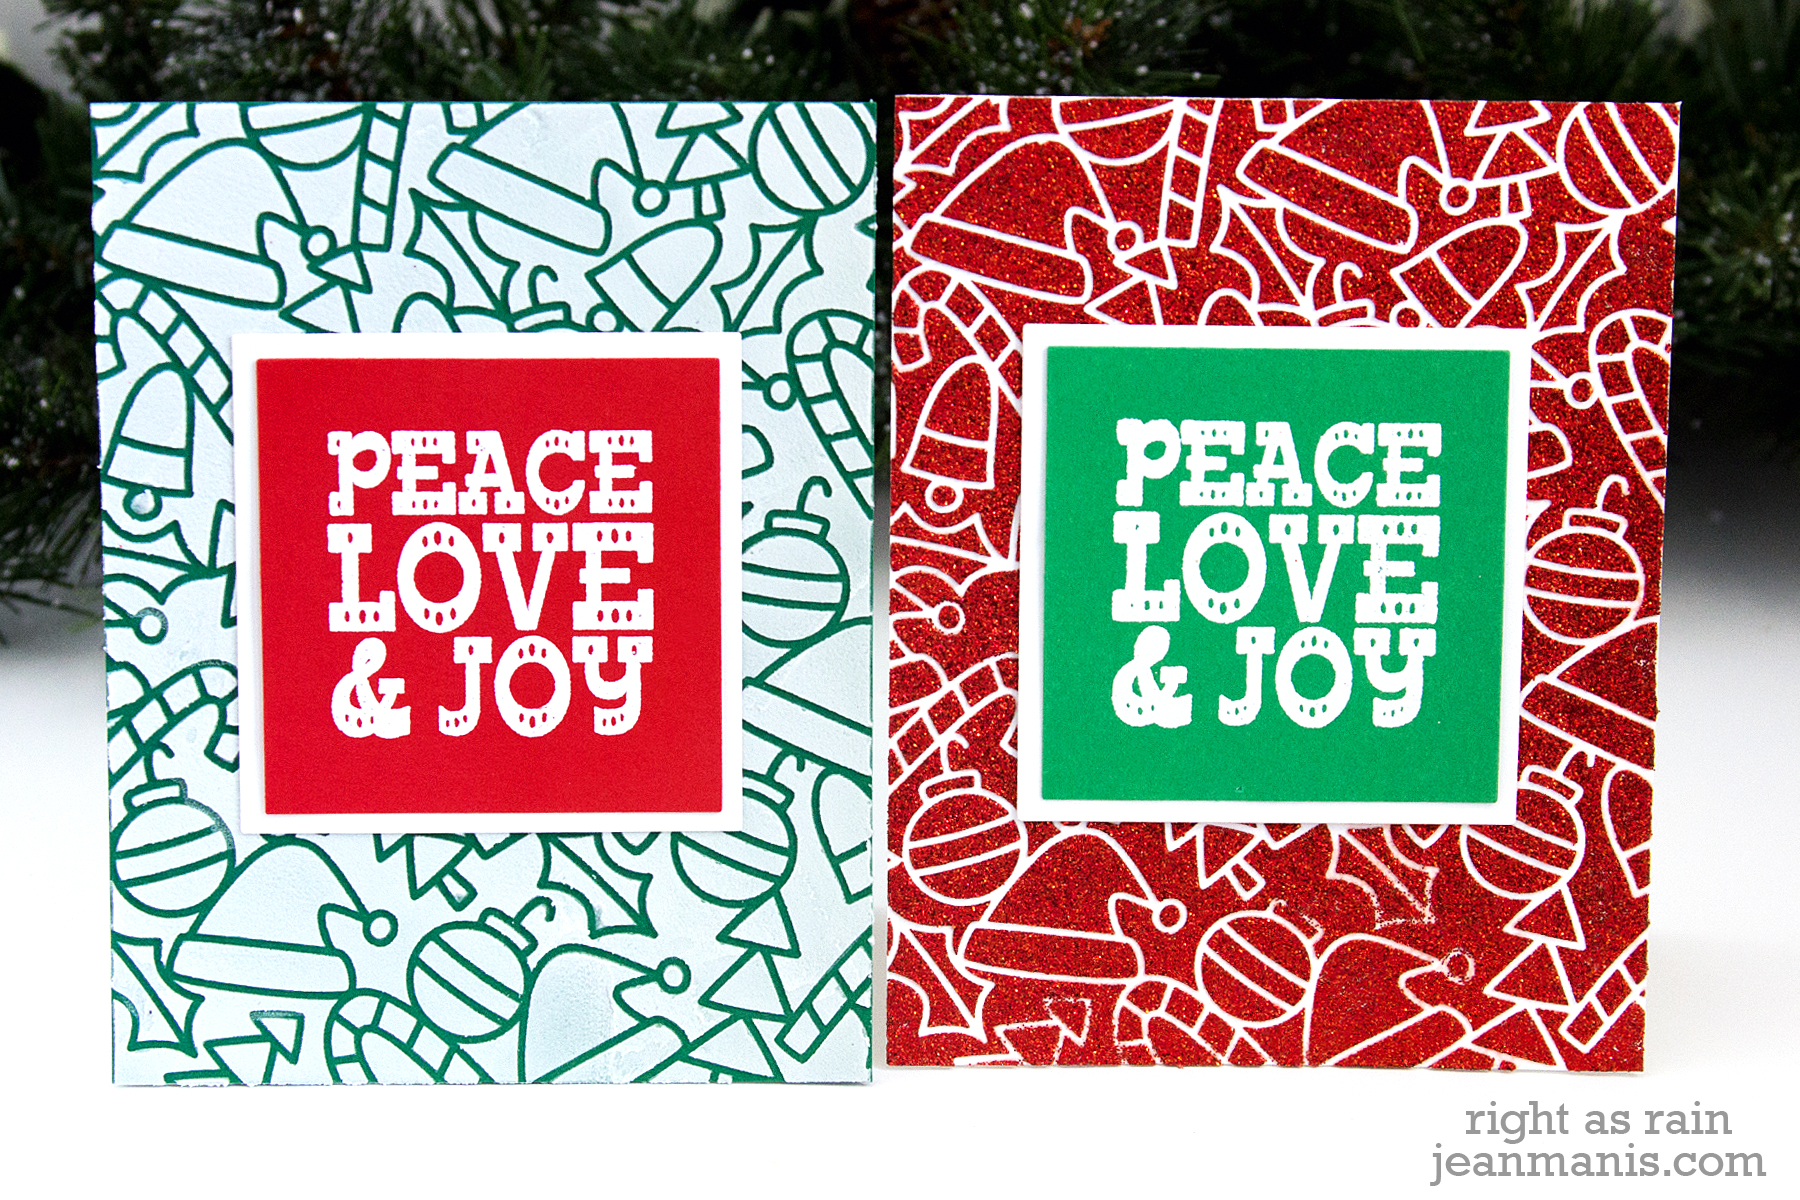
Hello! Today I am sharing two CAS Christmas cards, of the same design, featuring the Pretty Pink Posh Whimsical Christmas stencil.

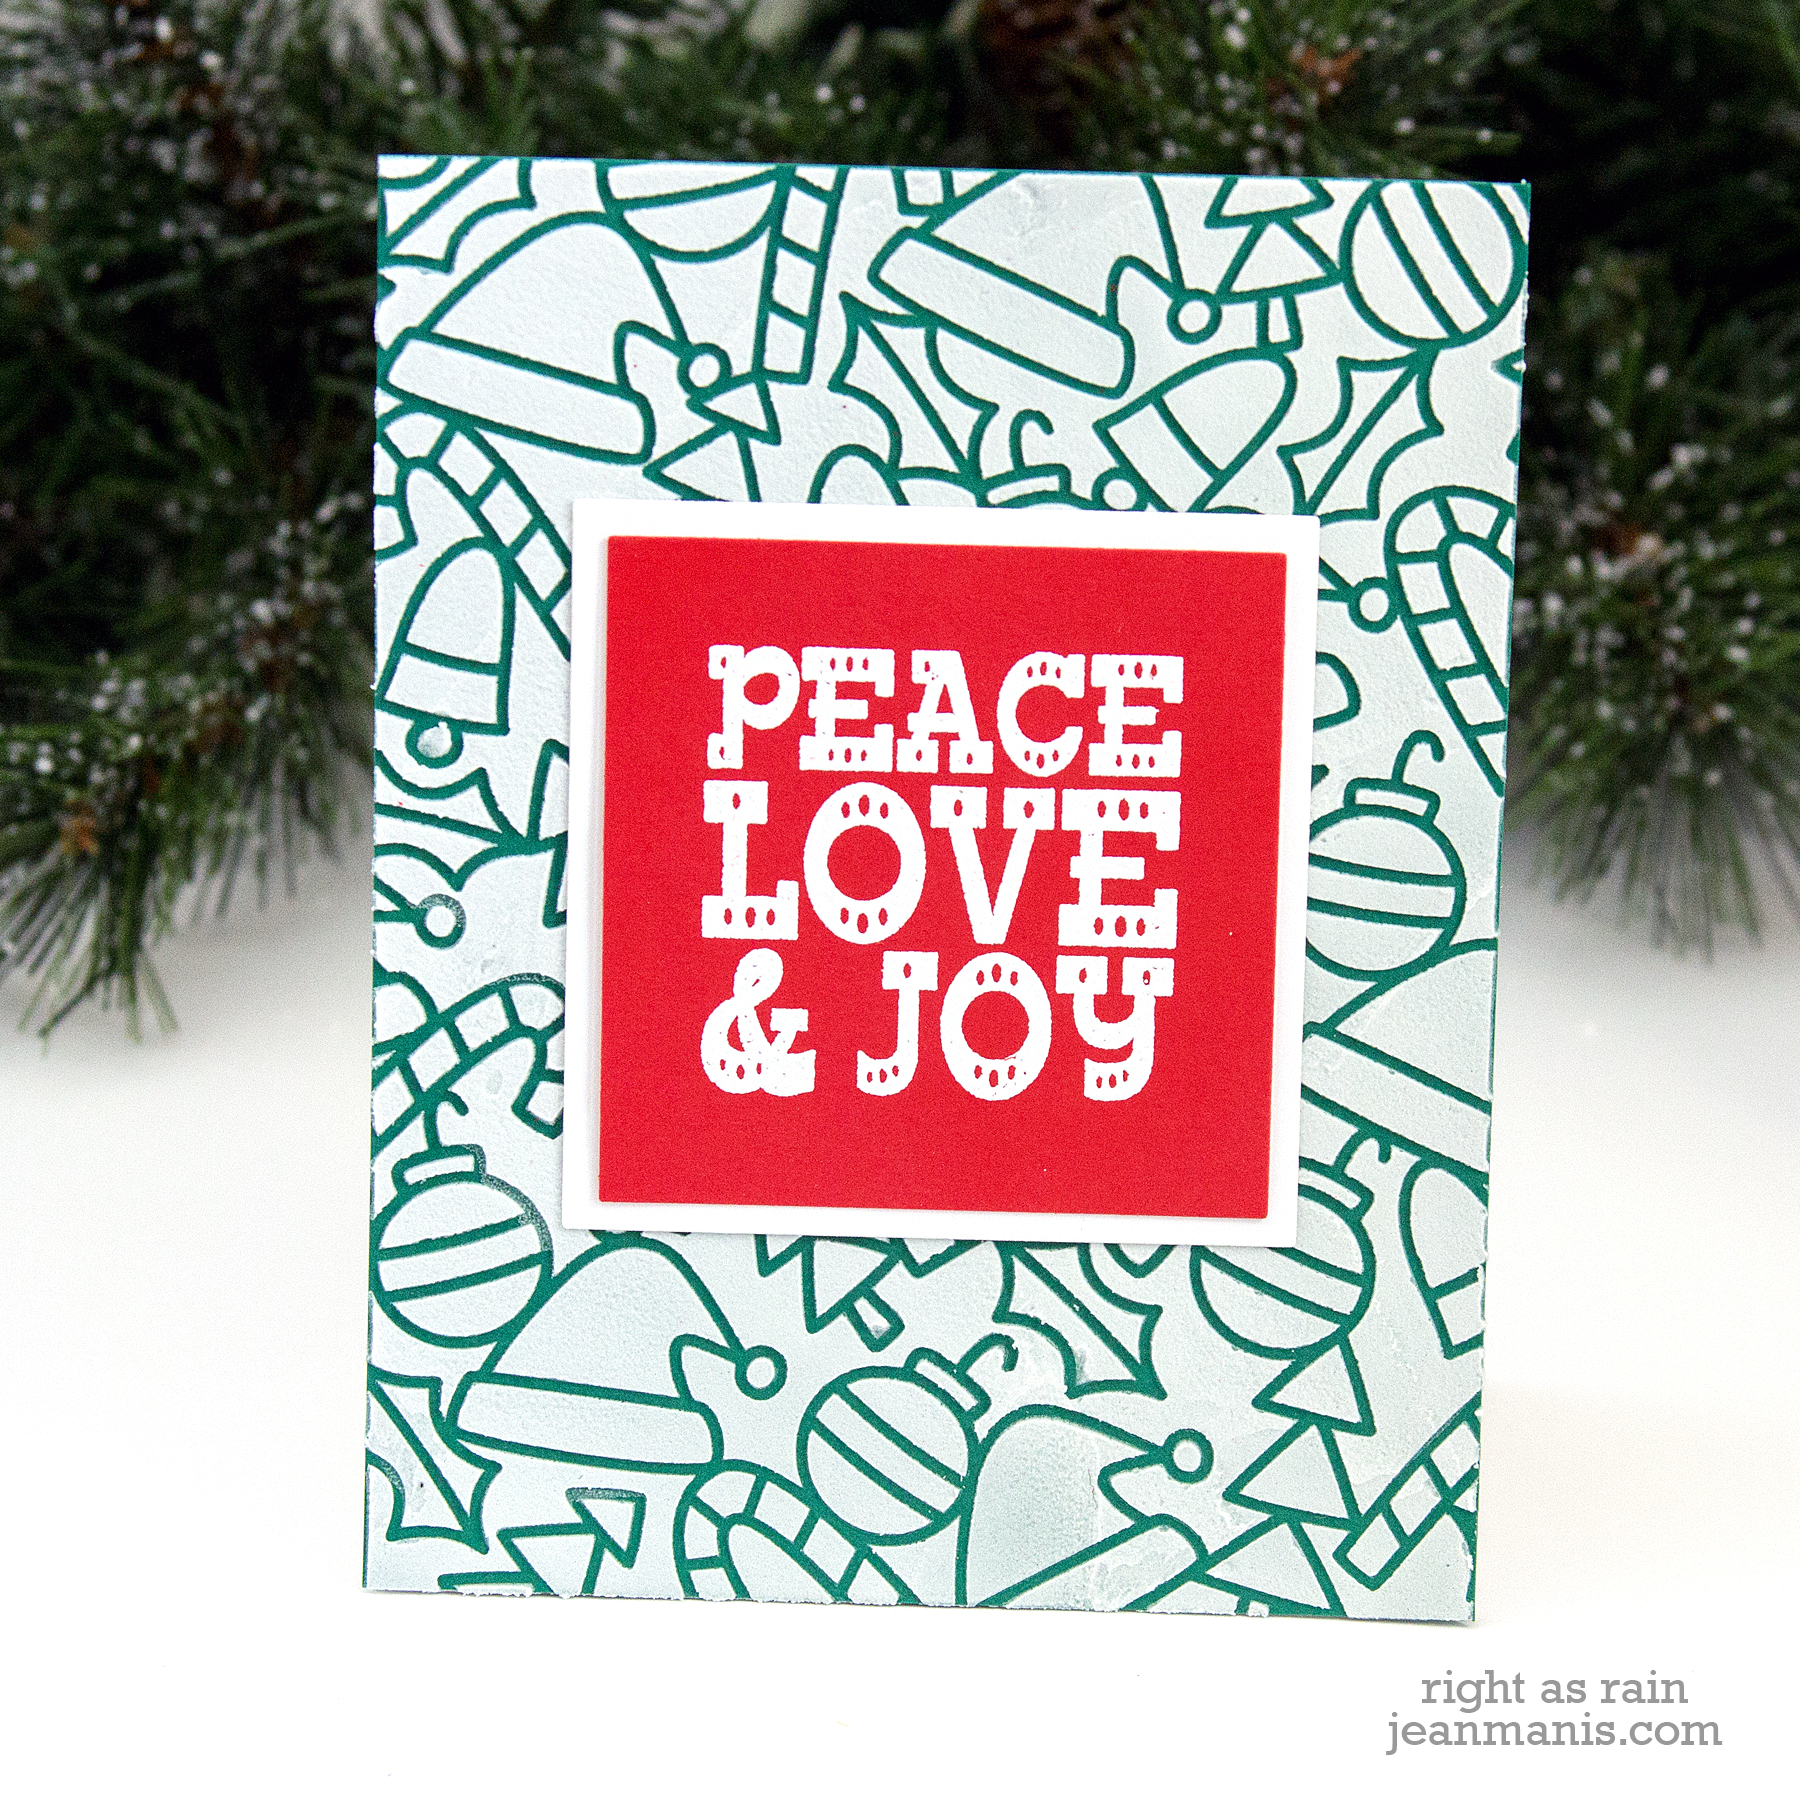
On the first version (left in the above image), I applied embossing paste through the stencil on to green cardstock. I heat-embossed a sentiment from the now-retired Avery Elle Noel stamp set on to red cardstock, cut with a square die and matted on to a white cardstock square.

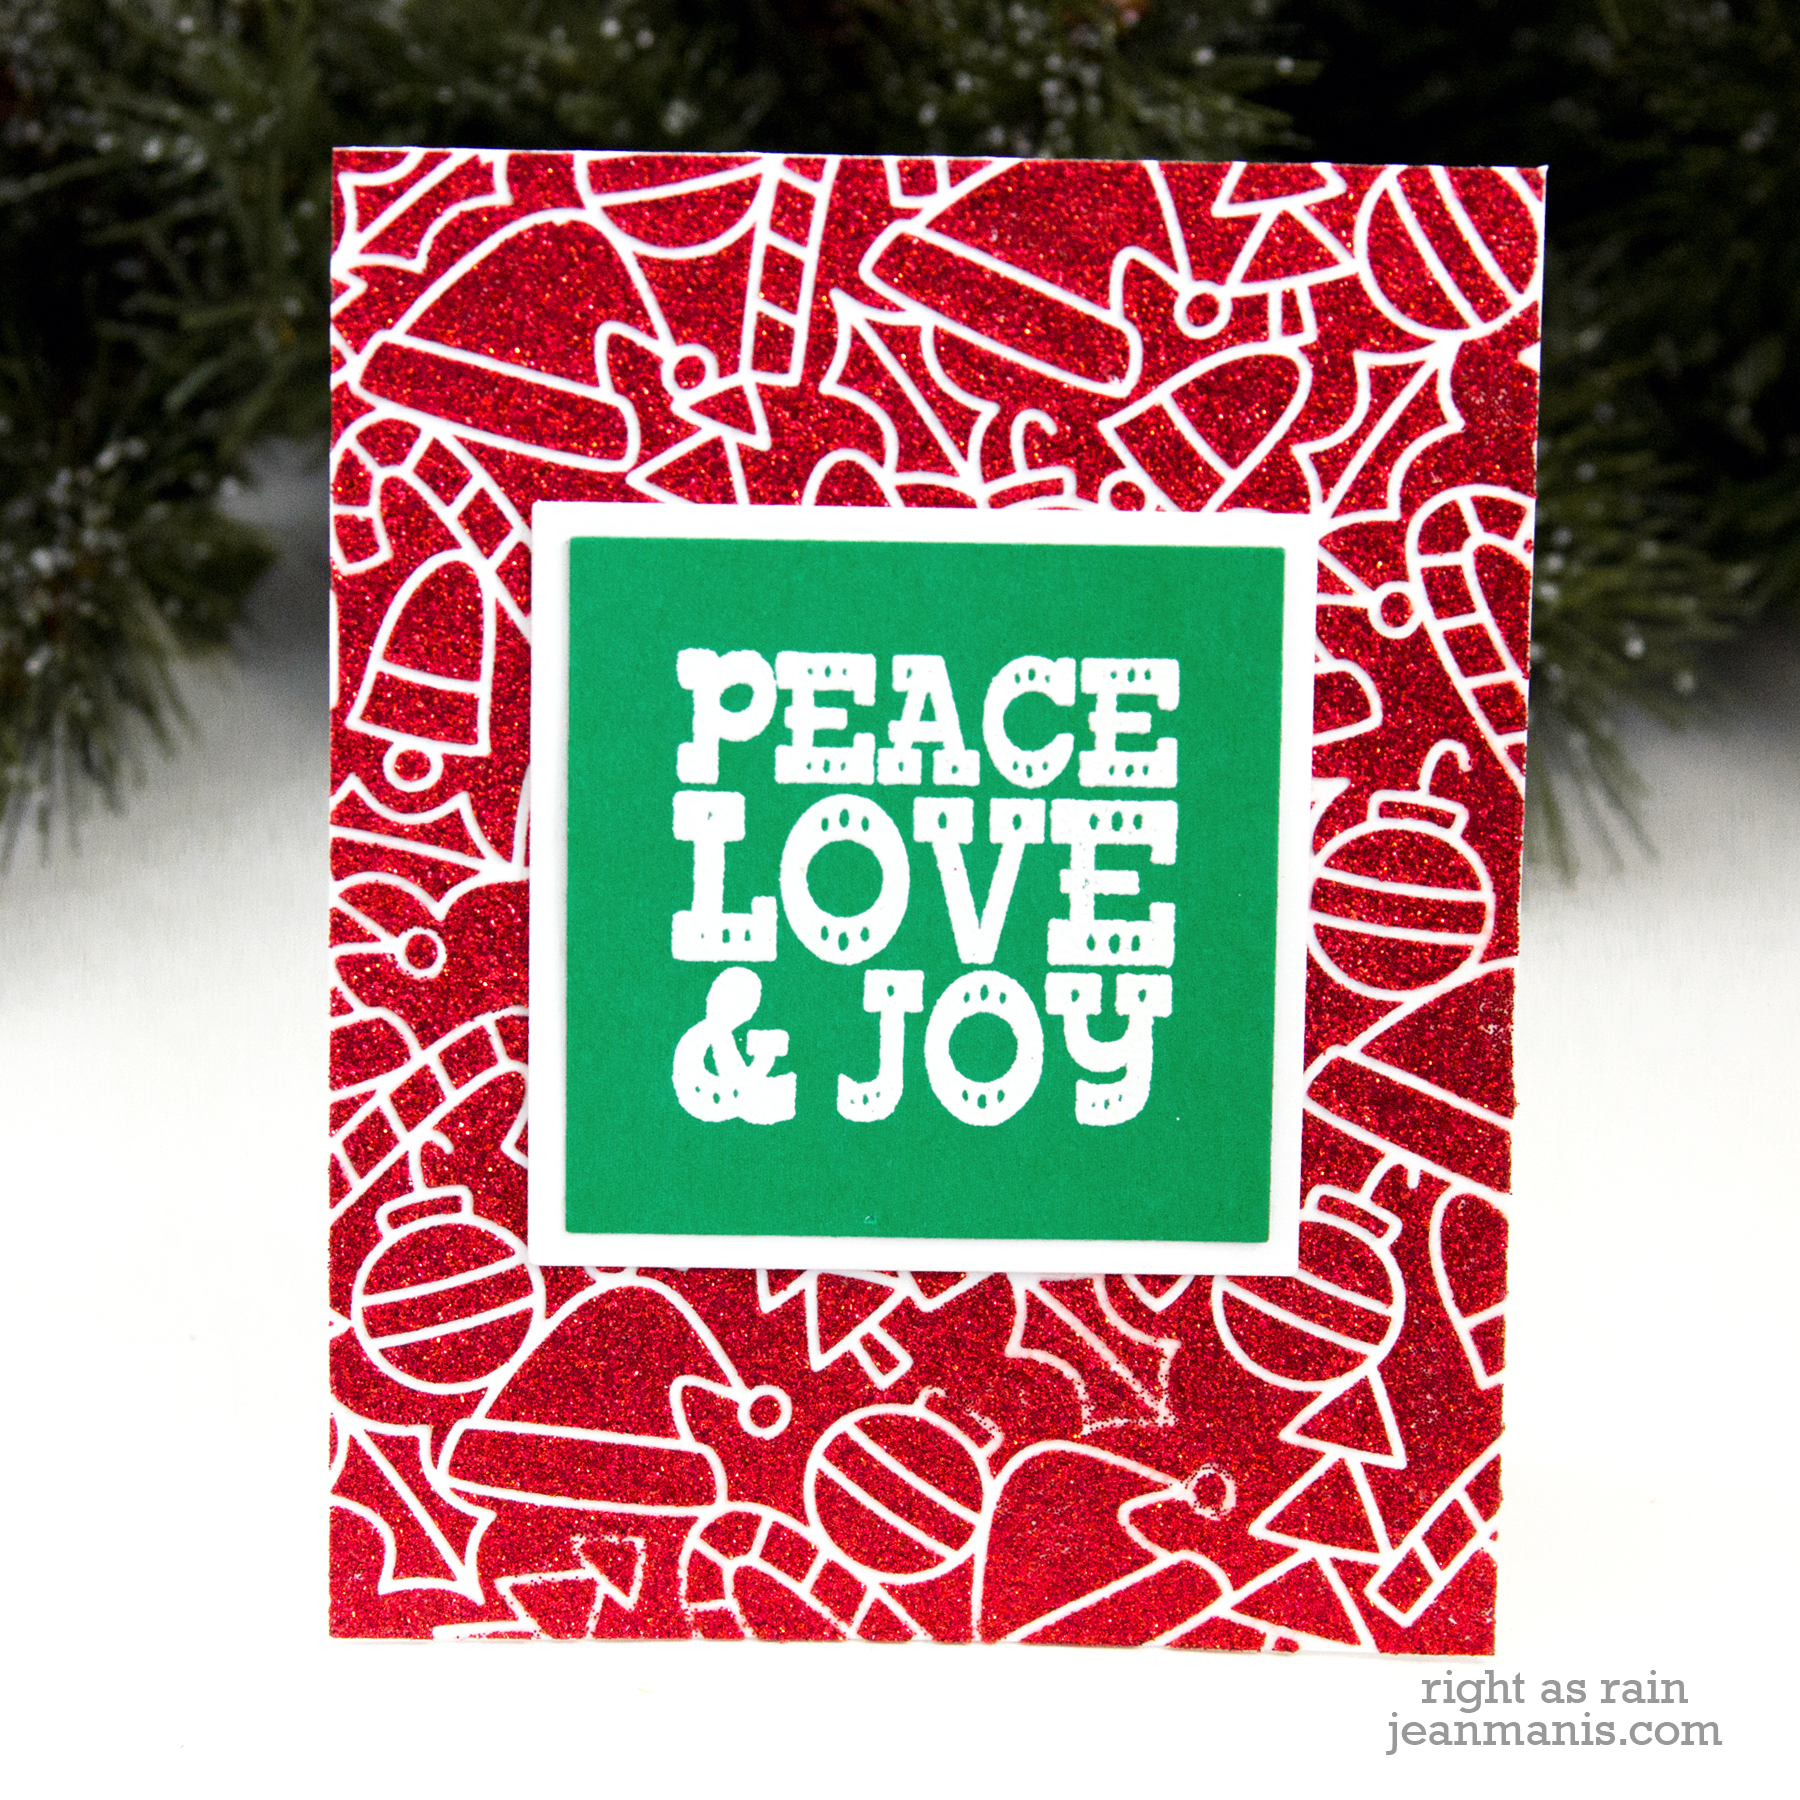
On the second version, I applied Gina K Red Velvet Glitter Gel through the stencil. I heat-embossed the same sentiment on to green cardstock to contrast with the red.

This stencil has a fair amount of open area. The embossing paste is stiffer than the glitter gel and was easier to apply, given all of the open area.

Supplies:

CAS Christmas Stencil Card

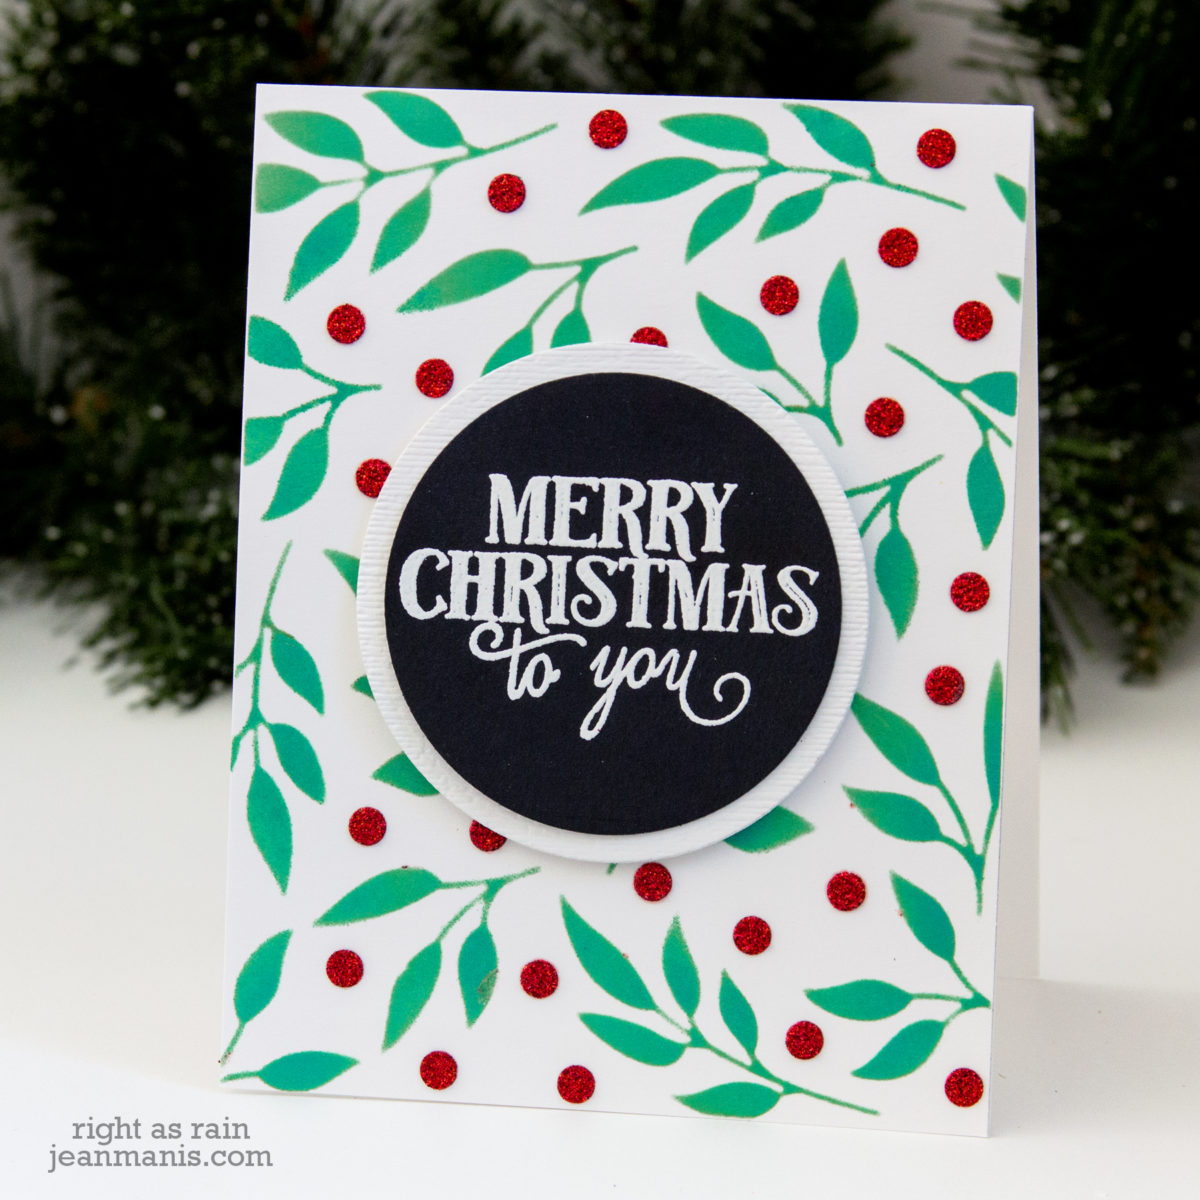
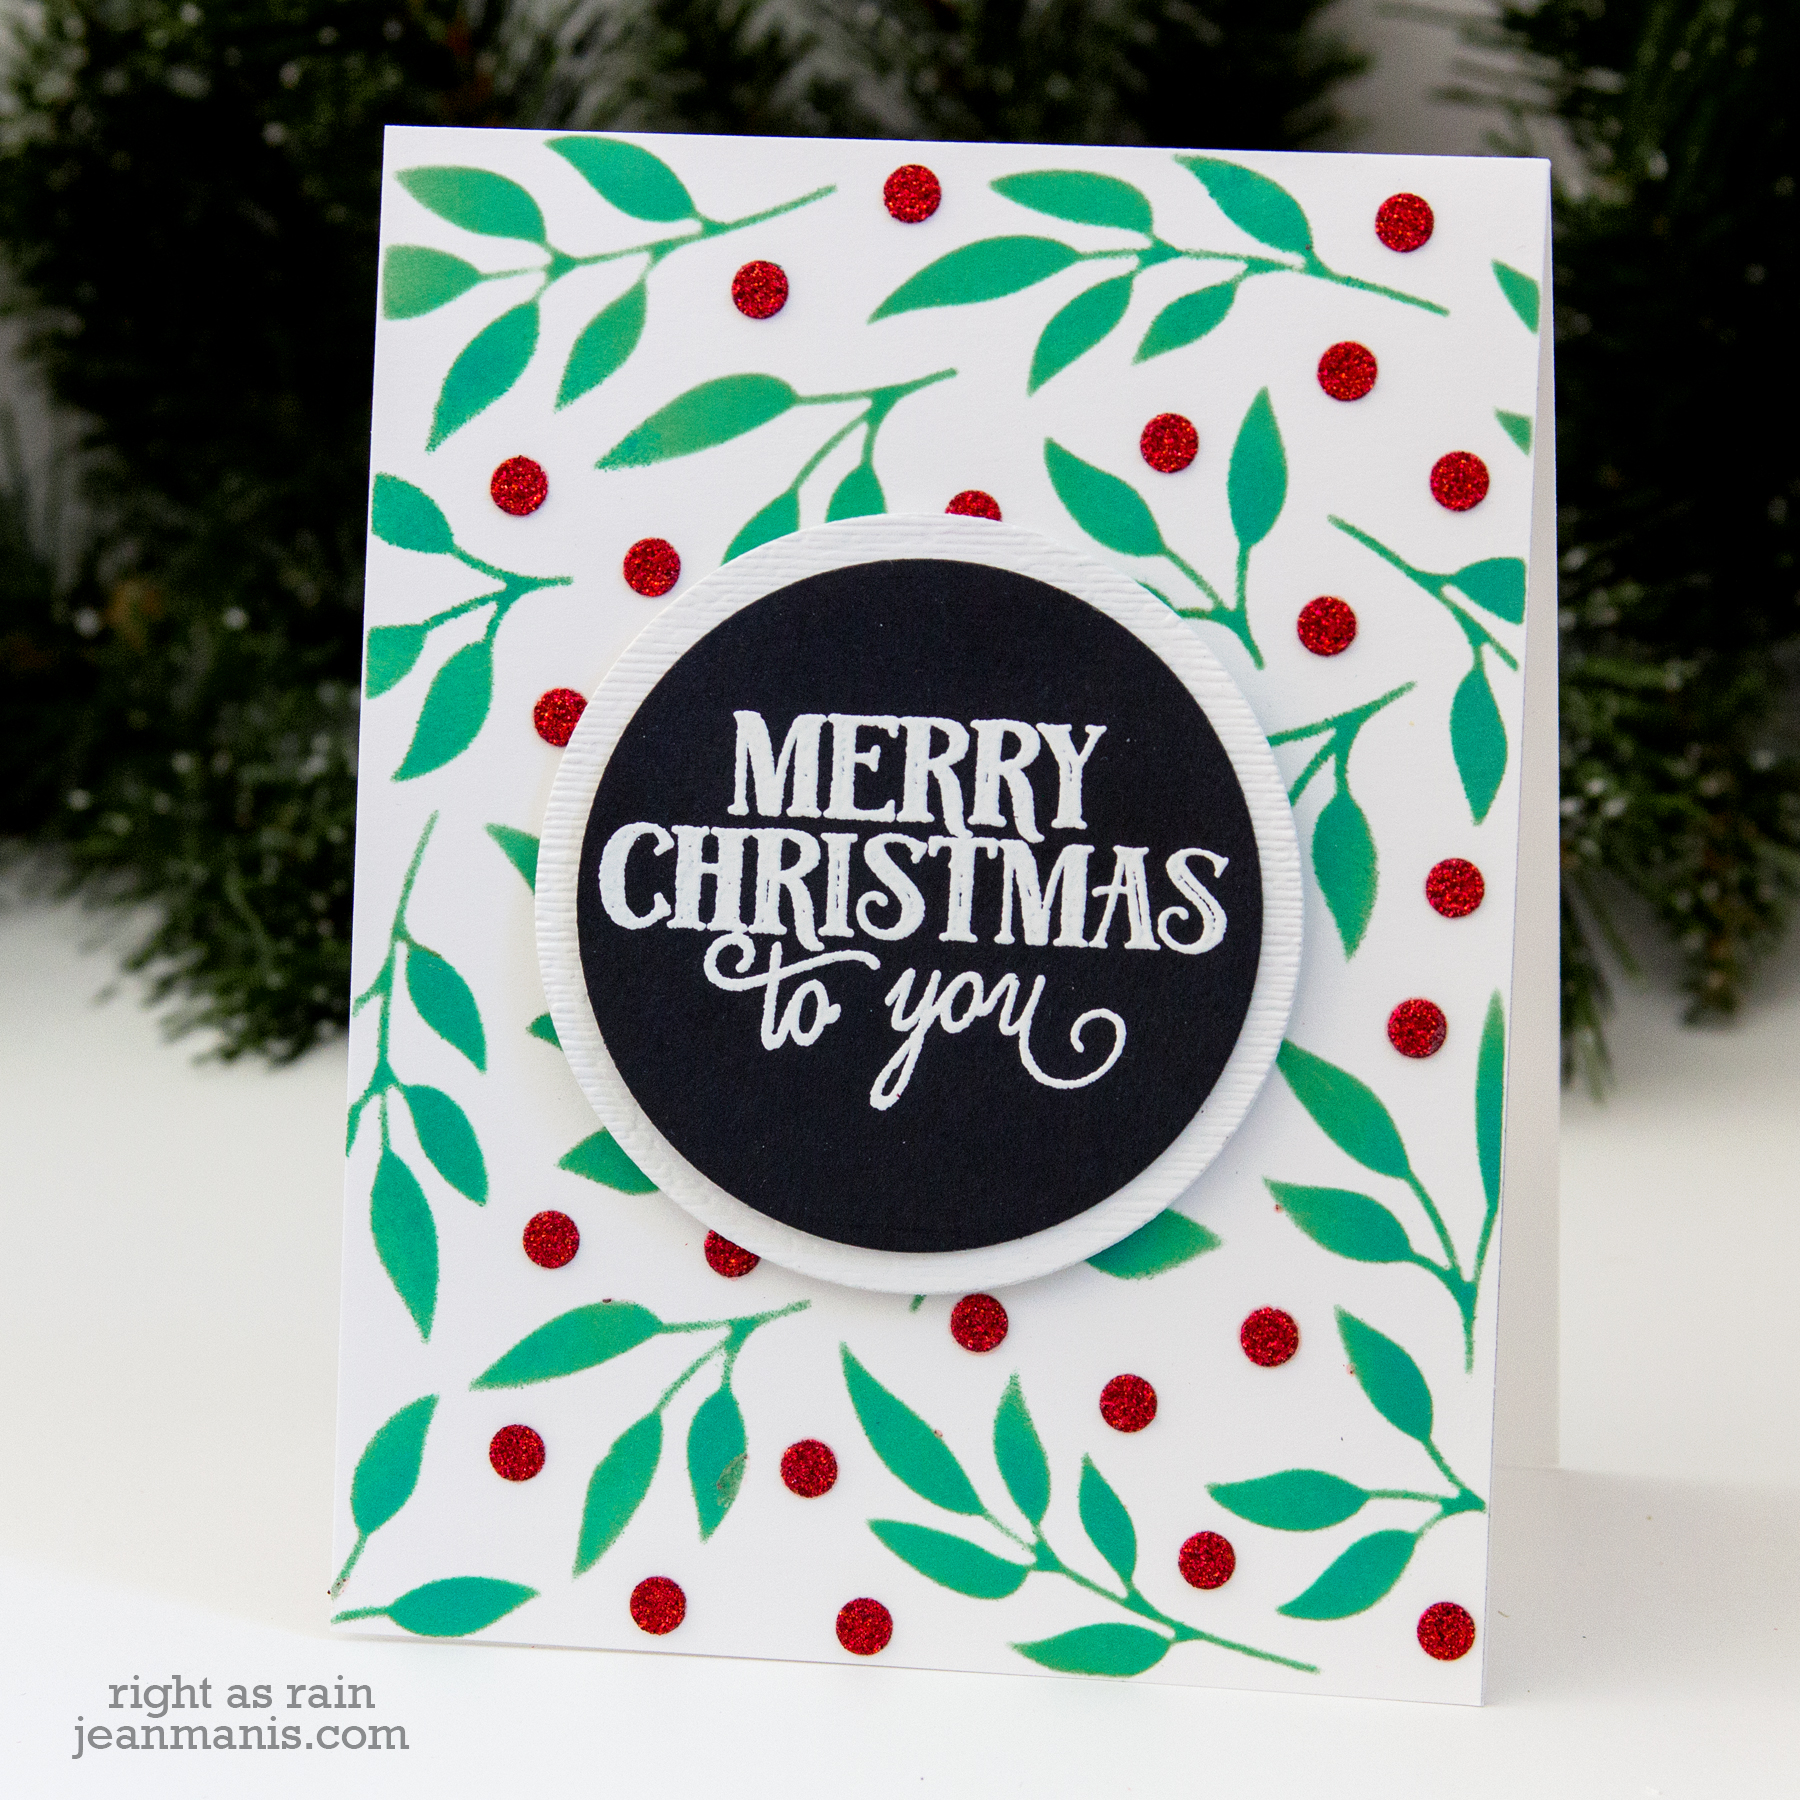
Hello! The moment I saw sneak peeks of the Pretty Pink Posh Leaves and Berries stencil, I was intrigued. Today, I am sharing an easy CAS Christmas card showcasing the stencil.

CAS Christmas Stencil Card

  • I cut the white cardstock to A2 size. I placed a loop of washi tape on the back to adhere the panel to my Ranger mat.
  • I placed the stencil over the cardstock and masked off the leaves with washi tape.
  • I applied the red Gina K glitter gel through the stencil and let the panel dry overnight.
  • I placed the stencil back over the panel (using the berries for alignment), masked off the berries, and applied Lucky Clover ink with a sponge dauber through the stencil.
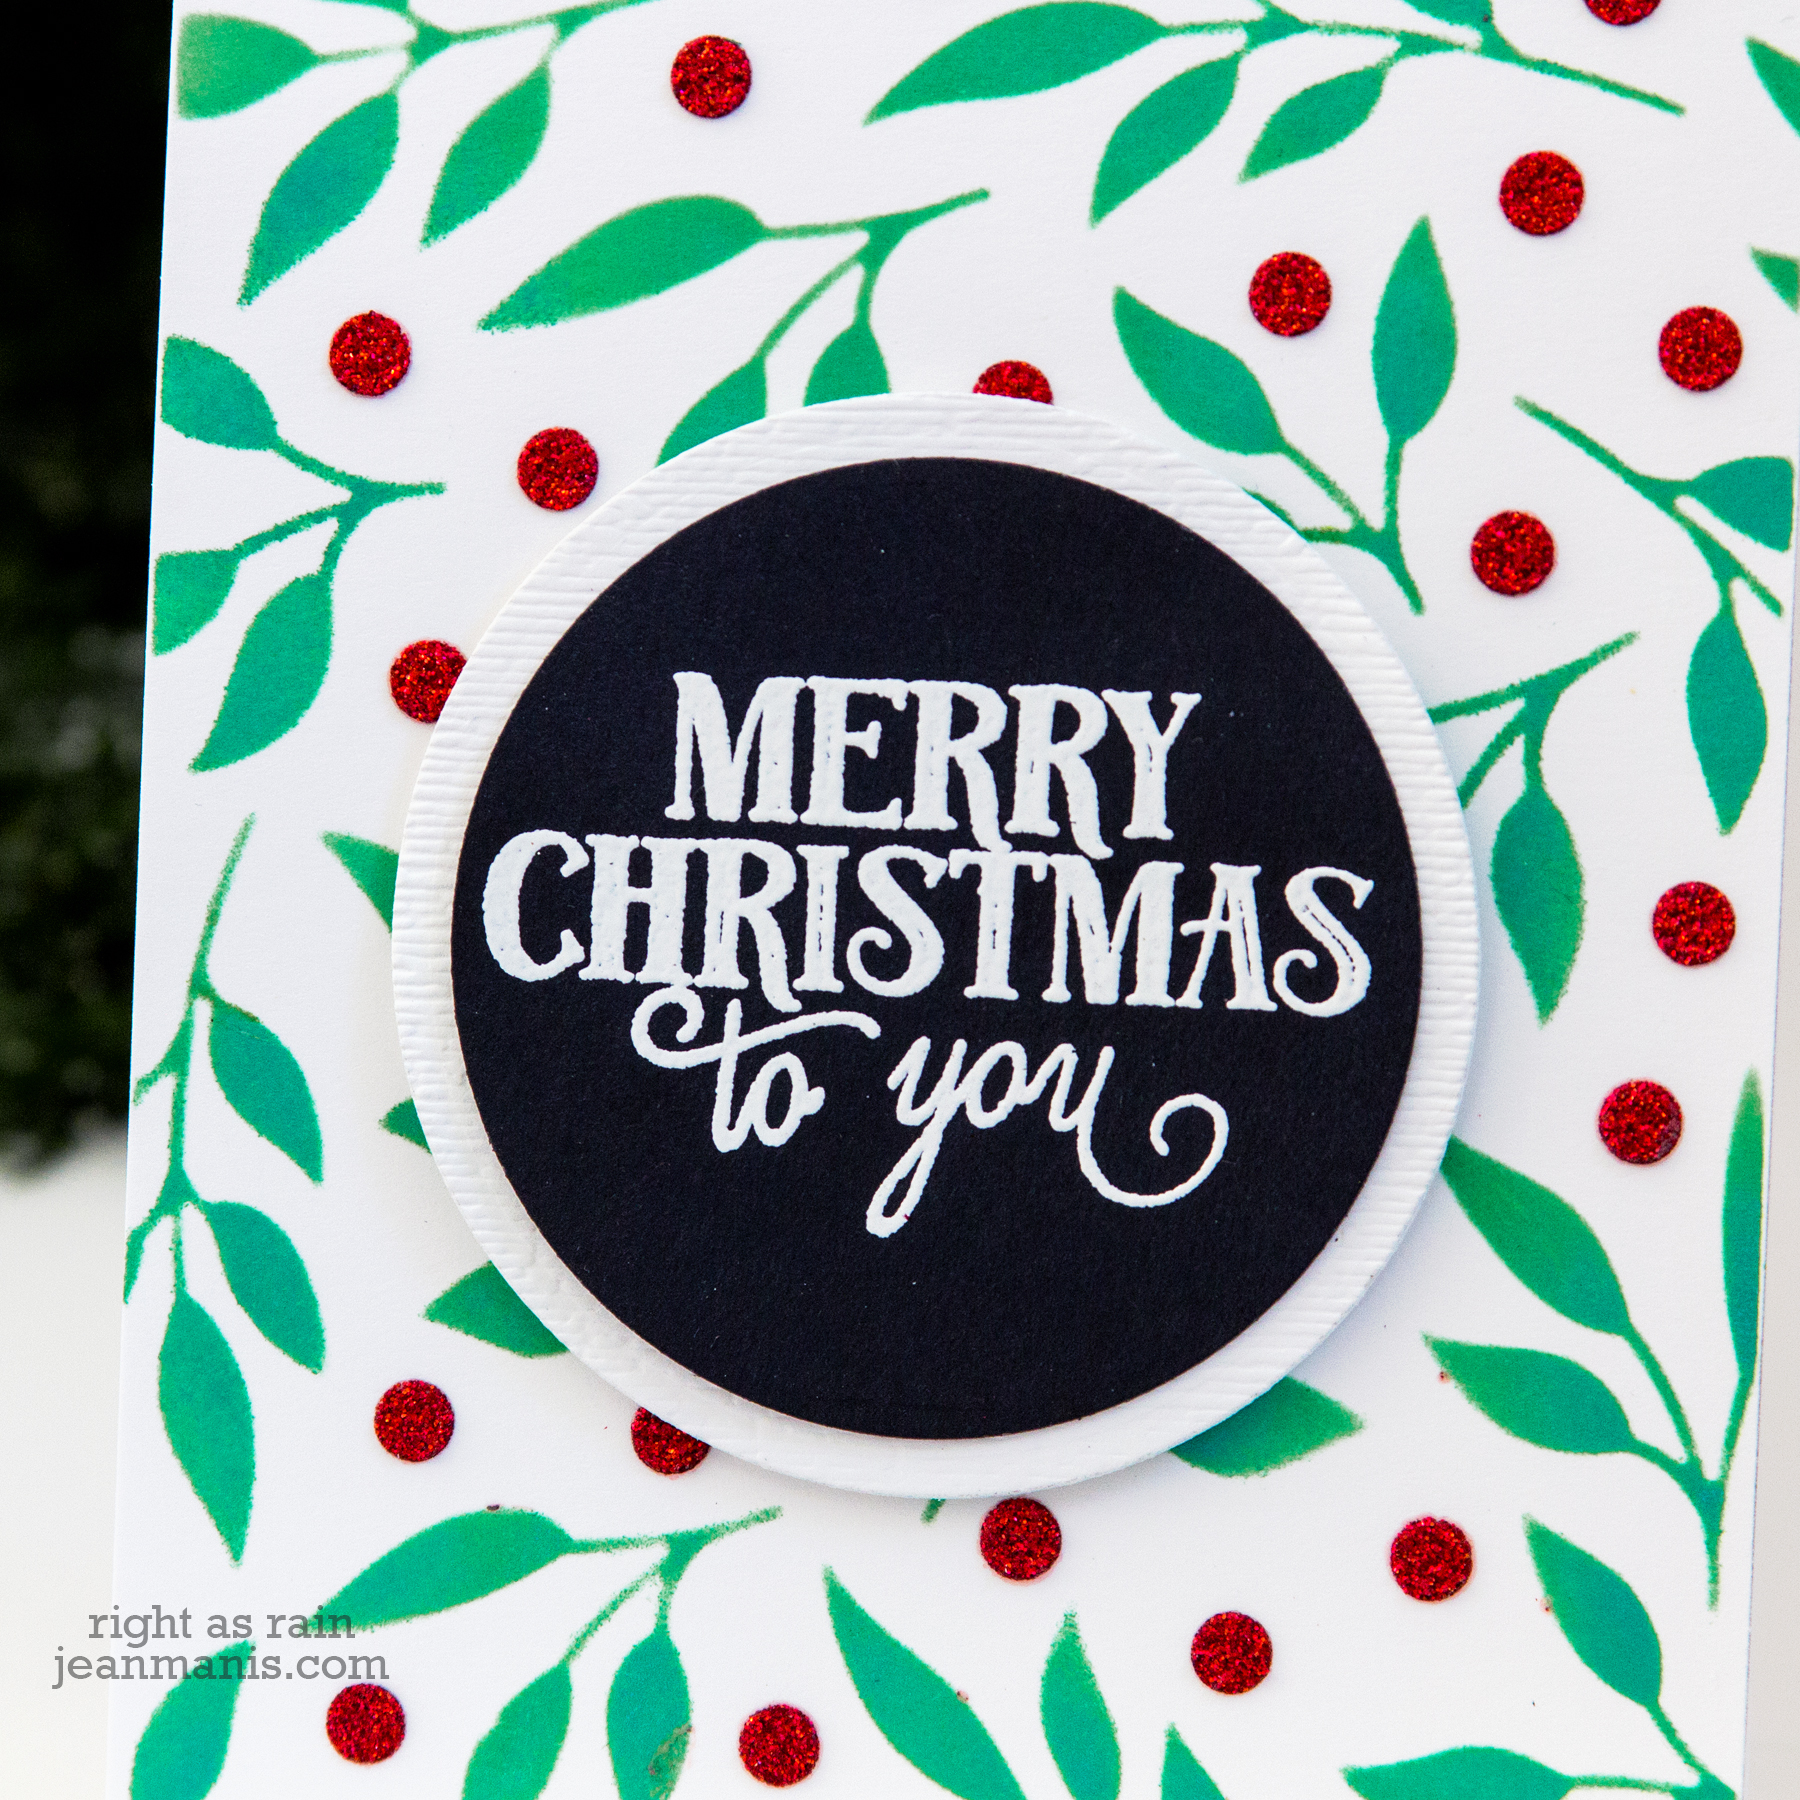
  • I white heat-embossed the Avery Elle sentiment (from the Noel stamp set, now retired) on black cardstock. Then, I cut the sentiment with a circle die and added a slightly larger white cardstock circle as a mat. I dry-embossed the white circle with the Stampin’ Up Subtle embossing folder.
  • The assembled circles were added to the stenciled card base with foam adhesive.

CAS Christmas Stencil Card

I’ve purchased the Gina K glitter gel in green as well, and at a future point I may use that product for the leaves.

Supplies: