Crafting Warmth | Impression Obsession Plaid Thermos

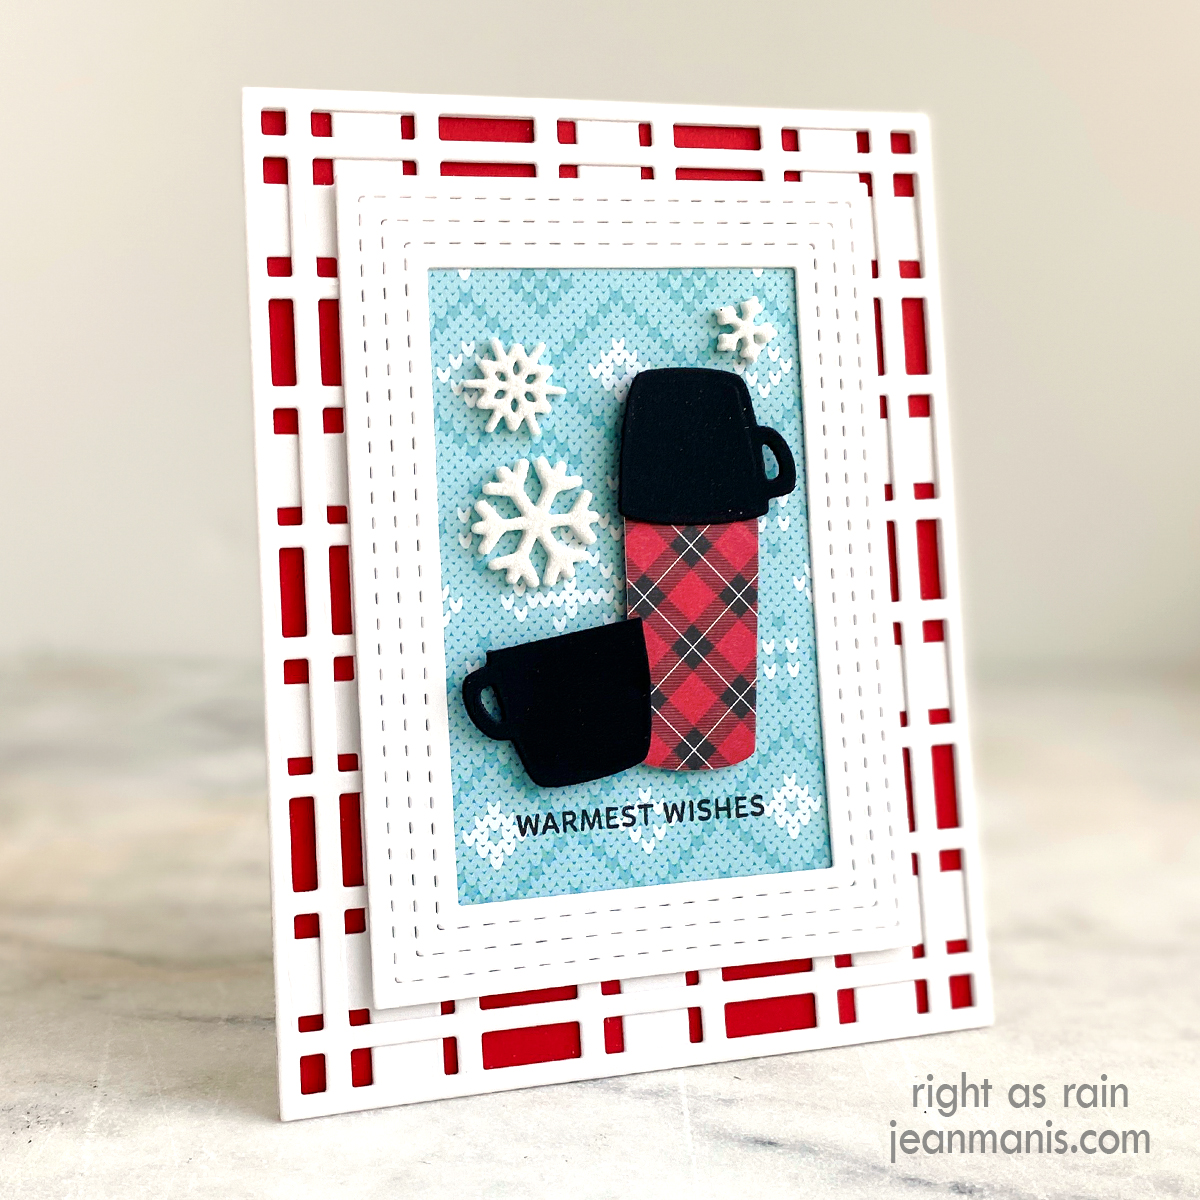
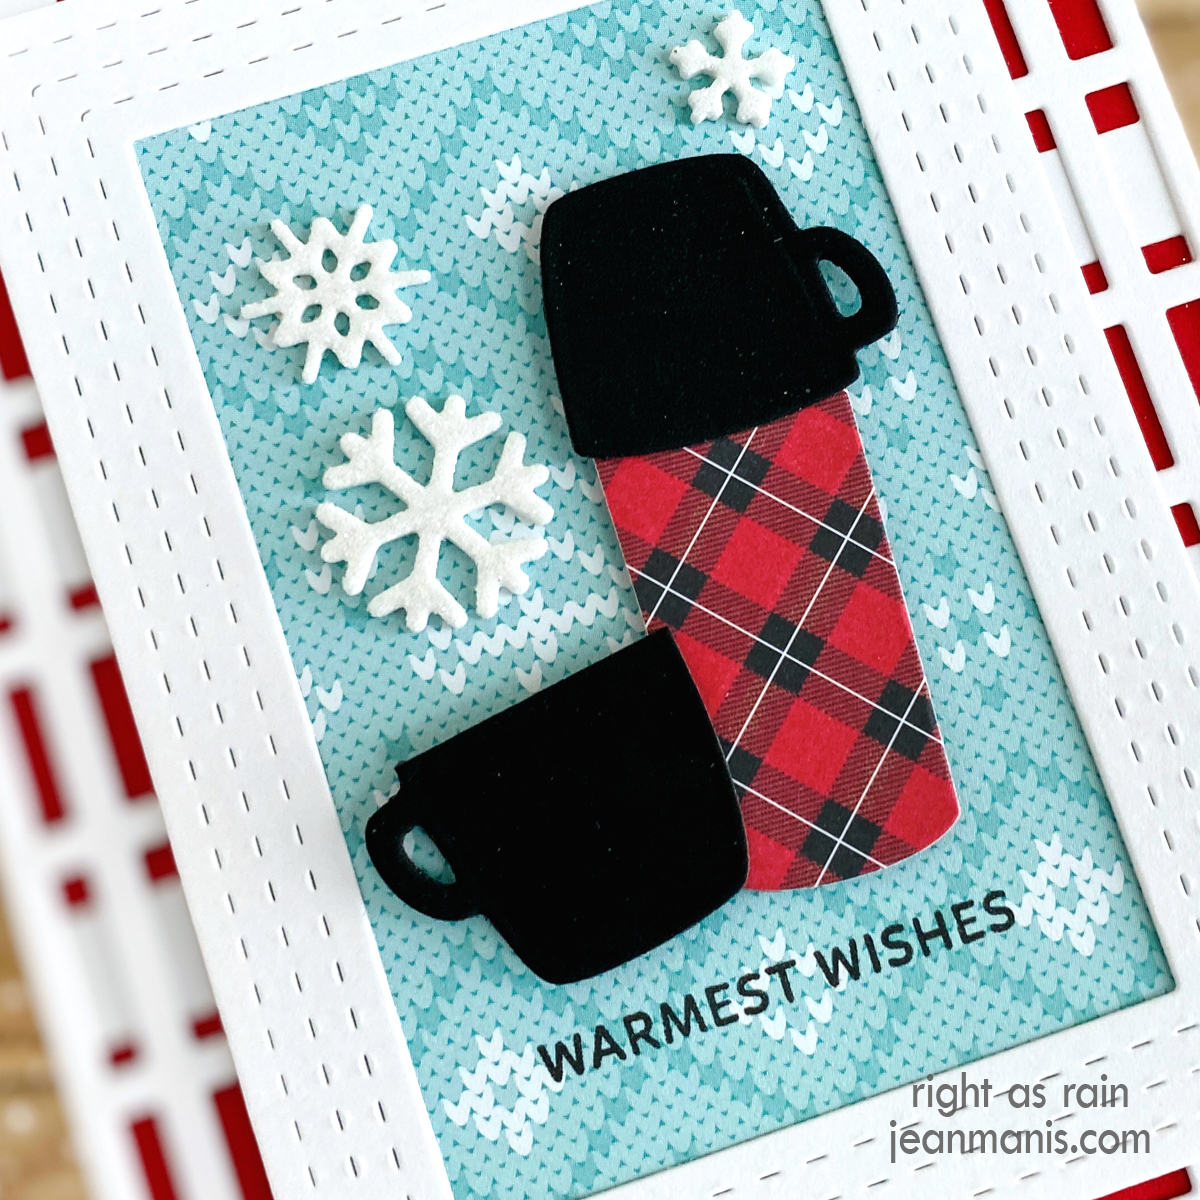
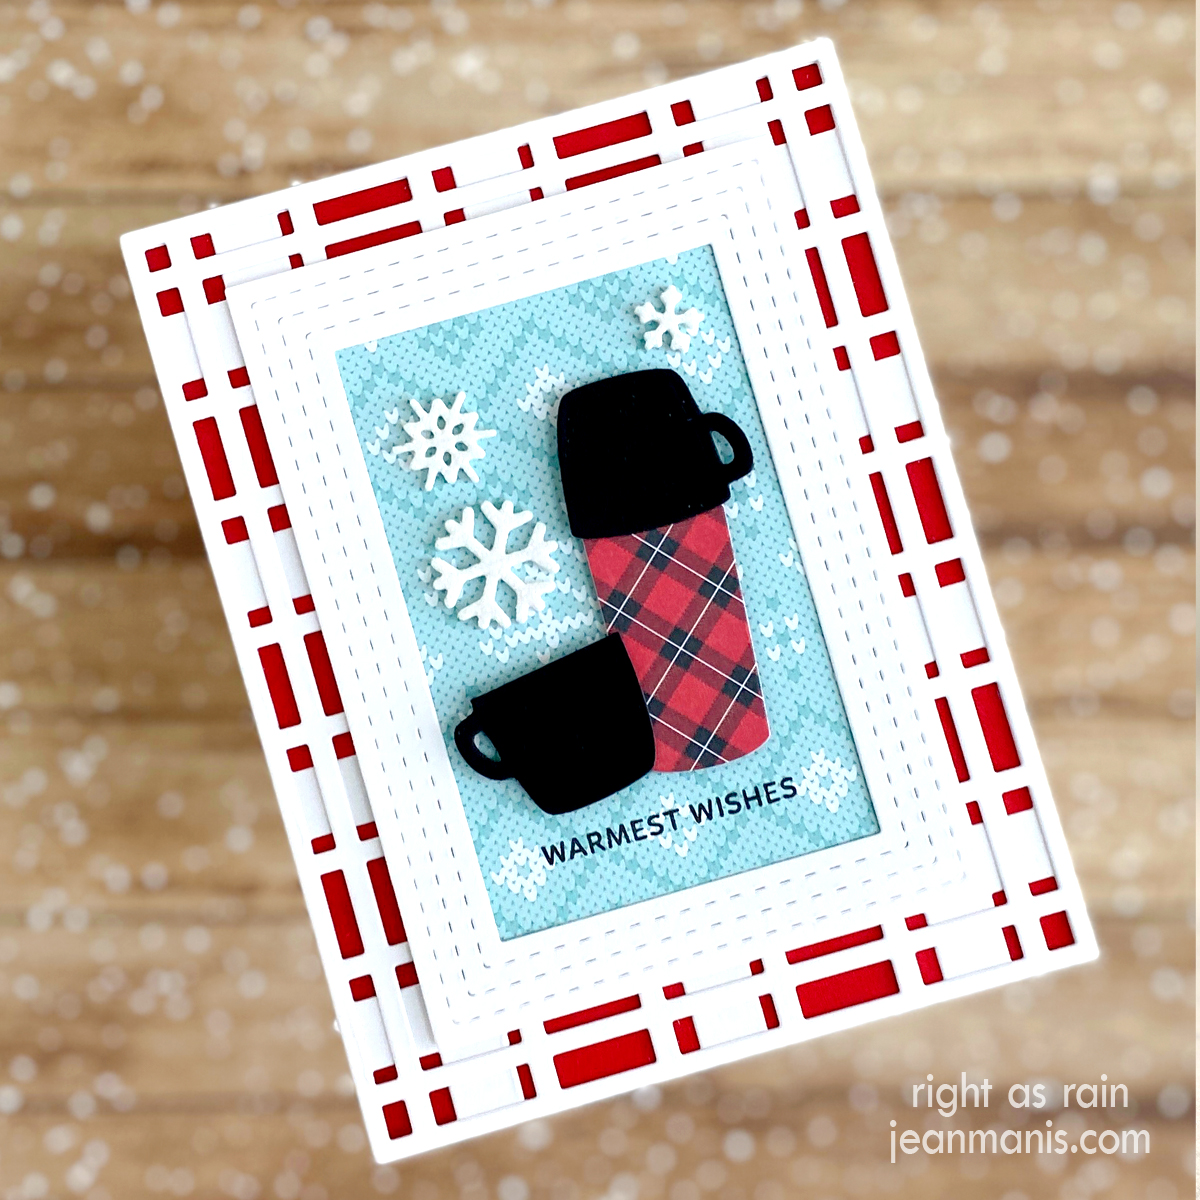
Hello! As I mentioned HERE, I am looking to extend the use of my winter-themed supplies beyond the holidays. Today, I am sharing a card that features a charming plaid vintage thermos and cup, cut with the Impression Obsession Thermos die set. Send your “Warmest Wishes” with this versatile winter-themed card that transcends holiday cheer, celebrating the timeless beauty of coziness and connection.
Crafting Warmth | Impression Obsession Plaid Thermos

We owned a plaid thermos that looked very similar to the one I crafted. You can read about the Thermos company HERE. I talk about my enthusiasm for creating cards with a hot beverage theme HERE.

  • To create the background, I cut white cardstock with the Reverse Confetti Plaid Lines – Small and Plaid Lines – Big cover plate dies. I rediscovered these two dies after writing a post on cover plate dies, which you can read HERE. I added the two die-cut pieces to a card base covered with Fun Stampers Journey Cranberry Bliss cardstock.
  • I cut the Thermos from plaid patterned paper and black chalkboard cardstock. I trimmed the Thermos body off a bit and adhered a black mug to its top. For the other mug, I trimmed off the round top.
  • I stamped the Pretty Pink Posh Sentiment Strips Christmas sentiment on to patterned paper (I do not know whose). I trimmed the panel and added a frame cut with the Revere Confetti Stitched Notes & Frames die set. I added the assembly to the card base.
  • I added the Thermos and mug to the card with foam adhesive and embellished with snowflakes cut from white glitter foam with the Lawn Fawn Mini Snowflakes die set.
Crafting Warmth | Impression Obsession Plaid Thermos

Crafting Warmth | Impression Obsession Plaid Thermos

Memory Box Christmas Plaid patterned paper, Fun Stampers Journey Cranberry Bliss cardstock, SU chalkboard cardstock, Reverse Confetti Plaid Lines – Small and Plaid Lines – Big cover plate dies, Revere Confetti Stitched Notes & Frames die set (frame)

Reverse Confetti Stock Your Stash Challenge – Thank You

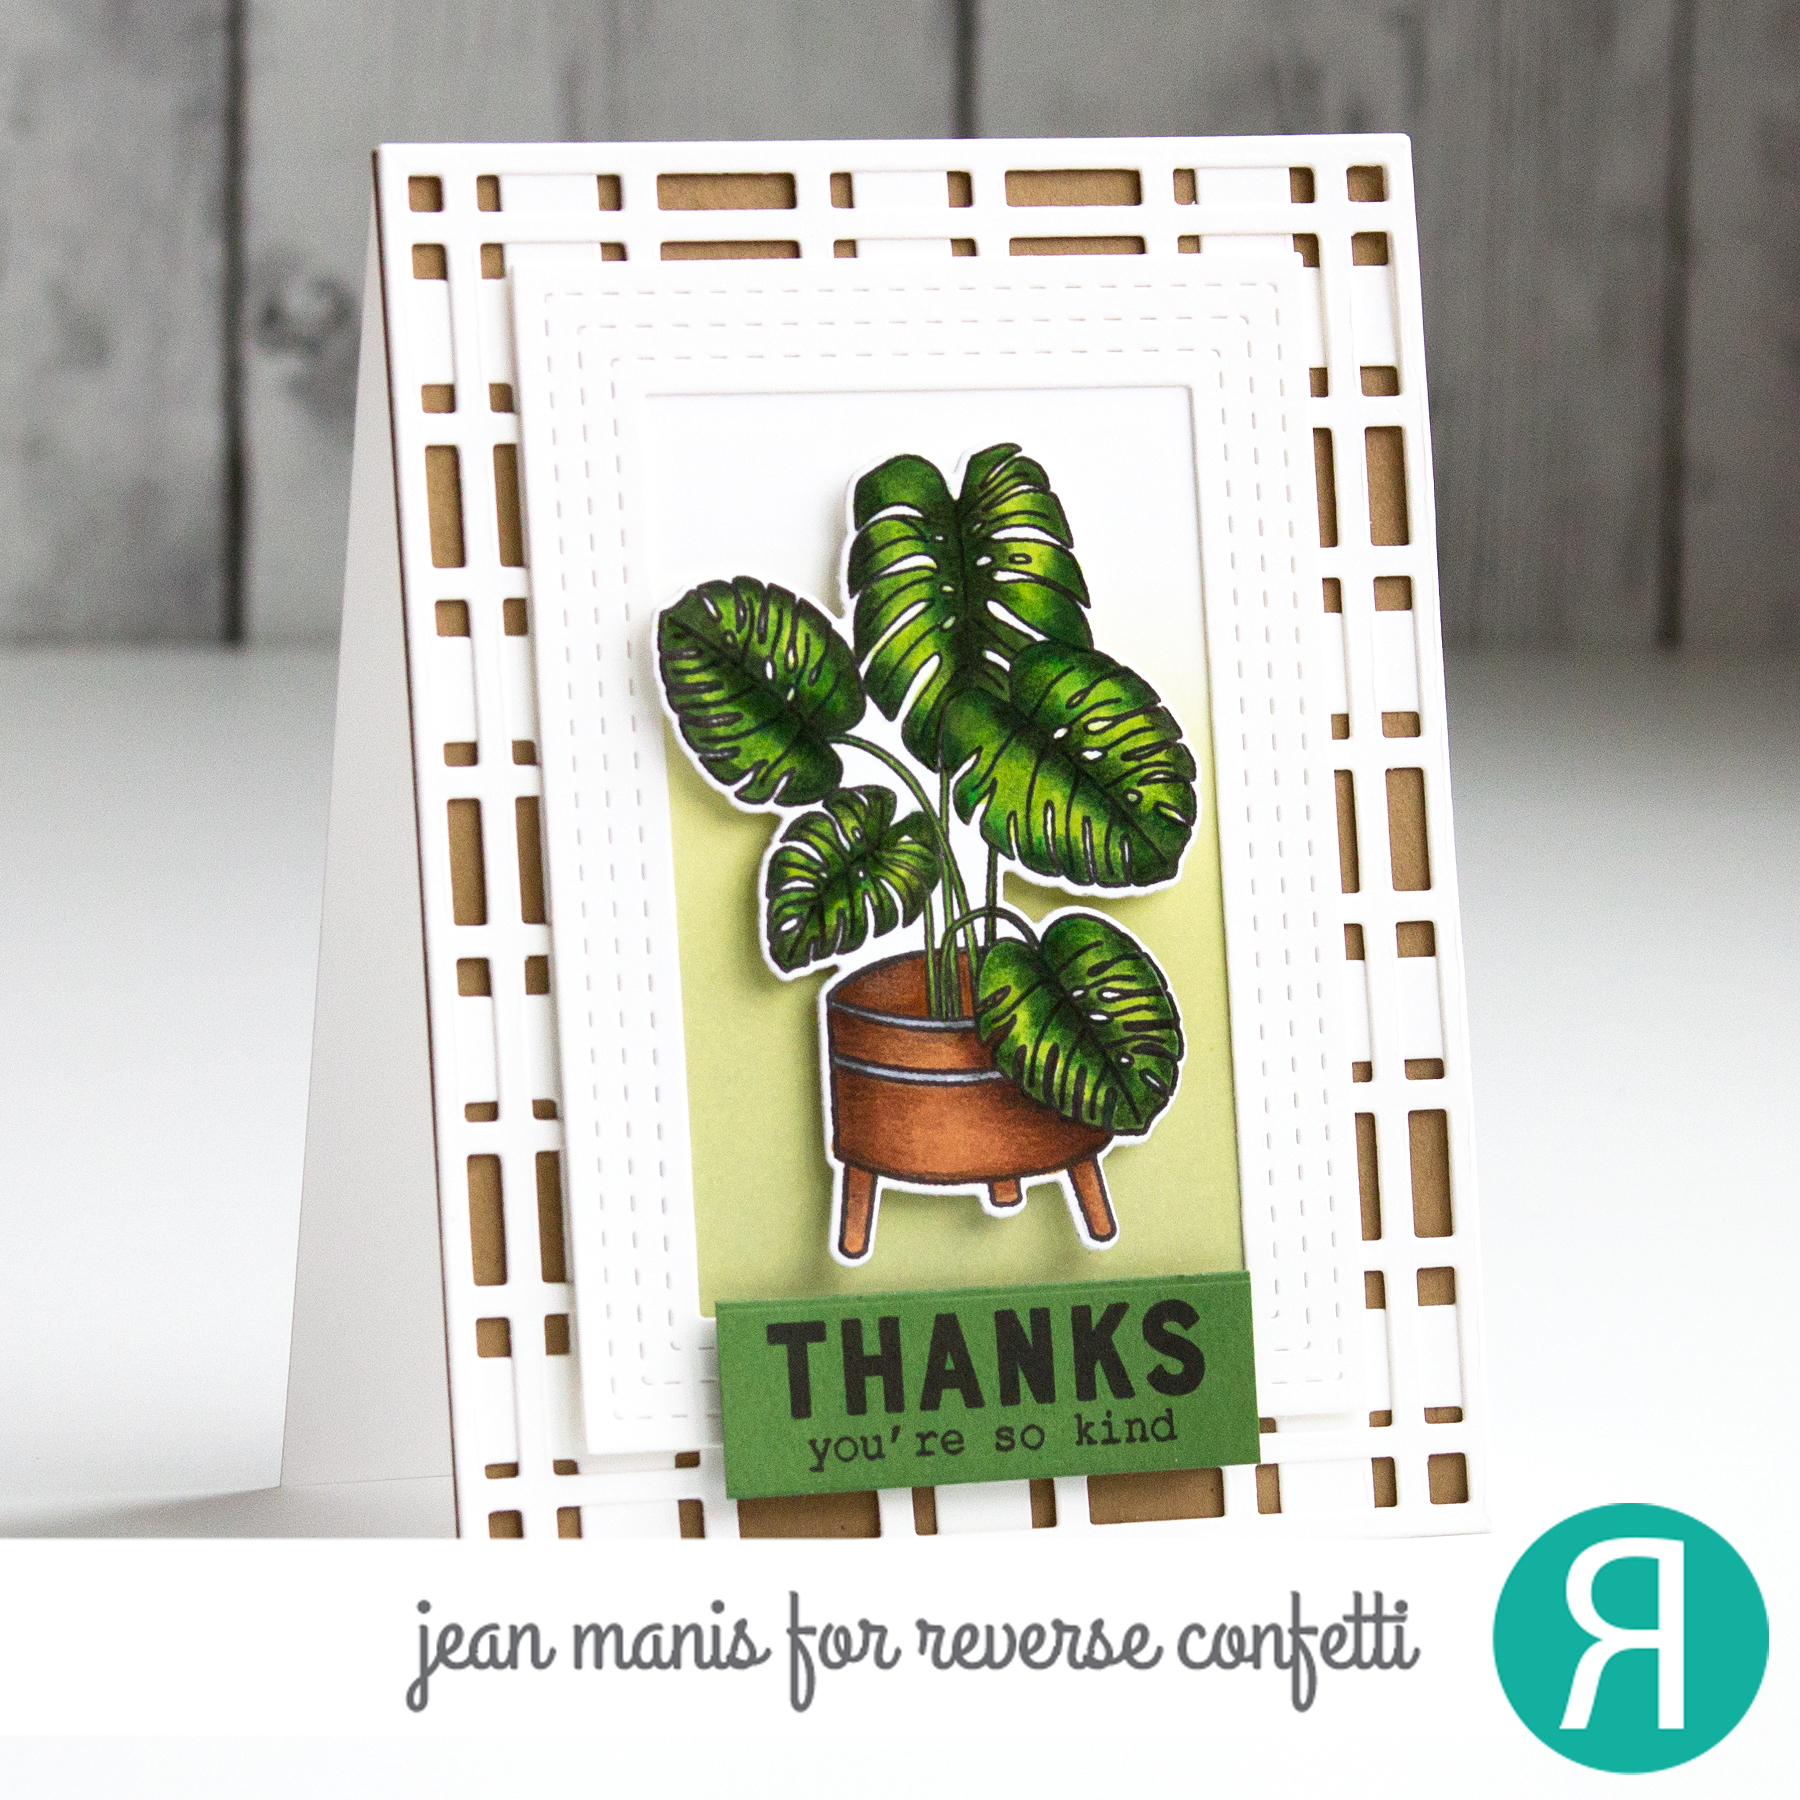
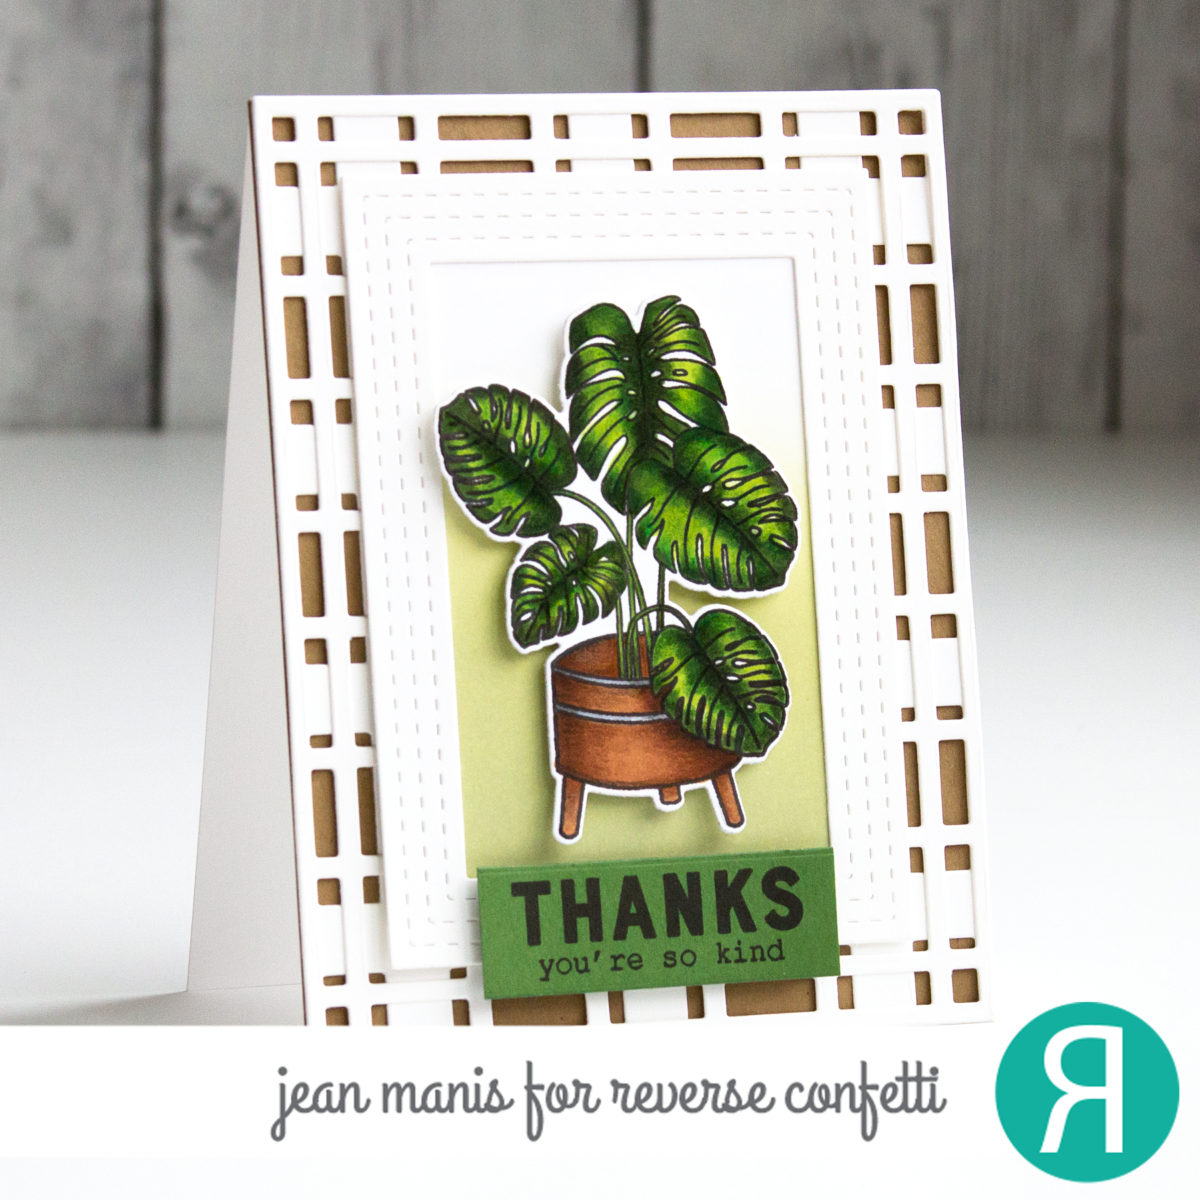
Hello! Today I am sharing a masculine Thank You card created with Reverse Confetti products for this month’s Stock Your Stash Challenge with the theme of Thank You.

Reverse Confetti Stock Your Stash Challenge – Thank You

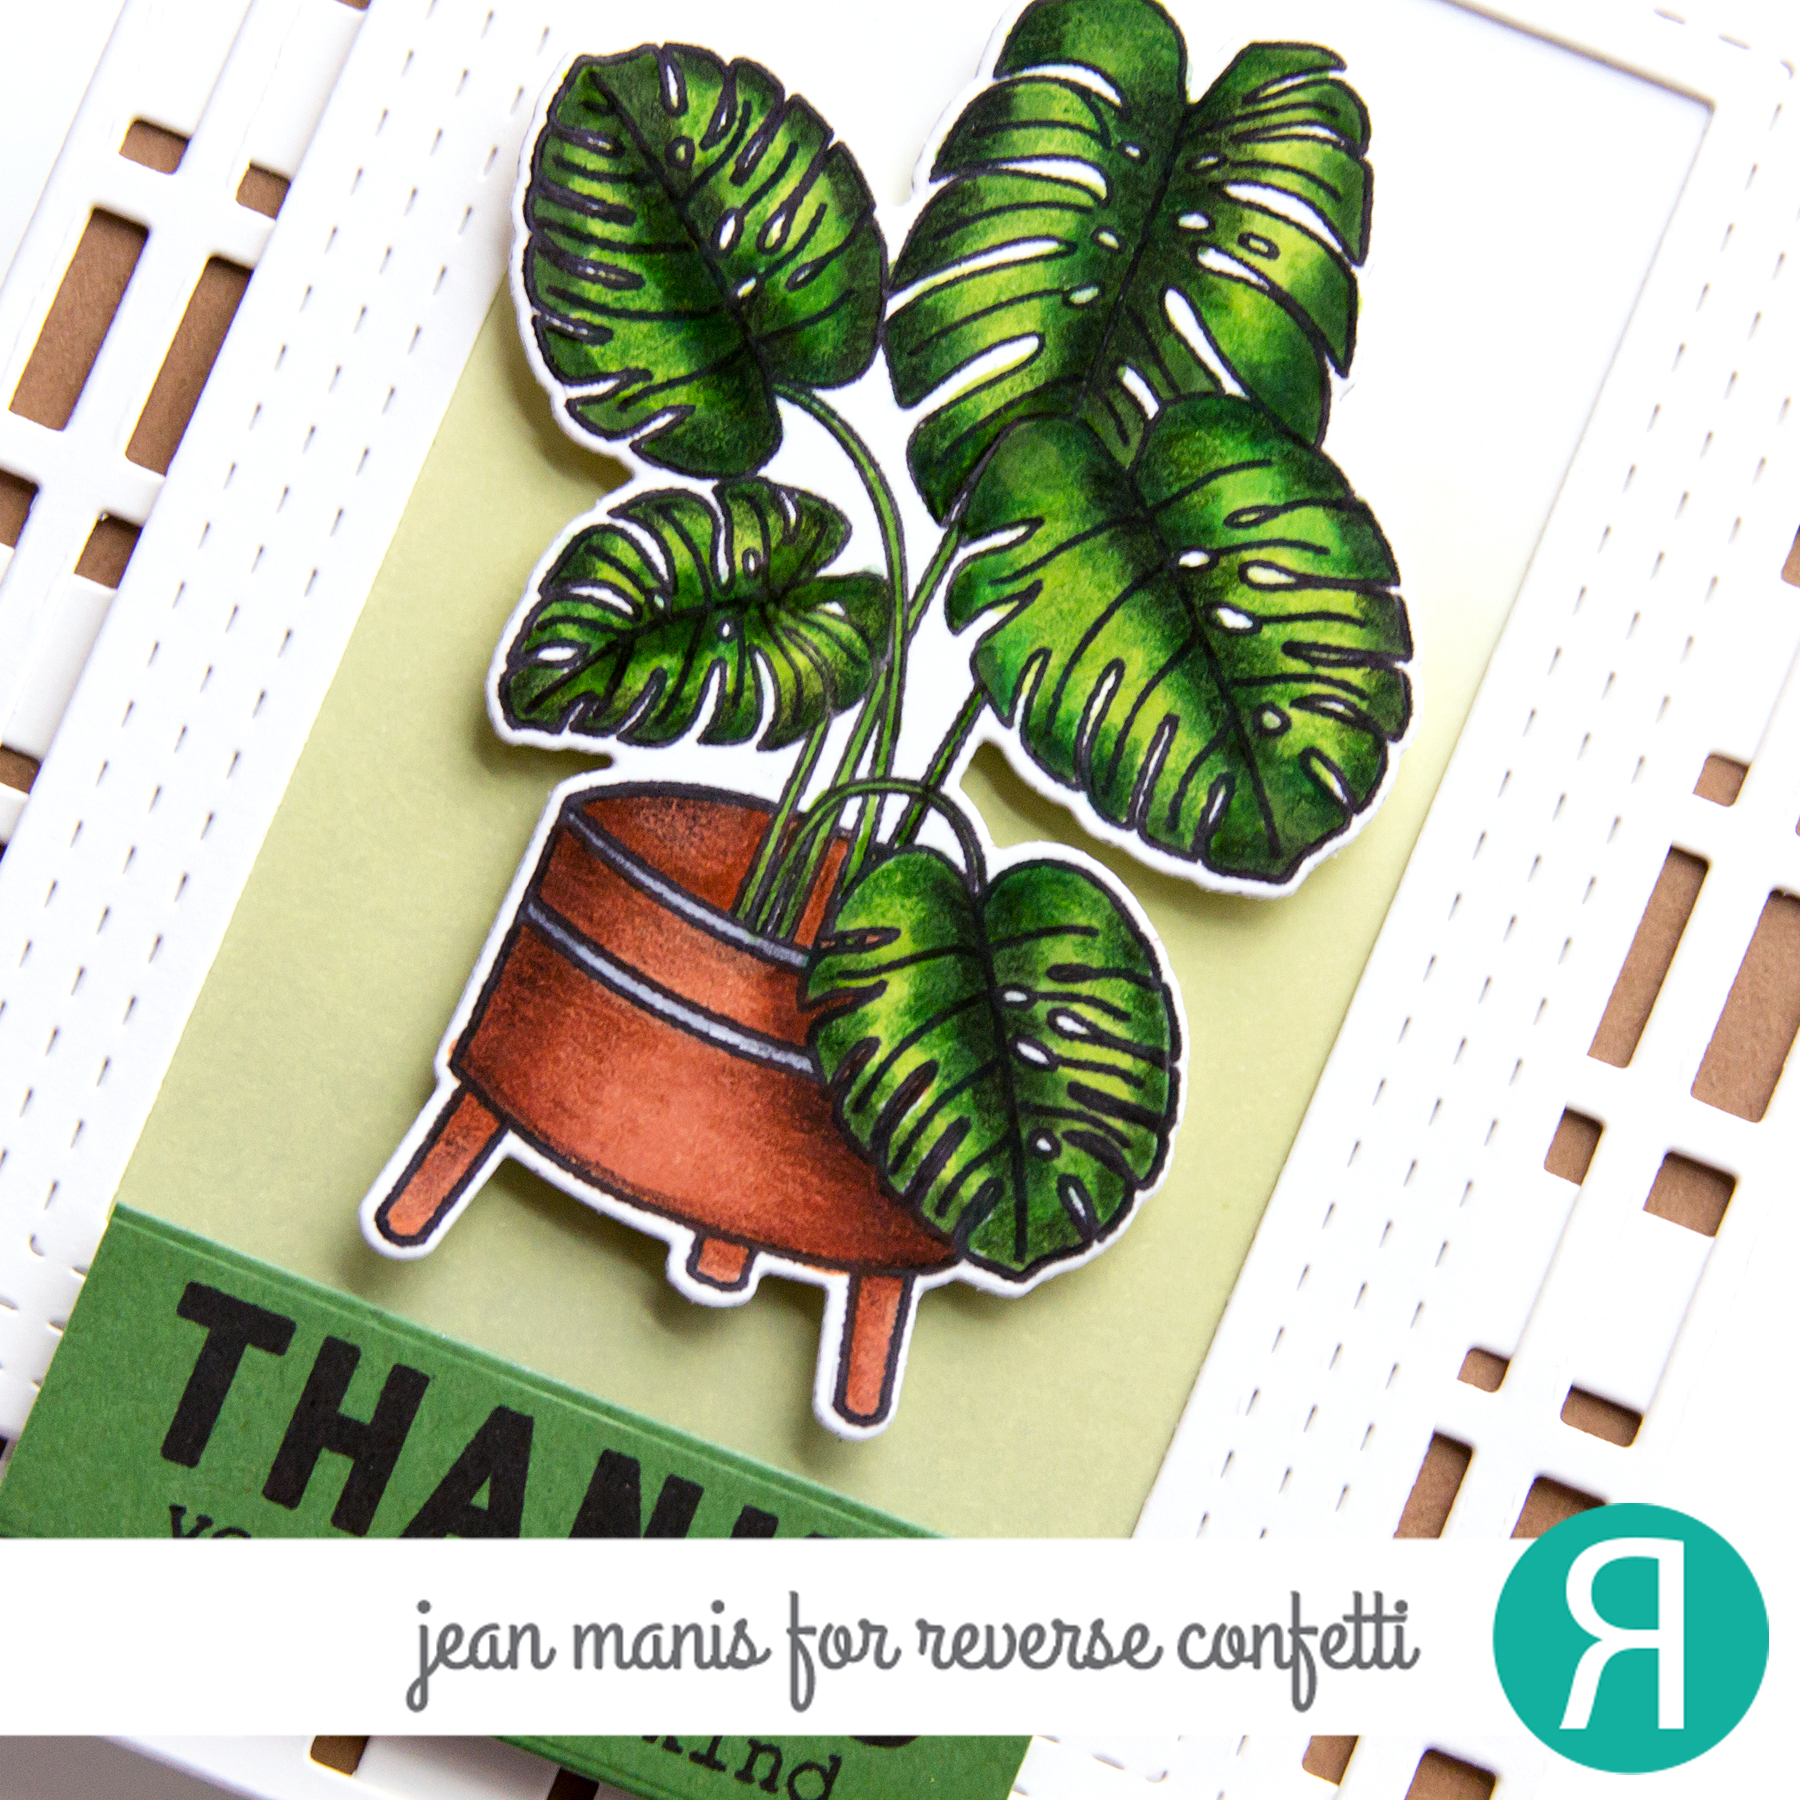
  • I stamped and colored the plant image from the Botanical set and cut it with its coordinating die. (I’ve used this stamp set on cards in this post and this one.)
  • I cut the Plaid Lines Small and Plaid Lines Big from white cardstock and added them to a brown card base (Lawn Fawn Paper Bag cardstock).
  • I stamped the Best Sentiments sentiment on to an Avocado cardstock rectangle.
  • I sponged Bundled Sage Distress Oxide Ink on white cardstock and added the panel to the back of a frame cut with the Stitched Notes & Frames set.
  • I added the sentiment and plant with foam adhesive.

Reverse Confetti Stock Your Stash Challenge – Thank You

Reverse Confetti – November Creative Hop

Today is the day! It’s the 2020 Reverse Confetti November Release Day! We’re celebrating with a hop! You should have arrived here from the blog of Jeanne Jachna. If not, you’ll want to start at the beginning which is the Release Confetti blog.

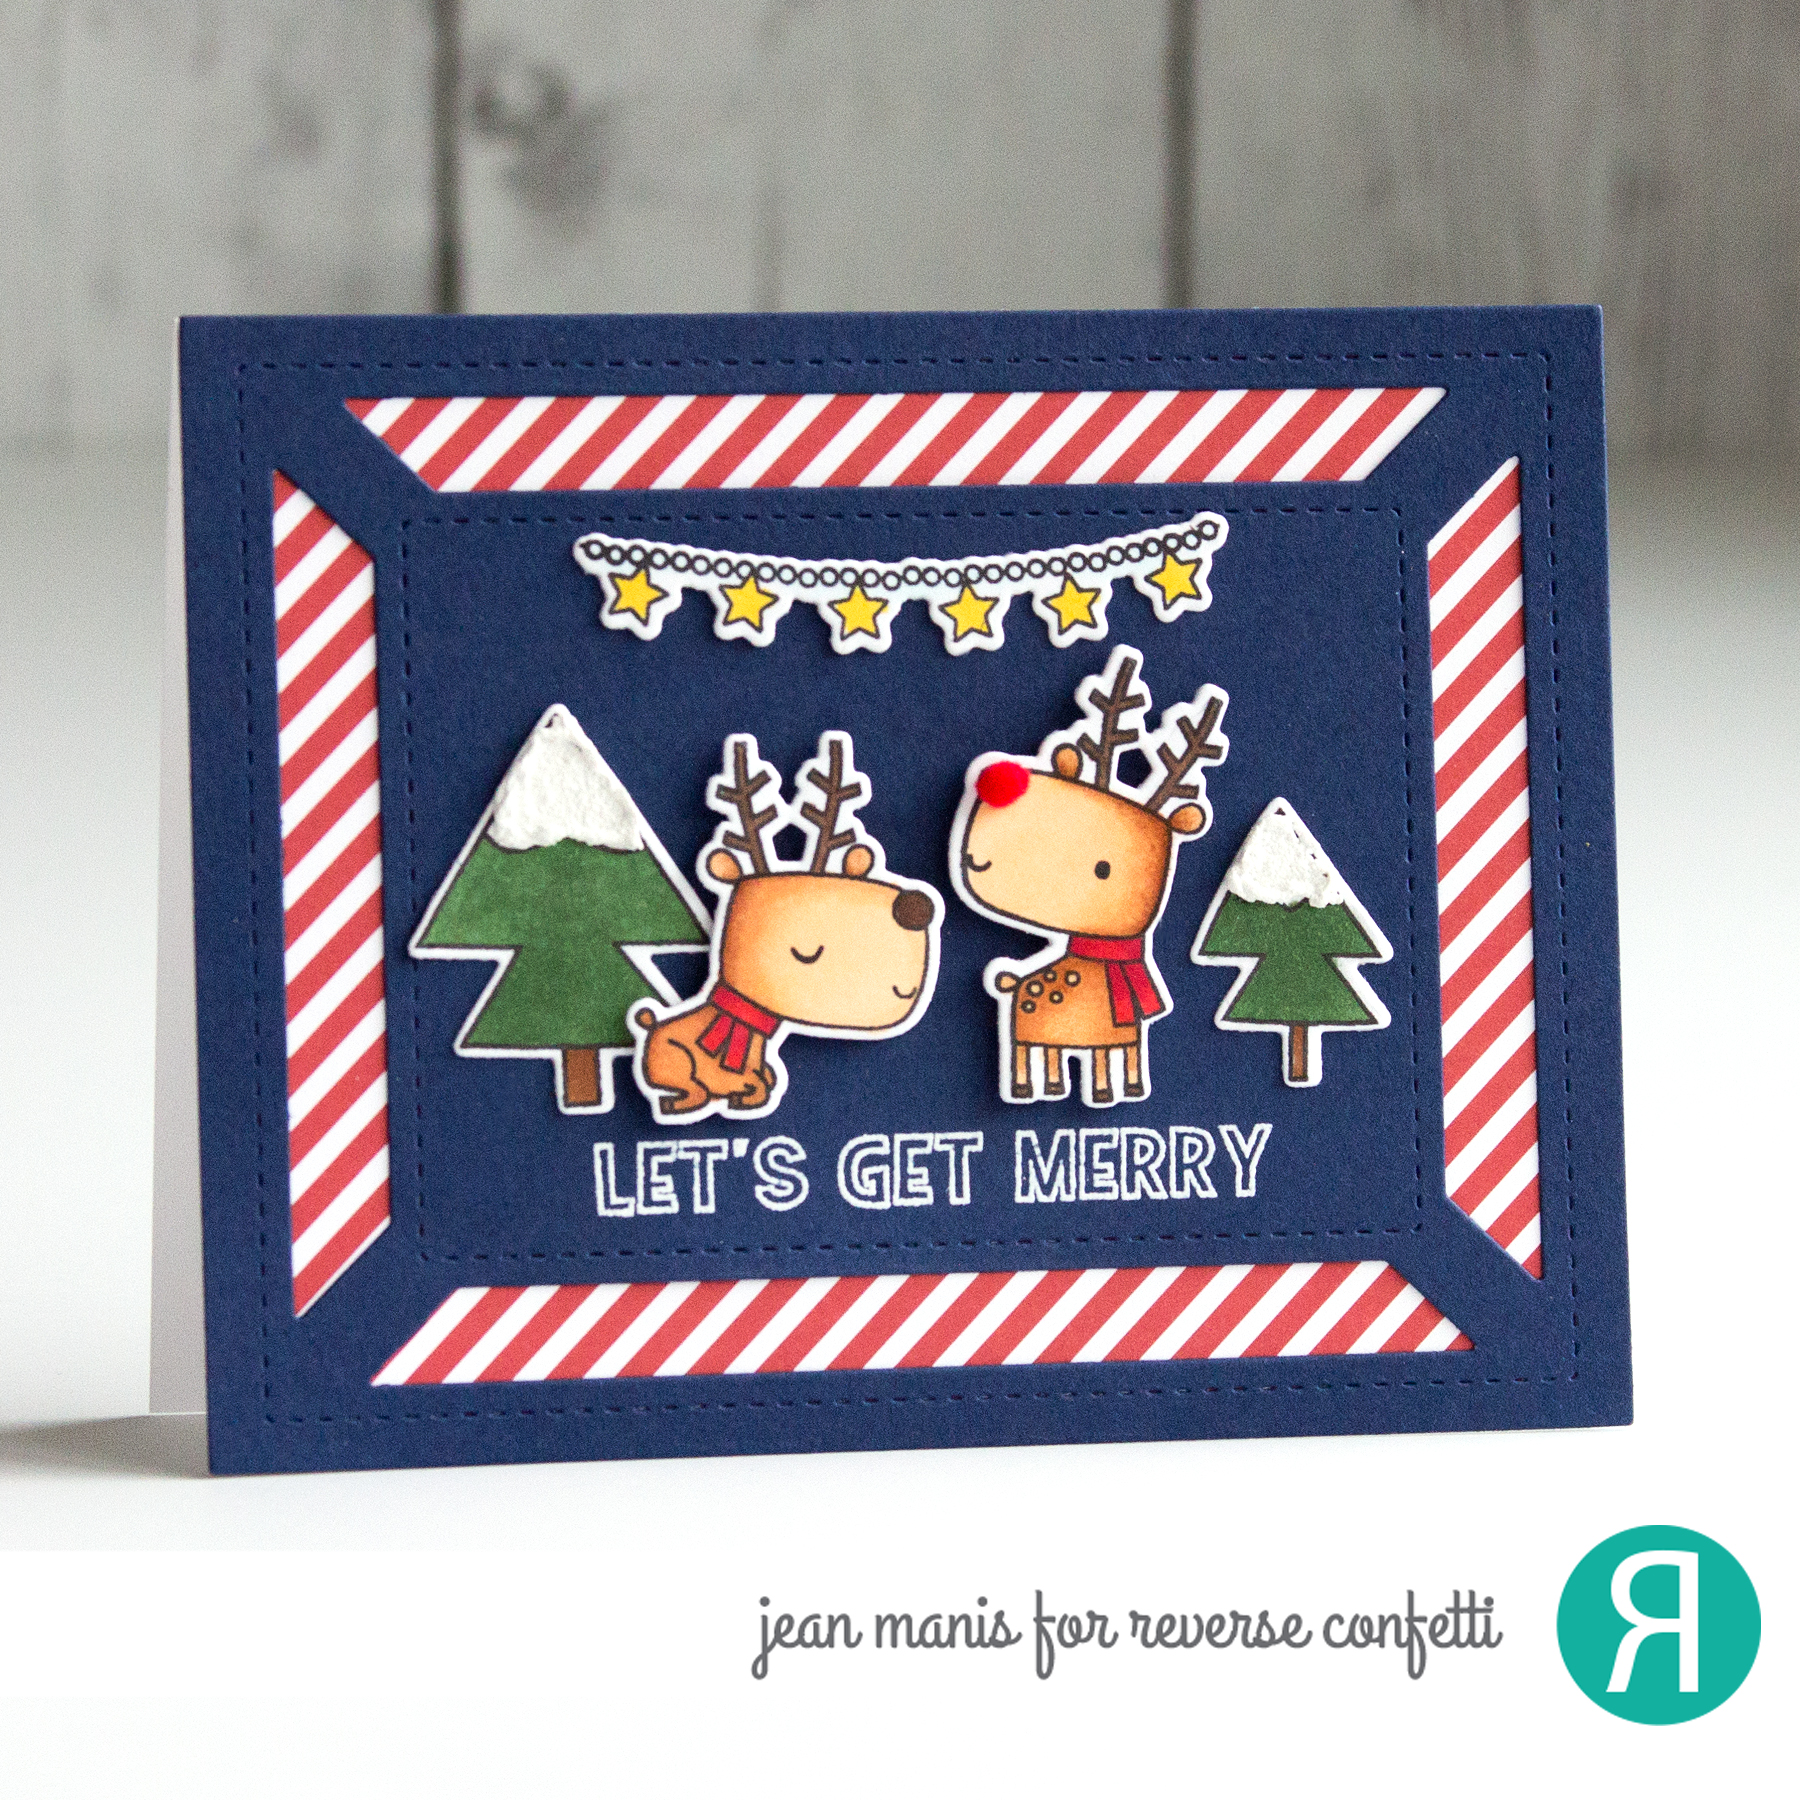
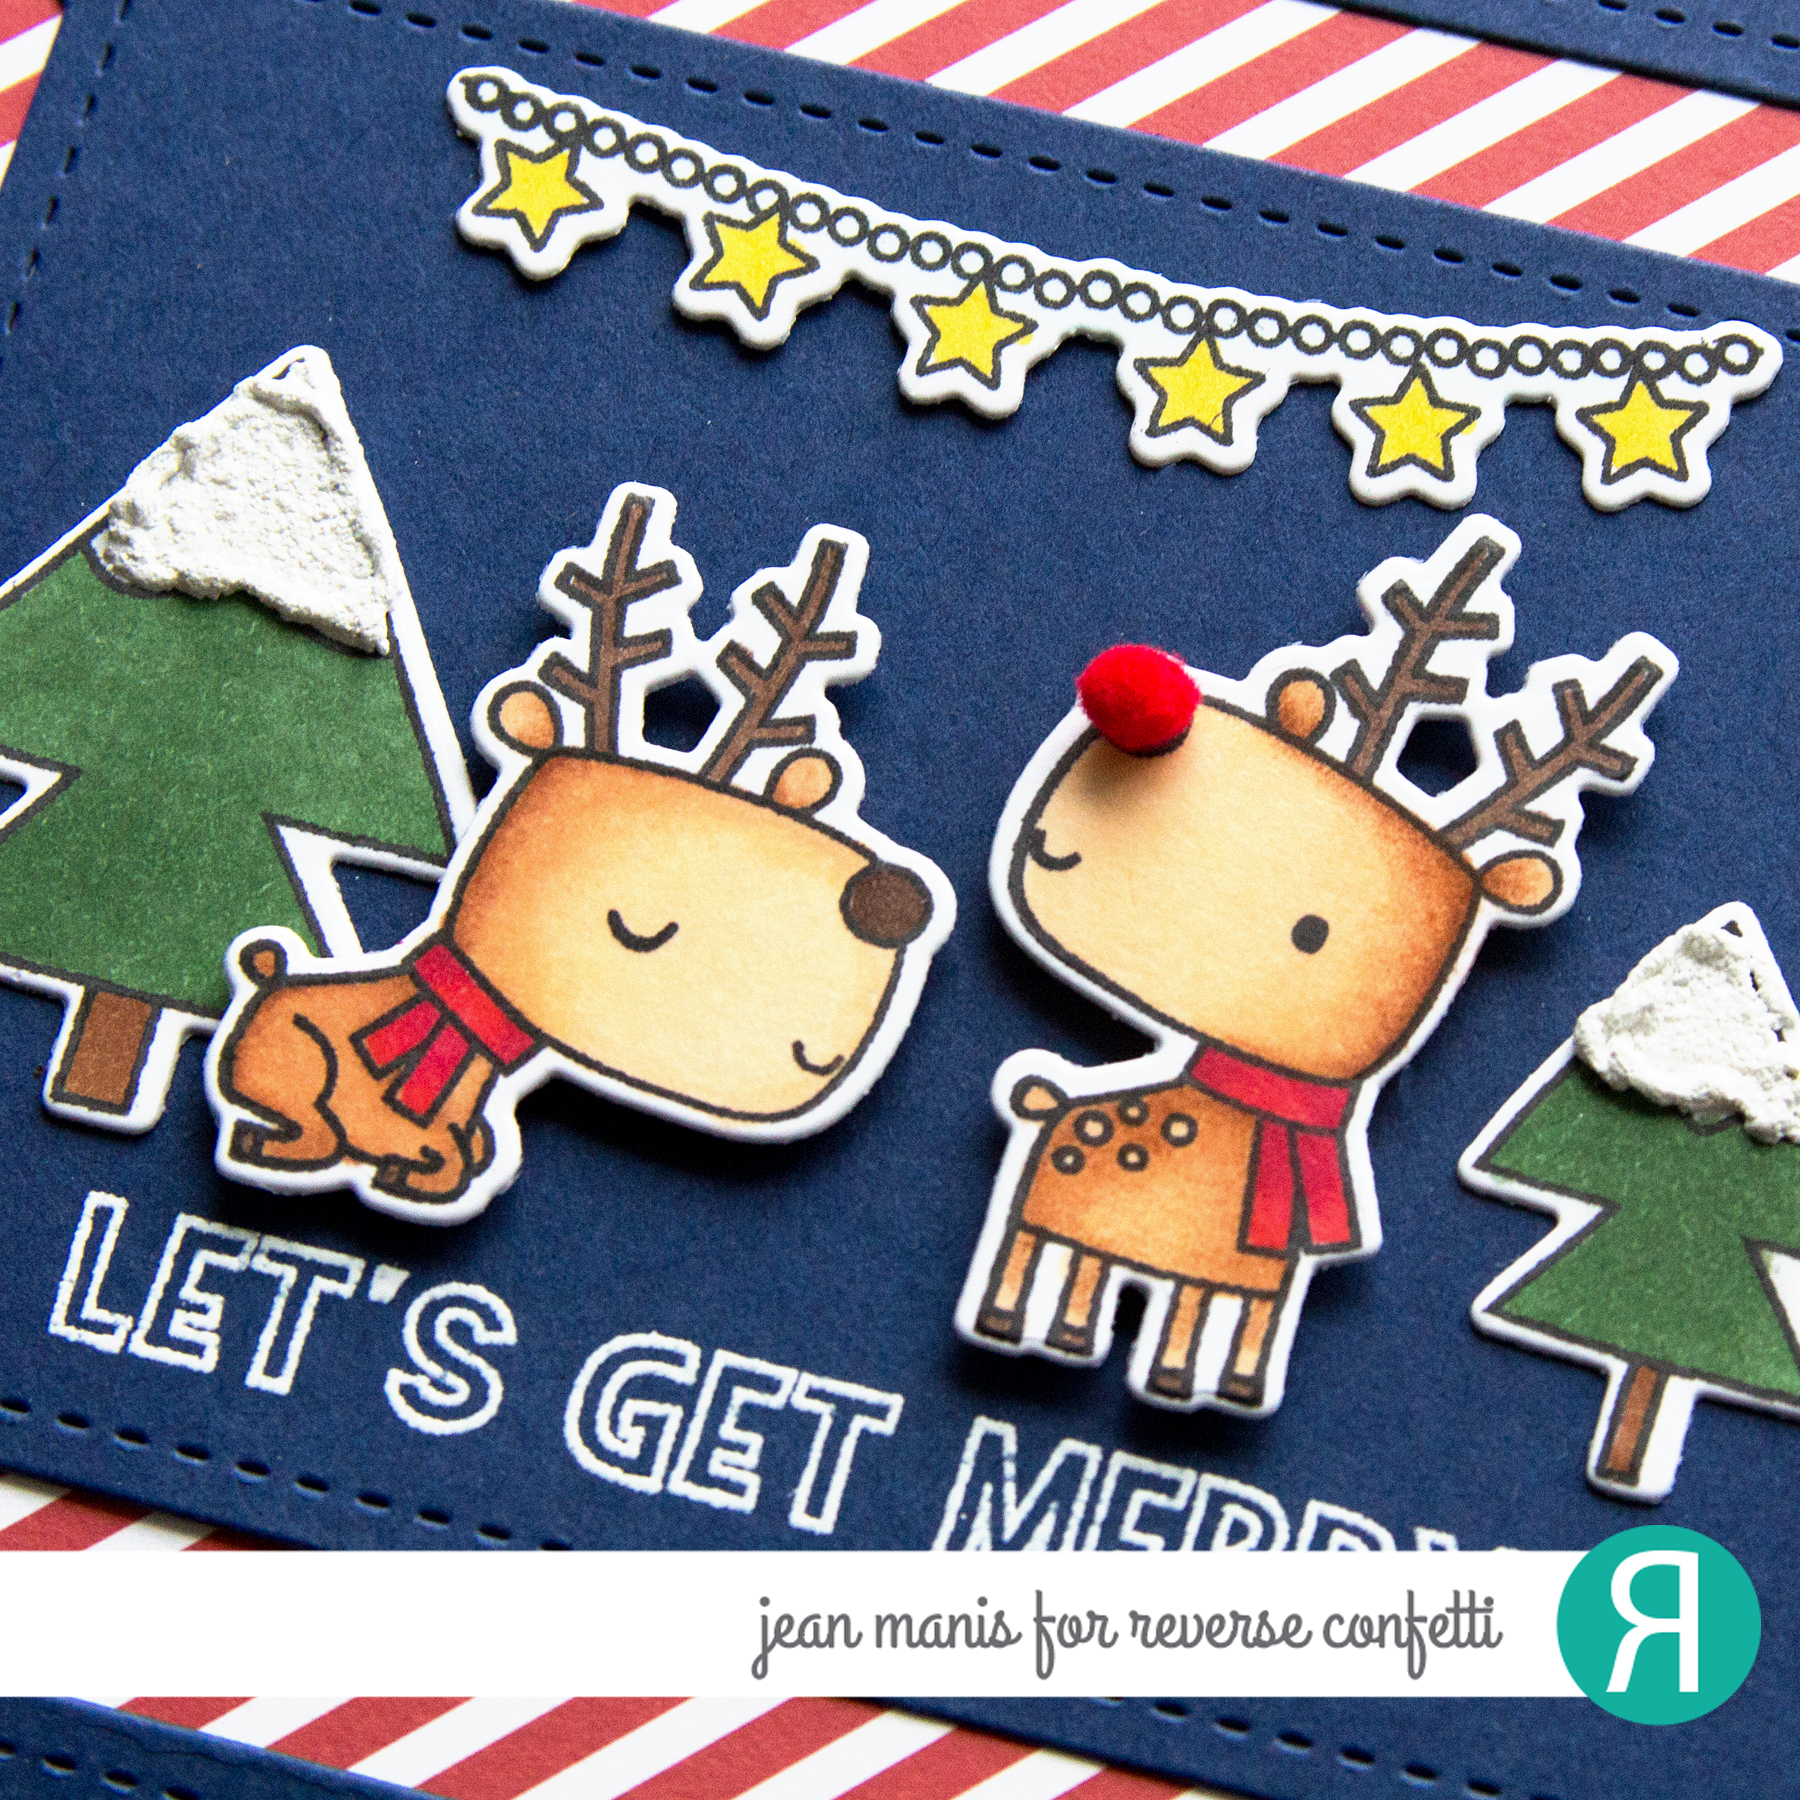
I am sharing two projects today: one holiday-themed and the other friendship-themed. On the first card, I’m showcasing the Deerly stamp set with coordinating dies.

Reverse Confetti - November Creative Hop

  • I cut the background from Navy cardstock with the Center Frame Cover Panel.
  • I heat-embossed the Seasonal Say It All sentiment in white.
  • I added the Navy panel to a card base covered with patterned paper from the Sweet Stripes 6×6 Paper Pad.
  • I stamped, Copic-colored, and cut the deer, tree, and star garland images.
  • I added the images to the scene, popping the deer up with foam adhesive.

Reverse Confetti - November Creative Hop

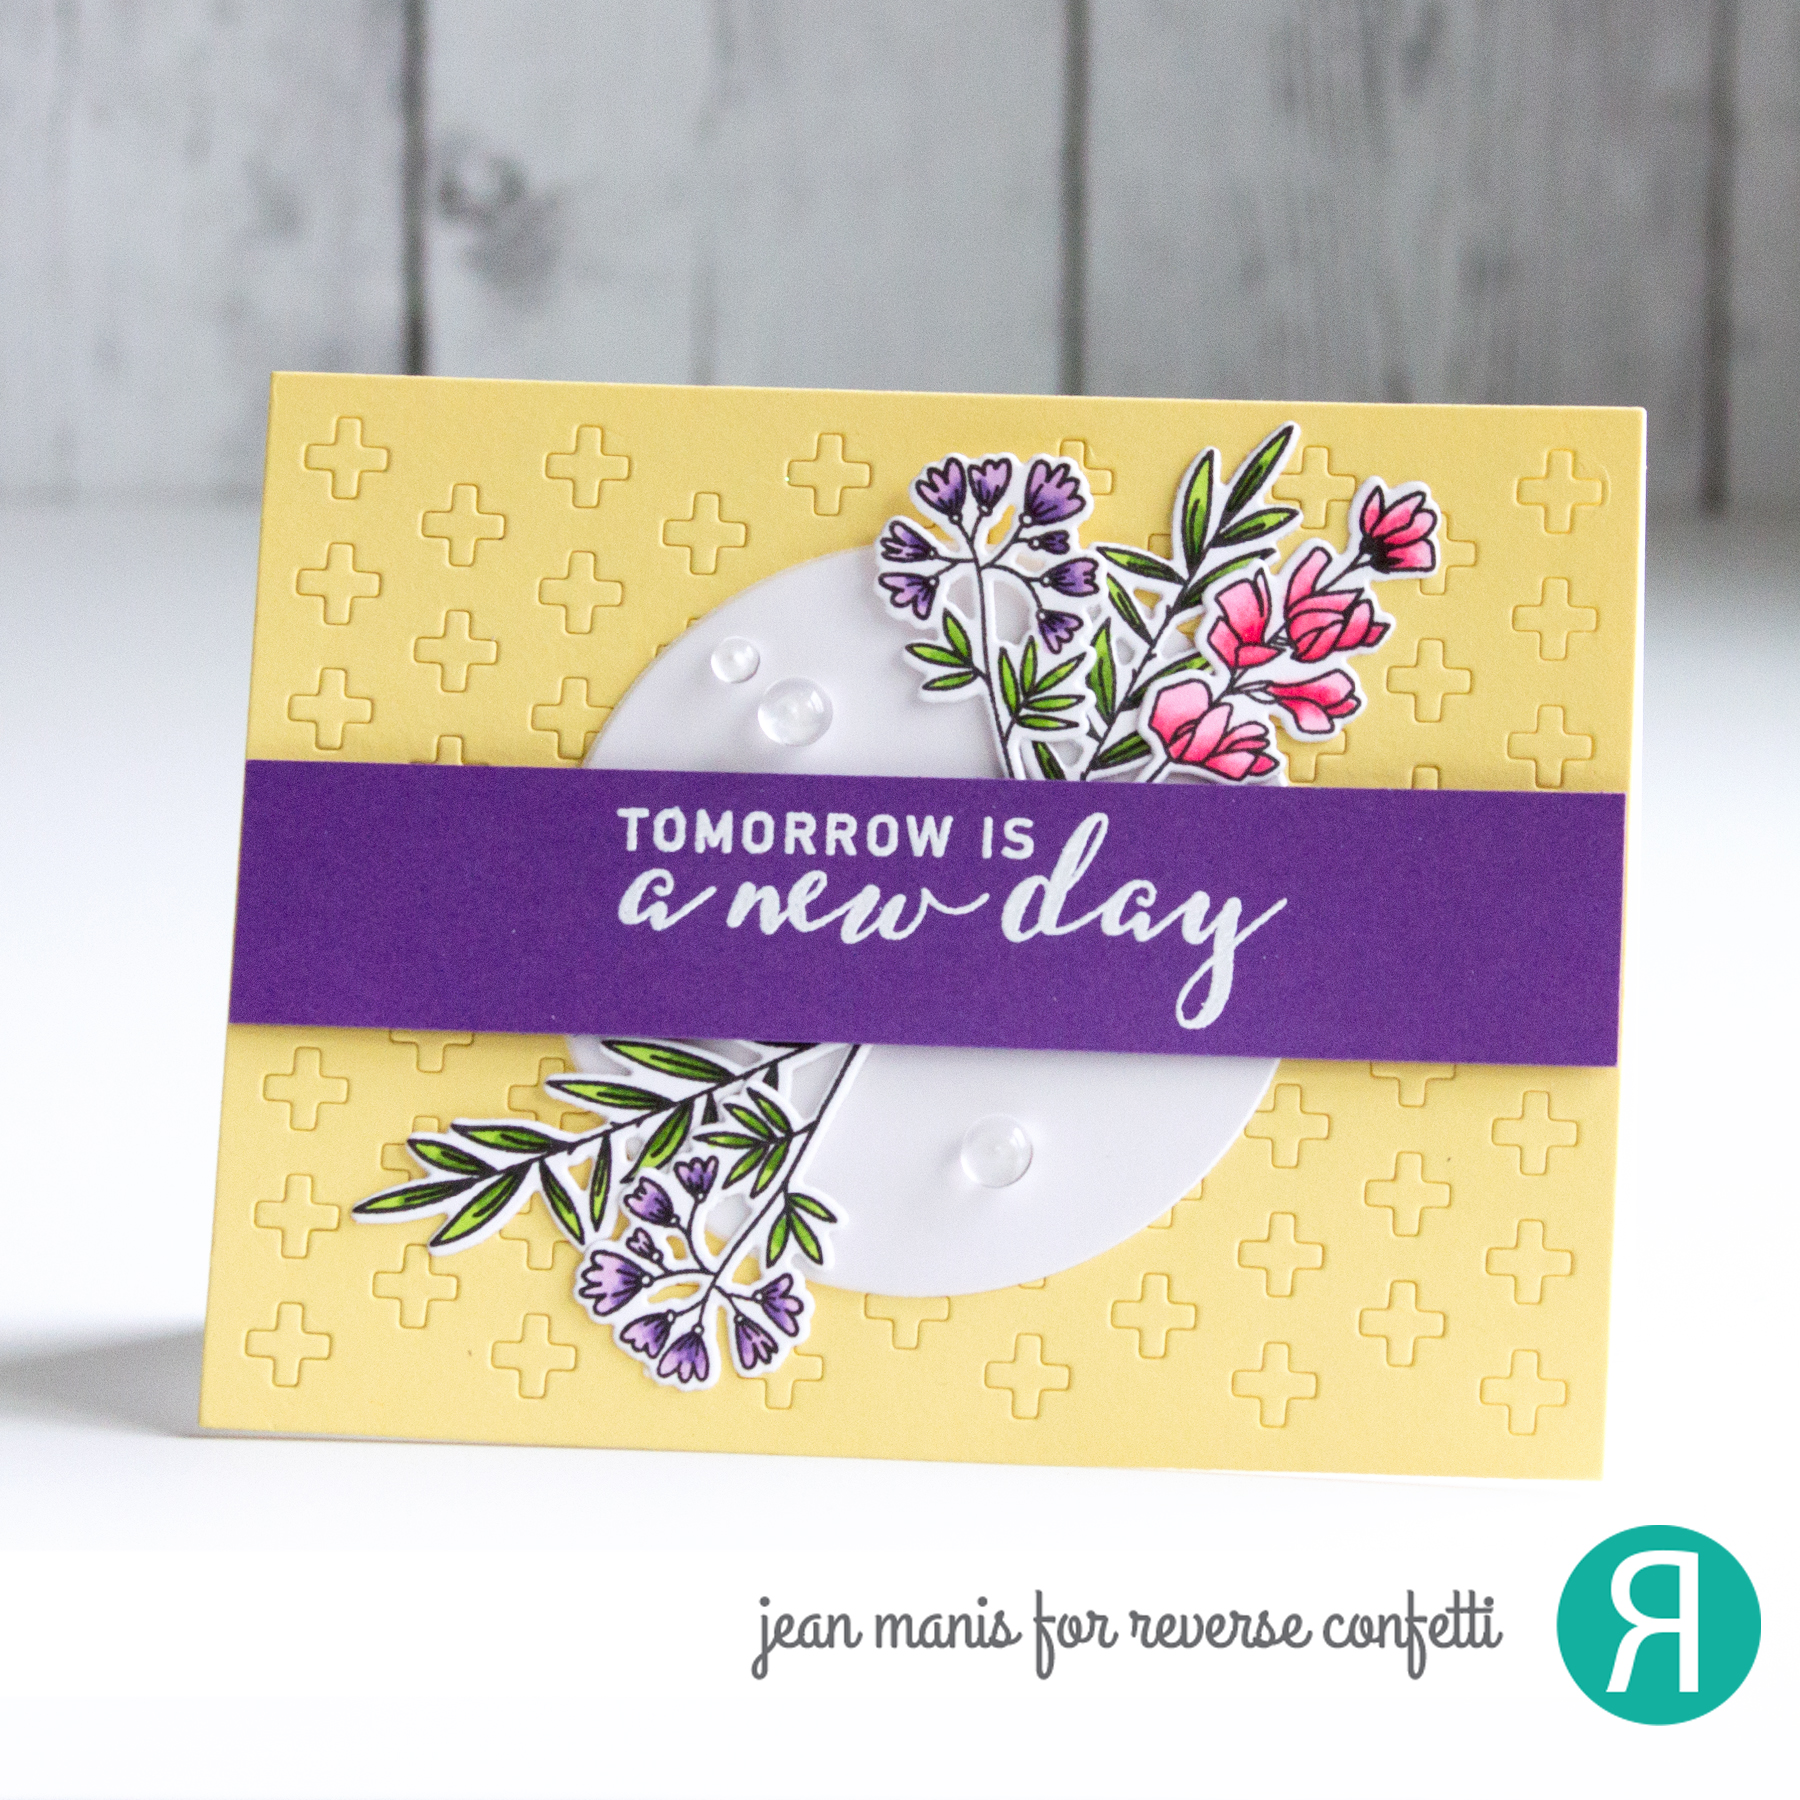
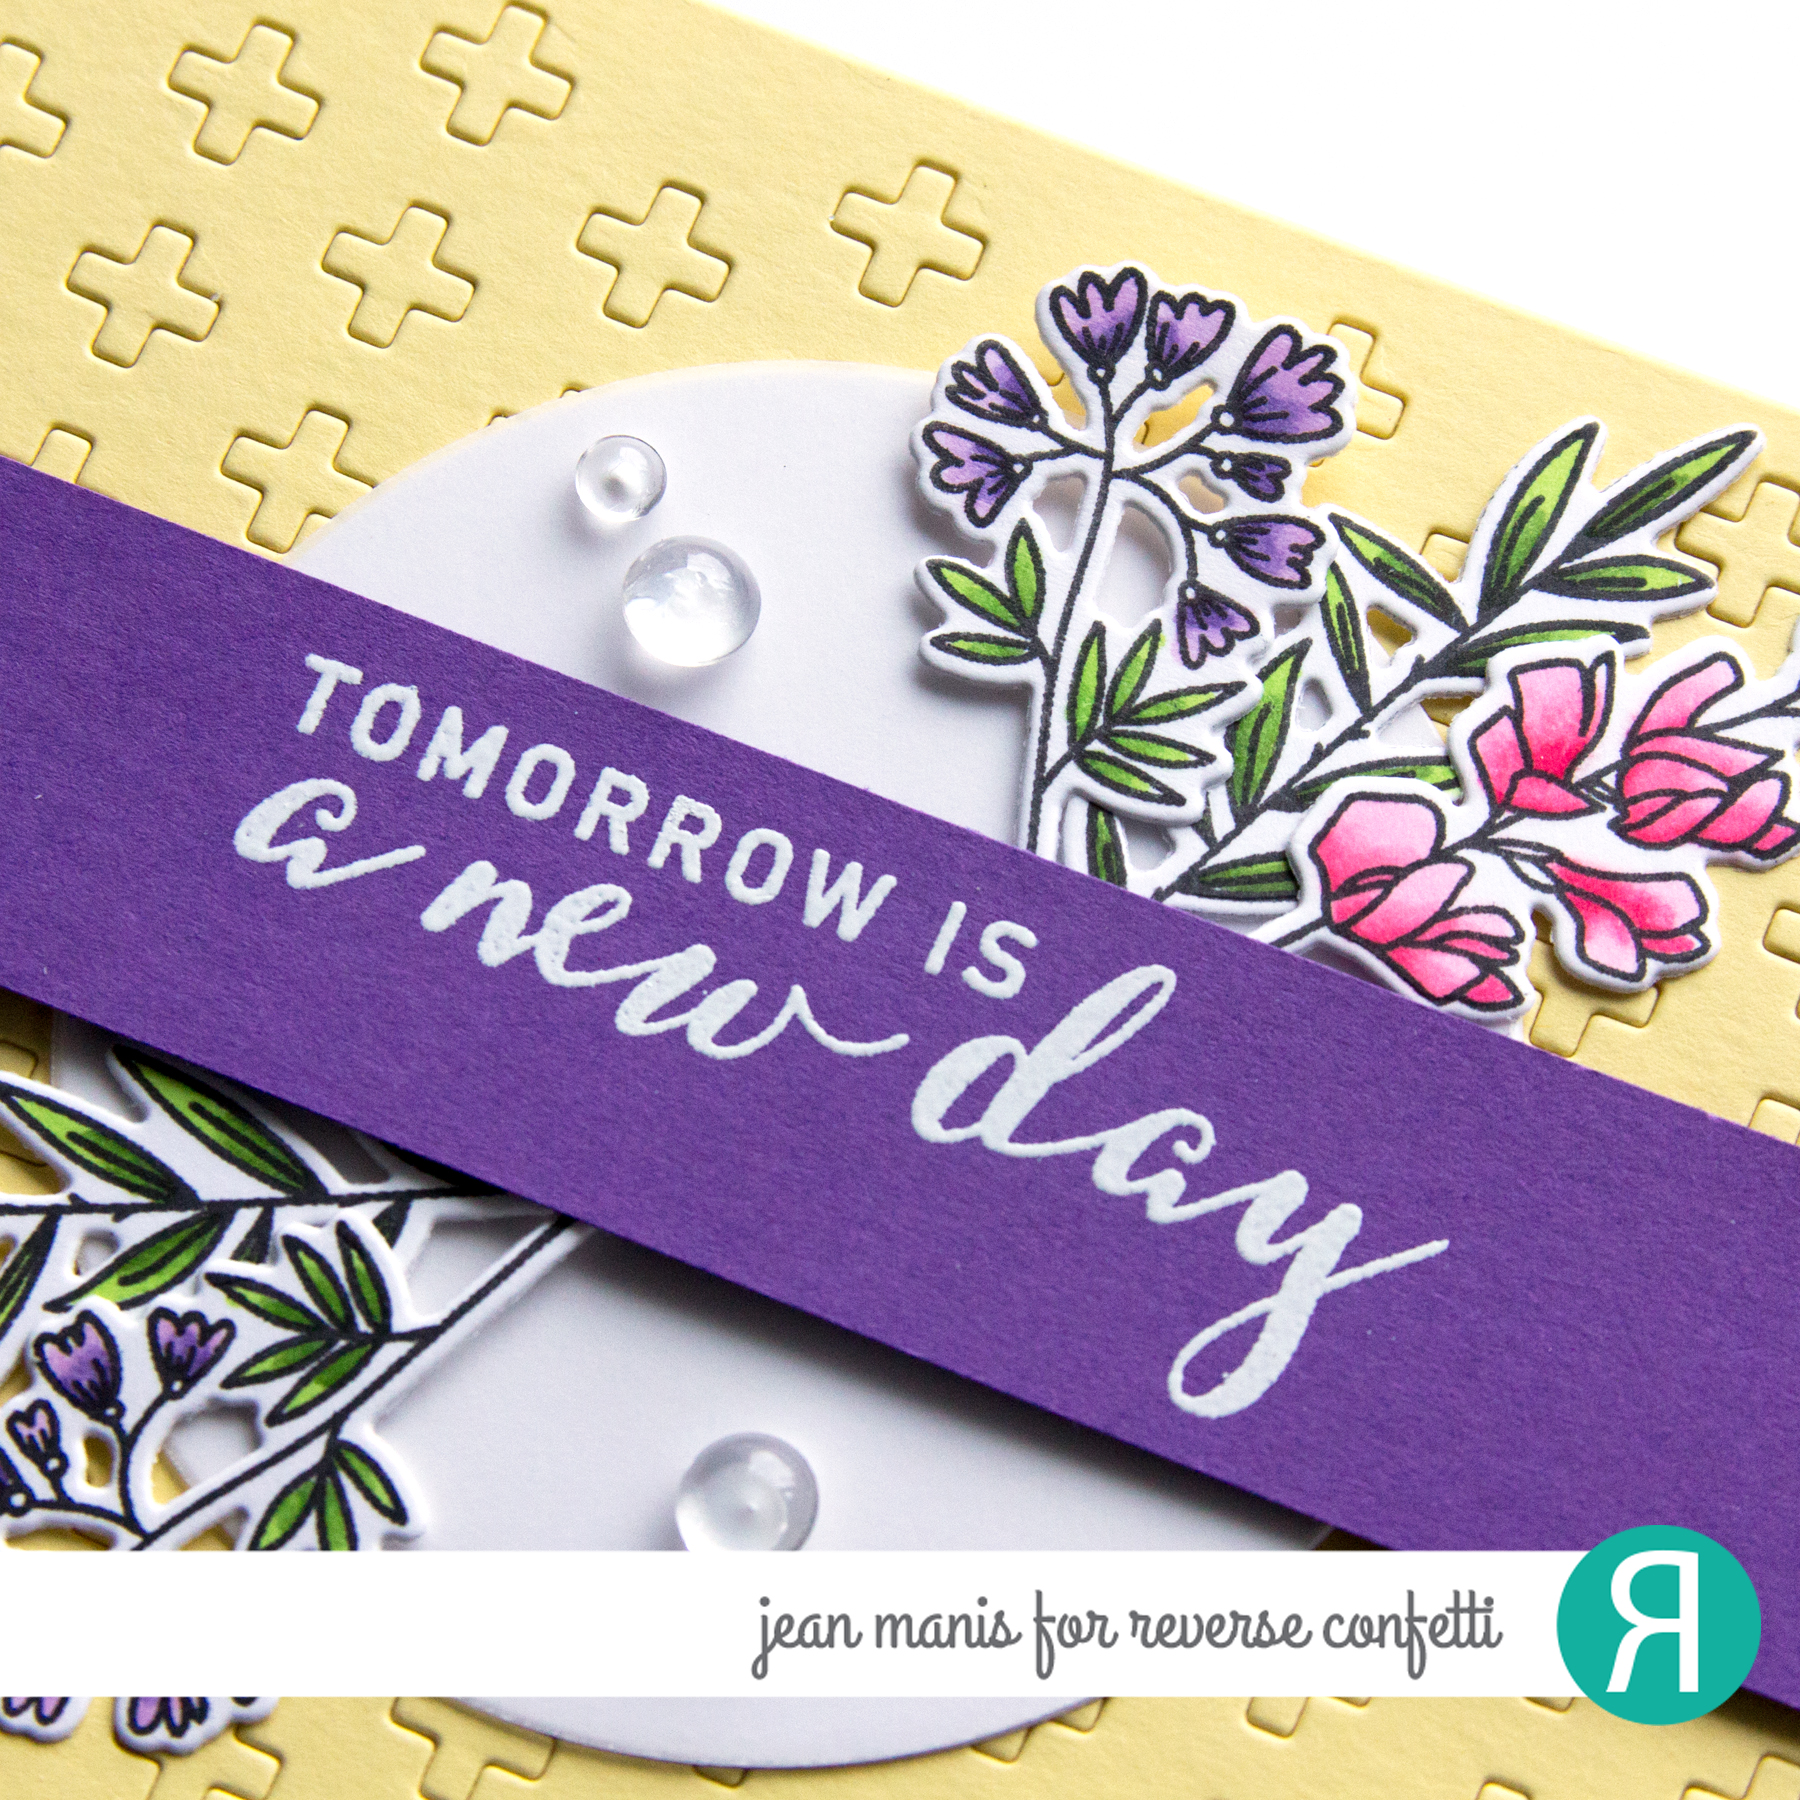
My friendship card features a Mixed Messages sentiment along with foliage from the Botanical stamp set with coordinating dies.

Reverse Confetti - November Creative Hop

  • I created the background with the Cross Tiles Cover Panel die cut from yellow cardstock.
  • I stamped, colored, and cut the Botanical images.
  • I heat-embossed the Mixed Messages sentiment on purple cardstock.
  • I cut a Polar White cardstock circle and added it to the center of the background, added the sentiment strip with foam adhesive, and tucked the Botanical images under the strip.

Reverse Confetti - November Creative Hop

Head next to the blog of Deanne Kuntz.

Reverse Confetti – November Countdown to Confetti Day One

Hello! It’s Day One of the November Reverse Confetti Countdown to Confetti! This release is packed with stamps and dies with which to create for a number of occasions including the holidays.

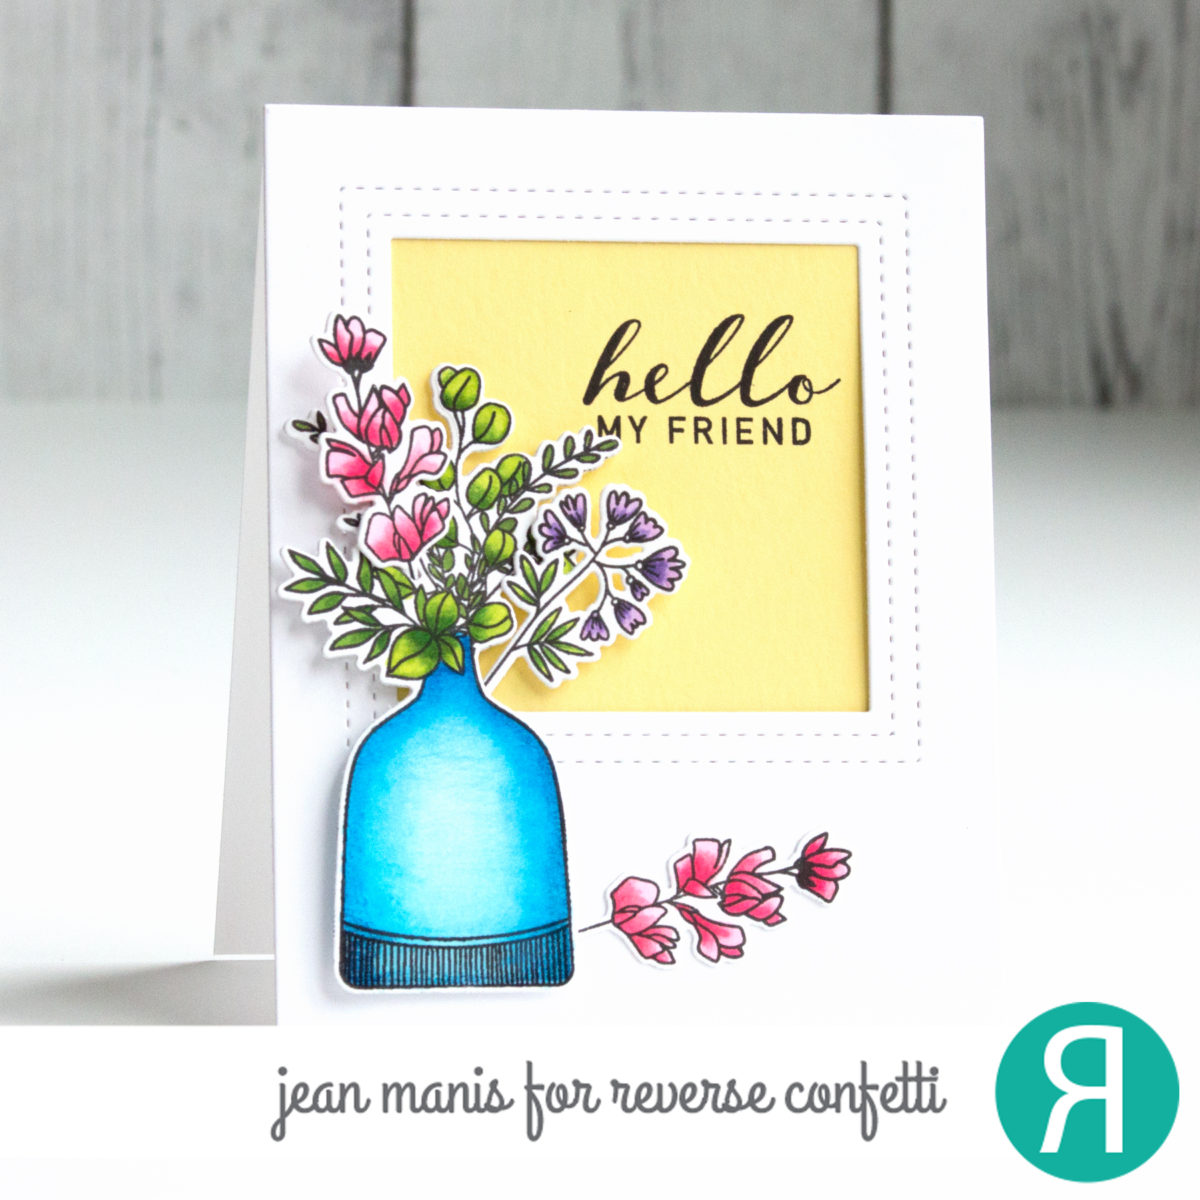
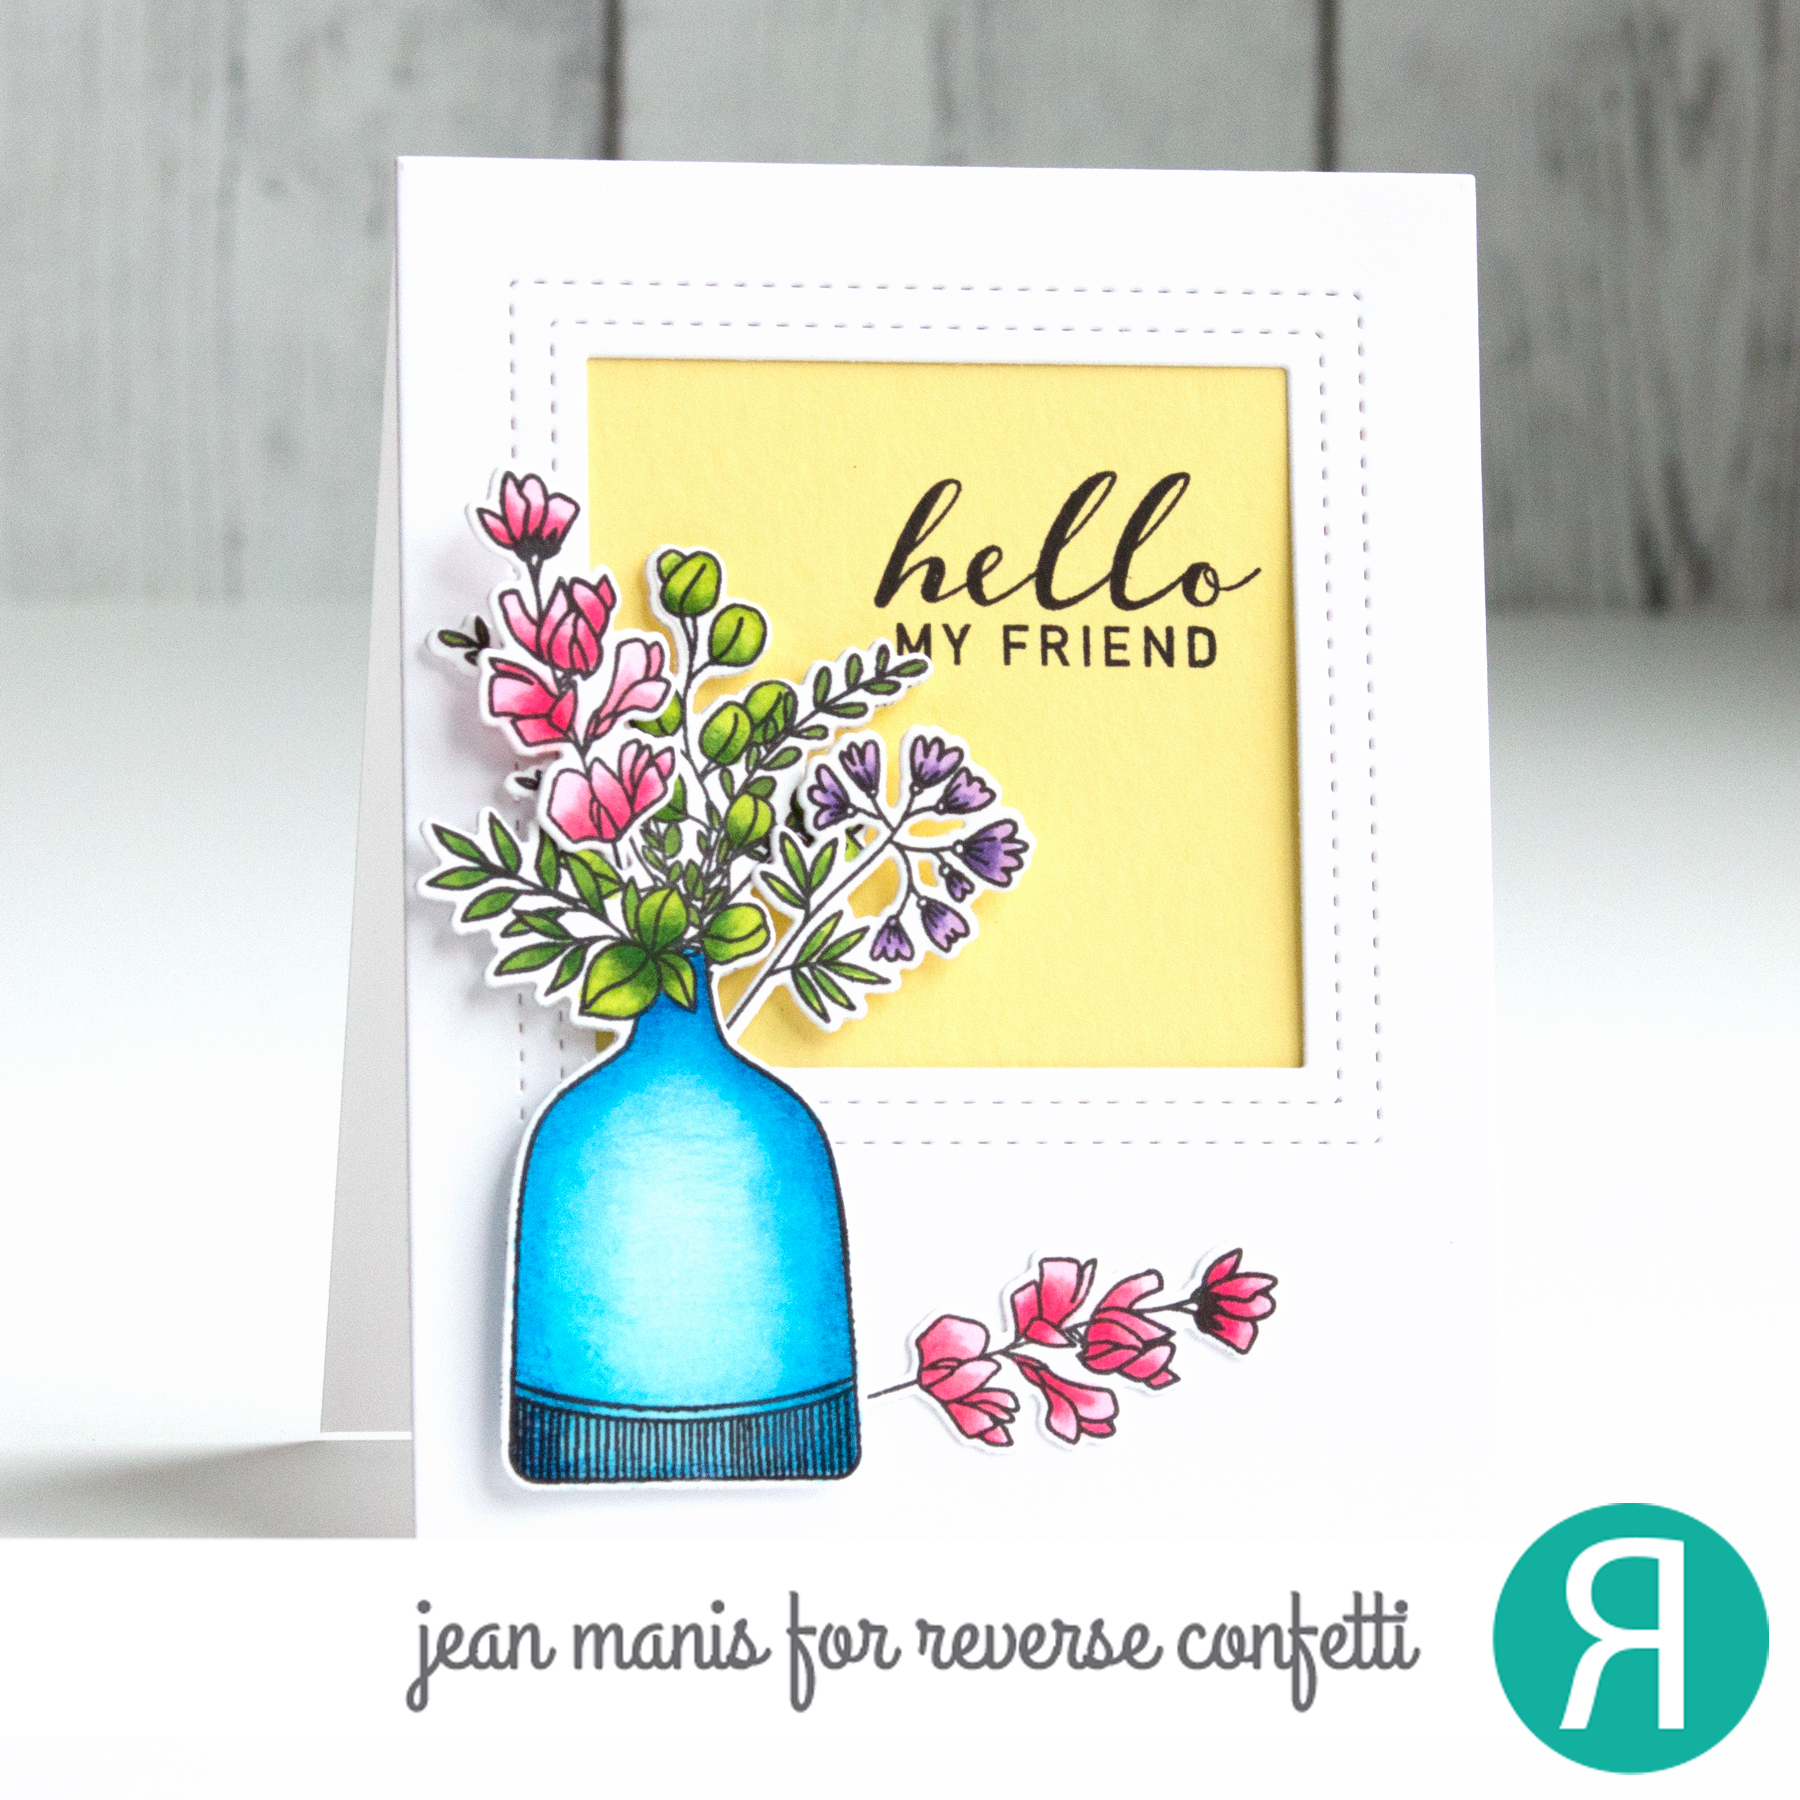
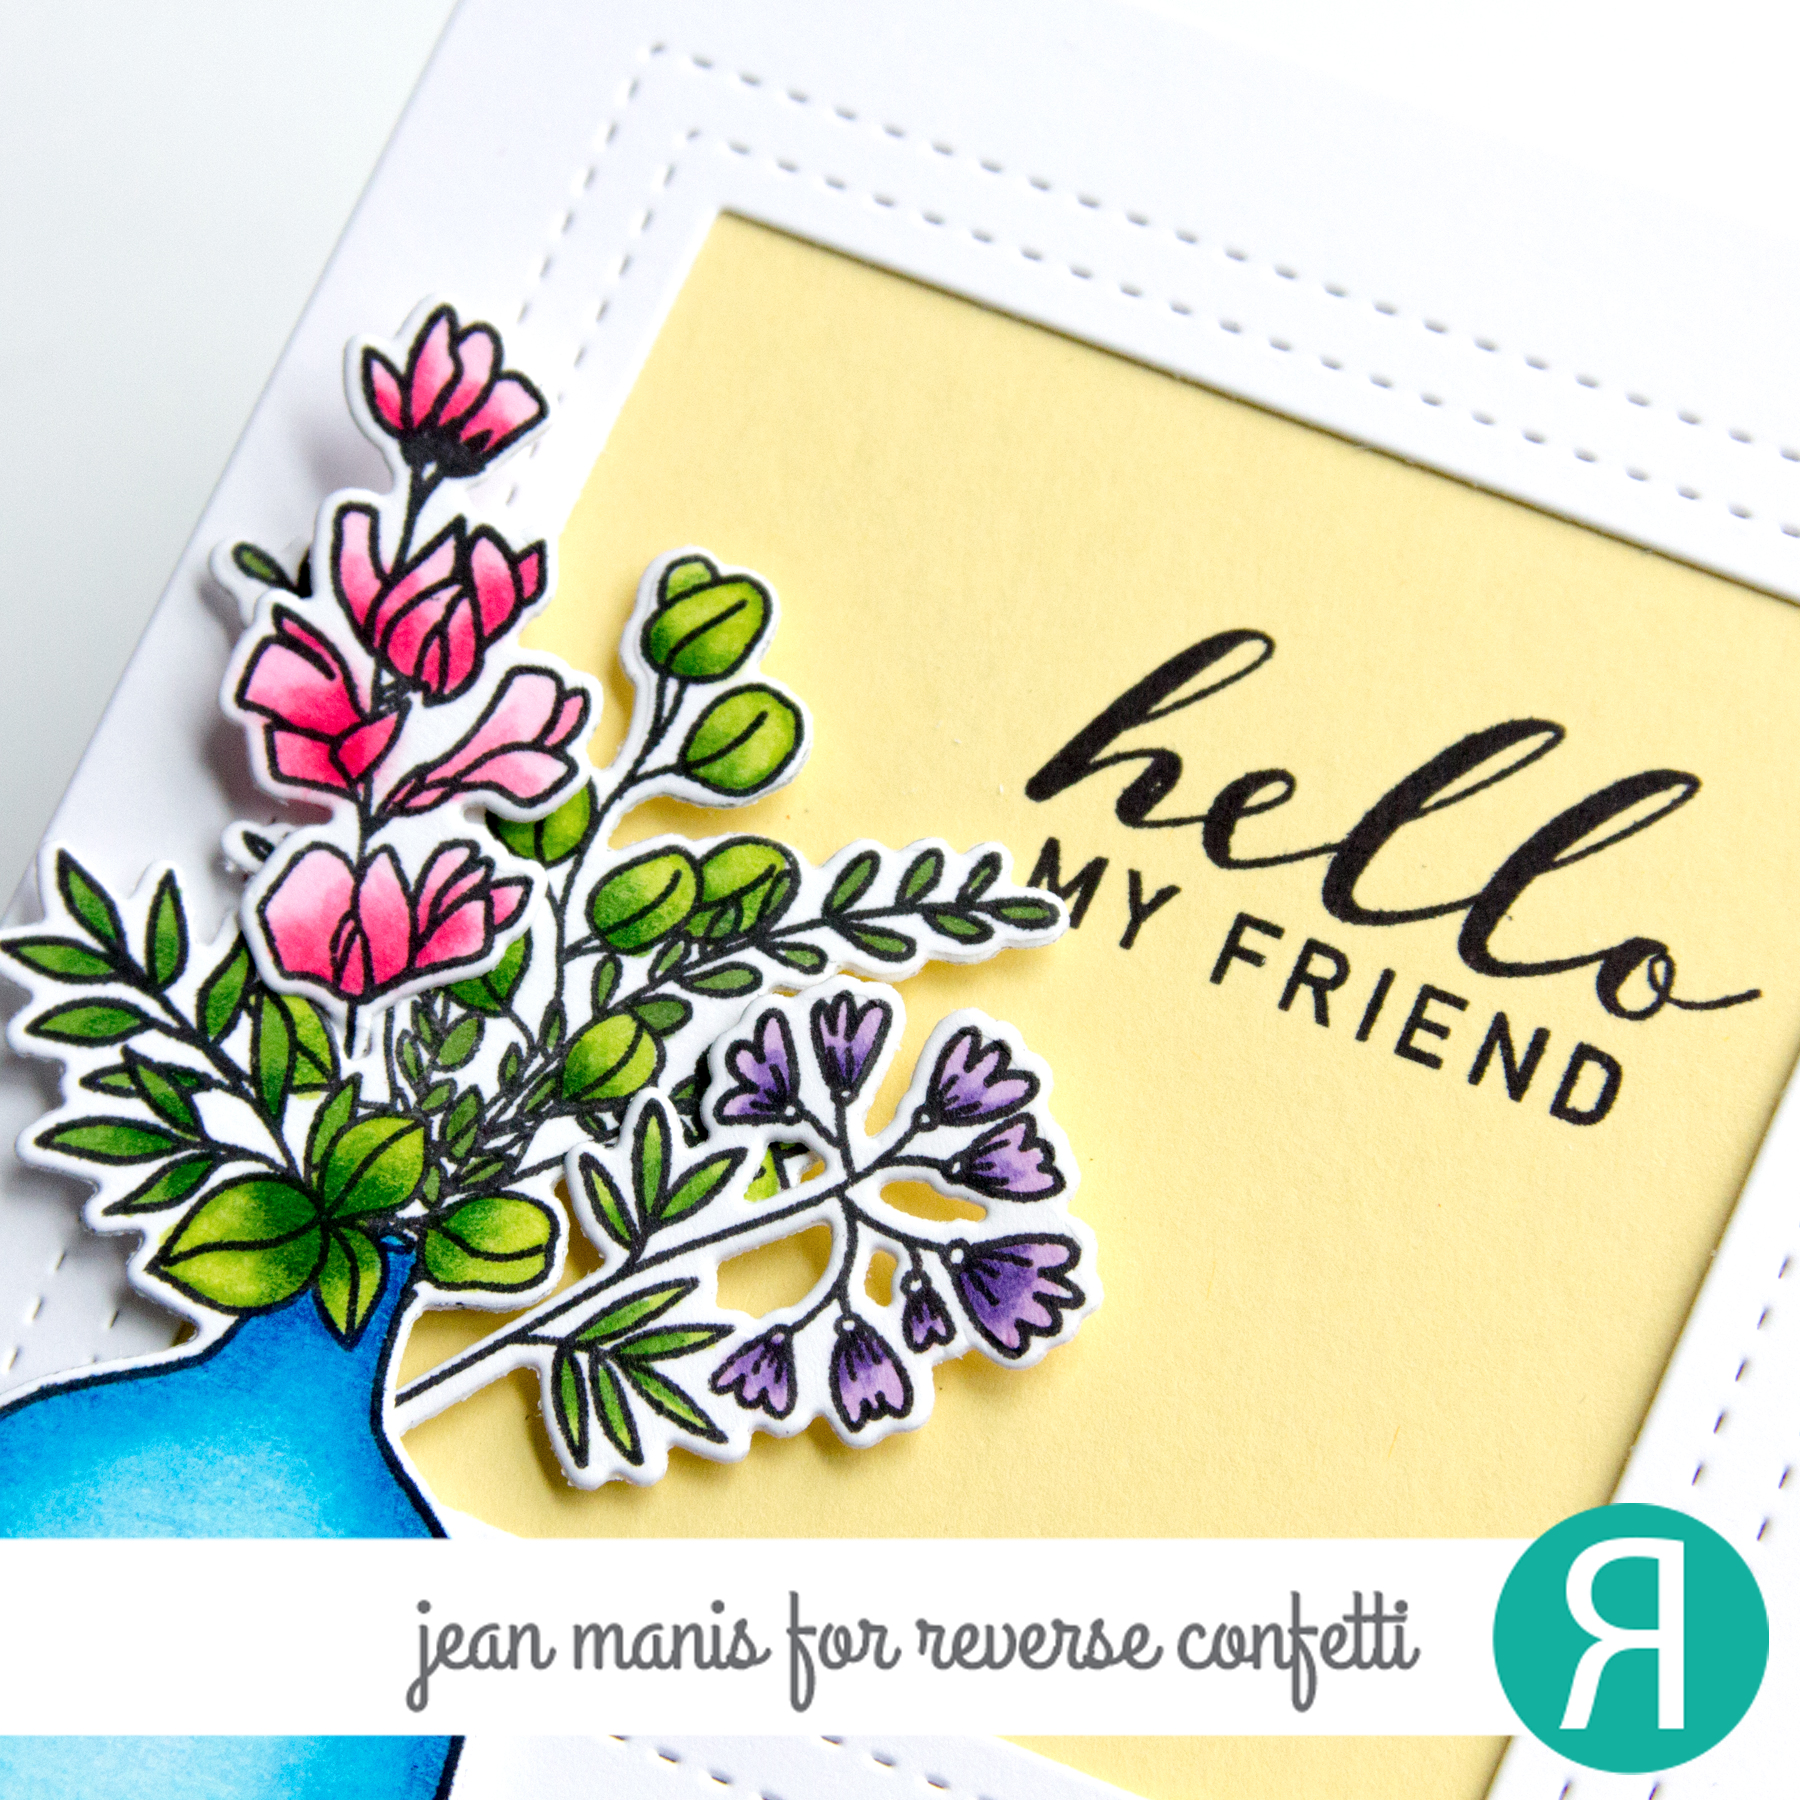
My first project combines the Botanical stamp set (which has a coordinating die set) and Mixed Messages, a sentiment stamp set. Both are terrific for friendship cards.

Reverse Confetti - November Countdown to Confetti Day One

  • I stamped the Botanical images, Copic colored them, and cut them with their coordinating dies.
  • I stamped the Mixed Messages sentiment and framed it with the Double Stitch Window.
  • I added the foliage to the front of the frame.

Reverse Confetti - November Countdown to Confetti Day One

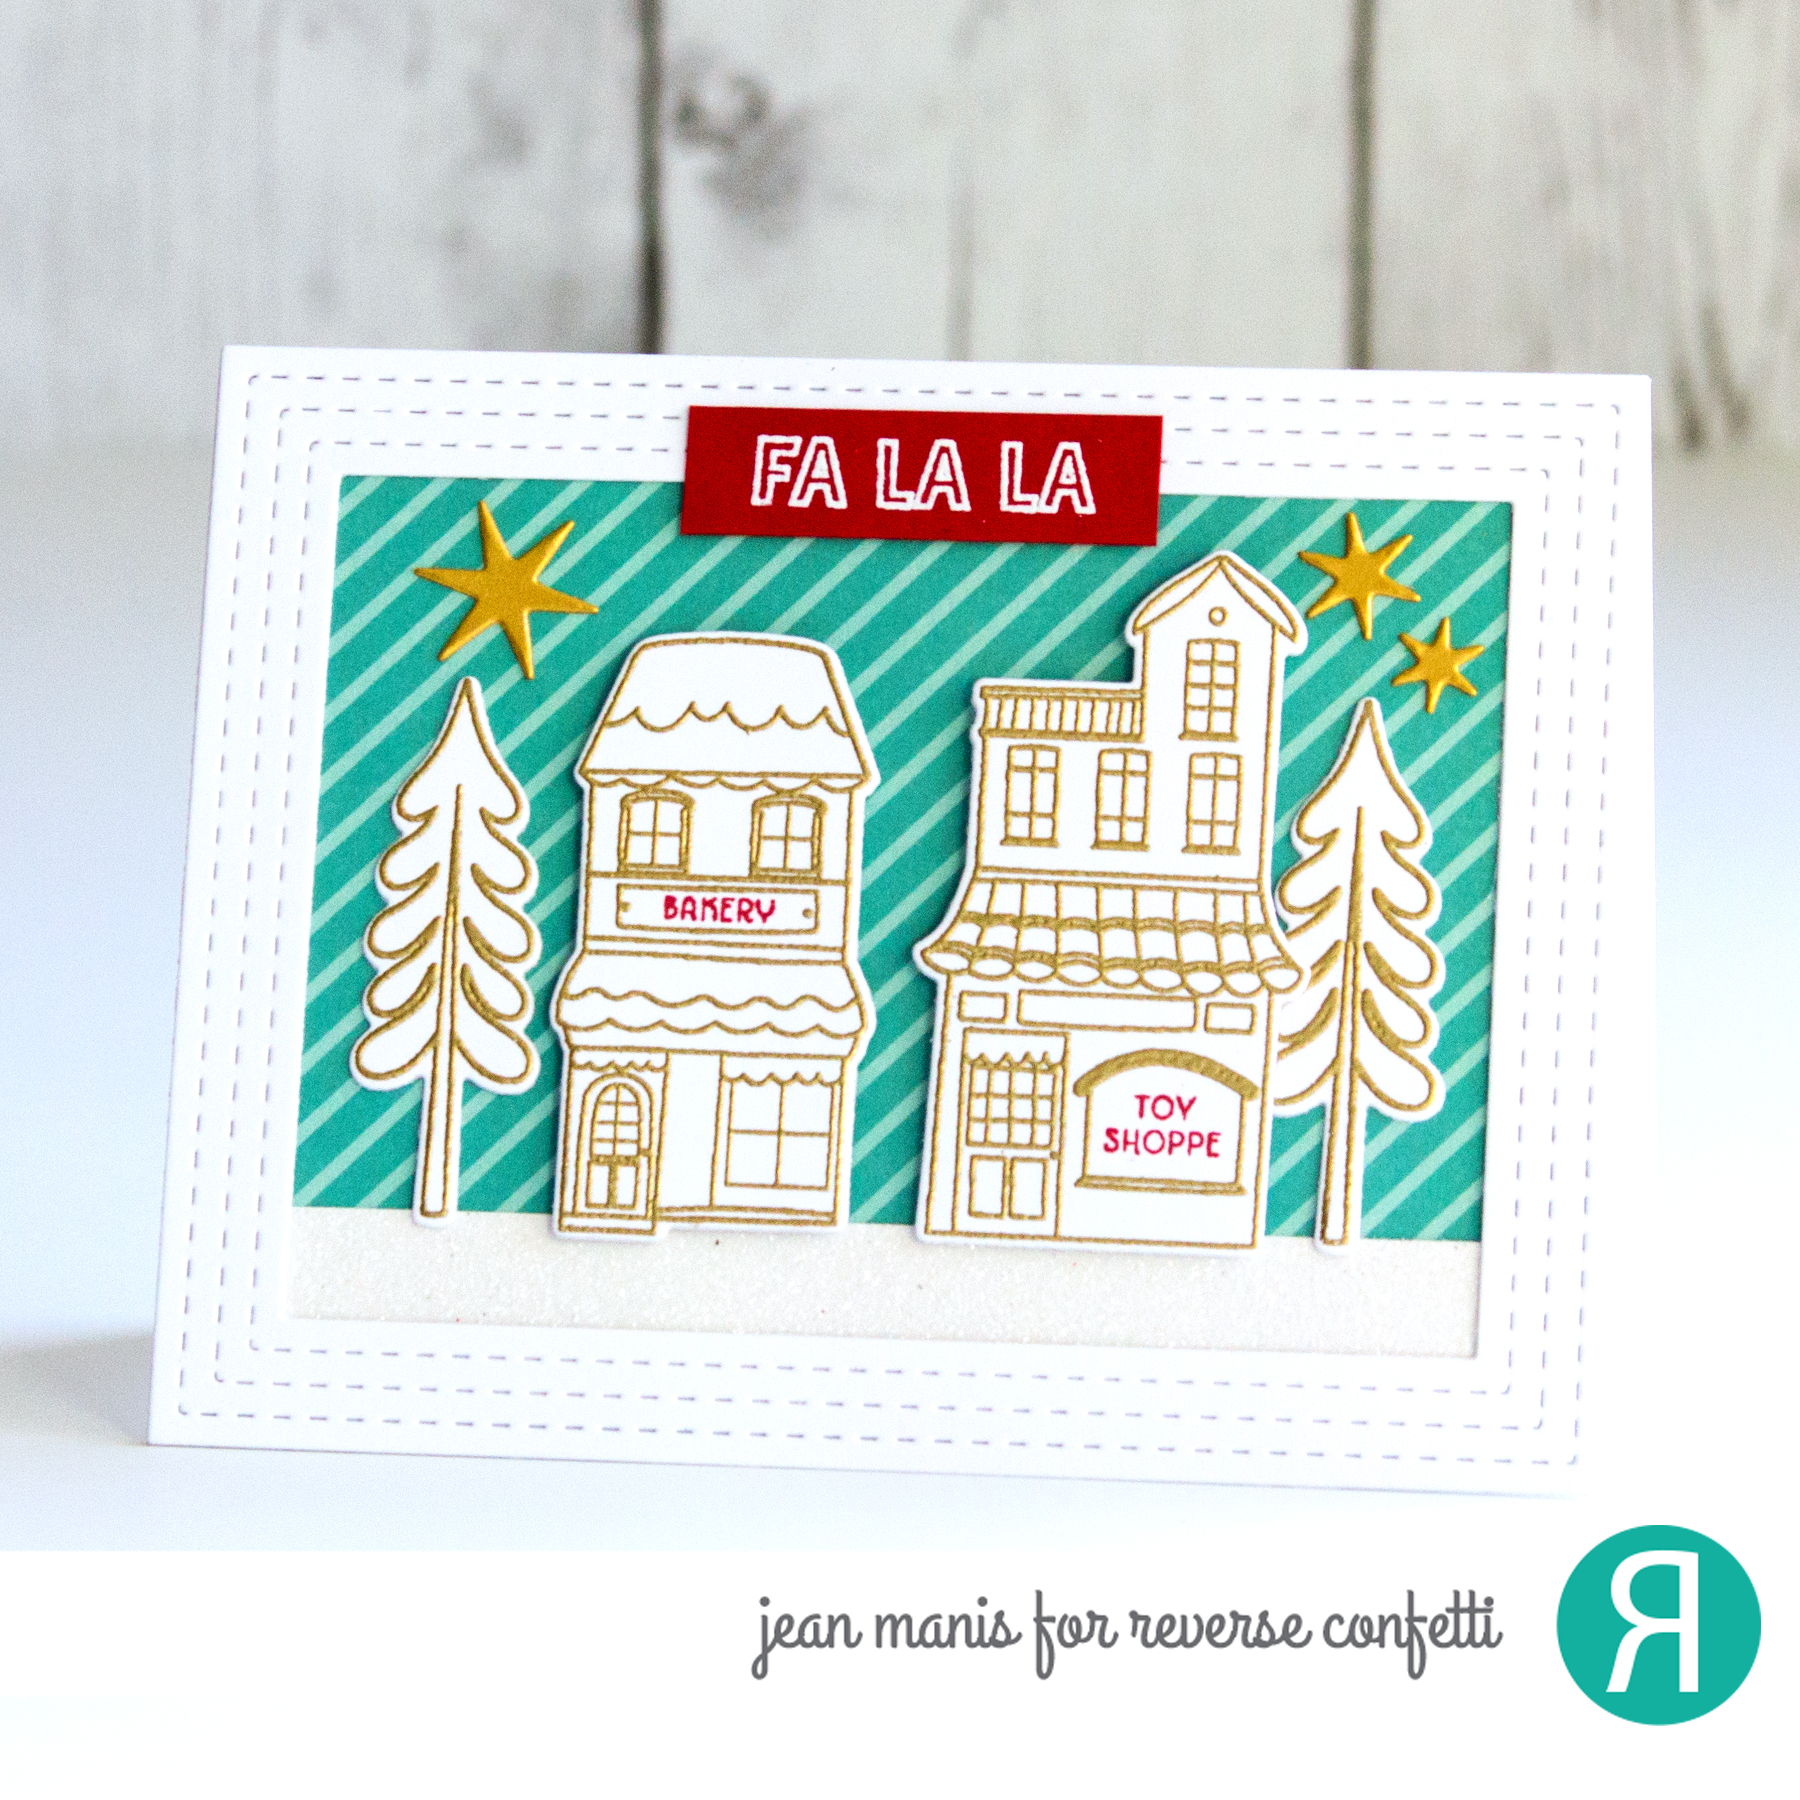
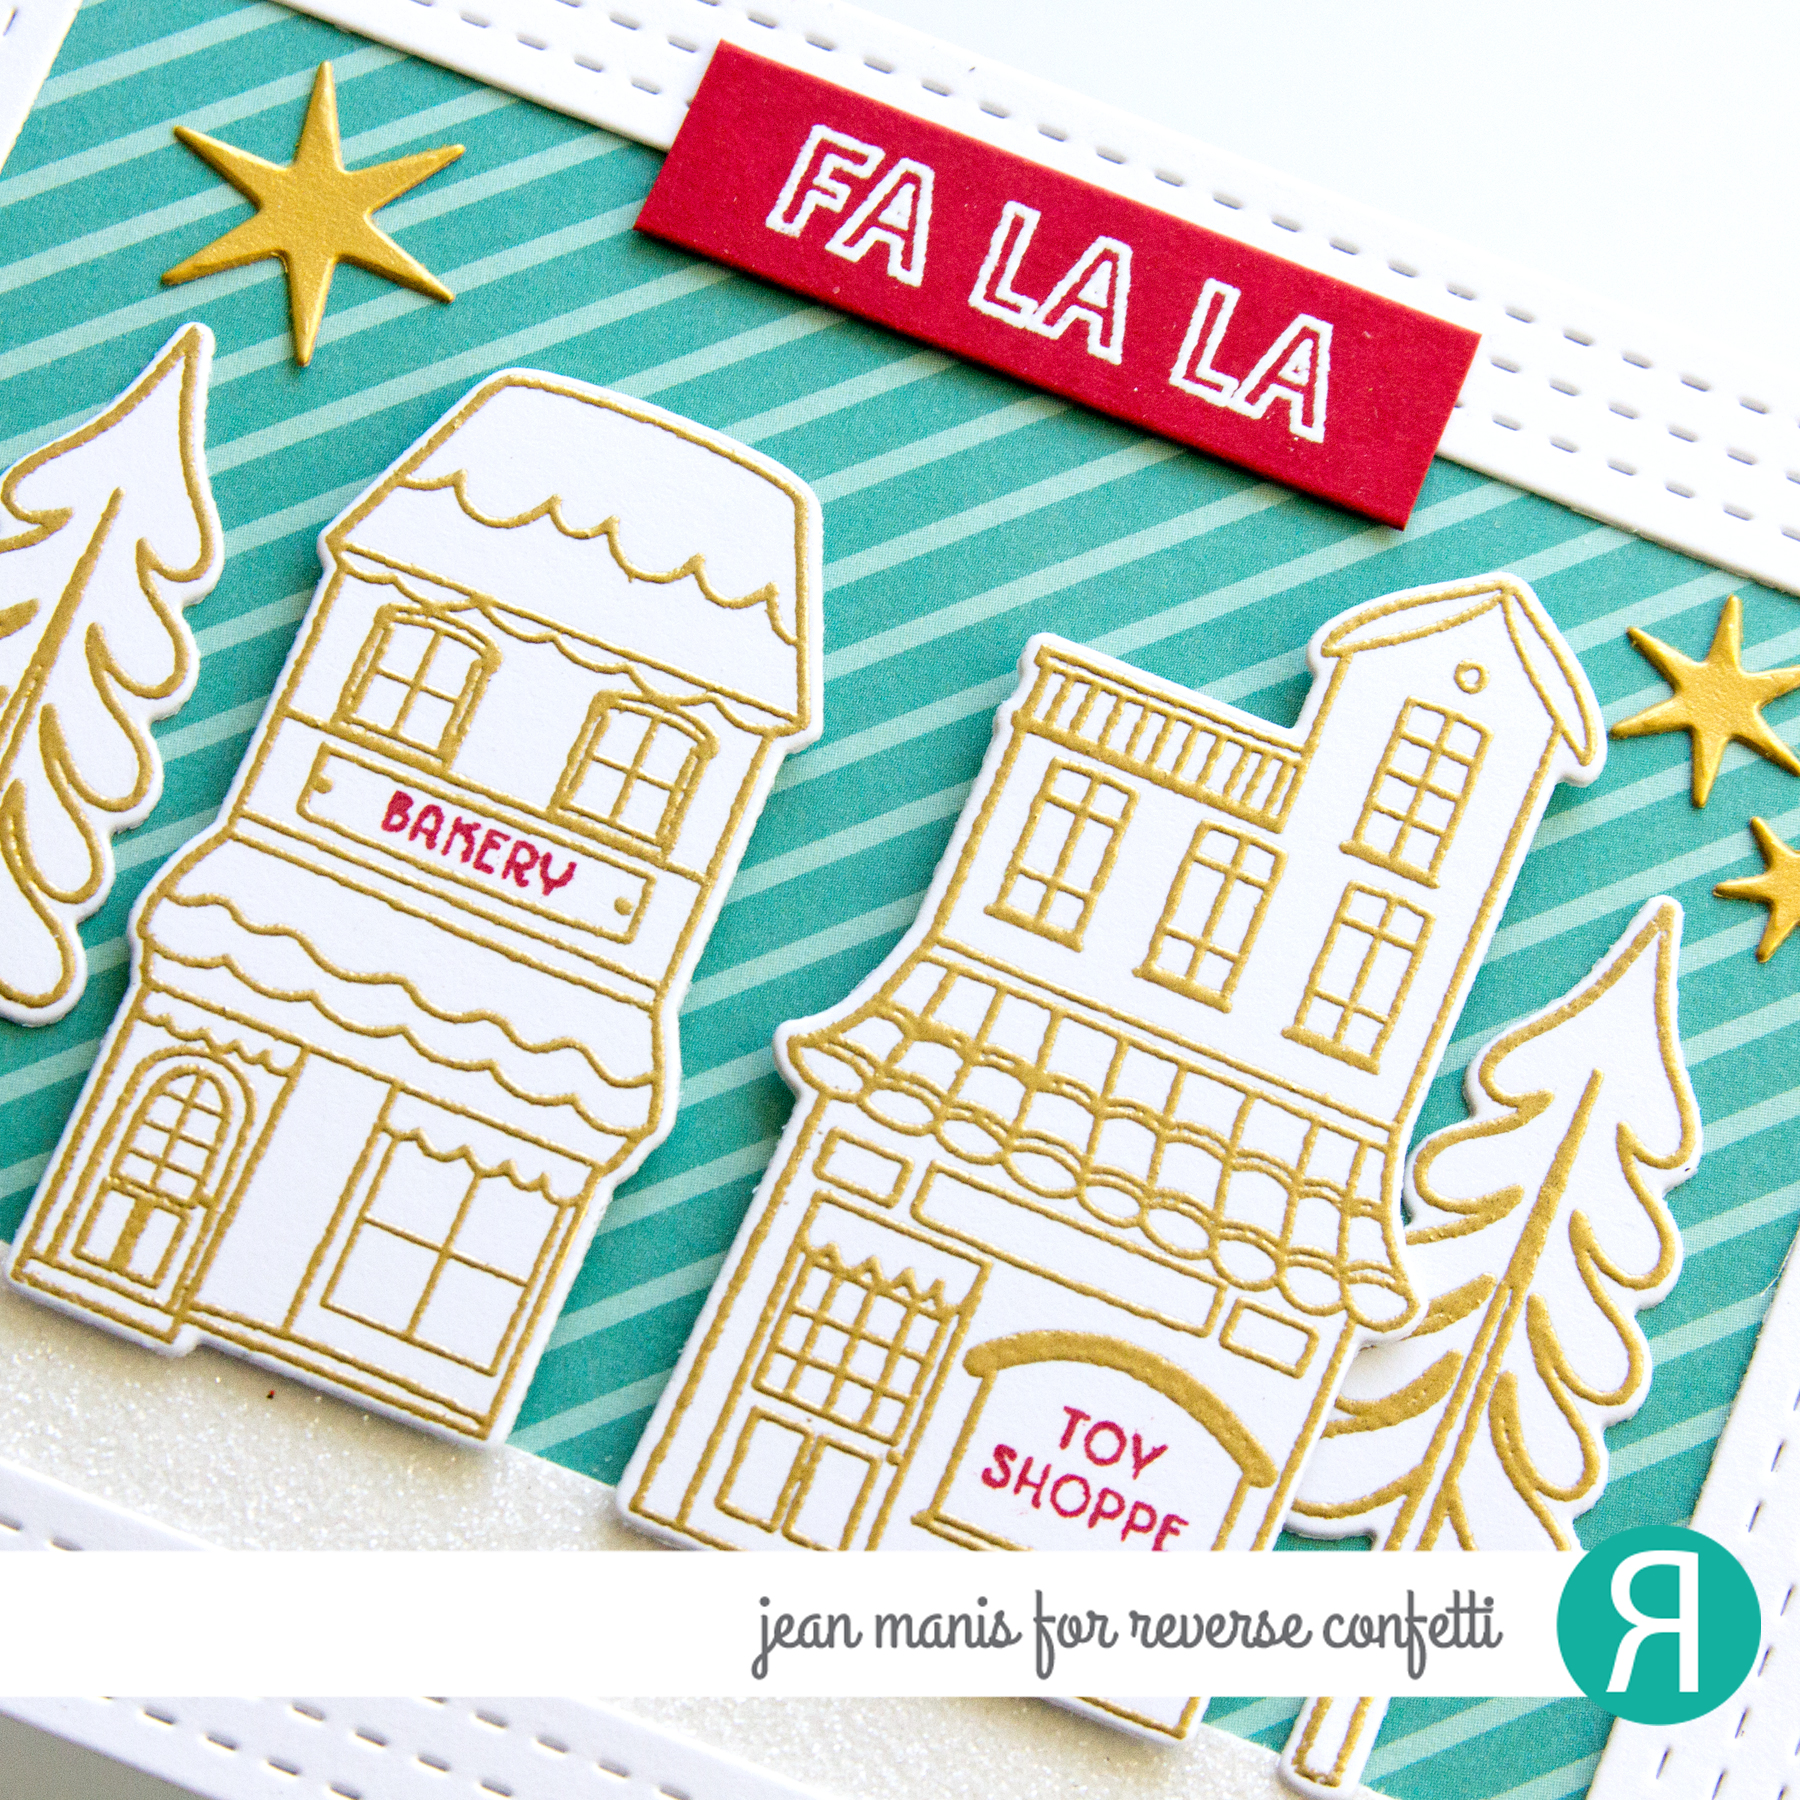
On my second card, I’ve used the Home for the Holidays stamp set, which has a coordinating die set.

Reverse Confetti - November Countdown to Confetti Day One

  • I heat-embossed the Home for the Holidays stores and trees in gold and cut them with their coordinating dies.
  • I added the store names in red ink.
  • I framed the scene, created with paper from the Sweet Stripes 6×6 Paper Pad and glittered cardstock with a Stitched Notes & Frames frame.
  • I added stars cut from gold cardstock with the Starstruck Cover Plate (a standalone die in the release).
  • I heat-embossed the Seasonal Say It All sentiment on Salsa cardstock.

Reverse Confetti - November Countdown to Confetti Day One

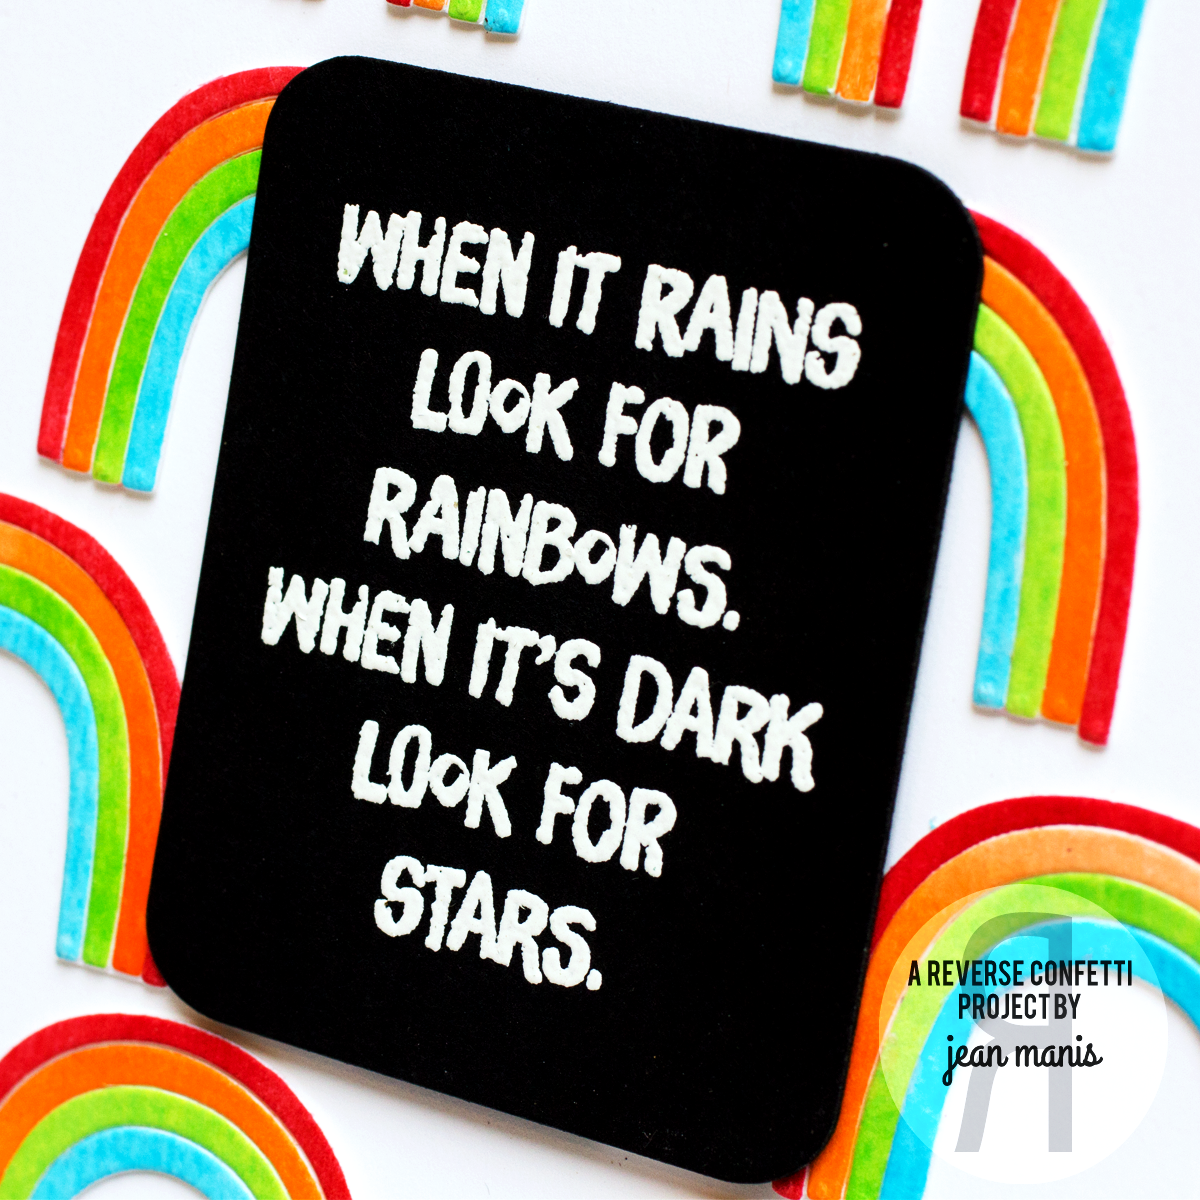
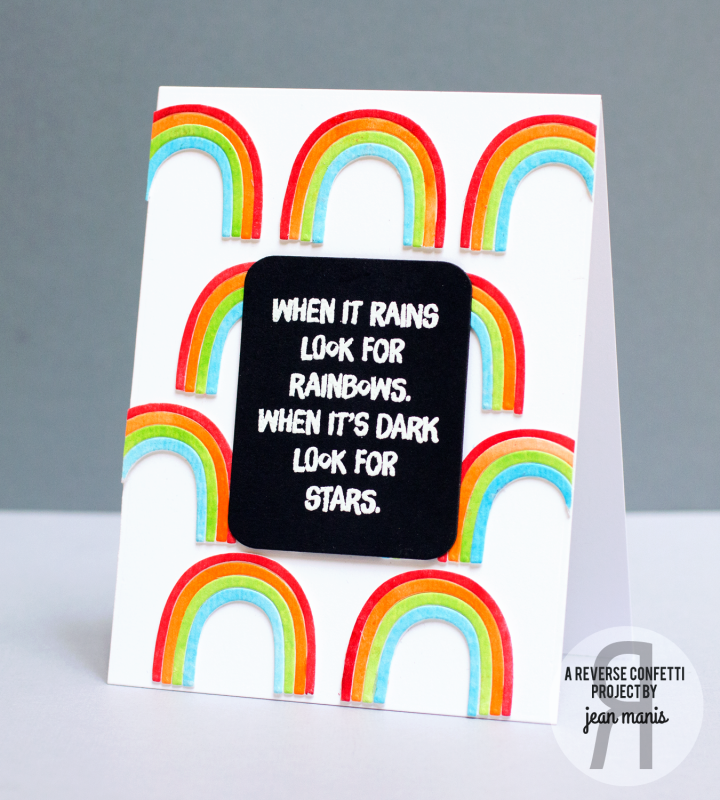
Reverse Confetti “Look for Rainbows”

Today, I’m sharing a CAS encouragement card using Reverse Confetti stamps and dies.

Jean Manis Reverse Confetti CAS Inspirational

I cut the rainbows out of watercolored paper with one of the dies  in the Weather It Together set (I cut a red rainbow, orange rainbow, green rainbow and blue rainbow each nine times) and adhered the rainbows to the card base. I heat-embossed one of the sentiments from the Shine From Within set on black cardstock and cut it with a die in the Class Act set, adhering the panel to the card base with dimensional adhesive.

No matter what the season, this sentiment is always appropriate!