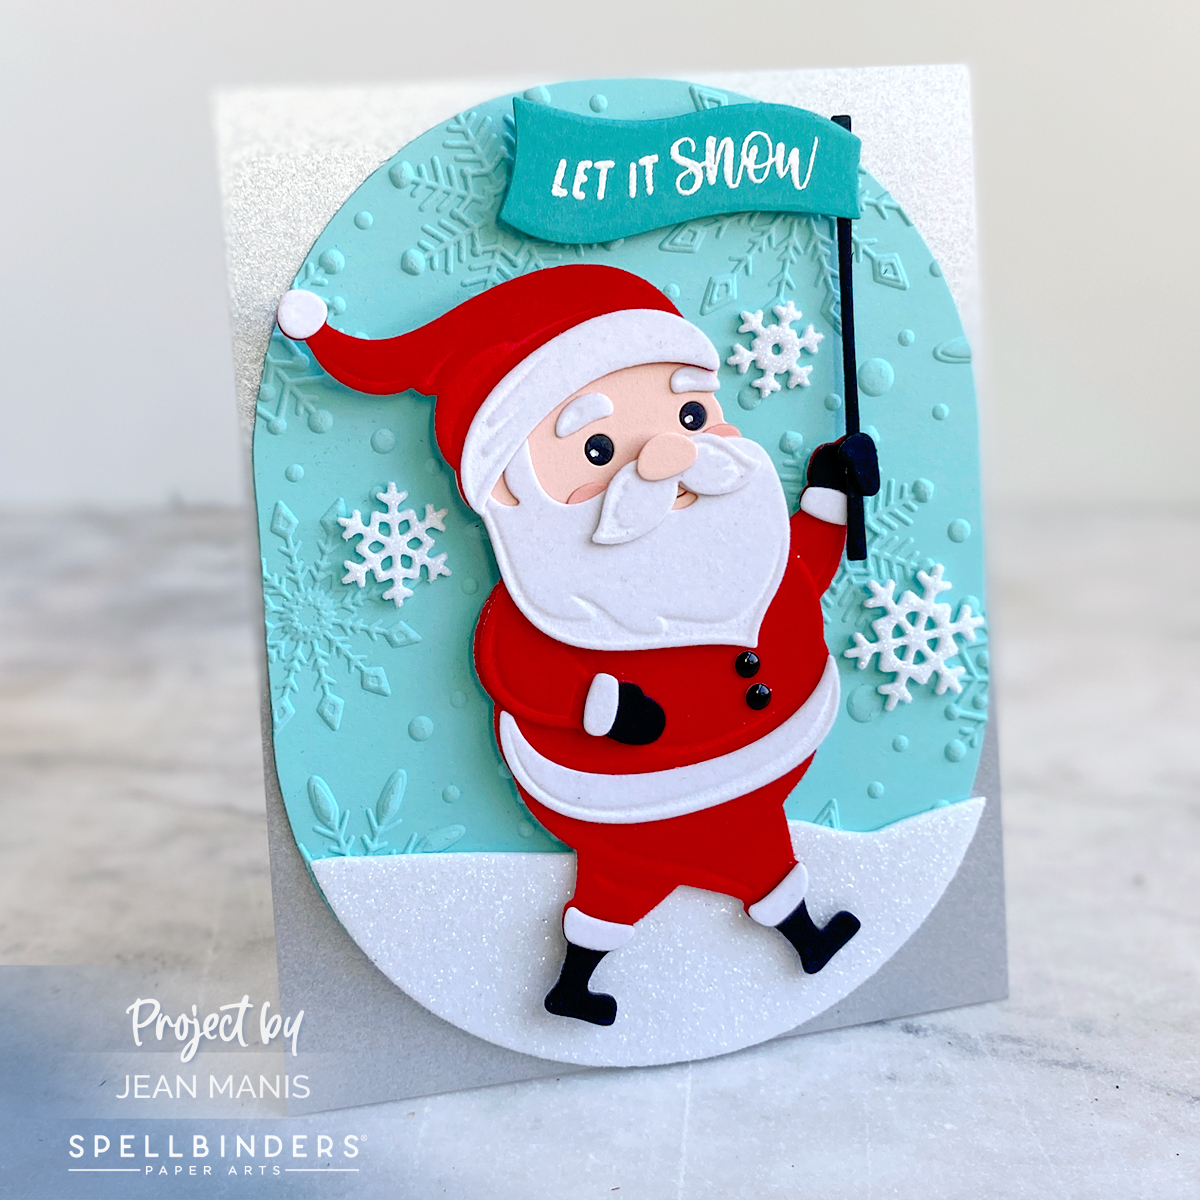
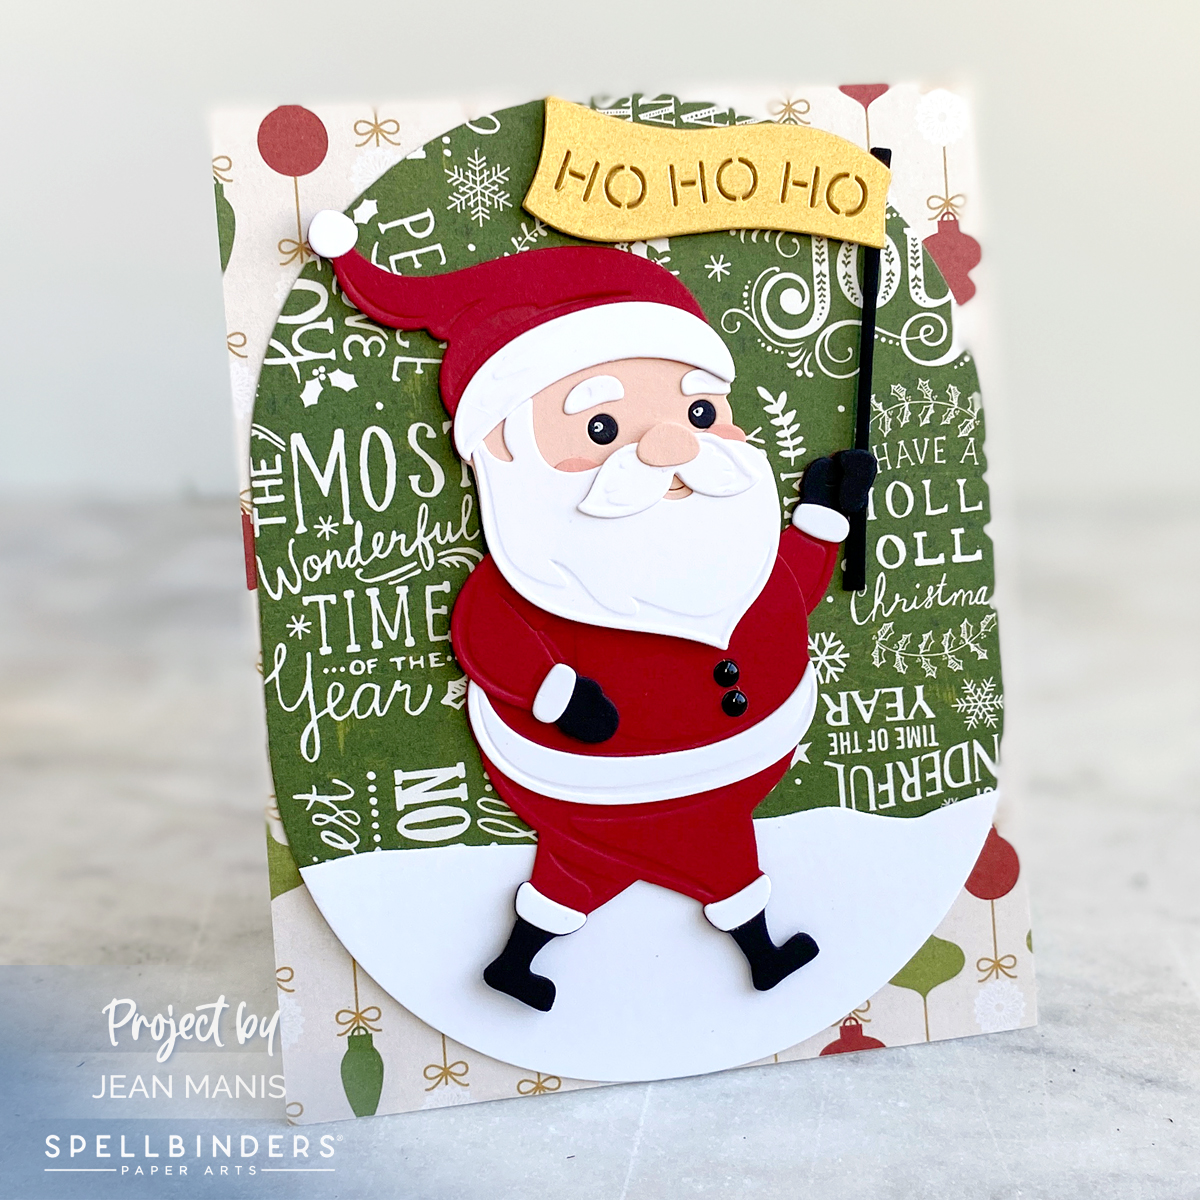
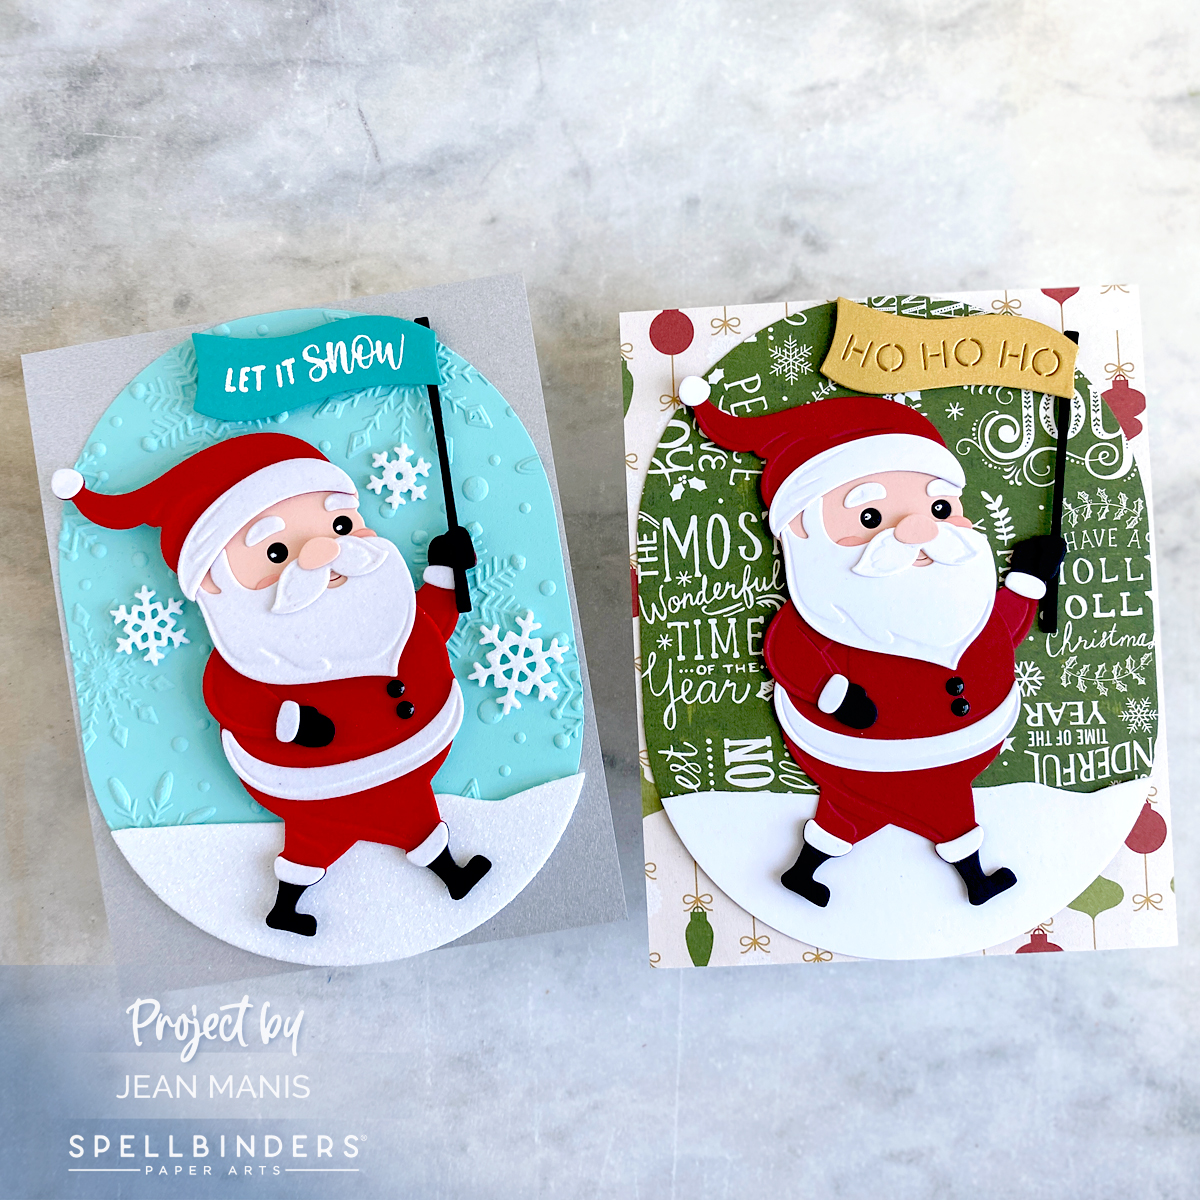
Hello and “Ho! Ho! Ho”! In the world of holiday paper crafting, there’s something magical about taking a single die set and creating variations. Today, I am showcasing the adorable Spellbinders Small Die of the Month kit titled “Big Jolly Santa.” This Santa is a standout that nicely fills an A2-size card. Keep reading for directions on how to make the two cards. You can also head HERE for a tutorial on how to use the set.
-
- To begin, create card front from Brushed Silver cardstock OR cut patterned paper (older Christmas paper from Echo Park in my stash). Add to A2-size card base.
- With the largest die in the Stylish Ovals set, cut Waterfall cardstock and dry-emboss with the Flurry of Snowflakes folder OR cut oval from patterned paper (flip side of the Echo Park Christmas paper used for the card front).
- Die-cut Santa pieces with the Big Jolly Santa set from a variety of cardstock materials. Cardstock in the Crushed Velvet Assortment pack was used for the Santa on the Waterfall background. Assemble. Add enamel dots for buttons. I used a Uni-Ball Signo Broad Point Gel Impact Pen White to create the catchlights in the eyes.
- With dies in the Big Jolly Santa set, cut sentiment sign from Brushed Gold cardstock OR heat-emboss sentiment in the Big Jolly Santa Sentiments set on Teal Topaz cardstock and cut with the banner die.
- Cut Glitter Foam OR Snowdrift cardstock with snowline die in the Camper Life set. Cut snow with largest die in the Stylish Ovals set and adhere to the oval background.
- Adhere Santas to cards. Embellish with snowflakes cut from Glitter Foam.
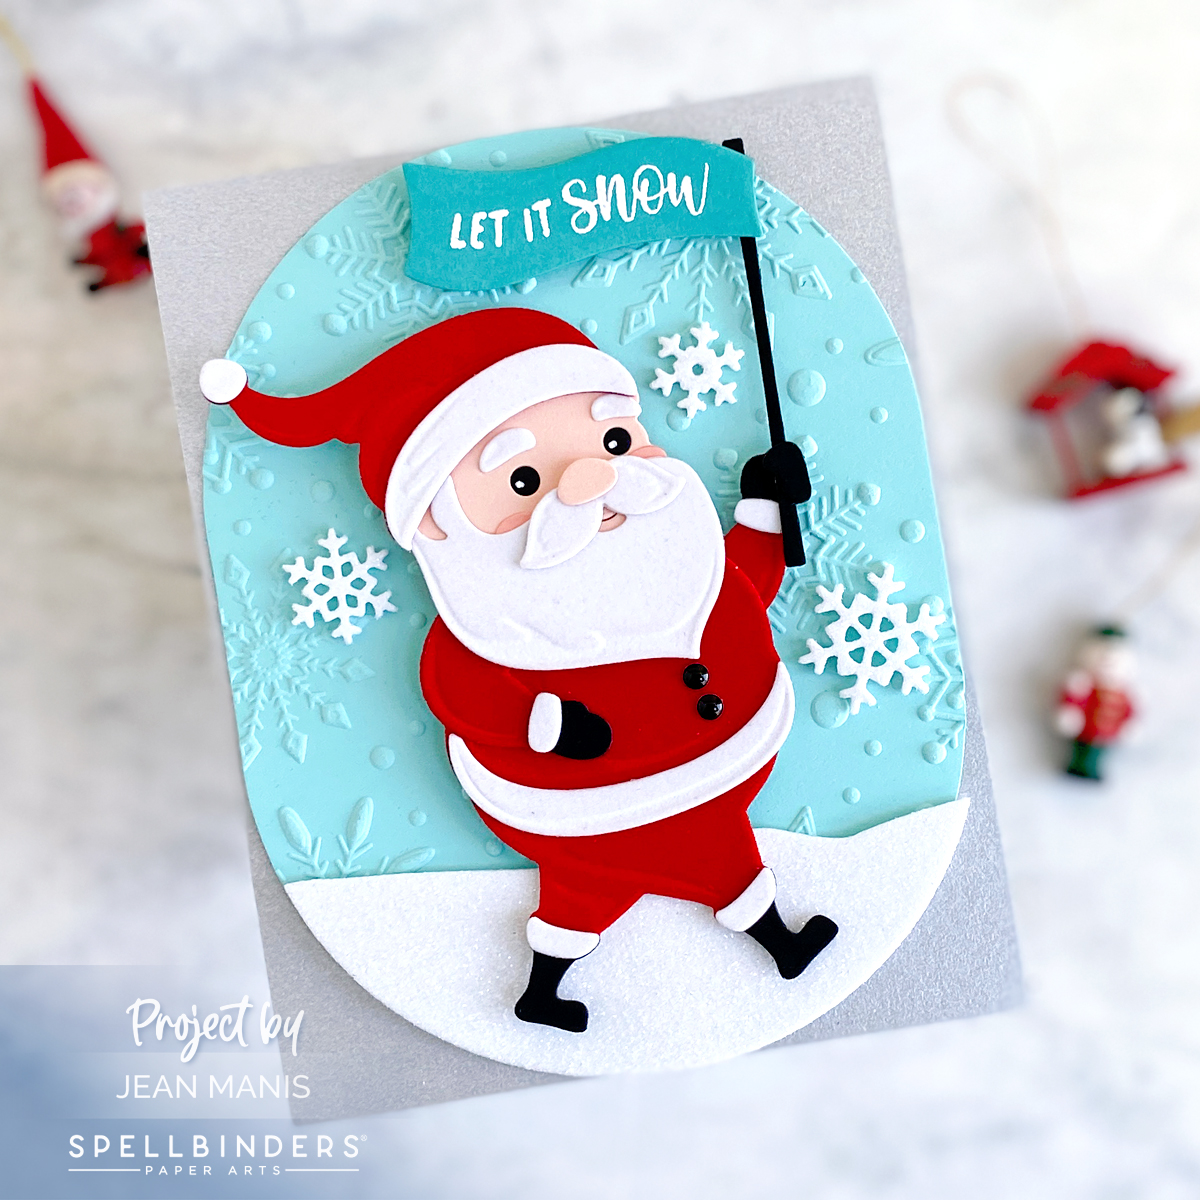
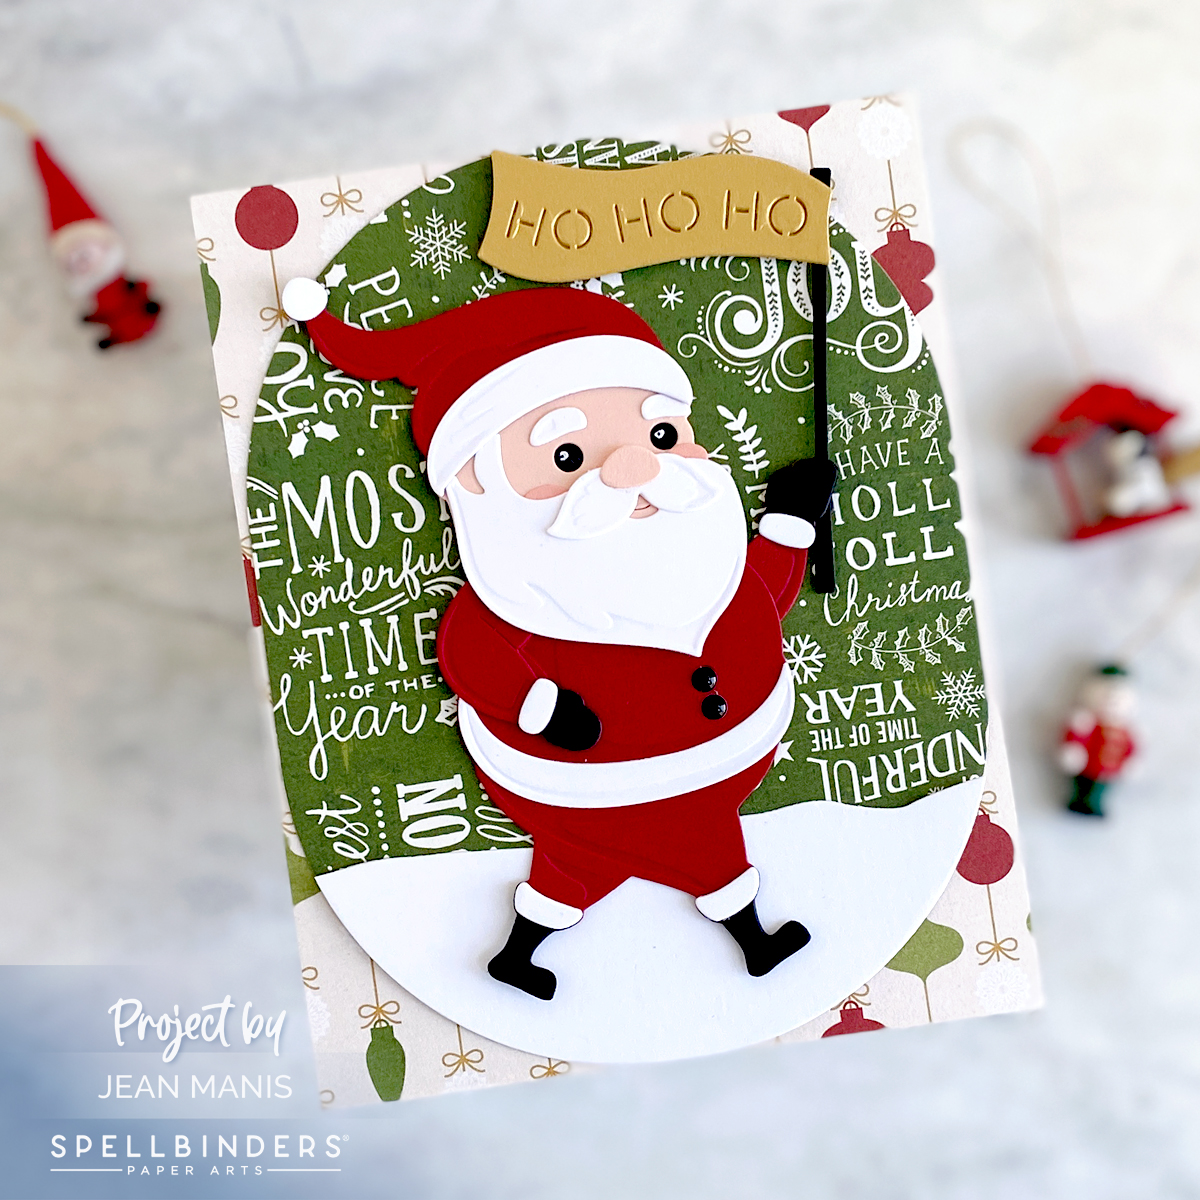
With just different cardstock colors and background choices, the feeling of the card changes!


Both cards are so fun! Love all the texture you get using all different types of cardstock. Cute cards.
Just love both your darling Santas, Jean!! He looks so cute with the snowflake texture and also with the patterned green (I think I have that paper!)!!
Great textures and color combos.