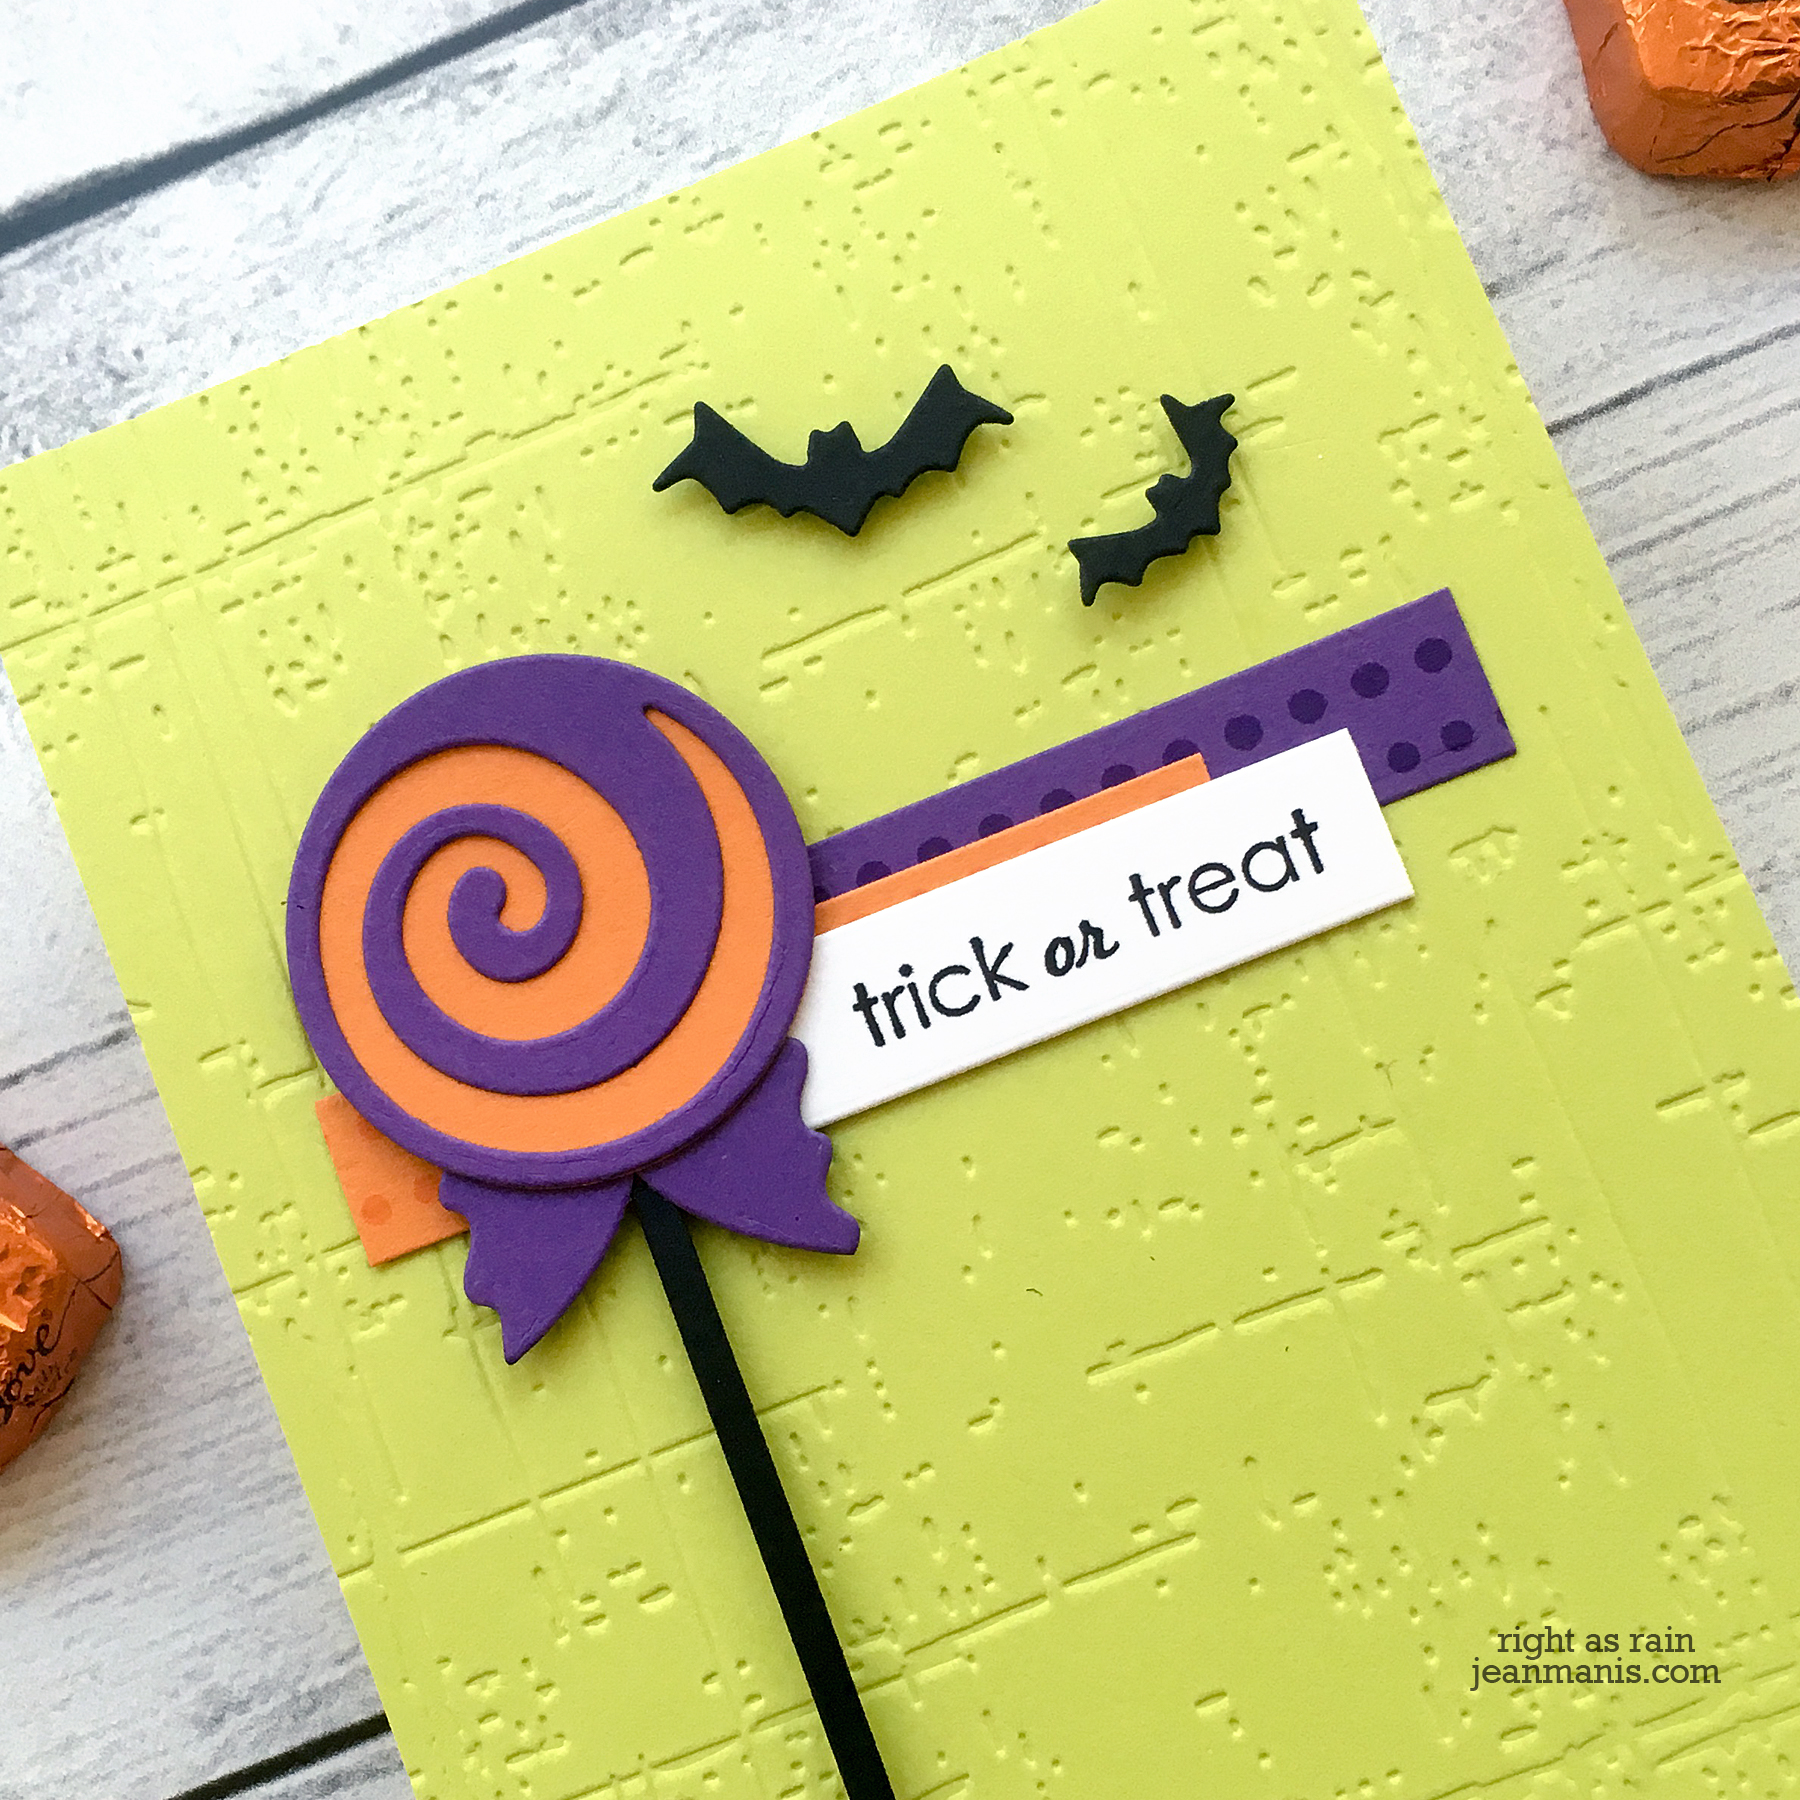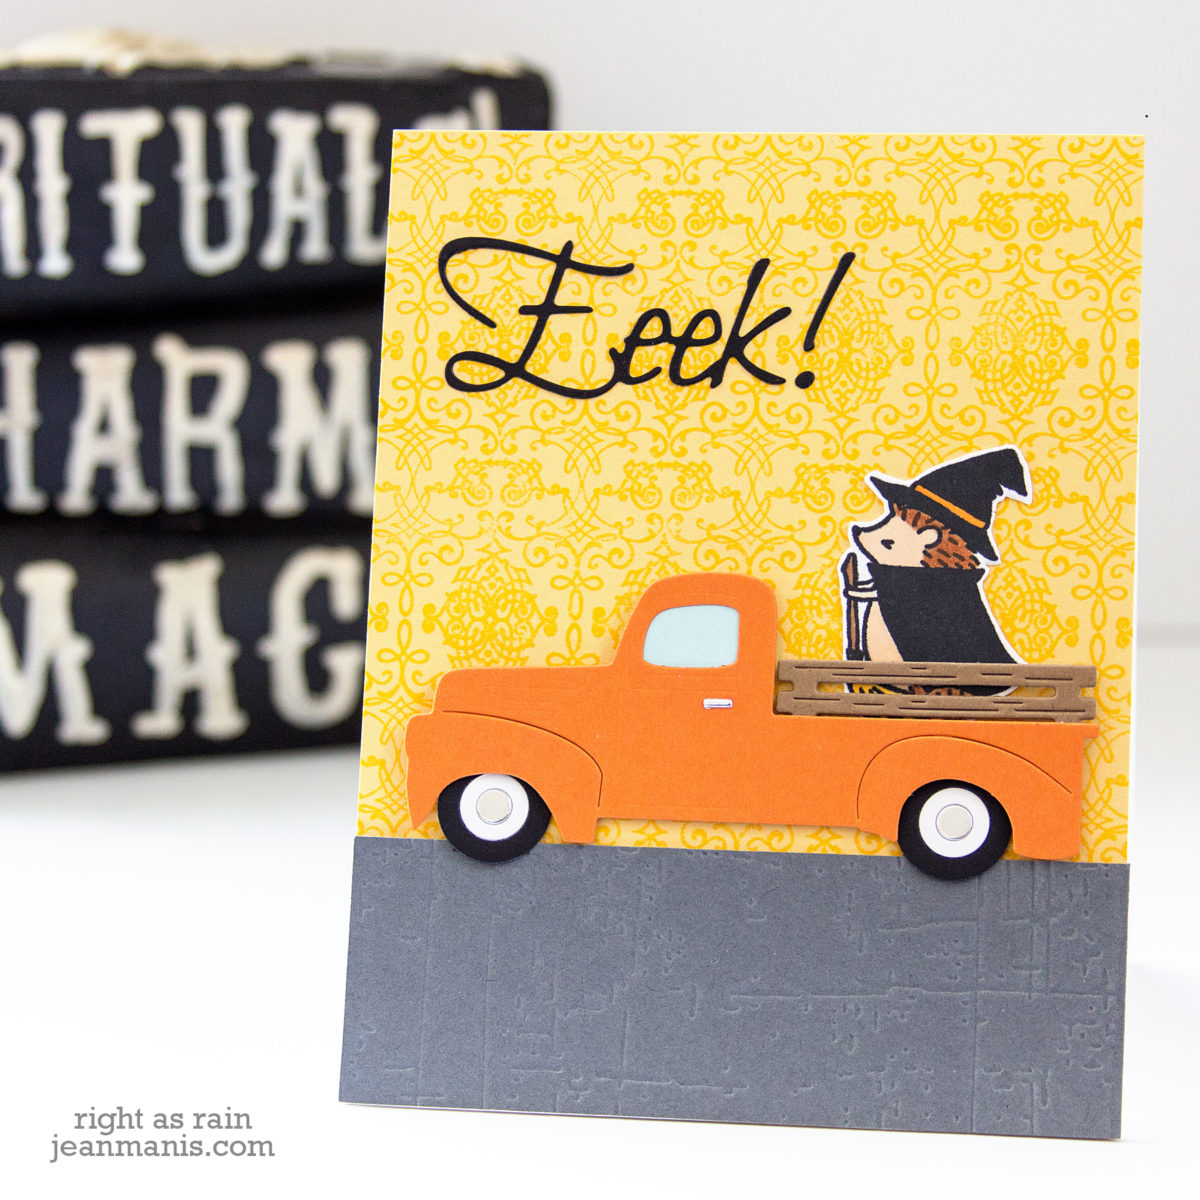
Hello! Today, I am sharing a card in which I’ve combined several Penny Black supplies in a Halloween scene.

I die-cut the #51-571 Vintage Truck and assembled it. (This die set includes an evergreen tree die for a Christmas scene, which I plan to create in a few weeks.)
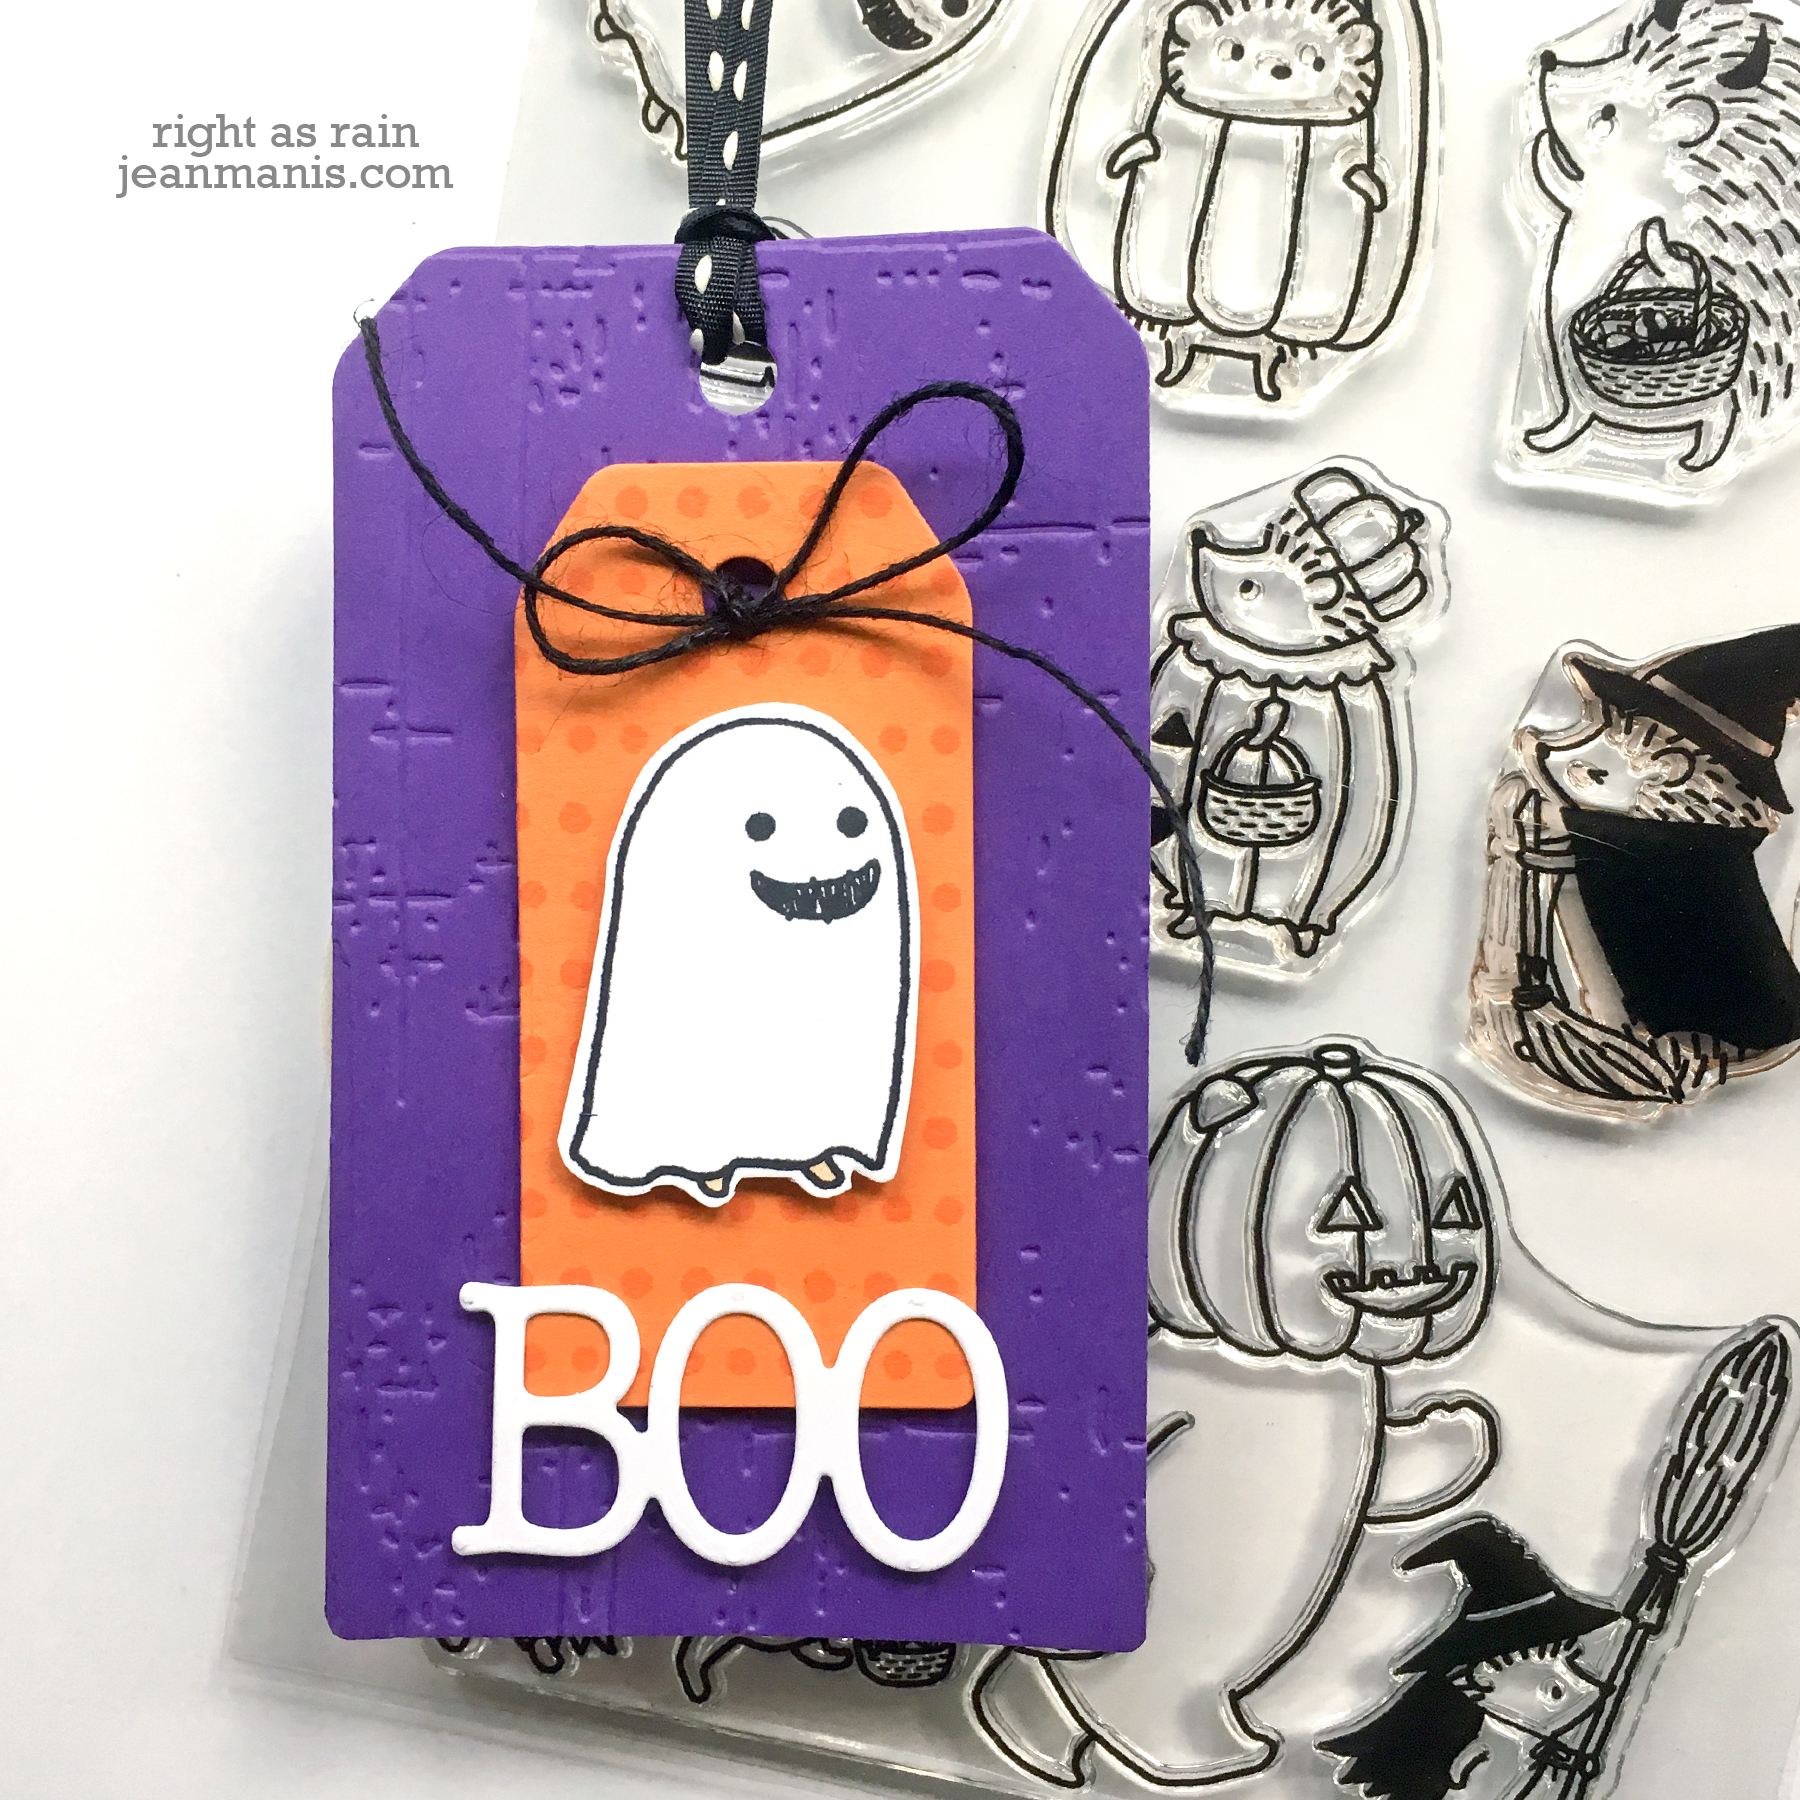
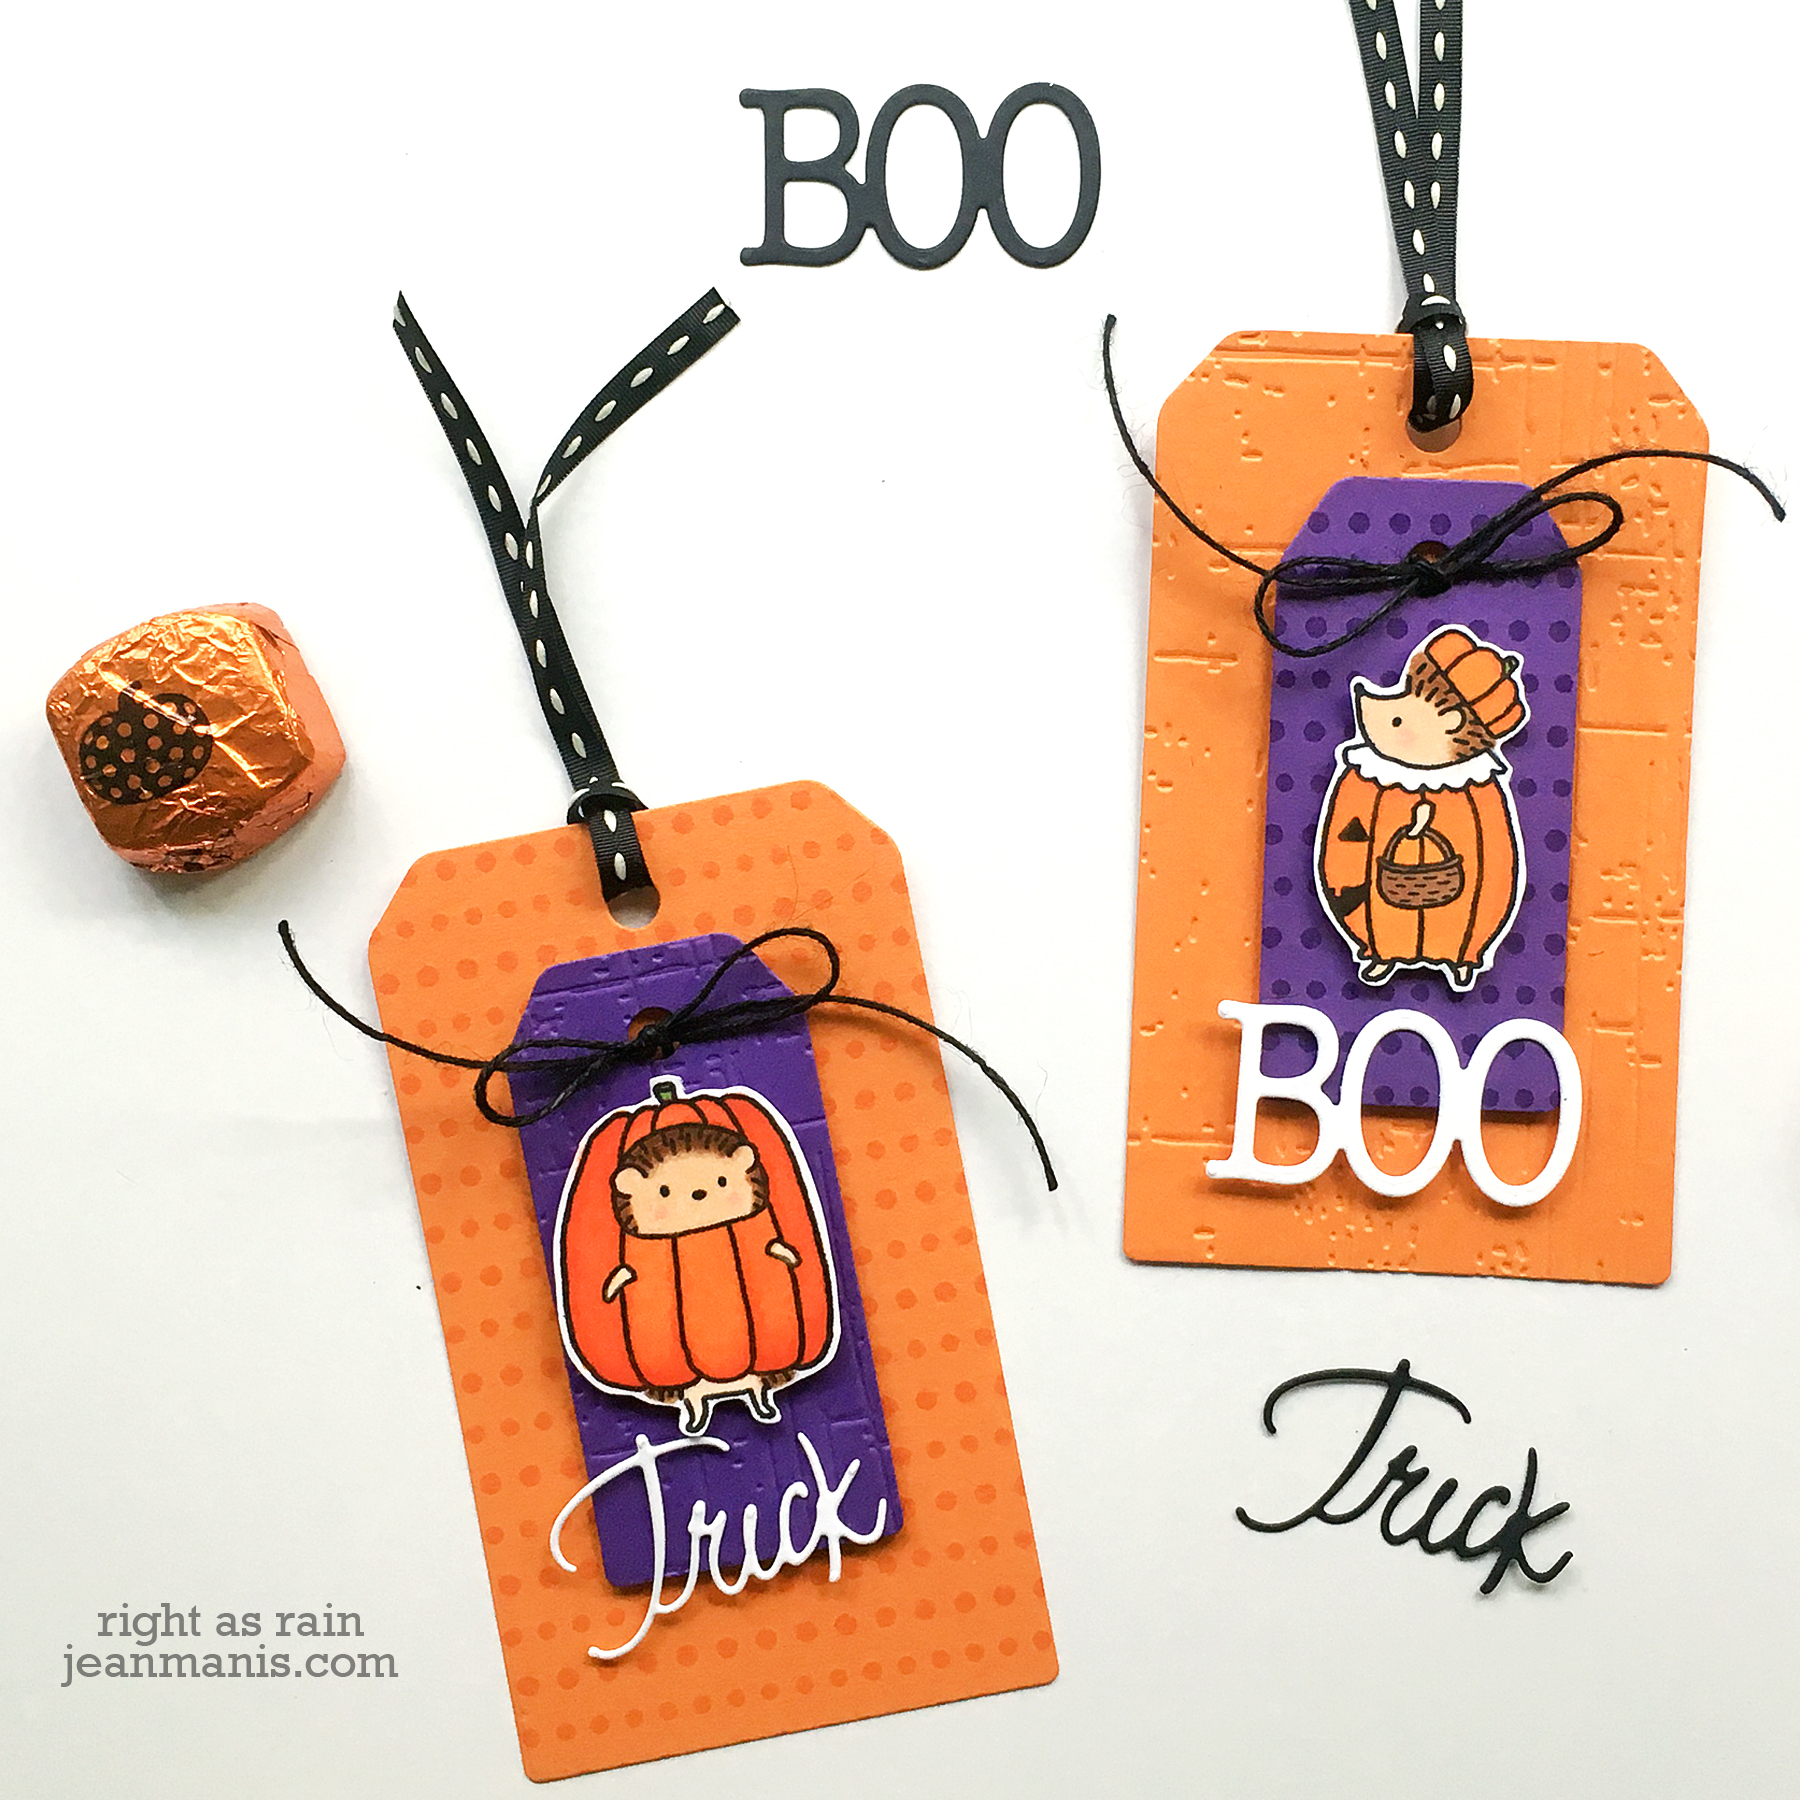
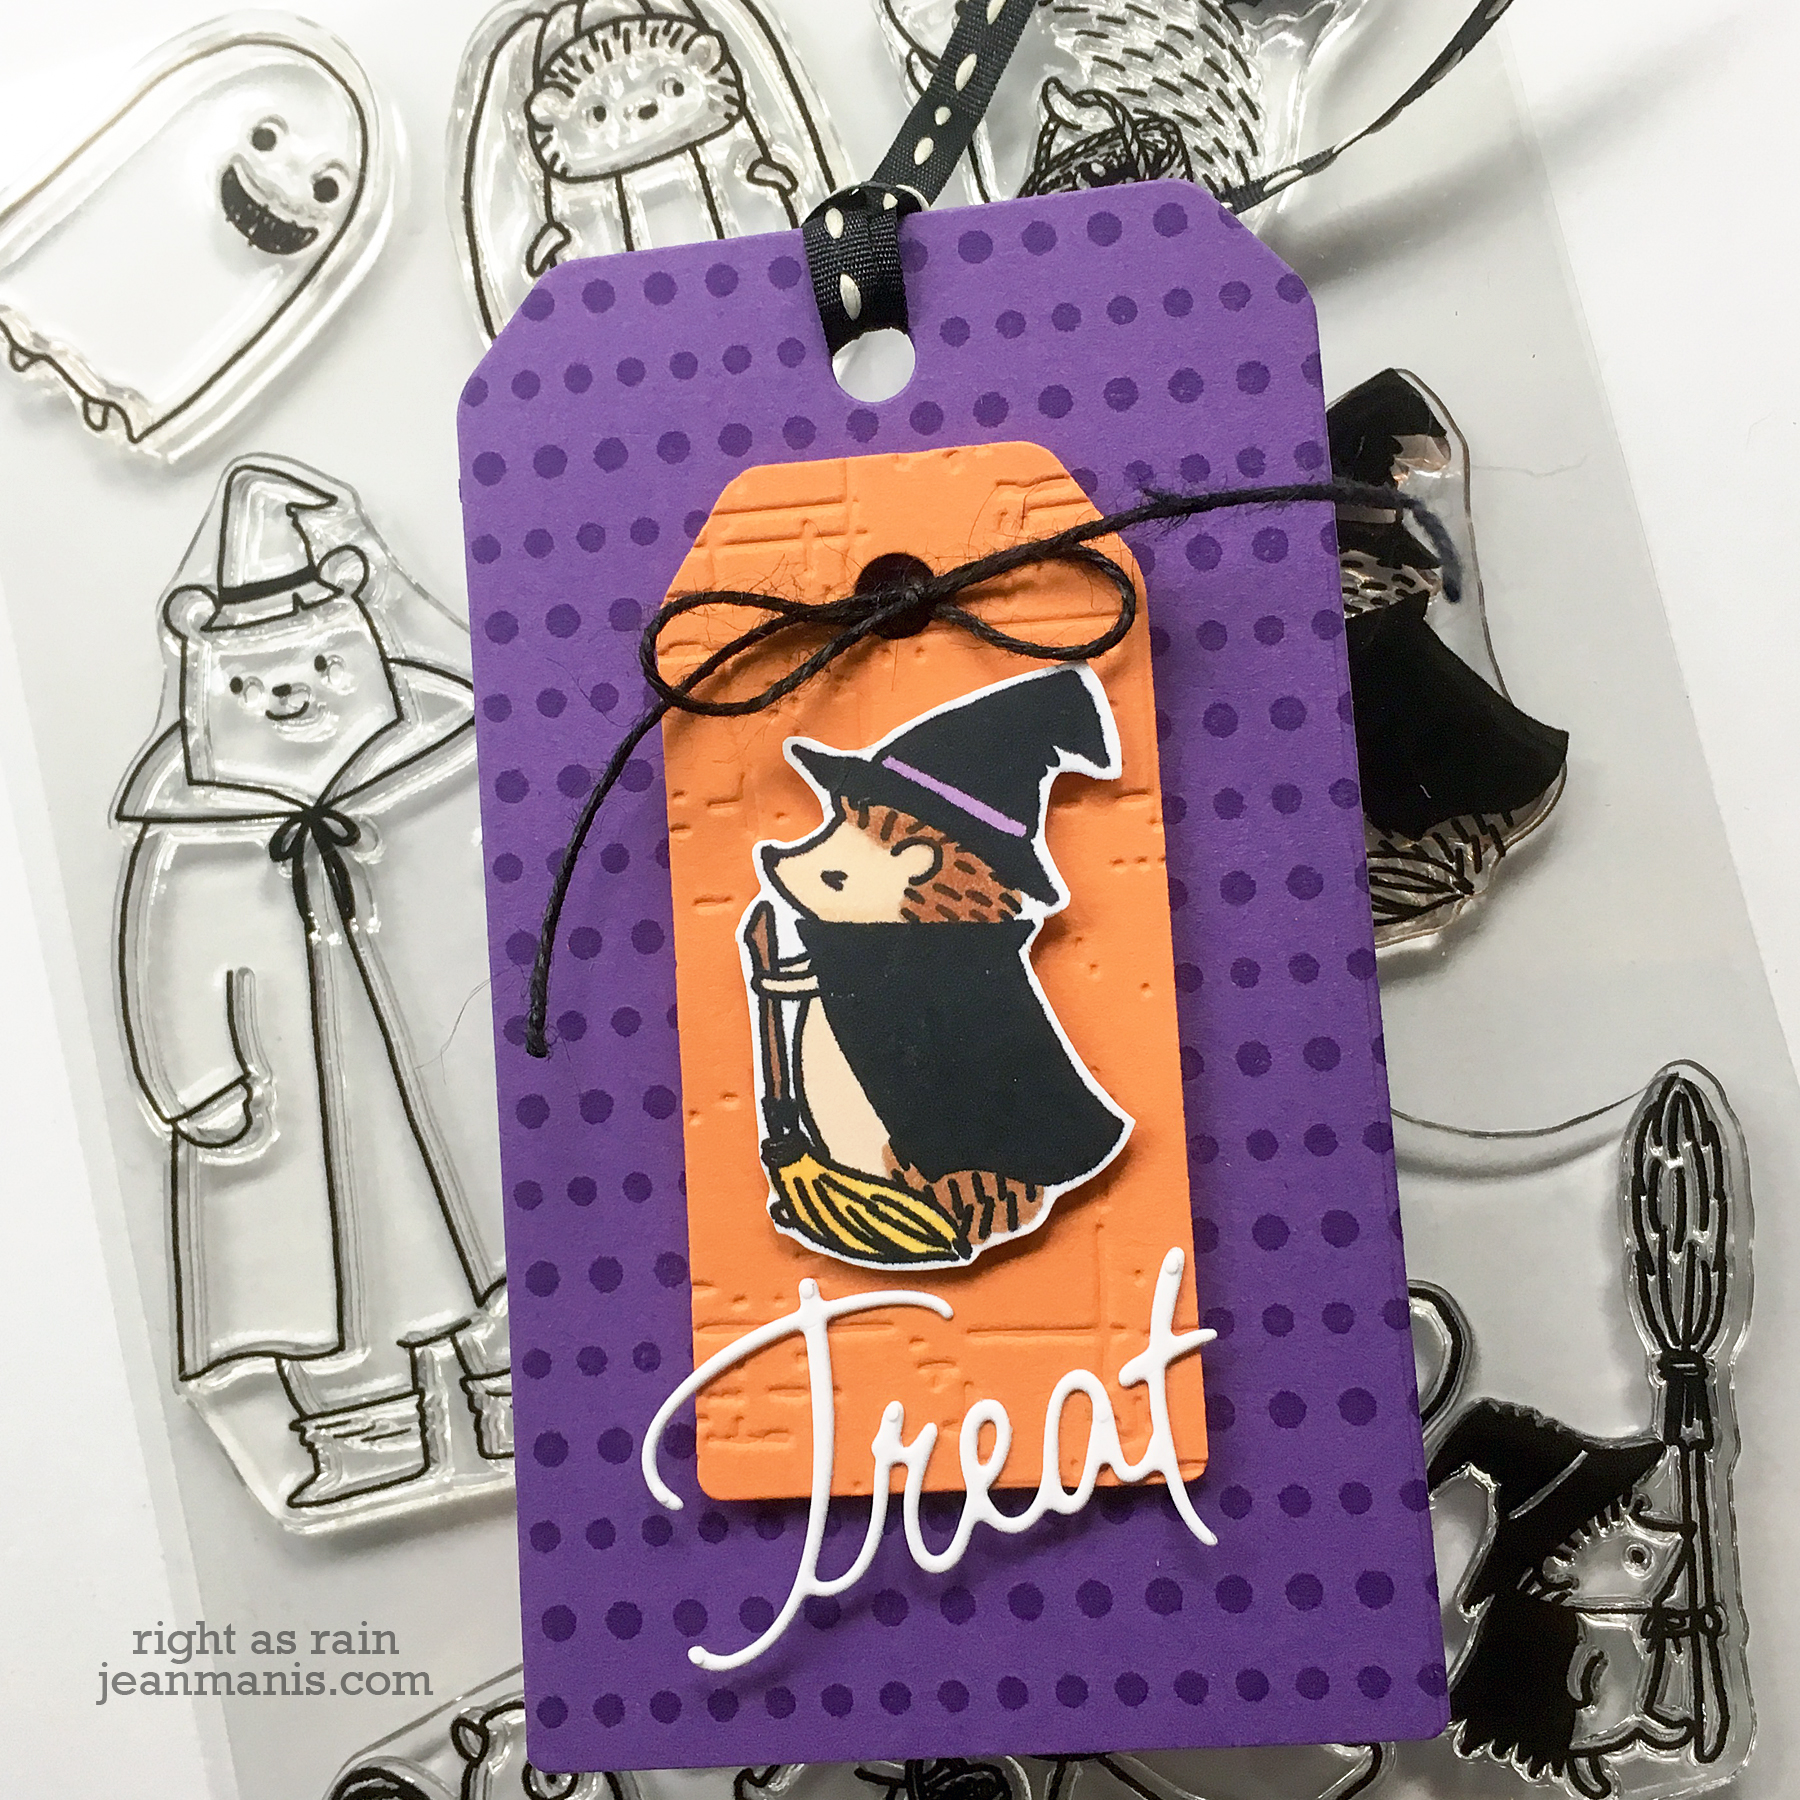
I stamped, colored with Copic marker, and fussy-cut the costumed hedgehog from the #30-592 Critter Costumes set and placed him (her?) into the assembled truck. The witch is off to a Halloween event.
The background was stamped with the Penny Black #40-254 Decadence background stamp (a stamp I’ve had for several years). I really like the feel the background gives to the scene. The sentiment was cut with a die in the #51-077 Eeek! die set.
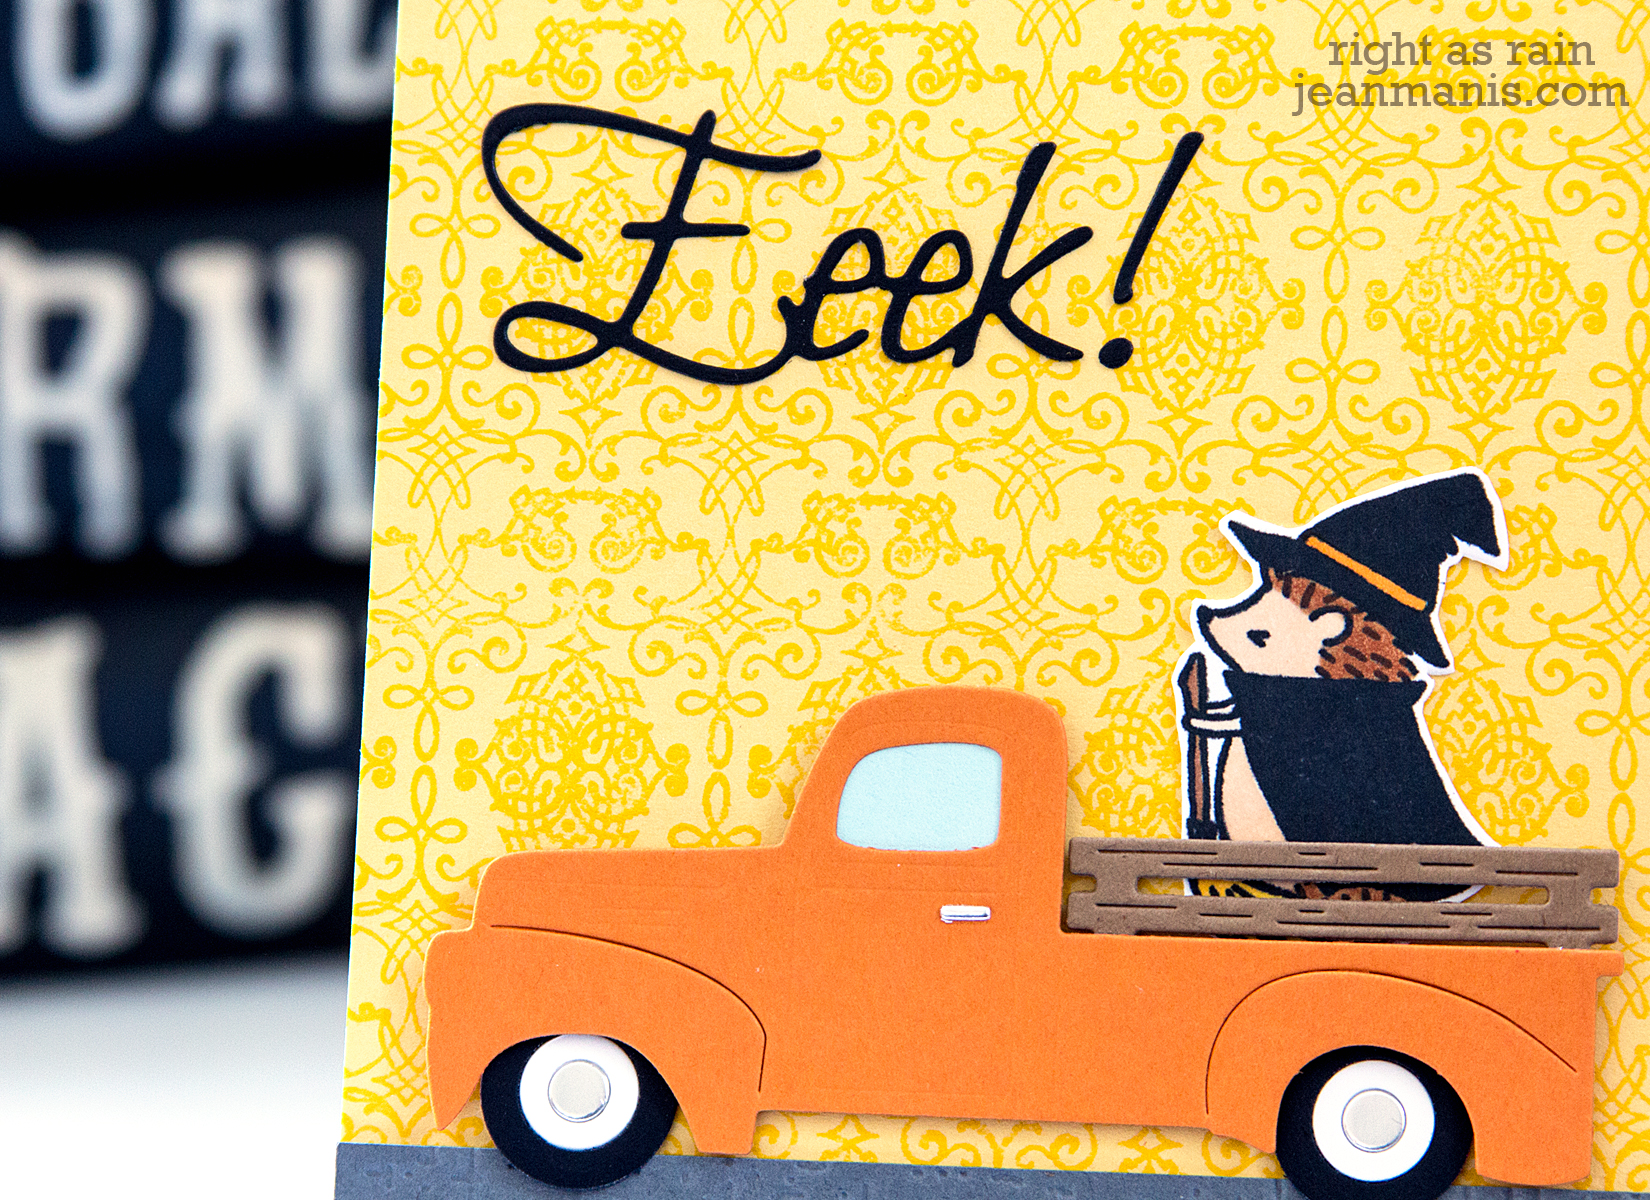
What I like about this card: I really like transportation-themed dies and look for ways to use them in imaginative ways; I like the pairing of the elegant, formal background with the truck; I am particularly drawn to fall colors at the moment (more so than in previous falls, it seems) and like the gold, orange, and gray combination.