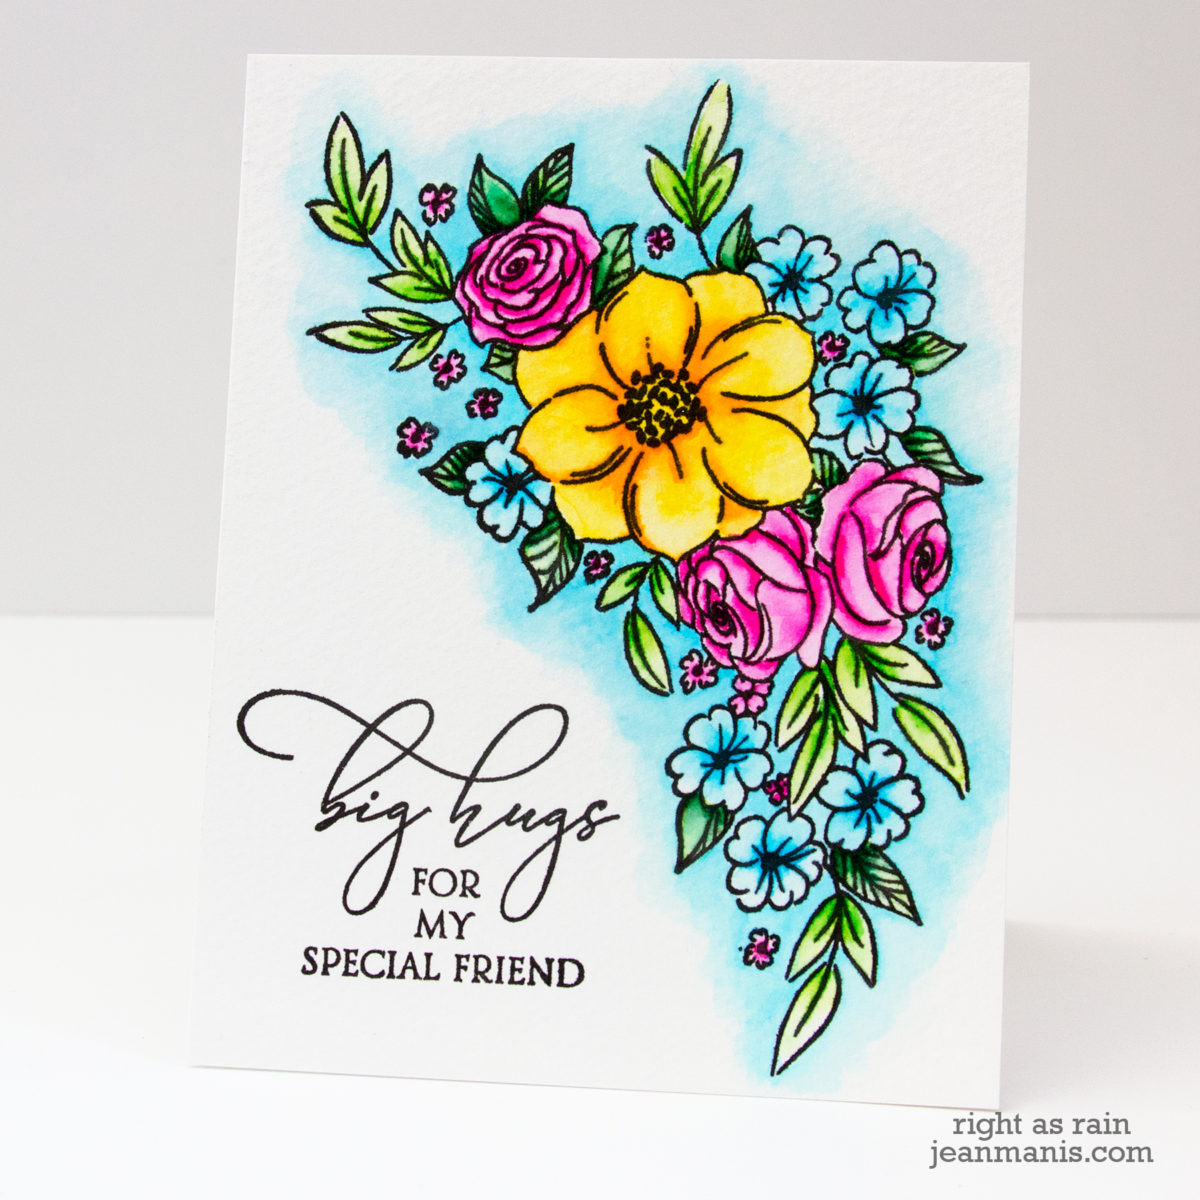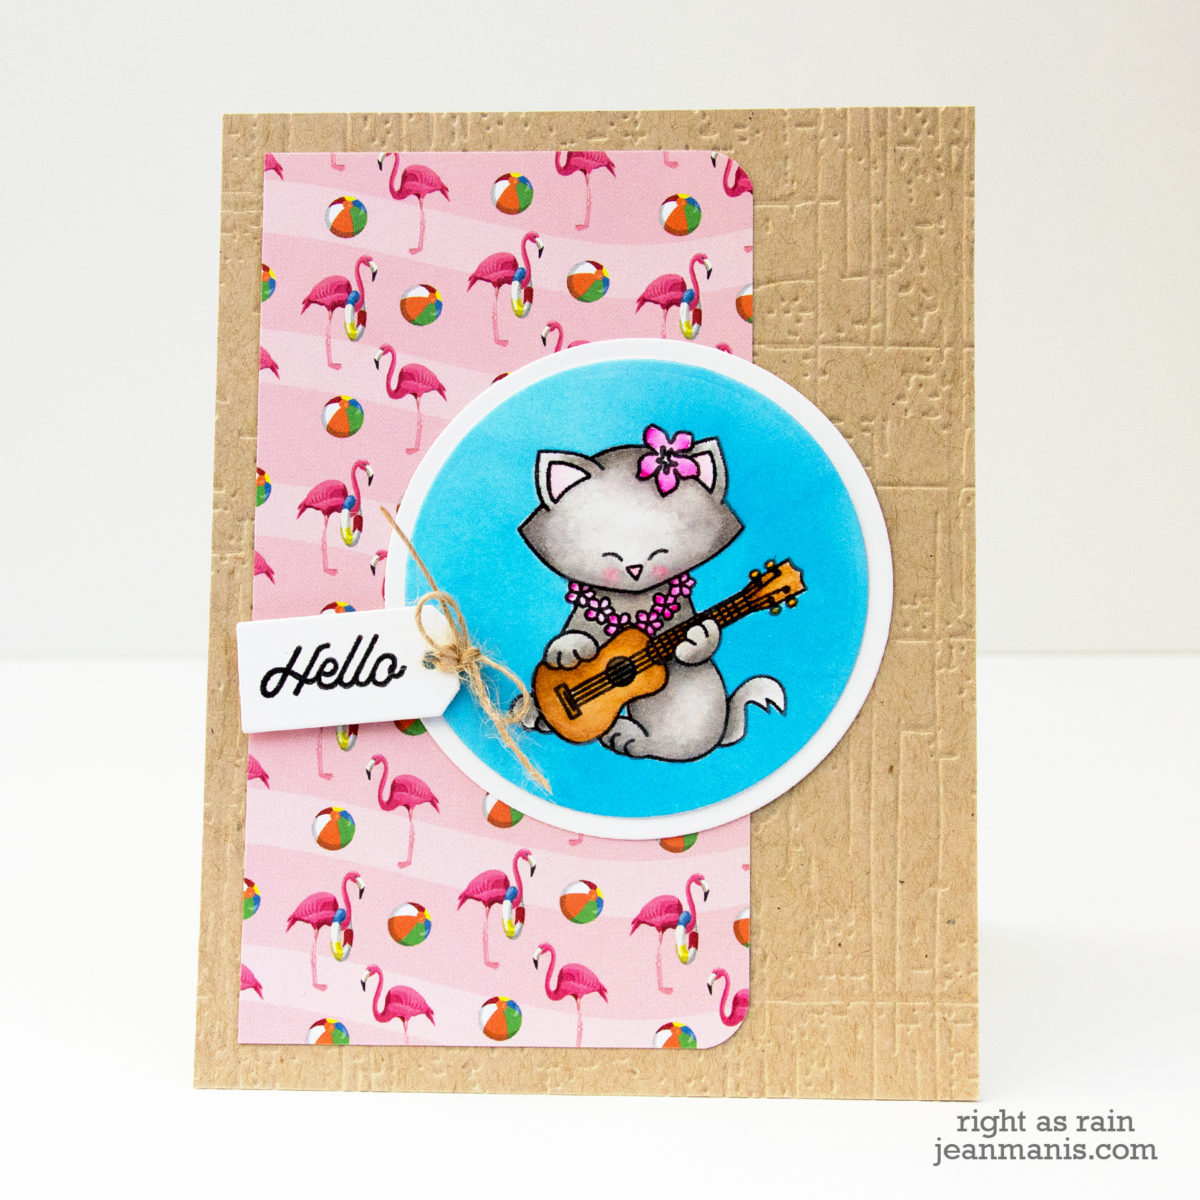
Hello! Today I am sharing a summer-themed card featuring one of the images from the Newton’s Nook Aloha Newton set. I have previously shared cards using this set here and here.
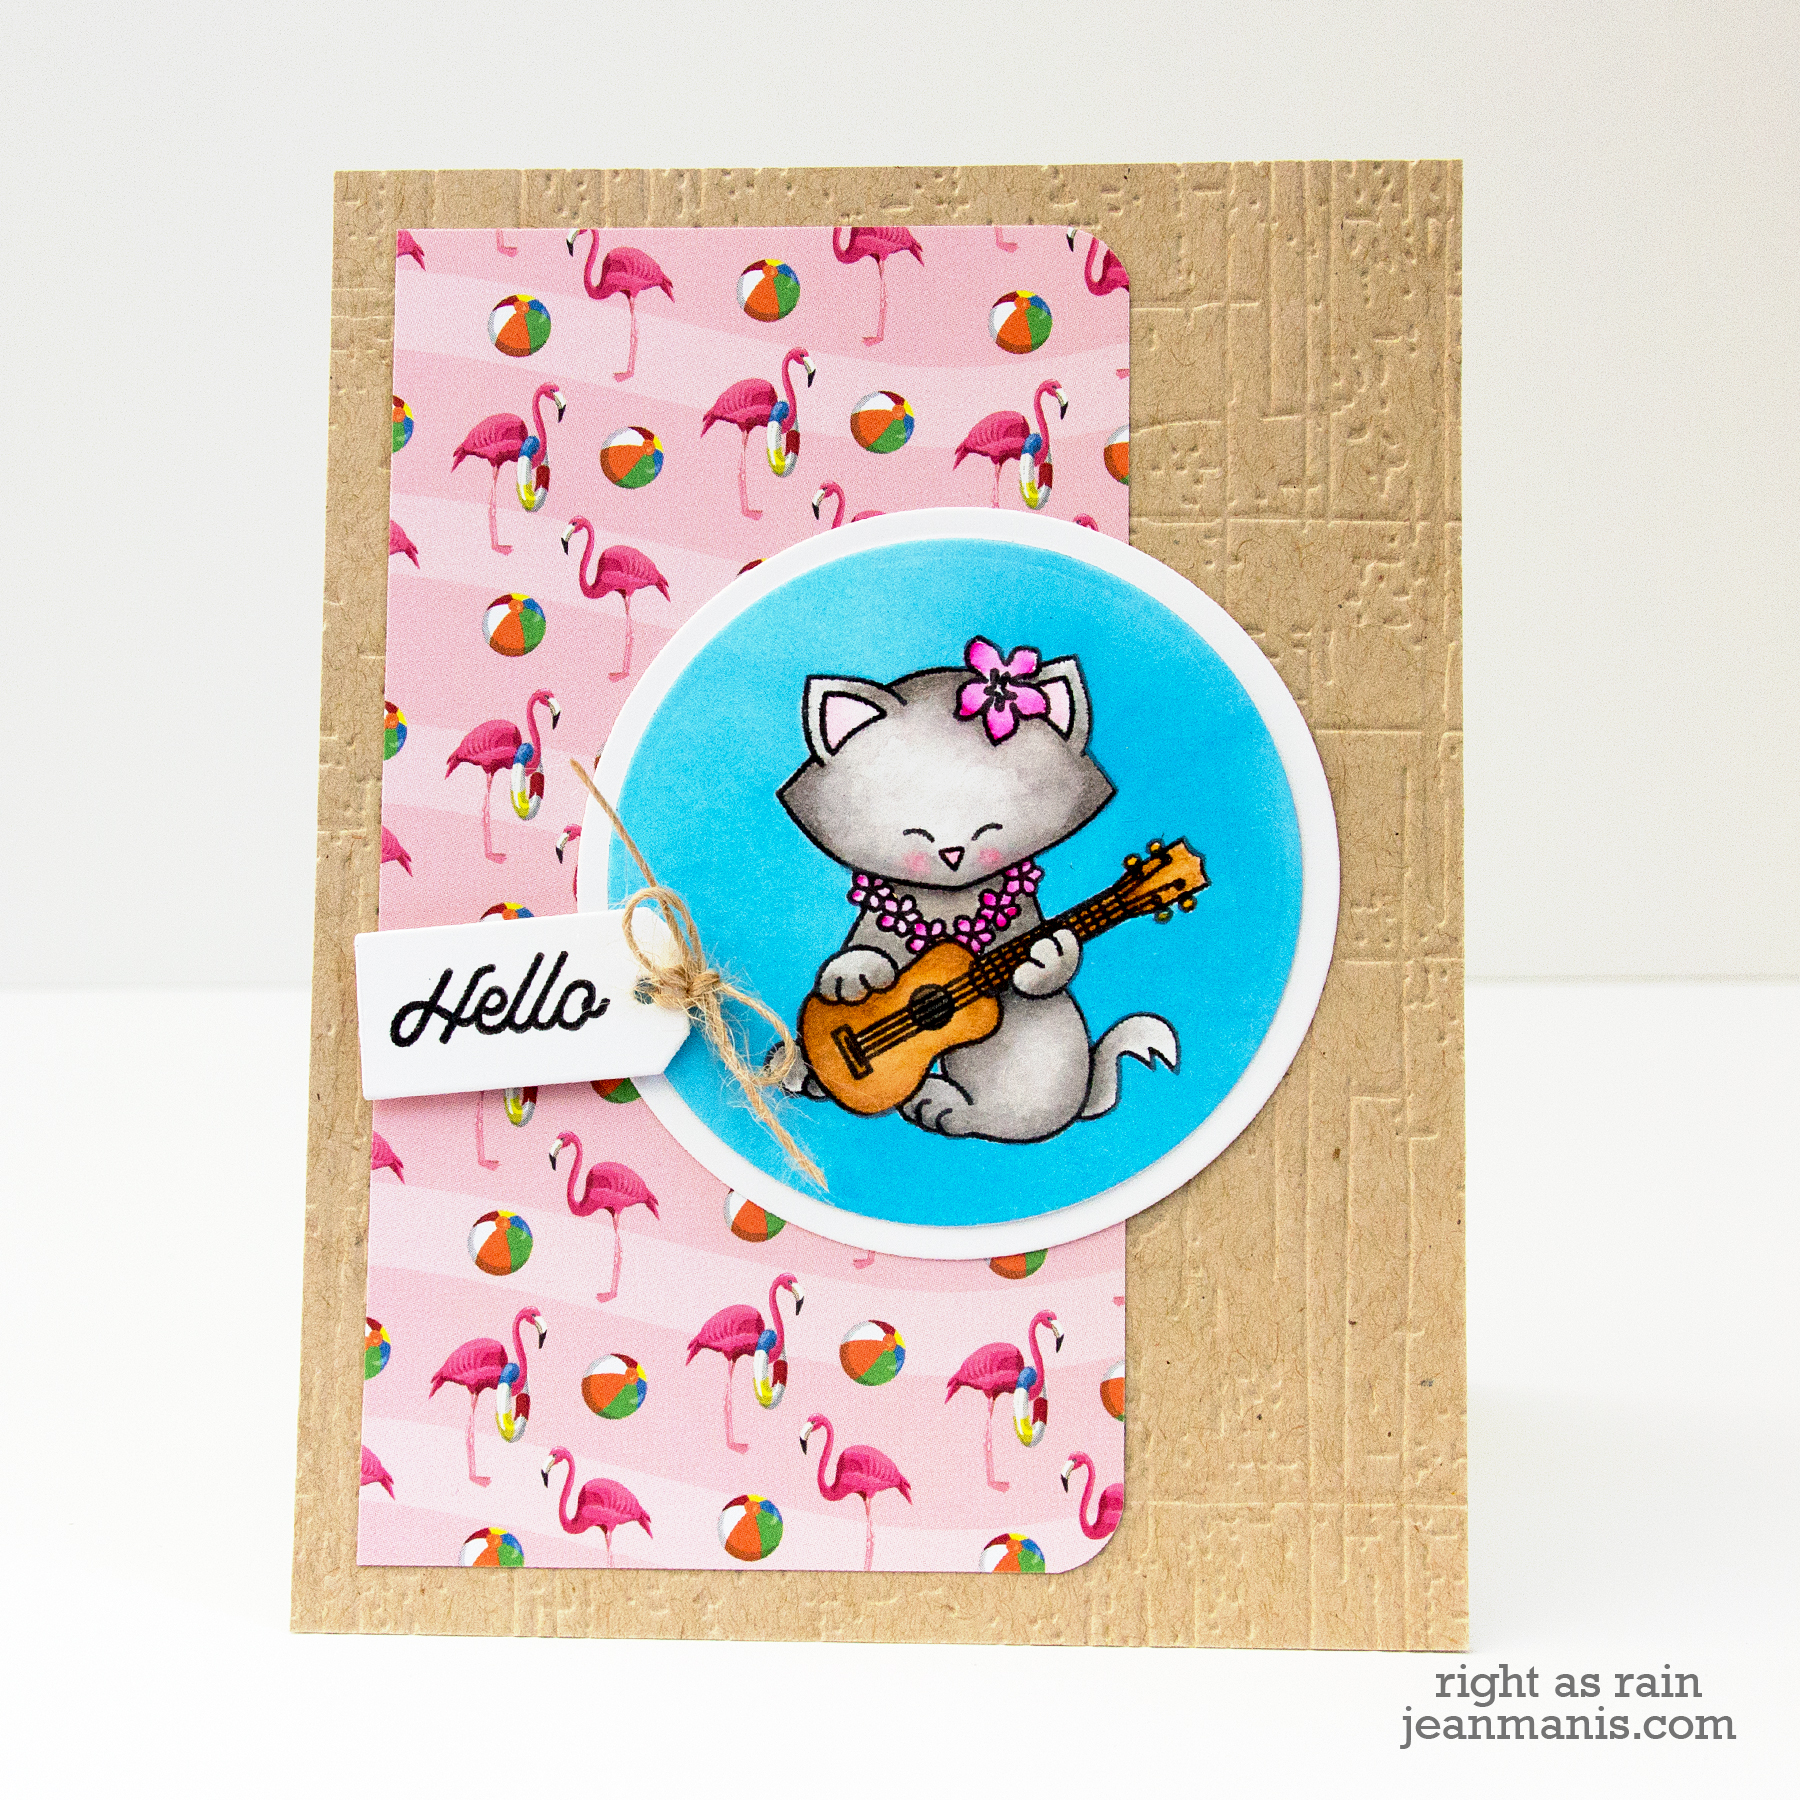
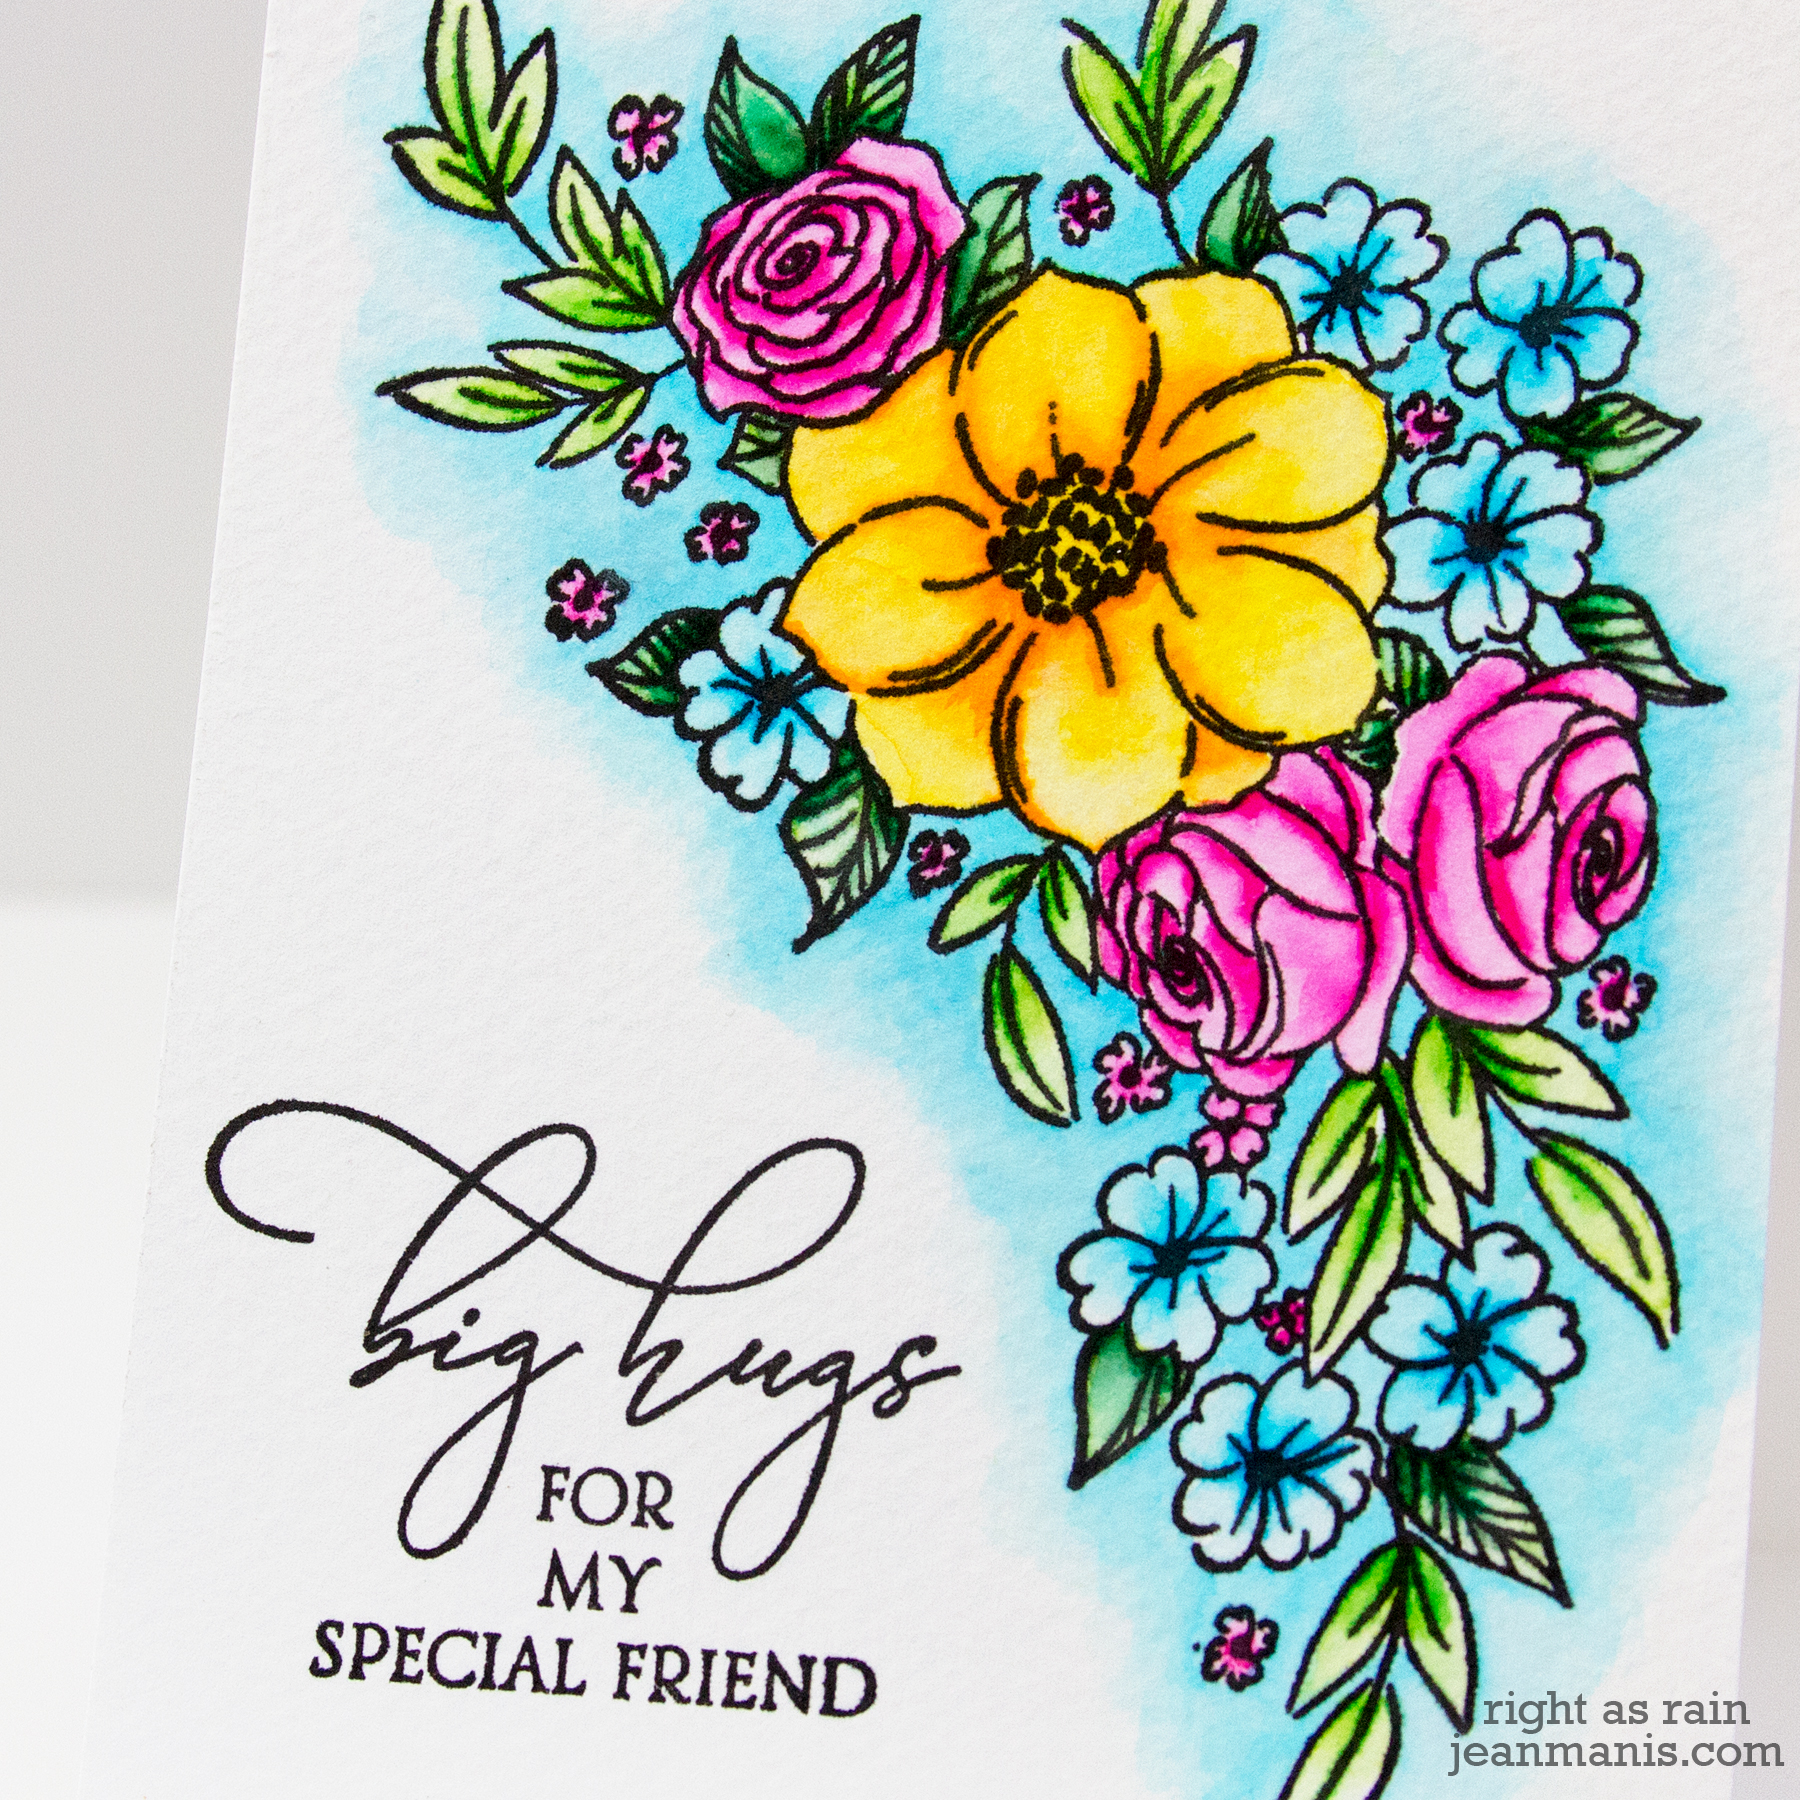
- I stamped the image with Versafine ink on Smooth Bristol and watercolored it with Zig Clean Color Real Brush markers.
- Once the image was dry, I put masking paper over it and sponged the background with Tumbled Glass Distress Oxide ink.
- I cut the image with a circle die and cut another circle, from white cardstock with a slightly larger die, as a mat.
- I stamped the sentiment and cut it with a now-retired MFT Stamps tag die.
- I dry-embossed the kraft card base and added a panel of Carta Bella Summer Splash patterned paper to reinforce the tropical/beach theme.

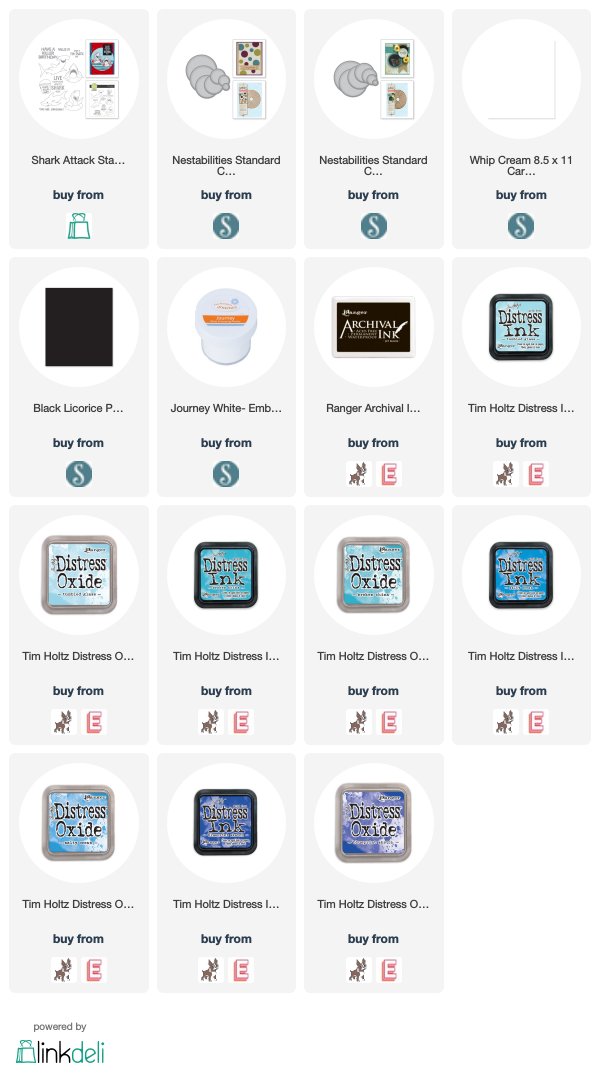
Supplies: